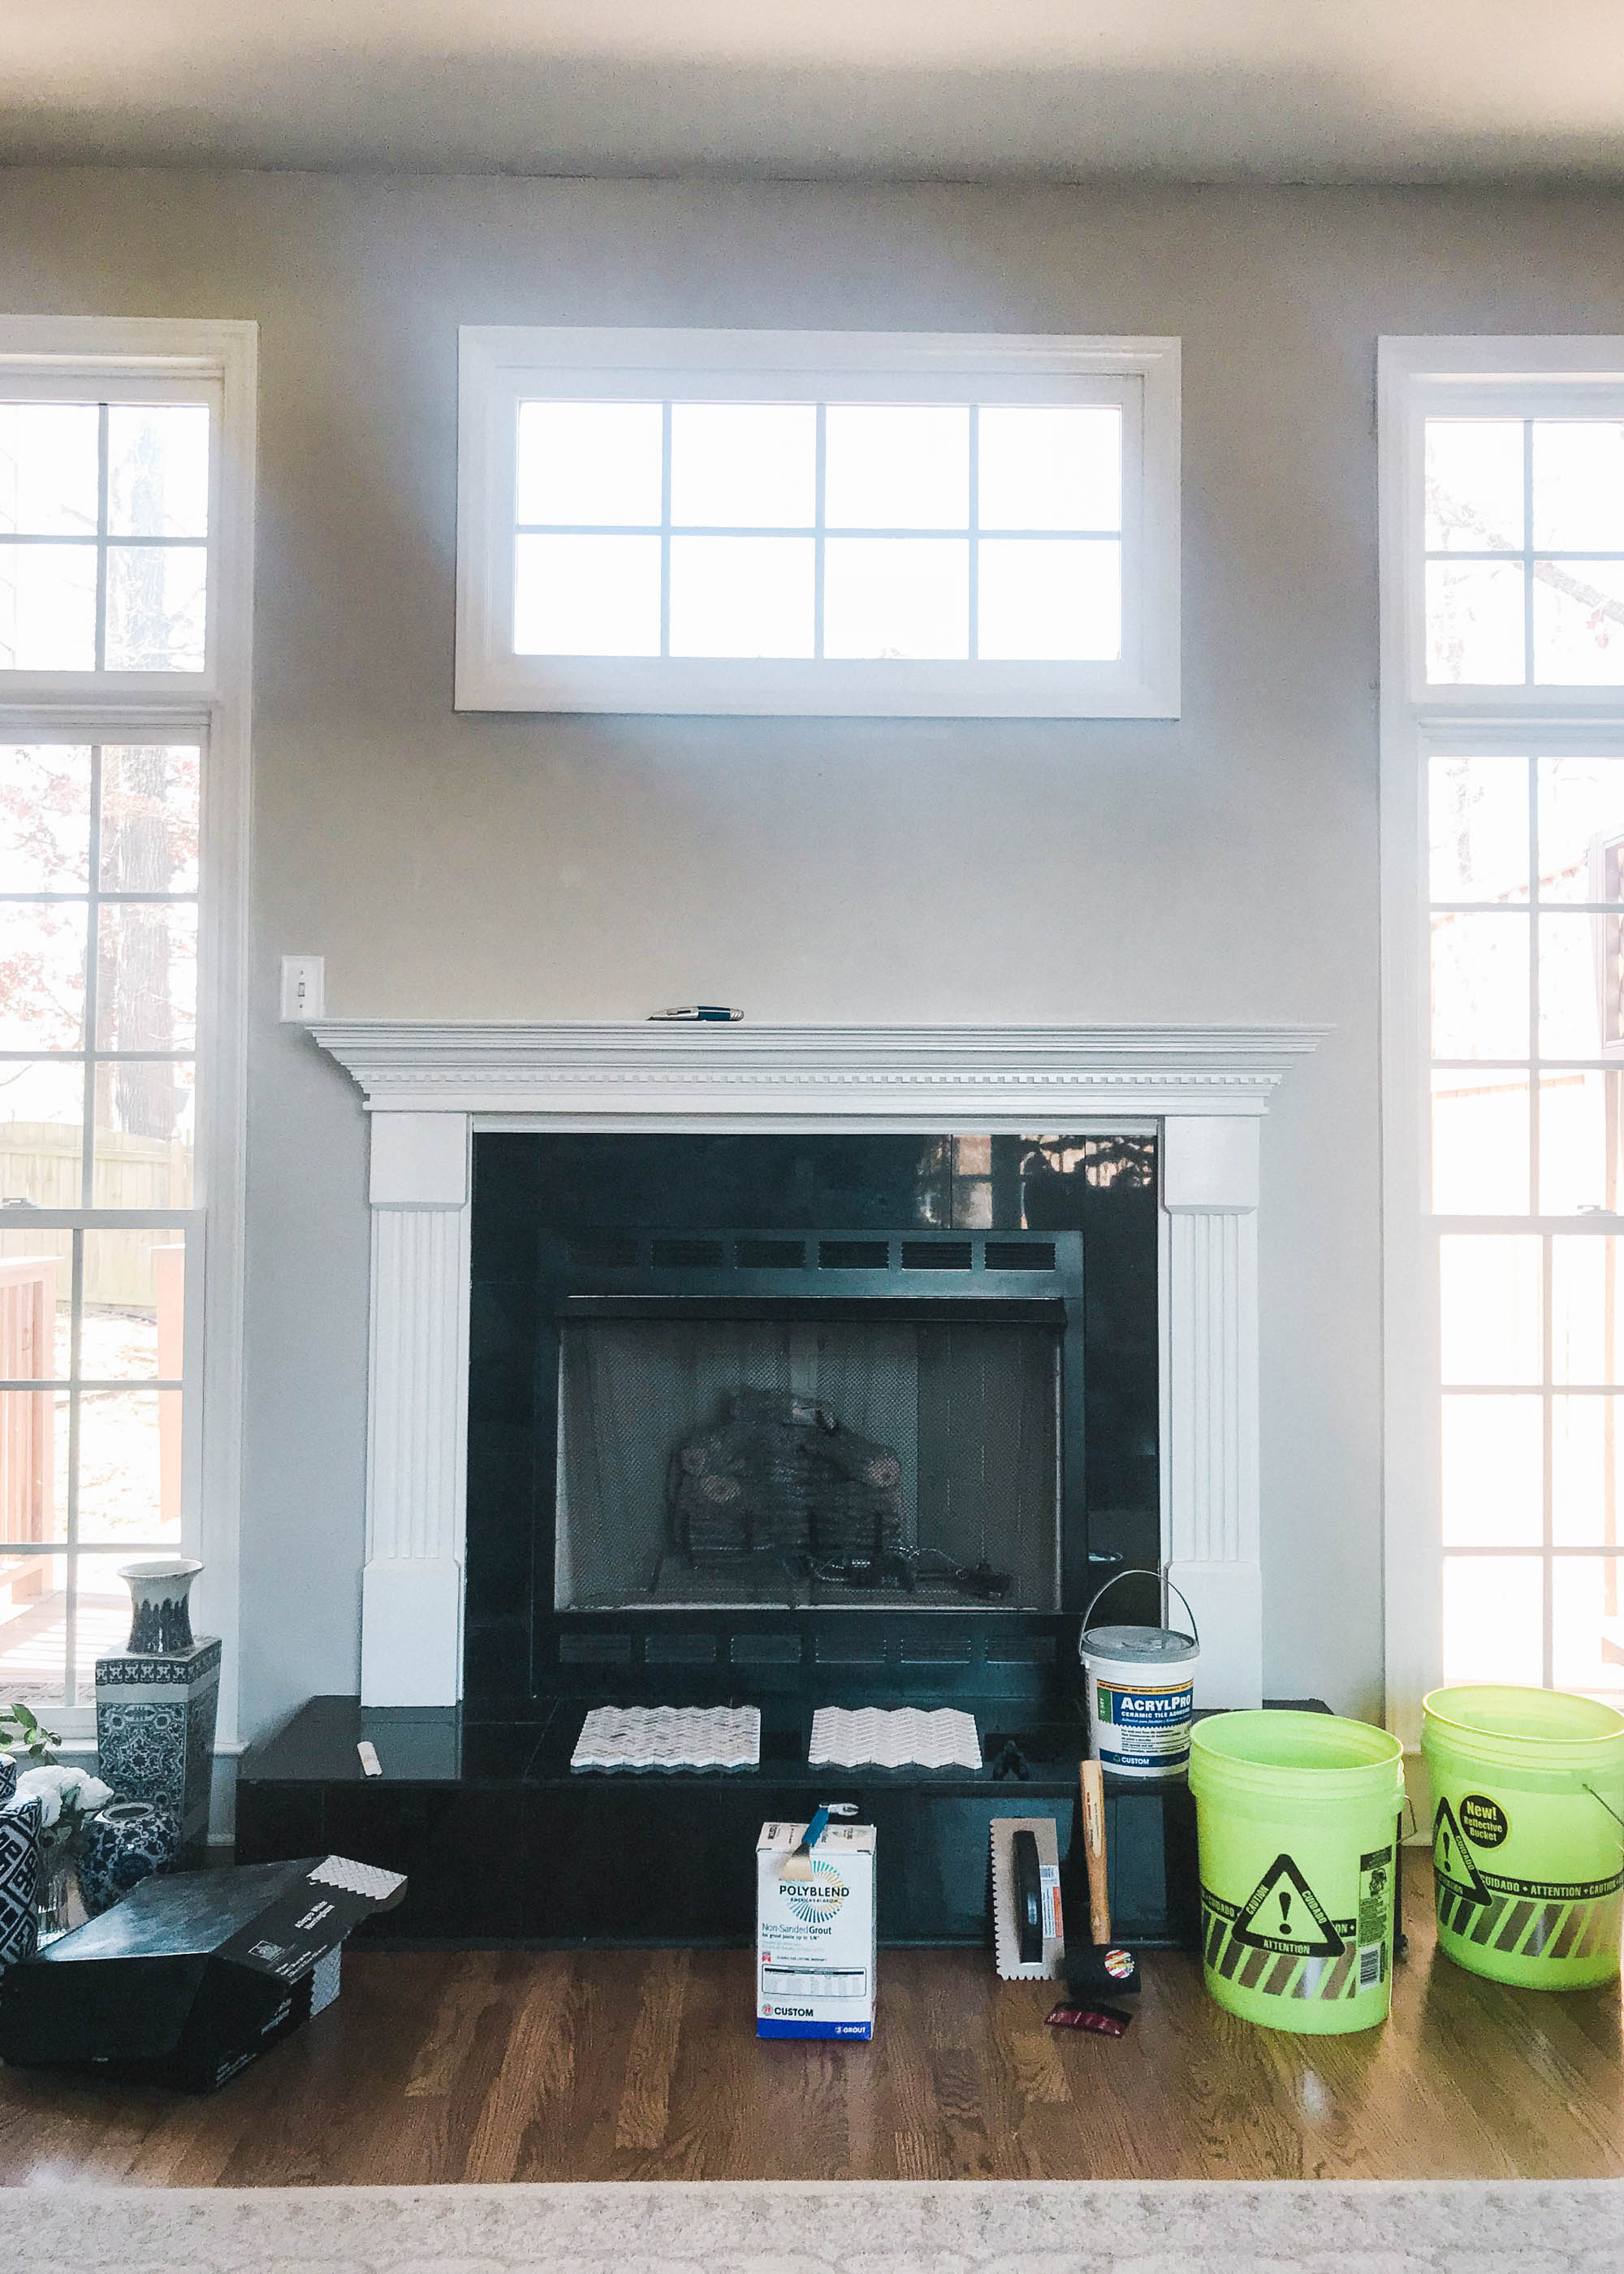
BEFORE
After a few busy days of traveling, I’m back to my regular posting schedule and I’m really excited for this one! Over the past month I’ve shared on my Instagram Stories that we’ve been working on a new home improvement project but I haven’t shared the finished result until today! We were thrilled to partner with The Home Depot to create a DIY tutorial on retiling and updating our fireplace and, today, you can read all about the steps we took on The Home Depot’s blog!
In my opinion, the fireplace is almost as intimate and important as the dinner table. I wanted this space to look warm, inviting, and serve as a central spot to spend time with our family. A place to hang stockings, warm up after a snowy day, have deep conversations while sitting on the floor, a spot to set the Easter baskets like my mom always did… a special space to make memories. I’ve always had a thing for fireplaces for as long as I can remember.
Supplies Used (see full list on Home Depot’s blog):

Decor:
Wearing:
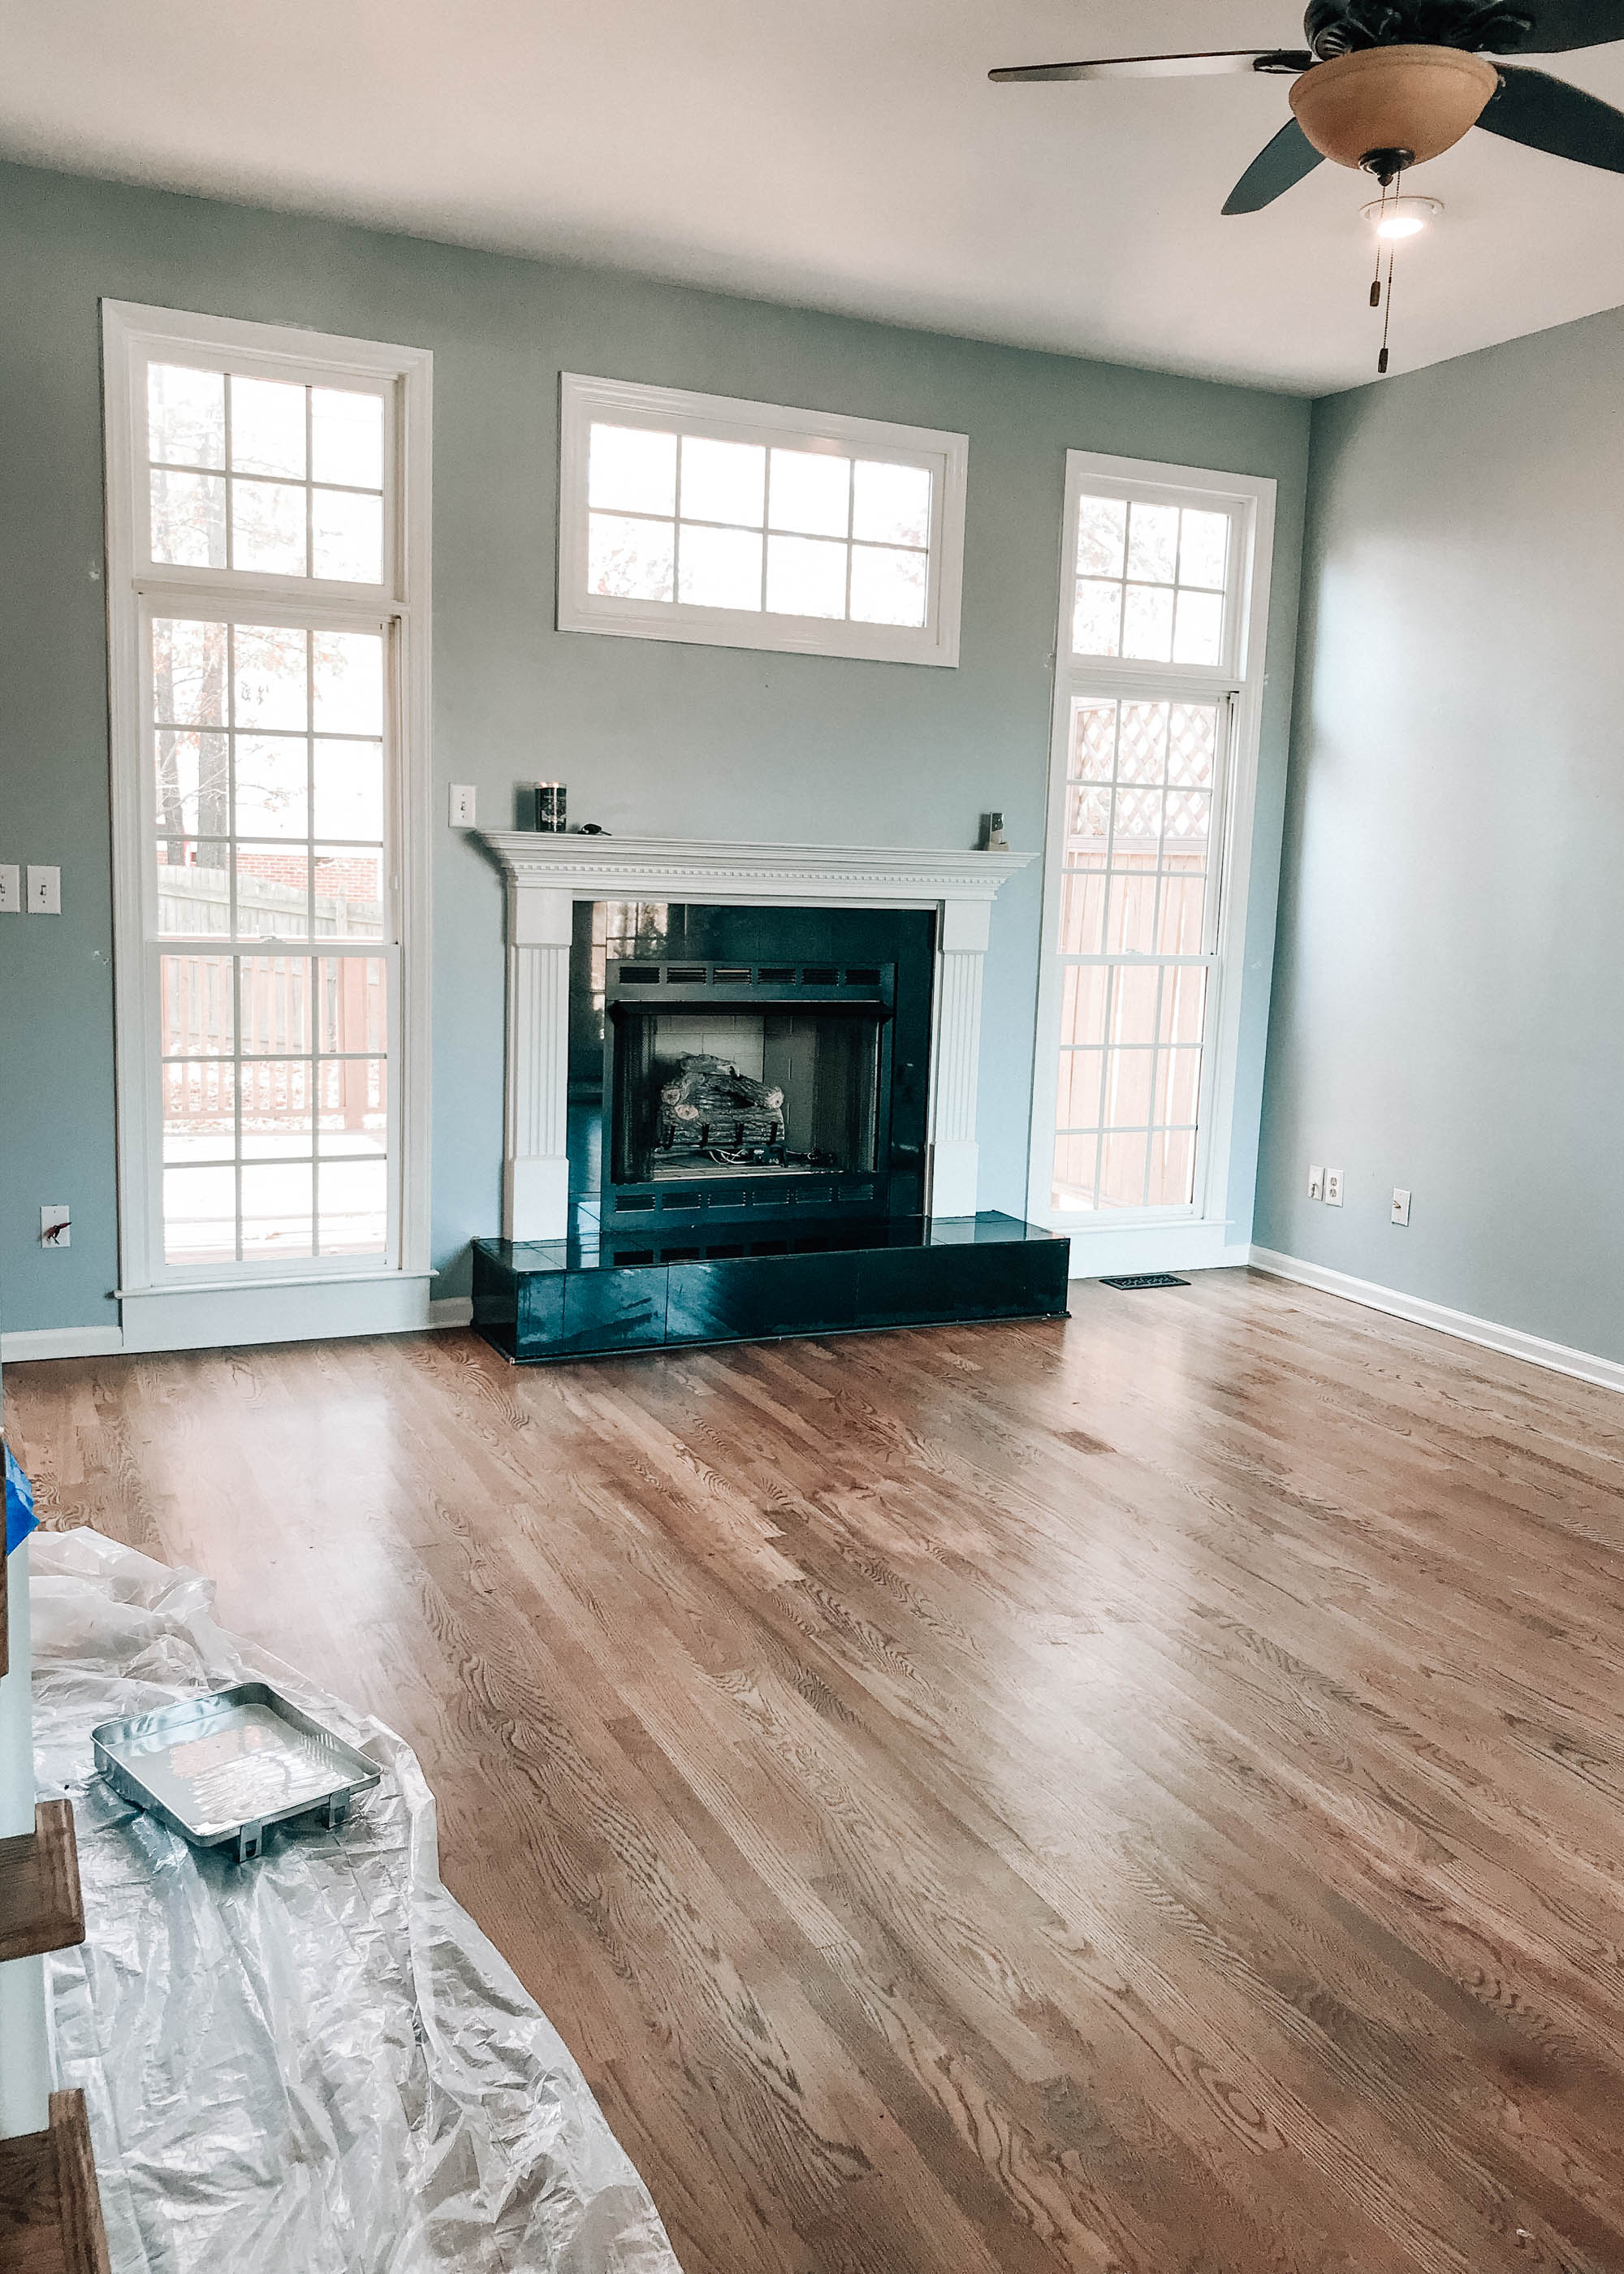
This was taken the day we moved in back in December. The walls were light blue before we painted them with ‘Repose Gray’.
When we first moved into our house exactly 3 months ago (can’t believe it’s already been that long!), I immediately knew that one day I’d be removing all of the black tile that surrounded the fireplace and the hearth. Black was just never a color I was drawn to when it came to interiors. I like calming, fresh, brighter tones like grey and white, with pops of soft pinks, greens, and blues. It’s been that way for years and I don’t see it changing anytime soon.
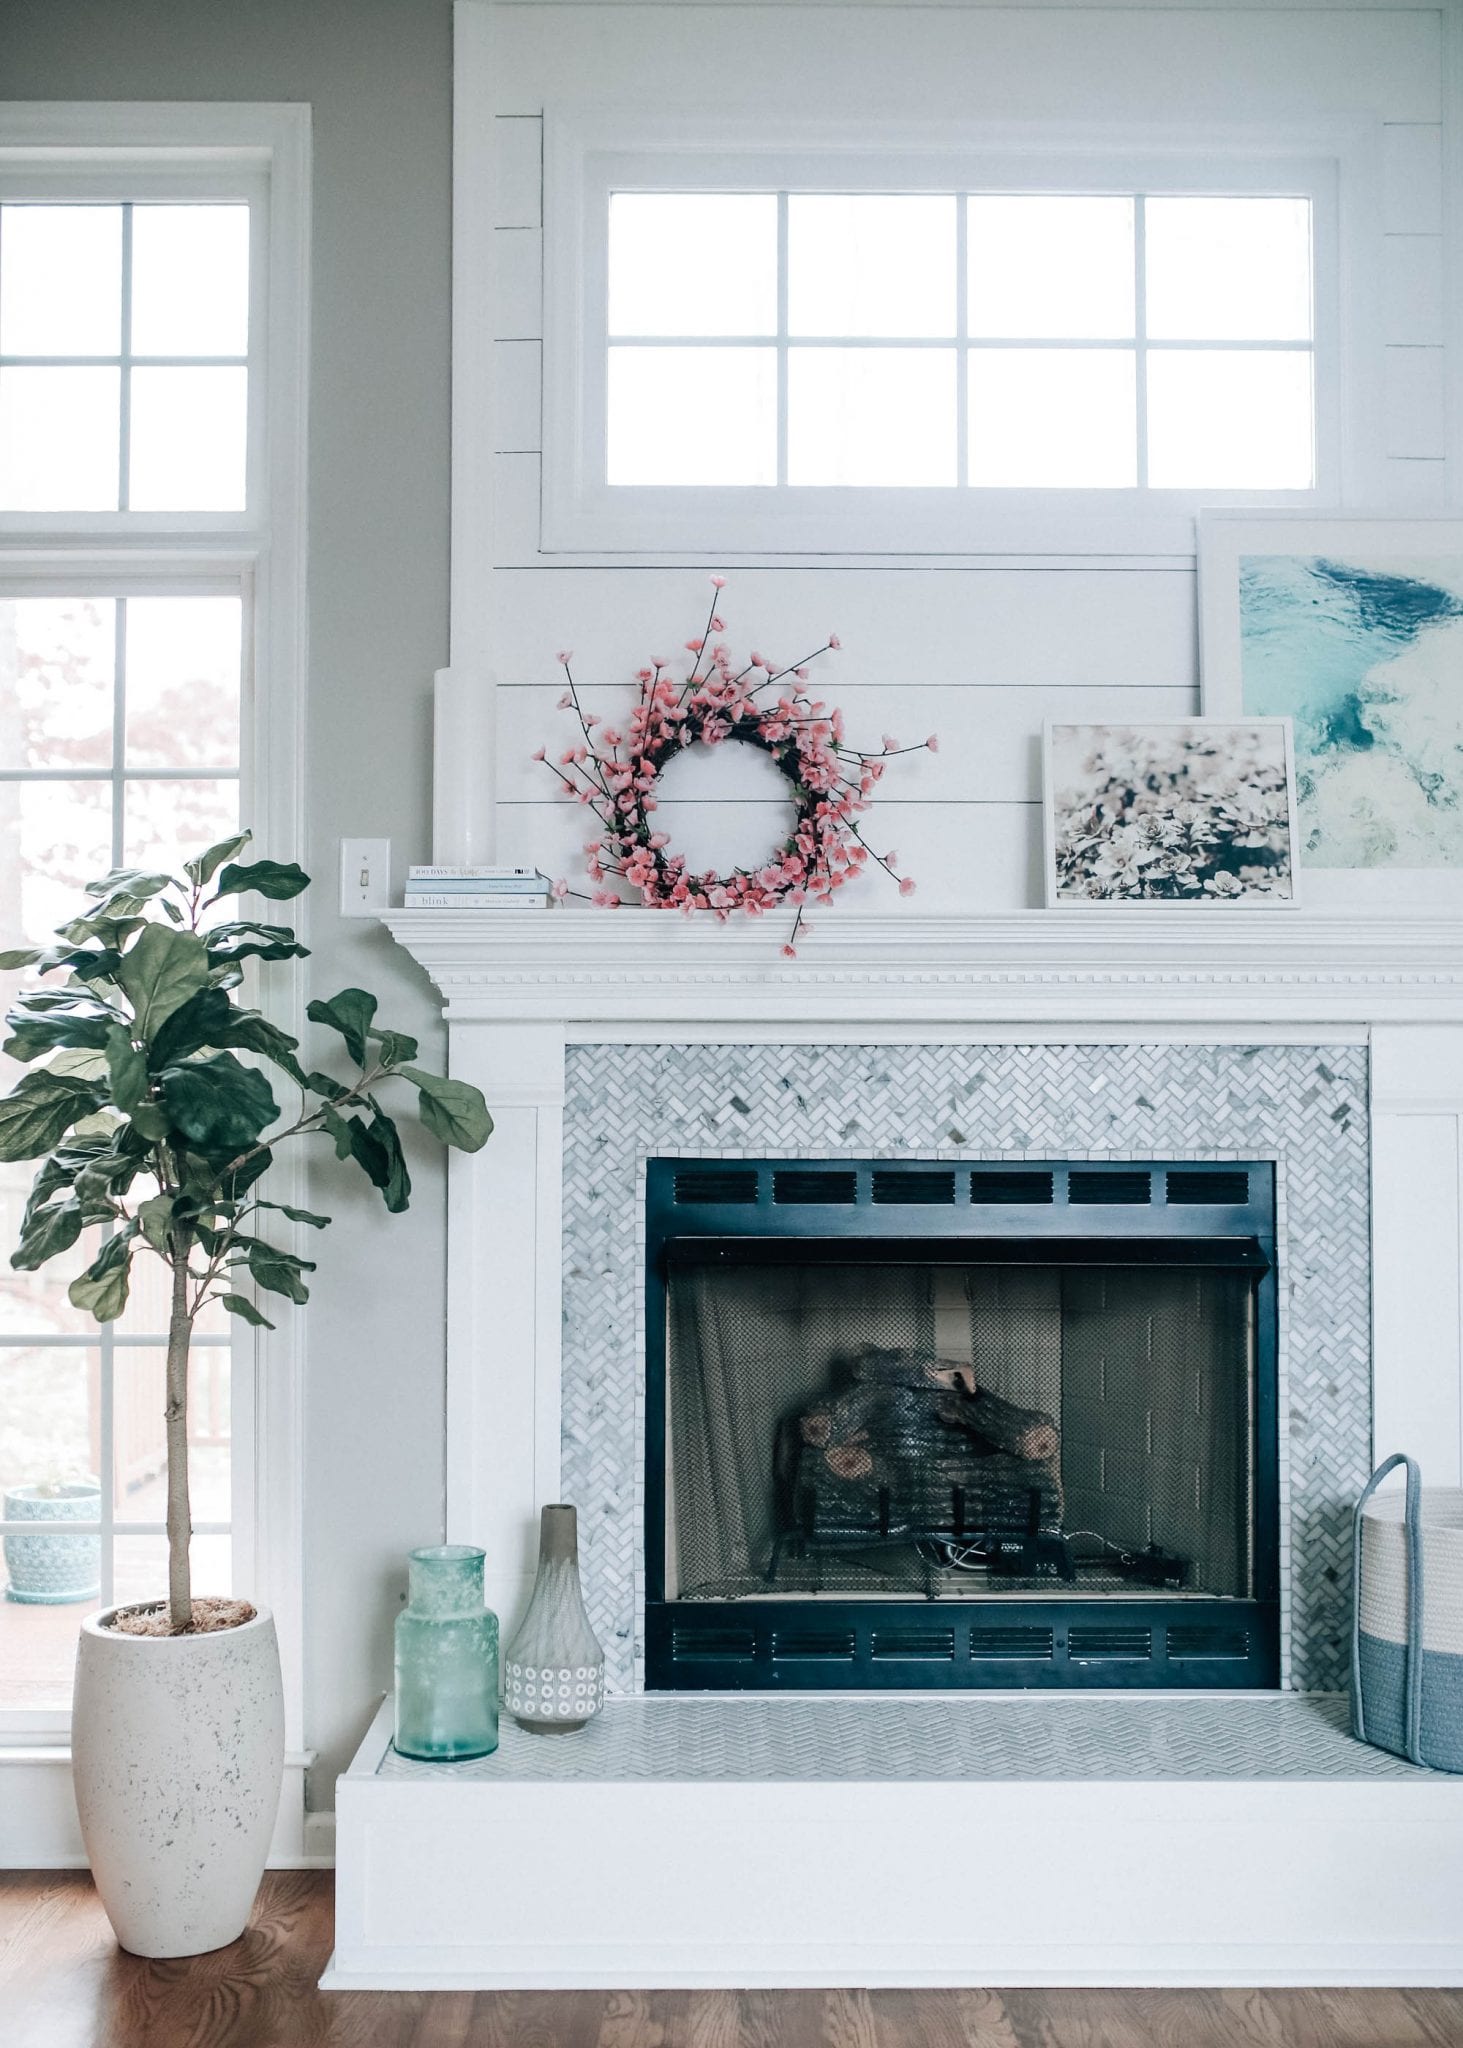
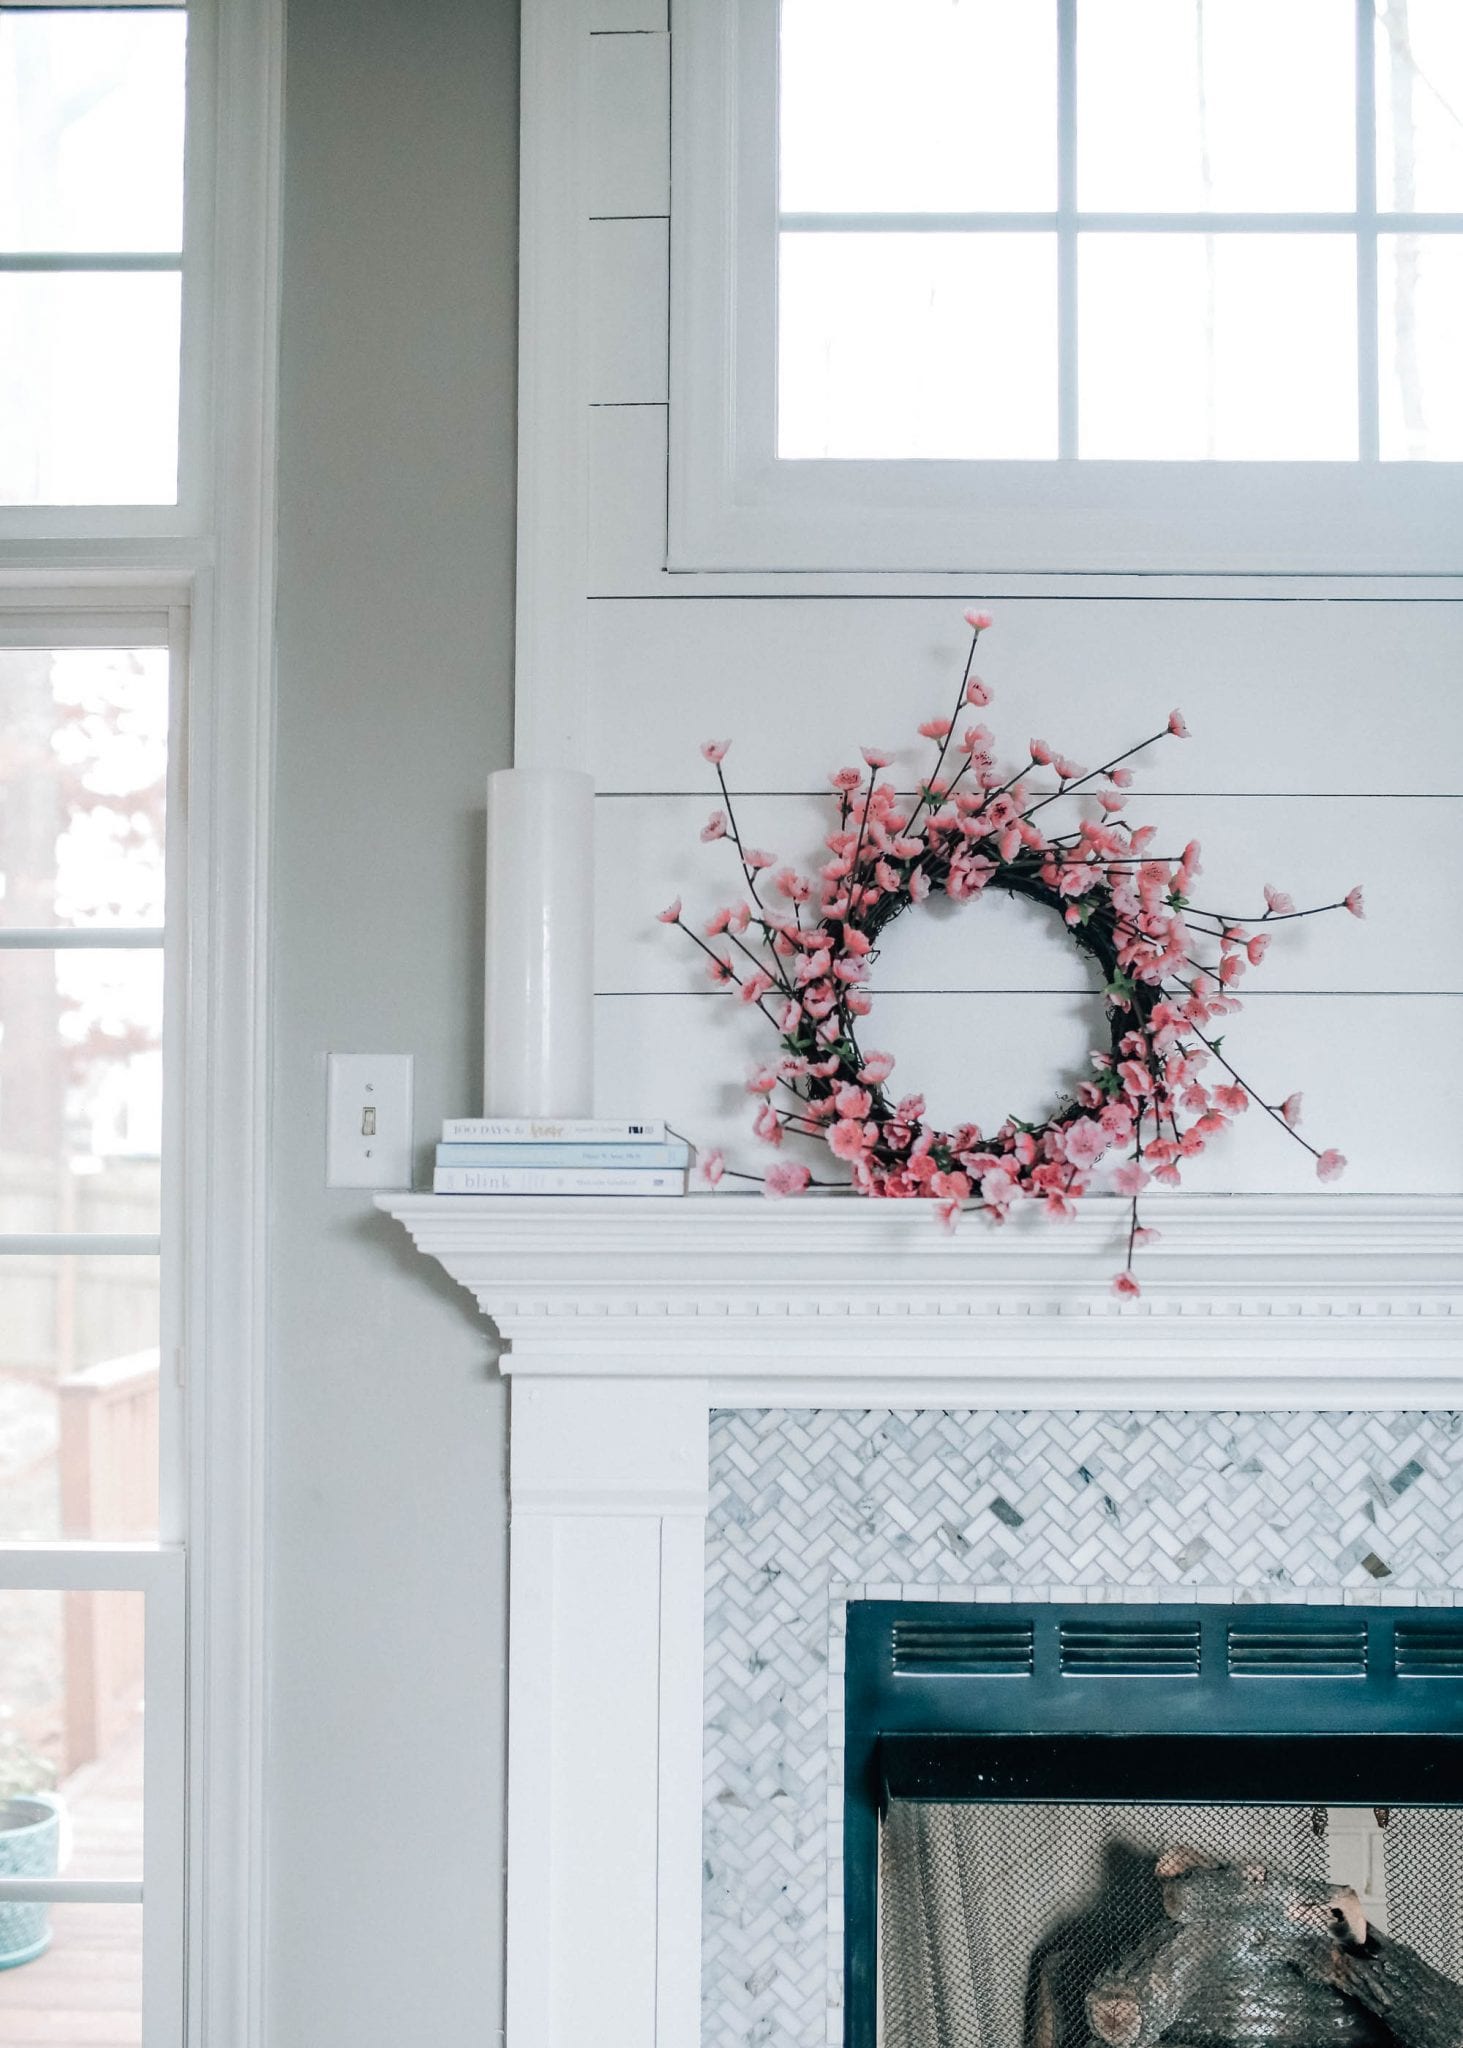
Our fireplace makeover basically was broken up into three phases: retiling, updating/building around the hearth, and elongating it by adding moulding and shiplap going all the way up to the ceiling. I remember one night I couldn’t decide on the white herringbone tile or the marble so I posted a poll on Instagram. The results were about 75% marble and 25% white tile. This was actually after I had already purchased (and opened) the white tile. I ultimately decided to do both because even after that poll, I still couldn’t decide. We used marble for the vertical sections and the white for the top of the hearth and I couldn’t love it more!
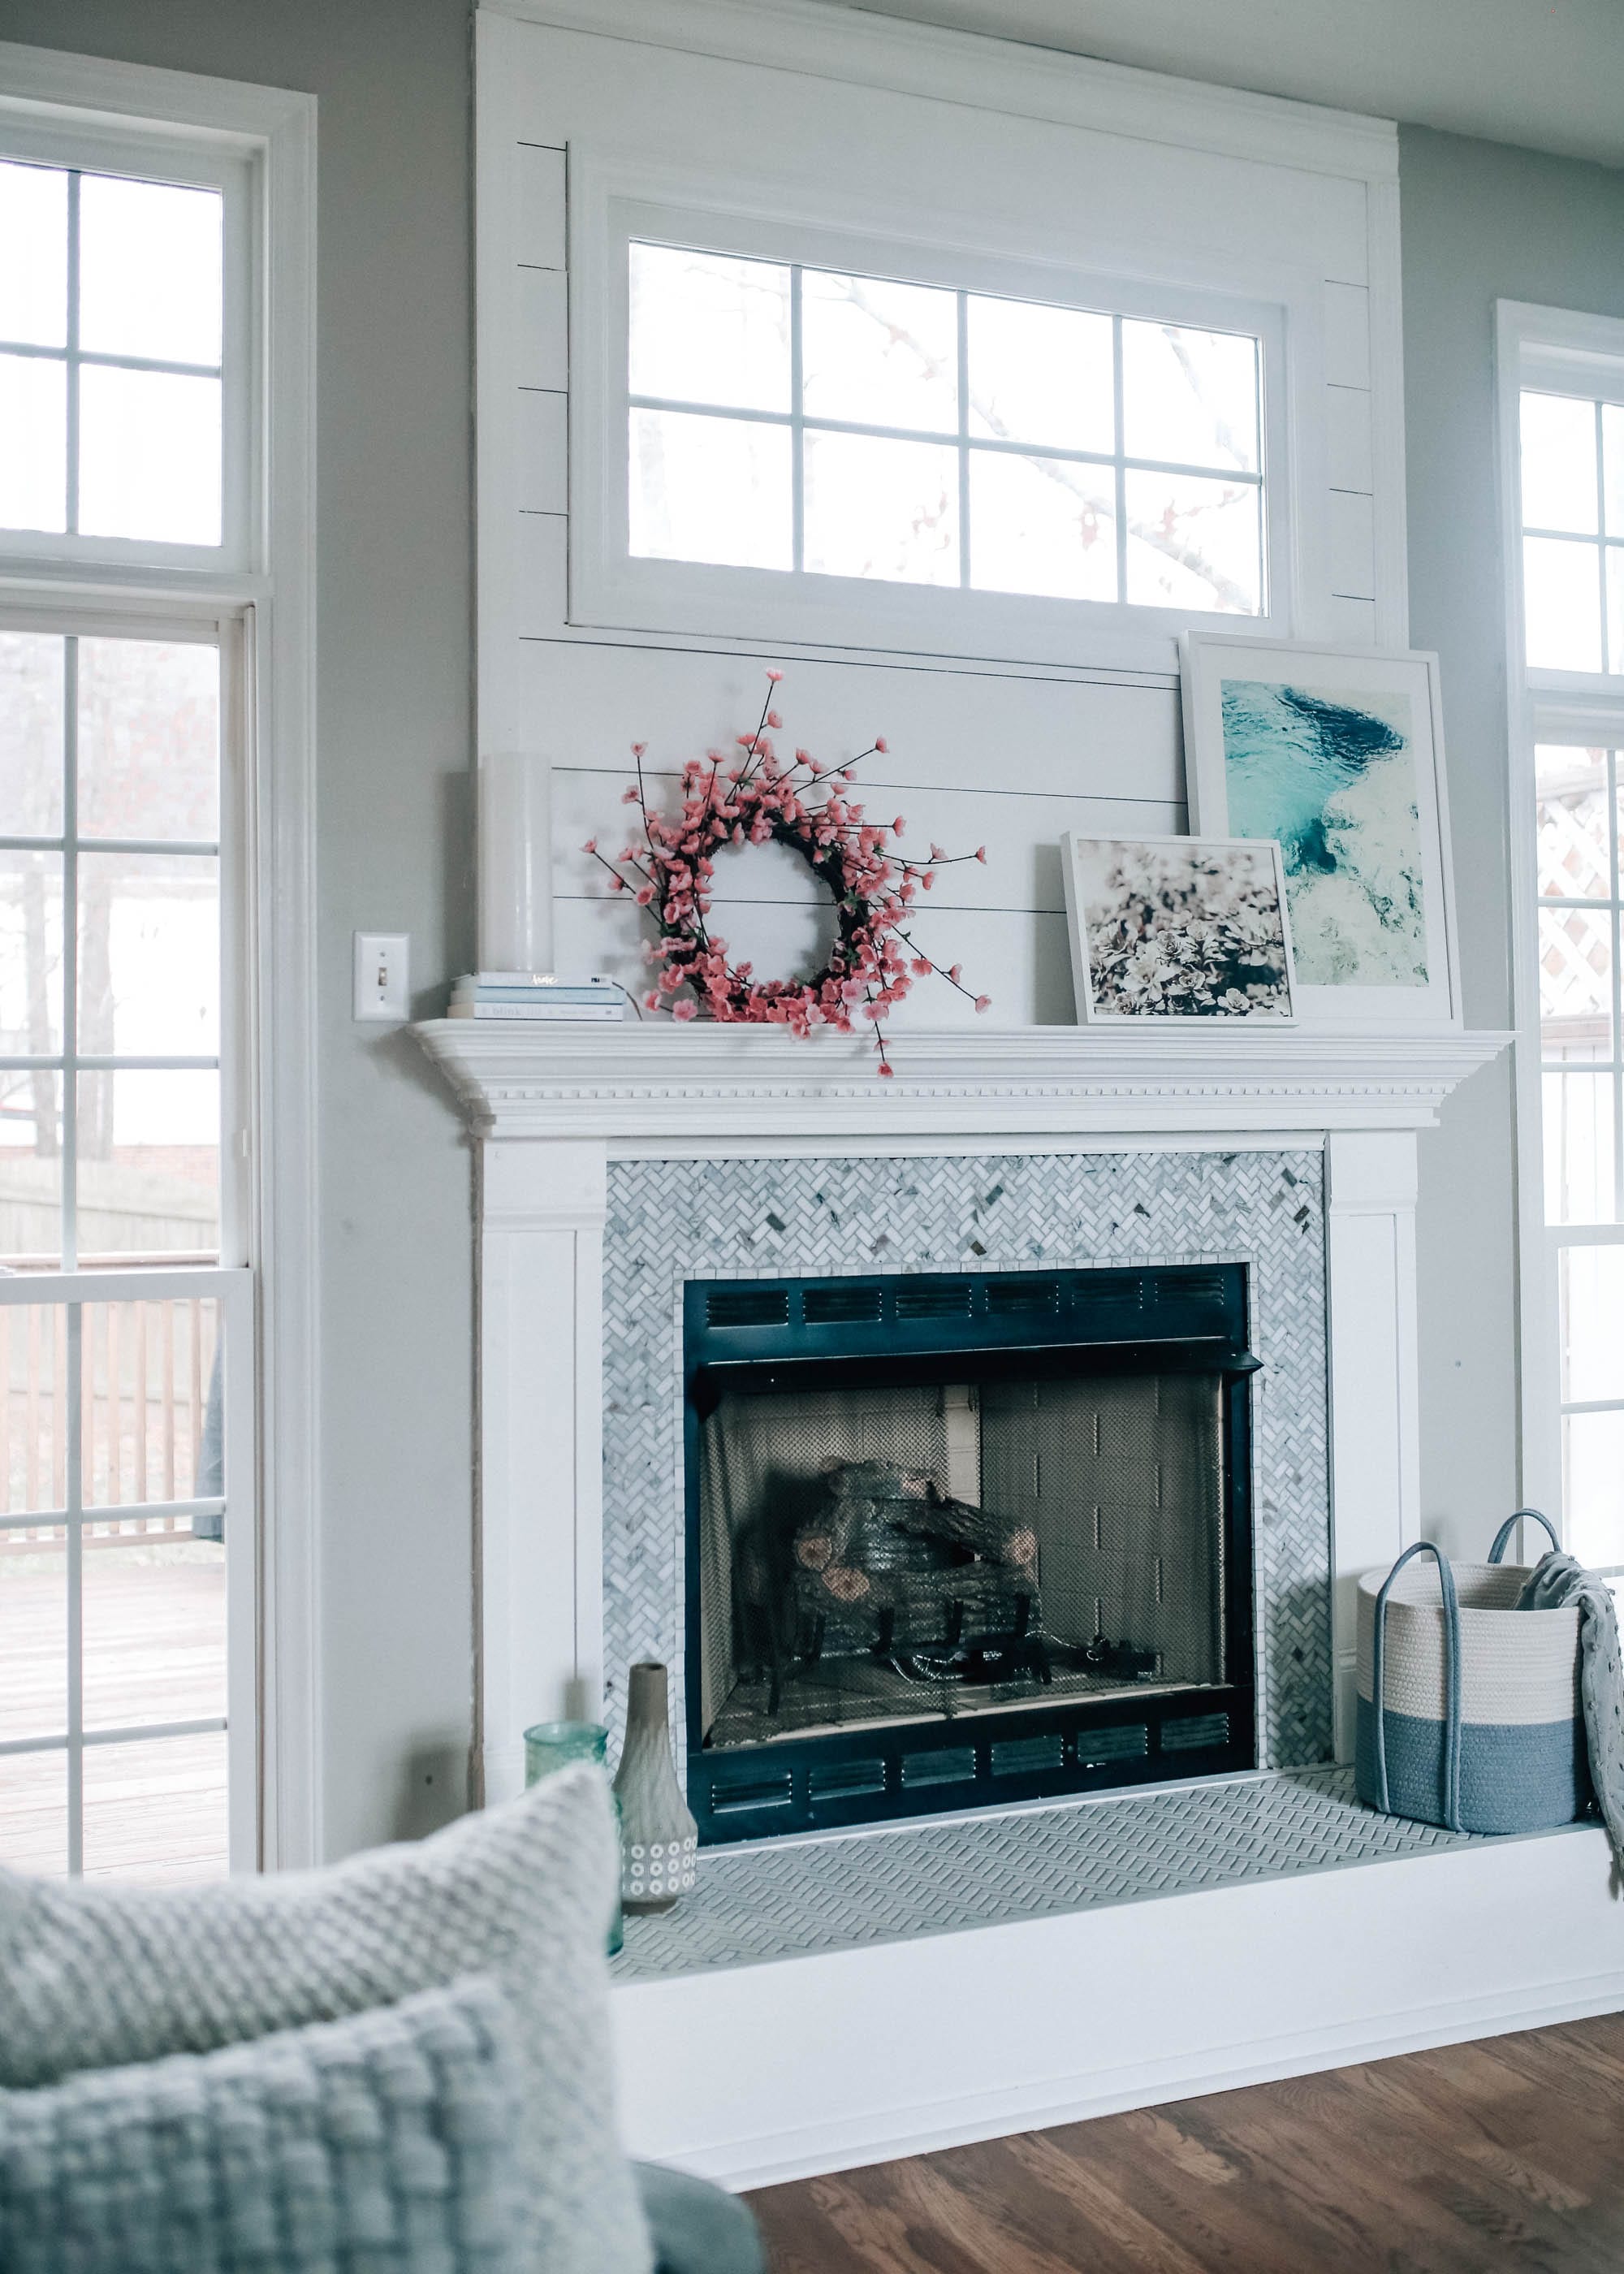
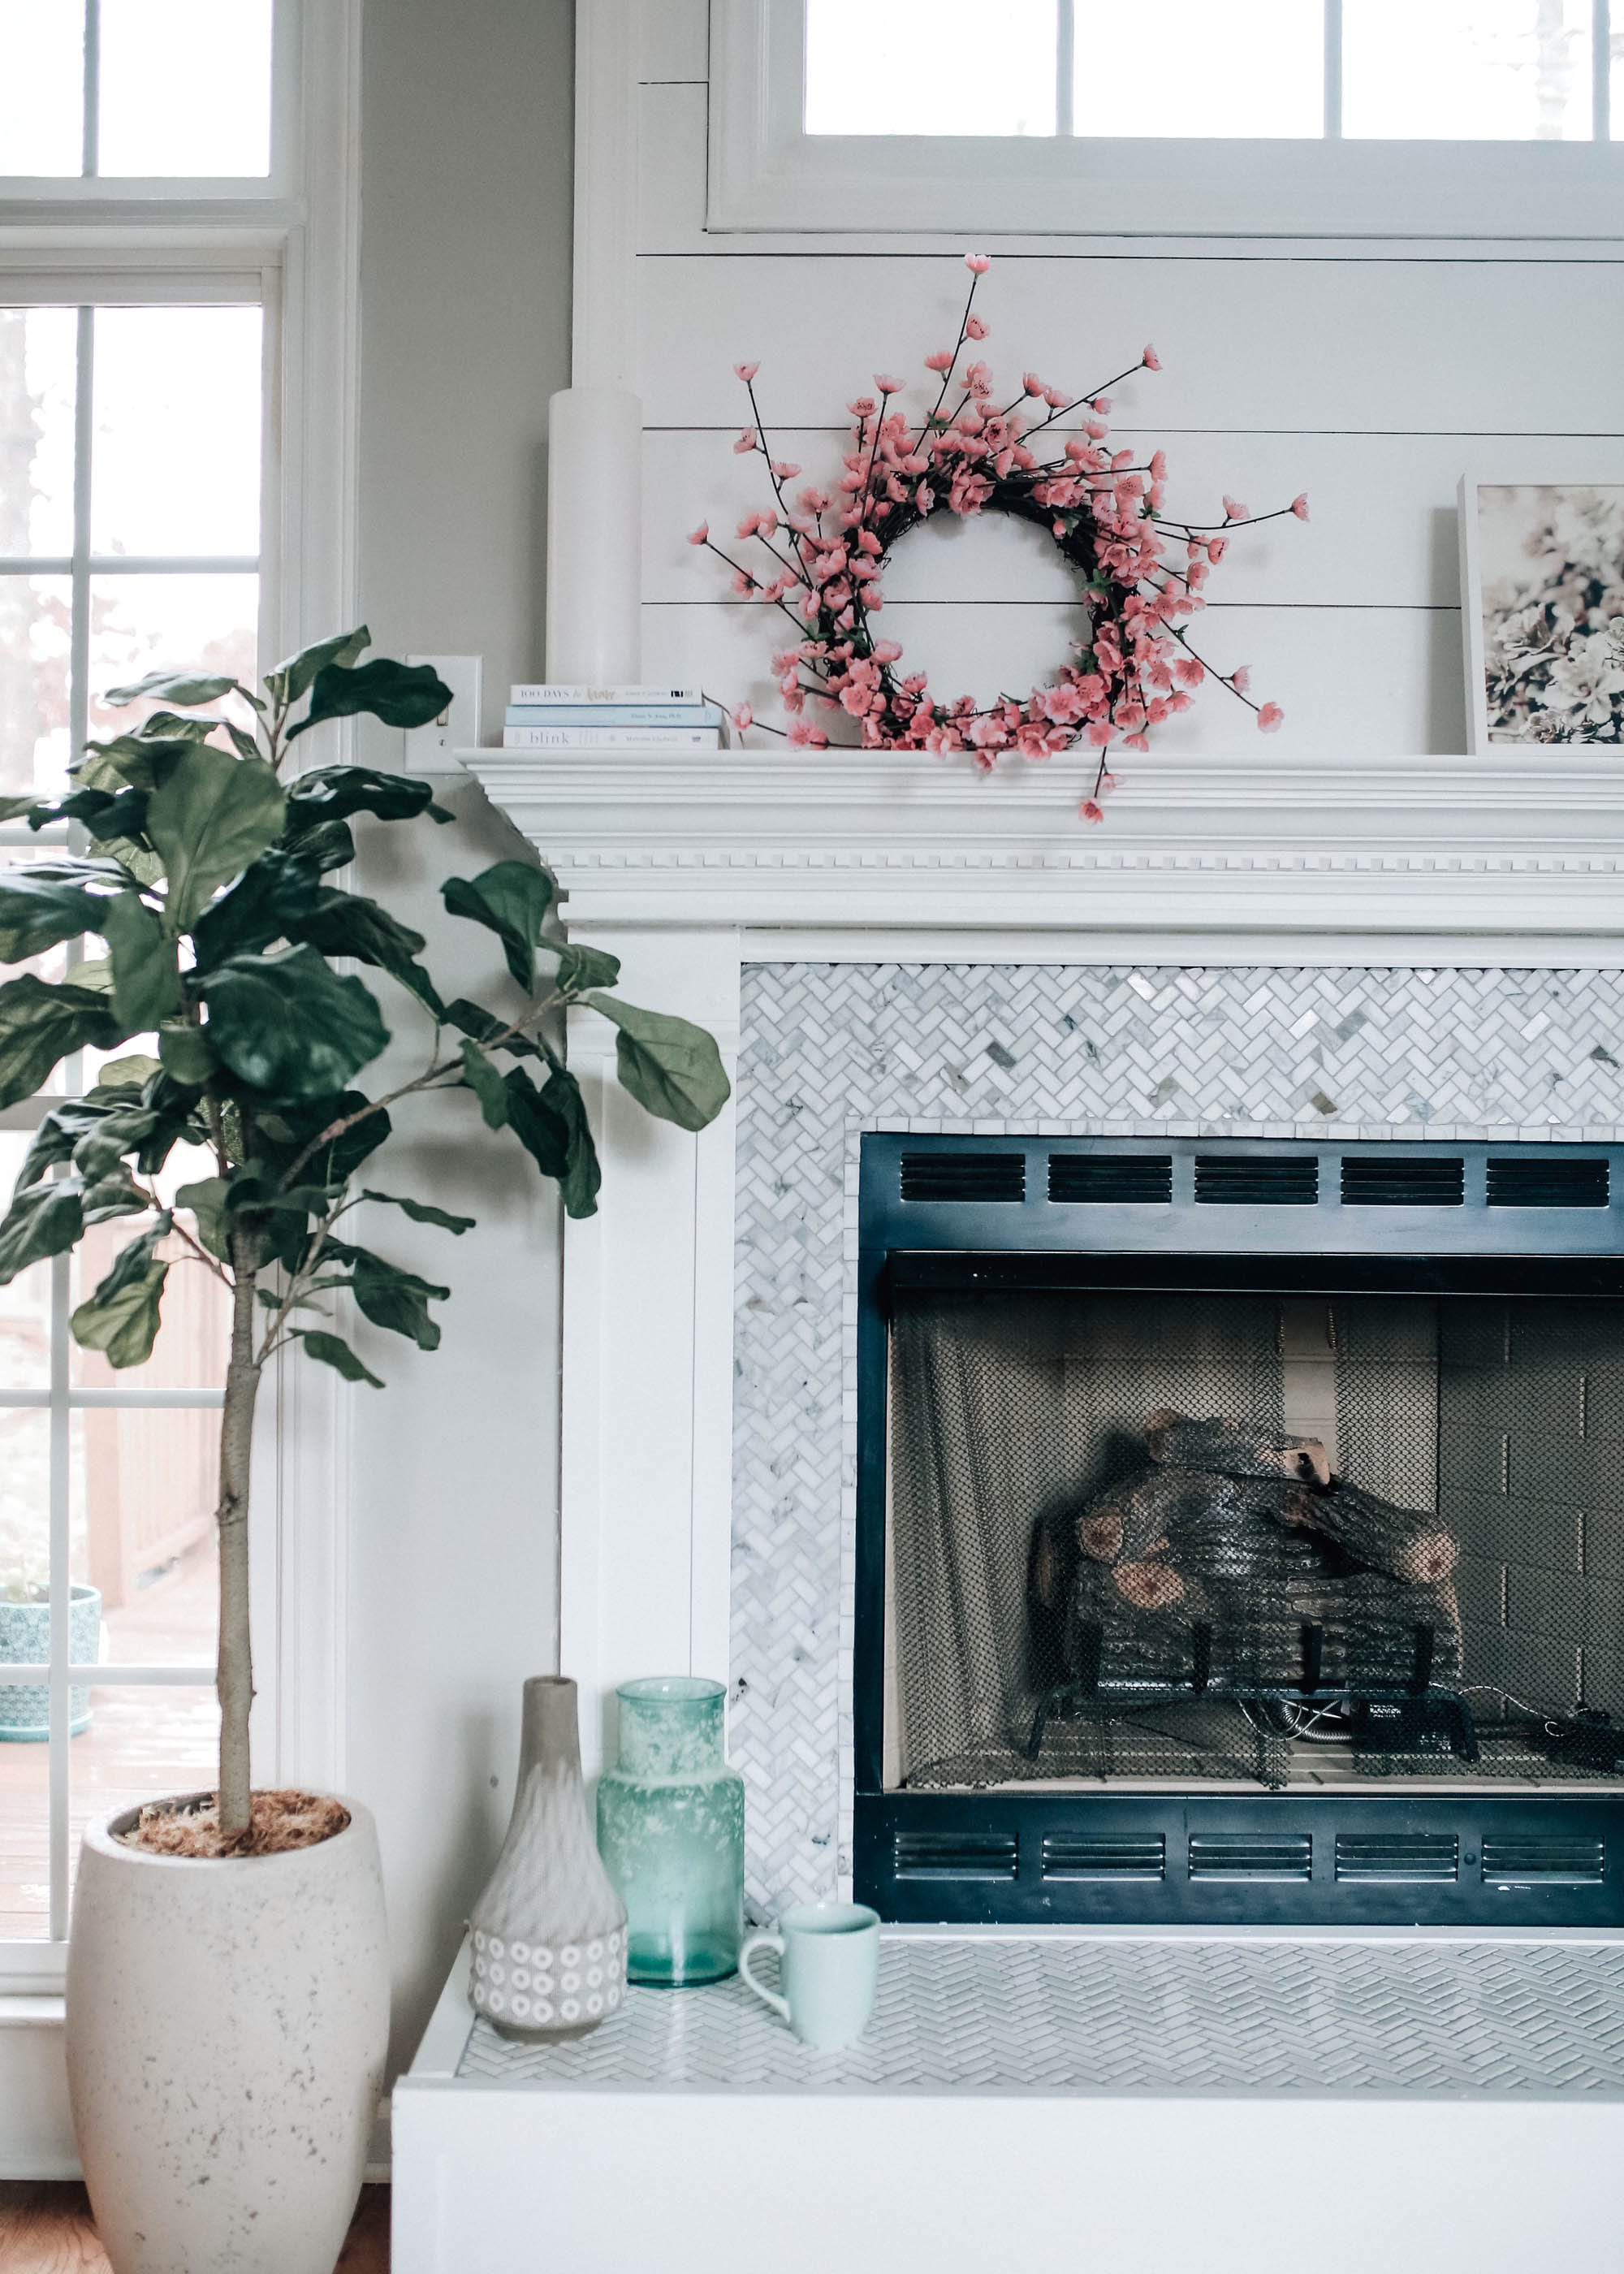
And the final result…


If you want a closer look at any of the steps we took, be sure to check out my DIY tutorial on The Home Depot blog. I listed all of the materials we used to make it easier Incase you’re considering giving your own fireplace a makeover. If you’d like more specific instructions on how to create DIY faux shiplap, you can find that post here.
TJ and I both learned so much from this project and, while it took longer than we originally anticipated, we are so proud of it! We invested in a table saw, learned how to also cut tile, and much more to the point where now we feel like we can take on anything! Well, maybe not anything. There are a few minor adjustments we’ll make but, overall, I love it and how it serves as such a great focal point in our living room now!
Thanks so much for reading and I hope you found this inspiring and helpful!
xo, Shelby

This post was created in partnership with The Home Depot. Thank you for supporting the brands I love!

Shelby I wish I could tell you how much you blew me away with this fireplace! I mean, truly, it is incredible. I think you need to do interior design on the side or offer it on your site. It is your calling girl!
xo Laura Leigh
http://www.louellareese.com
Thank you so much! That means the world. I’ve considered that but have no CLUE where I would start. Maybe one day…. 🙂
Girl!! This fireplace is #goals and you totally killed this remodel- the shiplap was the perfect finishing touch and this will add so much value to your home!
xo, Kristina
Love it!!!
it looks so good!!! found your pretty (and familiar) face via Pinterest looking at fireplace makeovers and was so happy to get details on your project. I keep trying to convince my hubby to help take on tiling :). have a great weekend.
Rachel
http://www.pinterestingplans.com