Incase you missed it, I wrote the first part of our travel diary here. I also added a “France” highlight on Instagram Stories so you can see exactly where we went and our thoughts. Today I’m picking back up with where I left leaving St. Tropez! We woke up Friday morning ready to keep our road trip moving. After a quick stop in centre ville St. Tropez for croissants and coffee, we began the 1.5 hour trip to Cassis to hike in Calanques National Park. The Calanques, translated to the cove or inlet, have beautiful views of turquoise water and a great beach to relax and swim. This was a spot, particularly Calanque d’En’Vau, that we wanted to make sure we got to visit on our trip. Cassis is about 30 minutes south of Marseille and this was not really “on the way” to our next stop but somewhere that I really wanted to go so we decided to do a detour road trip.
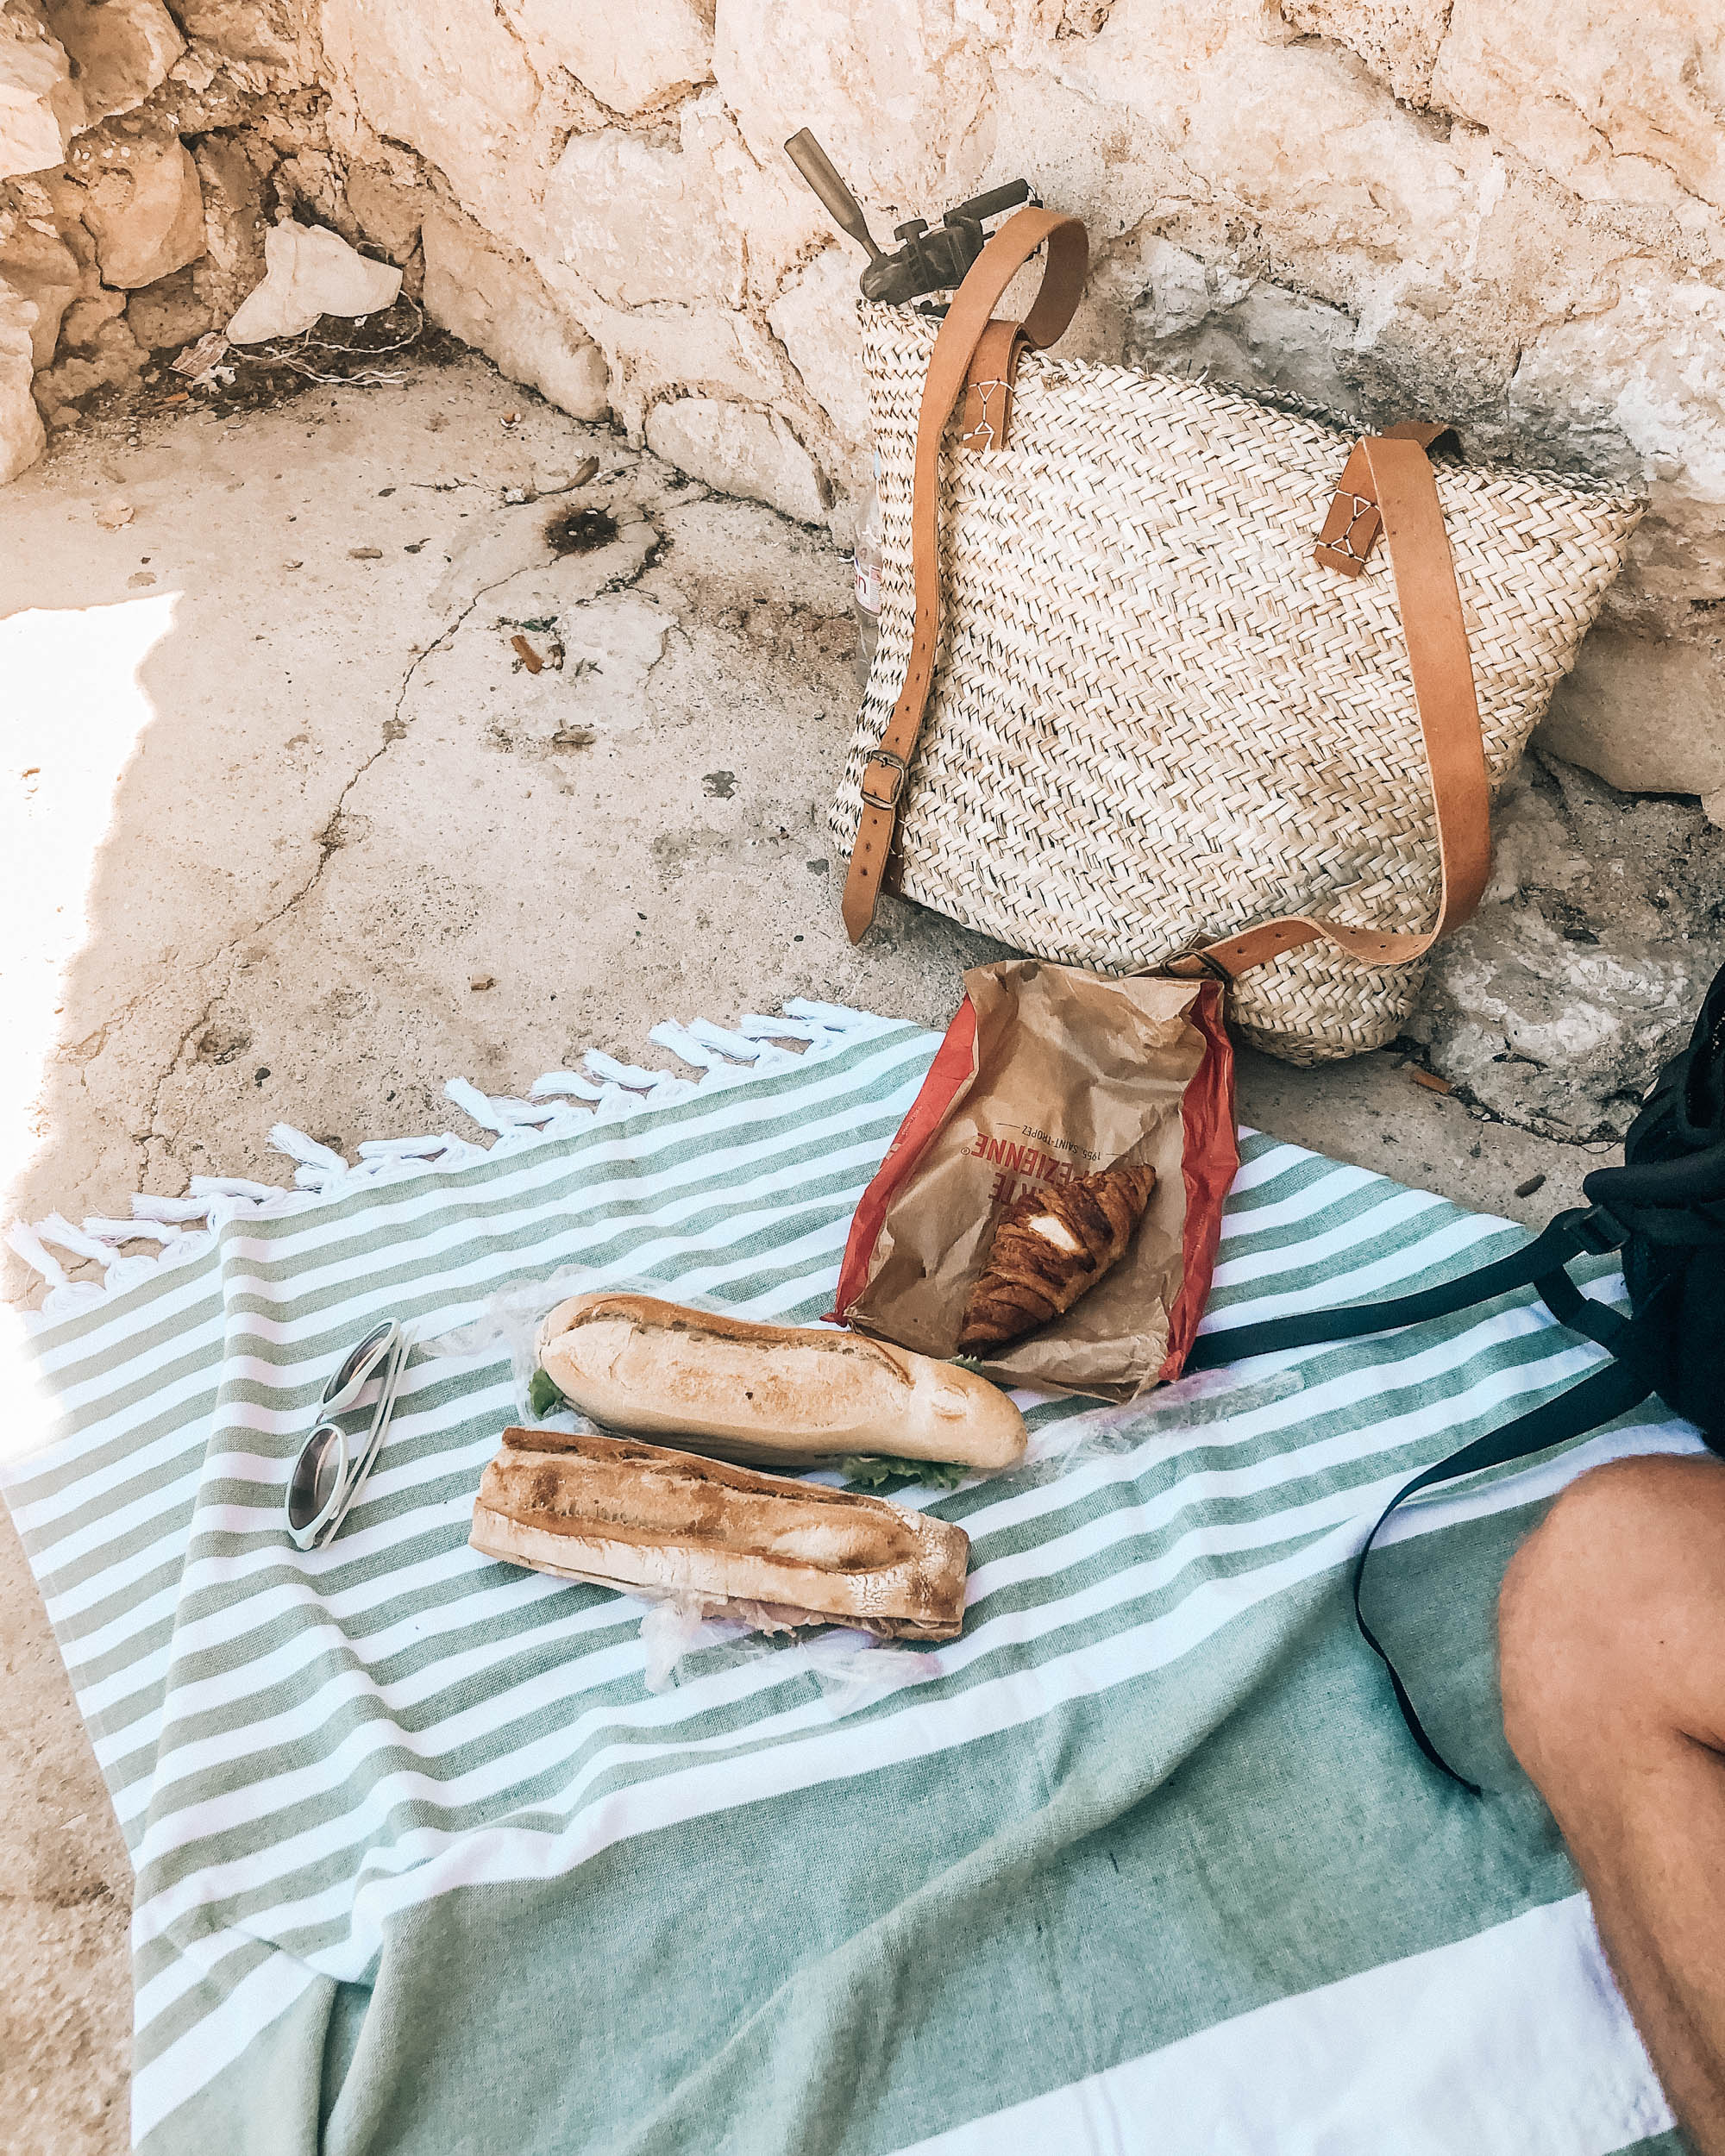
Once we got to Cassis, we stopped in centre ville to get lunch. We ended up dropping in to a bakery for ham and cheese sandwiches and bottles of water for our hike. The entrance to the park is off a very narrow and winding road, a little bit outside of Cassis. As we got to the entrance of the park we were greeted by Park Rangers telling us that, unfortunately, the park and hike was closed due to a fire hazard. In hindsight, we should have checked the park website before heading there as they update the status each morning.
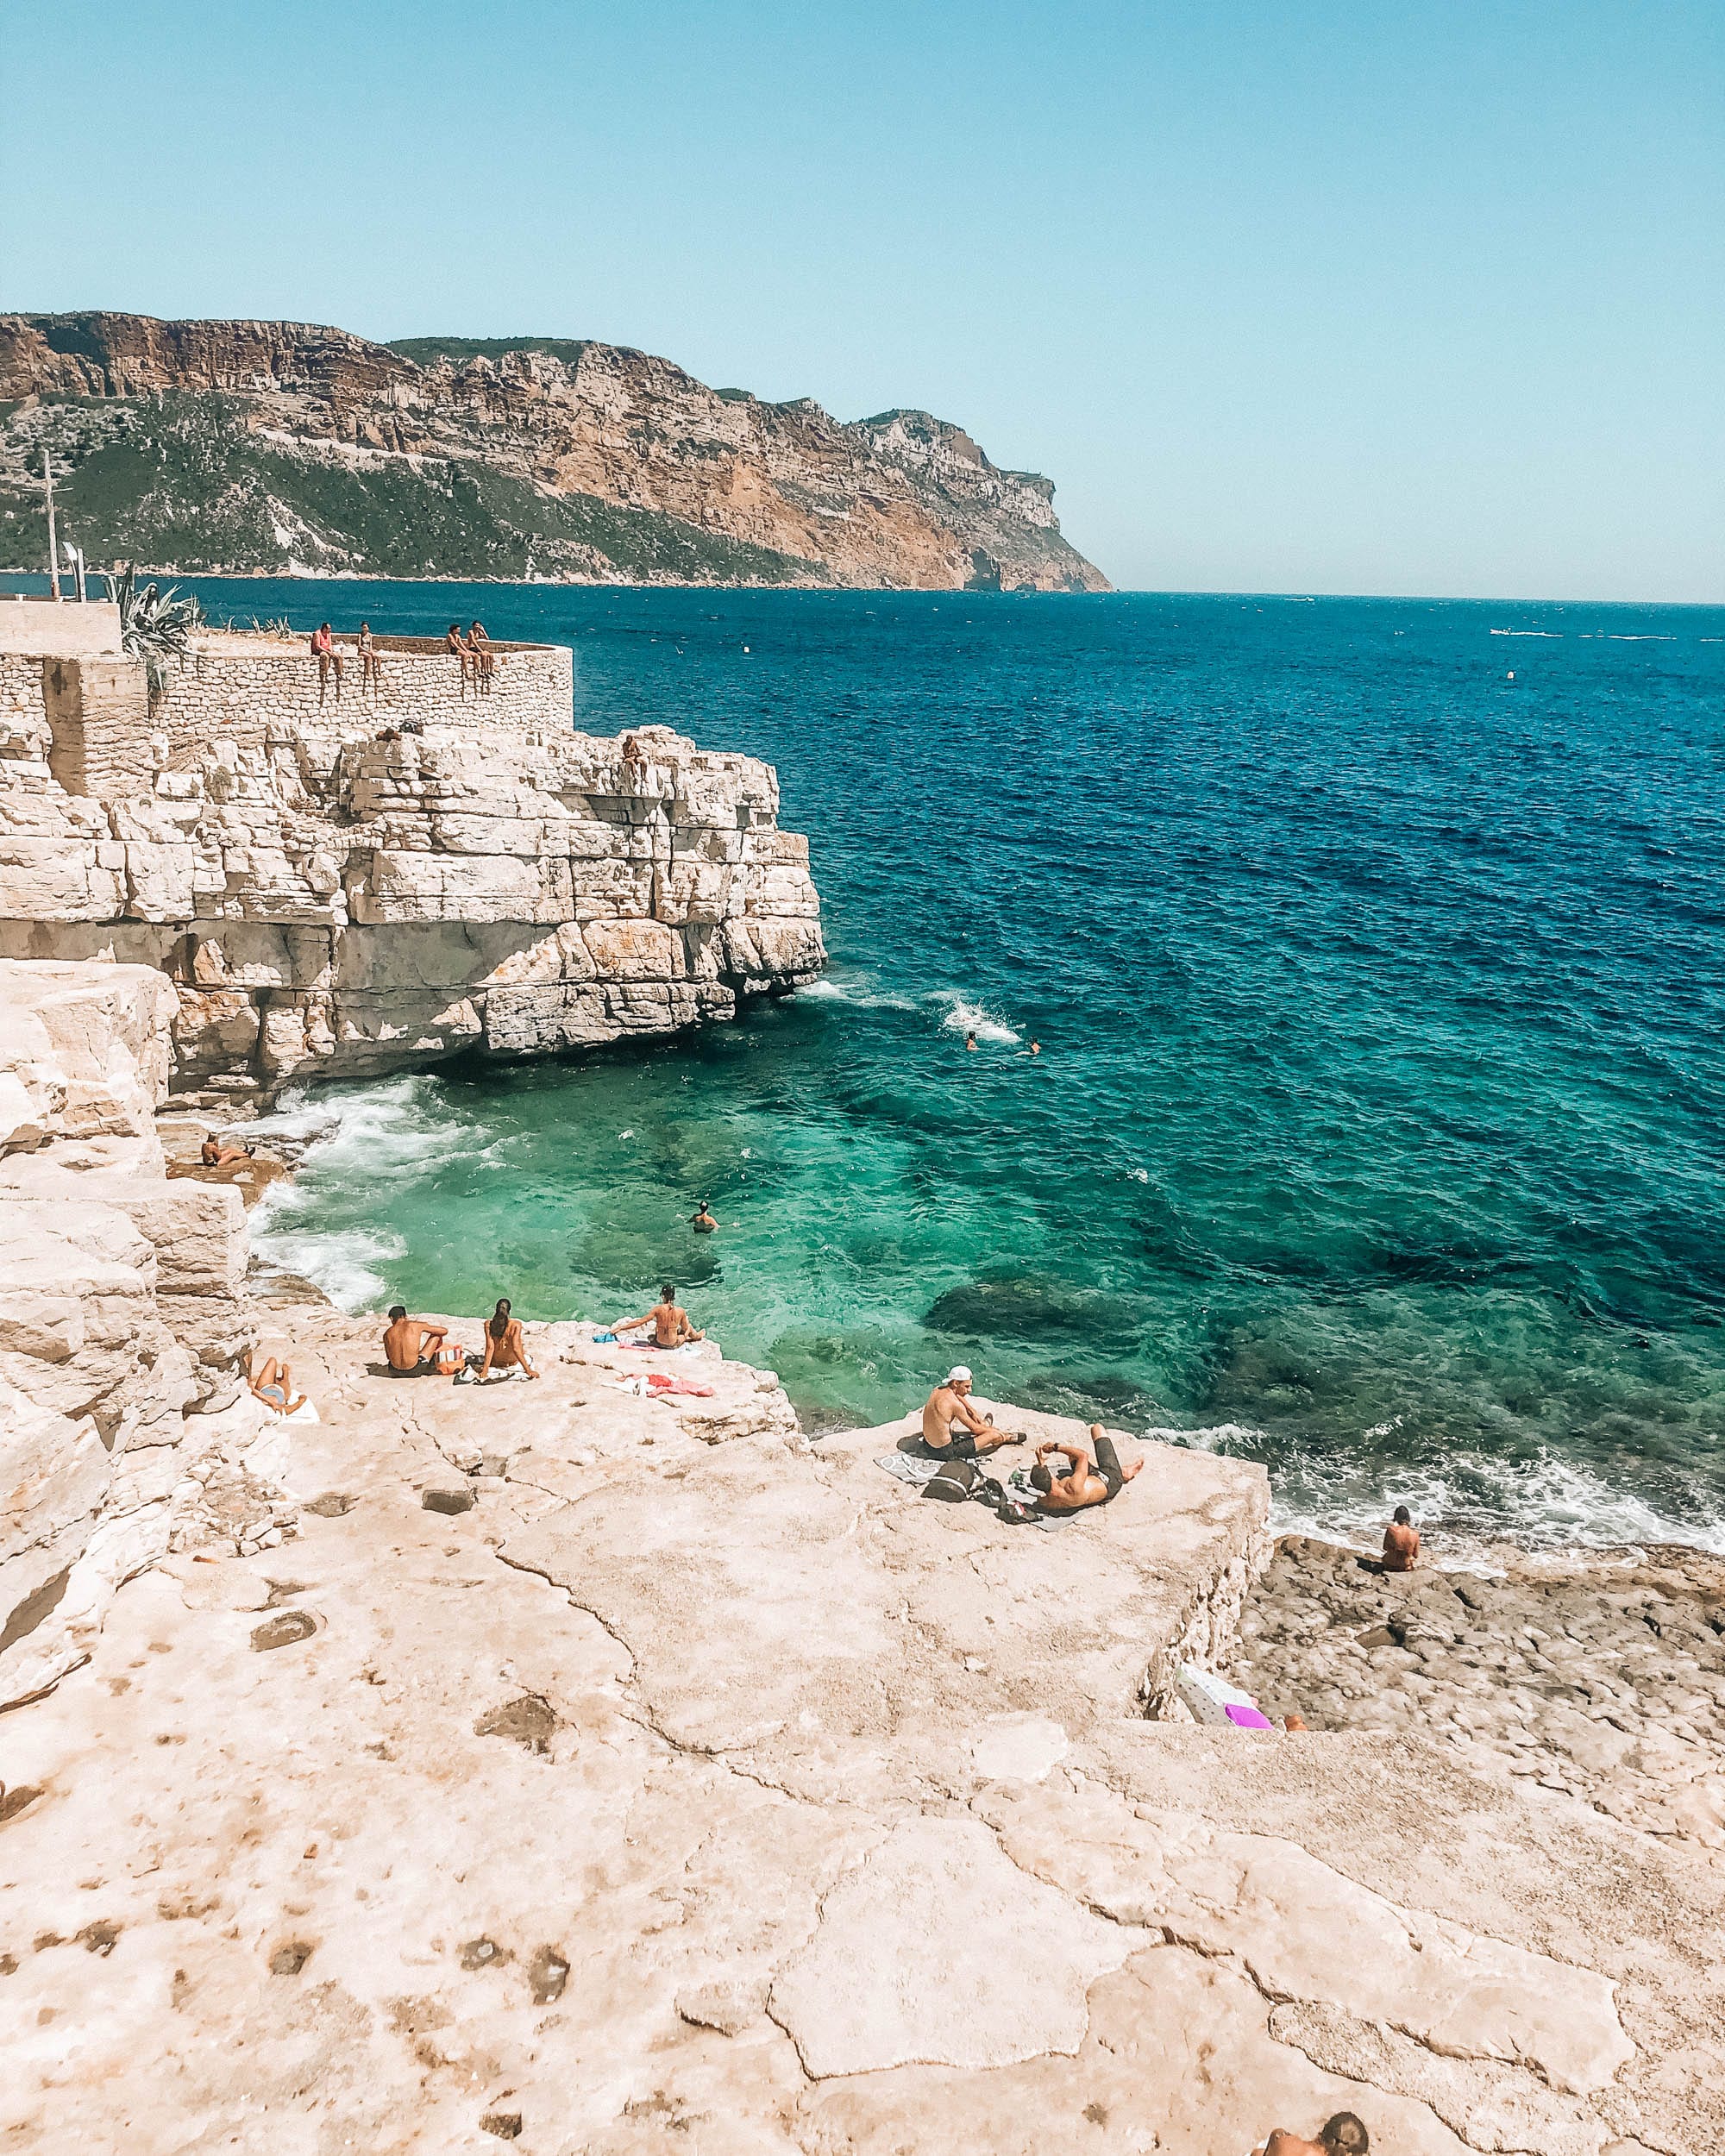
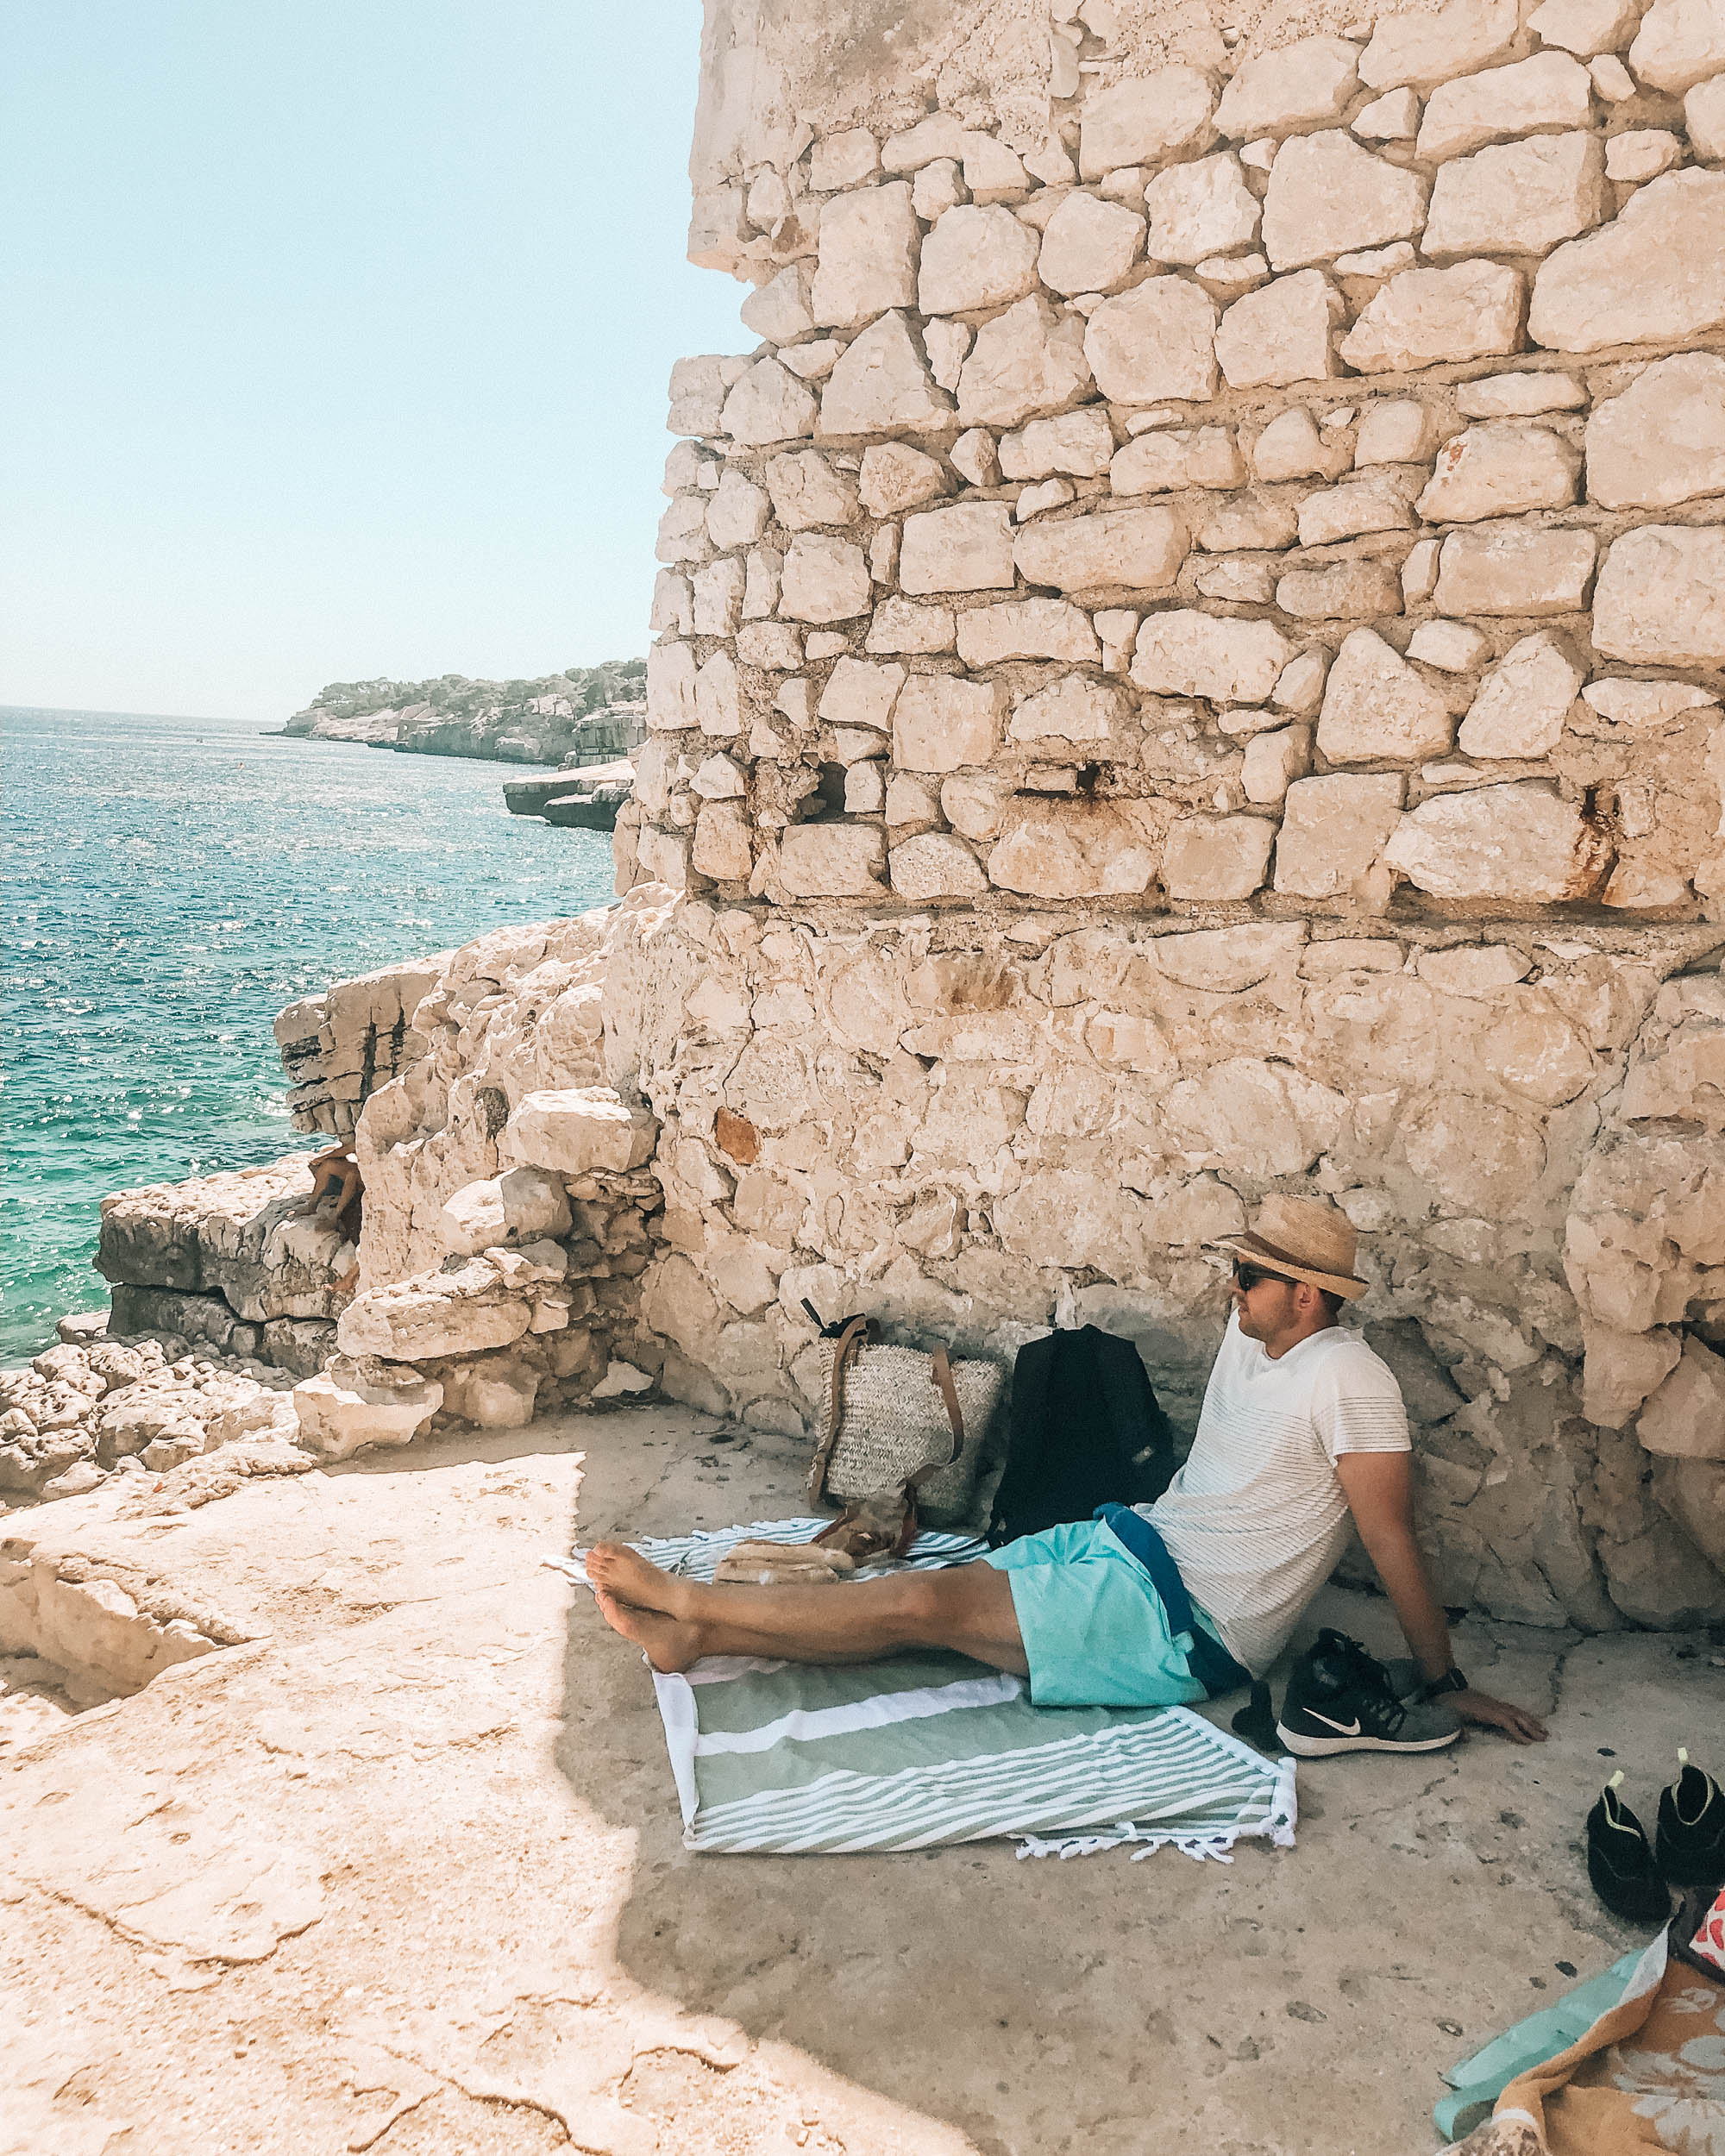
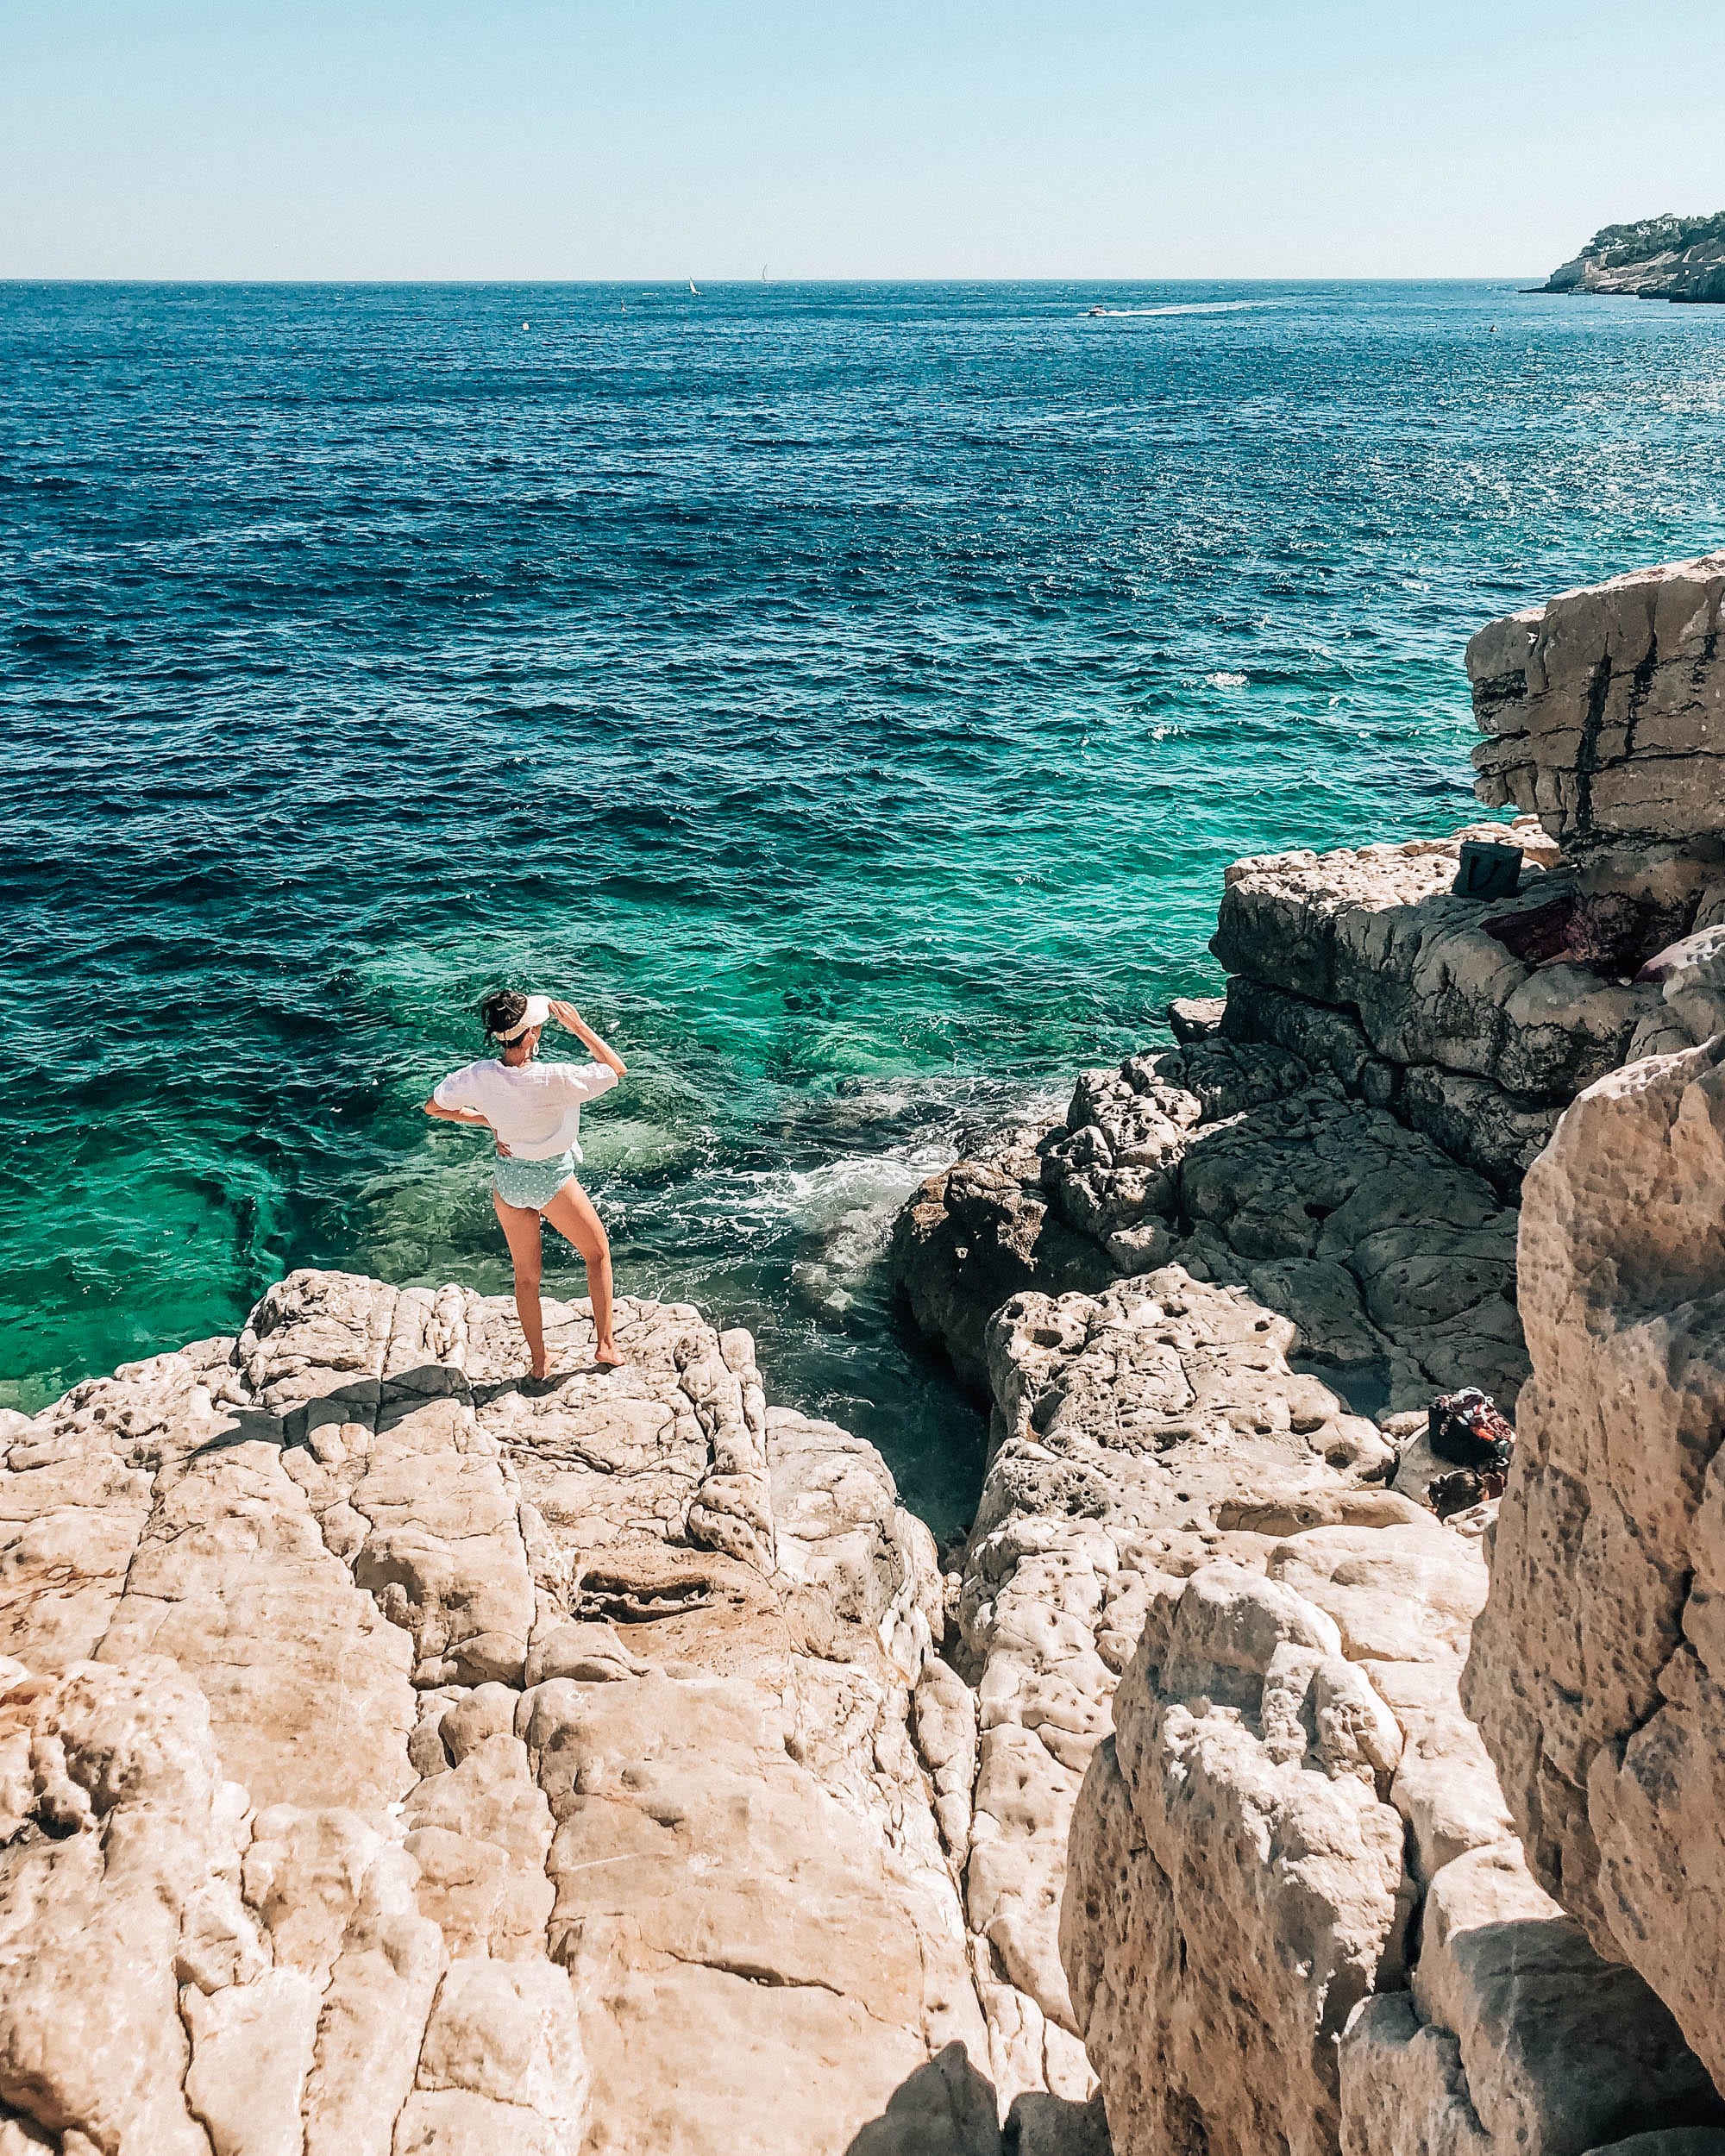
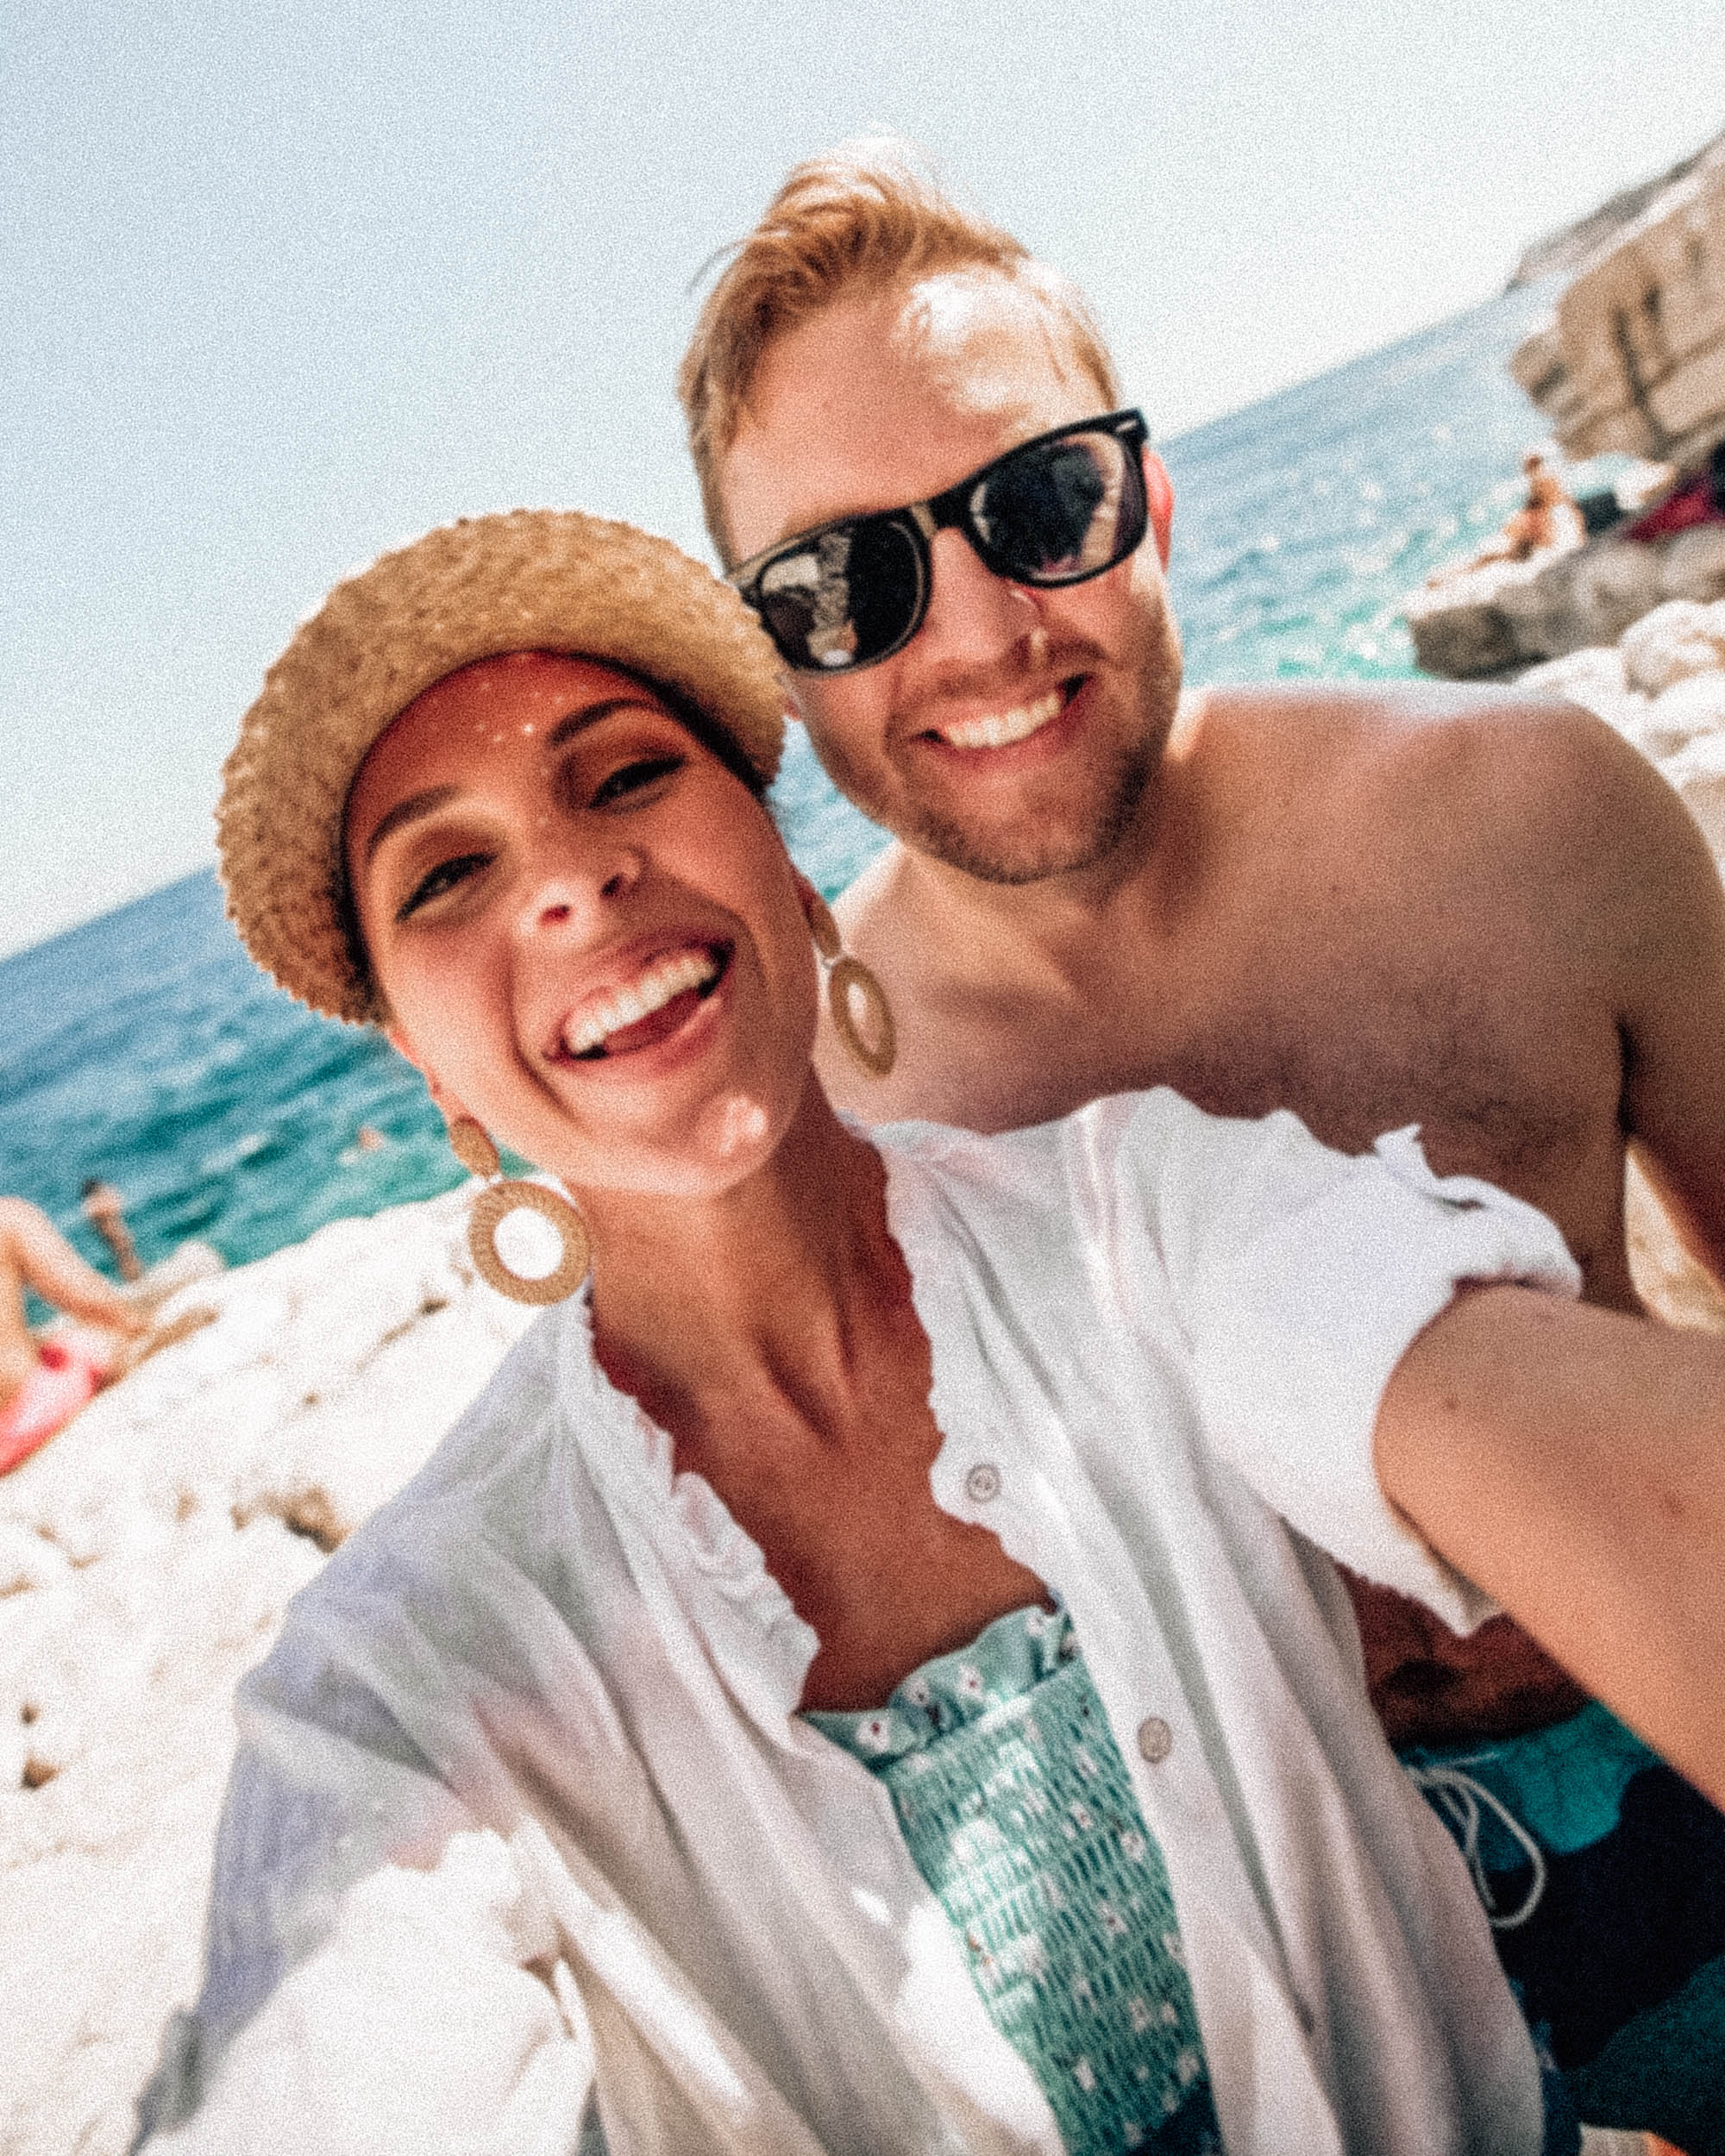
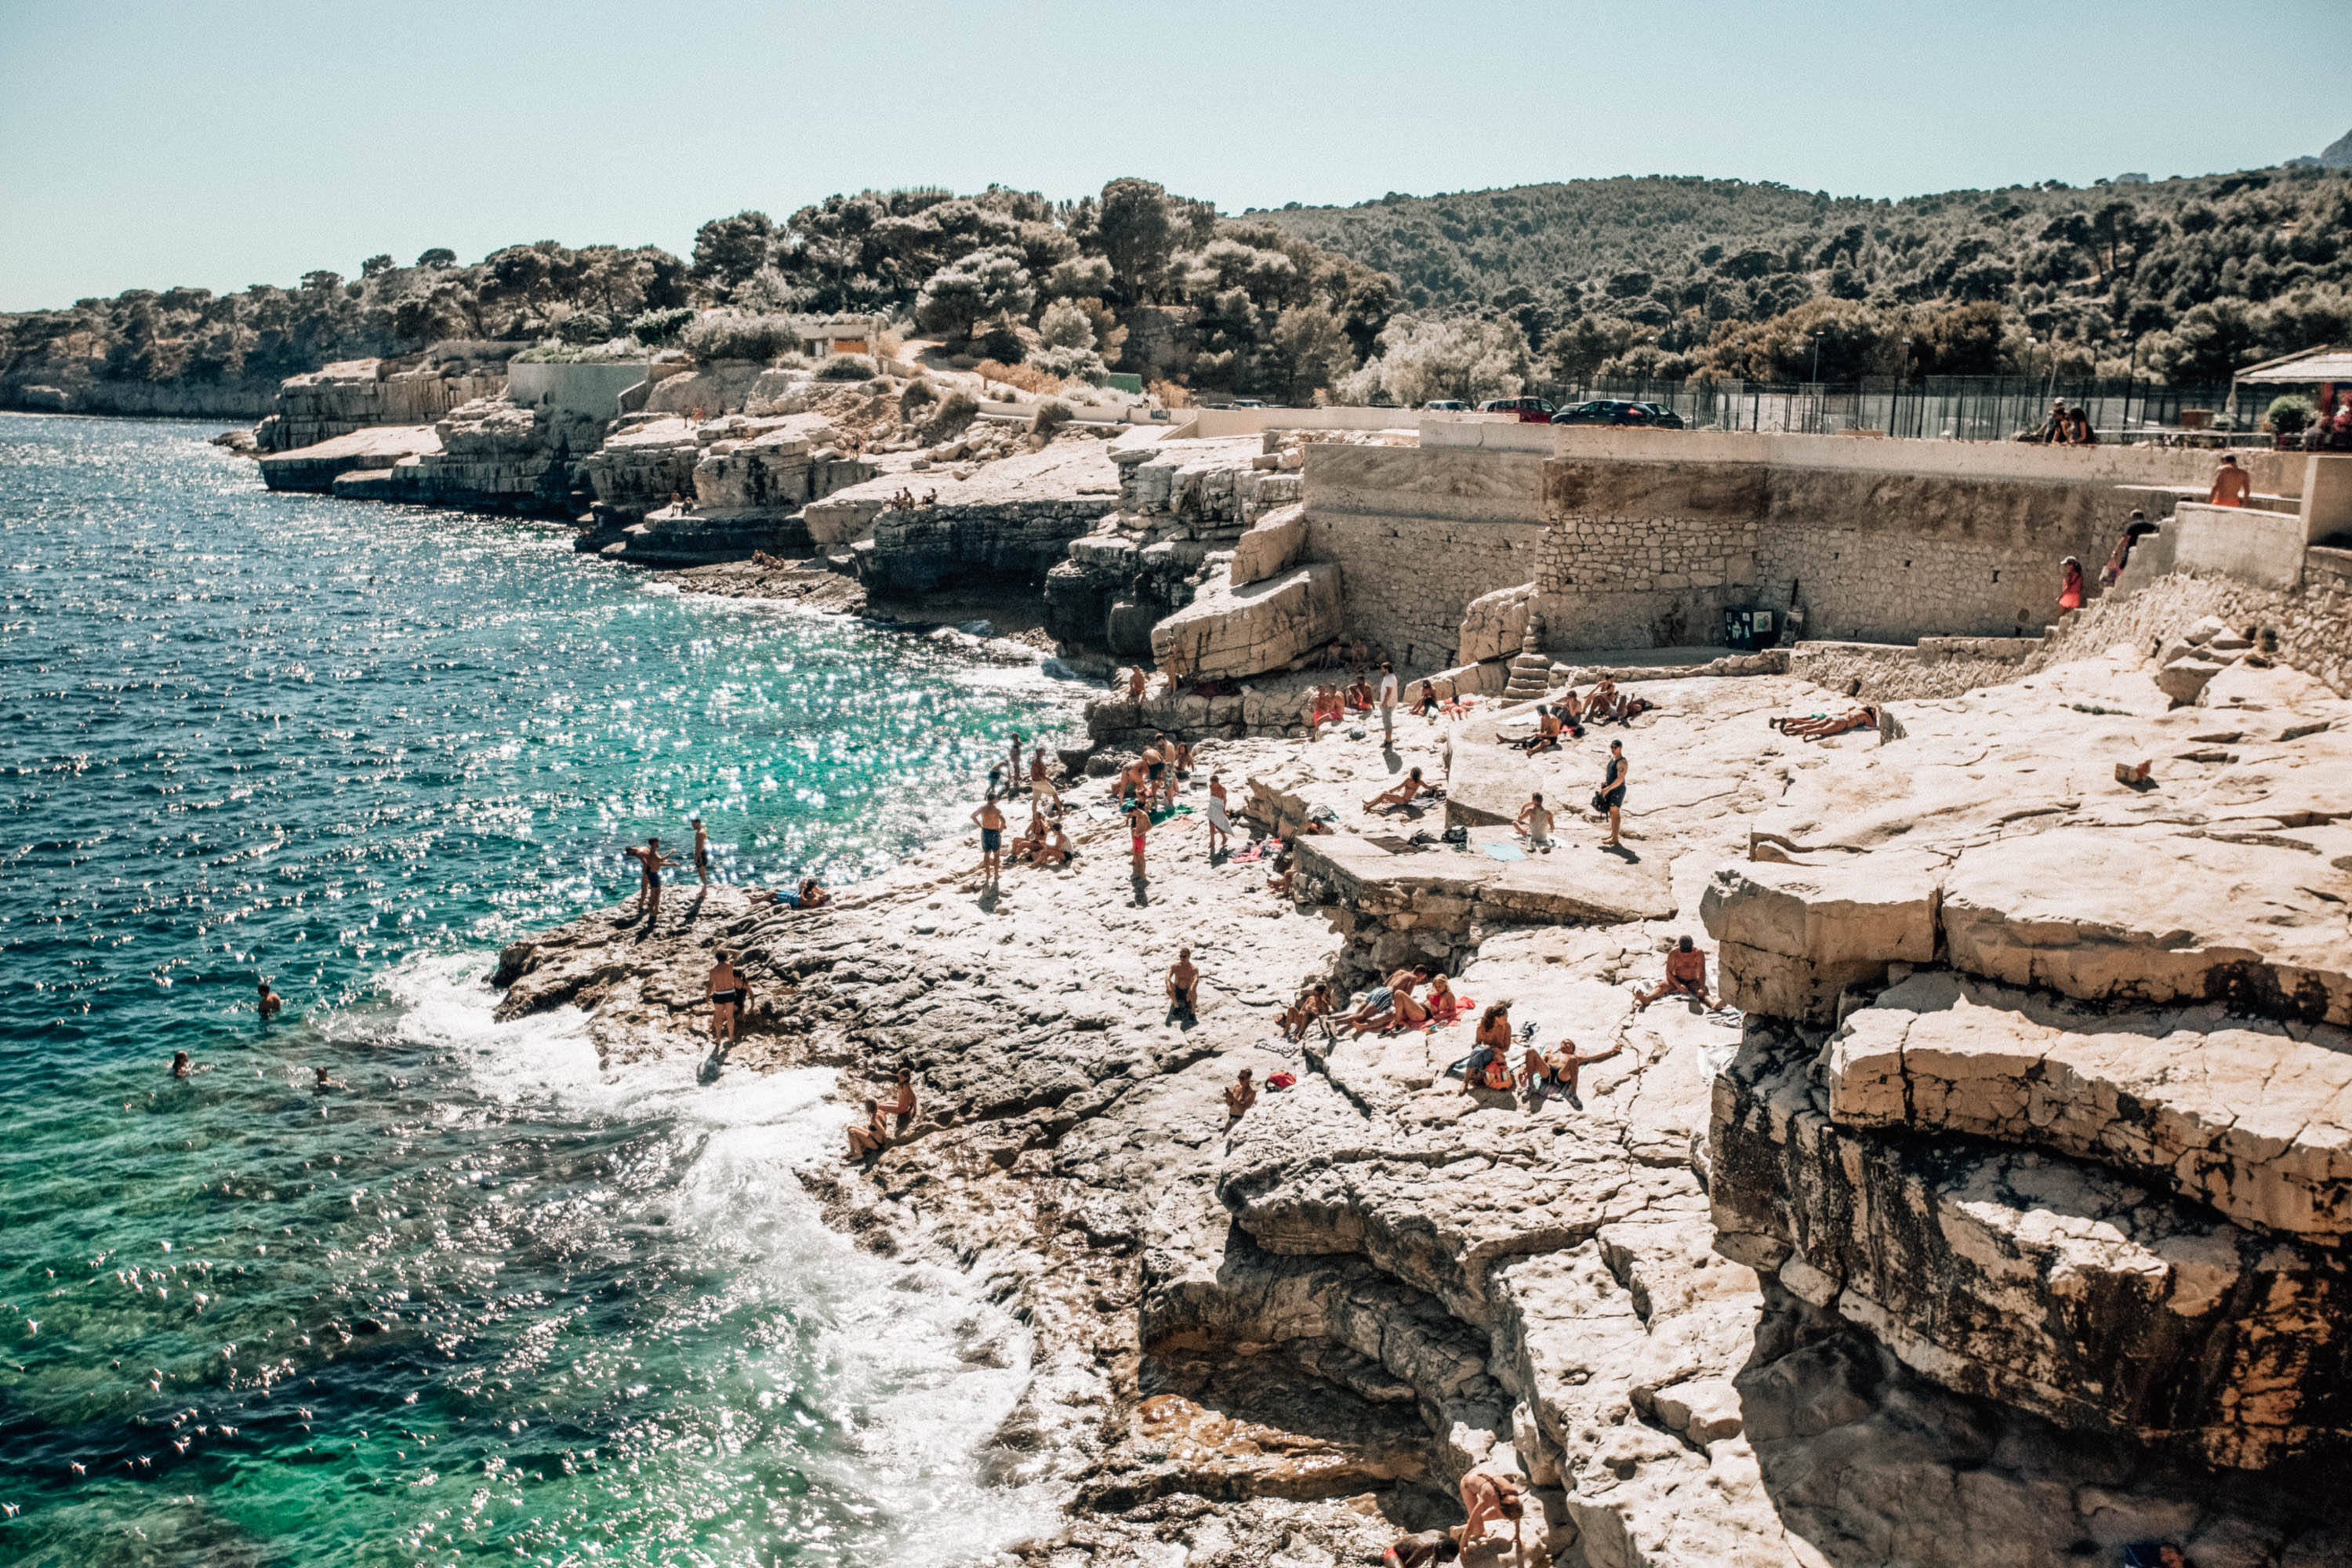
We asked the Park Ranger if there was any other spot we could go to see the water and he pointed us in the direction of “flat rock”. We parked the car and made the short walk to this little village that had 1 small restaurant and a small bar, accented by this flat rock that had people swimming, sunbathing, and cliff jumping. We set up camp on the rock and chowed down our sandwiches. We ended up staying at the flat rock for a couple hours before heading to our Airbnb in Provence. Even with the Calanques closed, the view at flat rock ended up being spectacular and we definitely enjoyed our time there.
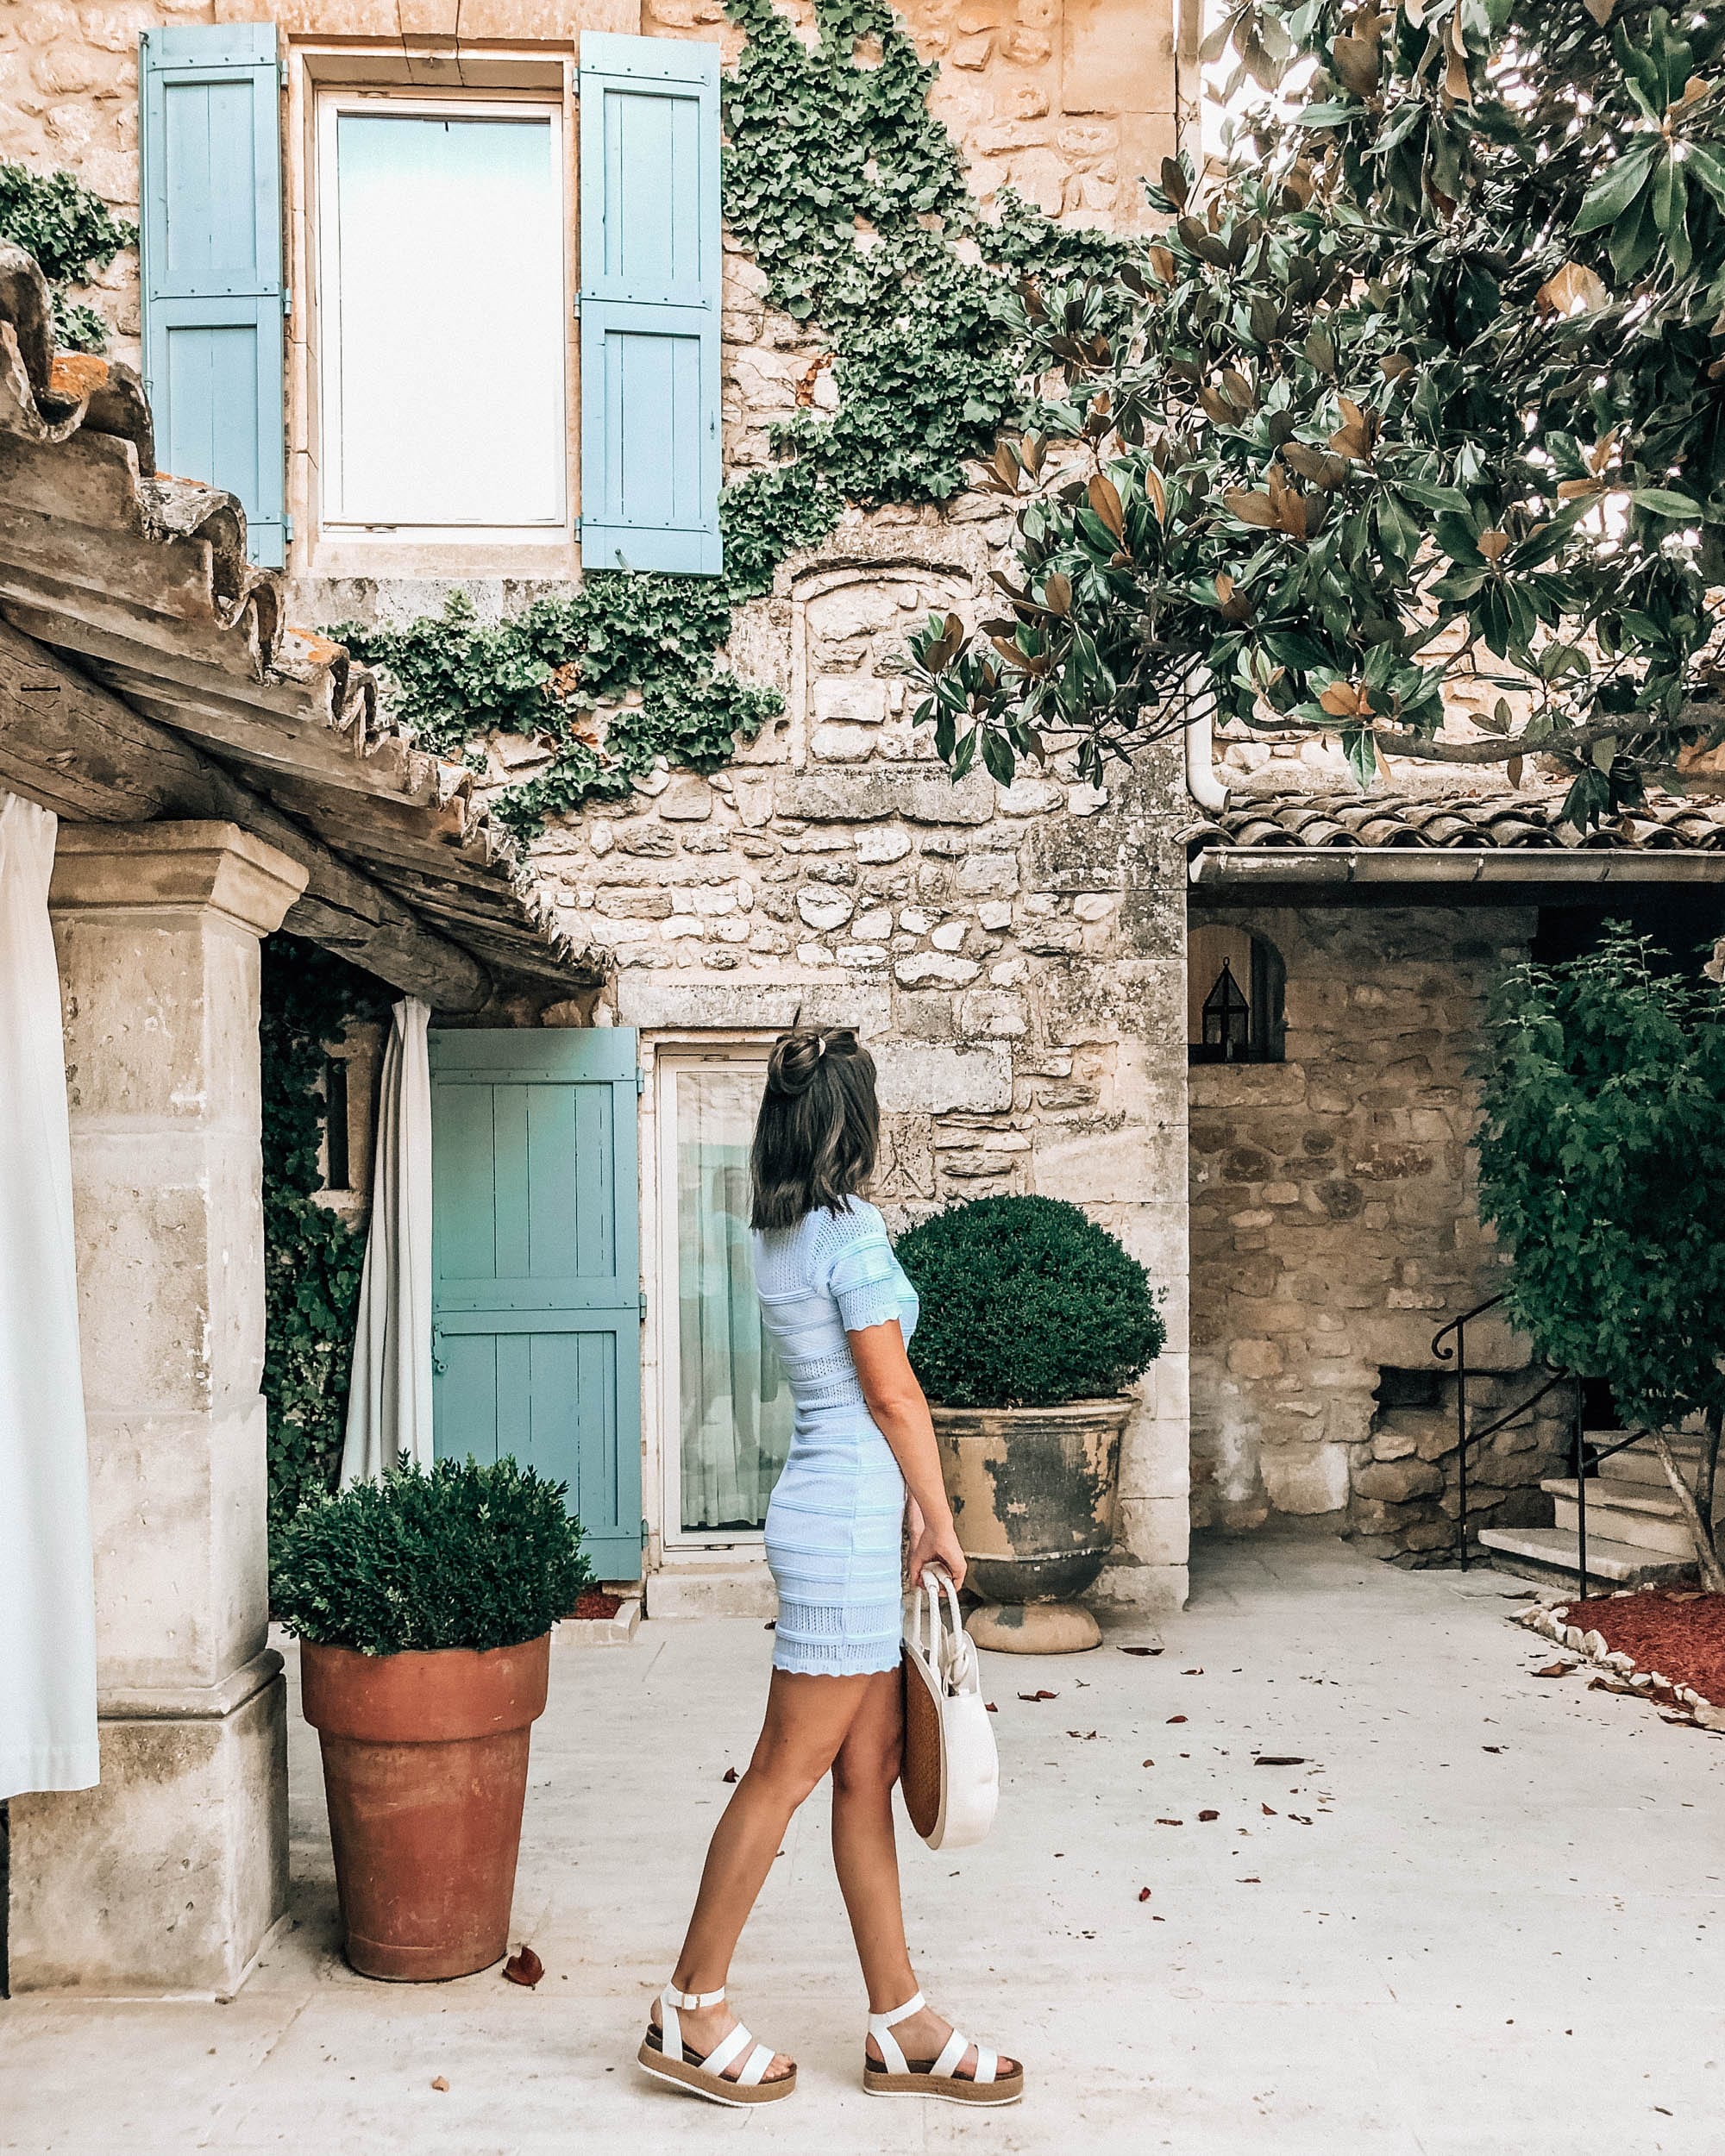
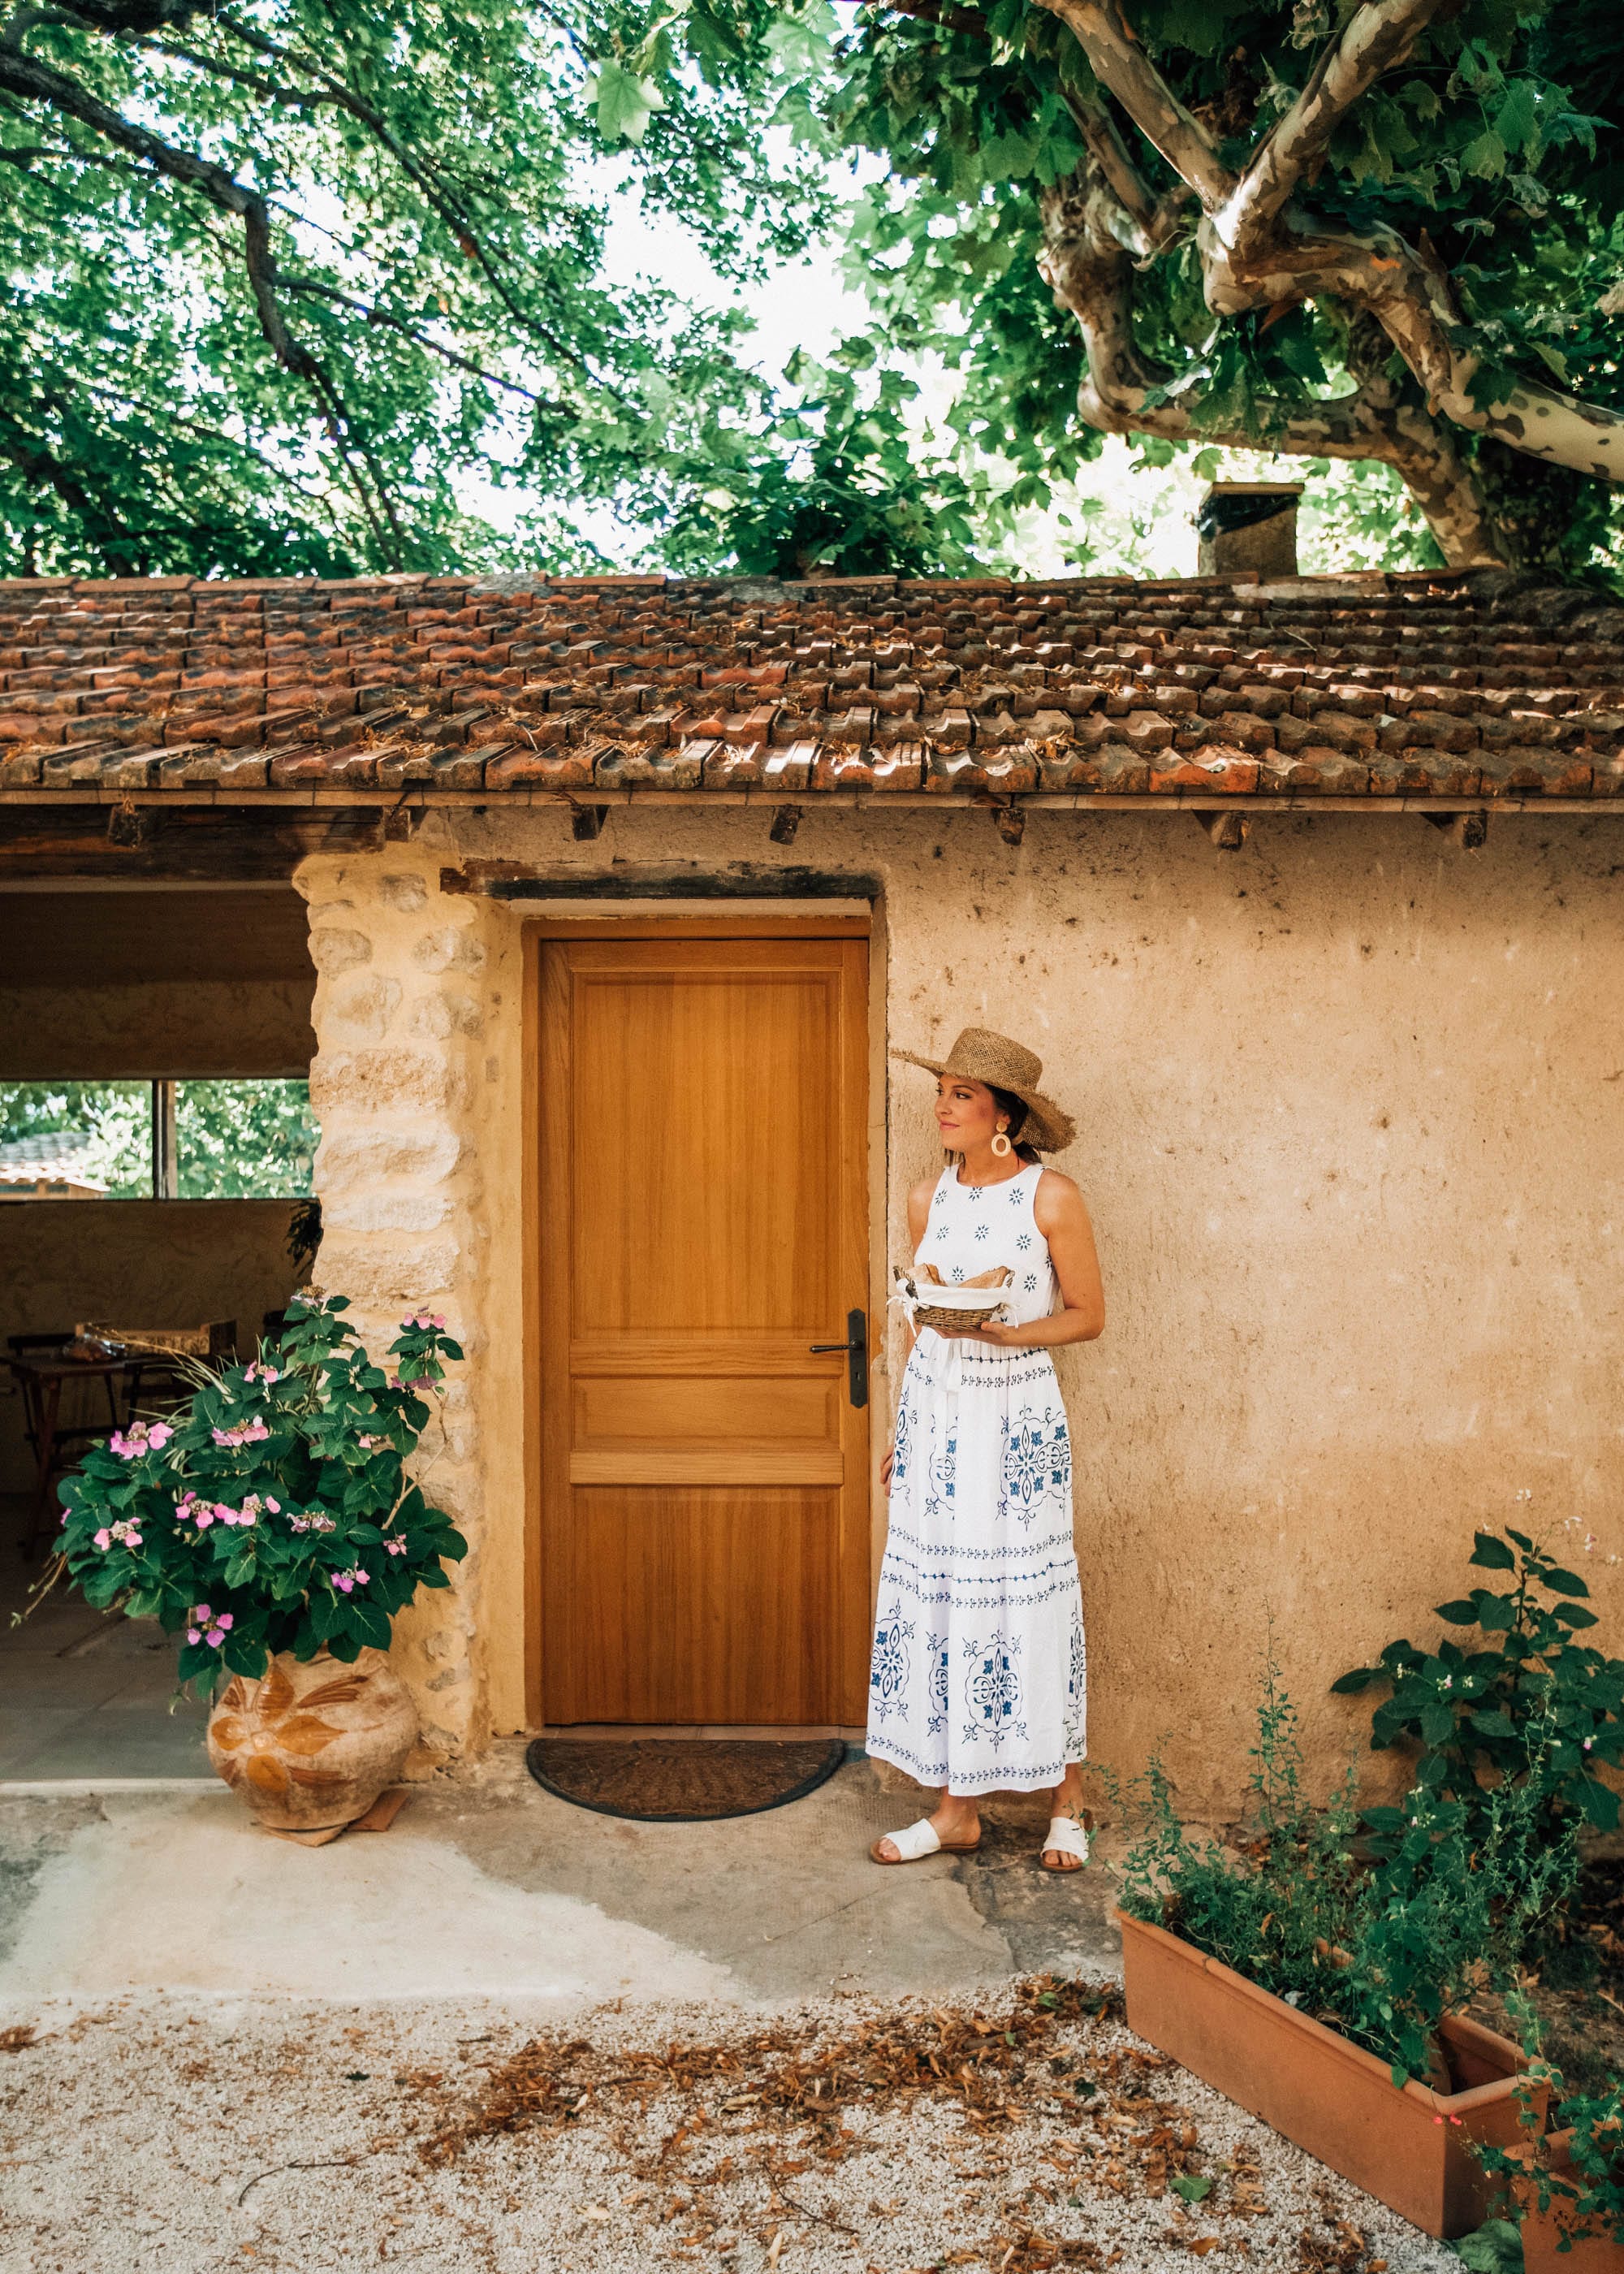
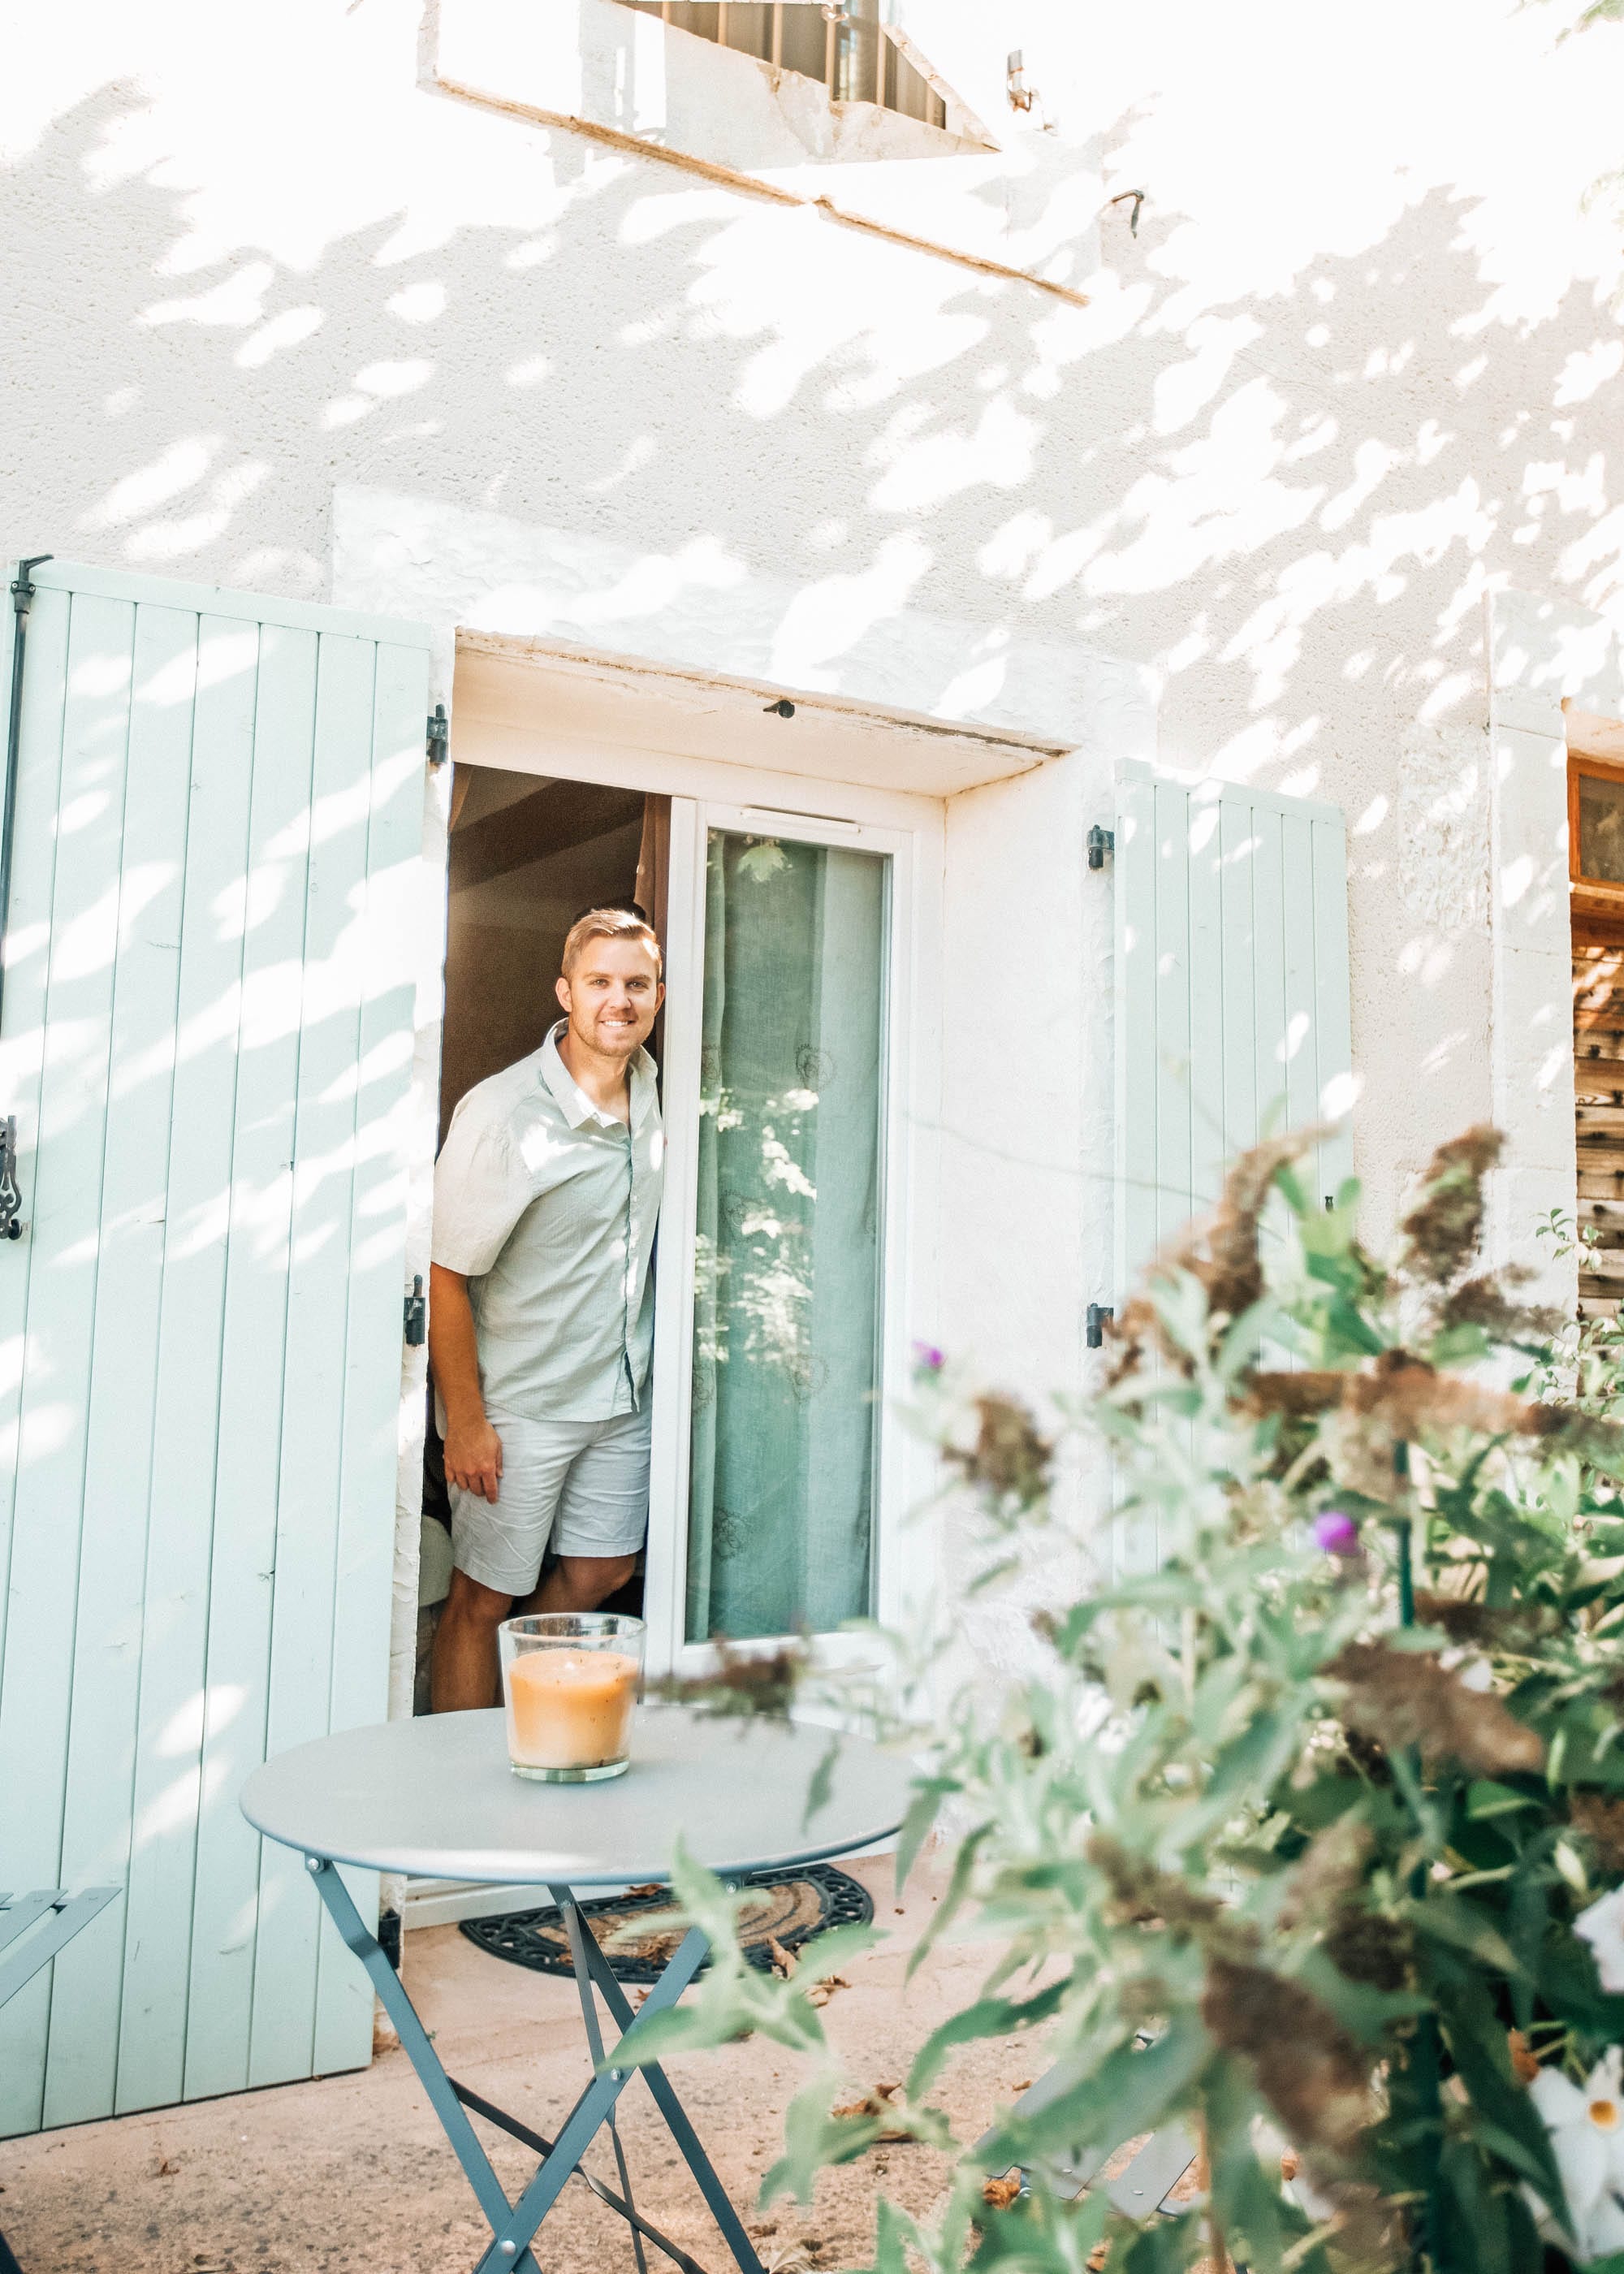
Our first Airbnb was right outside of a town called Cavaillon. Every Airbnb we stayed at had dogs and it honestly made the trip way better. It felt like a home away from home! The 2 pups at this first Airbnb were so lovable, one named Swift and one named Lola. The house was in the middle of the Provence region and located near some of the top villages on our list to see. It had an apple orchard on site, and TJ and I have our own private room with another family staying right above us.
We ended up arriving around 5pm from Cassis and settled into our room. We were pretty hungry, so we asked out host for recommendations on dinner and she suggested we head to Menerbes, which was about 20 minutes away. We took her up on her suggestion and made the drive and, luckily, it didn’t get dark until about 10:00pm. The little village was set upon a hill overlooking vineyards for as far as the eye could see. The restaurant we ate at was called Bistro le 5, and it was right at the entrance to the village. There were a few other activities going on in the village (free wine and cheese tasting), but we were already starving, so we went right to the restaurant. The bread, the cheese, the wine, the entrees…. Everything was amazing! If you’re ever in Provence, I highly recommend eating dinner here, even just for a glass of wine and the view! Once we finished at the bistro, we headed back to our Airbnb for much needed relaxation and a good night’s sleep for the following day.
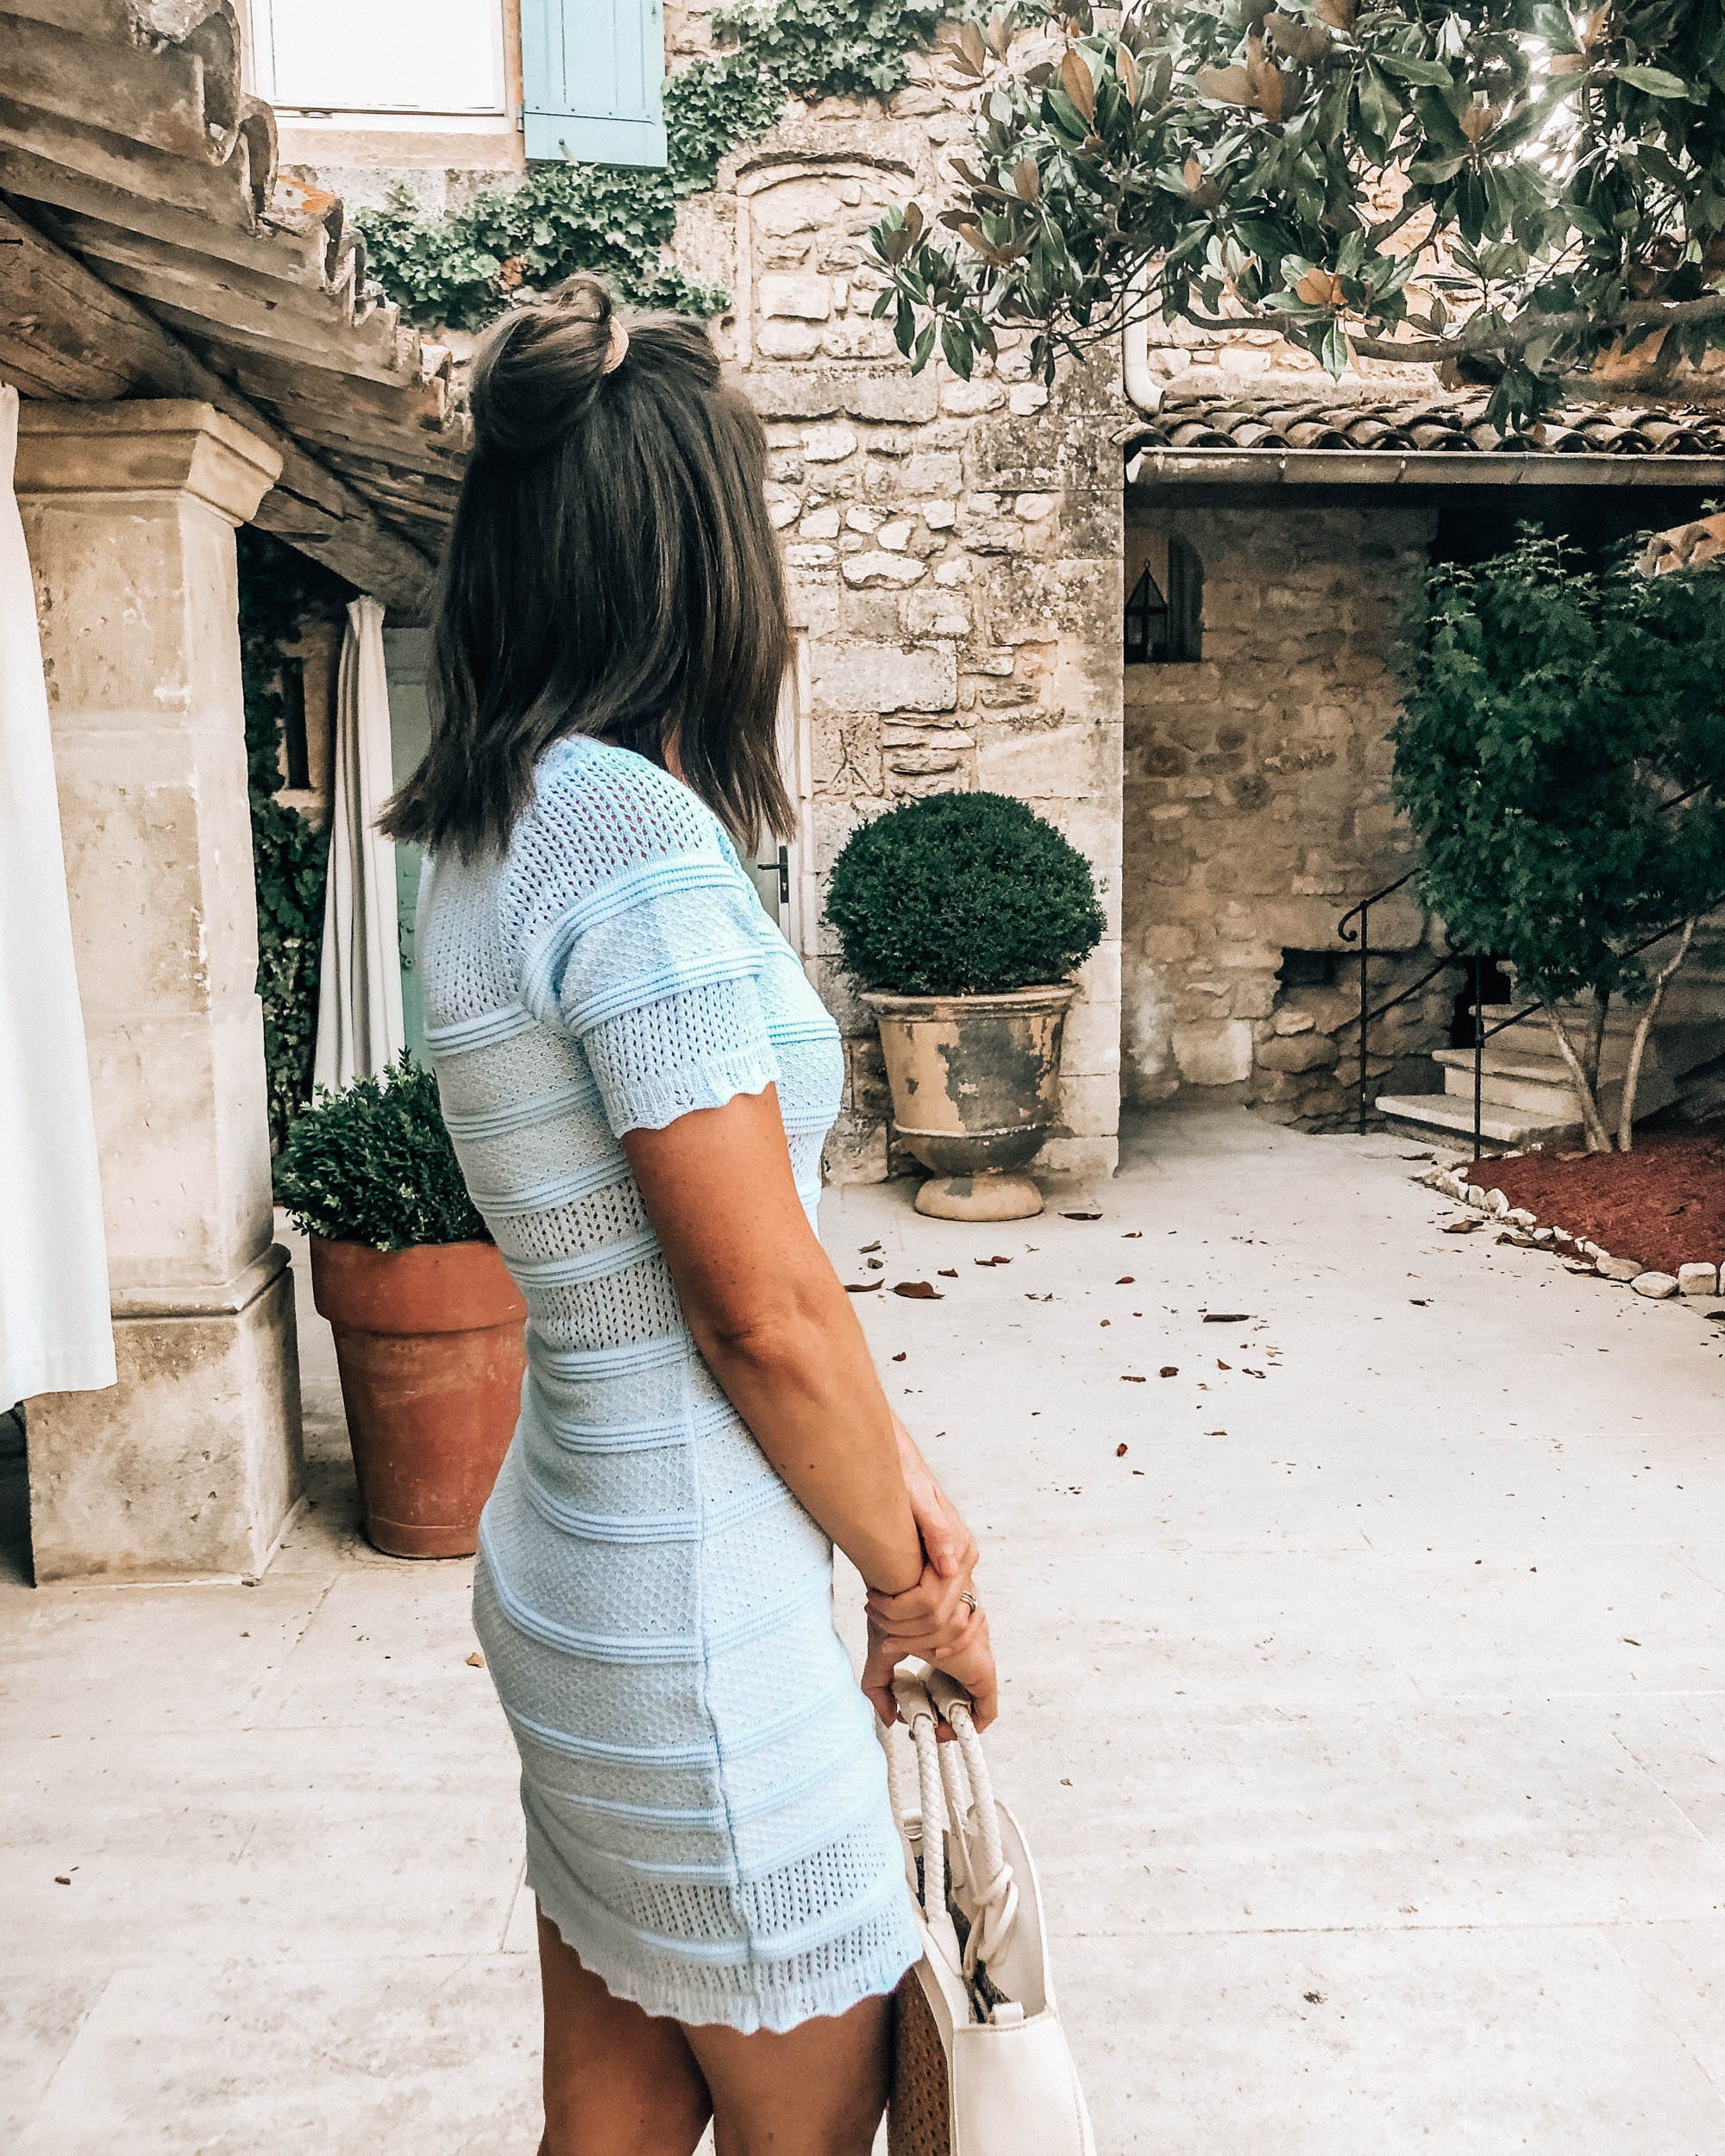
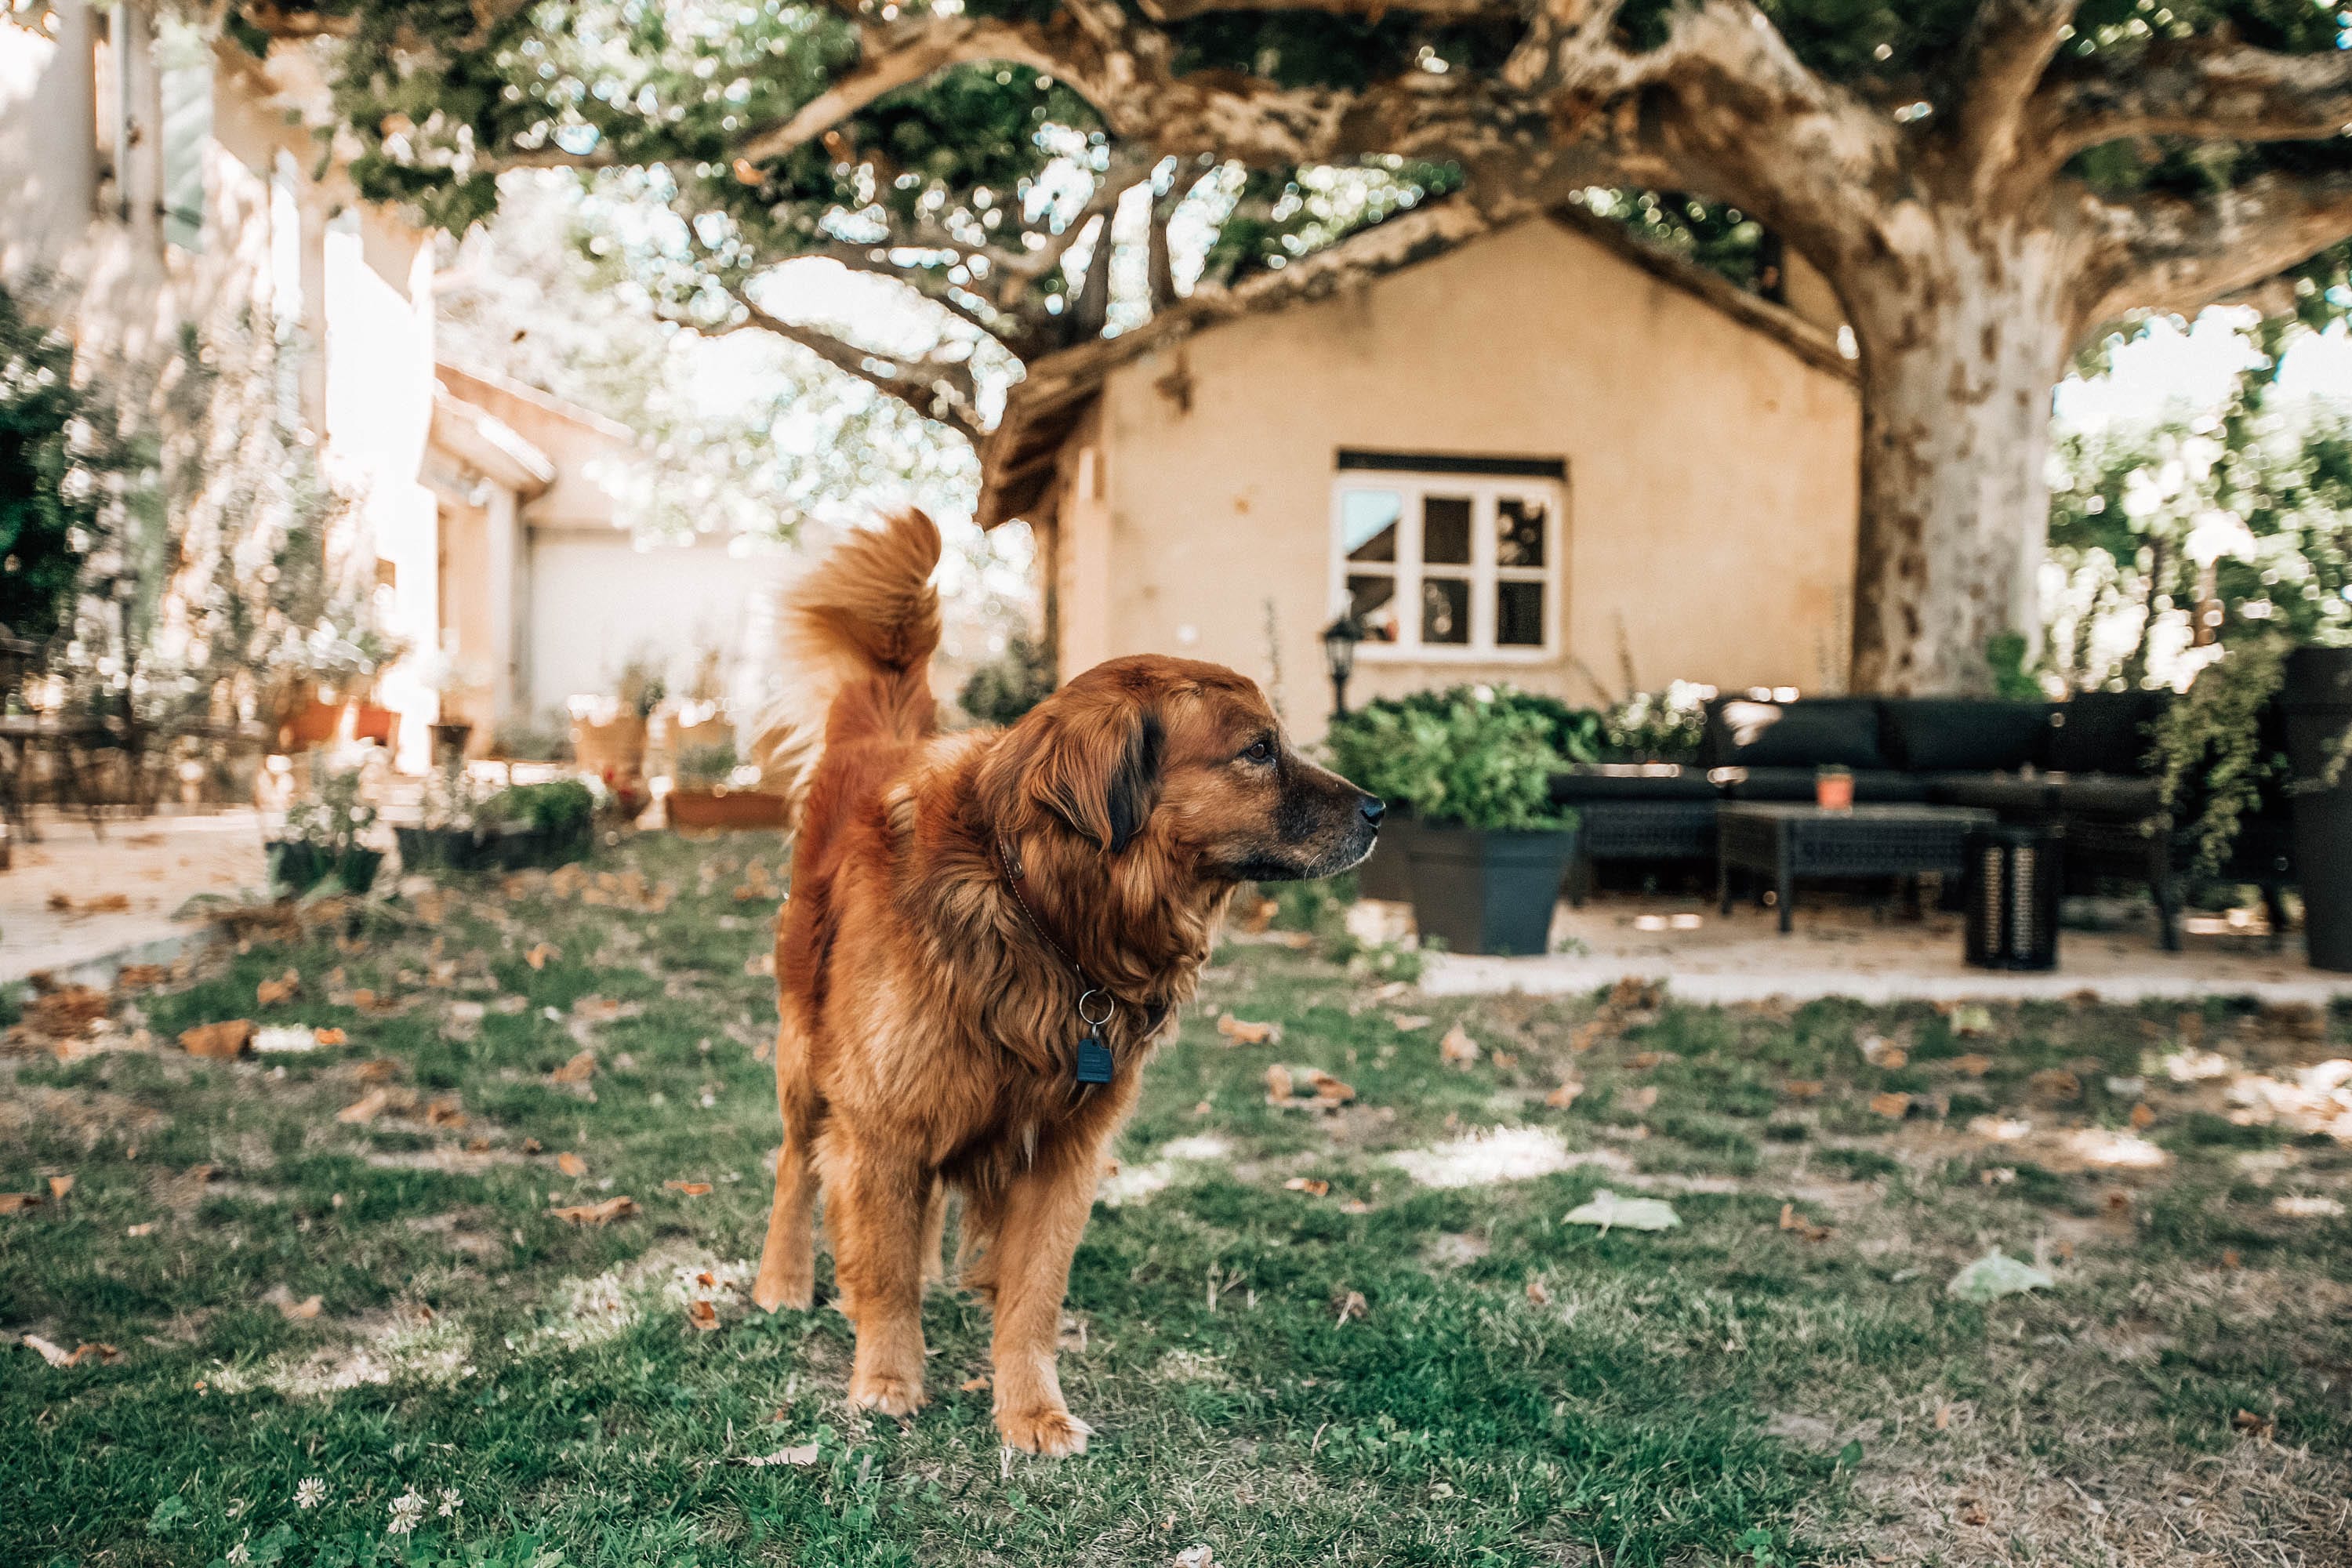
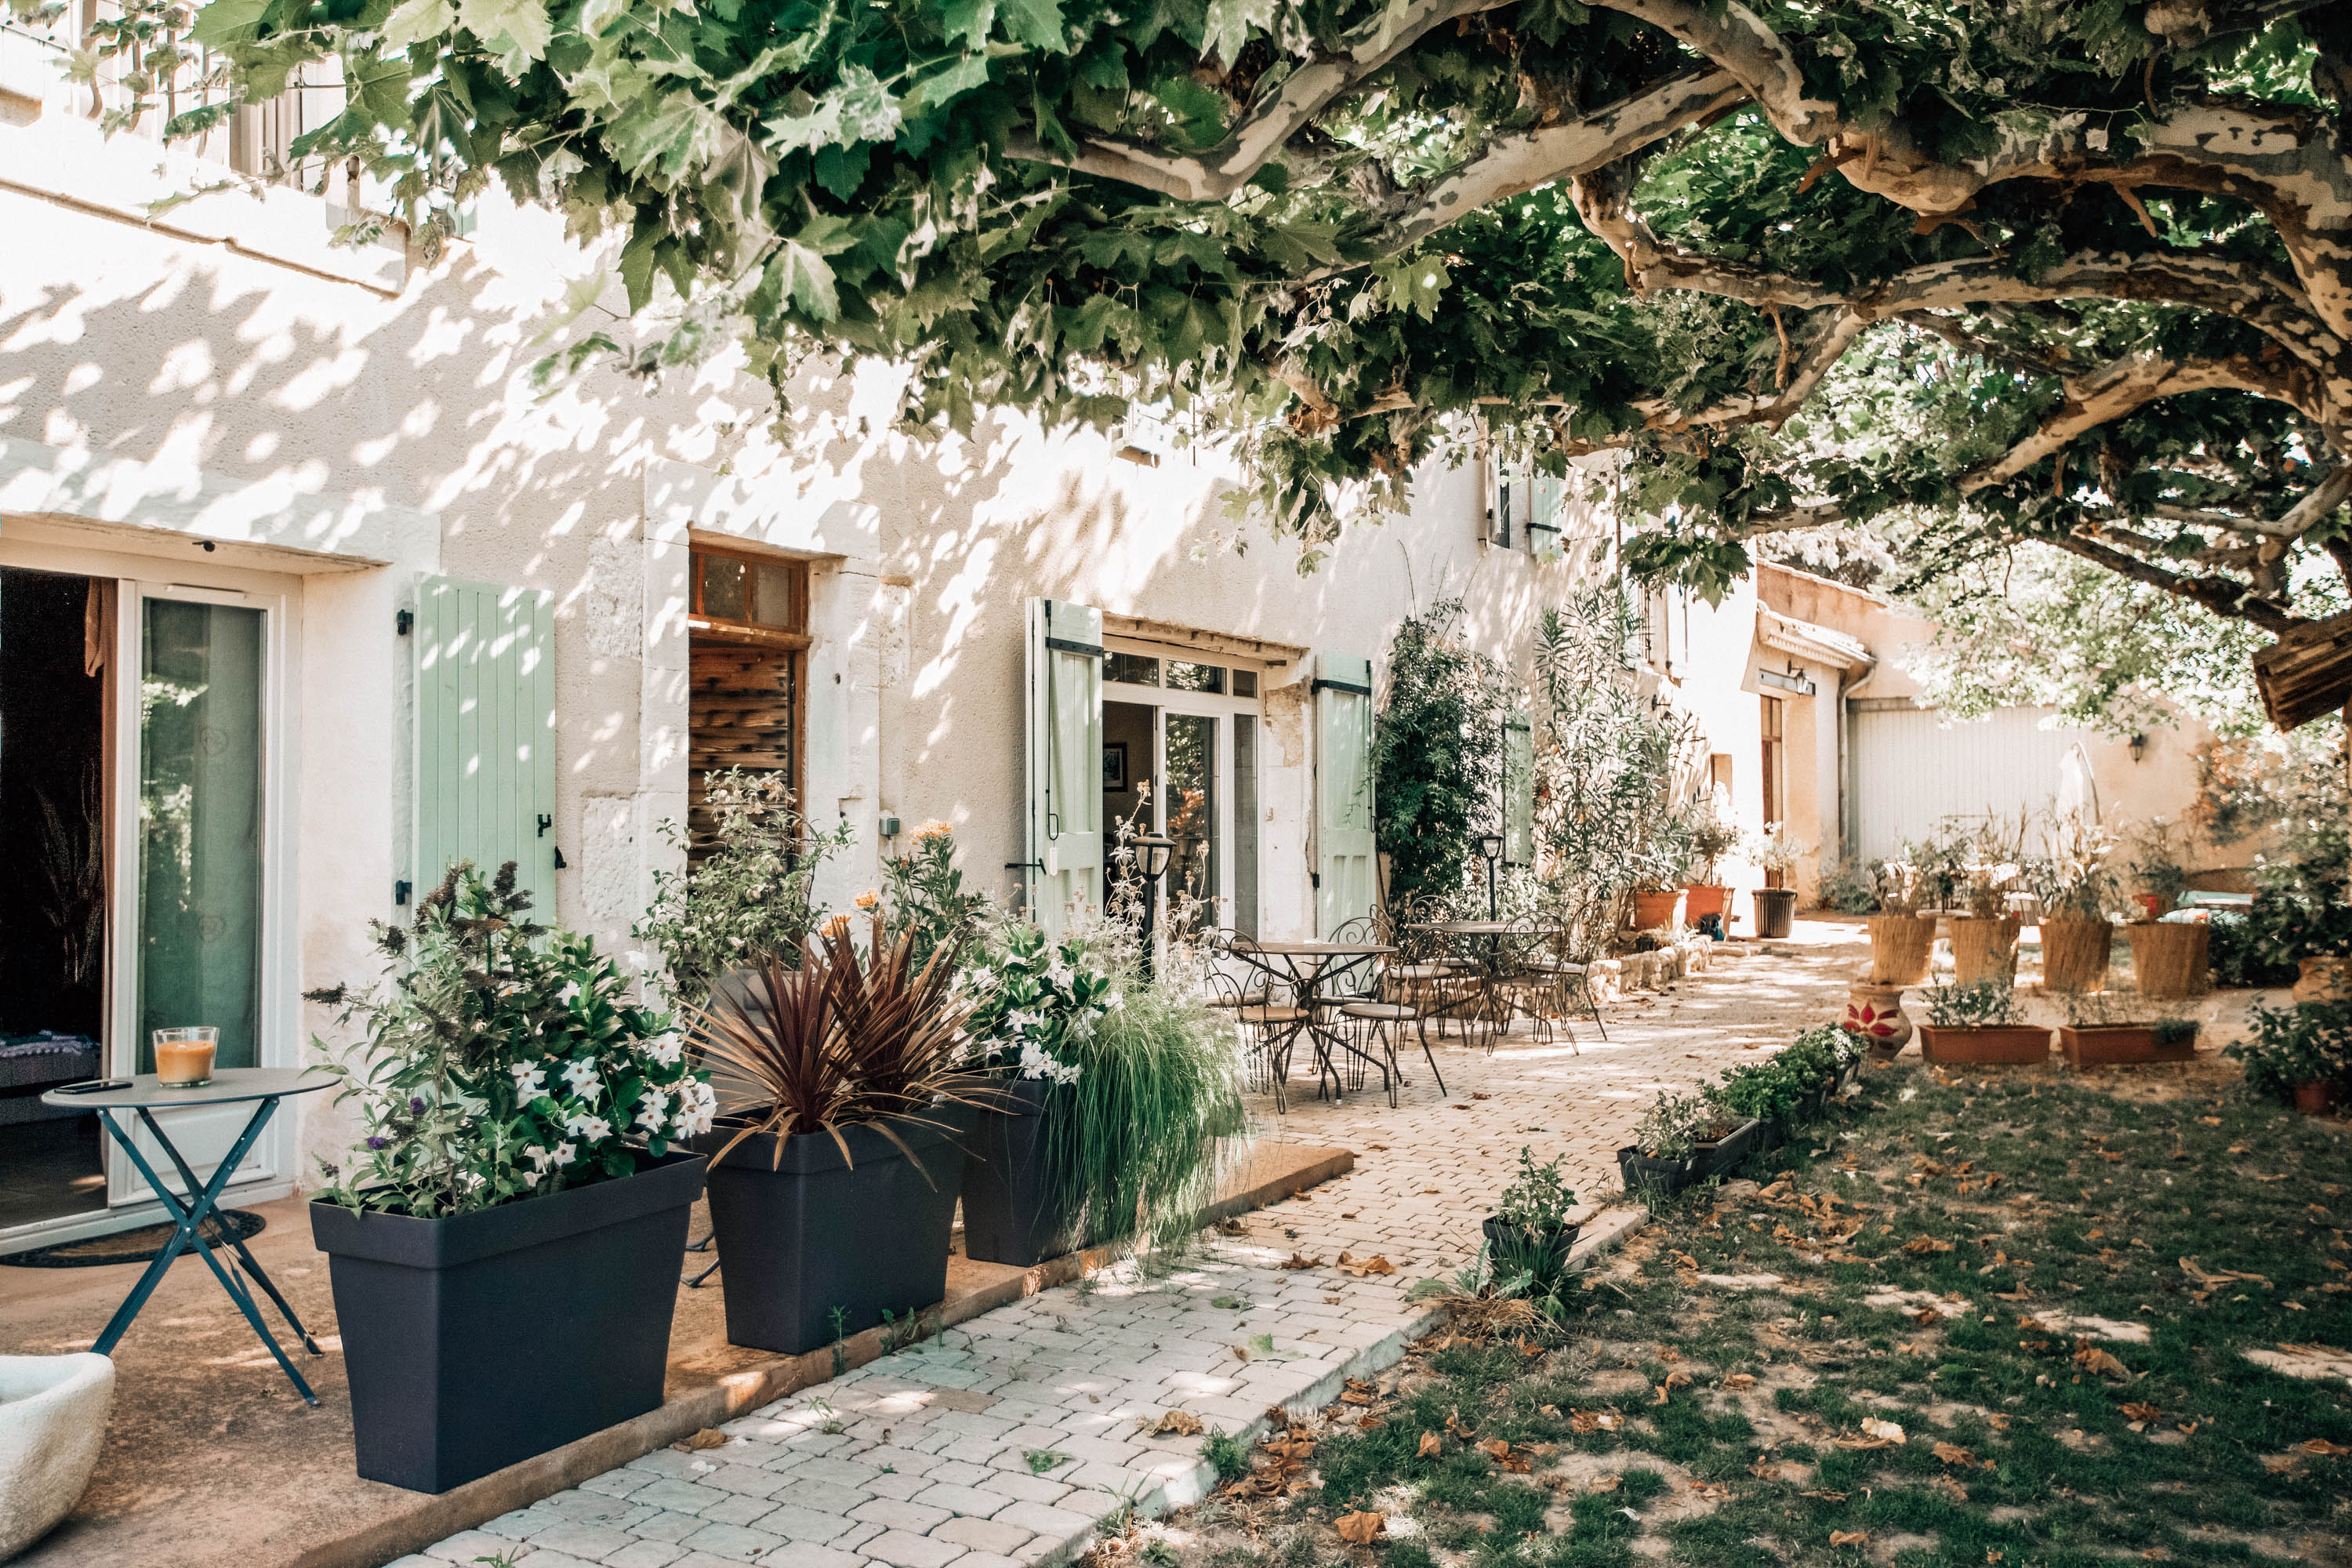
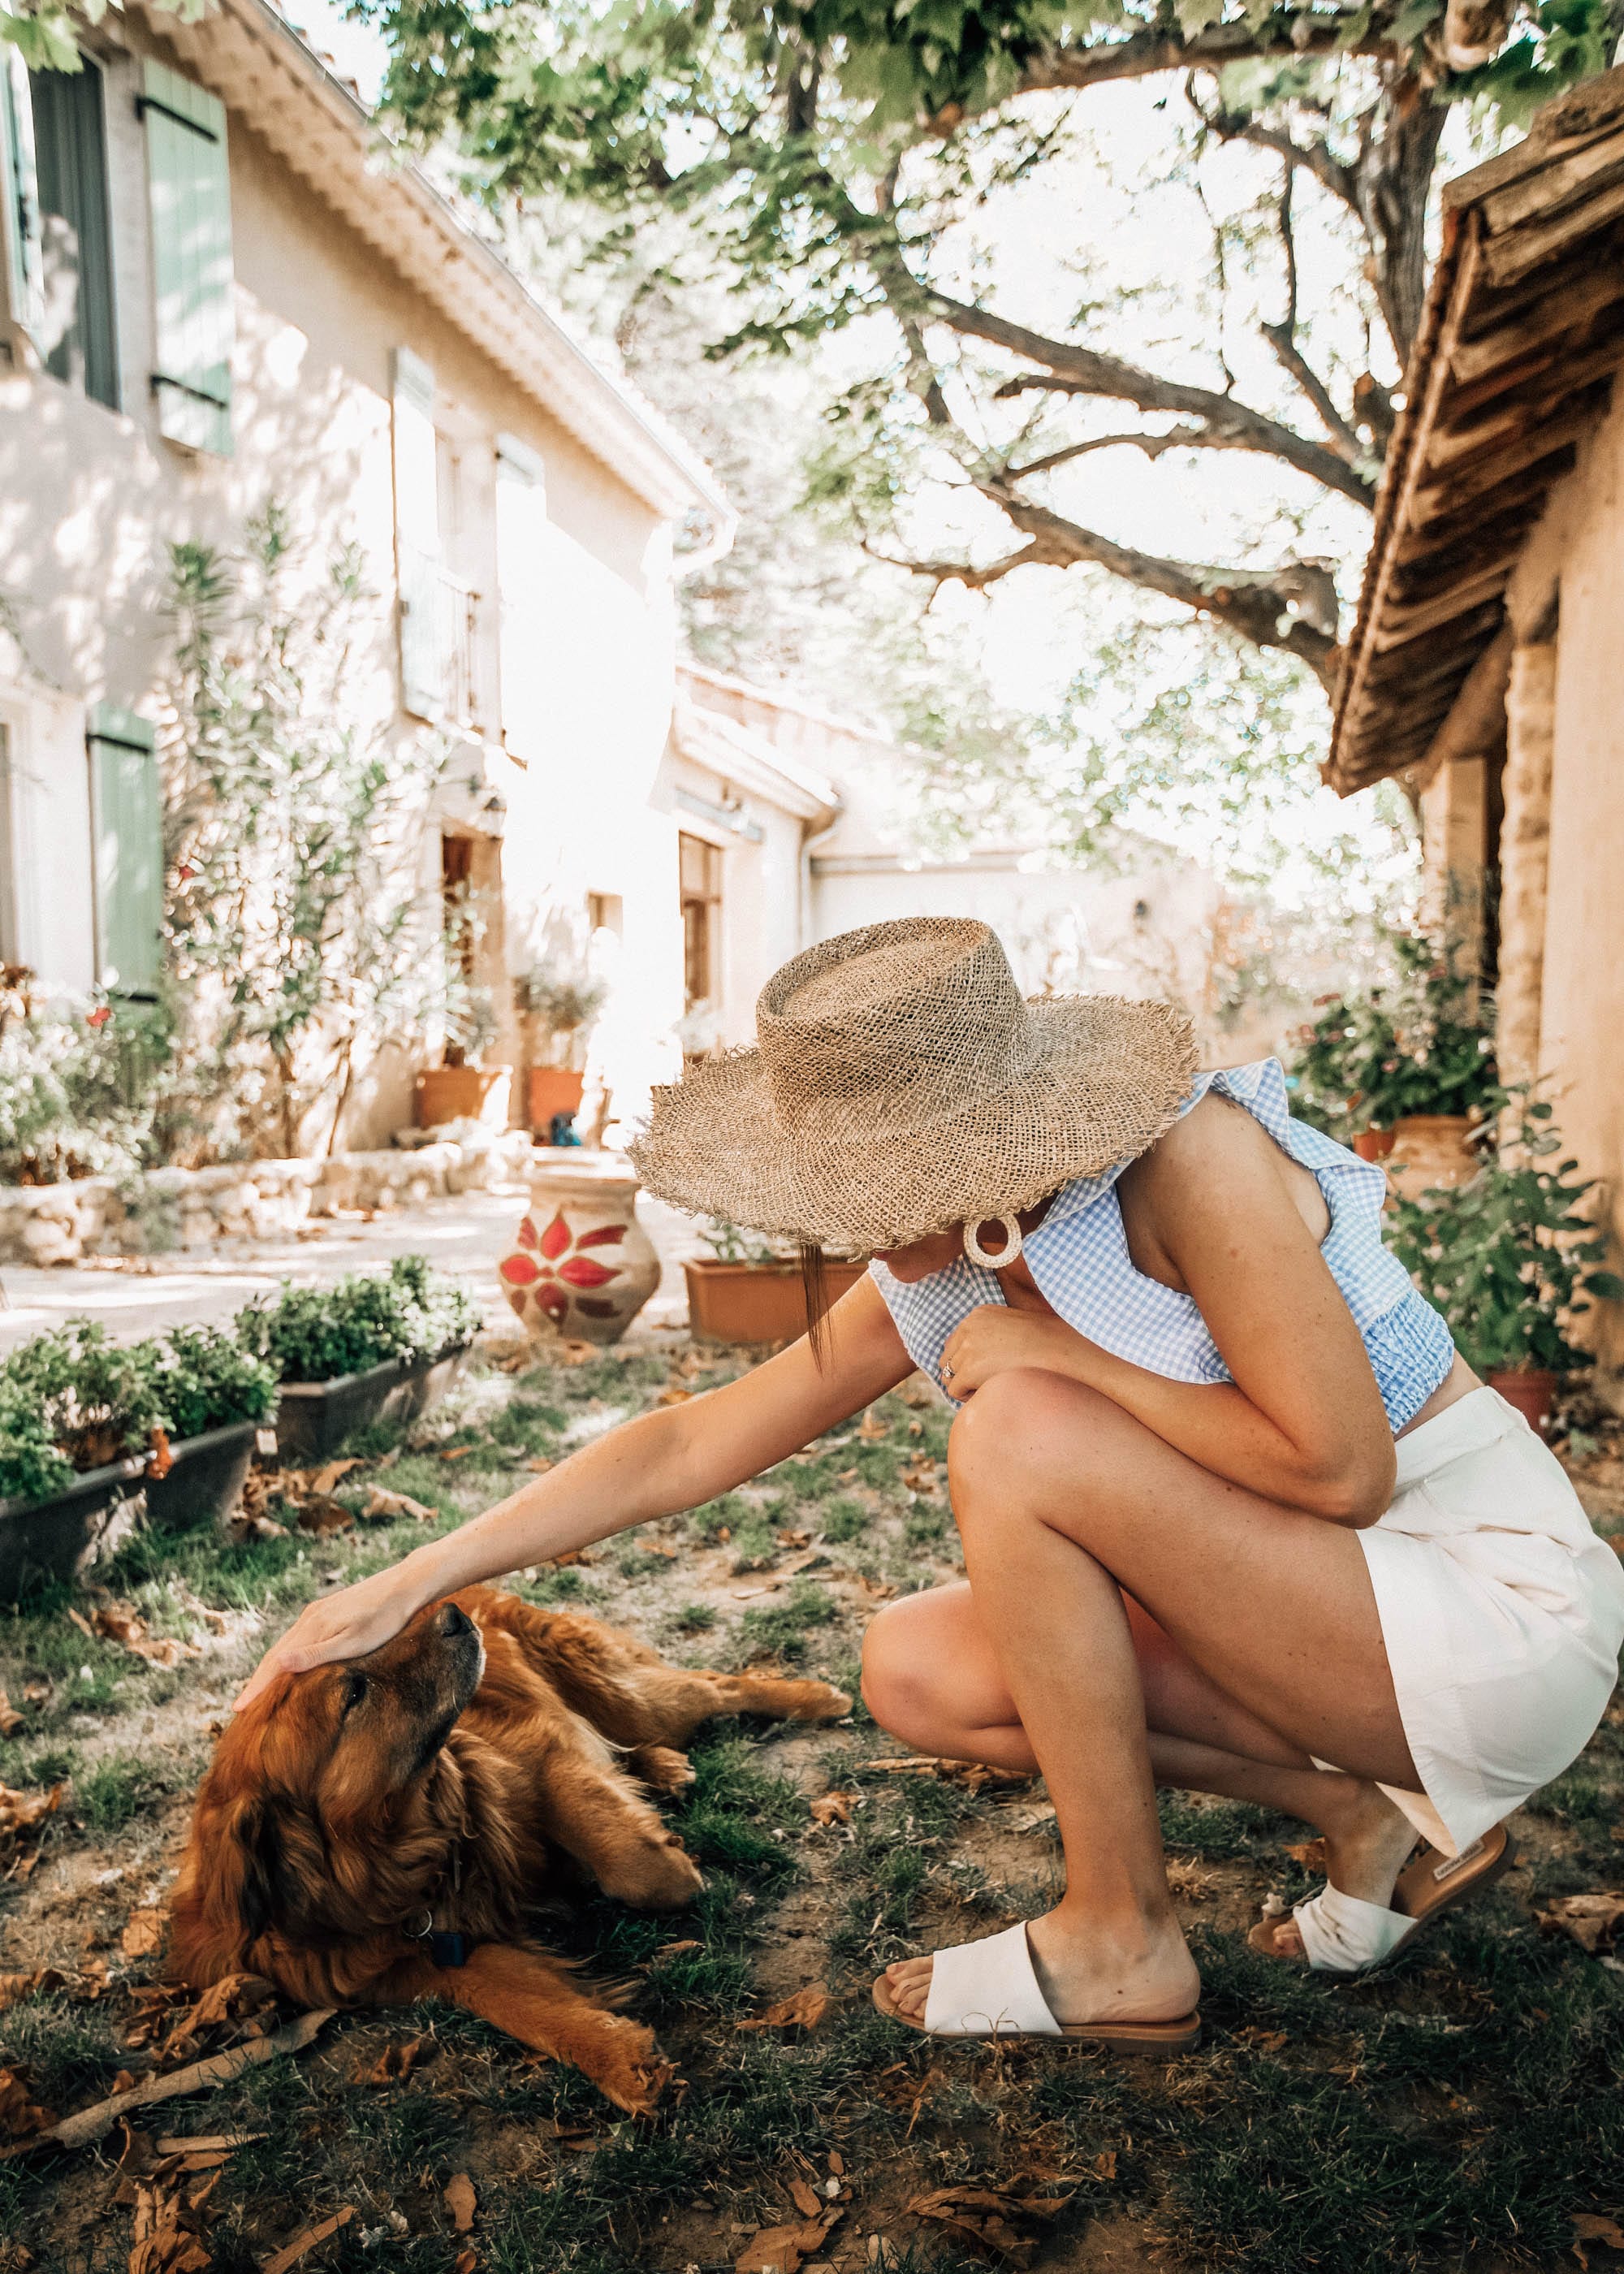
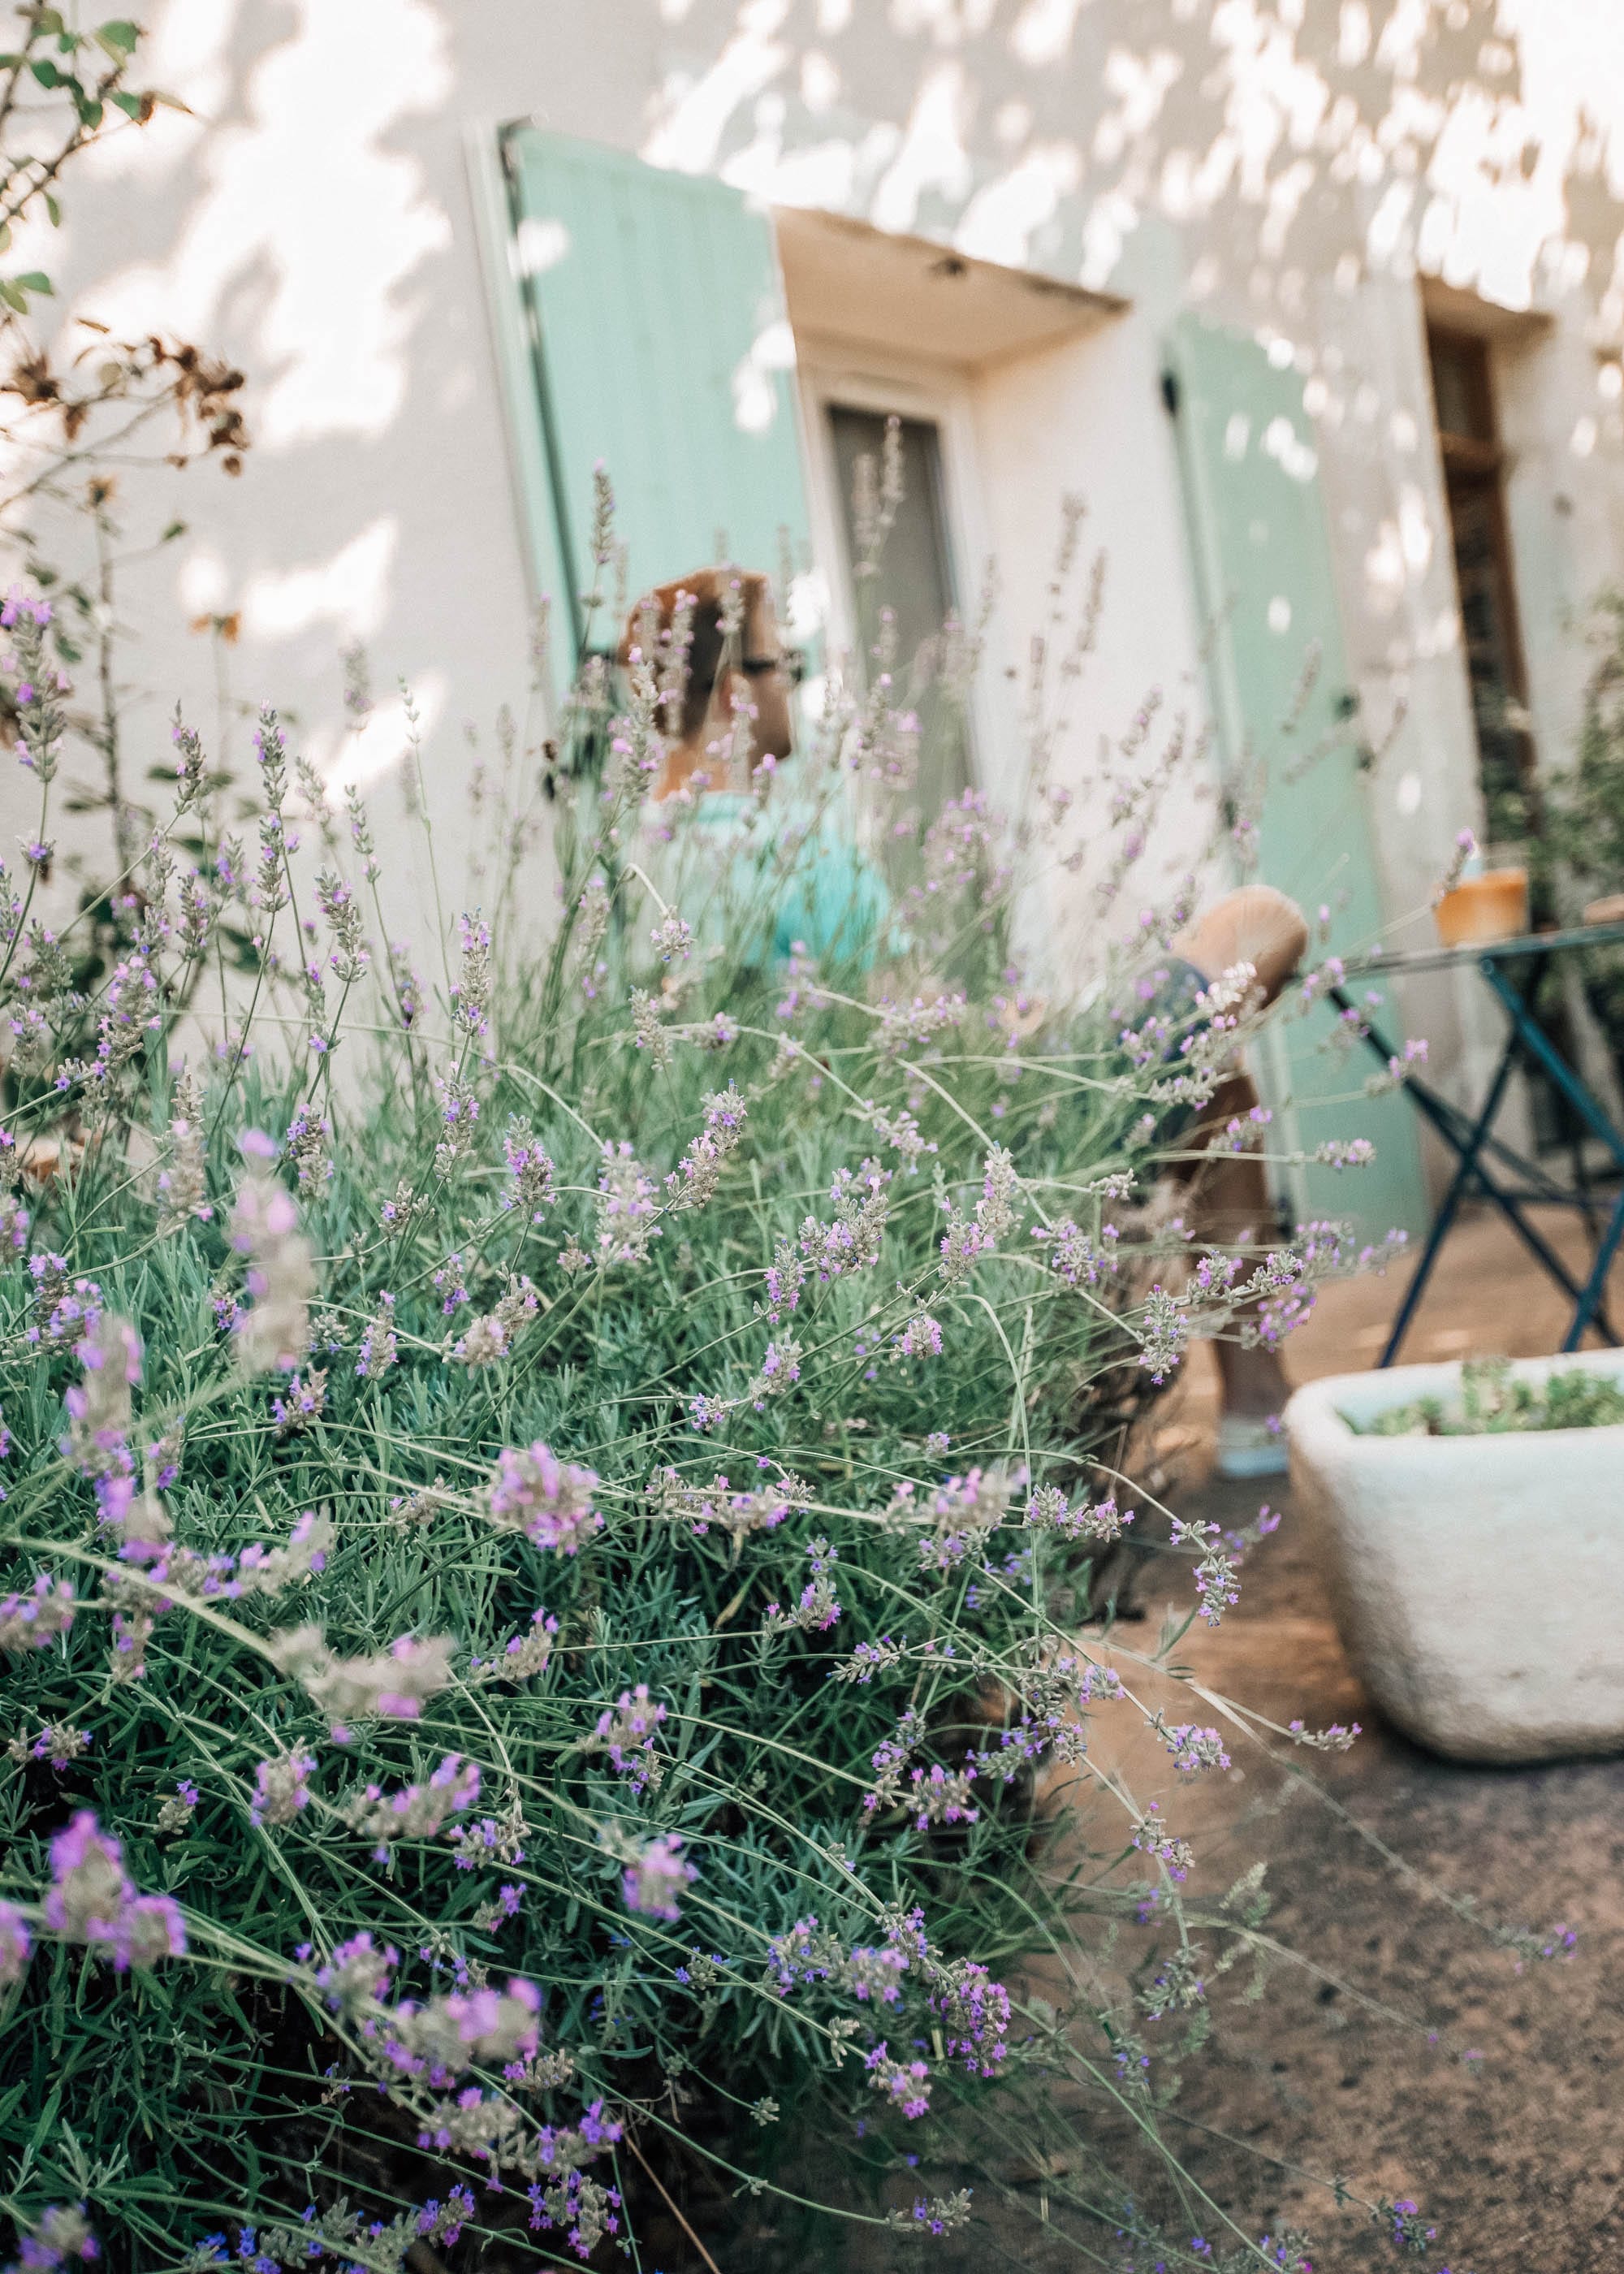
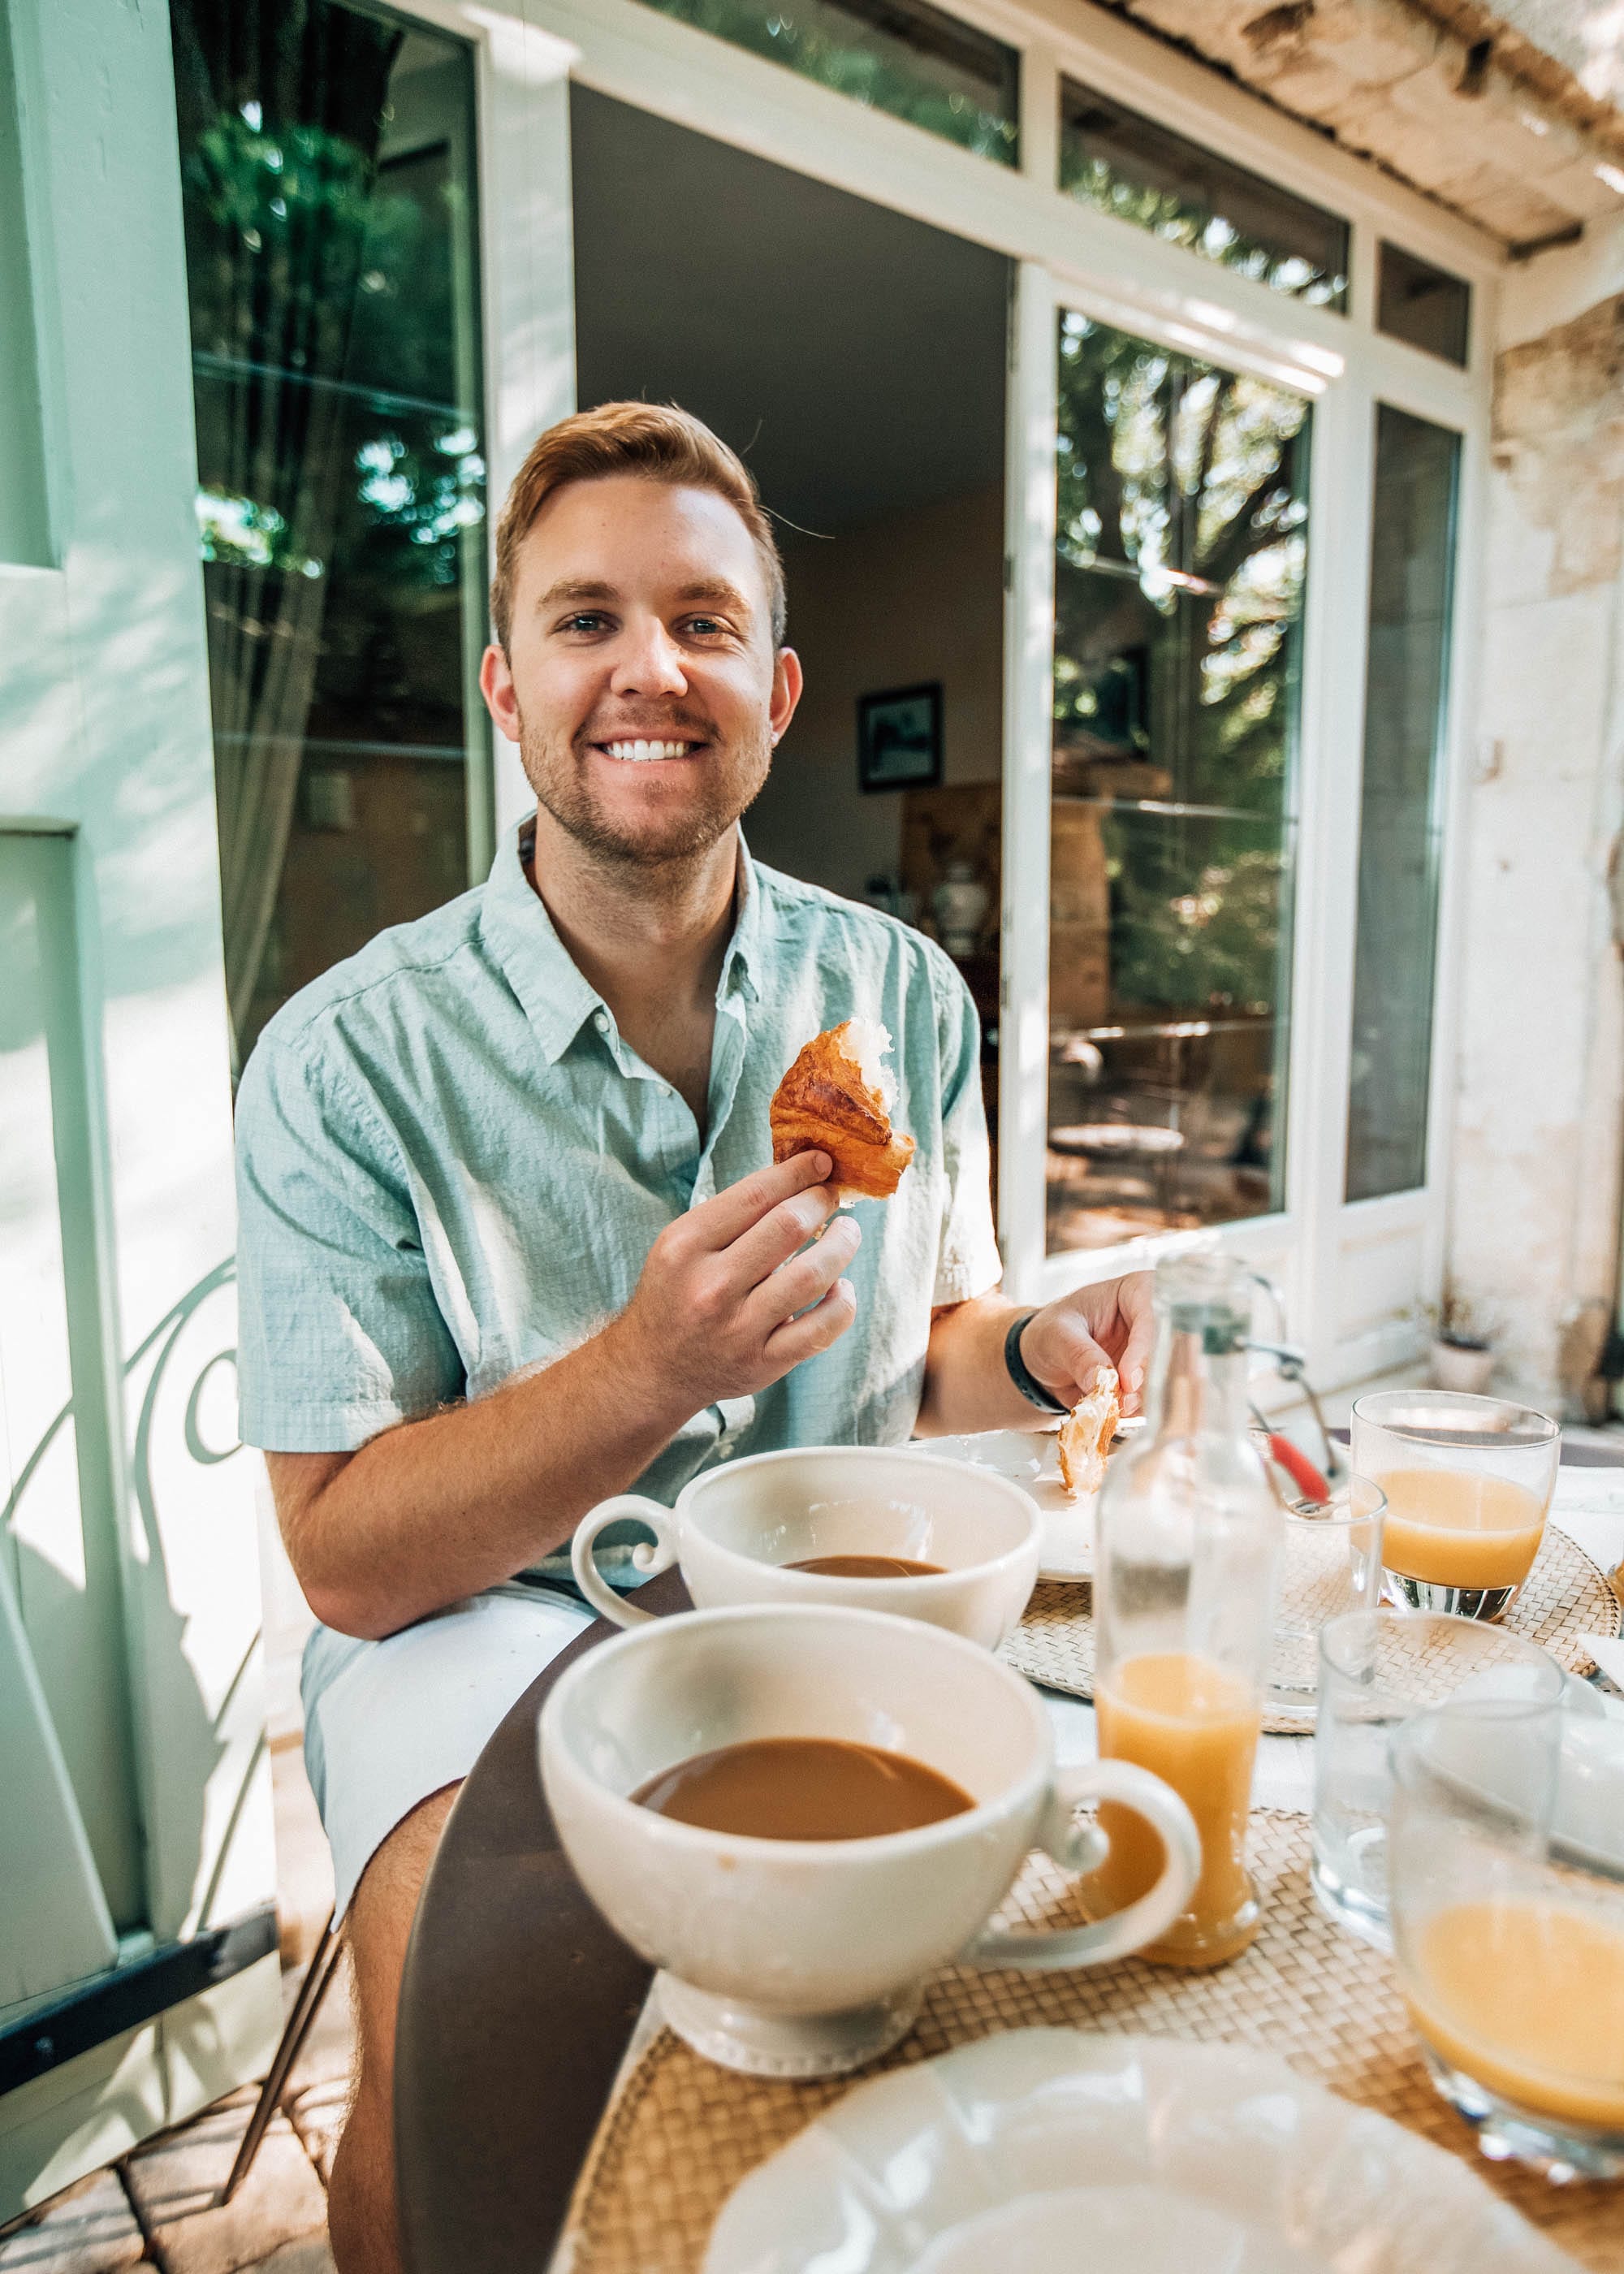
Each morning, our host made us breakfast that included traditional French foods (croissants, breads, oatmeal, yogurt, fresh fruit), along with the tastiest scrambled eggs. It was so nice waking up, sitting on our private patio, and sipping coffee before starting our day. I could have extended this trip for another week just in this one area and will likely do that at some point in the future because it was just so peaceful. Our first stop was the town of Apt, where there is a well known, large market on Saturdays. Apt was about 40 minutes away from Cavaillon and when we got there it was crazy! Imagine a farmer’s market times 20. We ended up having to park a good distance away and walk into the center of town. We walked up and down the side streets, looking at the produce, goods, and talking with the merchants. I ended up getting some dried lavender to give out as gifts to friends and family, as well as a couple cute baby dresses, while TJ got a new French hat (his second of the trip, lol).
Our next stop was probably one of our favorites. We headed back toward Cavaillon, but went a little bit farther north to the village of Gourdes. The village was set on a hill (like every village in Provence it seems!) with amazing panoramic views. TJ and I were able to park relatively easily in a lot and walk around the village for a couple hours. There were so many secret side streets, restaurants, and bakeries. To change things up we decided to make dinner at our Airbnb, so we stopped in a bakery and picked up a baguette, ham, cheese, grapes, tomatoes, and wine to have ourselves a feast! Gourdes Pro Tip: the real view is from outside of Gourdes near the resort. You can see all of the tiered ledges, buildings, and landscaping that make this village unique. This village is a must-see!
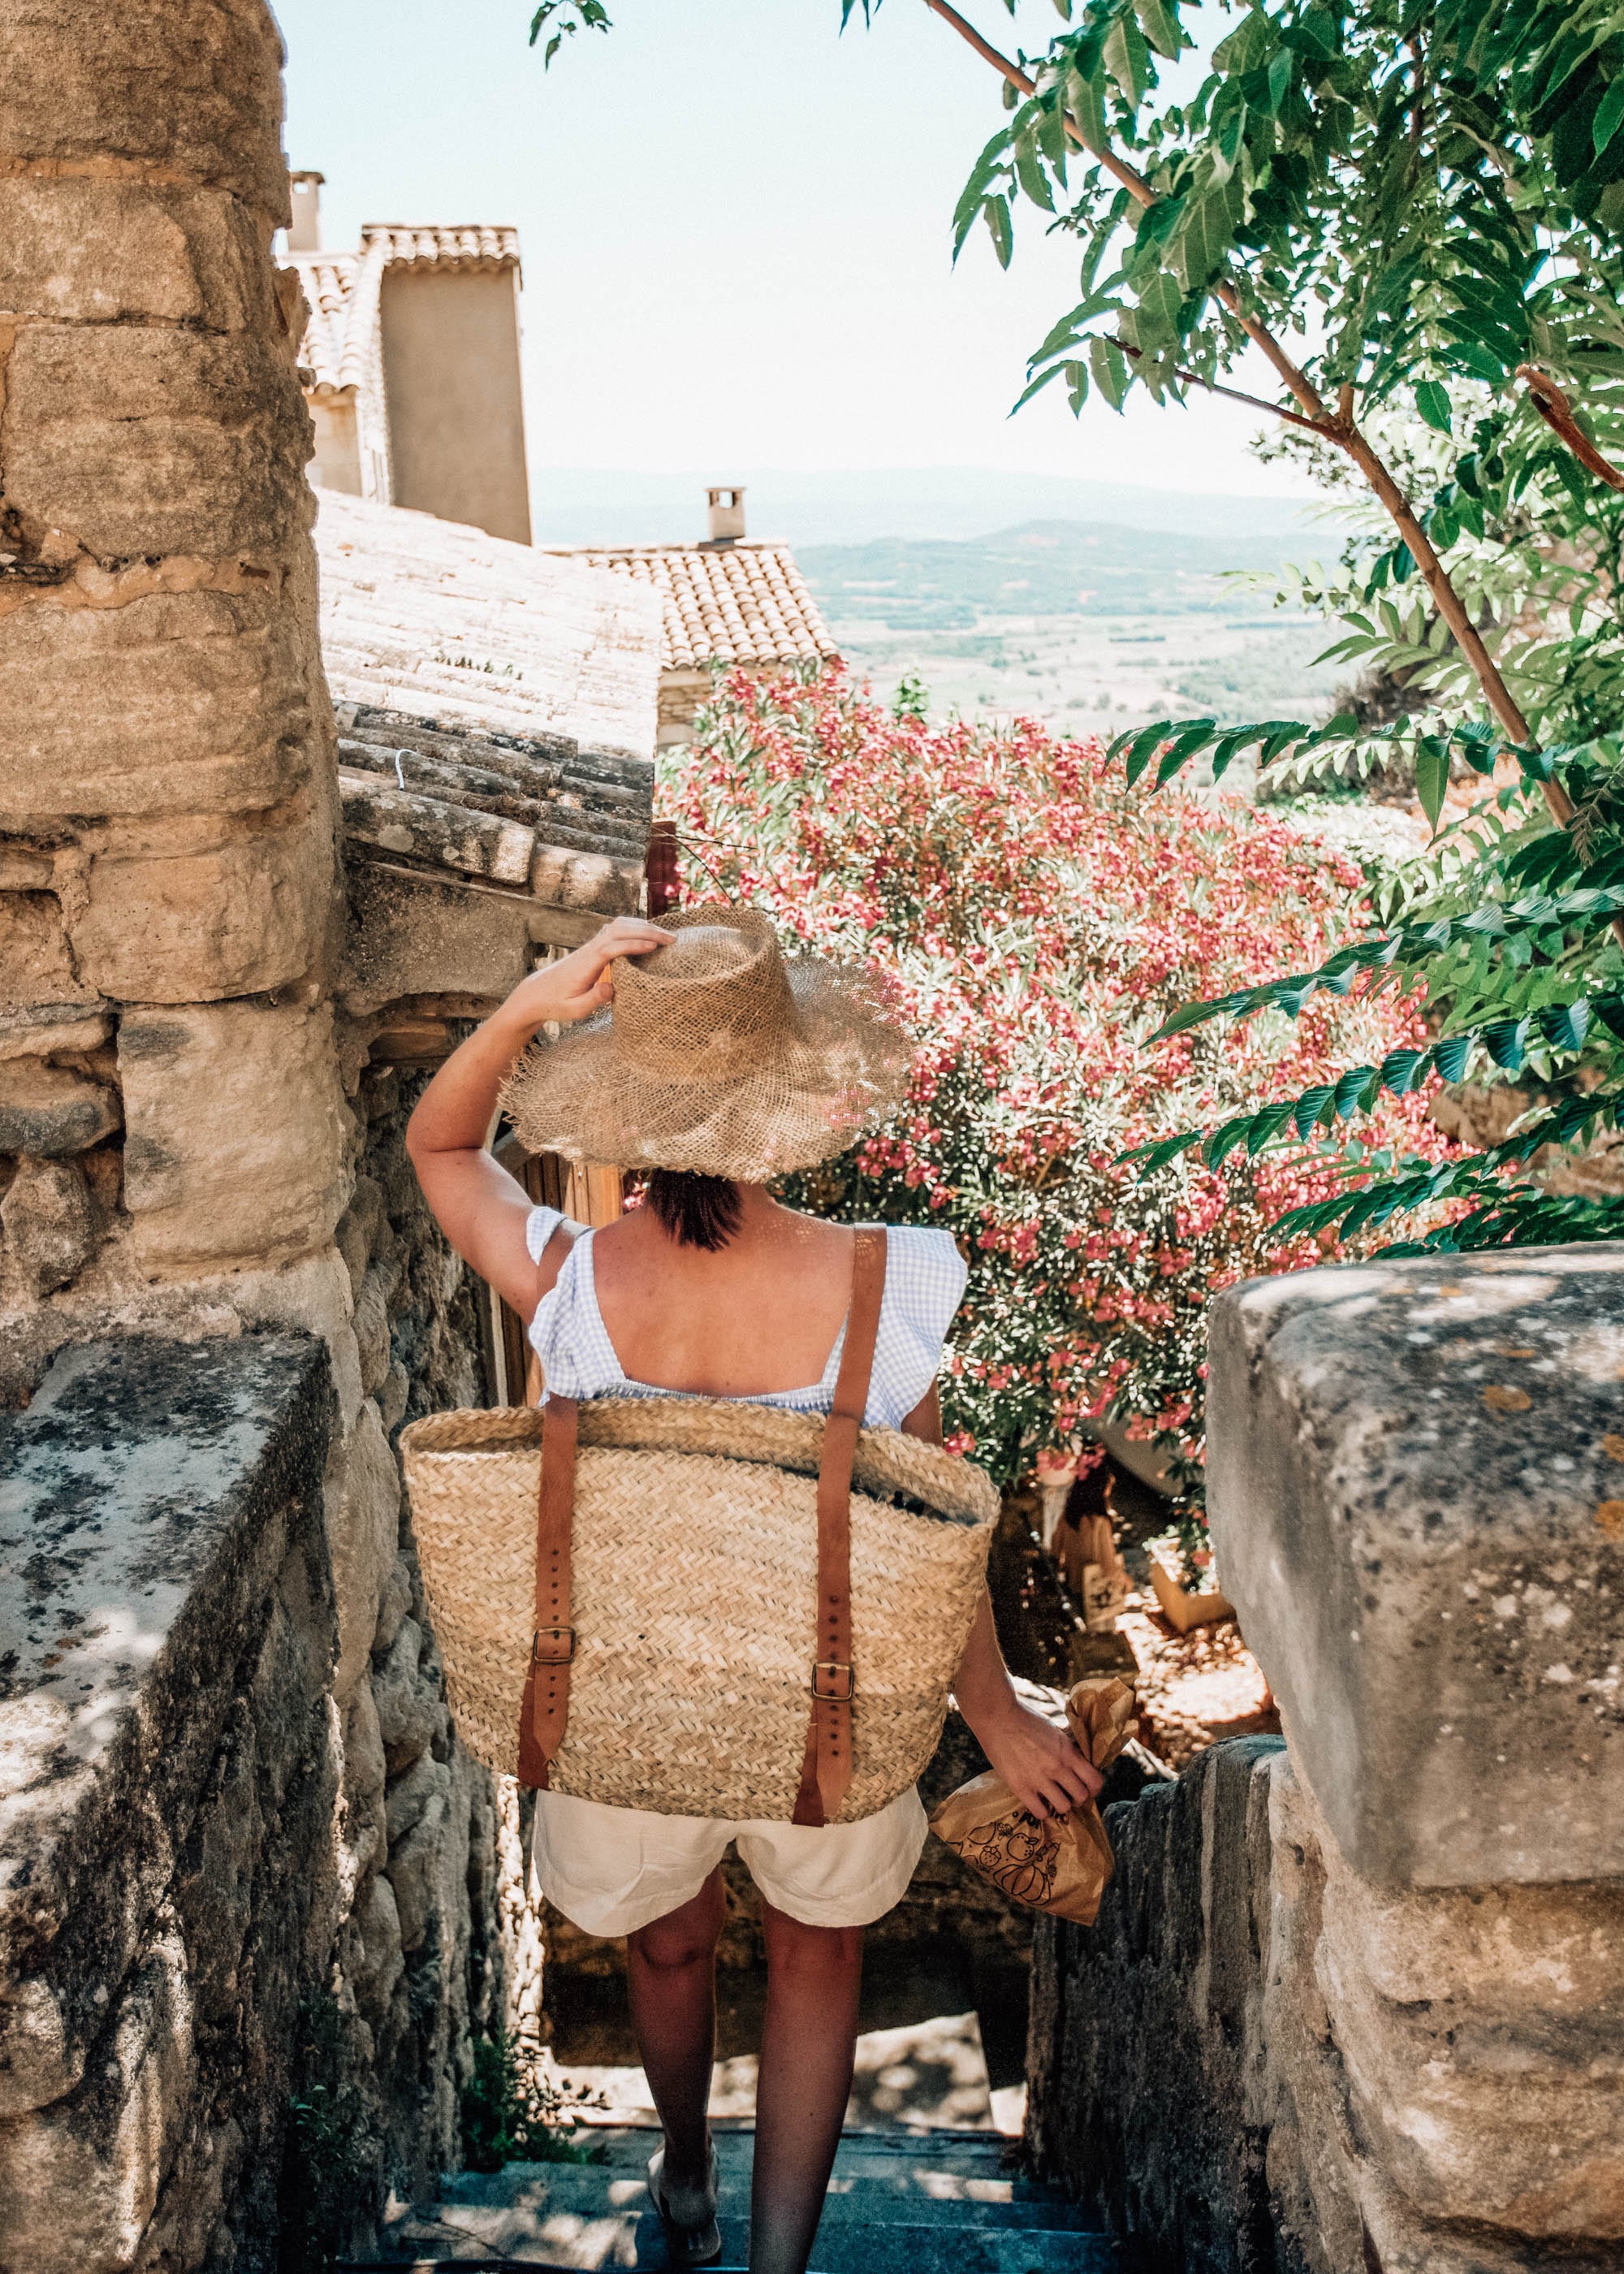
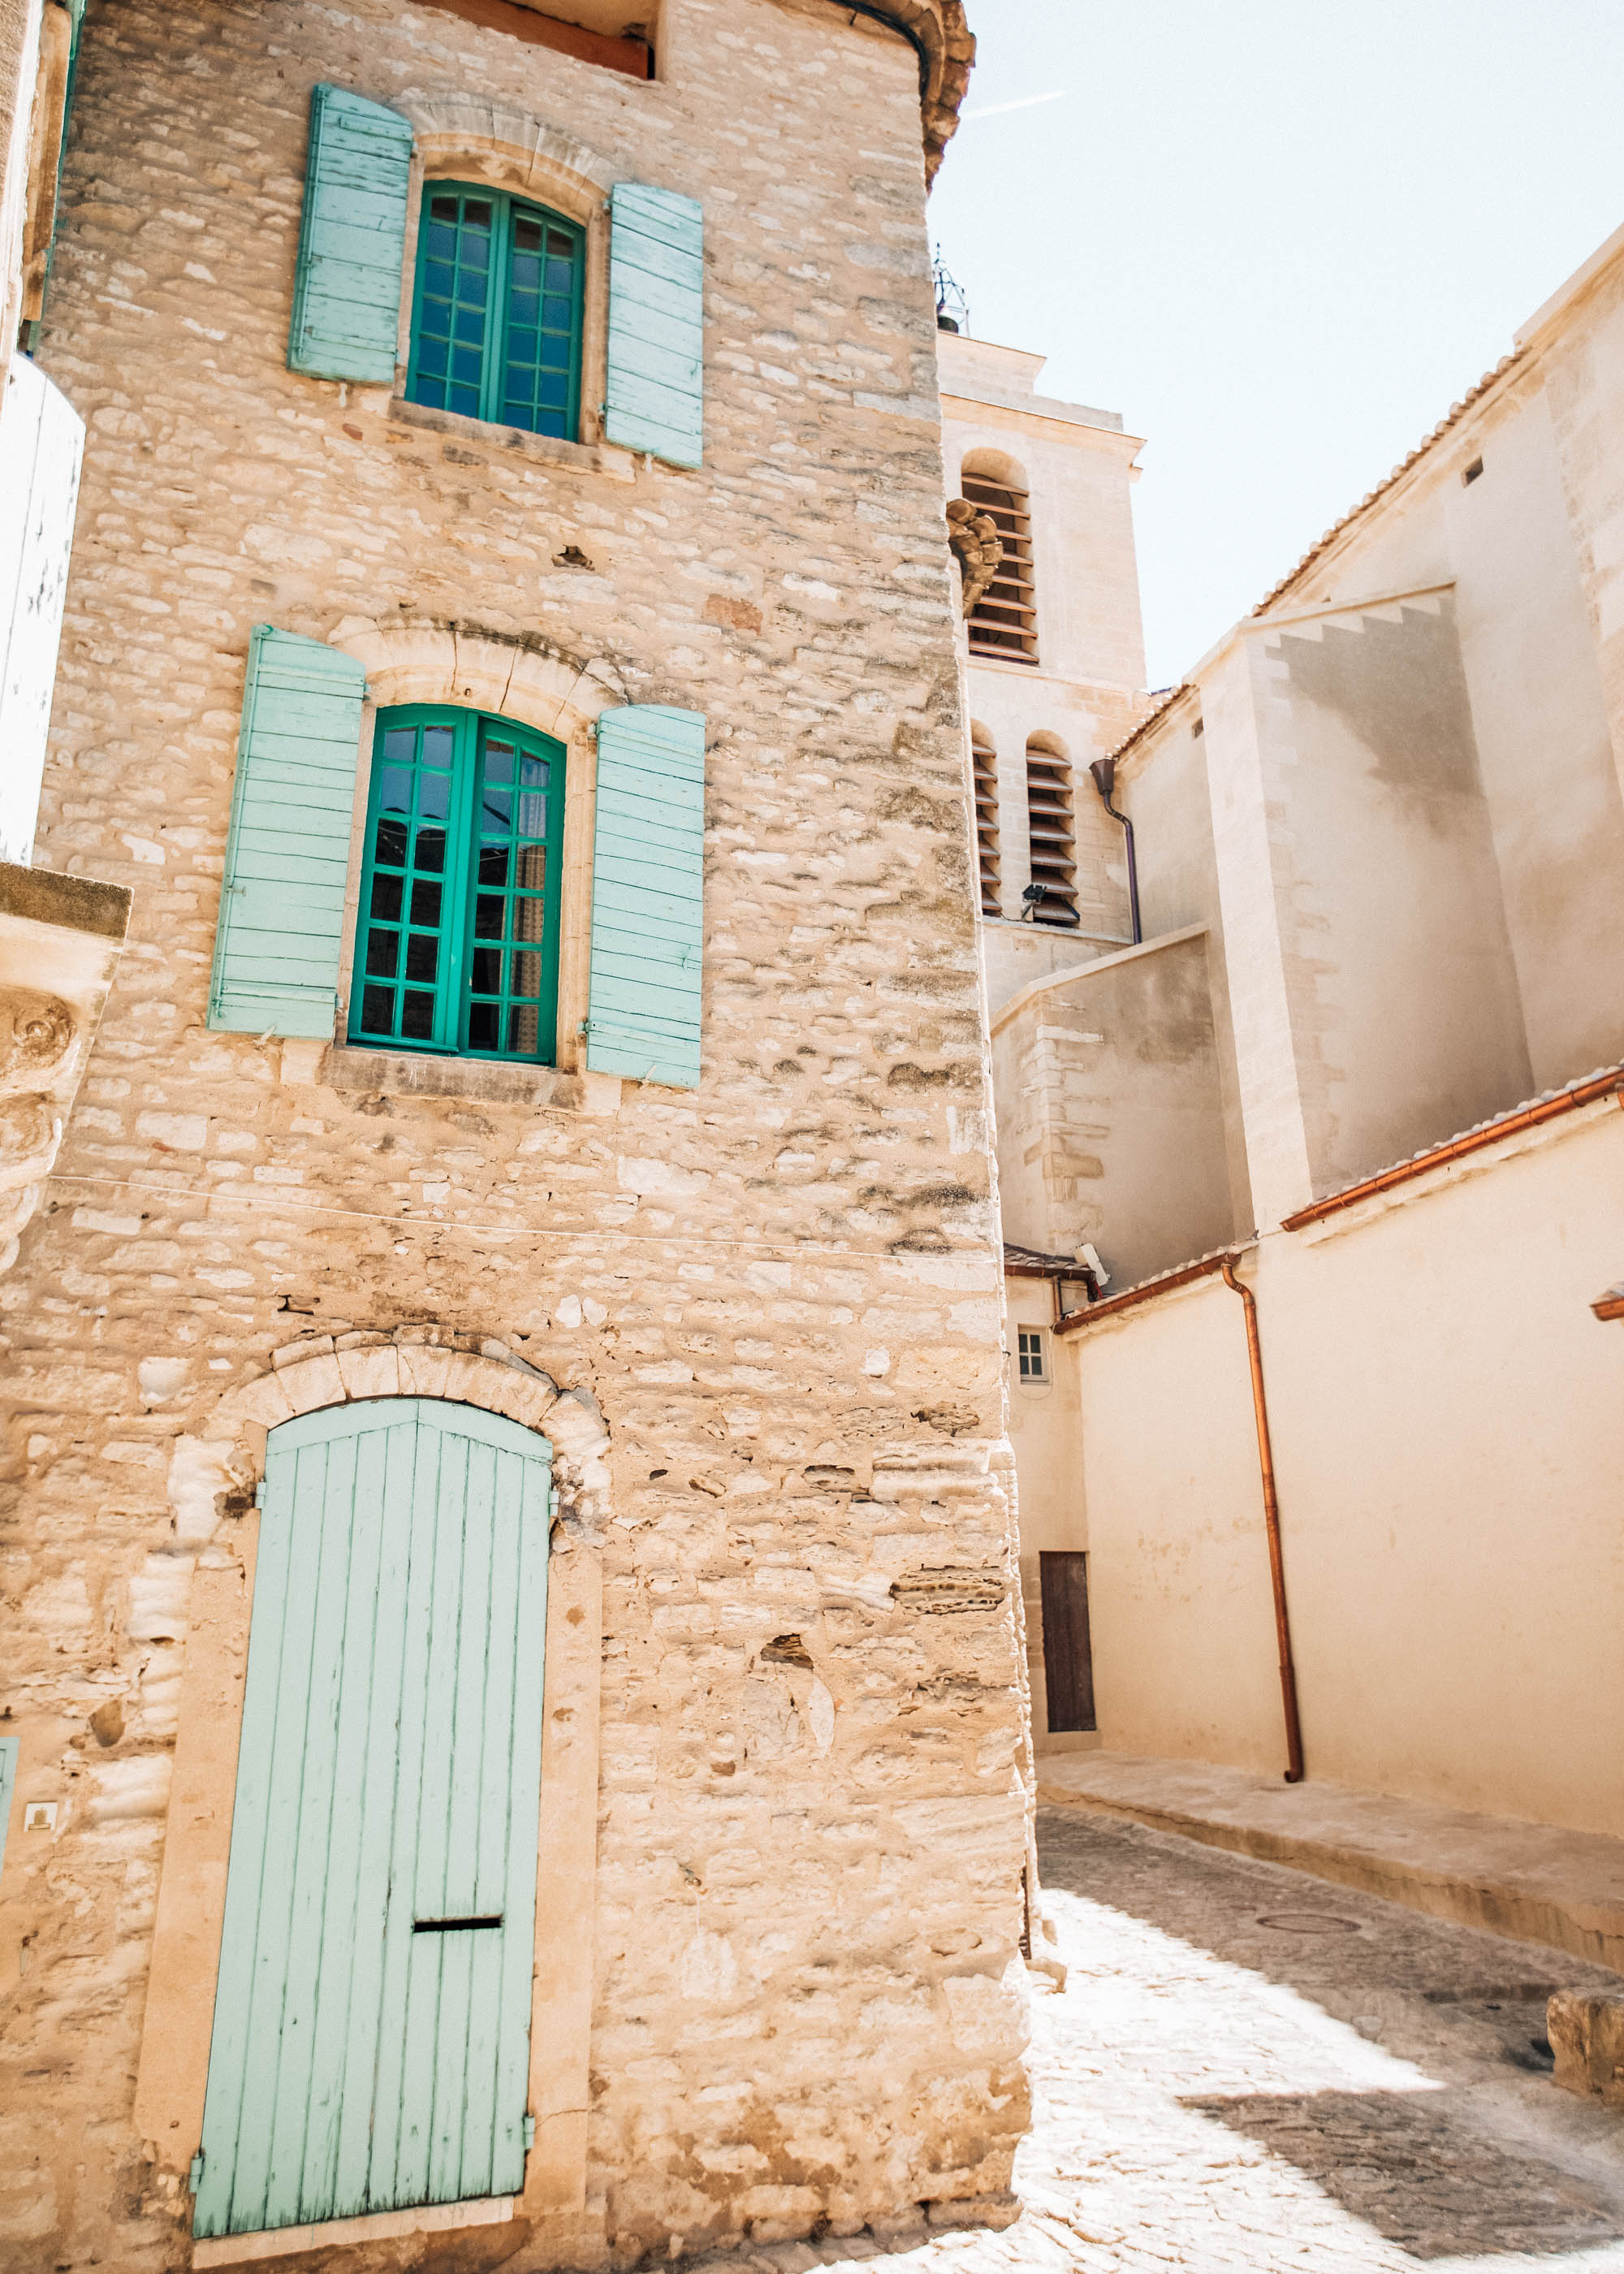
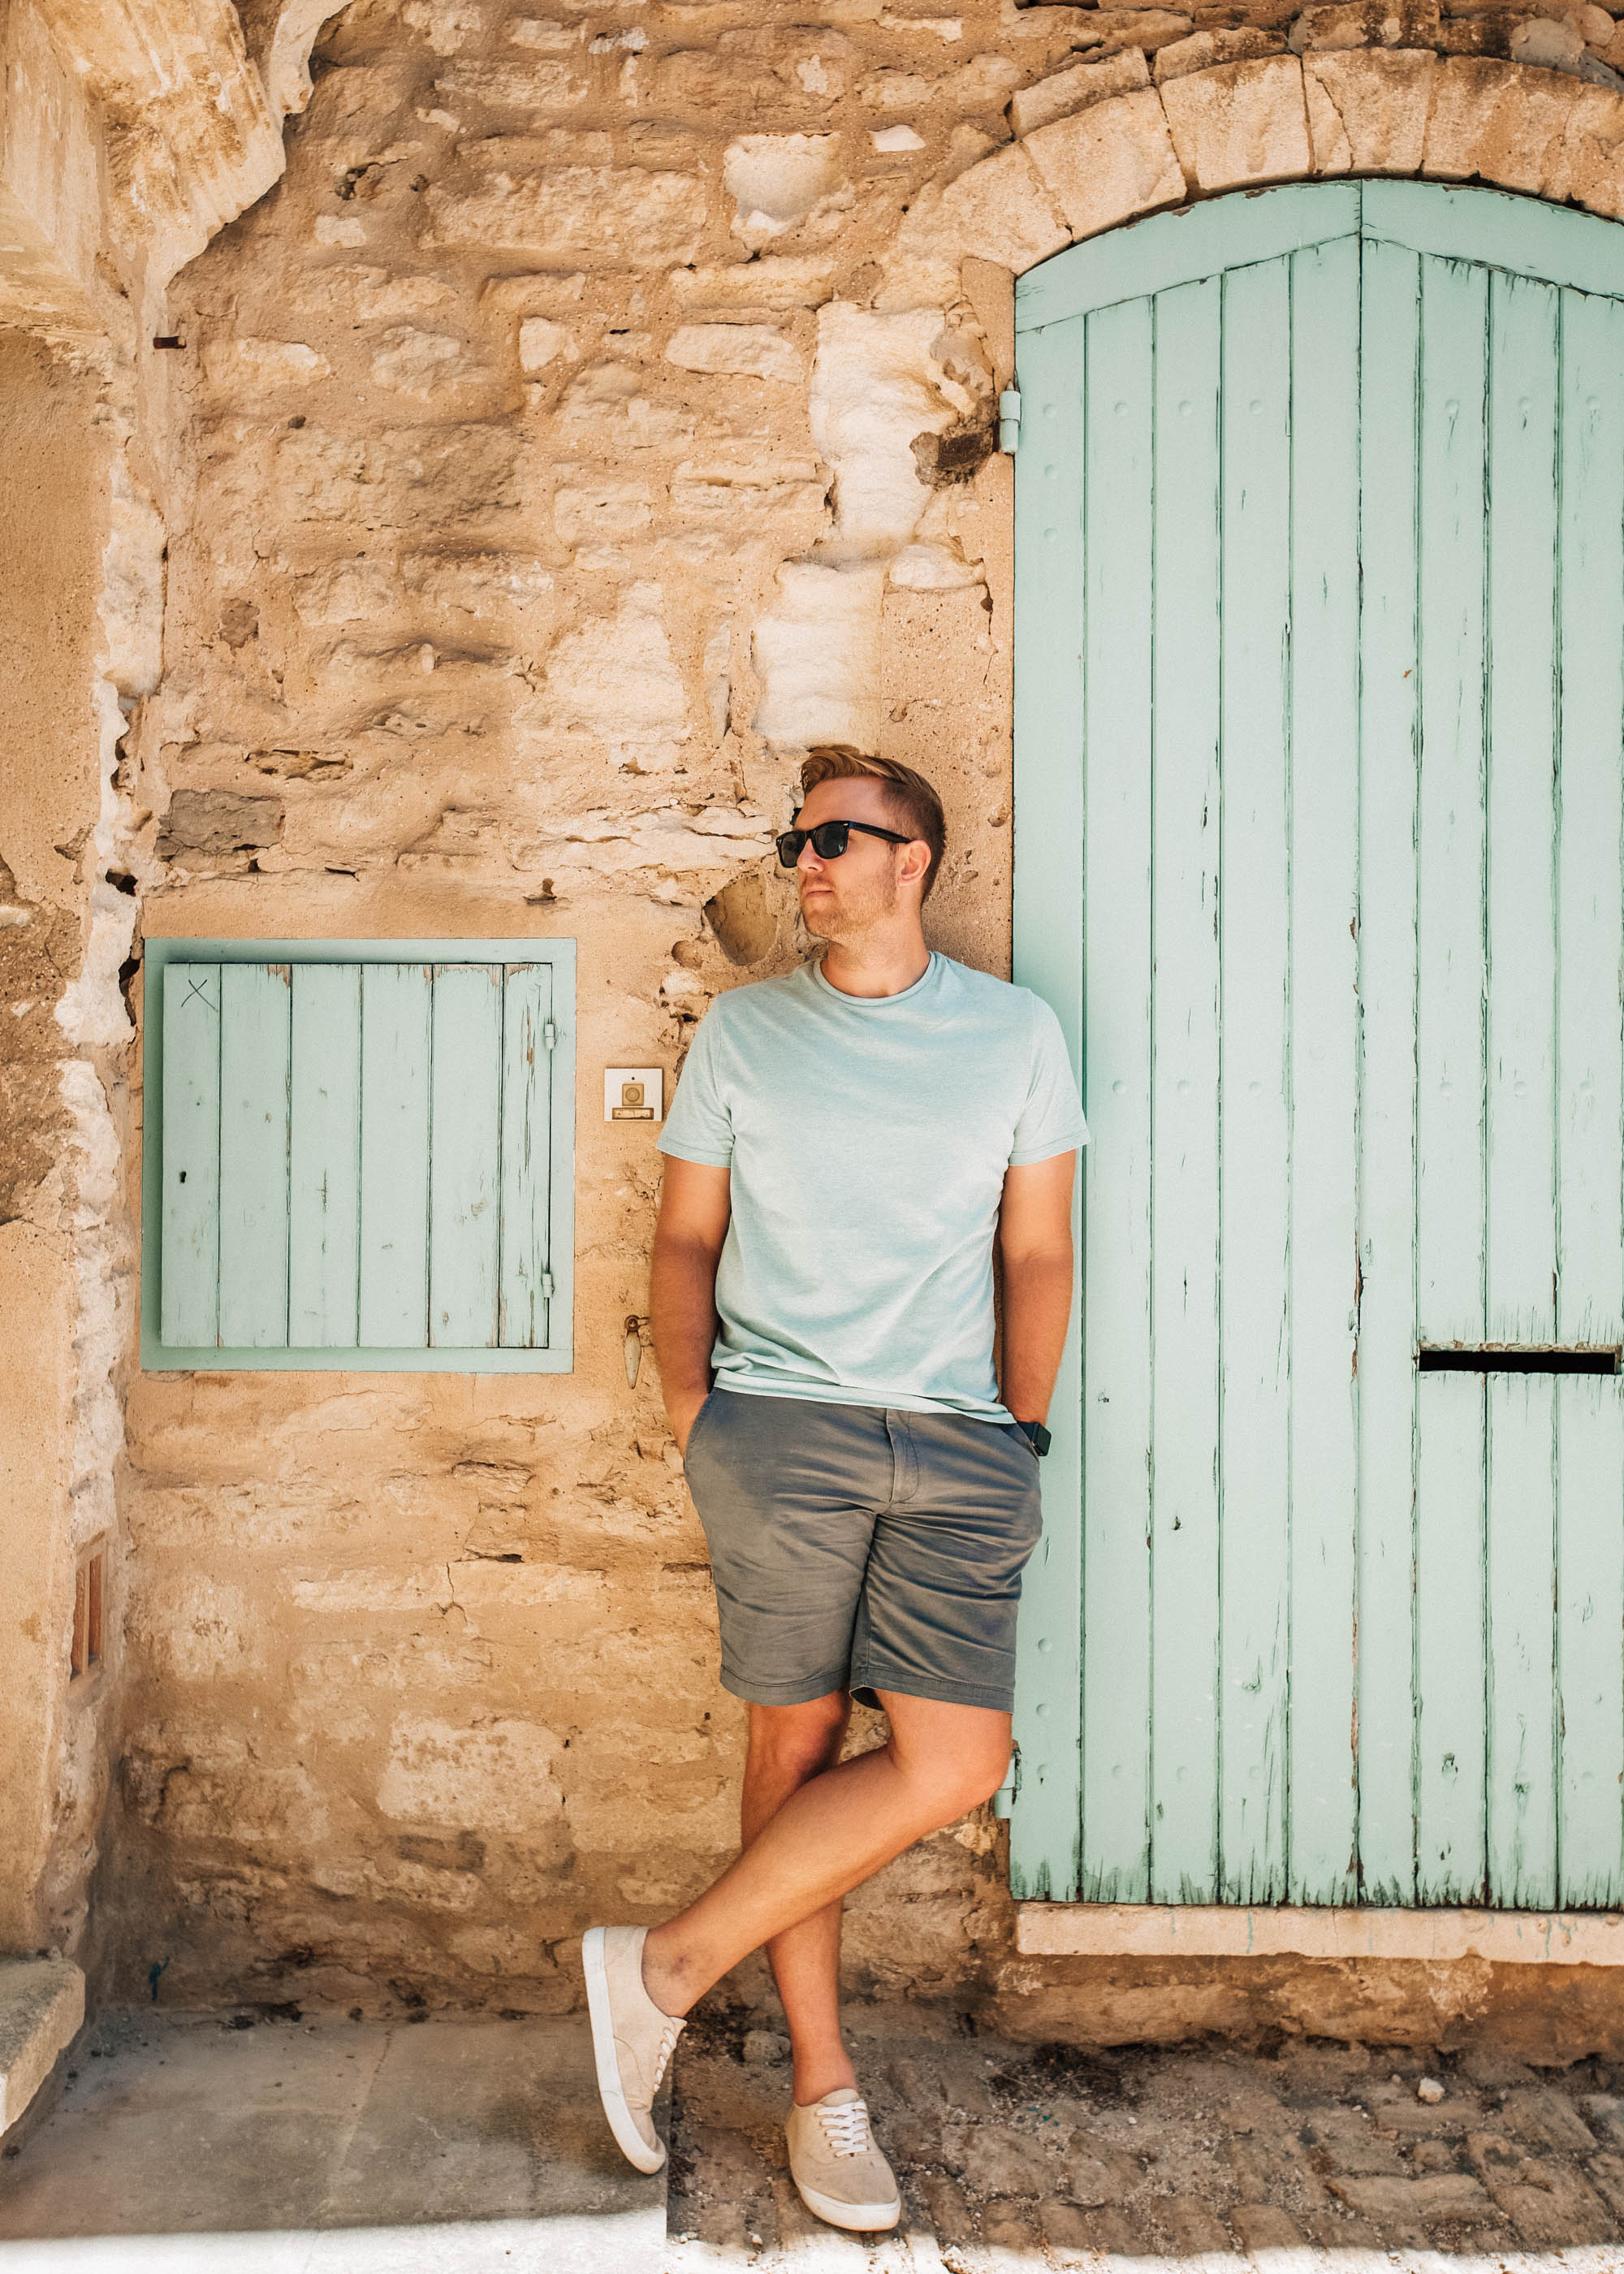
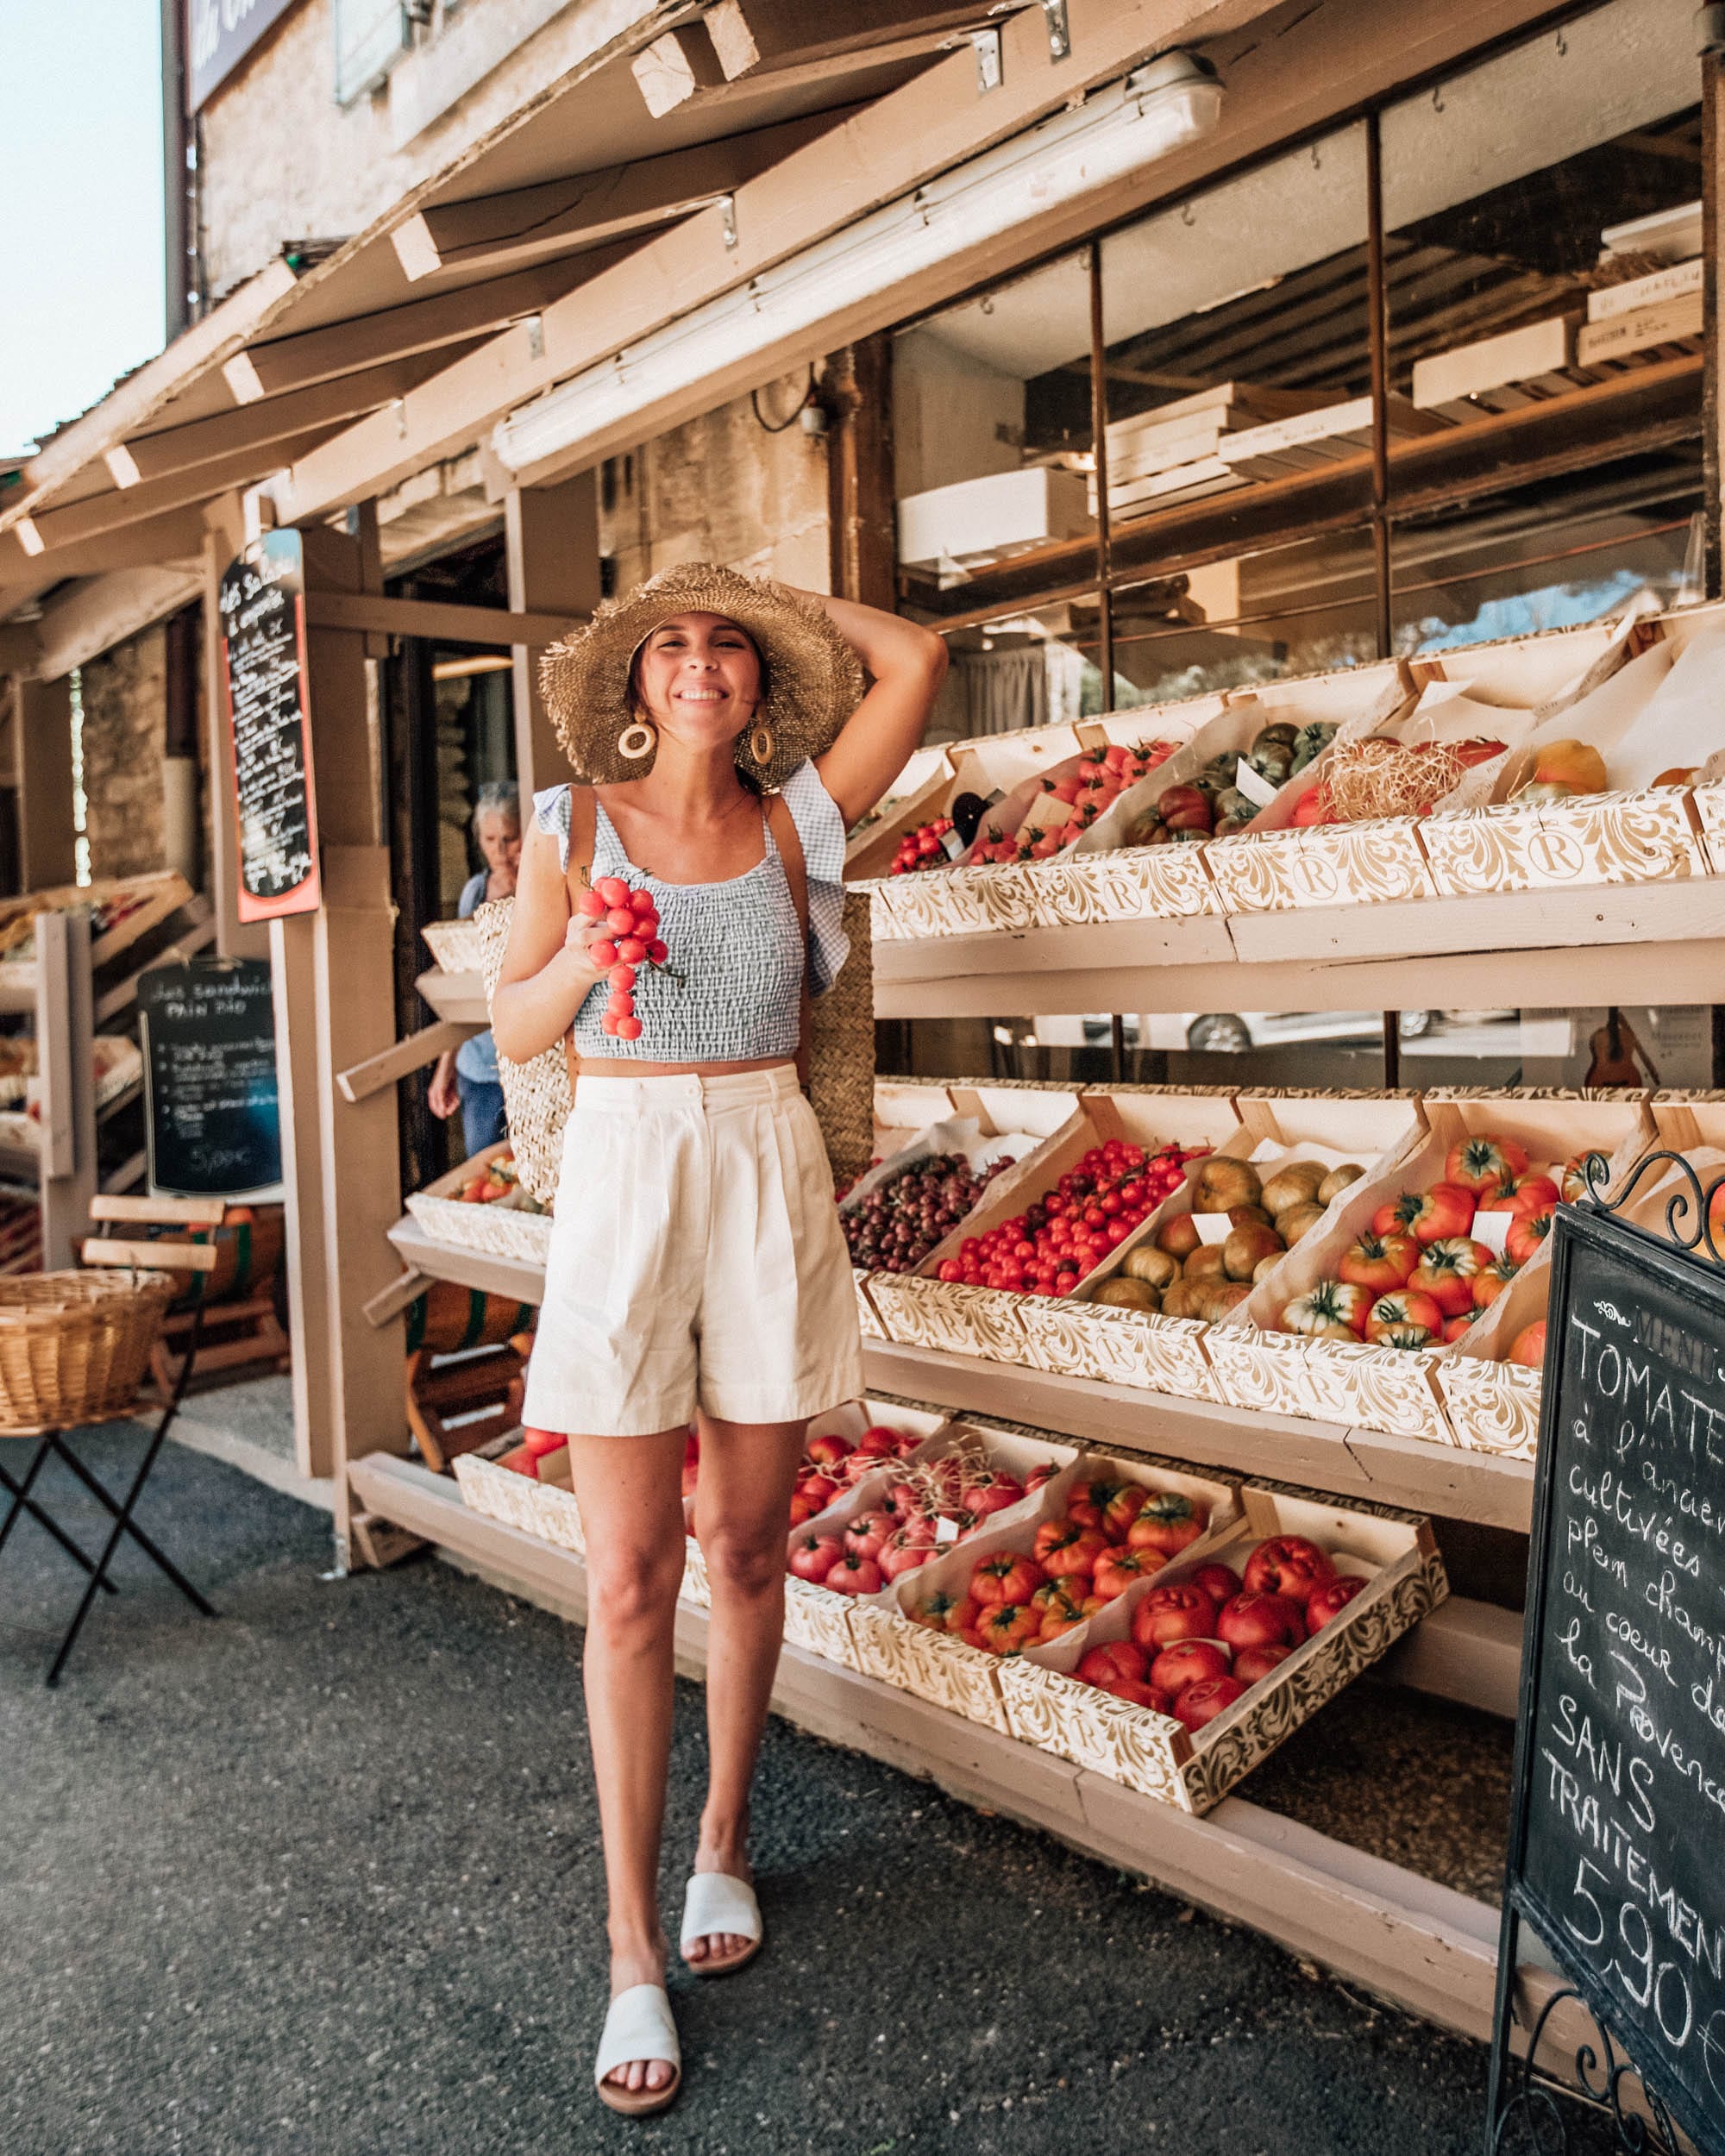
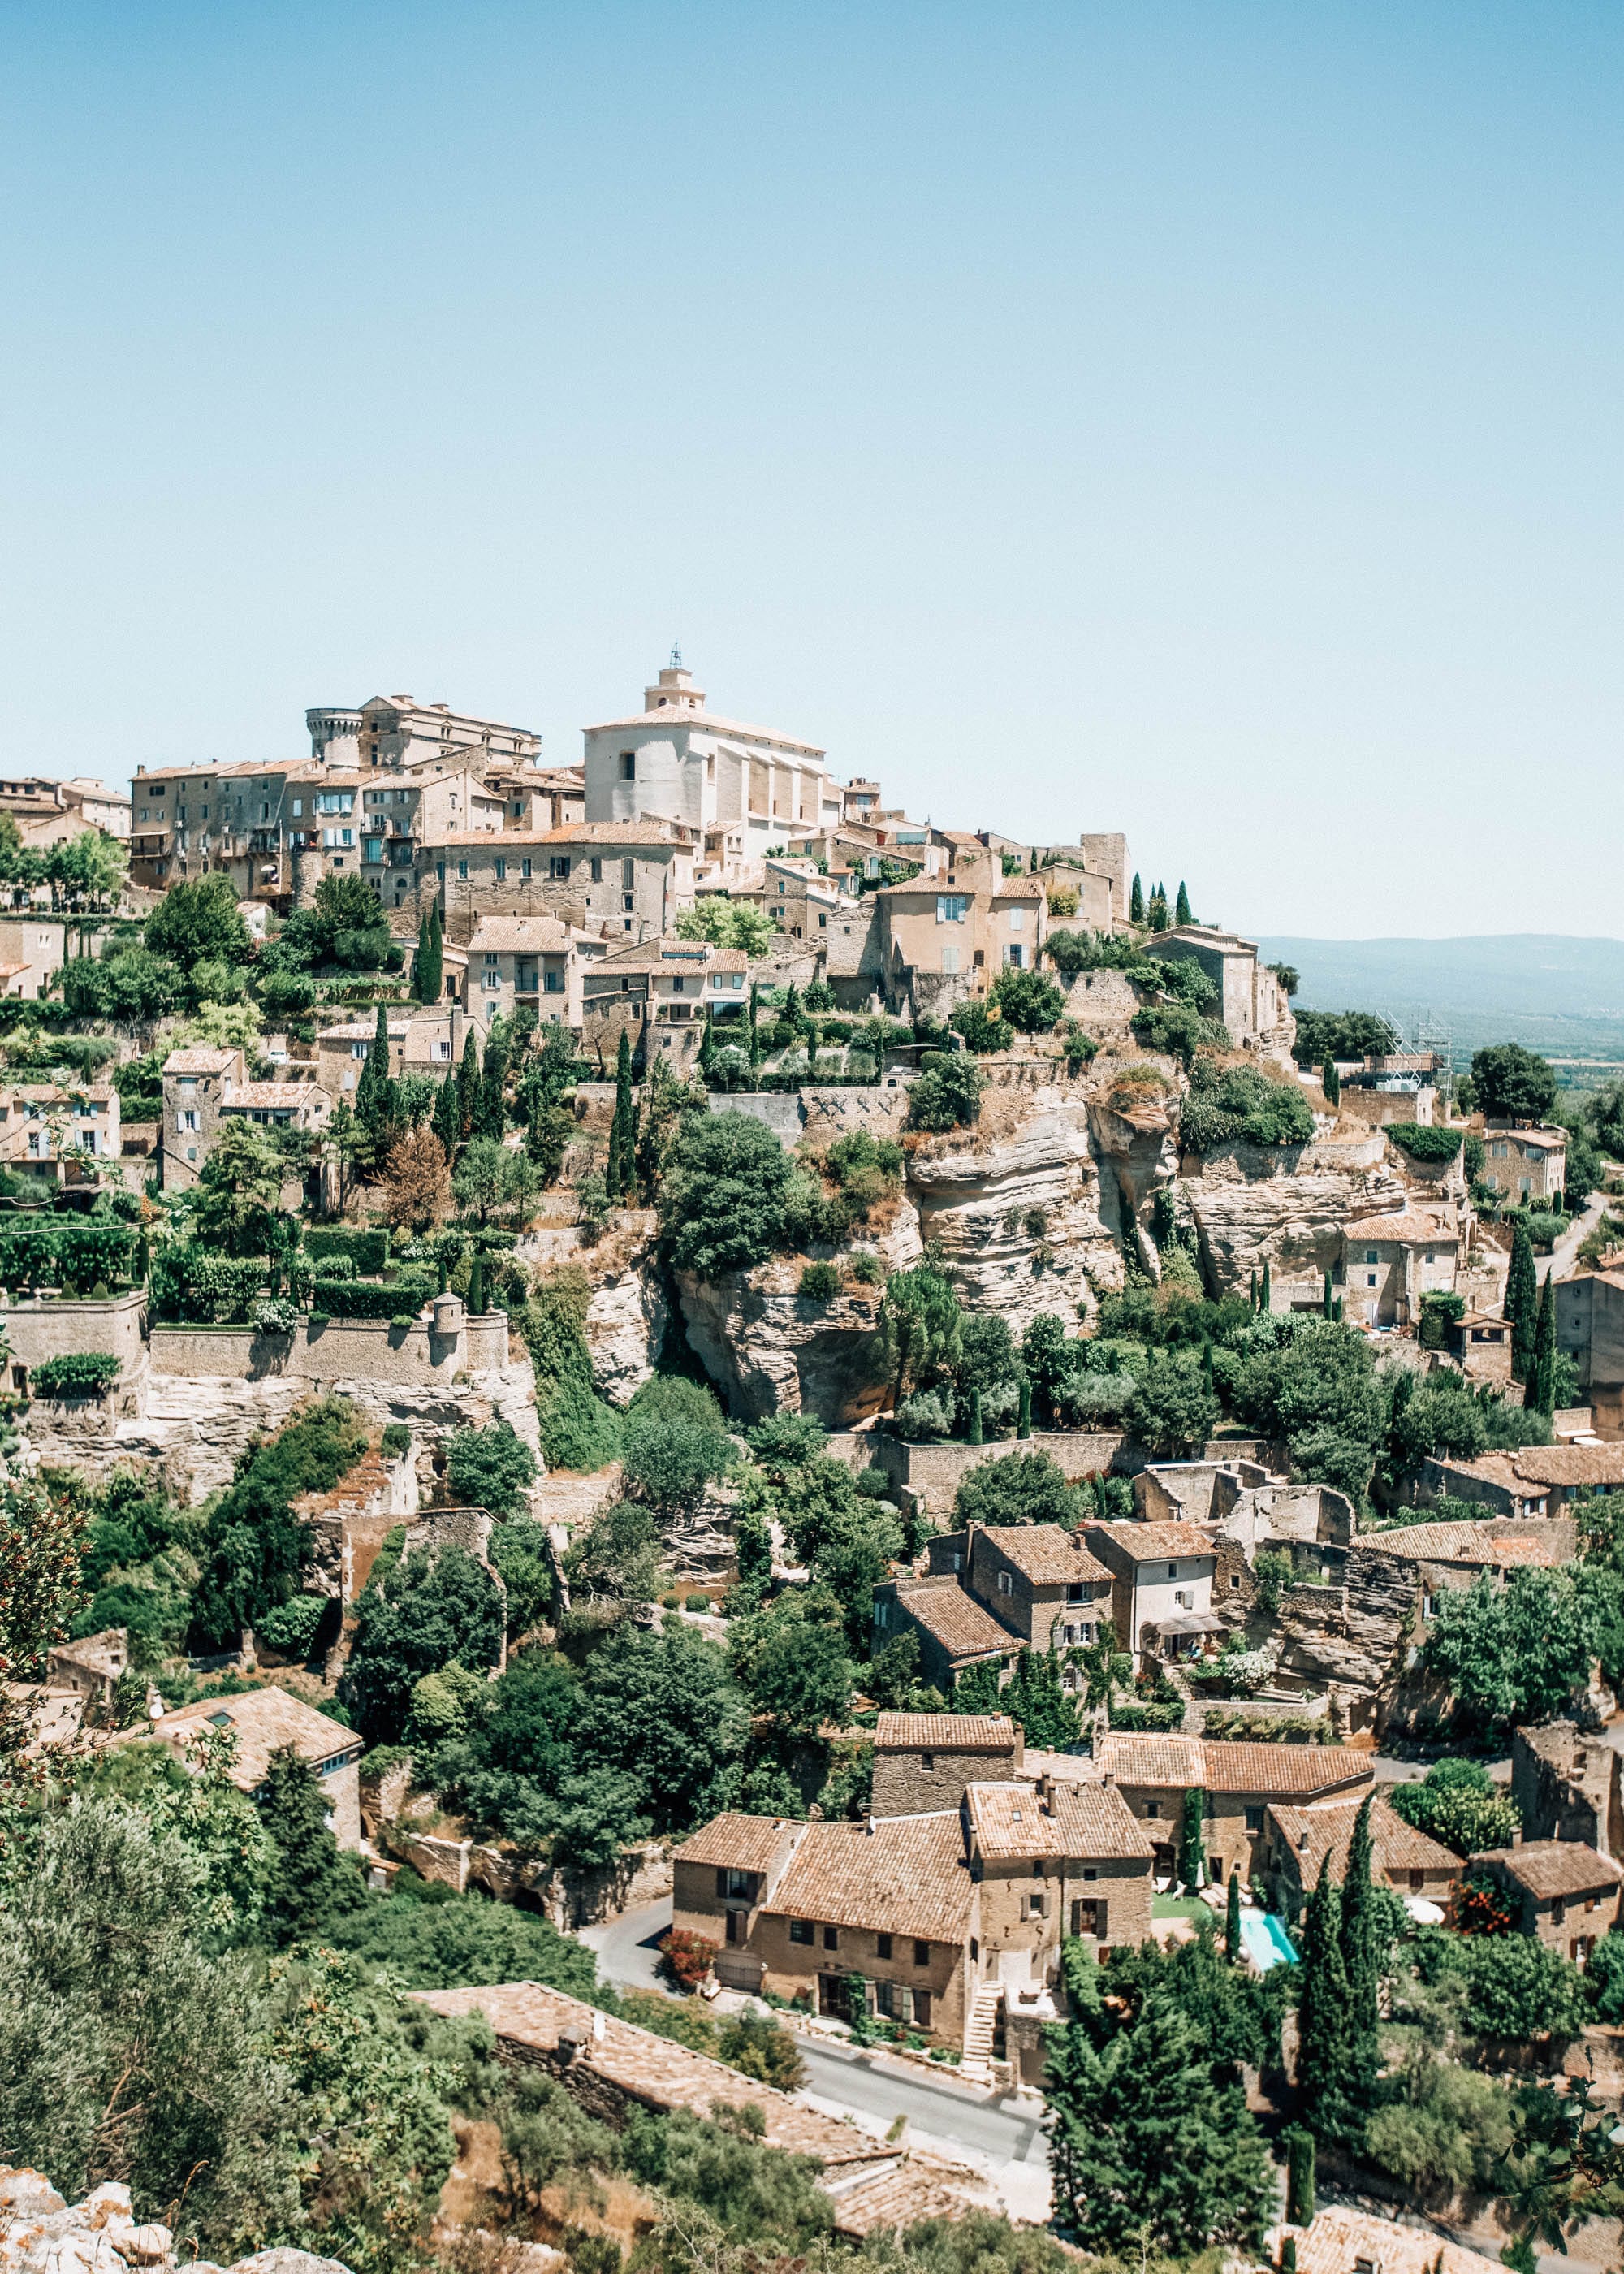
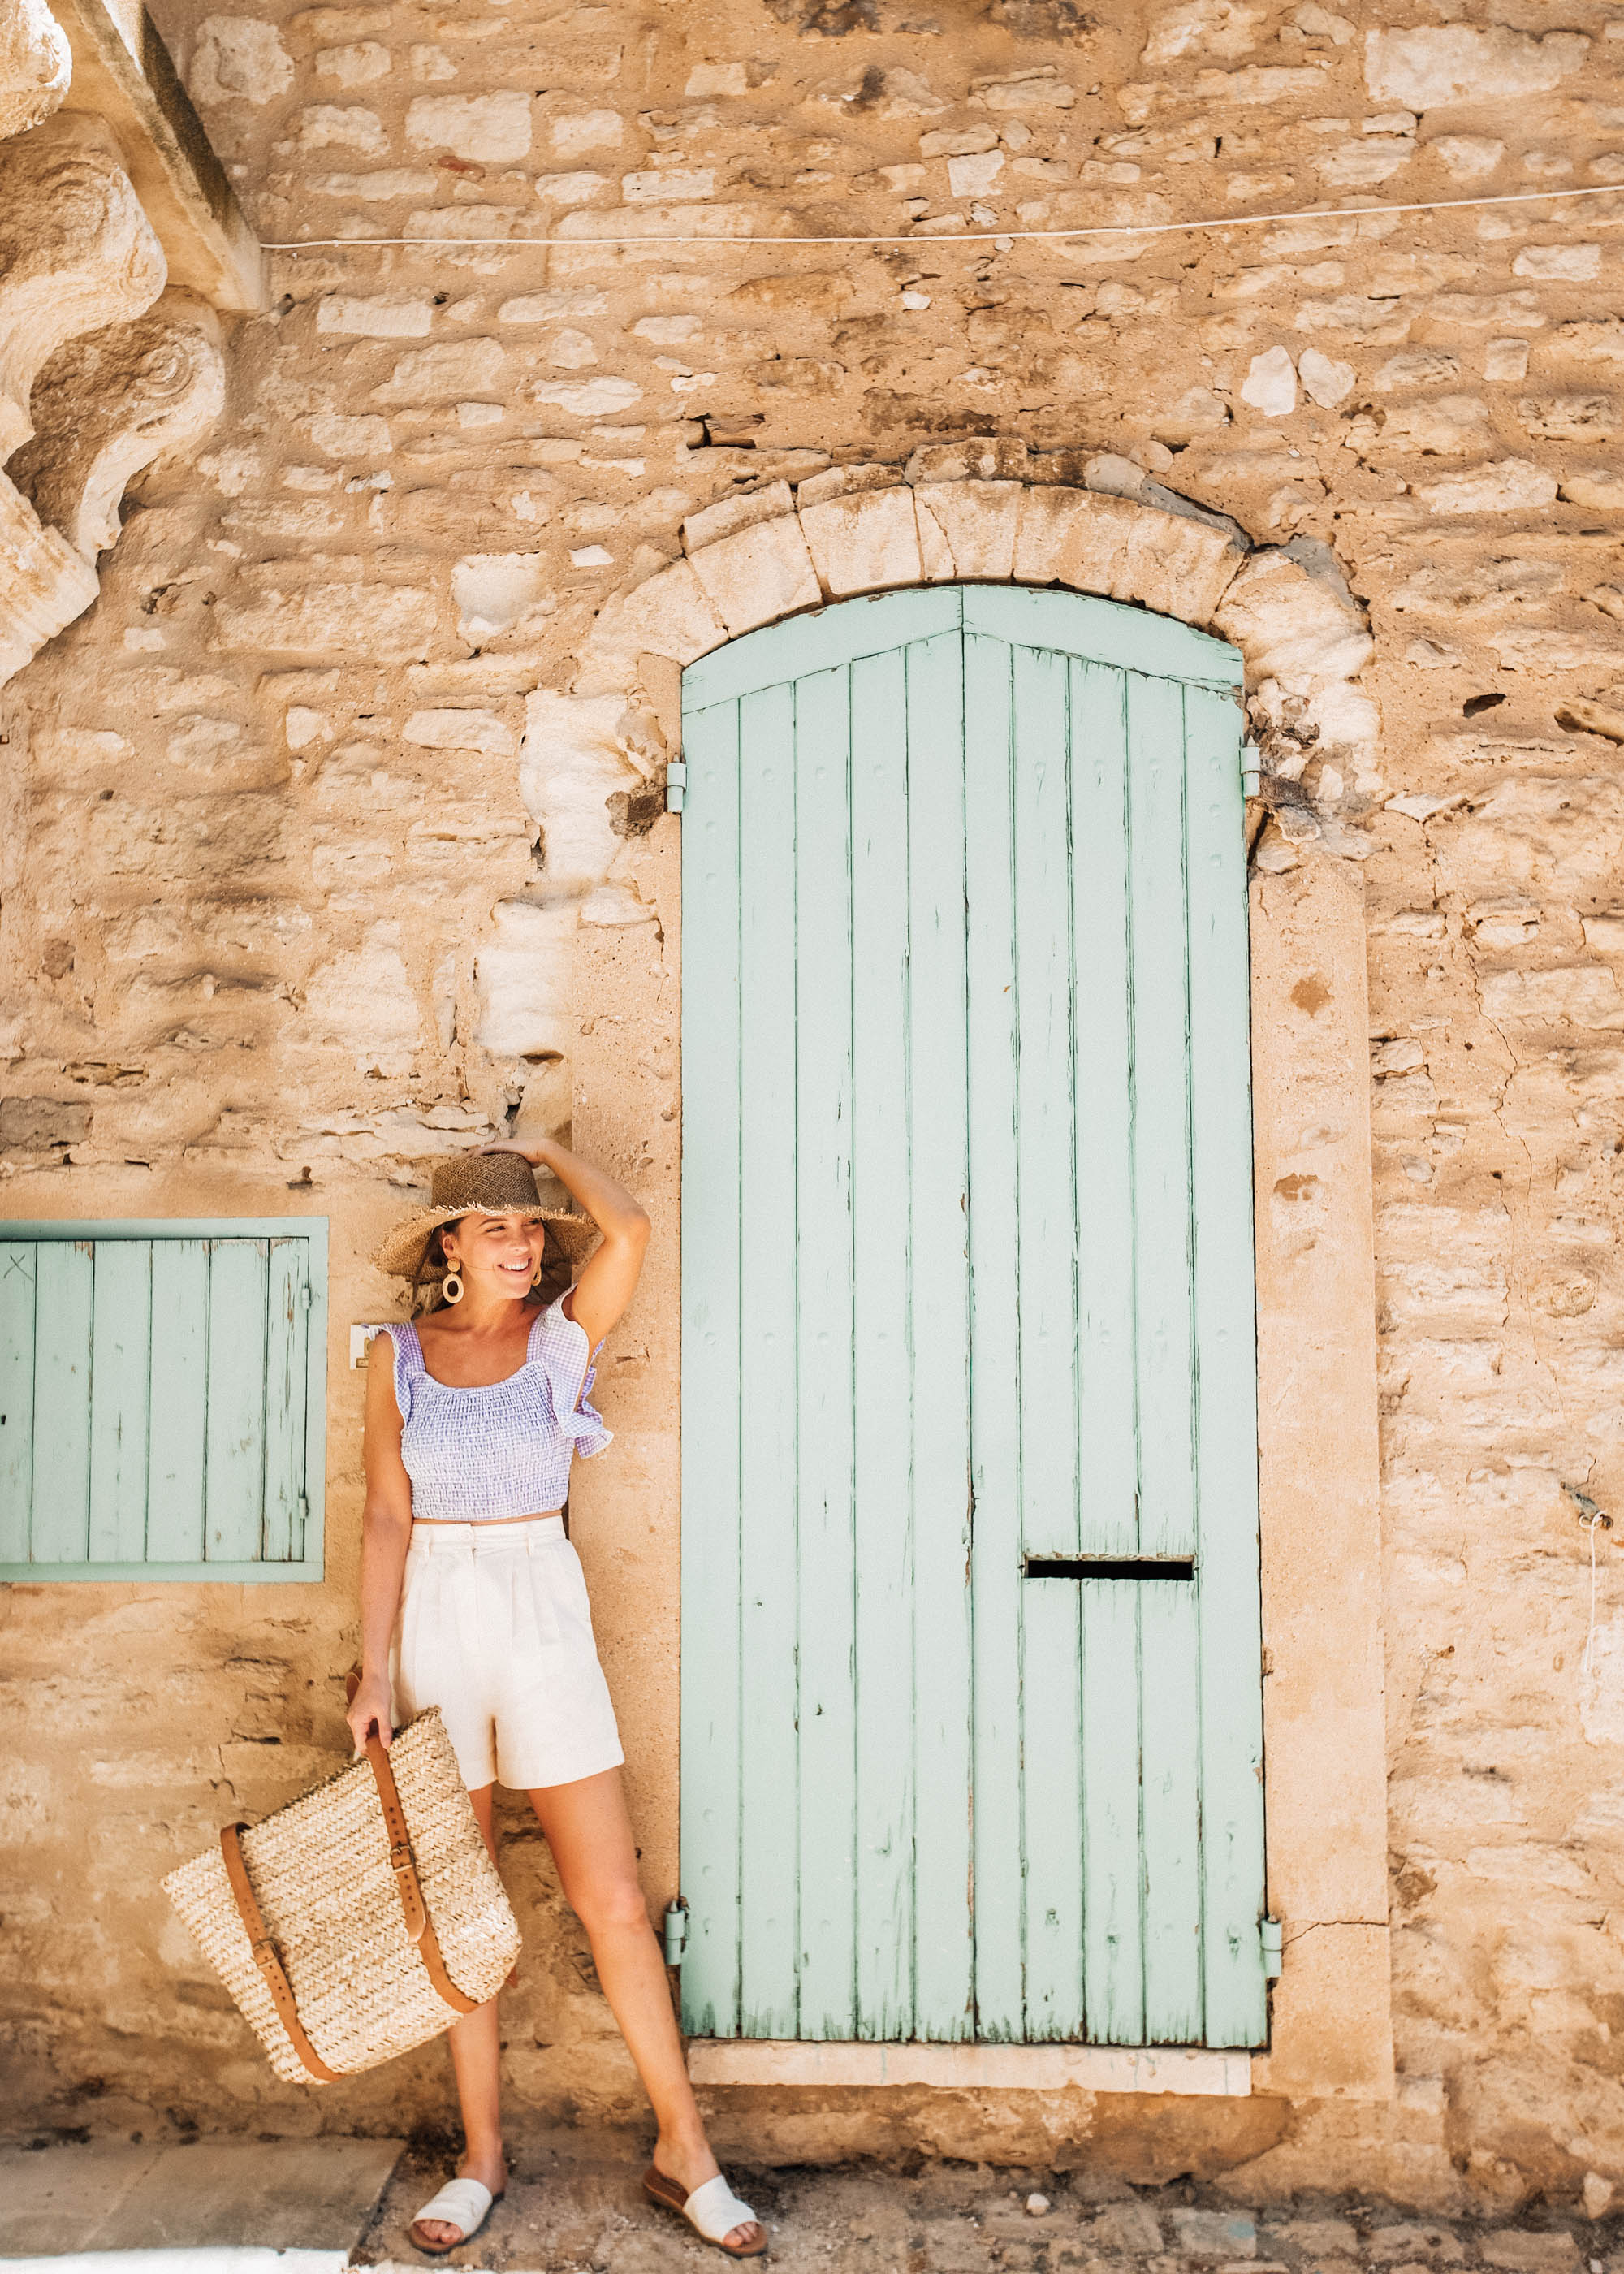
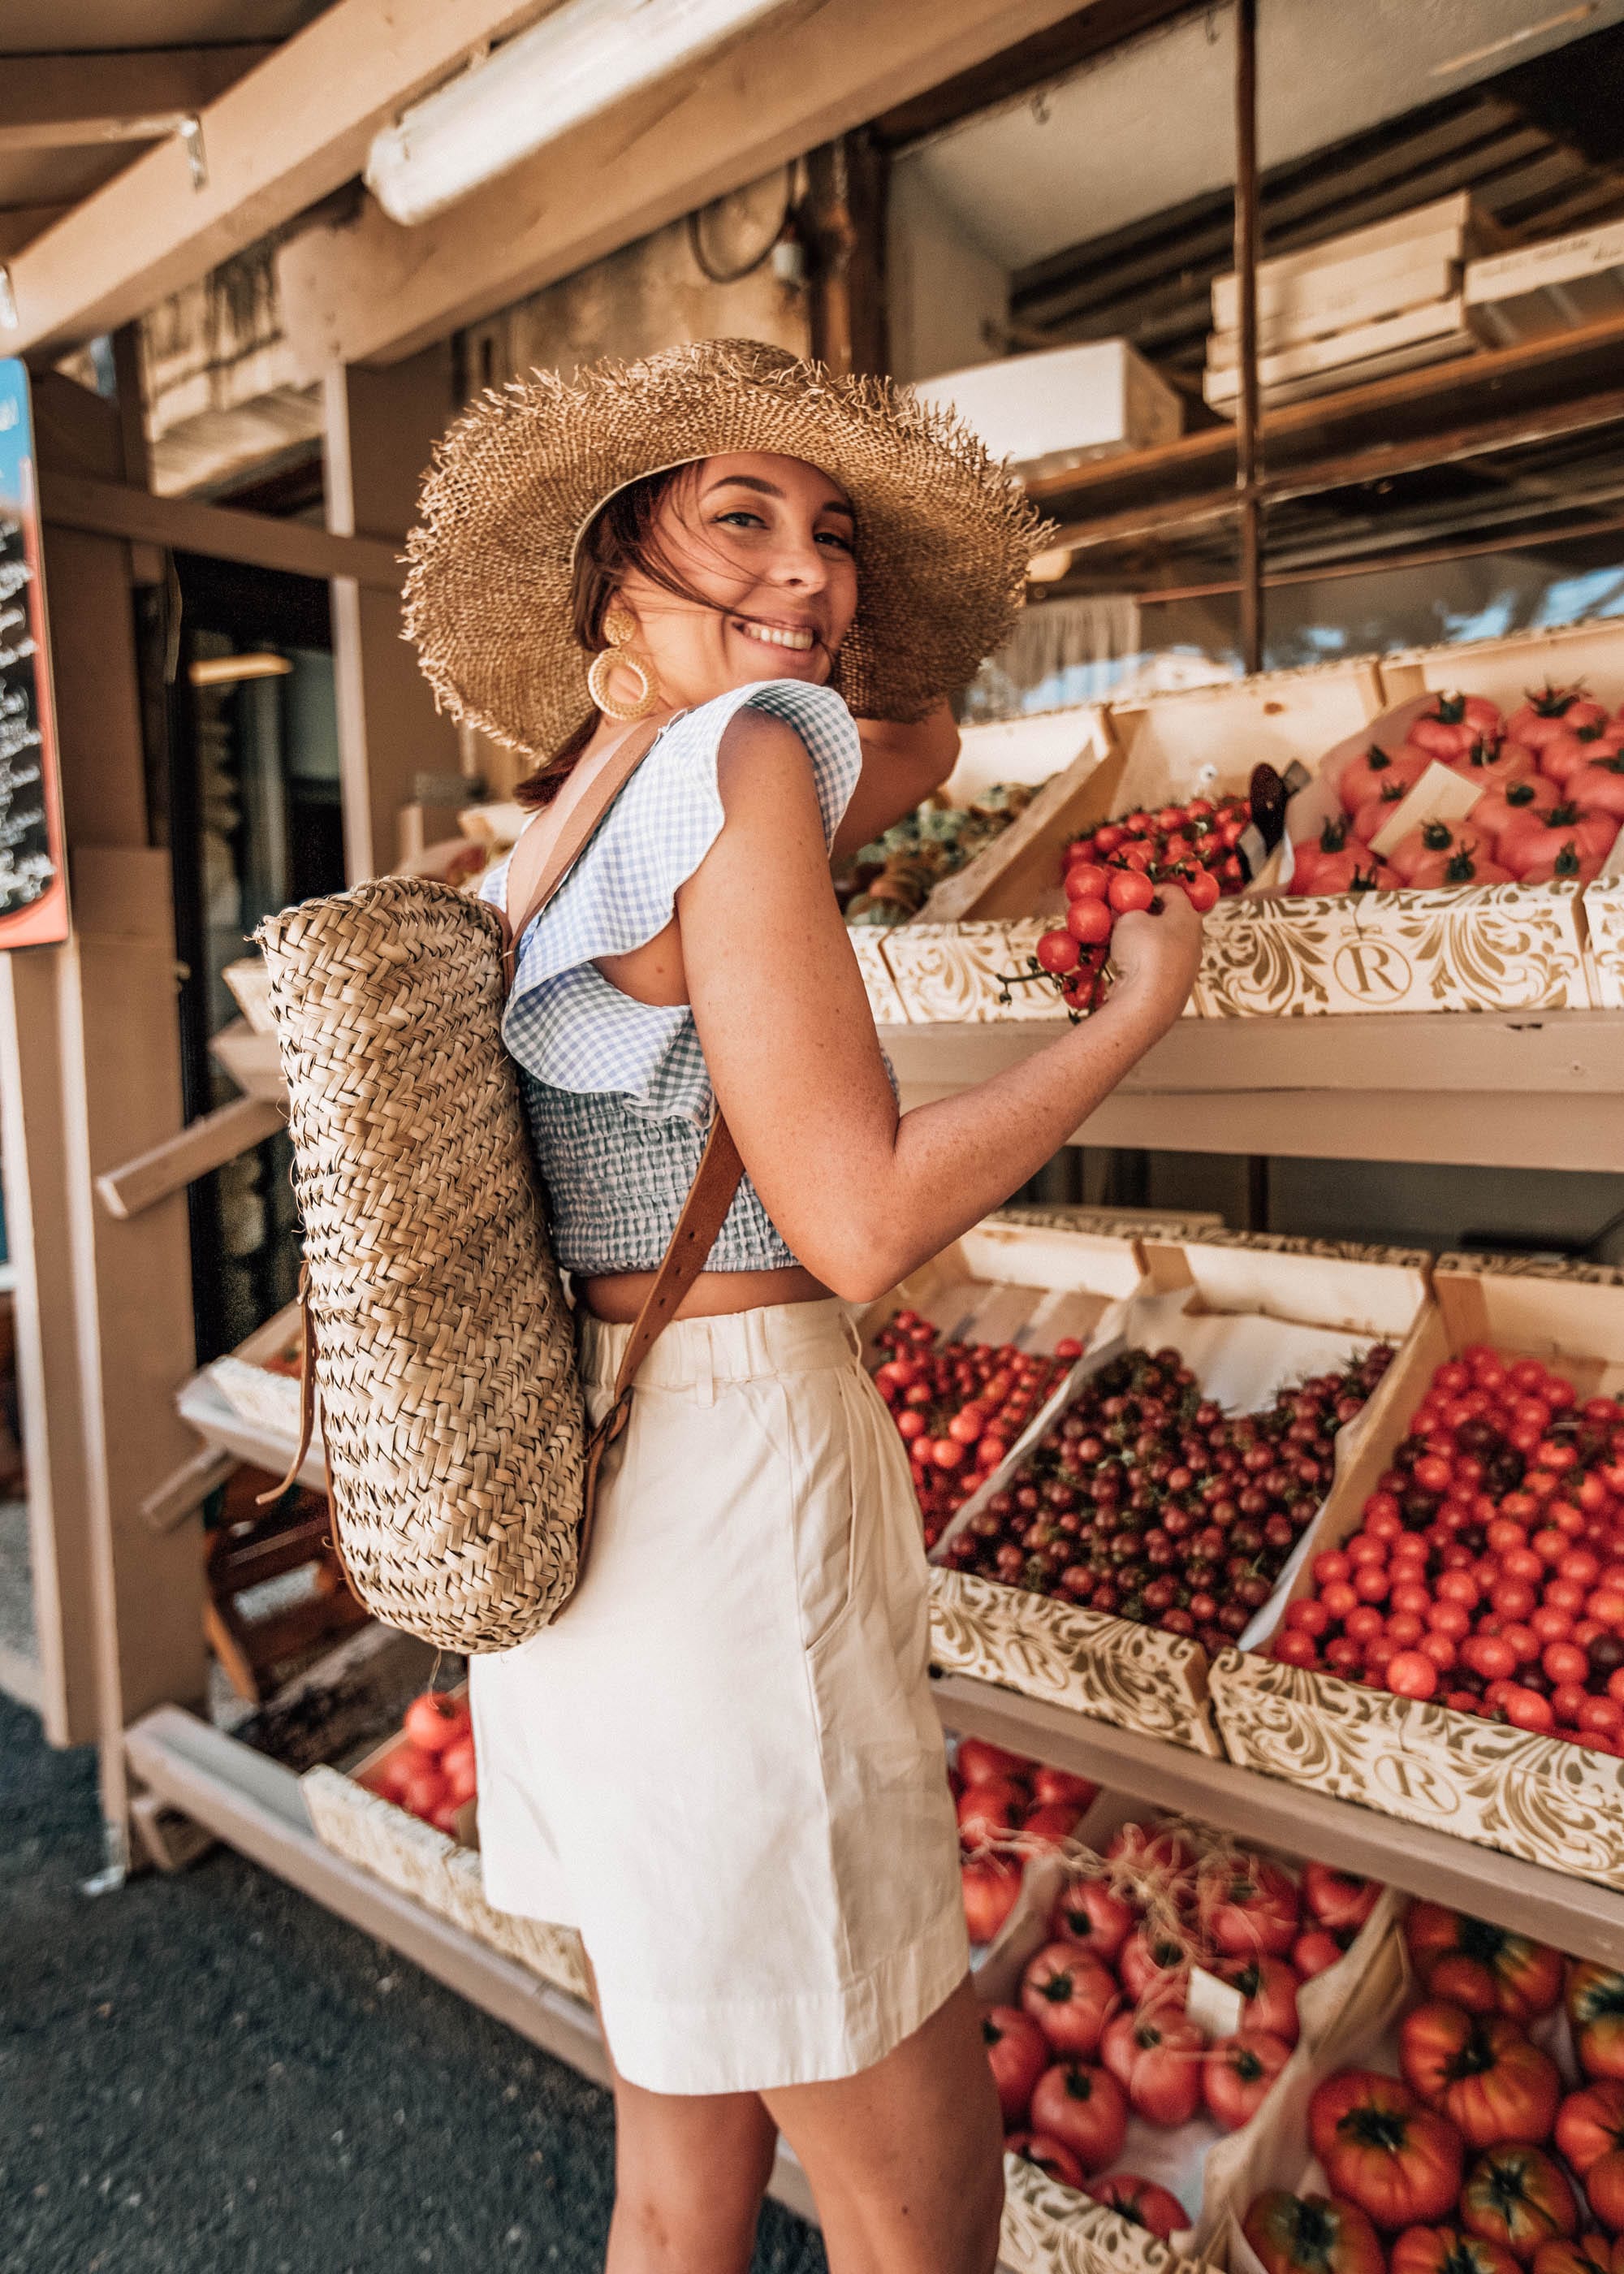
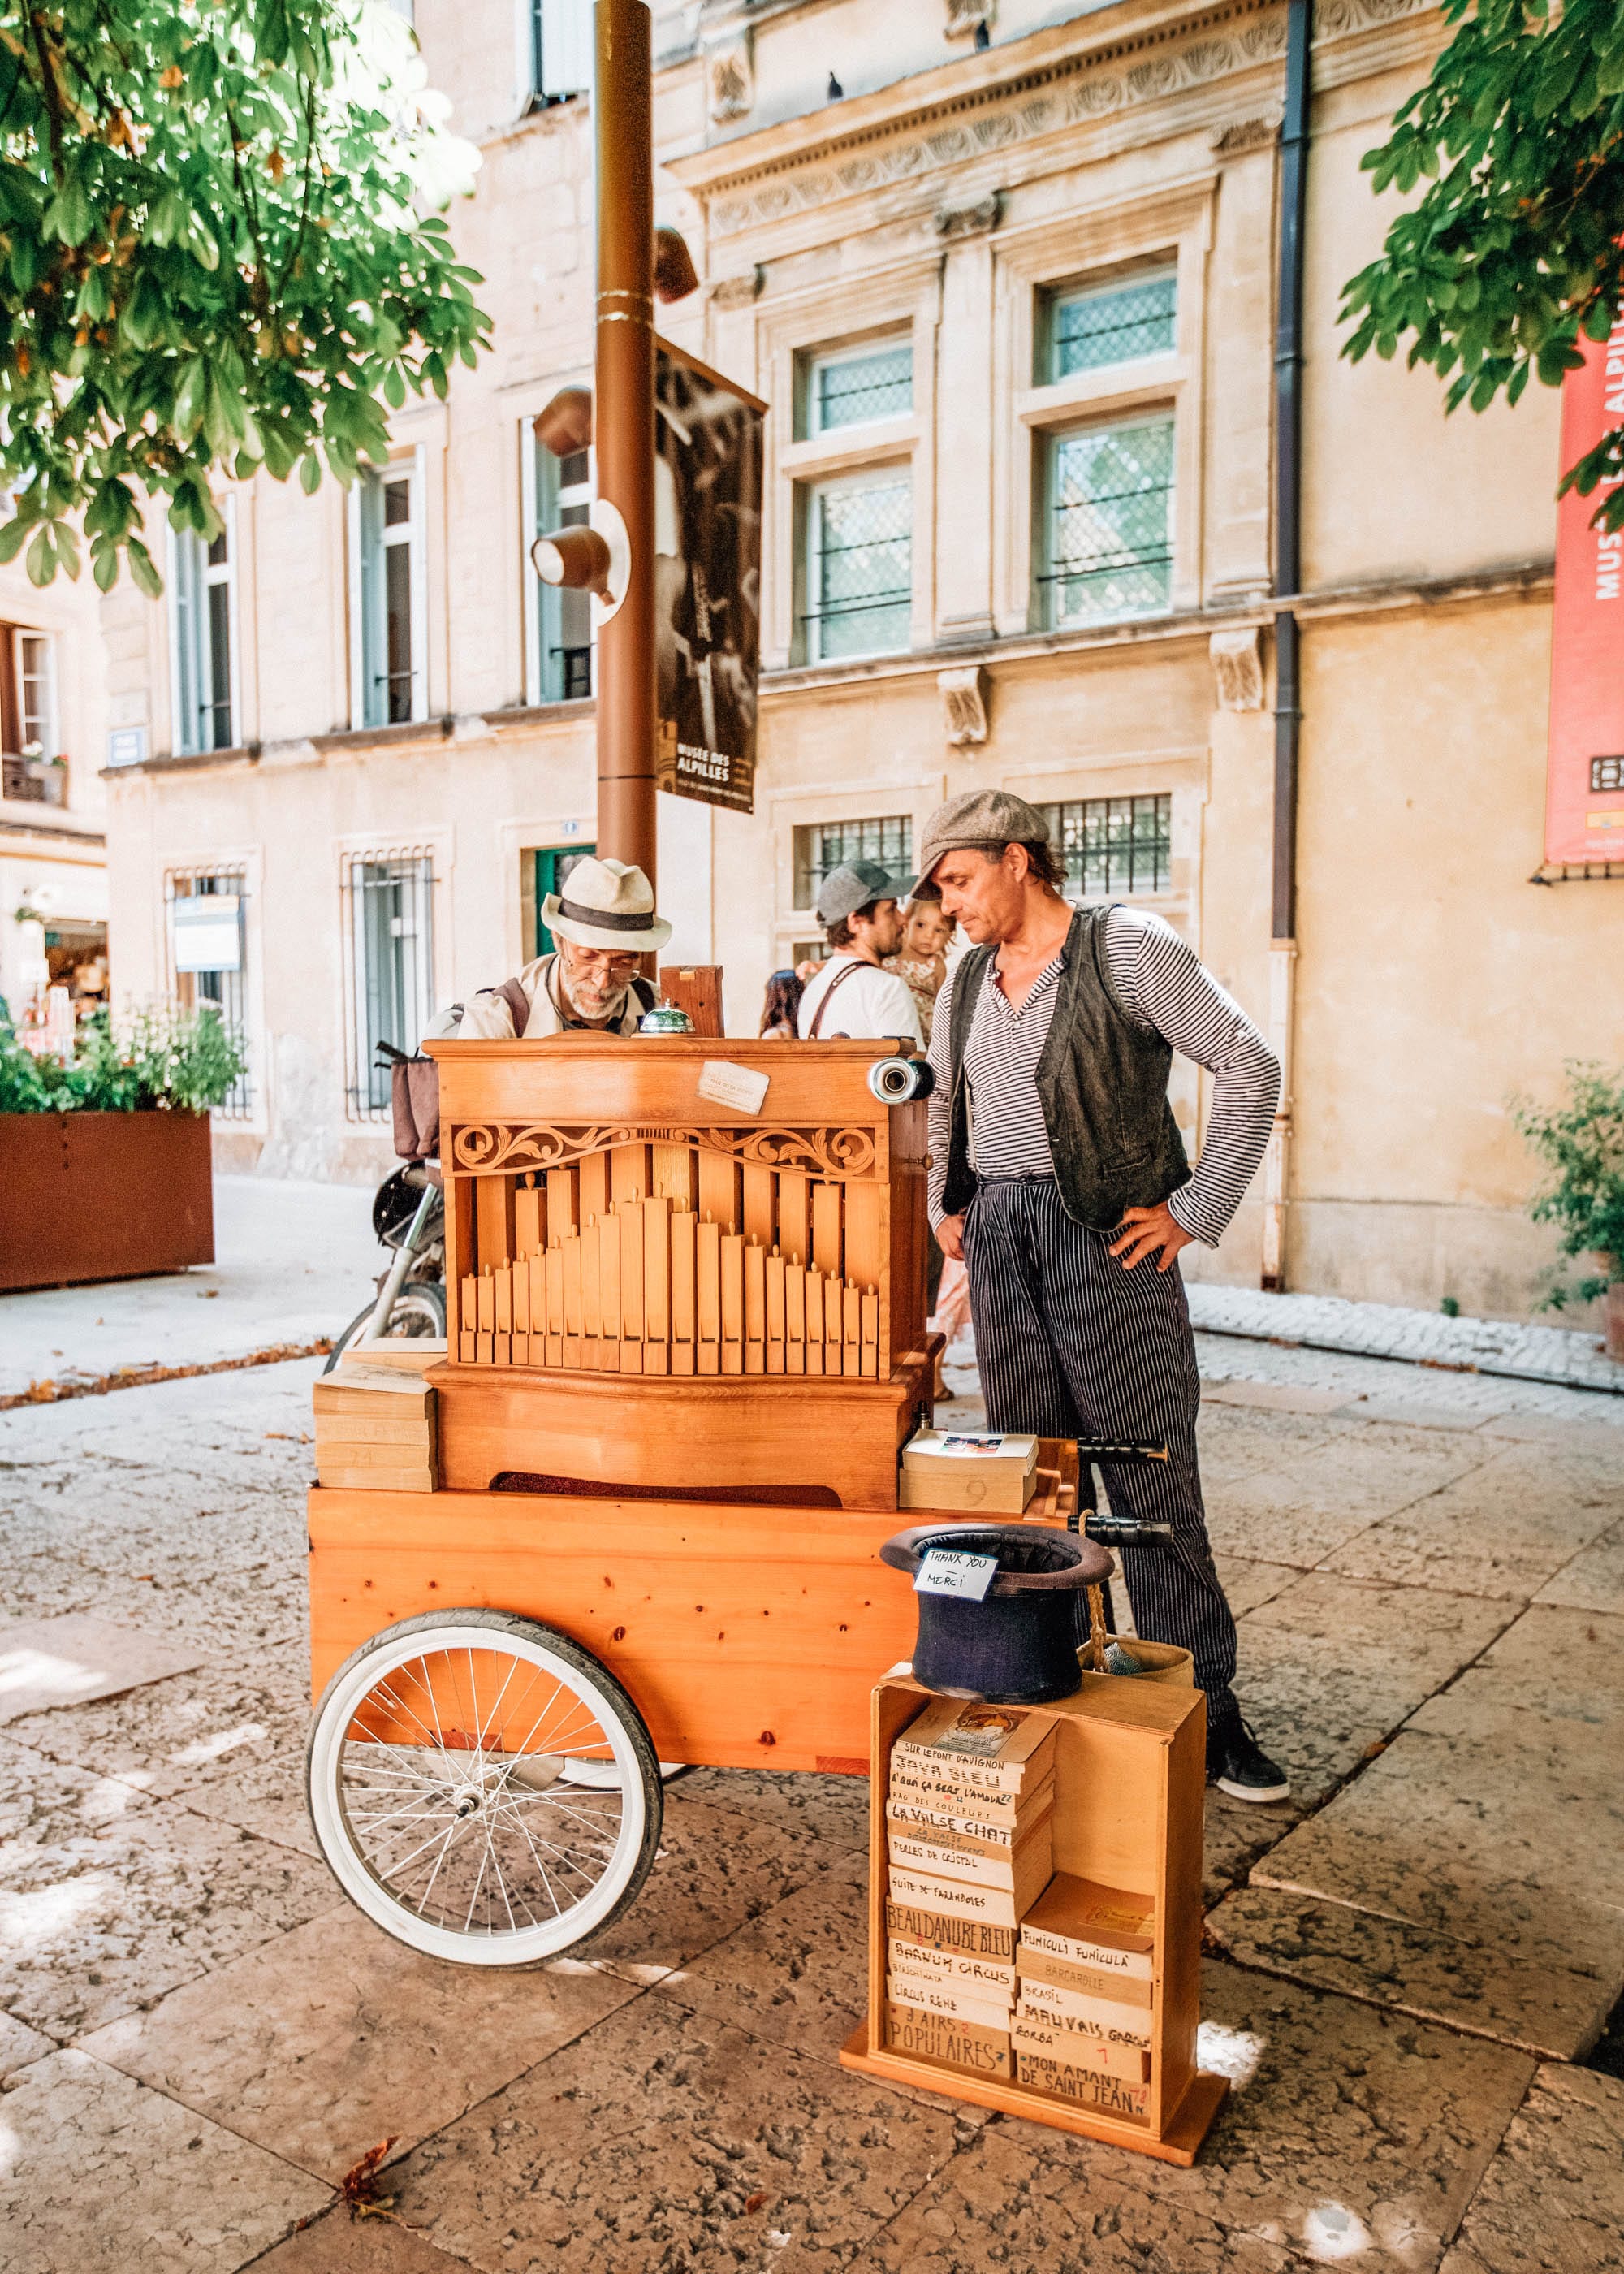
It was close to the middle of the afternoon when we got back to our Airbnb. We put our dinner ingredients in the fridge and decided to make a quick trip up to St. Remy, which was only about 15 minutes away. We wanted to spend about an hour there before heading back for dinner. St. Remy was very quaint. It is shaped in a circle and the main roads make a ring around the village. We were able to find street parking and headed into the middle of the village. St. Remy had a lot of good shops for gifts, clothes, or travel knick knacks. We were starting to feel the effects of the lack of sleep, so we stopped by a cafe for a much needed latte. We got the lattes (and a cookie!) to go and made our way to a little square to sit down. We were treated to a very French musical artist playing a traditional wind up music box. It was serene!
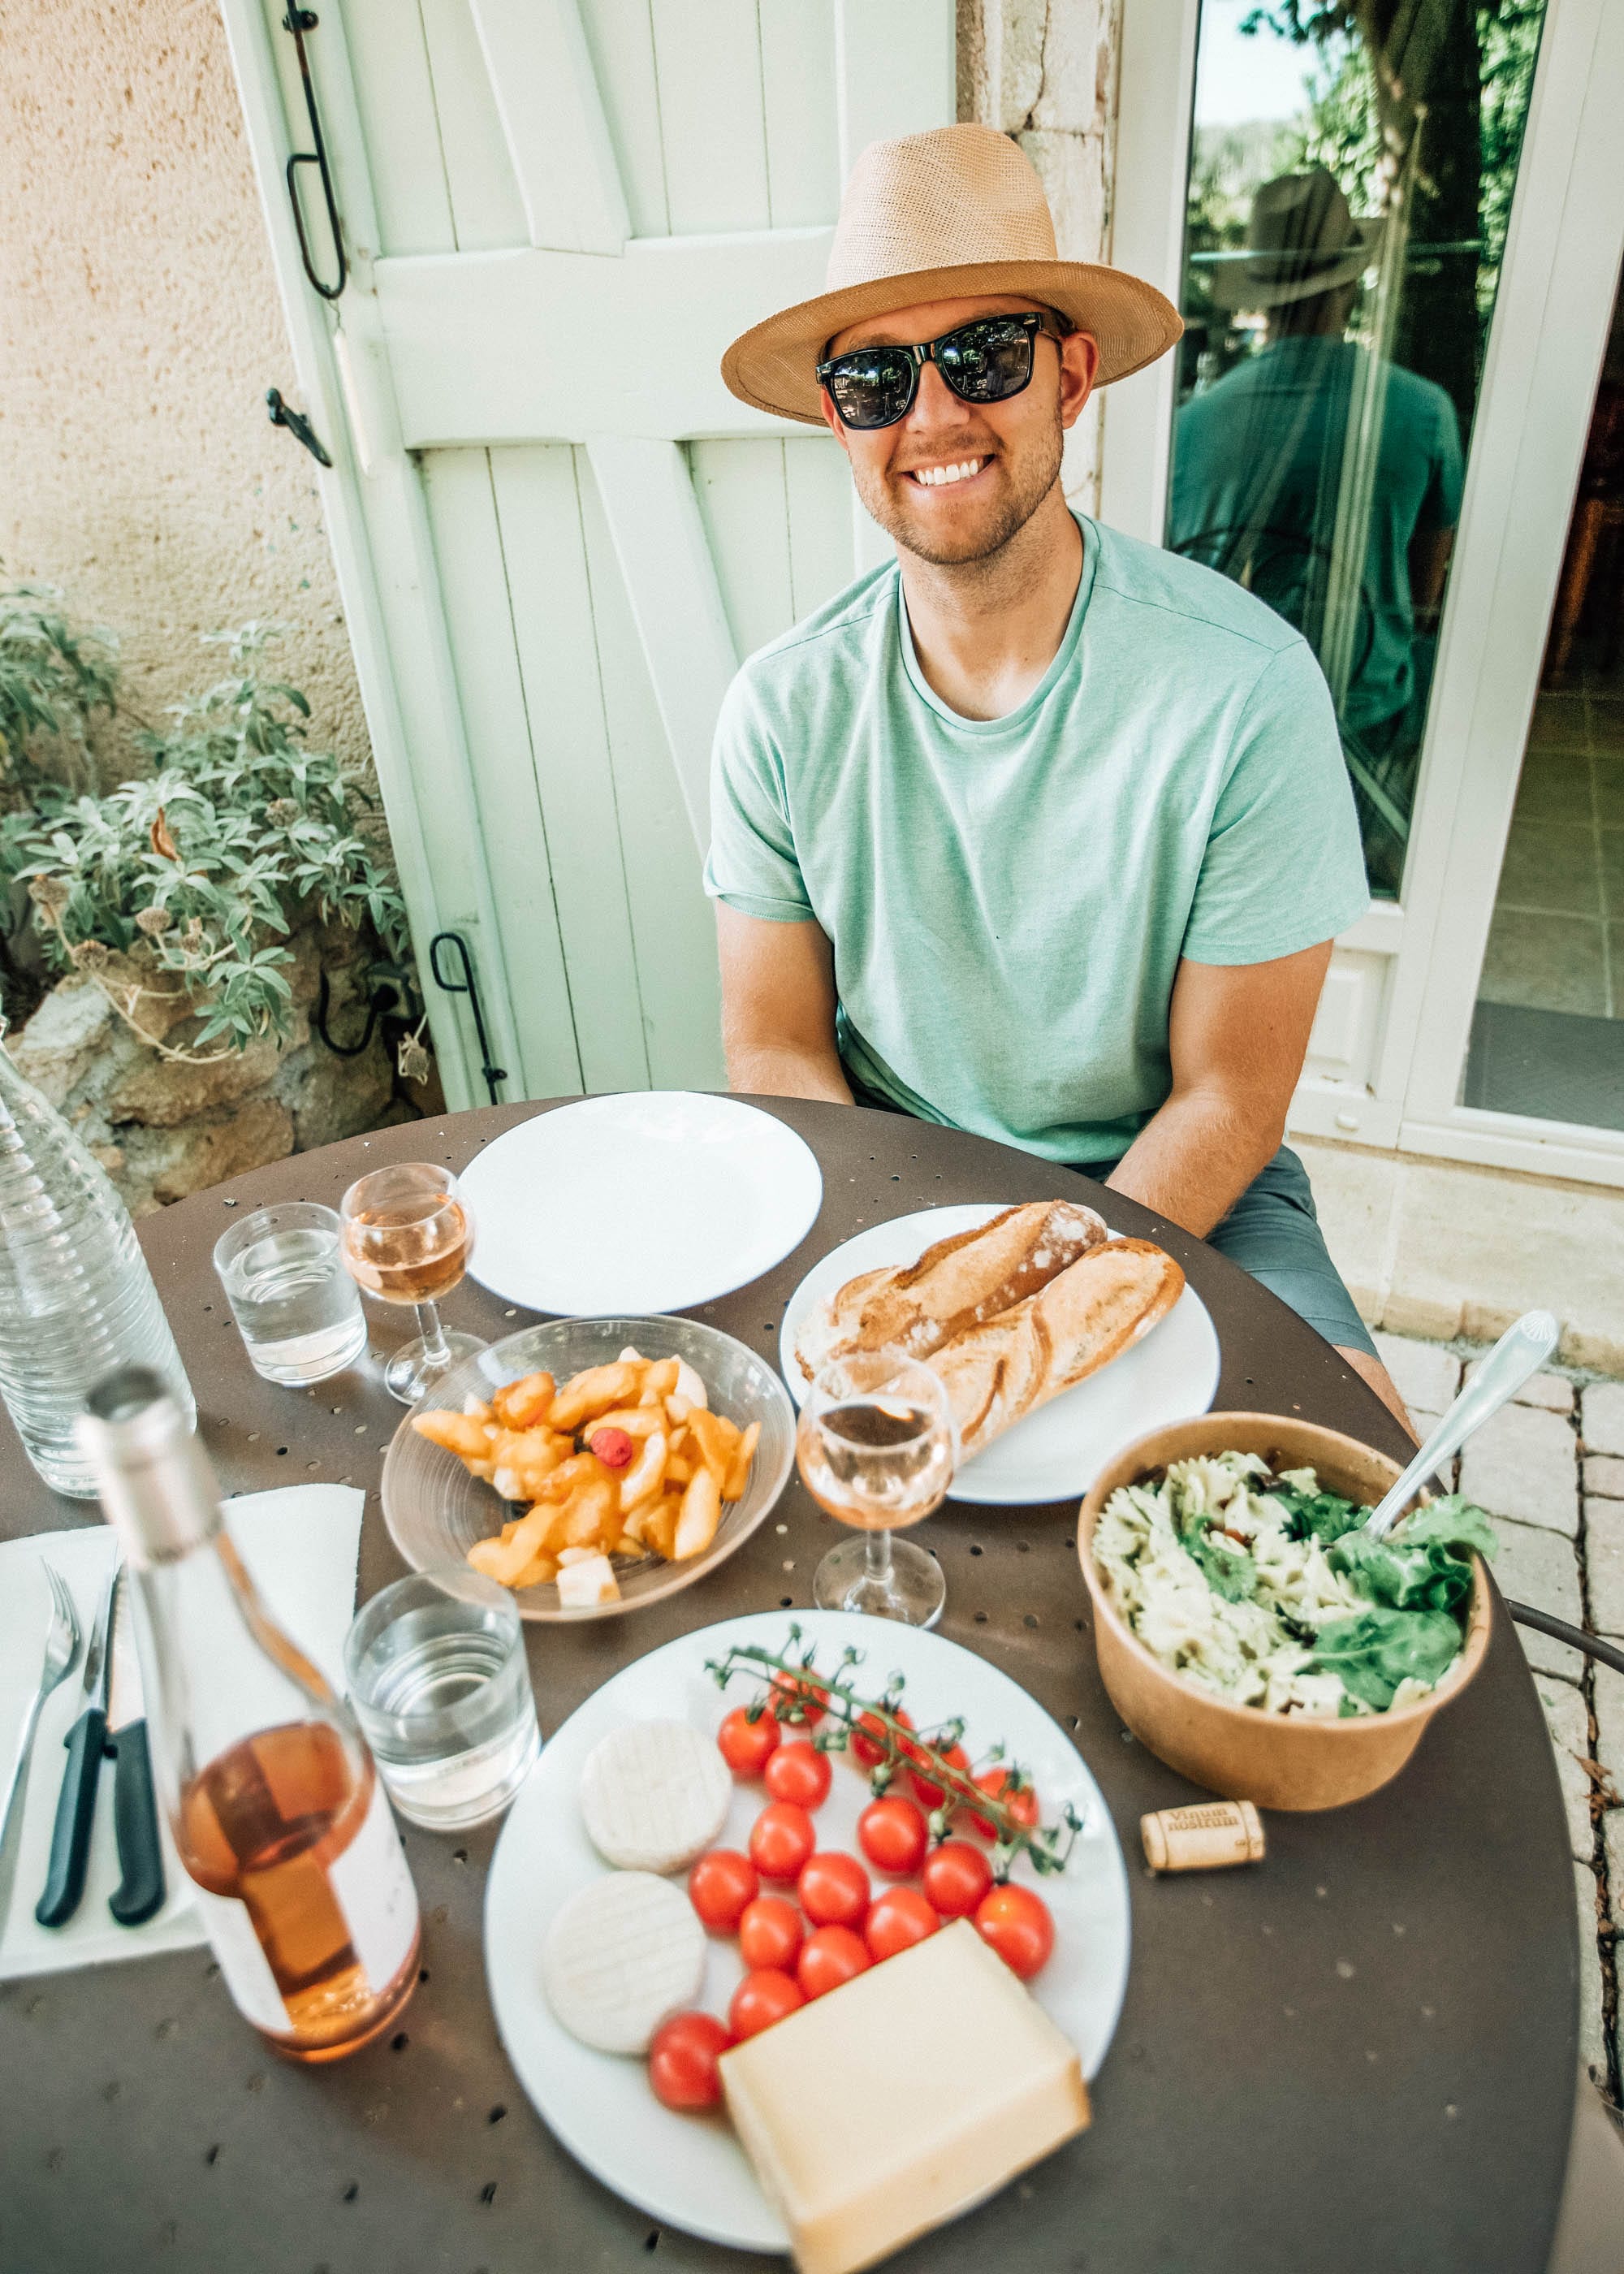
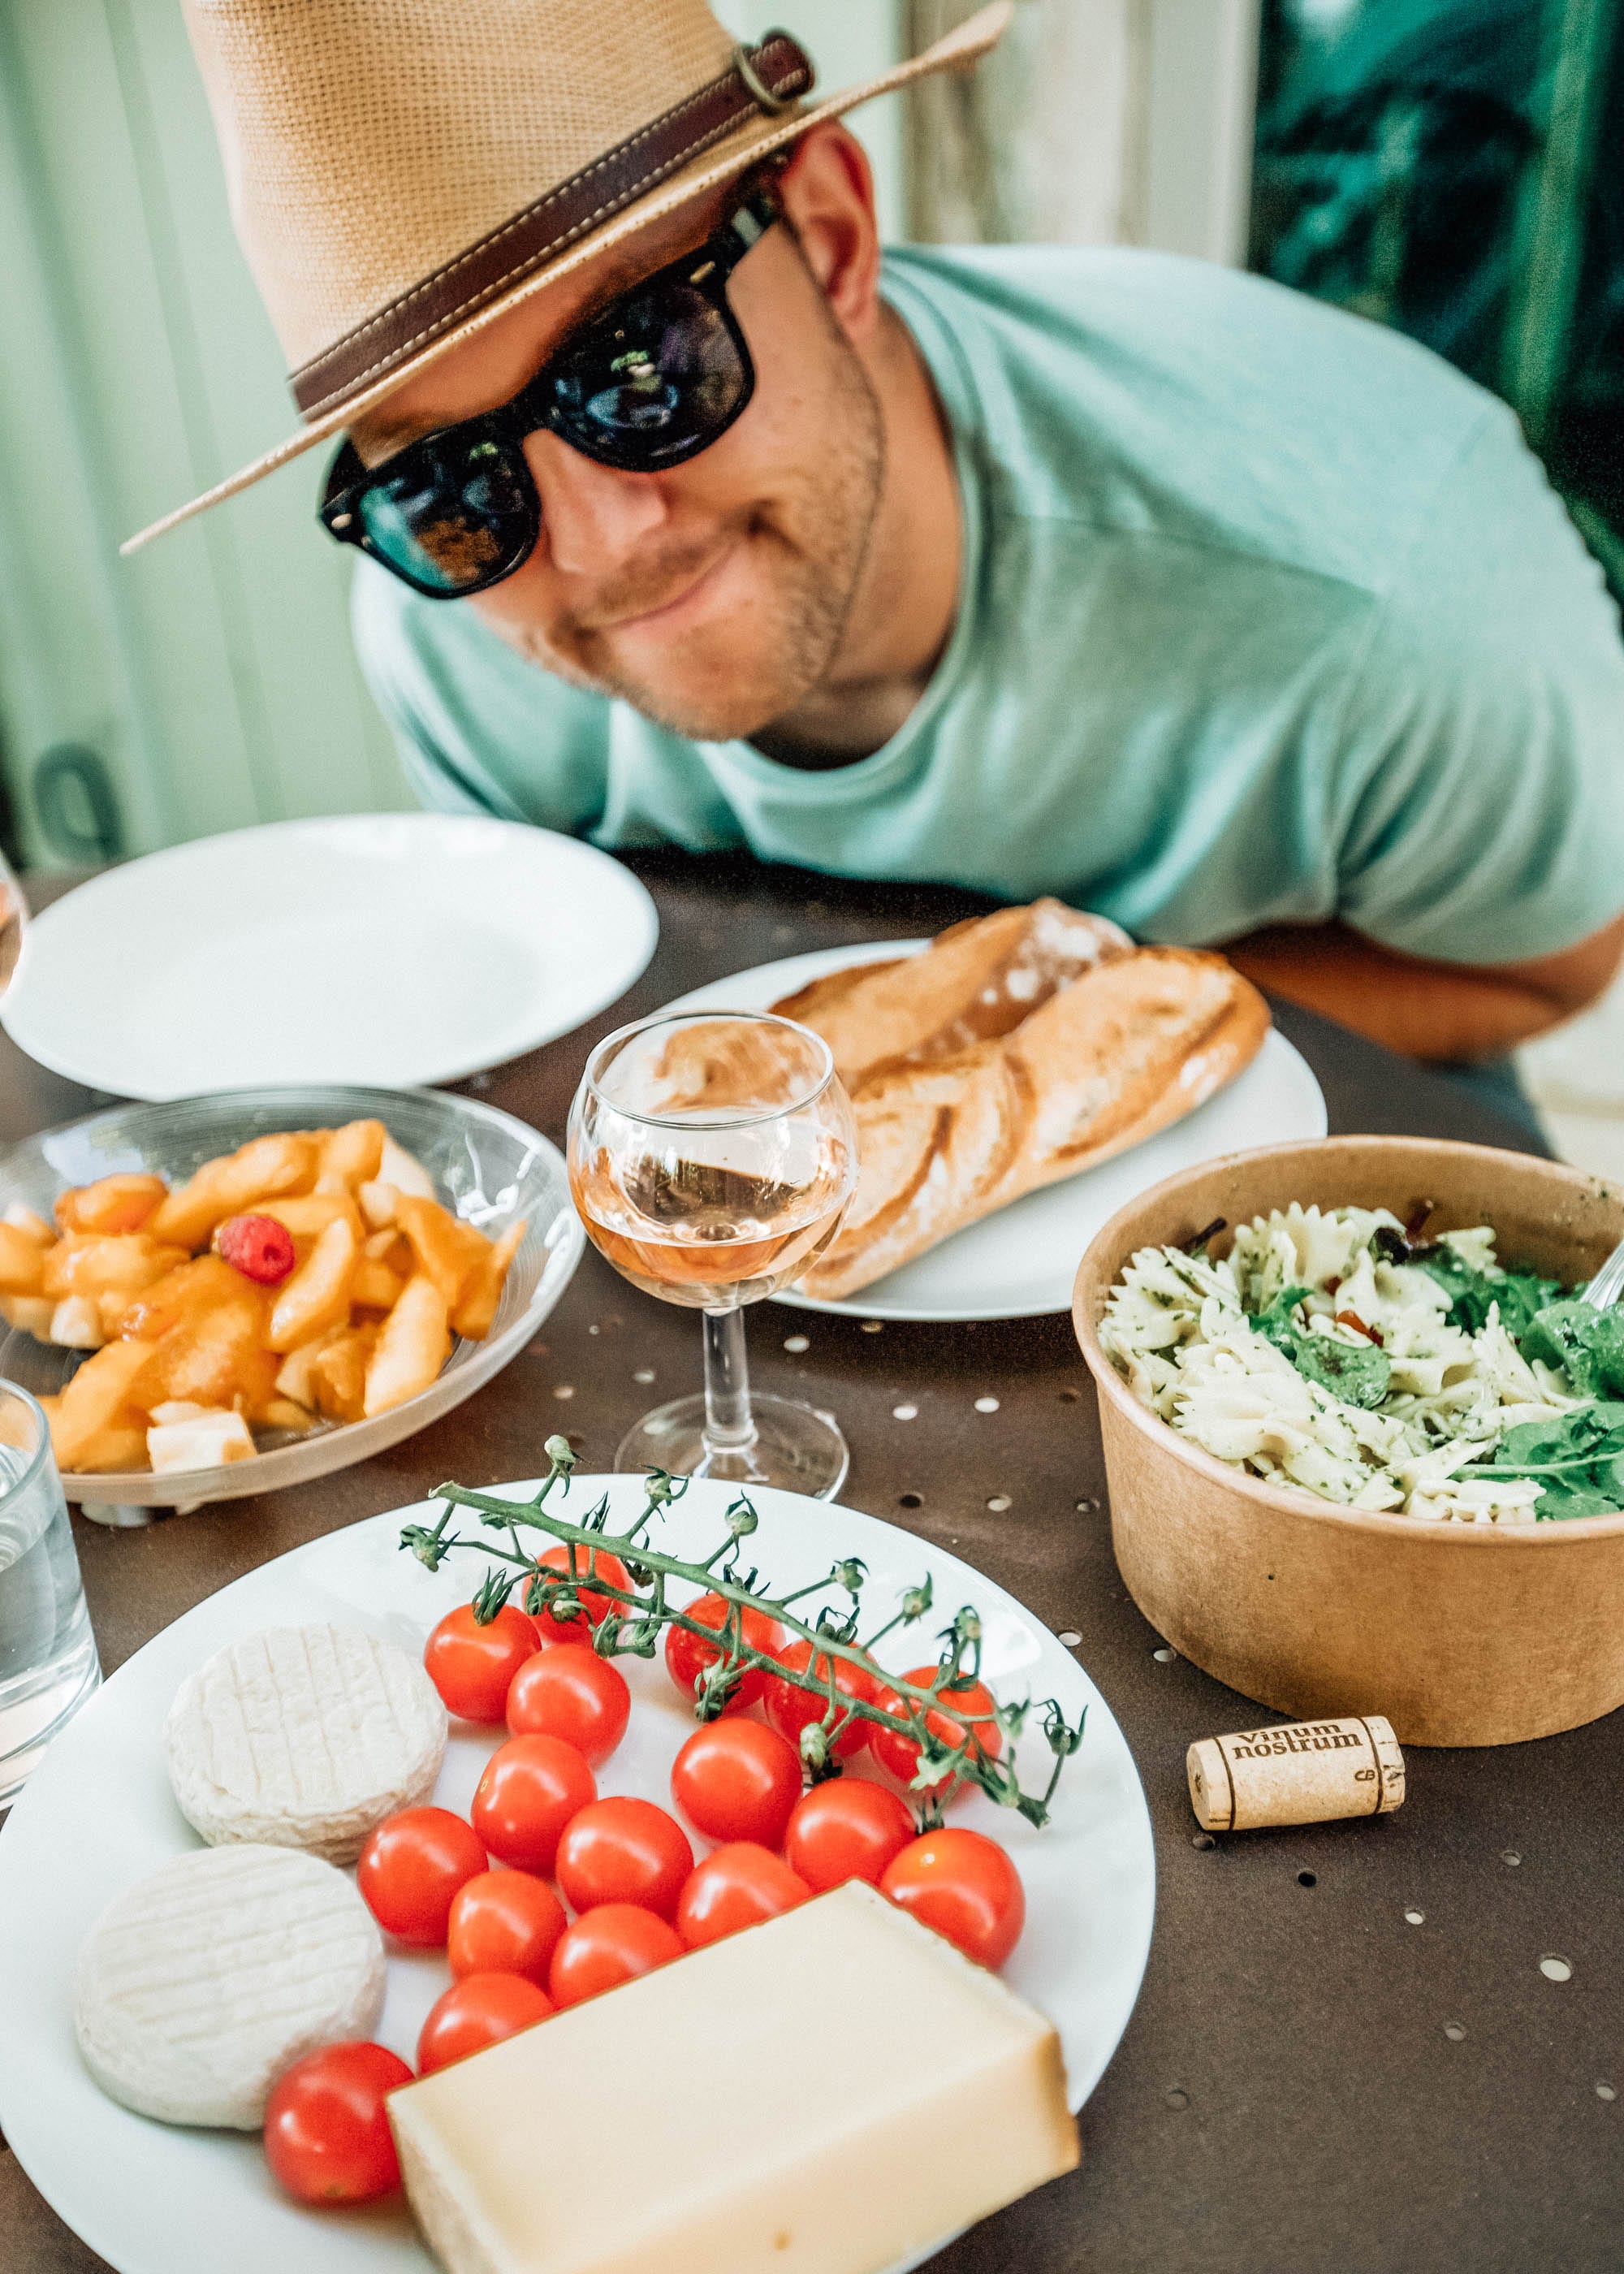
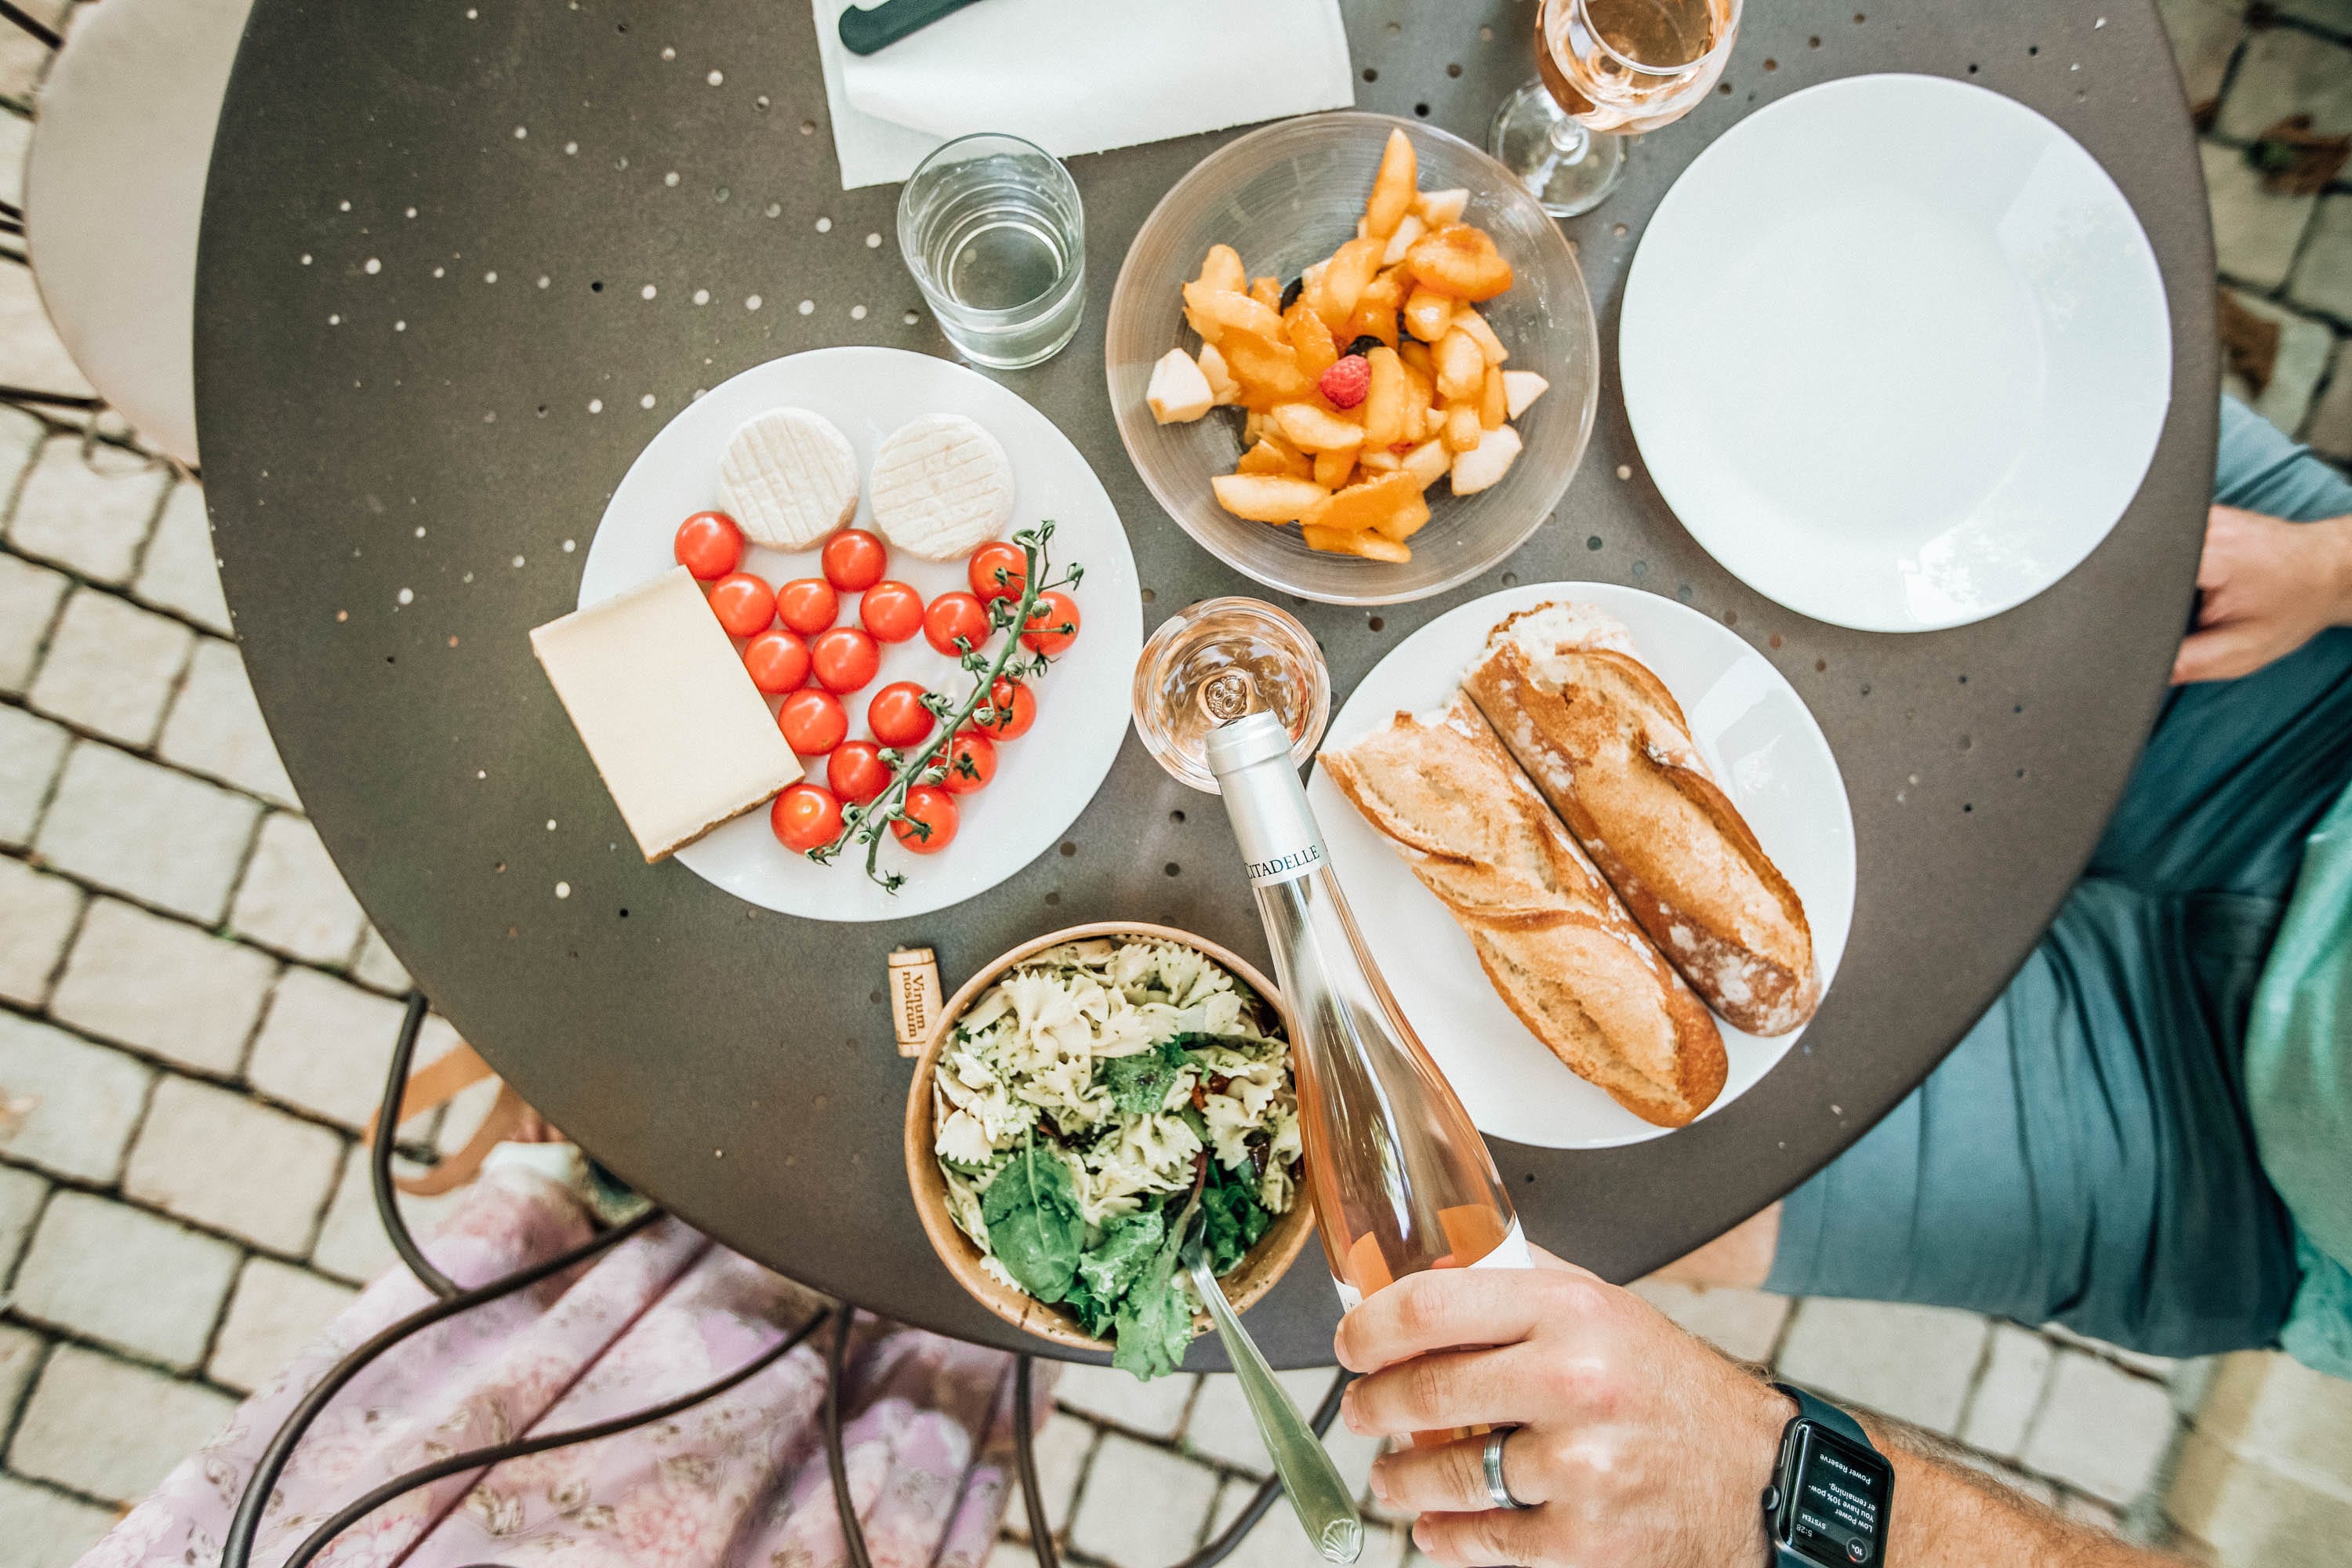
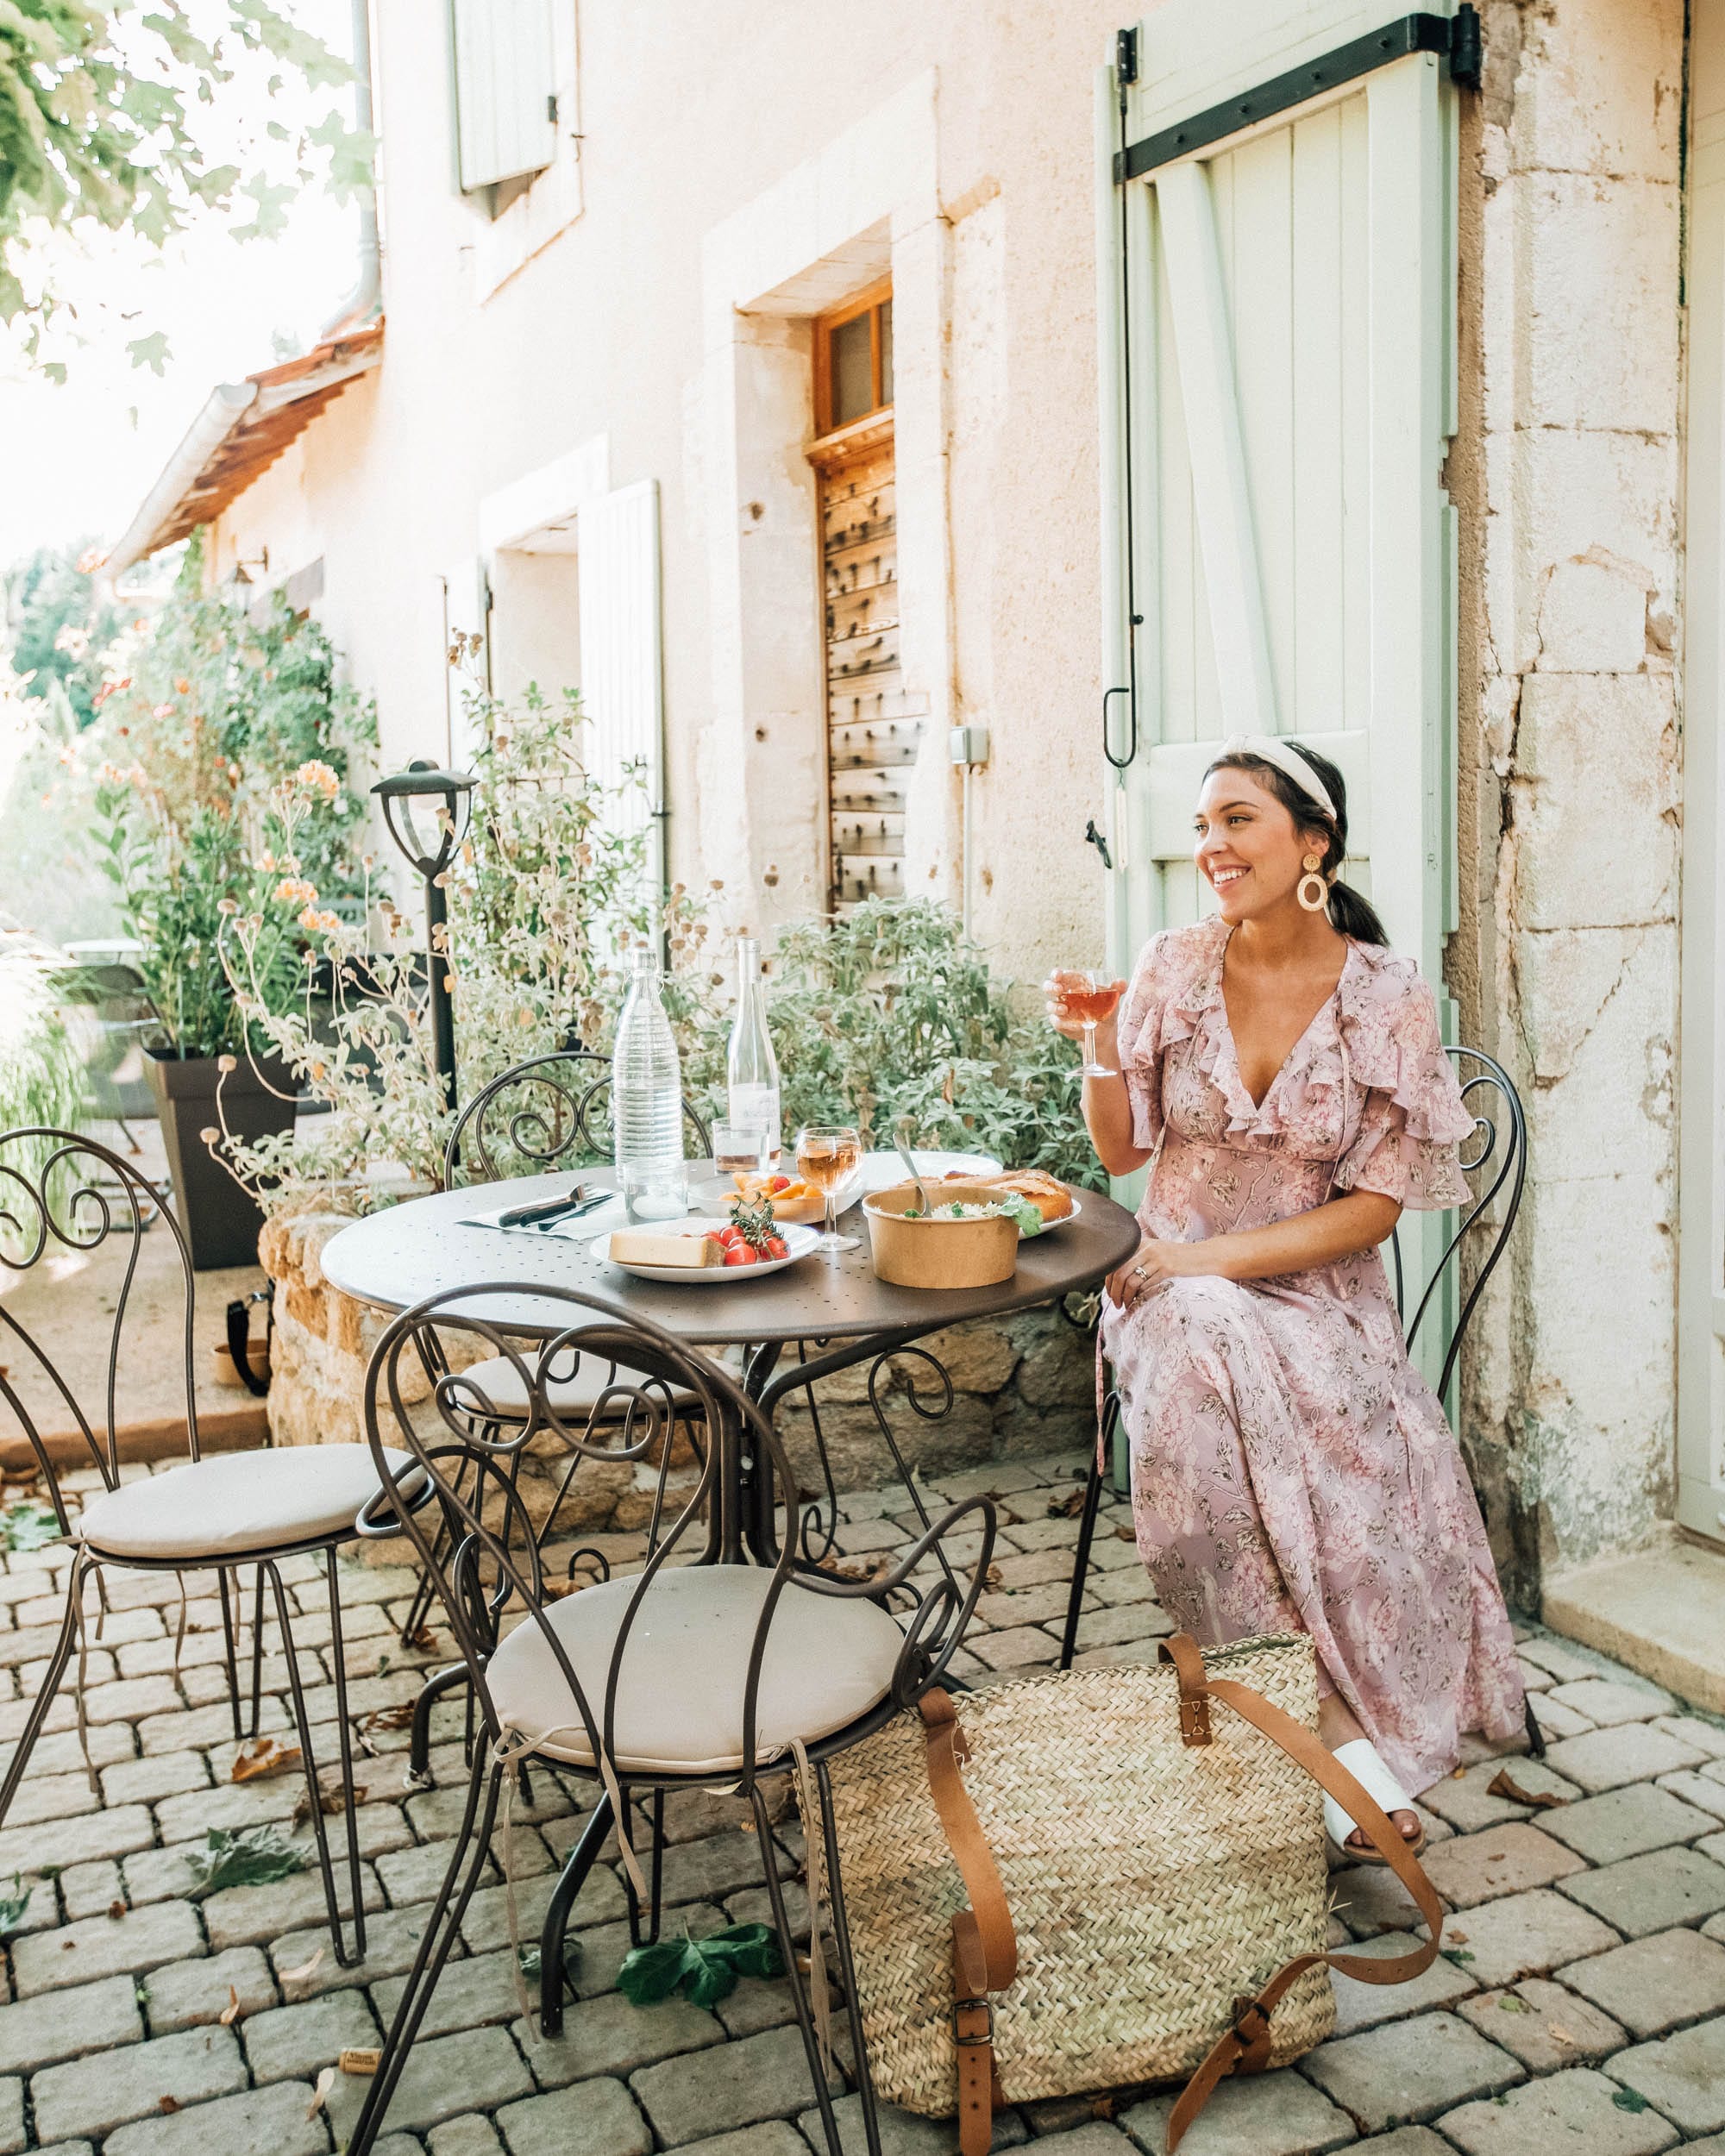
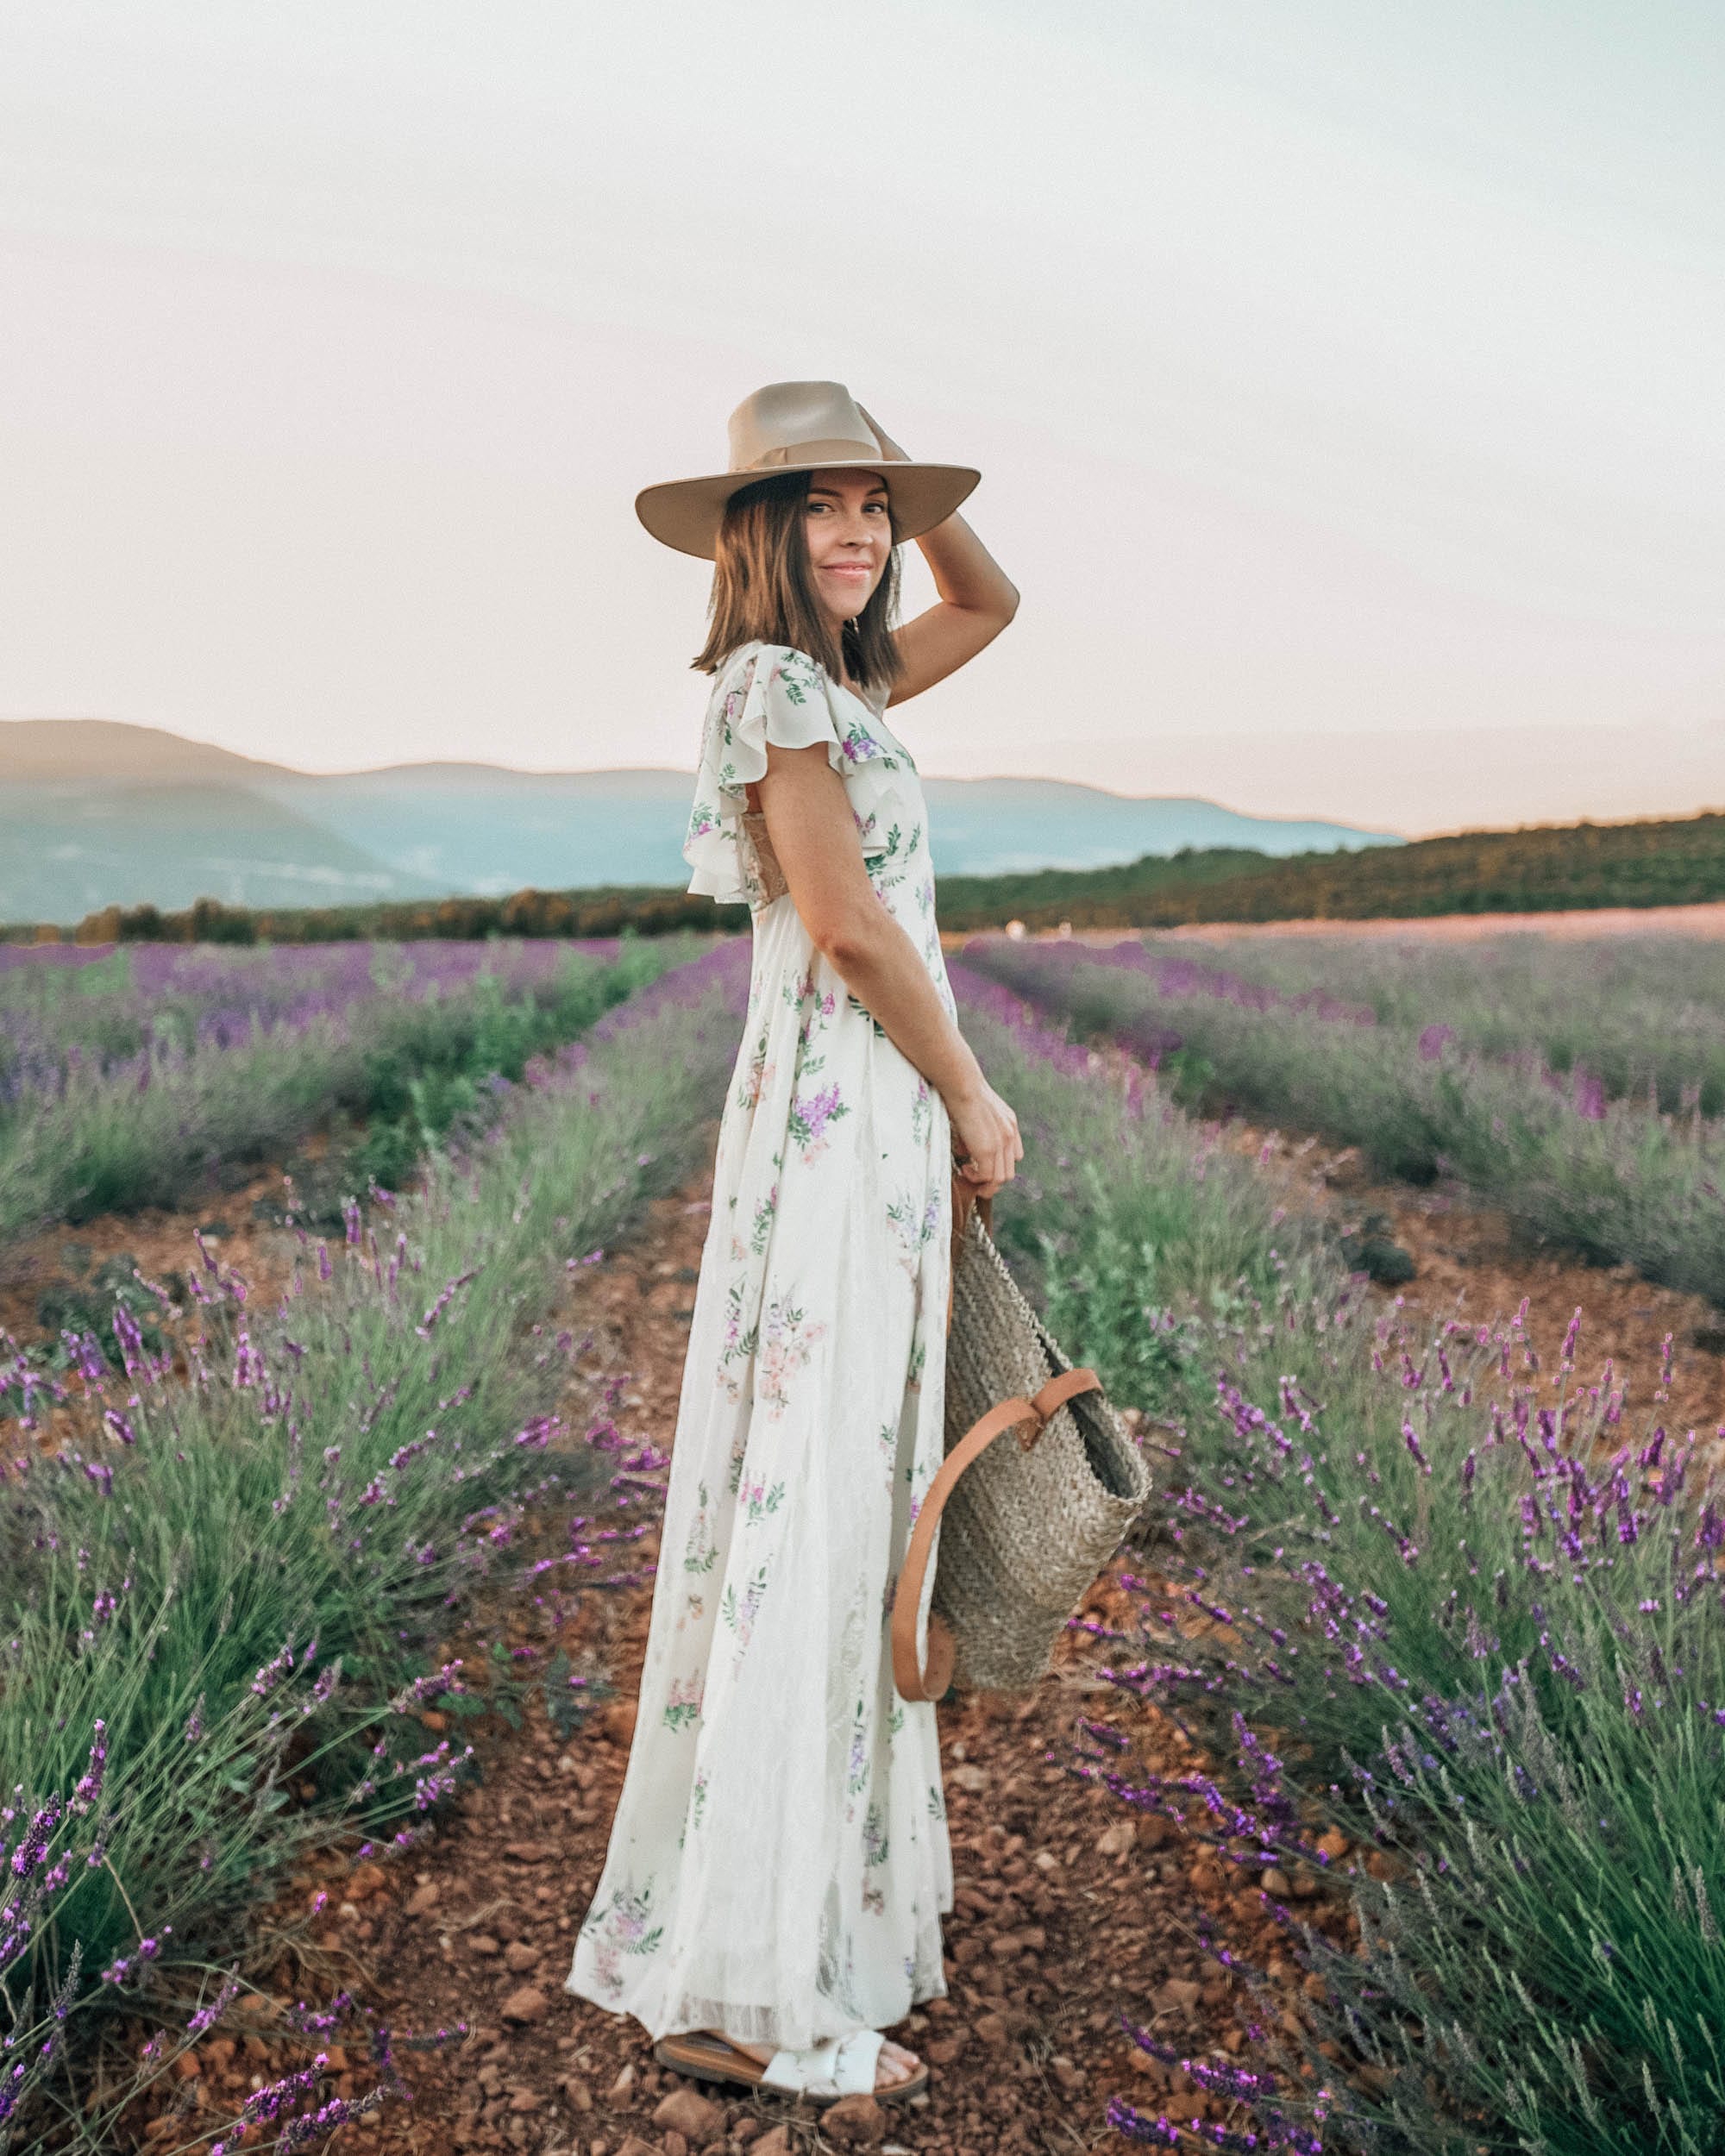
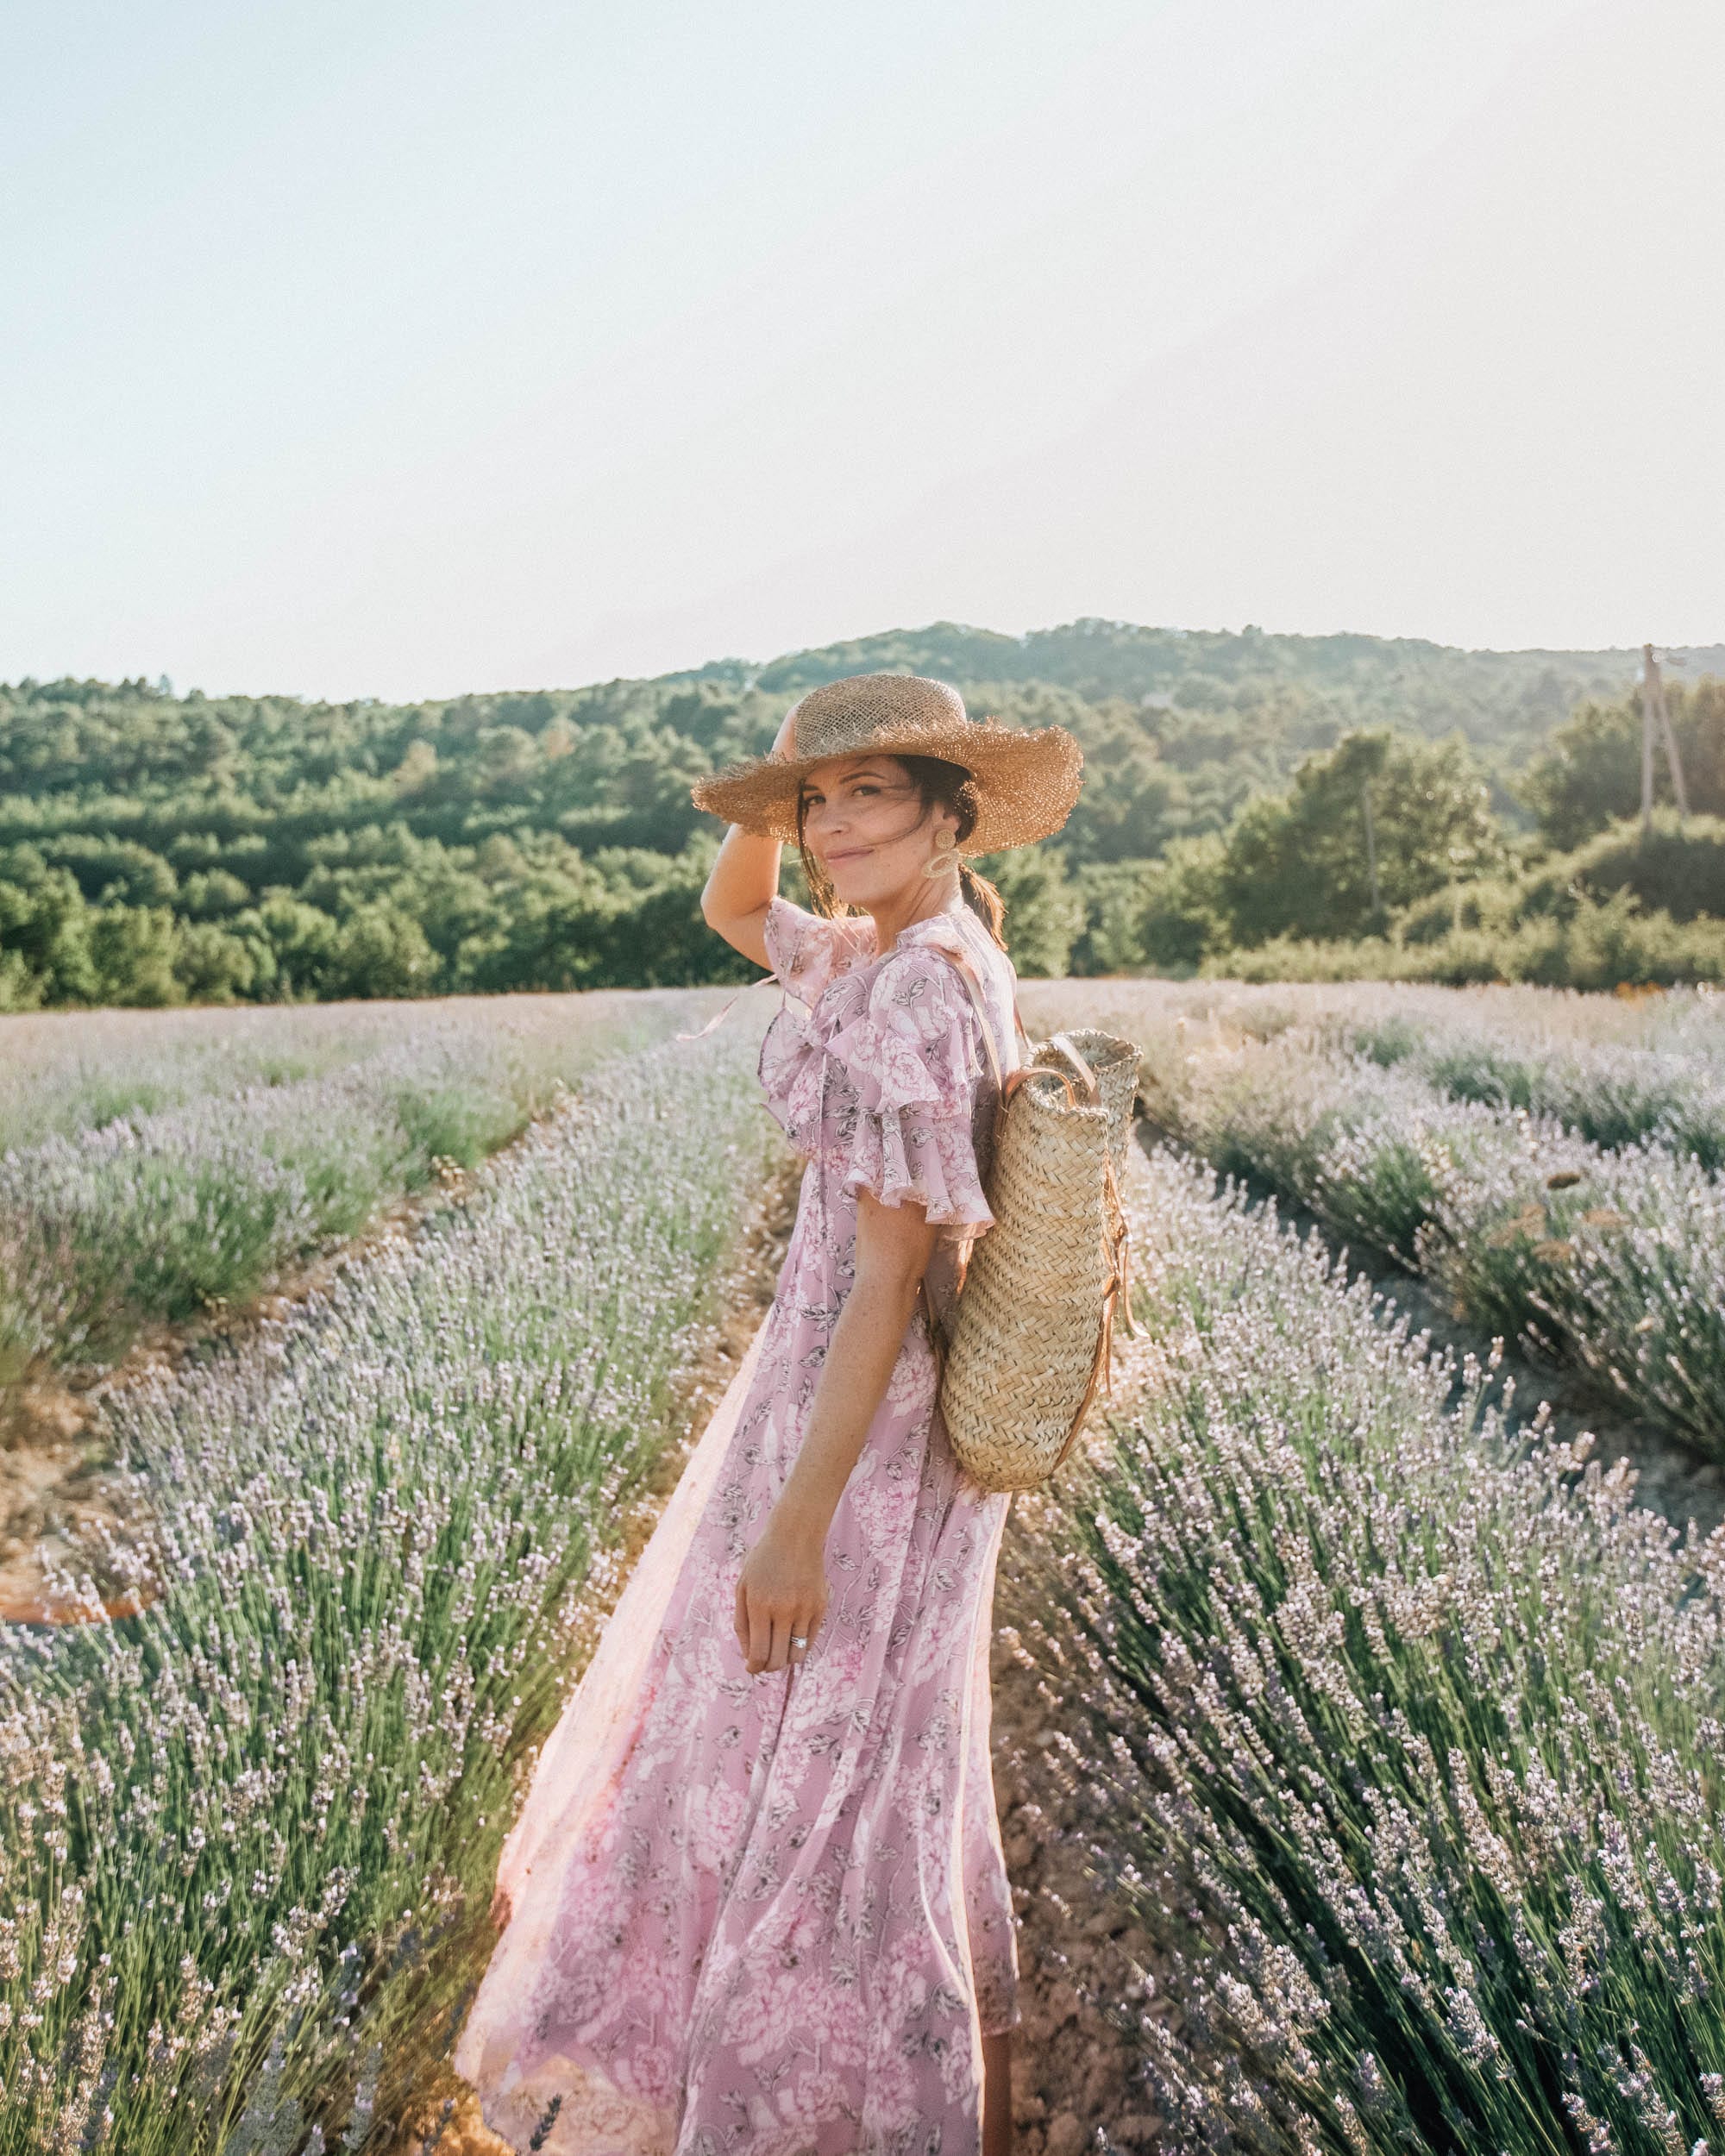
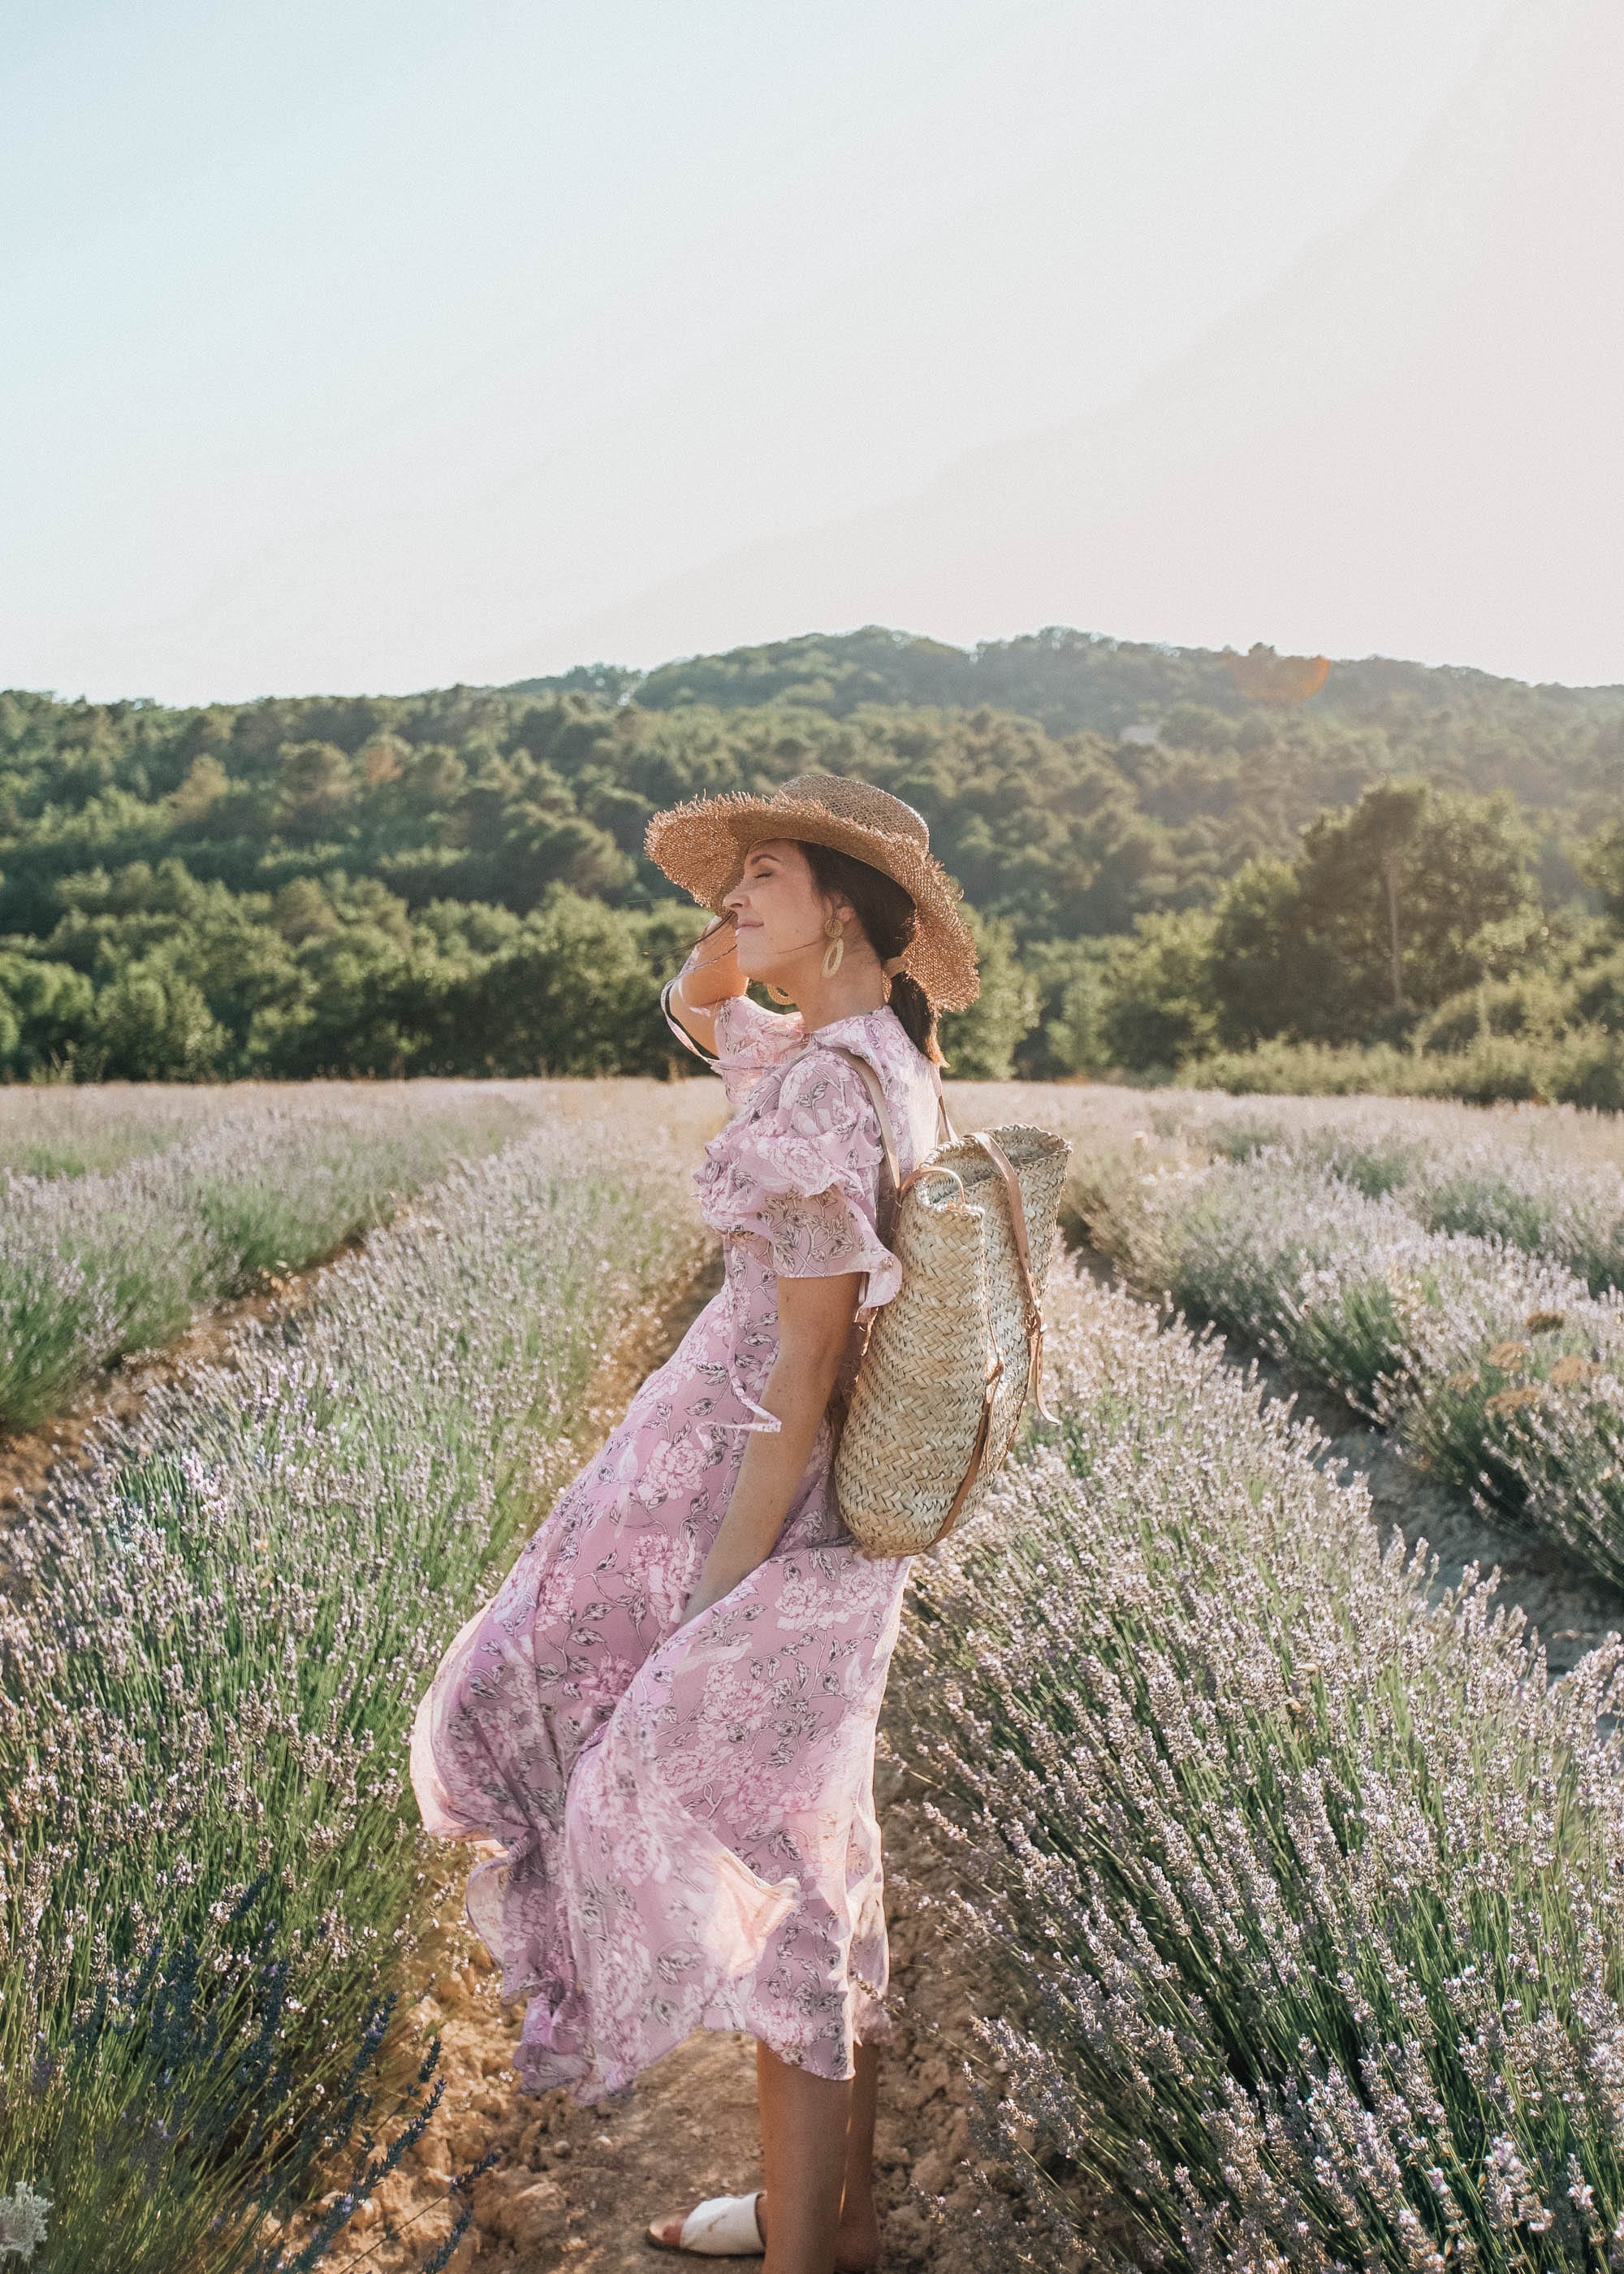
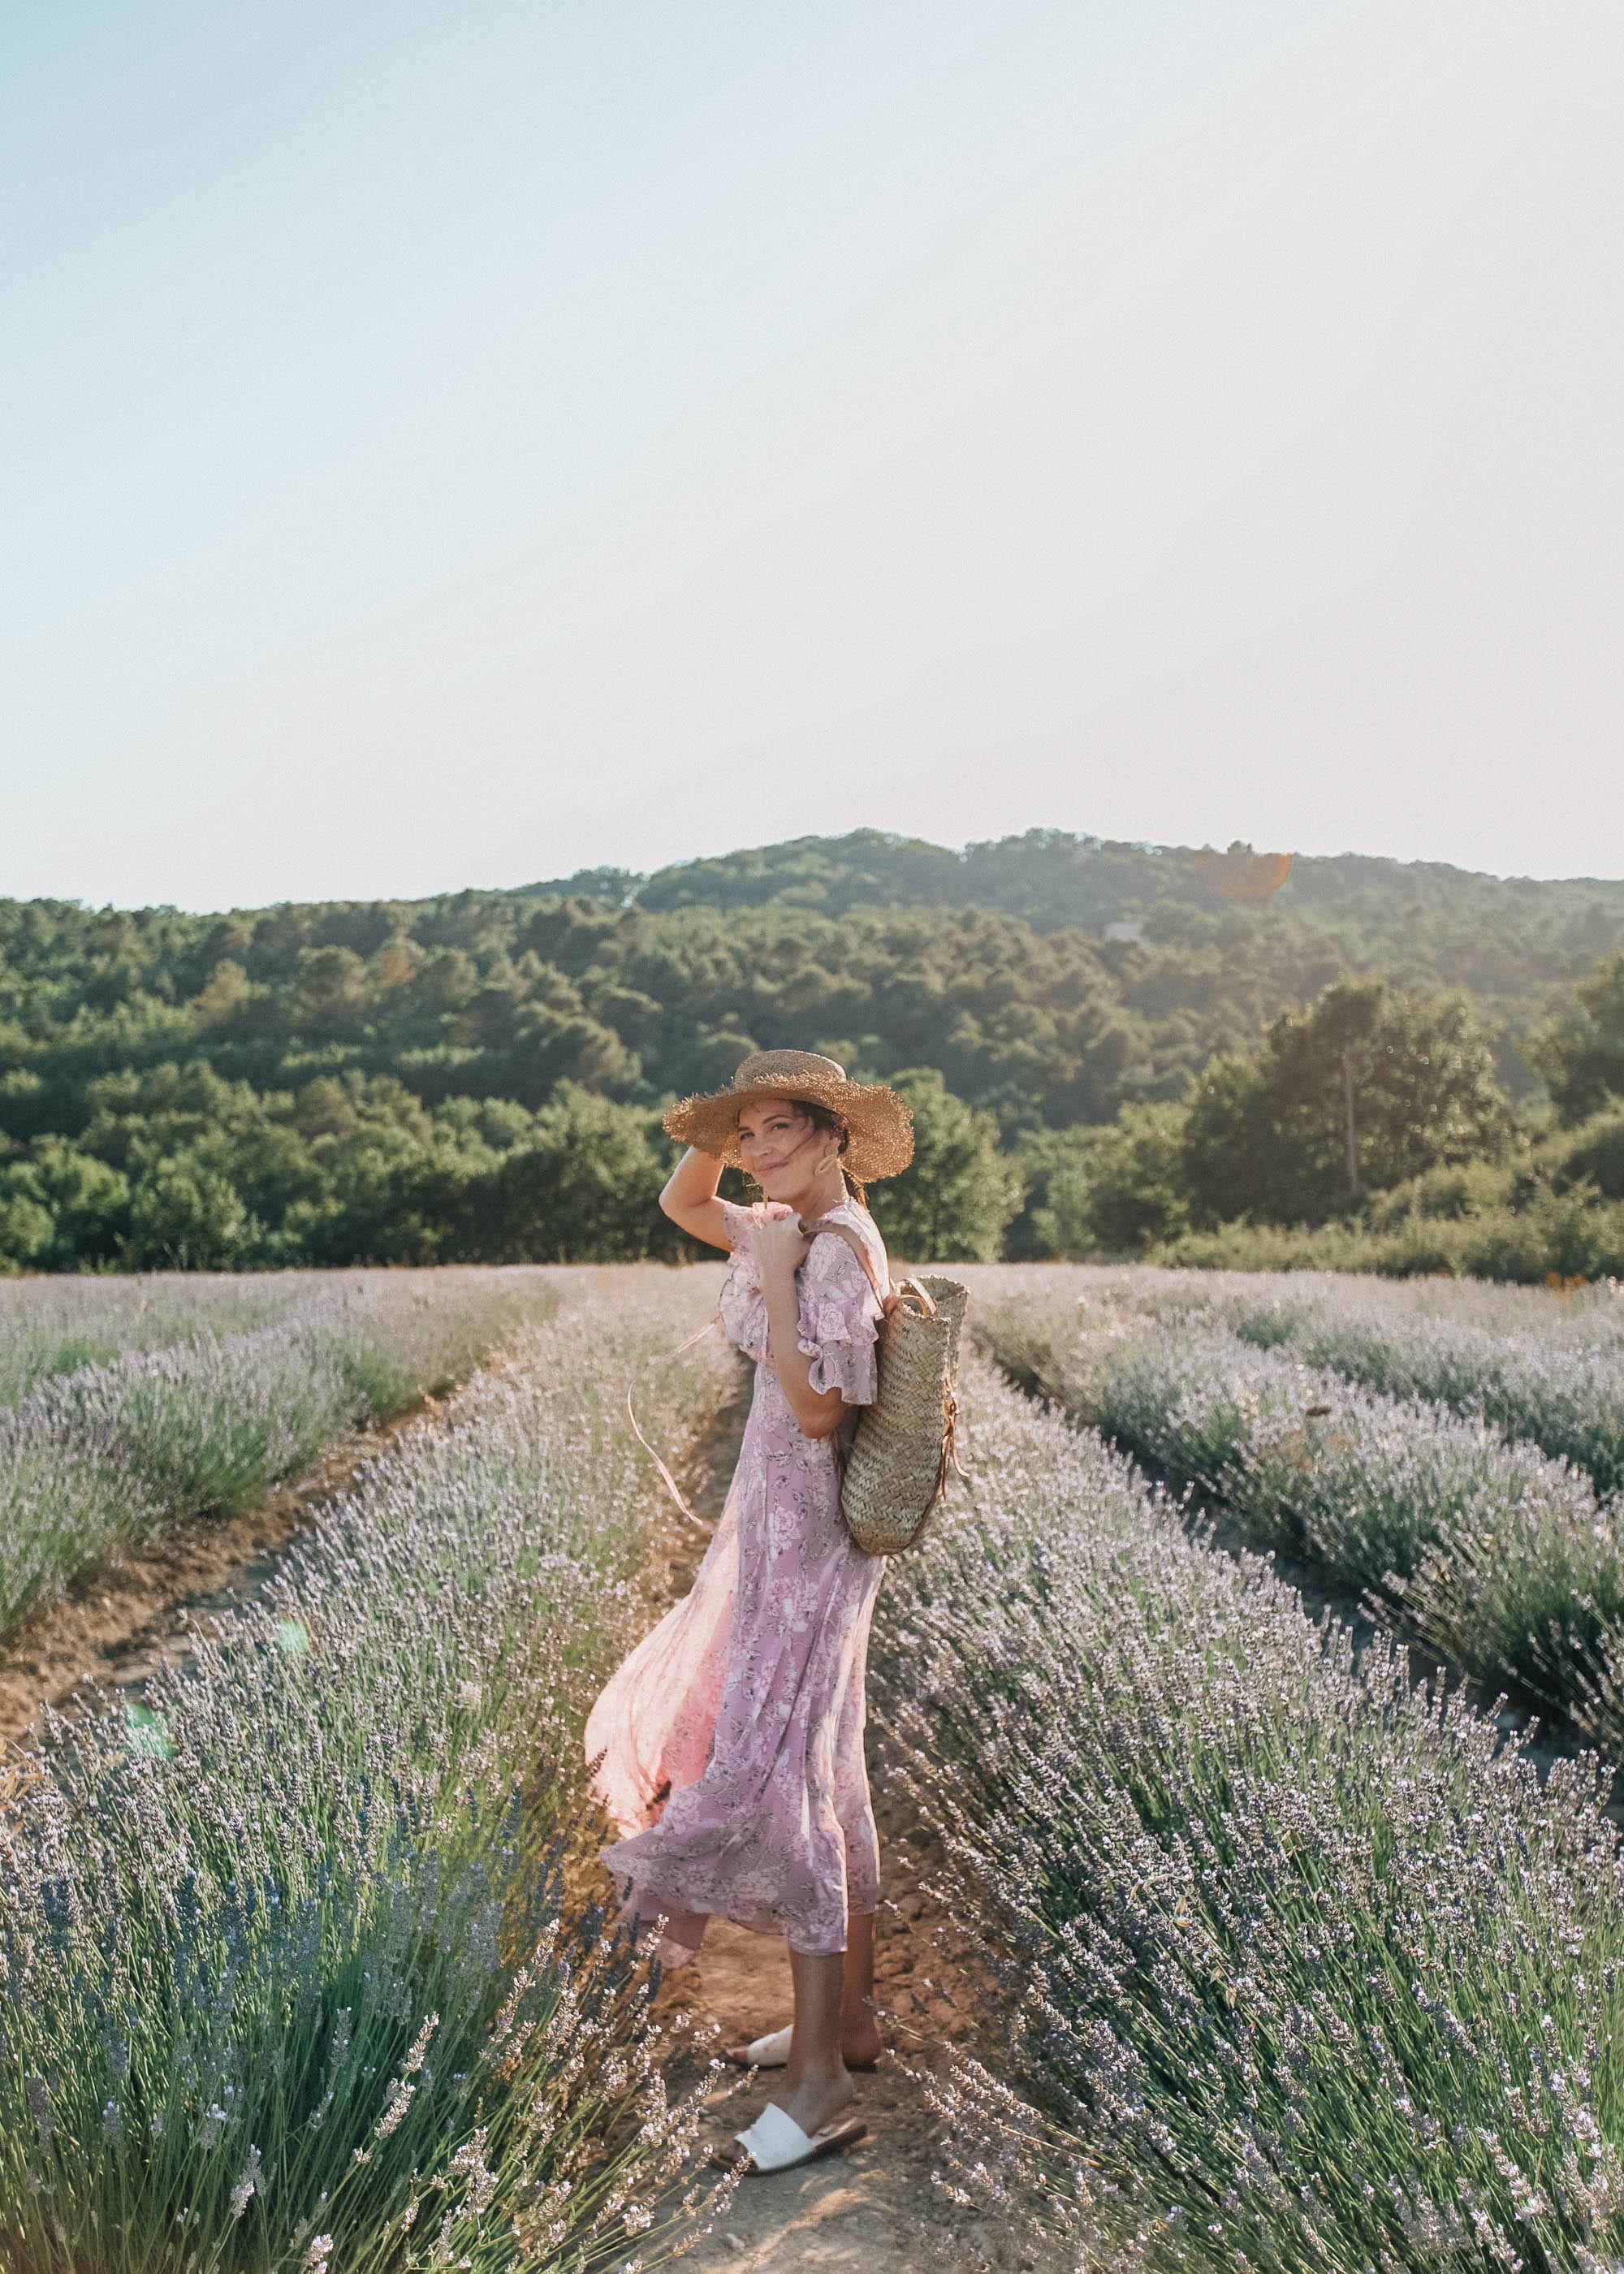
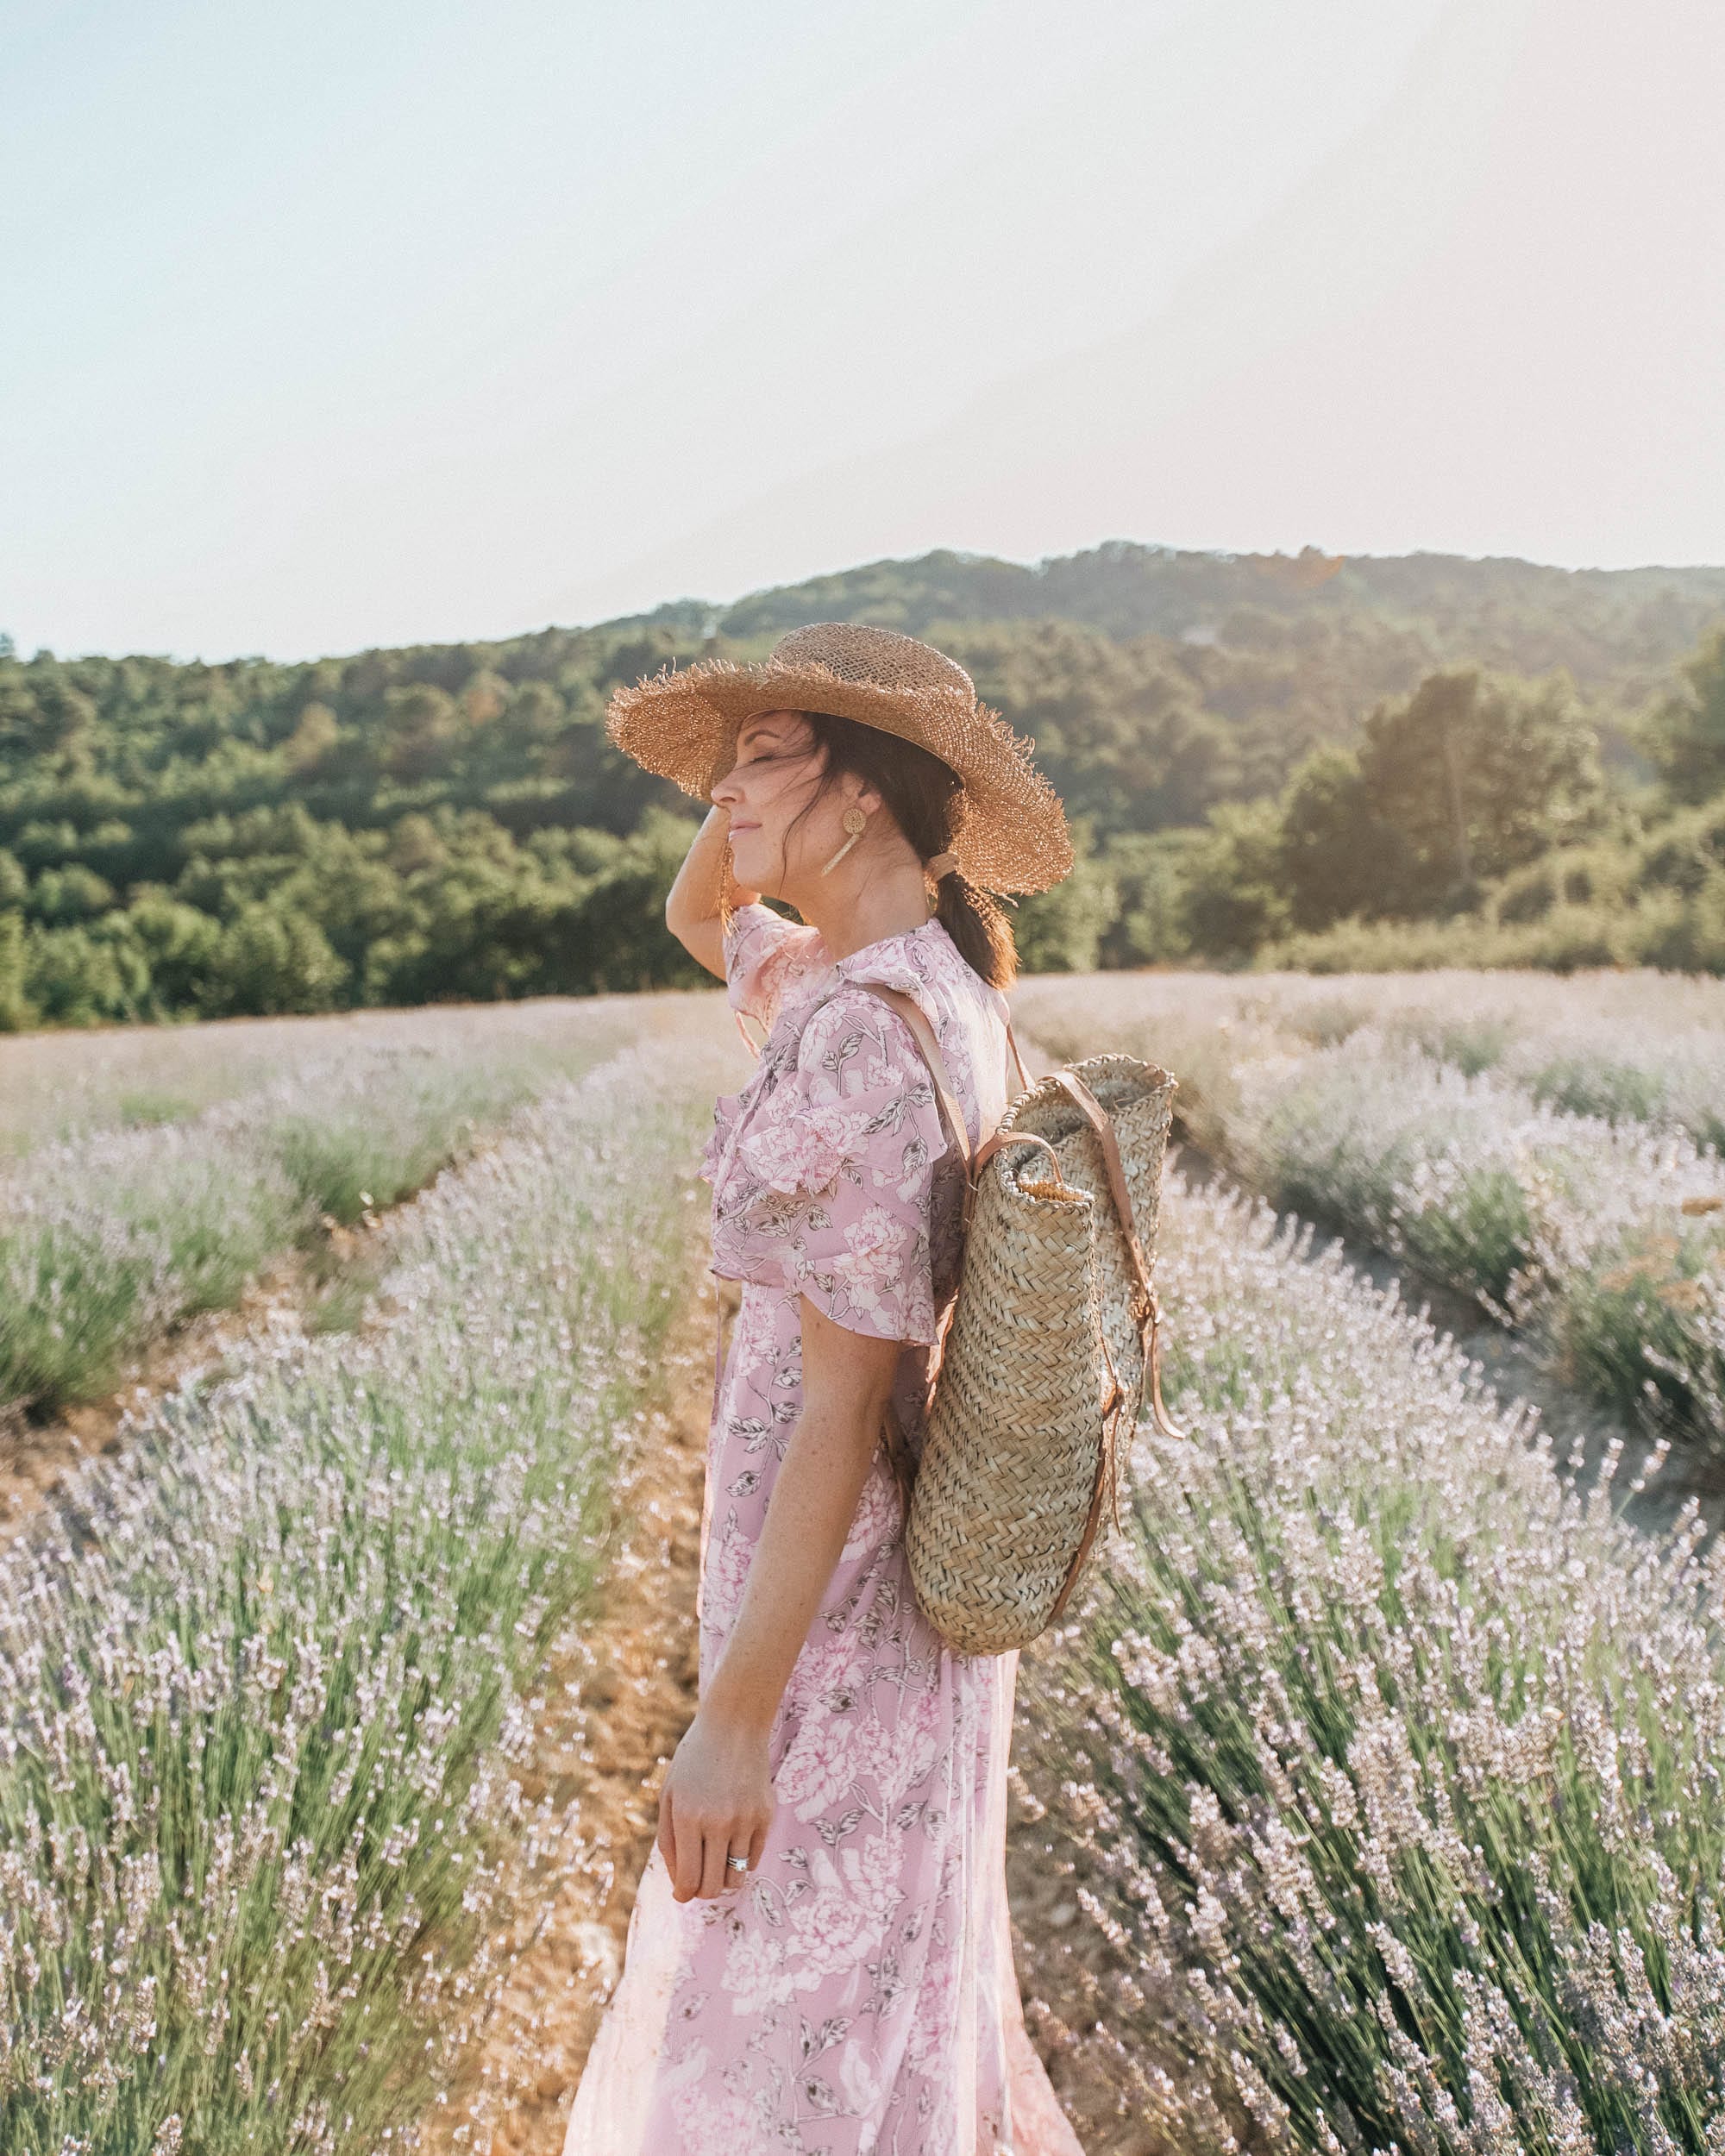
With caffeine in our systems, we headed back to the Airbnb to make dinner before the evening’s adventures. We made our dinner using what we picked up from the market in Gourdes and played with the dogs before it was time to go Lavender fields. I’ve always loved everything lavender! Soap, ice cream, candles, lattes. I cannot get enough, so I knew I wanted to see the fields in person. There is a town called Sault, which was about an hour or so away from Airbnb. To get to Sault, you have to drive up into the mountains and this drive was very eventful. This was the only part of the trip where I had any sort of anxiety. I thought we were going to drive off a cliff. You couldn’t go more than 35 or 40 miles an hour because the roads were so winding. As we got closer to Sault, we began to see wild lavender fields. There were so many that we pulled over to walk through them and get a few pictures before heading up into Sault. Note: Valensole is one of the other popular Lavender areas but we didn’t want to spend that much time driving there! Next time!
It was a good thing we did! While Sault is the lavender capital of the world, it did not provide very good opportunities for us to really experience the fields. Also, Sault was a ghost town! We got there around 8pm and maybe saw 3 people out in the streets. Most restaurants were closed already, and every store had shut it down as well. It was kind of eerie. Actually, very eerie. We didn’t spend too much time in Sault, but I am sure if you came closer to the middle of the day, there would be a lot more things to do. On the way back to our Airbnb, we stopped a couple more times at the untamed lavender fields to get our last little fill.

We got back to the Airbnb and packed up most of our things since it was our last night there before heading back towards Nice. We had one final lovely breakfast the next day, said goodbye to the dogs (and our host), and made our way southeast.
France Travel Pro Tip: At this point we had driven about 500 miles around France and were in need of gas. One thing we quickly learned is that American debit and credit cards do not always work at French gas stations. Also, not all gas stations take cash. We had a crazy hard time trying to find a station that took cash, so be prepared if you rent a car.
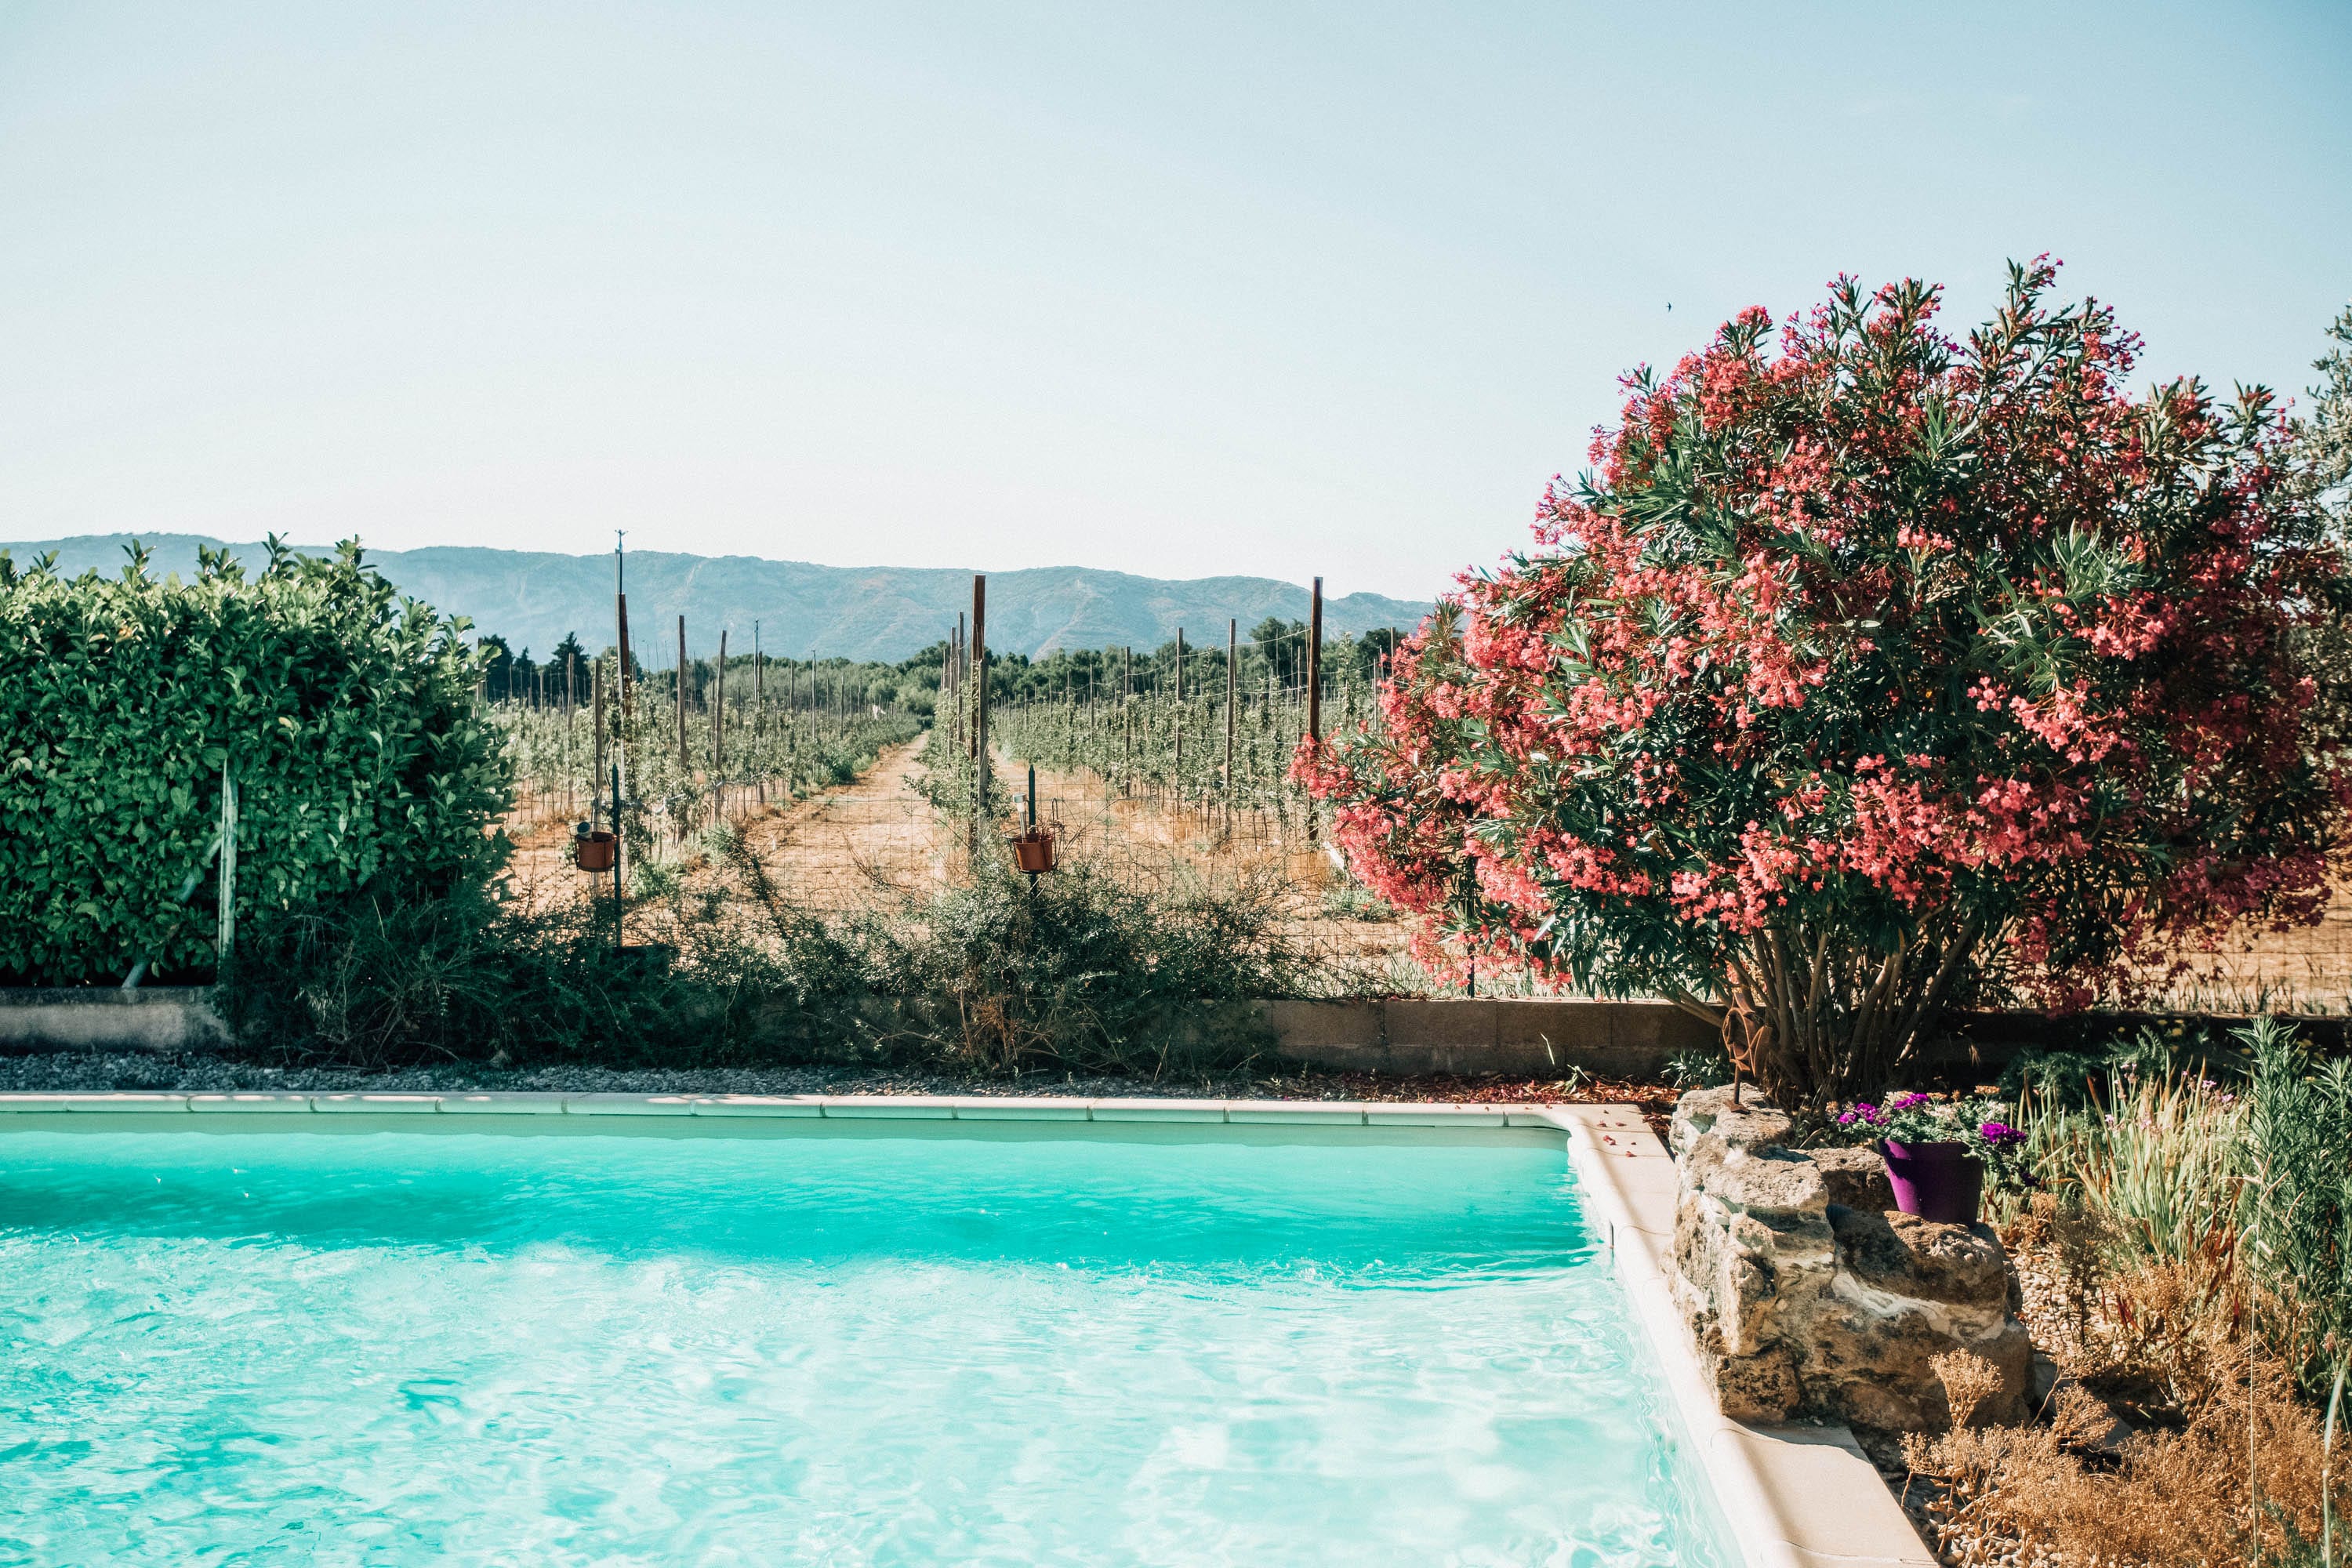
SHOP ART PRINTS FROM THE TRIP:
[show_shopthepost_widget id="4537961"]Neutral Throw Pillows on a Budget
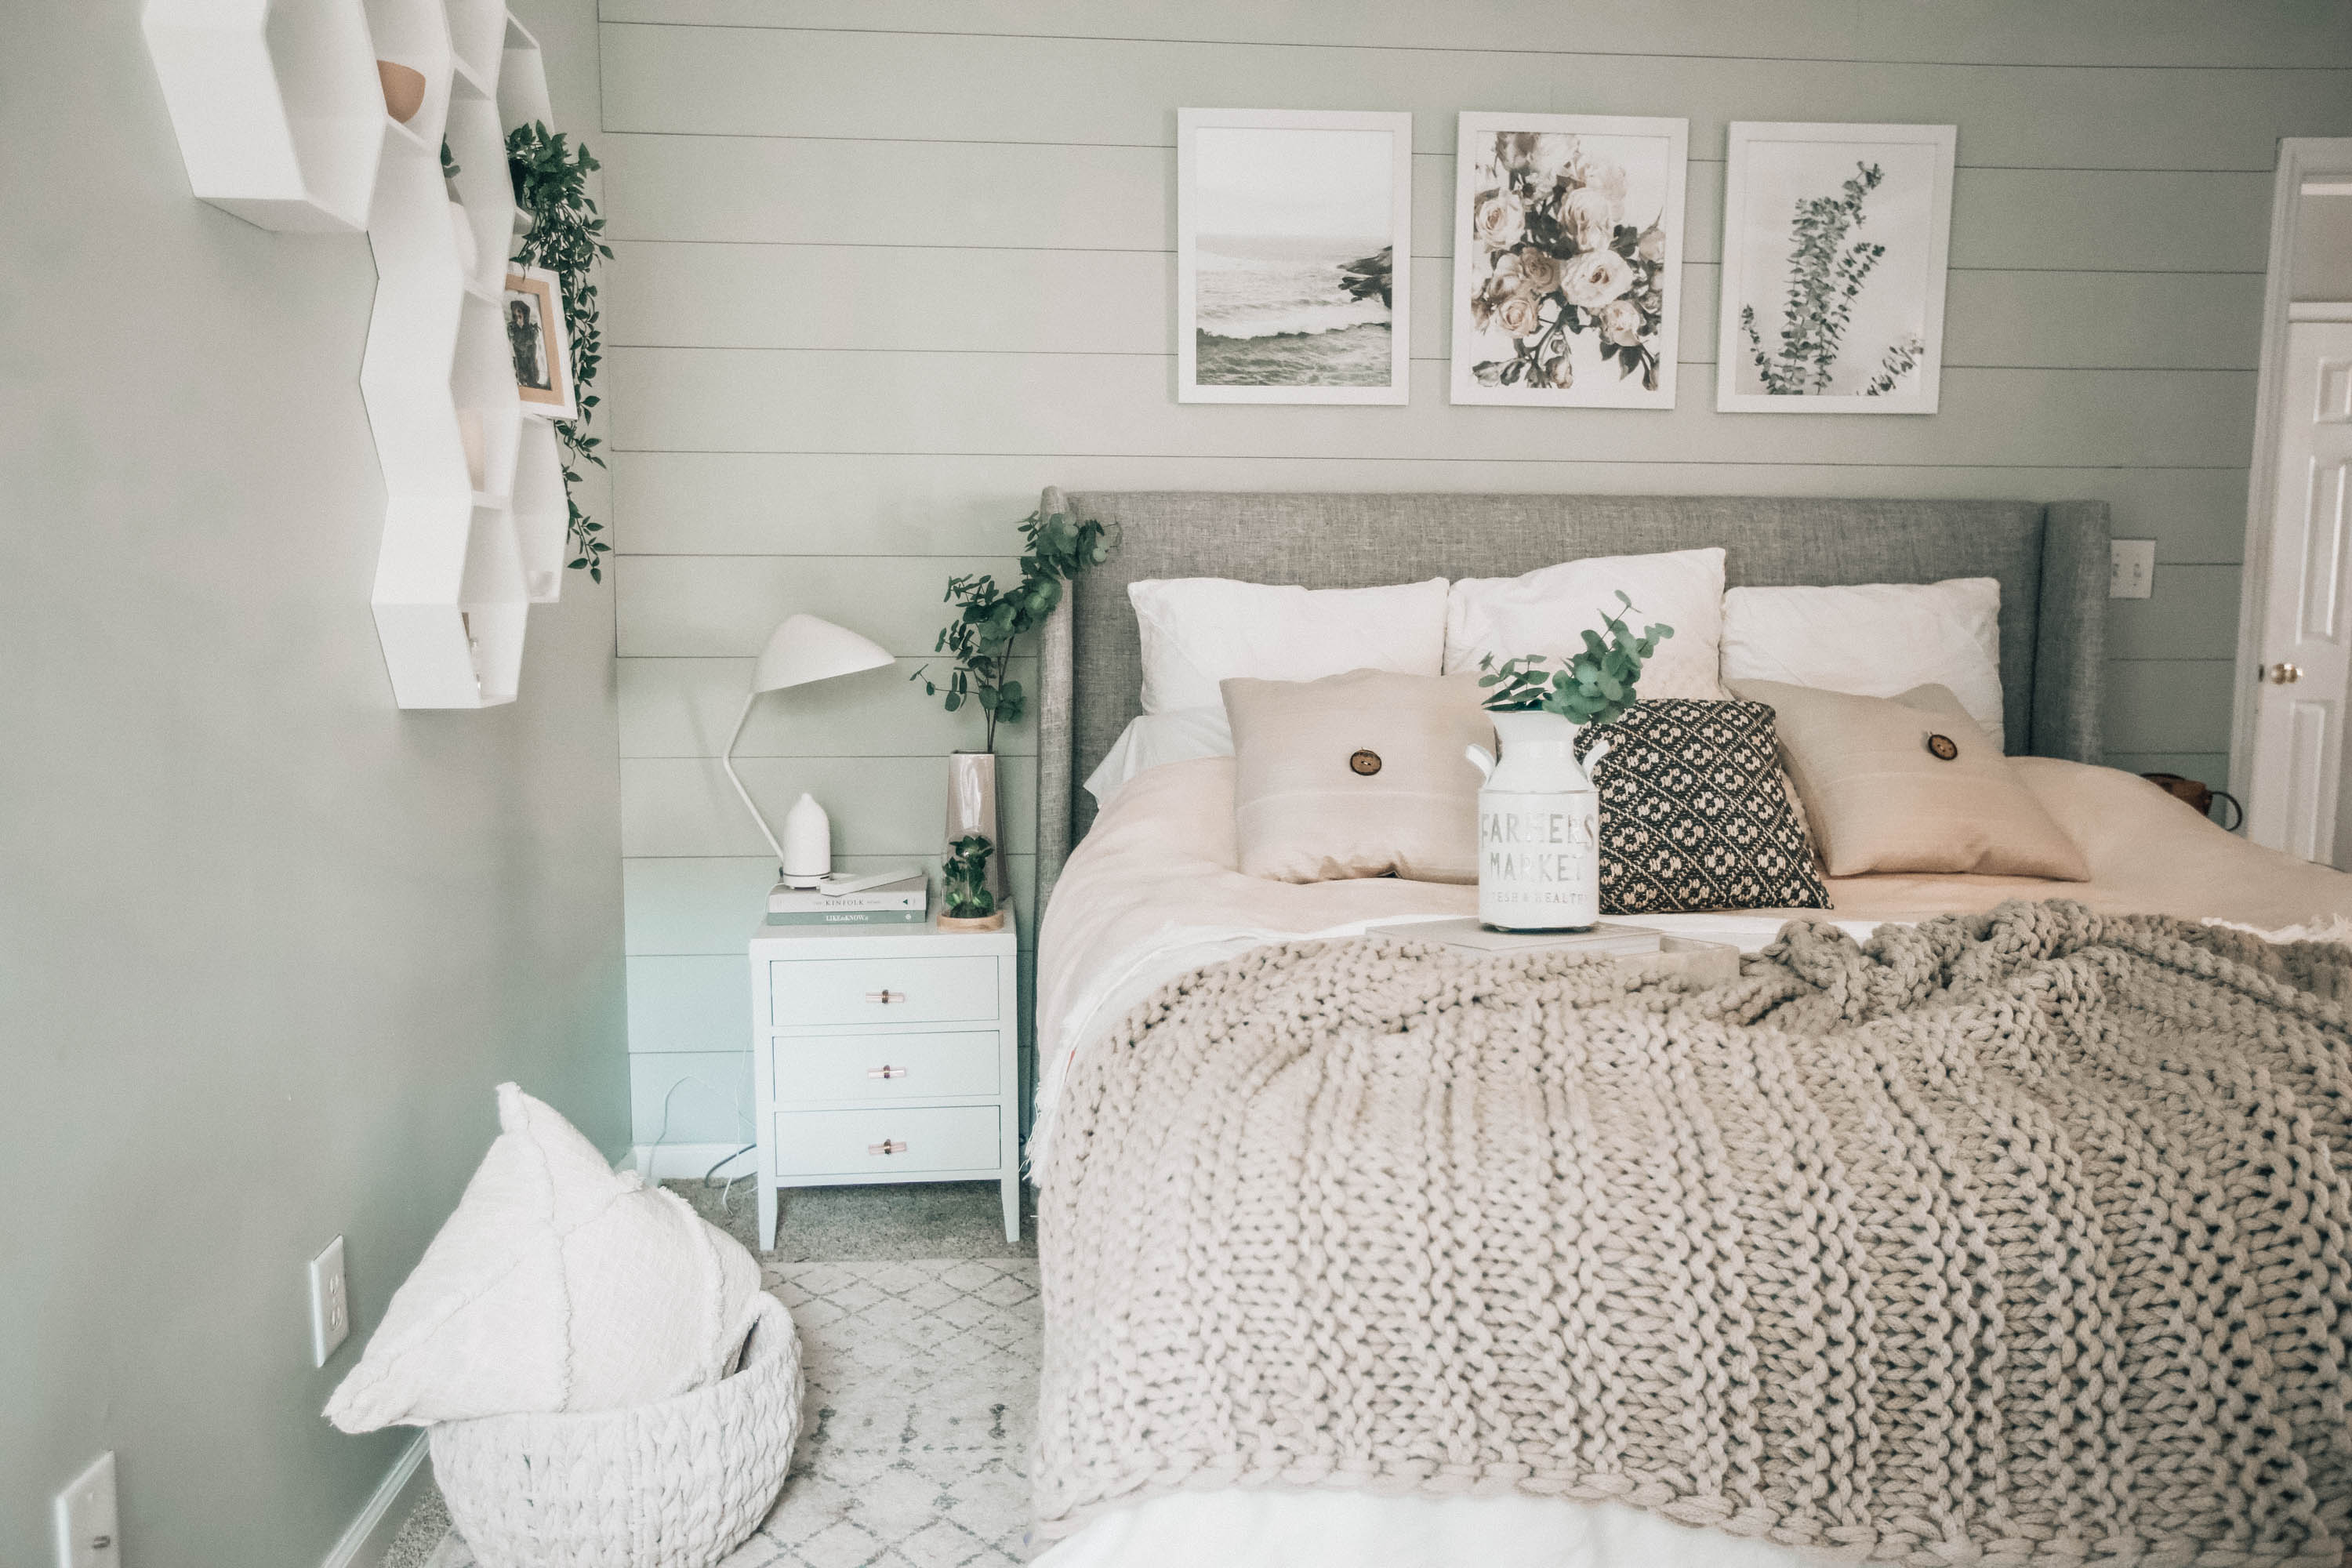
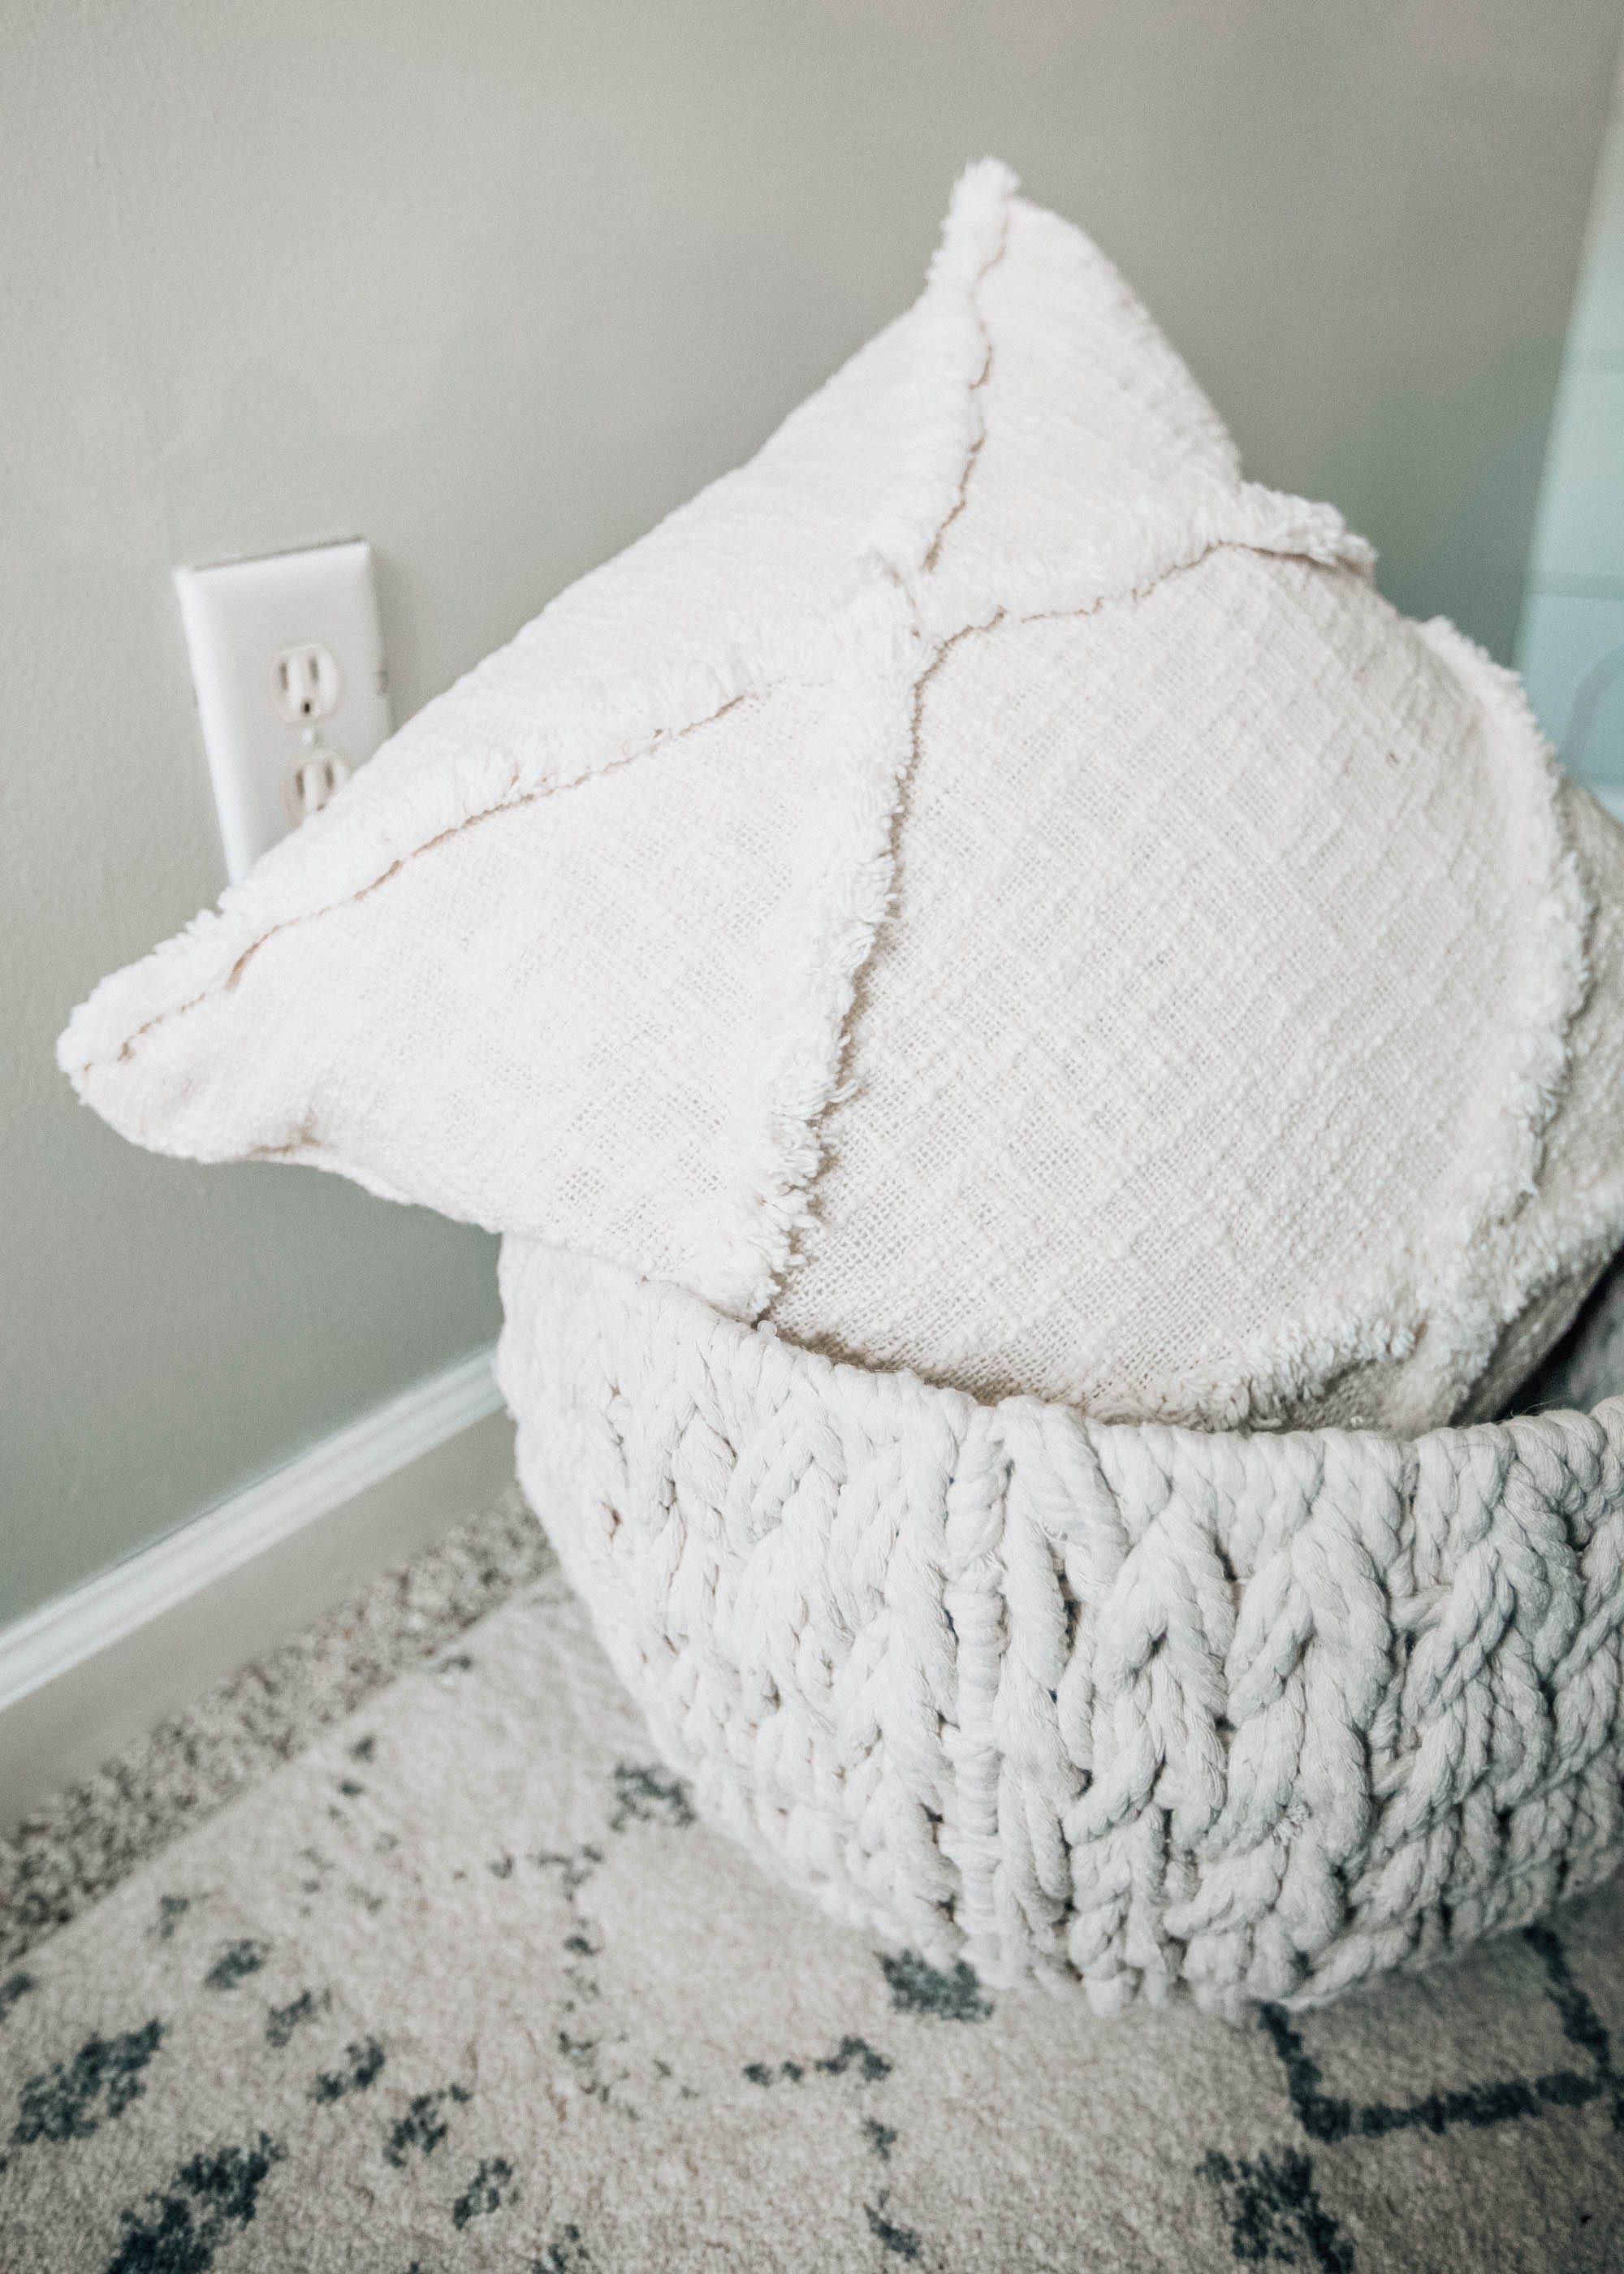
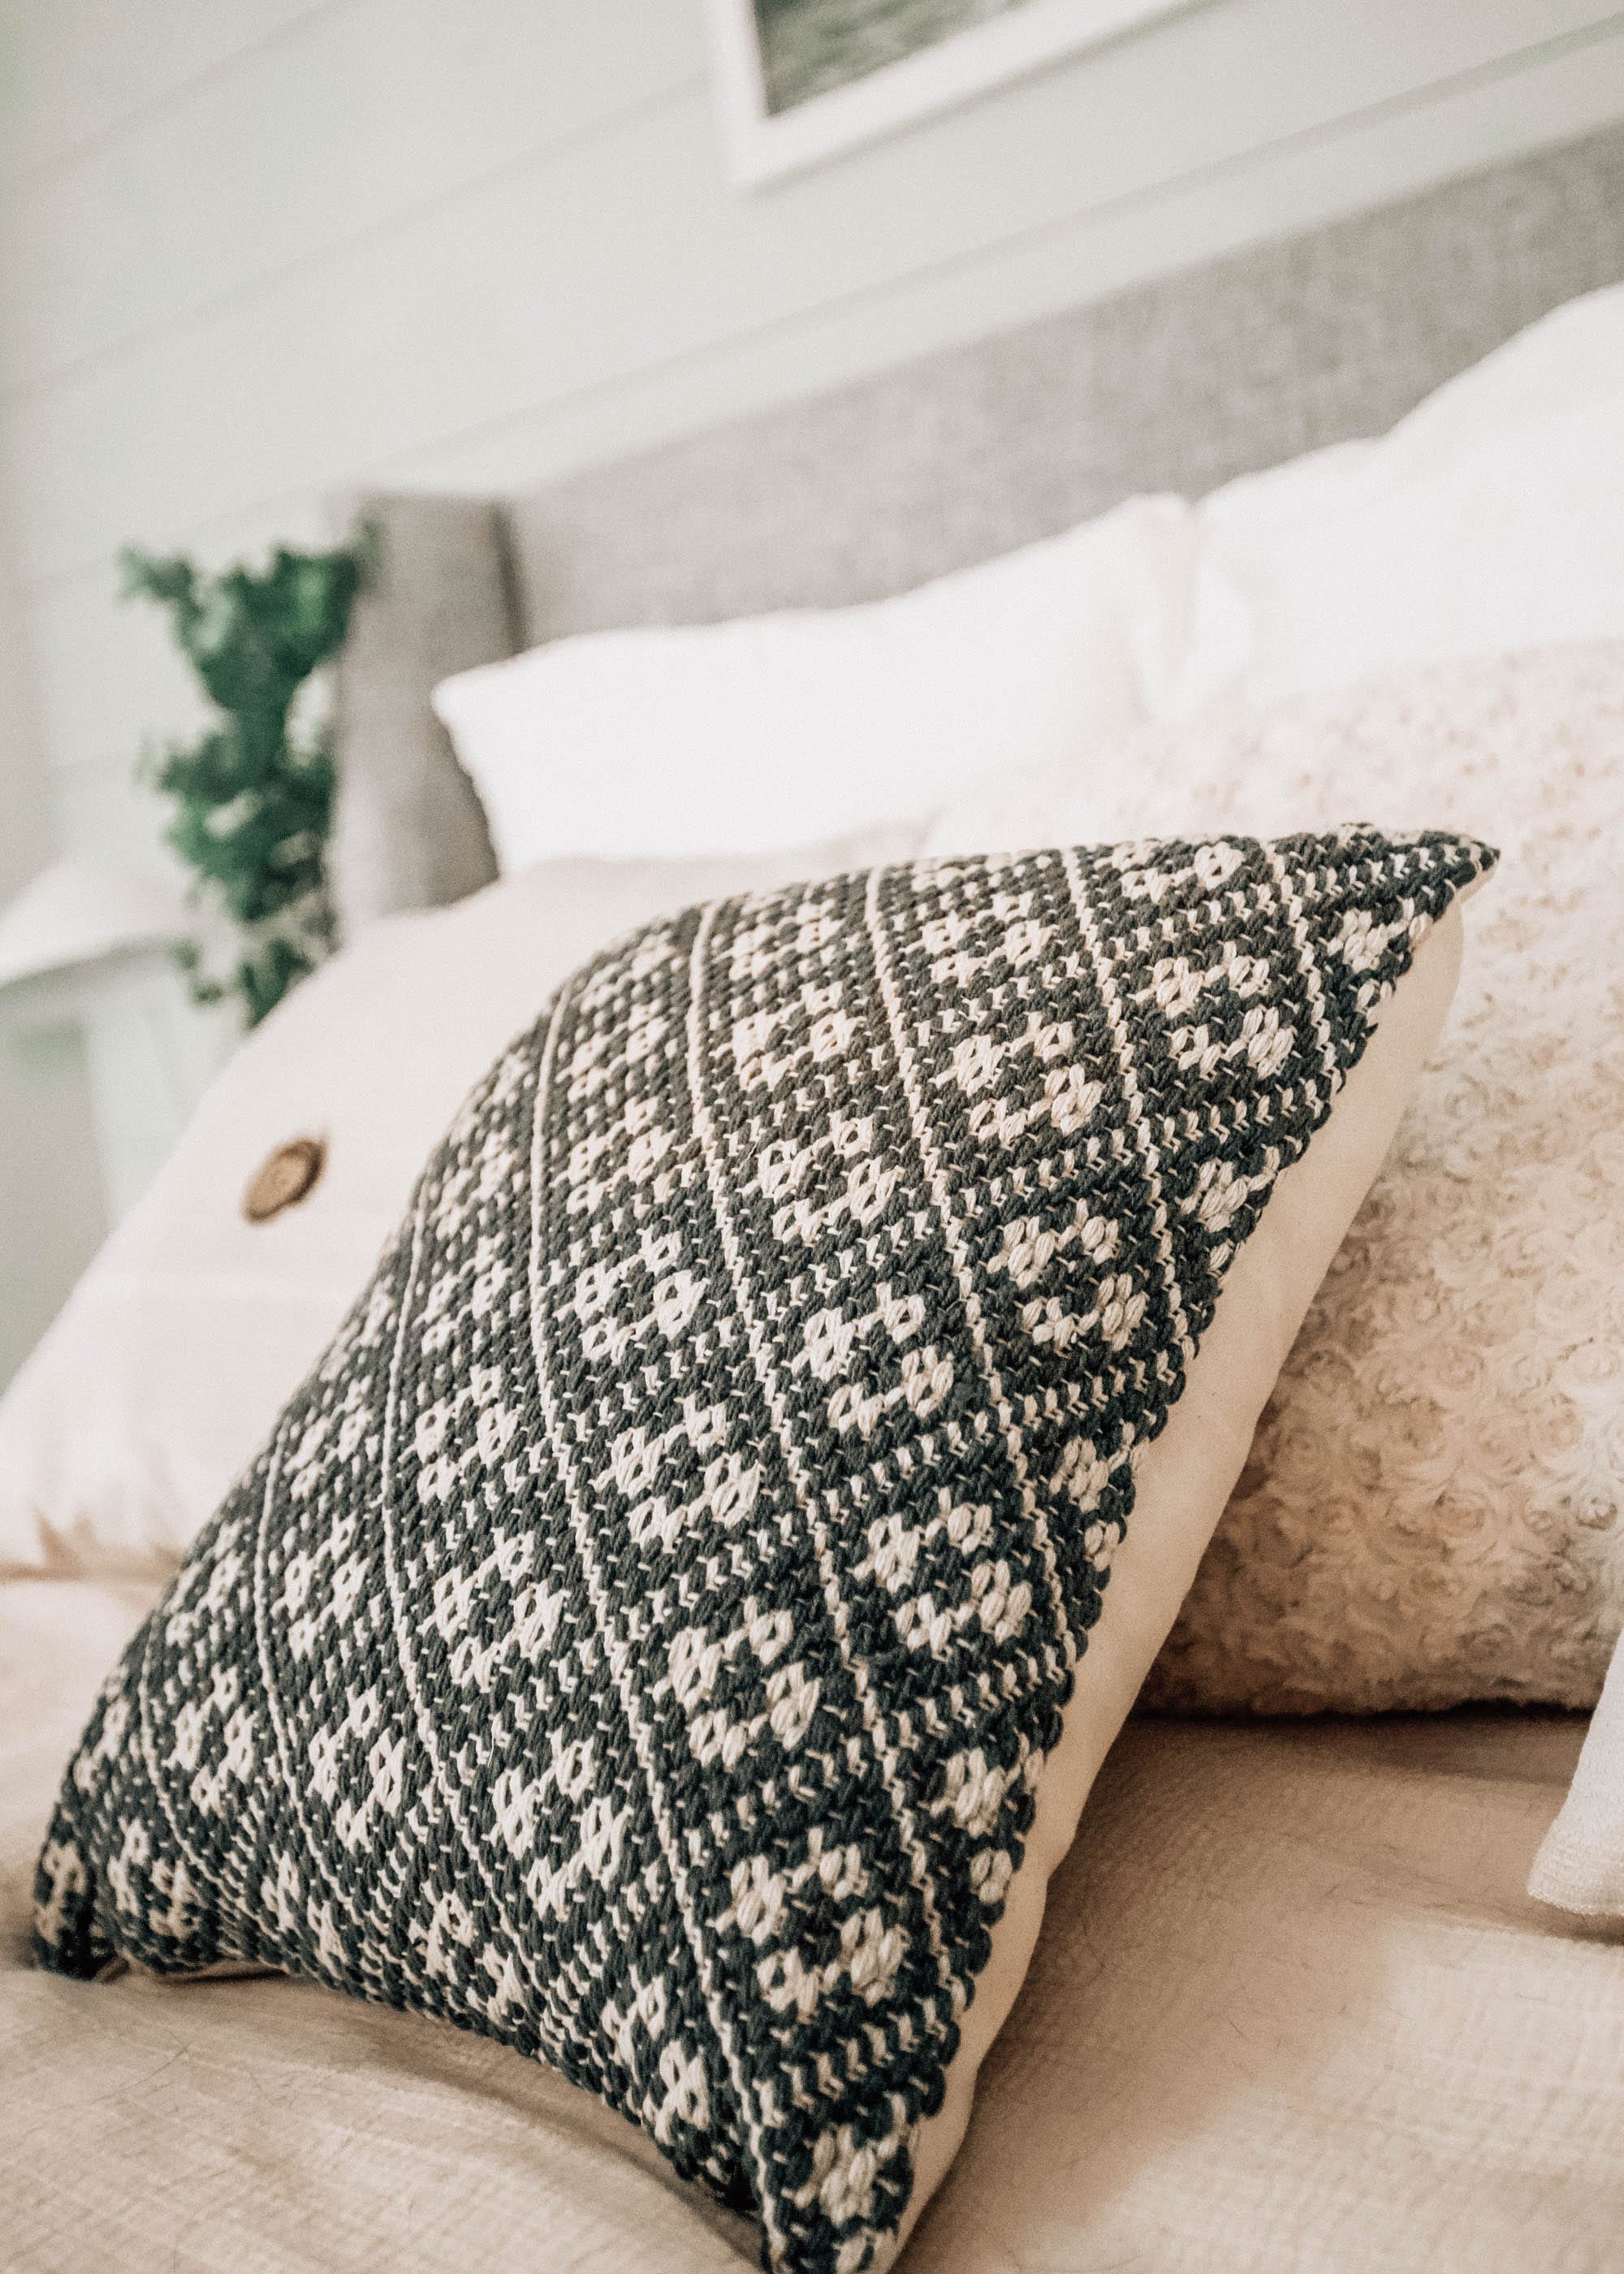
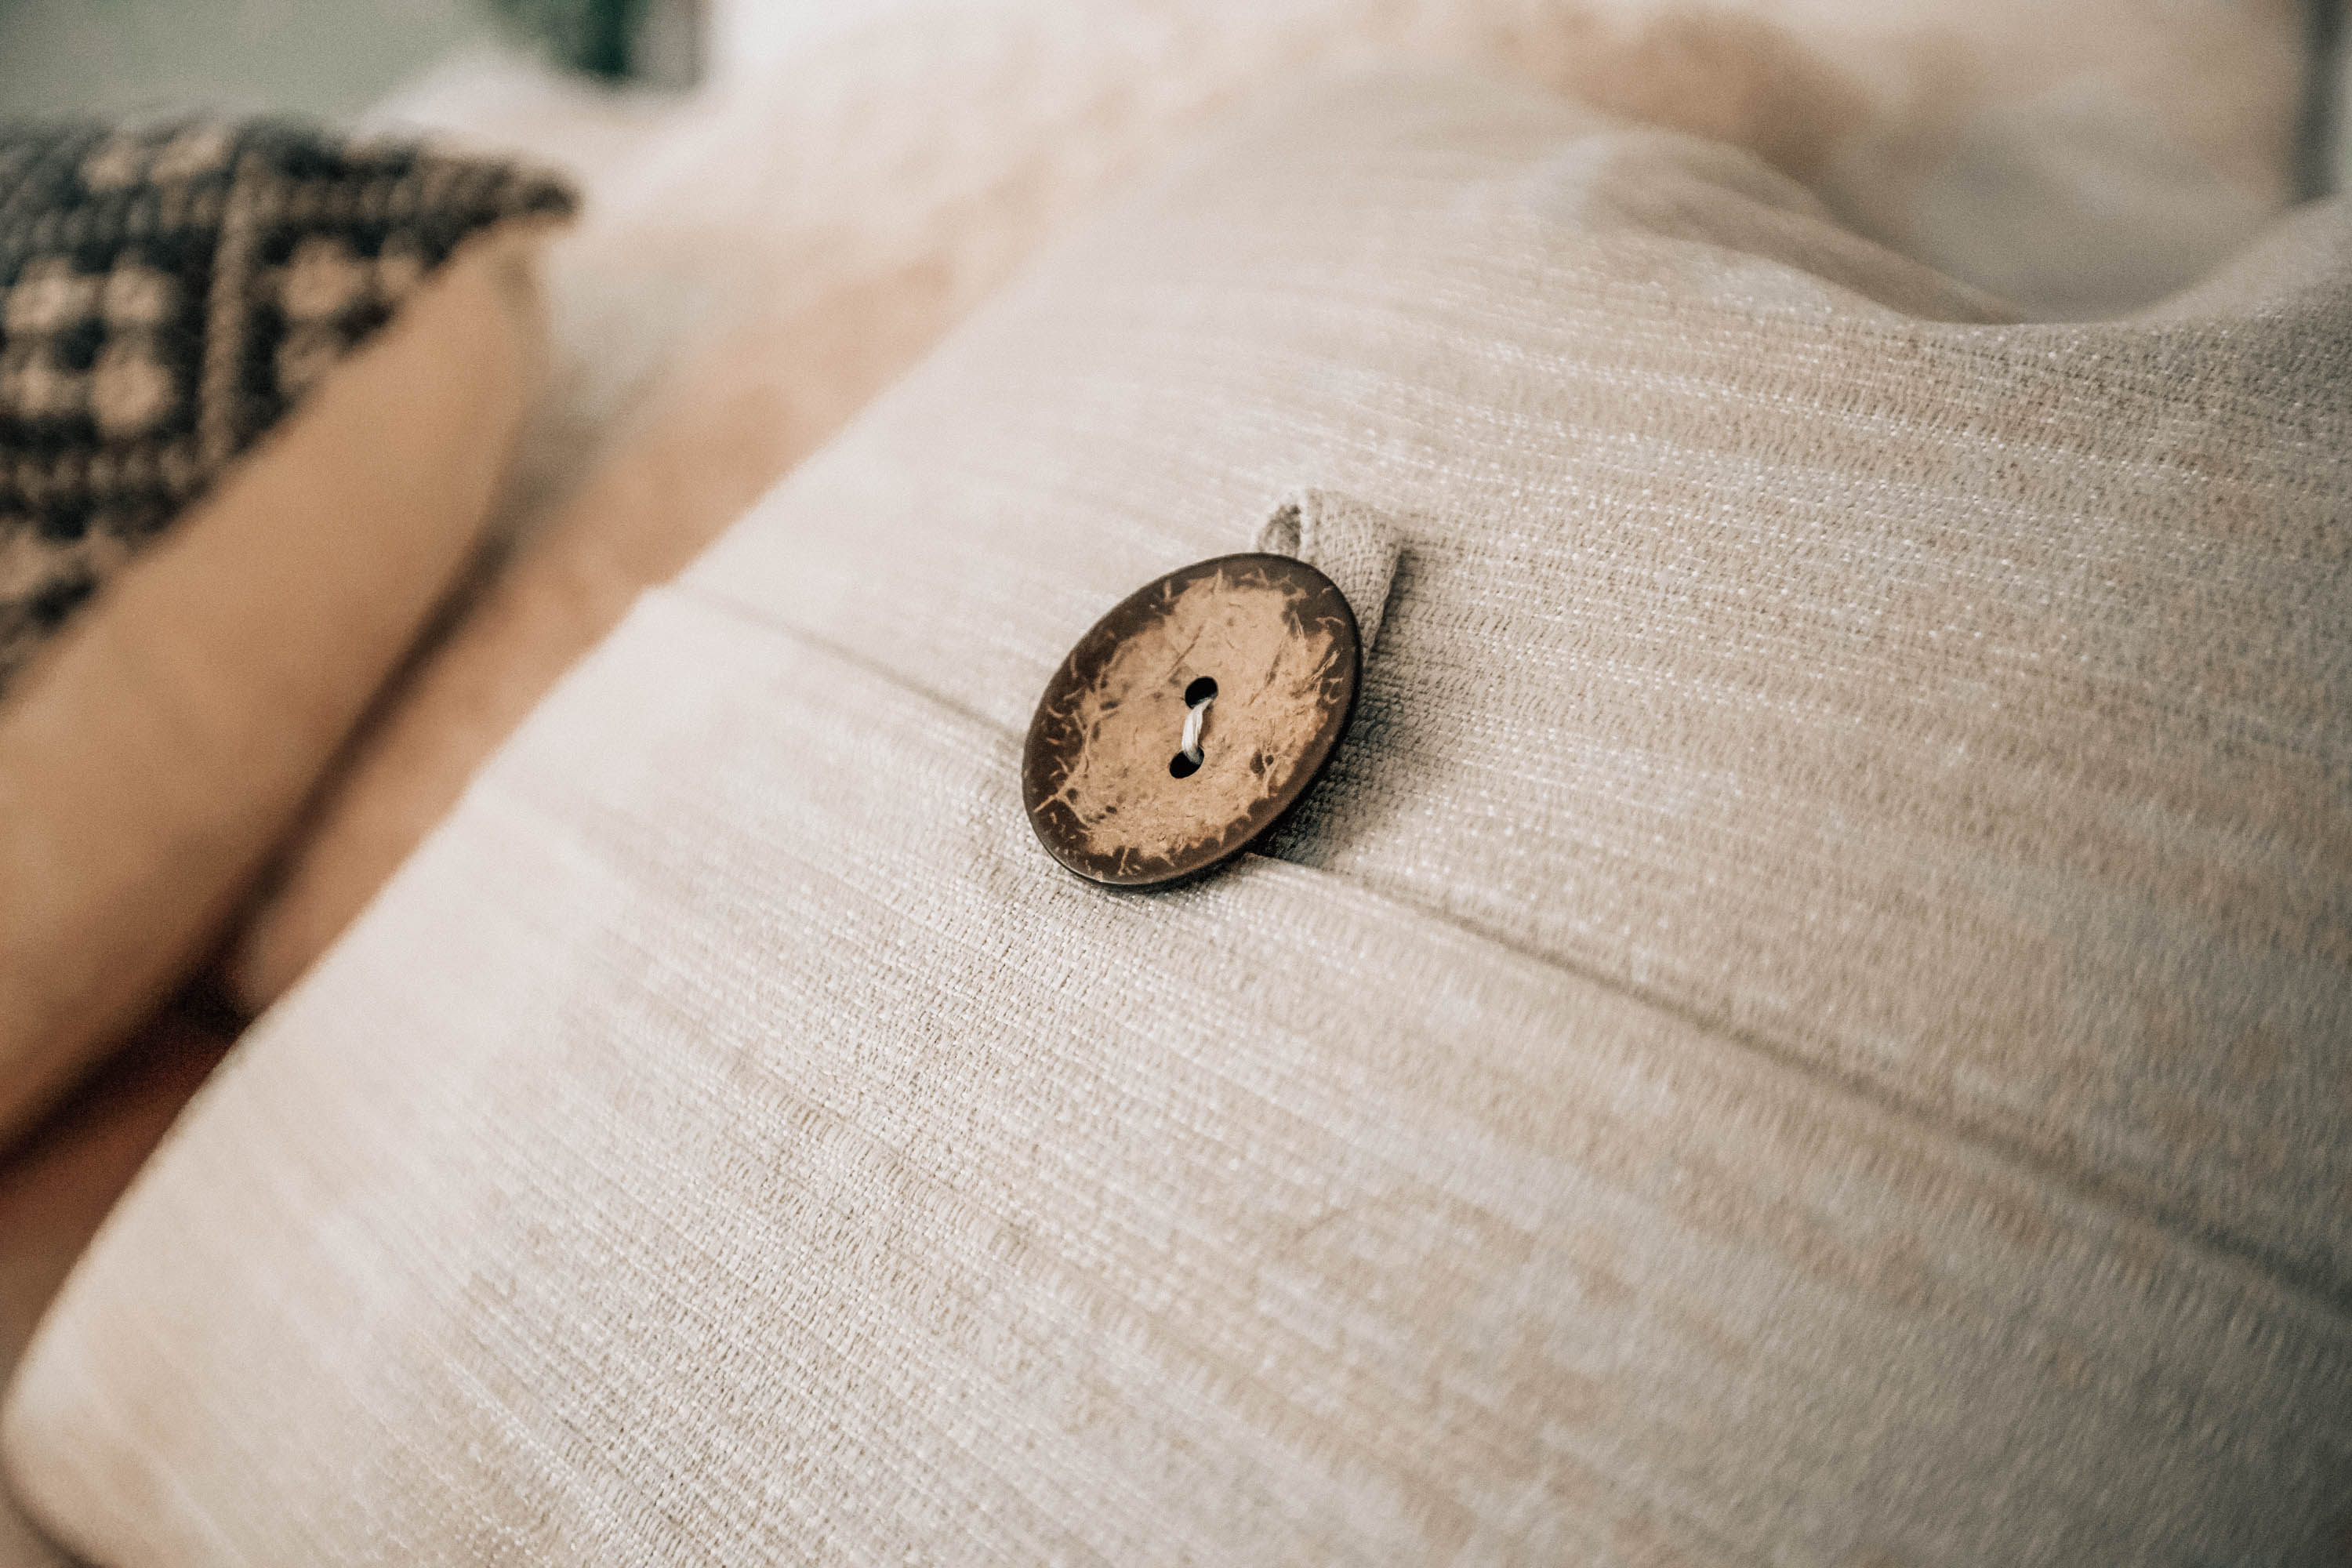
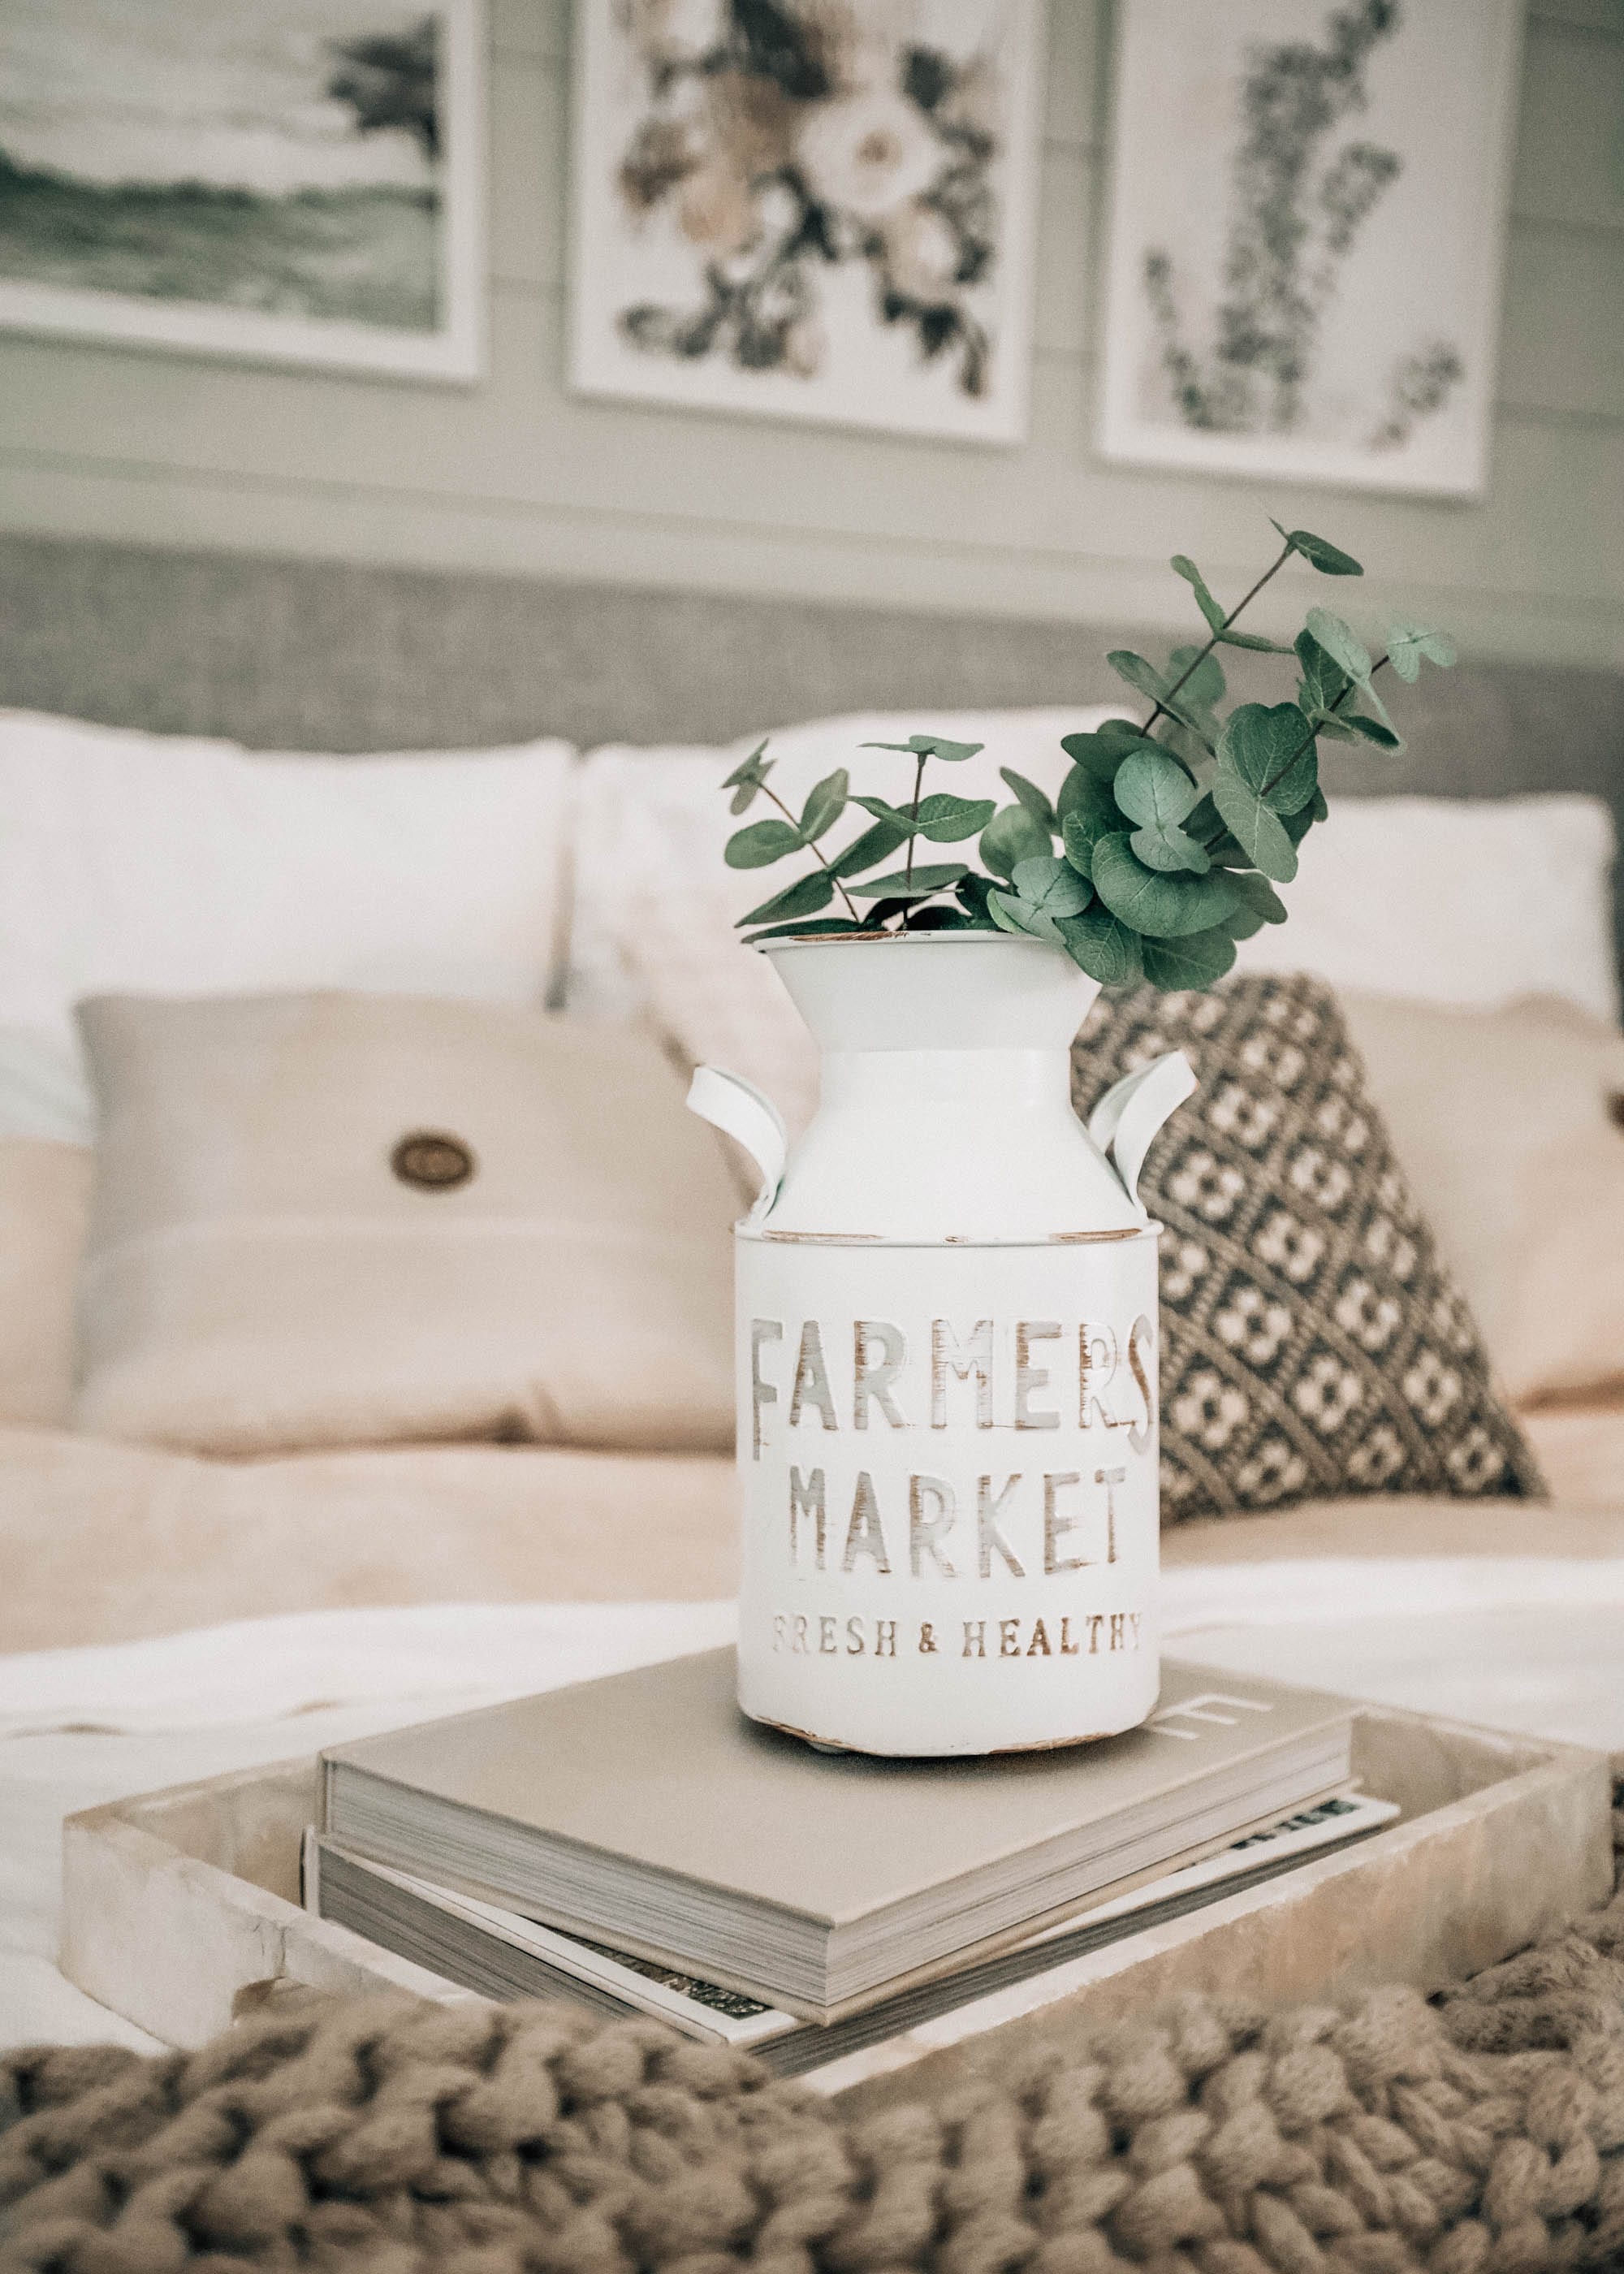
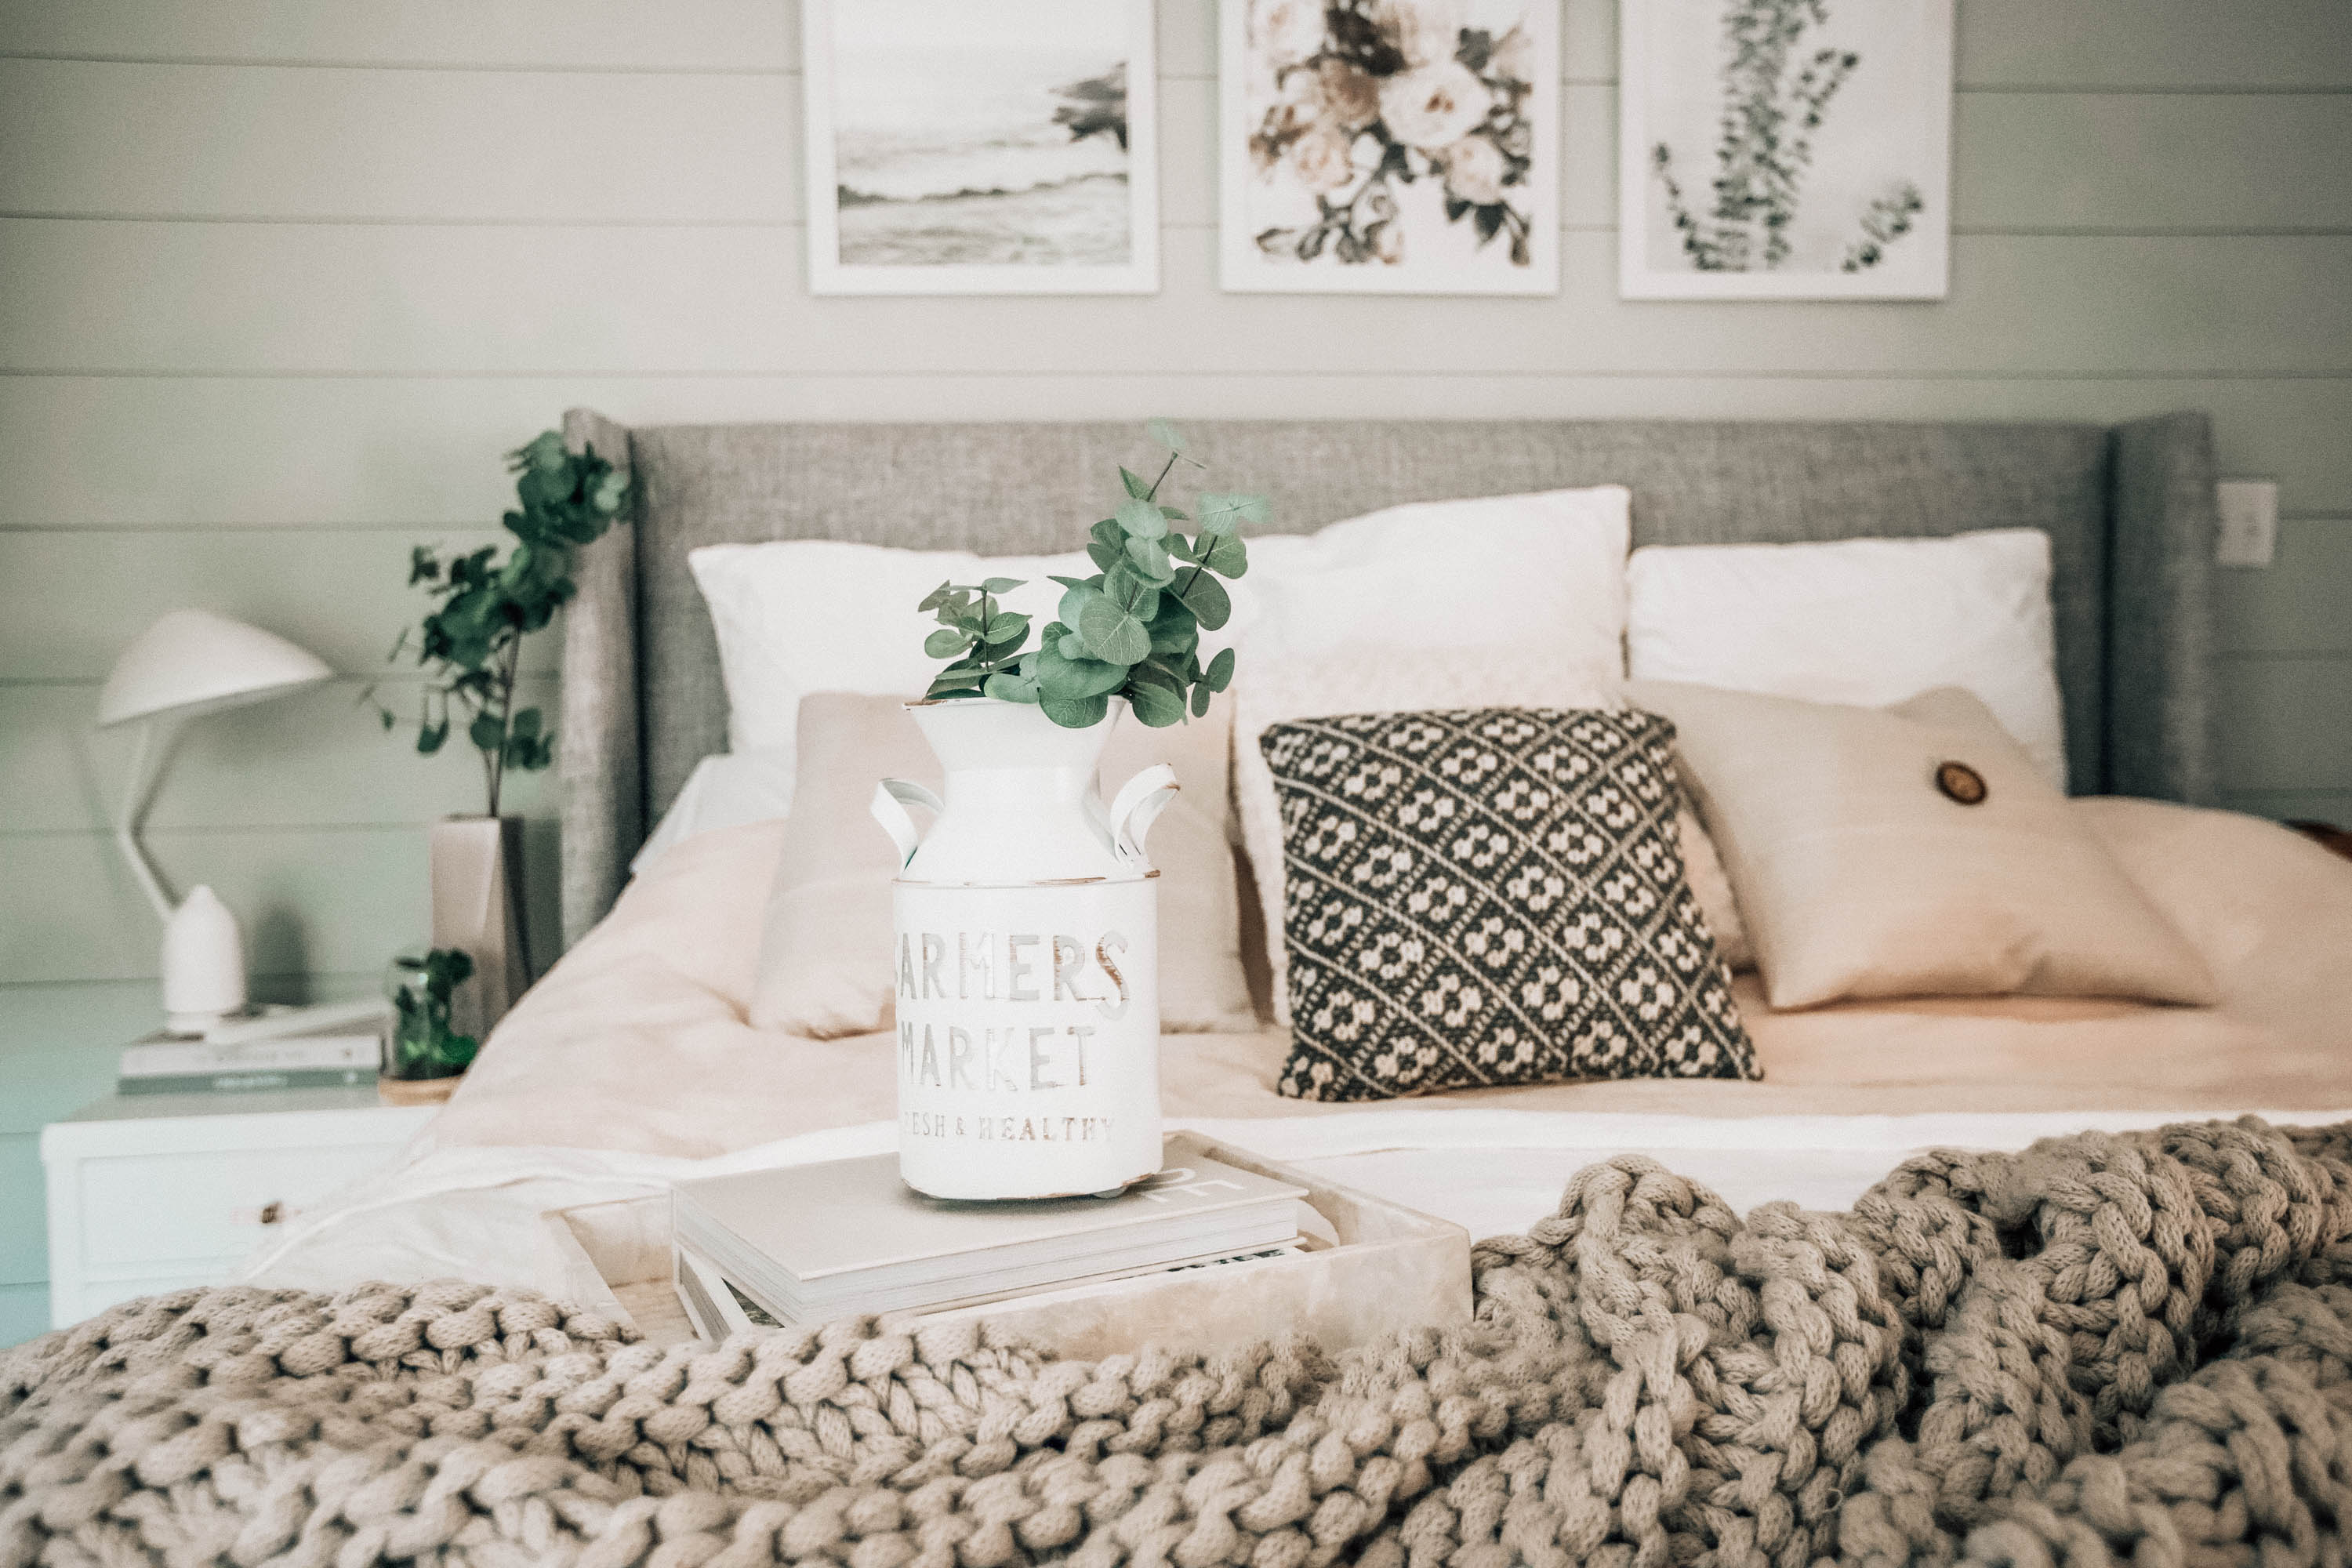
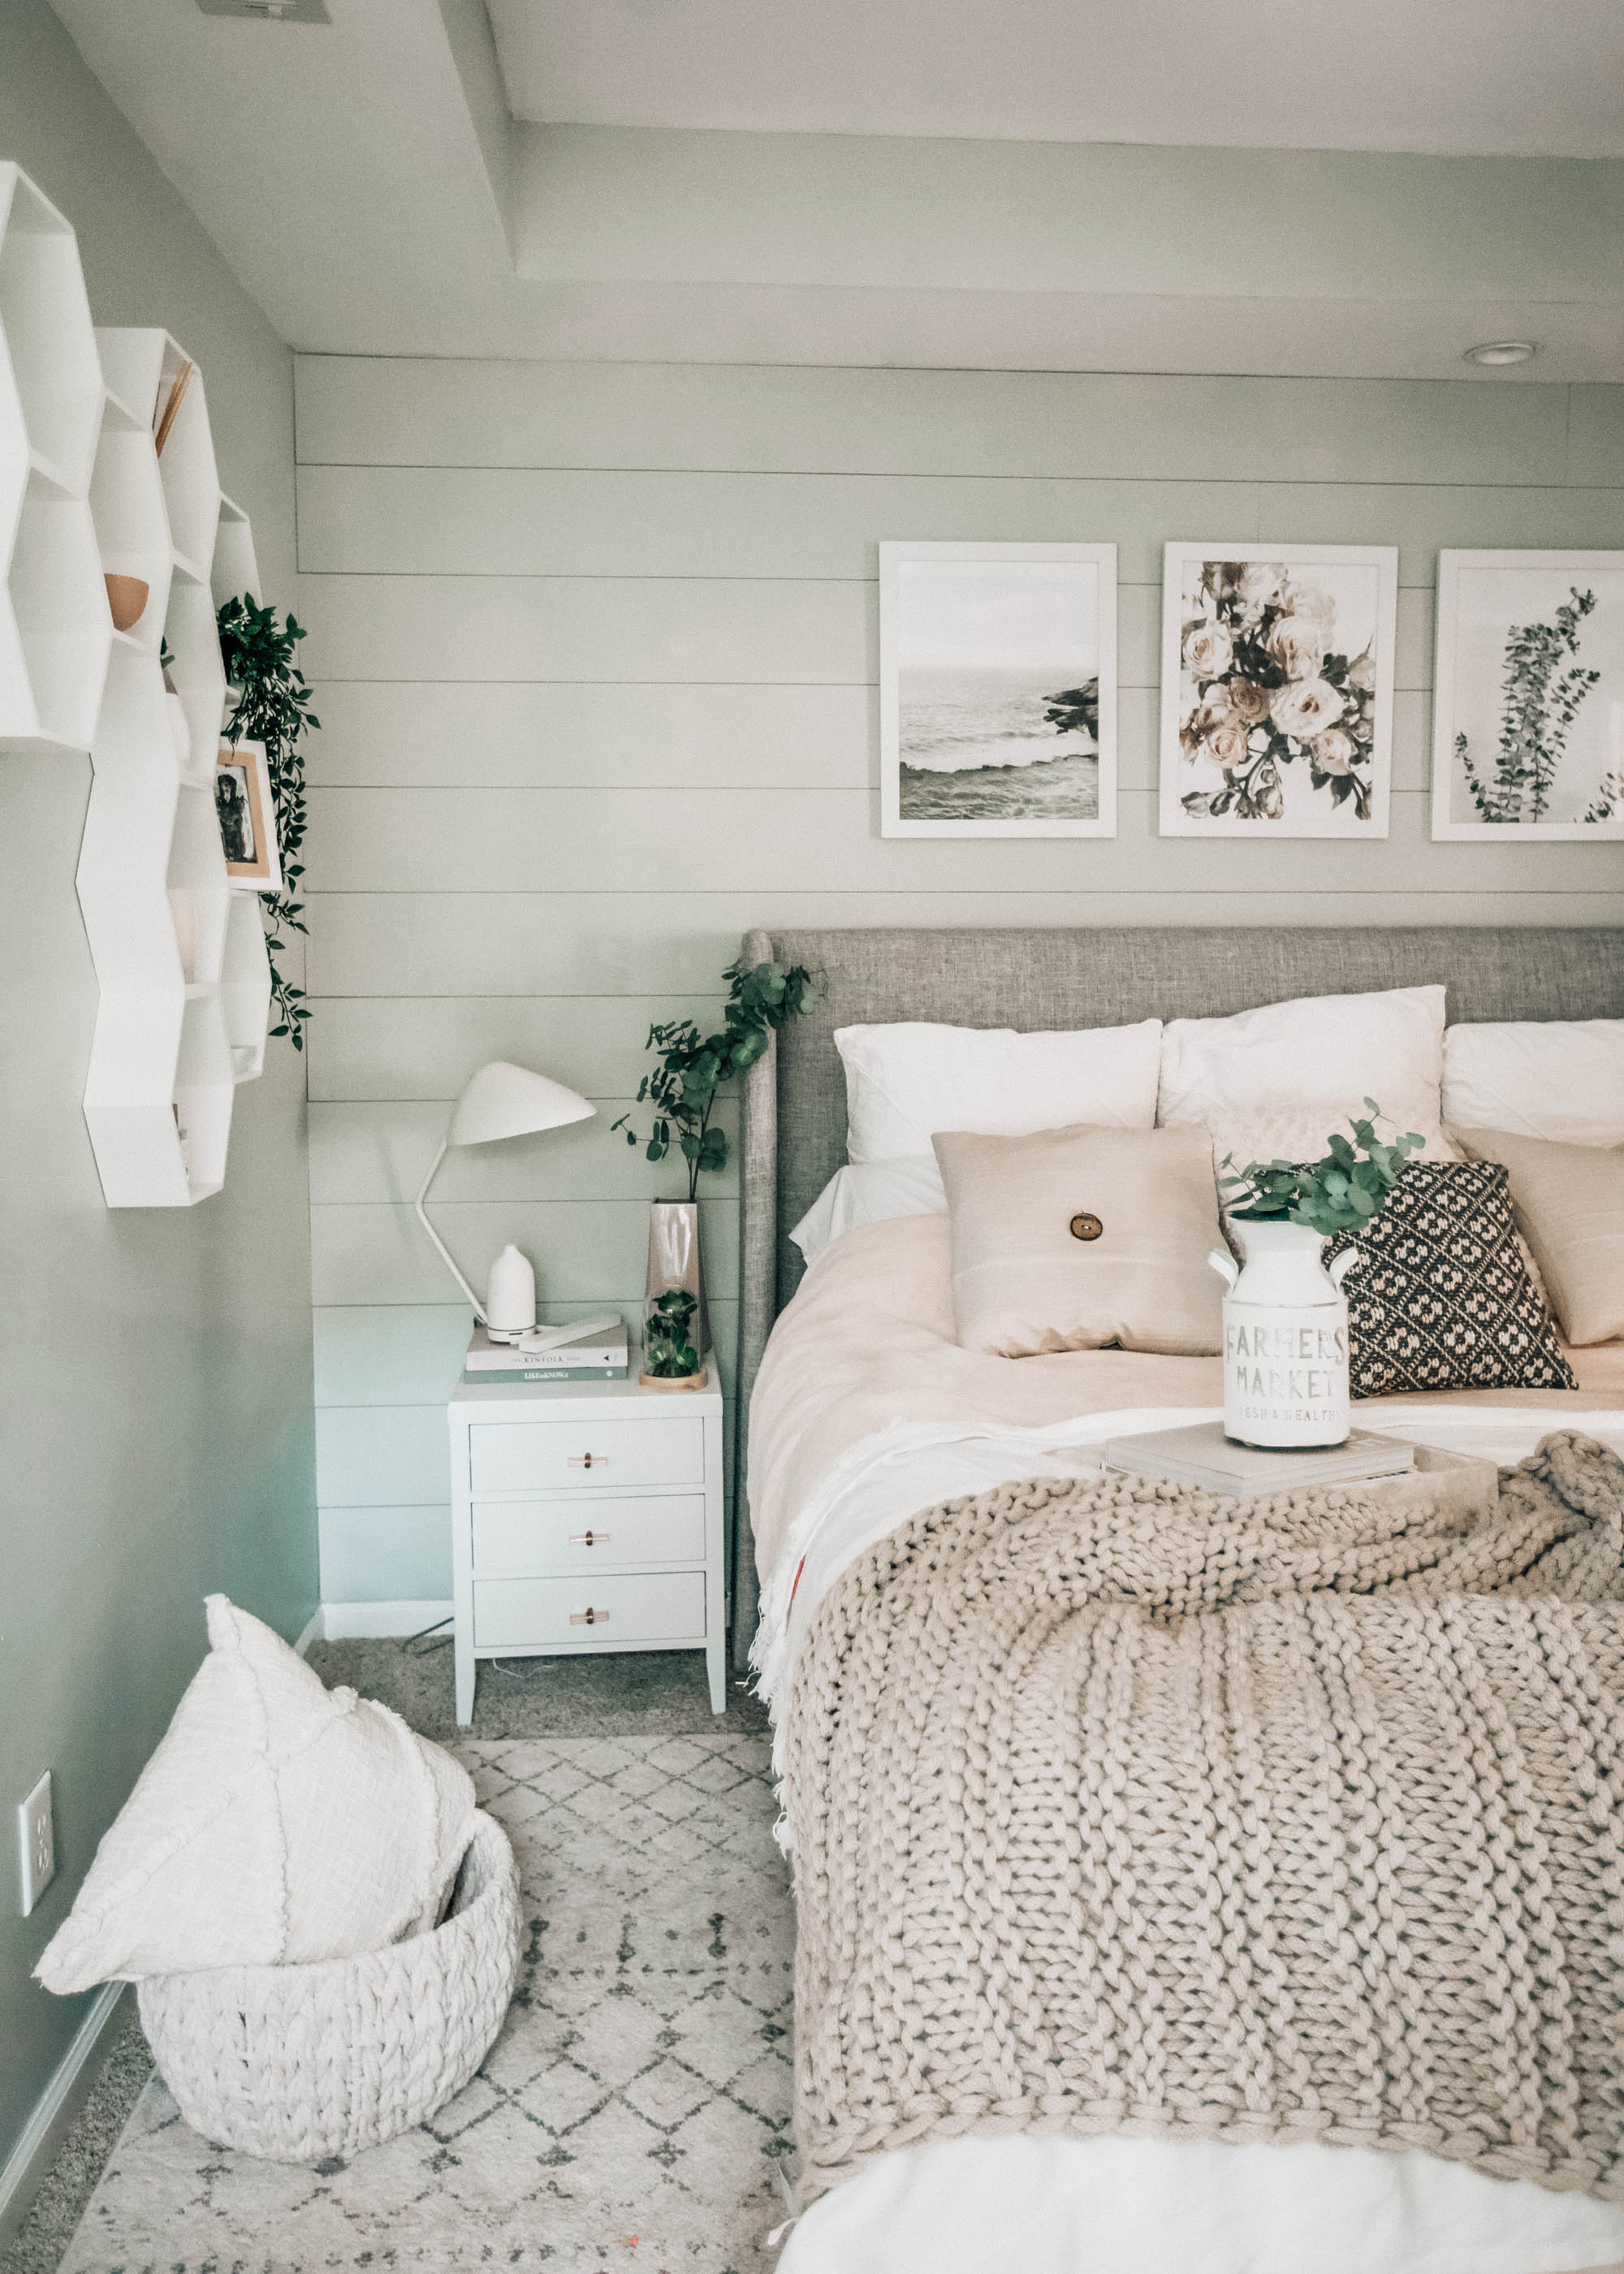
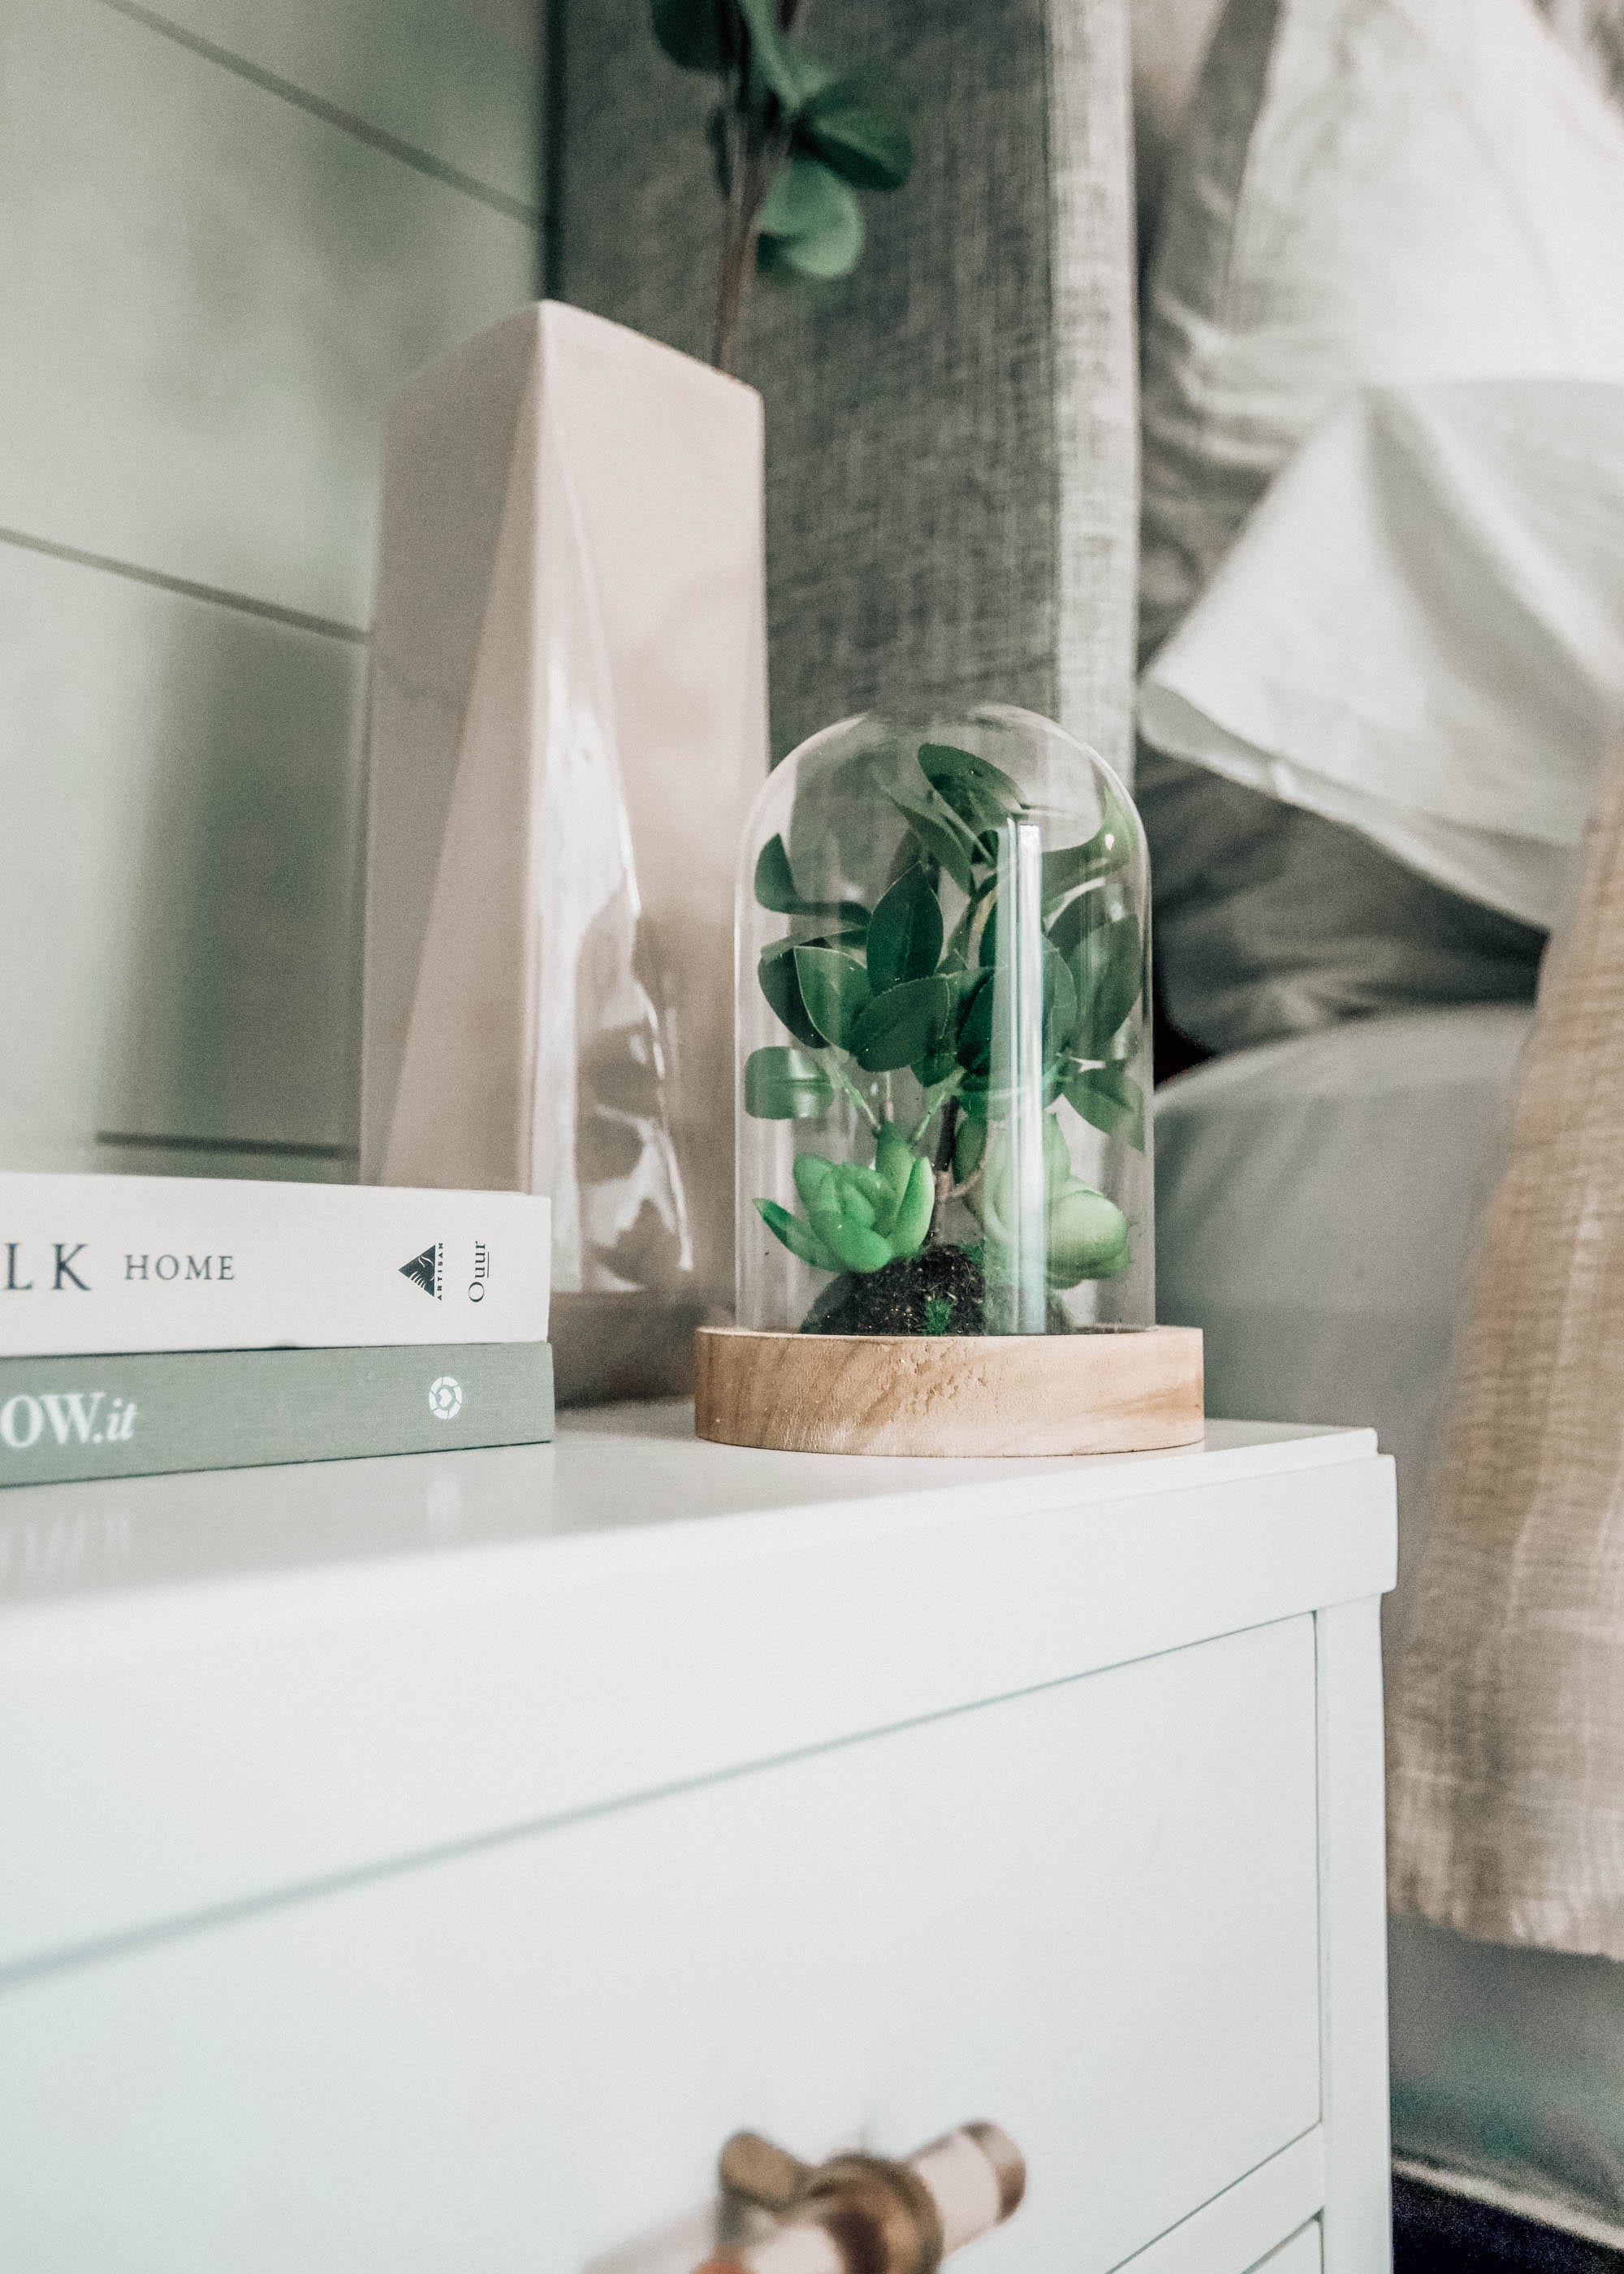
I’ve been meaning to refresh a few of our throw pillows lately but knew I wanted to keep them neutral and textured while still being under a certain price-point. After a couple of years, that’s the downside of light colored pillows that don’t have detachable covers that you can easily wash… they just start to look dirty and old, especially with two dogs! Luckily, I came across some beautiful pillows for such a great price along with a few other bedroom decor finds at Walmart and am so happy with all of them! The quality, the fabrics, I’m really impressed! Because these are so versatile, I can incorporate them into my fall and winter decor too or switch out some in a guest bedroom or living room/breakfast nook when needed.
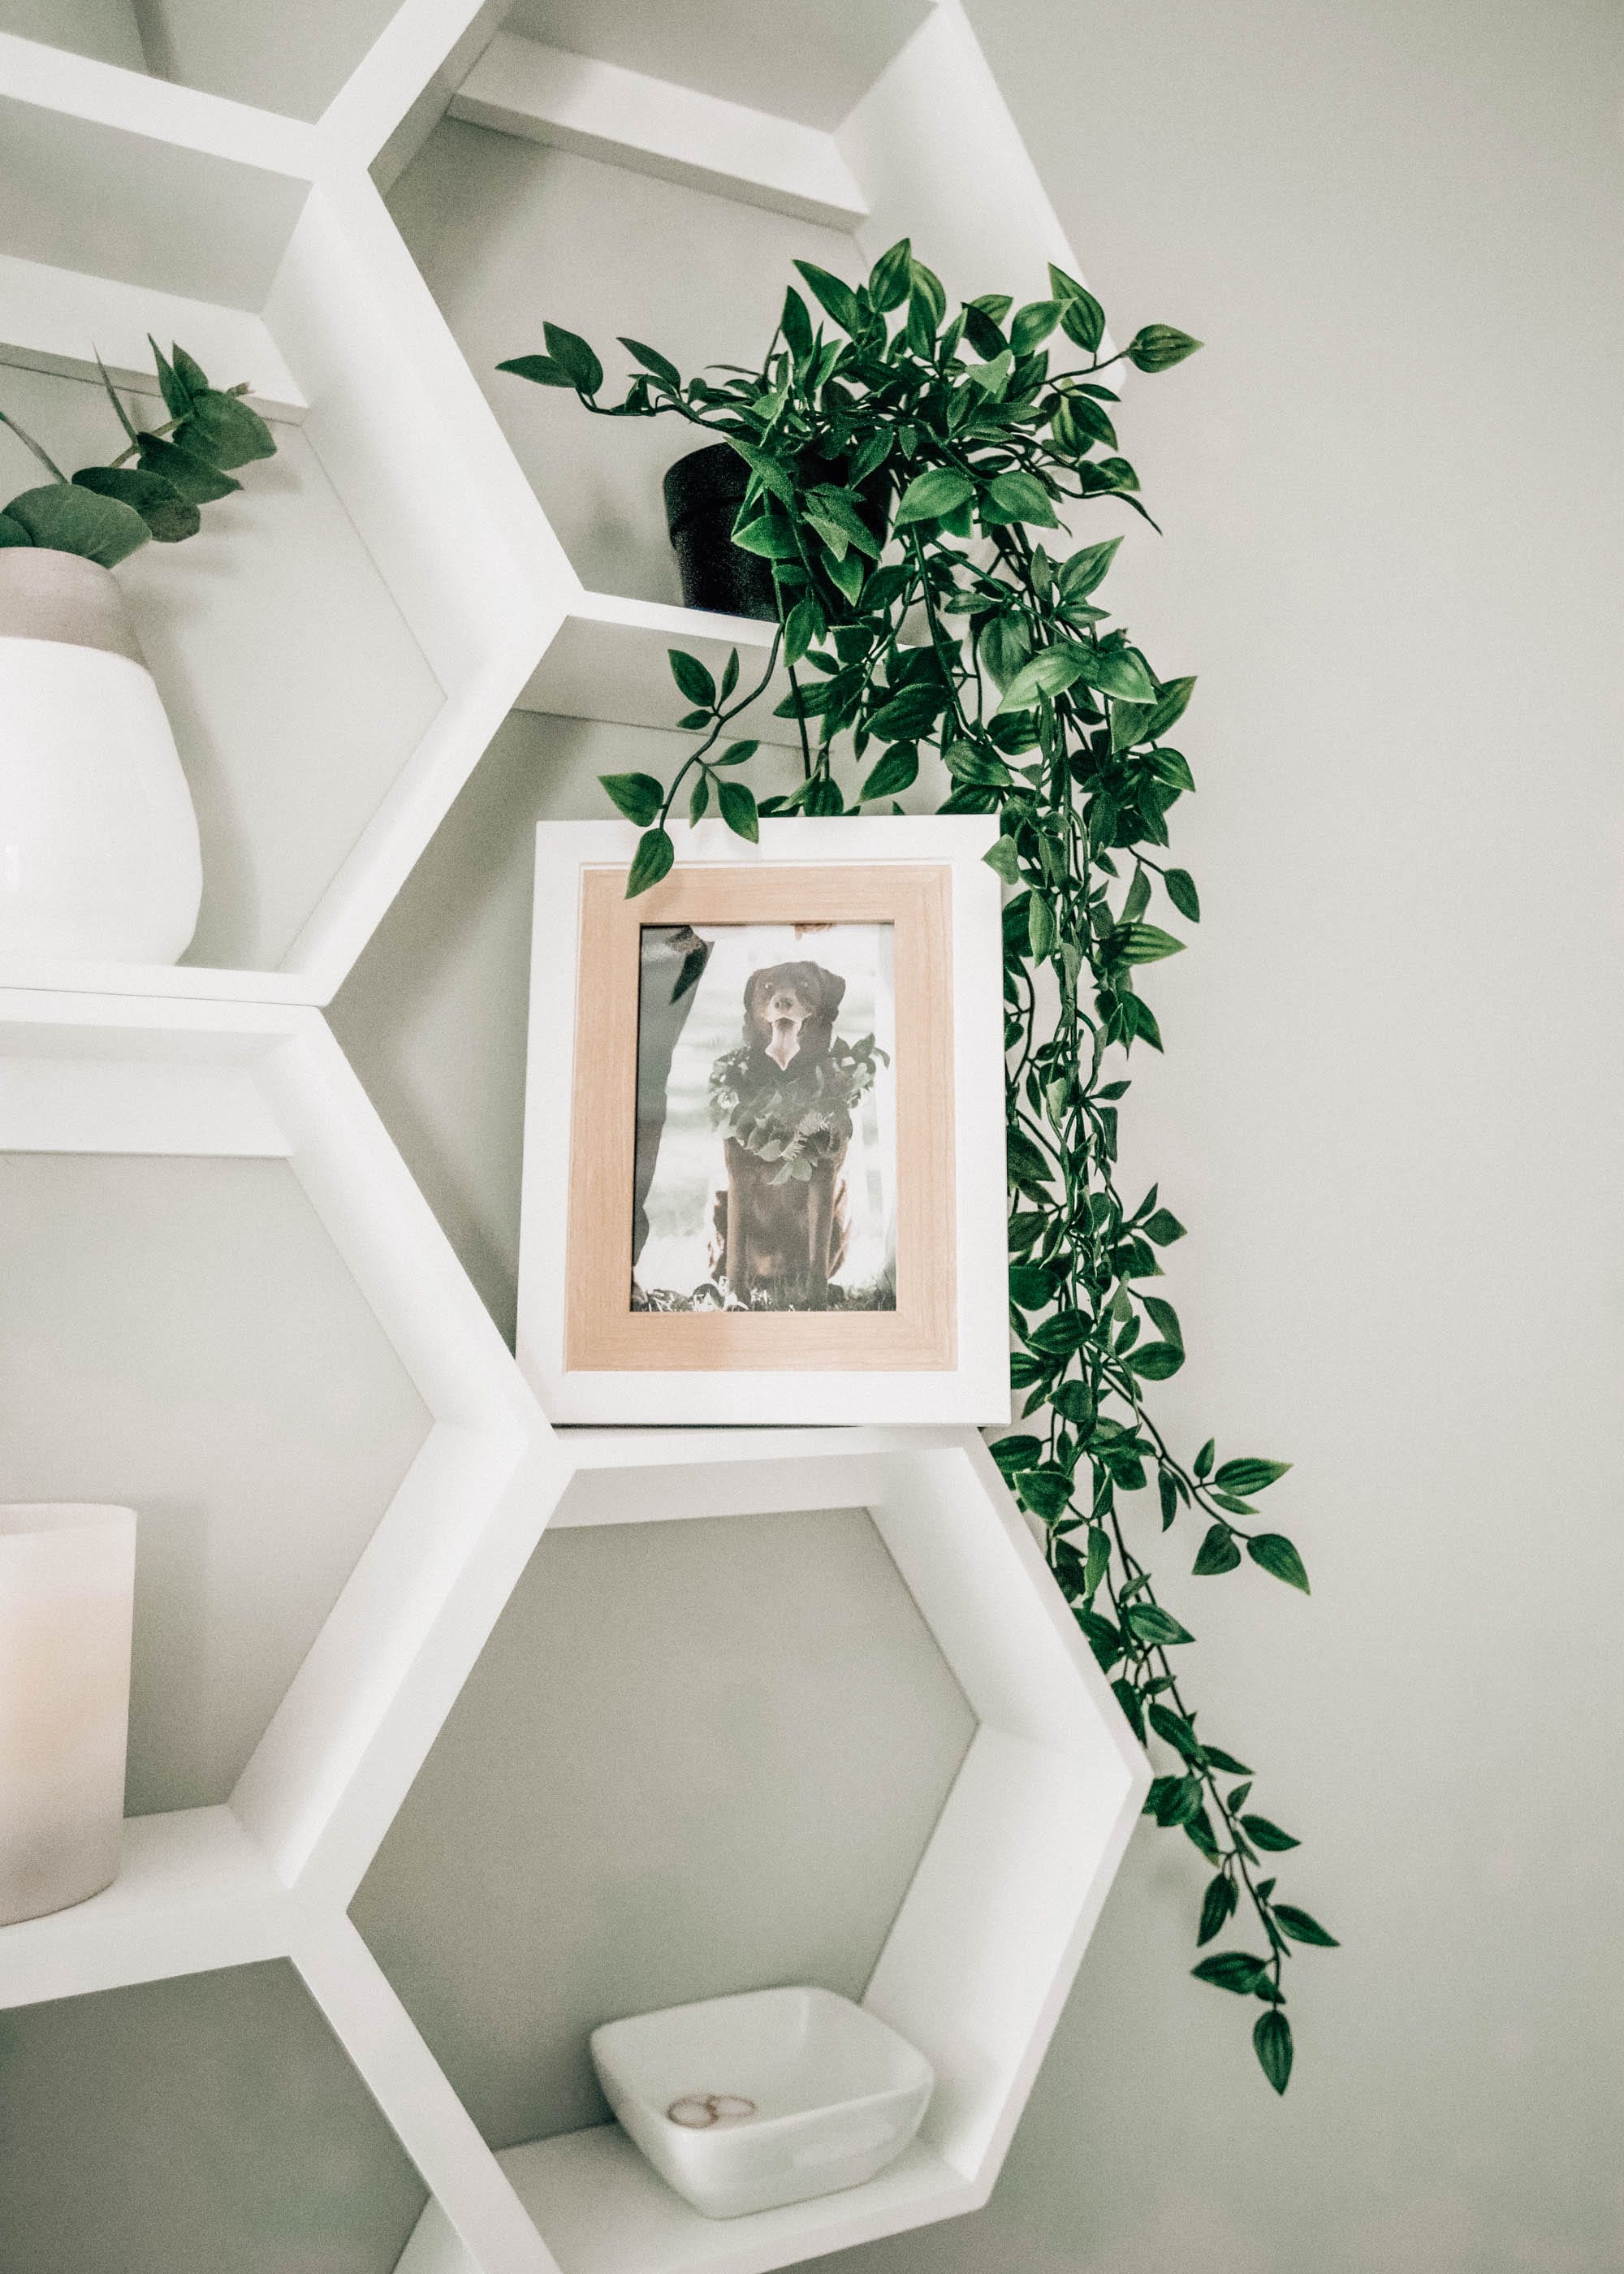
Another recent find I’m so excited about are these 2-tone wood and white frames! I picked one up in every size to decorate other areas of our house too and can’t wait to share more of those!
I’ve included a few more of my favorites below:
MORE DECOR FINDS:
Thank you to Walmart for sponsoring this post.
Finding Outdoor Inspiration Through Travels
This post is in collaboration with Chase Freedom Unlimited.
It was quite hot in NC this past July. We knew the weather would affect our landscaping efforts last month, so instead we focused on a couple of trips. In case you missed it, I shared more details about our landscaping plans in this post. We escaped to the South of France where I happened to find loads of inspiration for our yard, complete with climbing flowering vines, stone paths, and more. We don’t travel too often (and that was my first trip to Europe!) but when we do, I love exploring cute towns and finding design ideas that we can take back home with us.
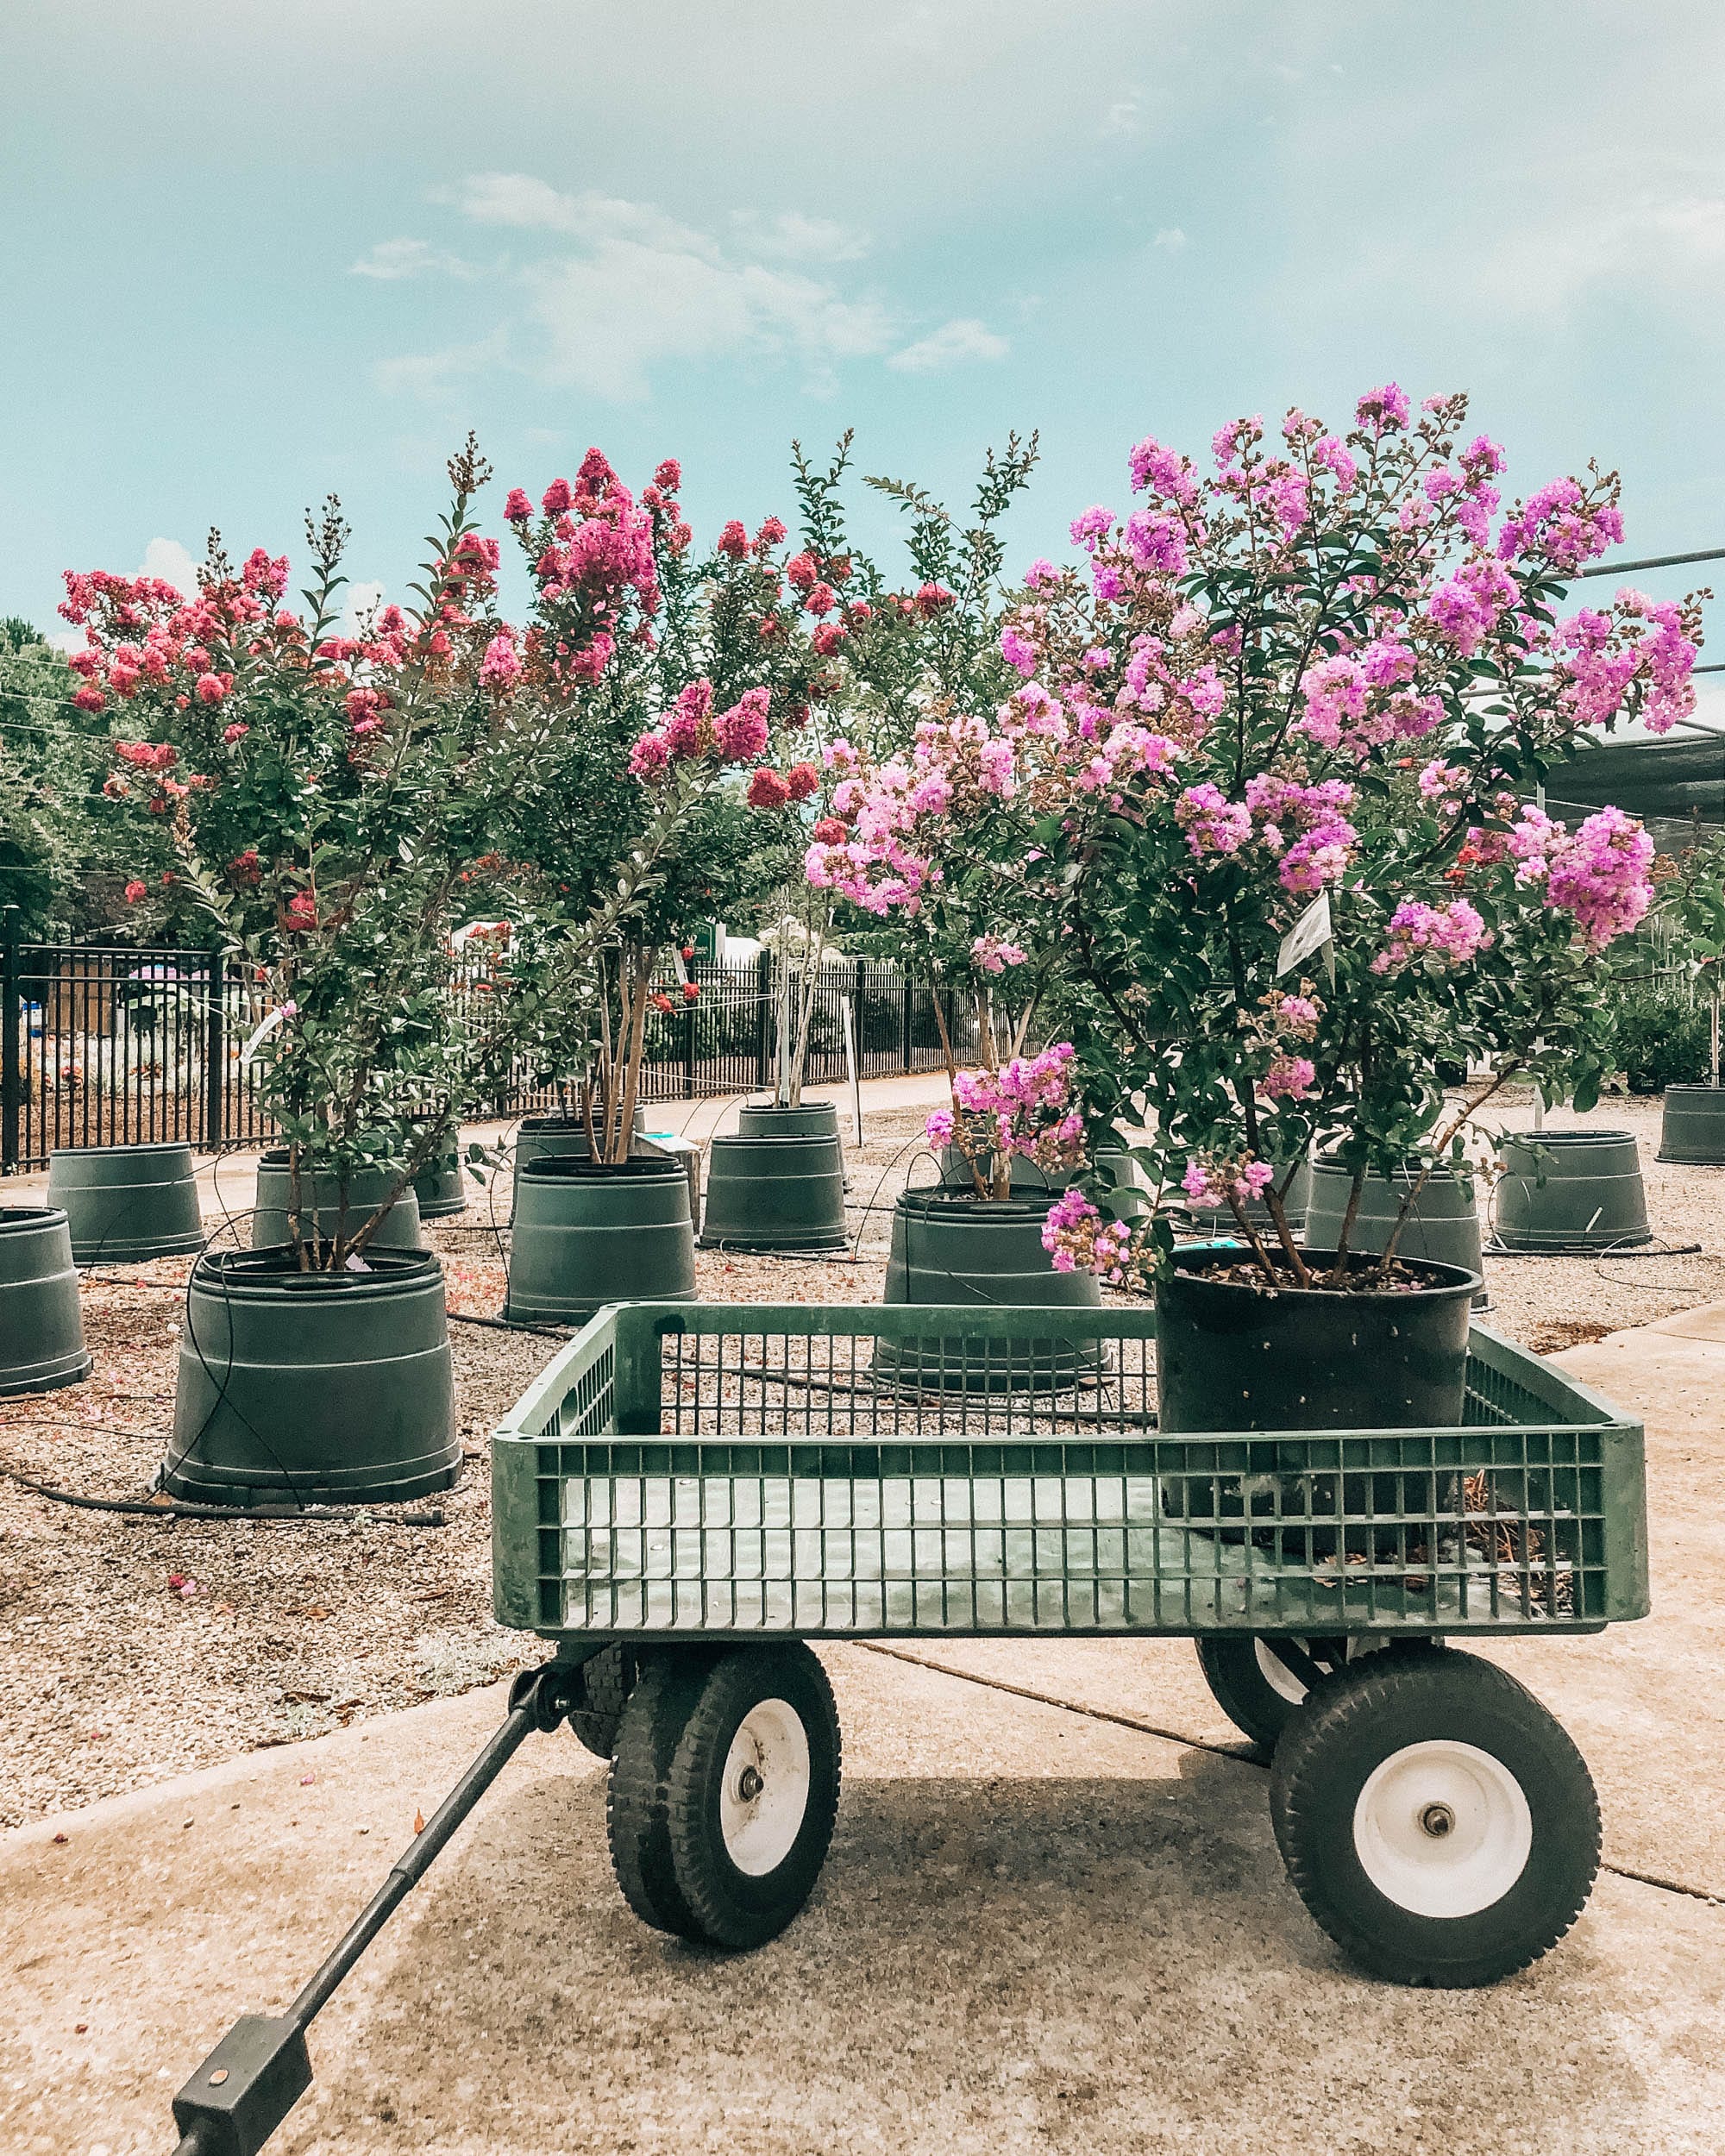
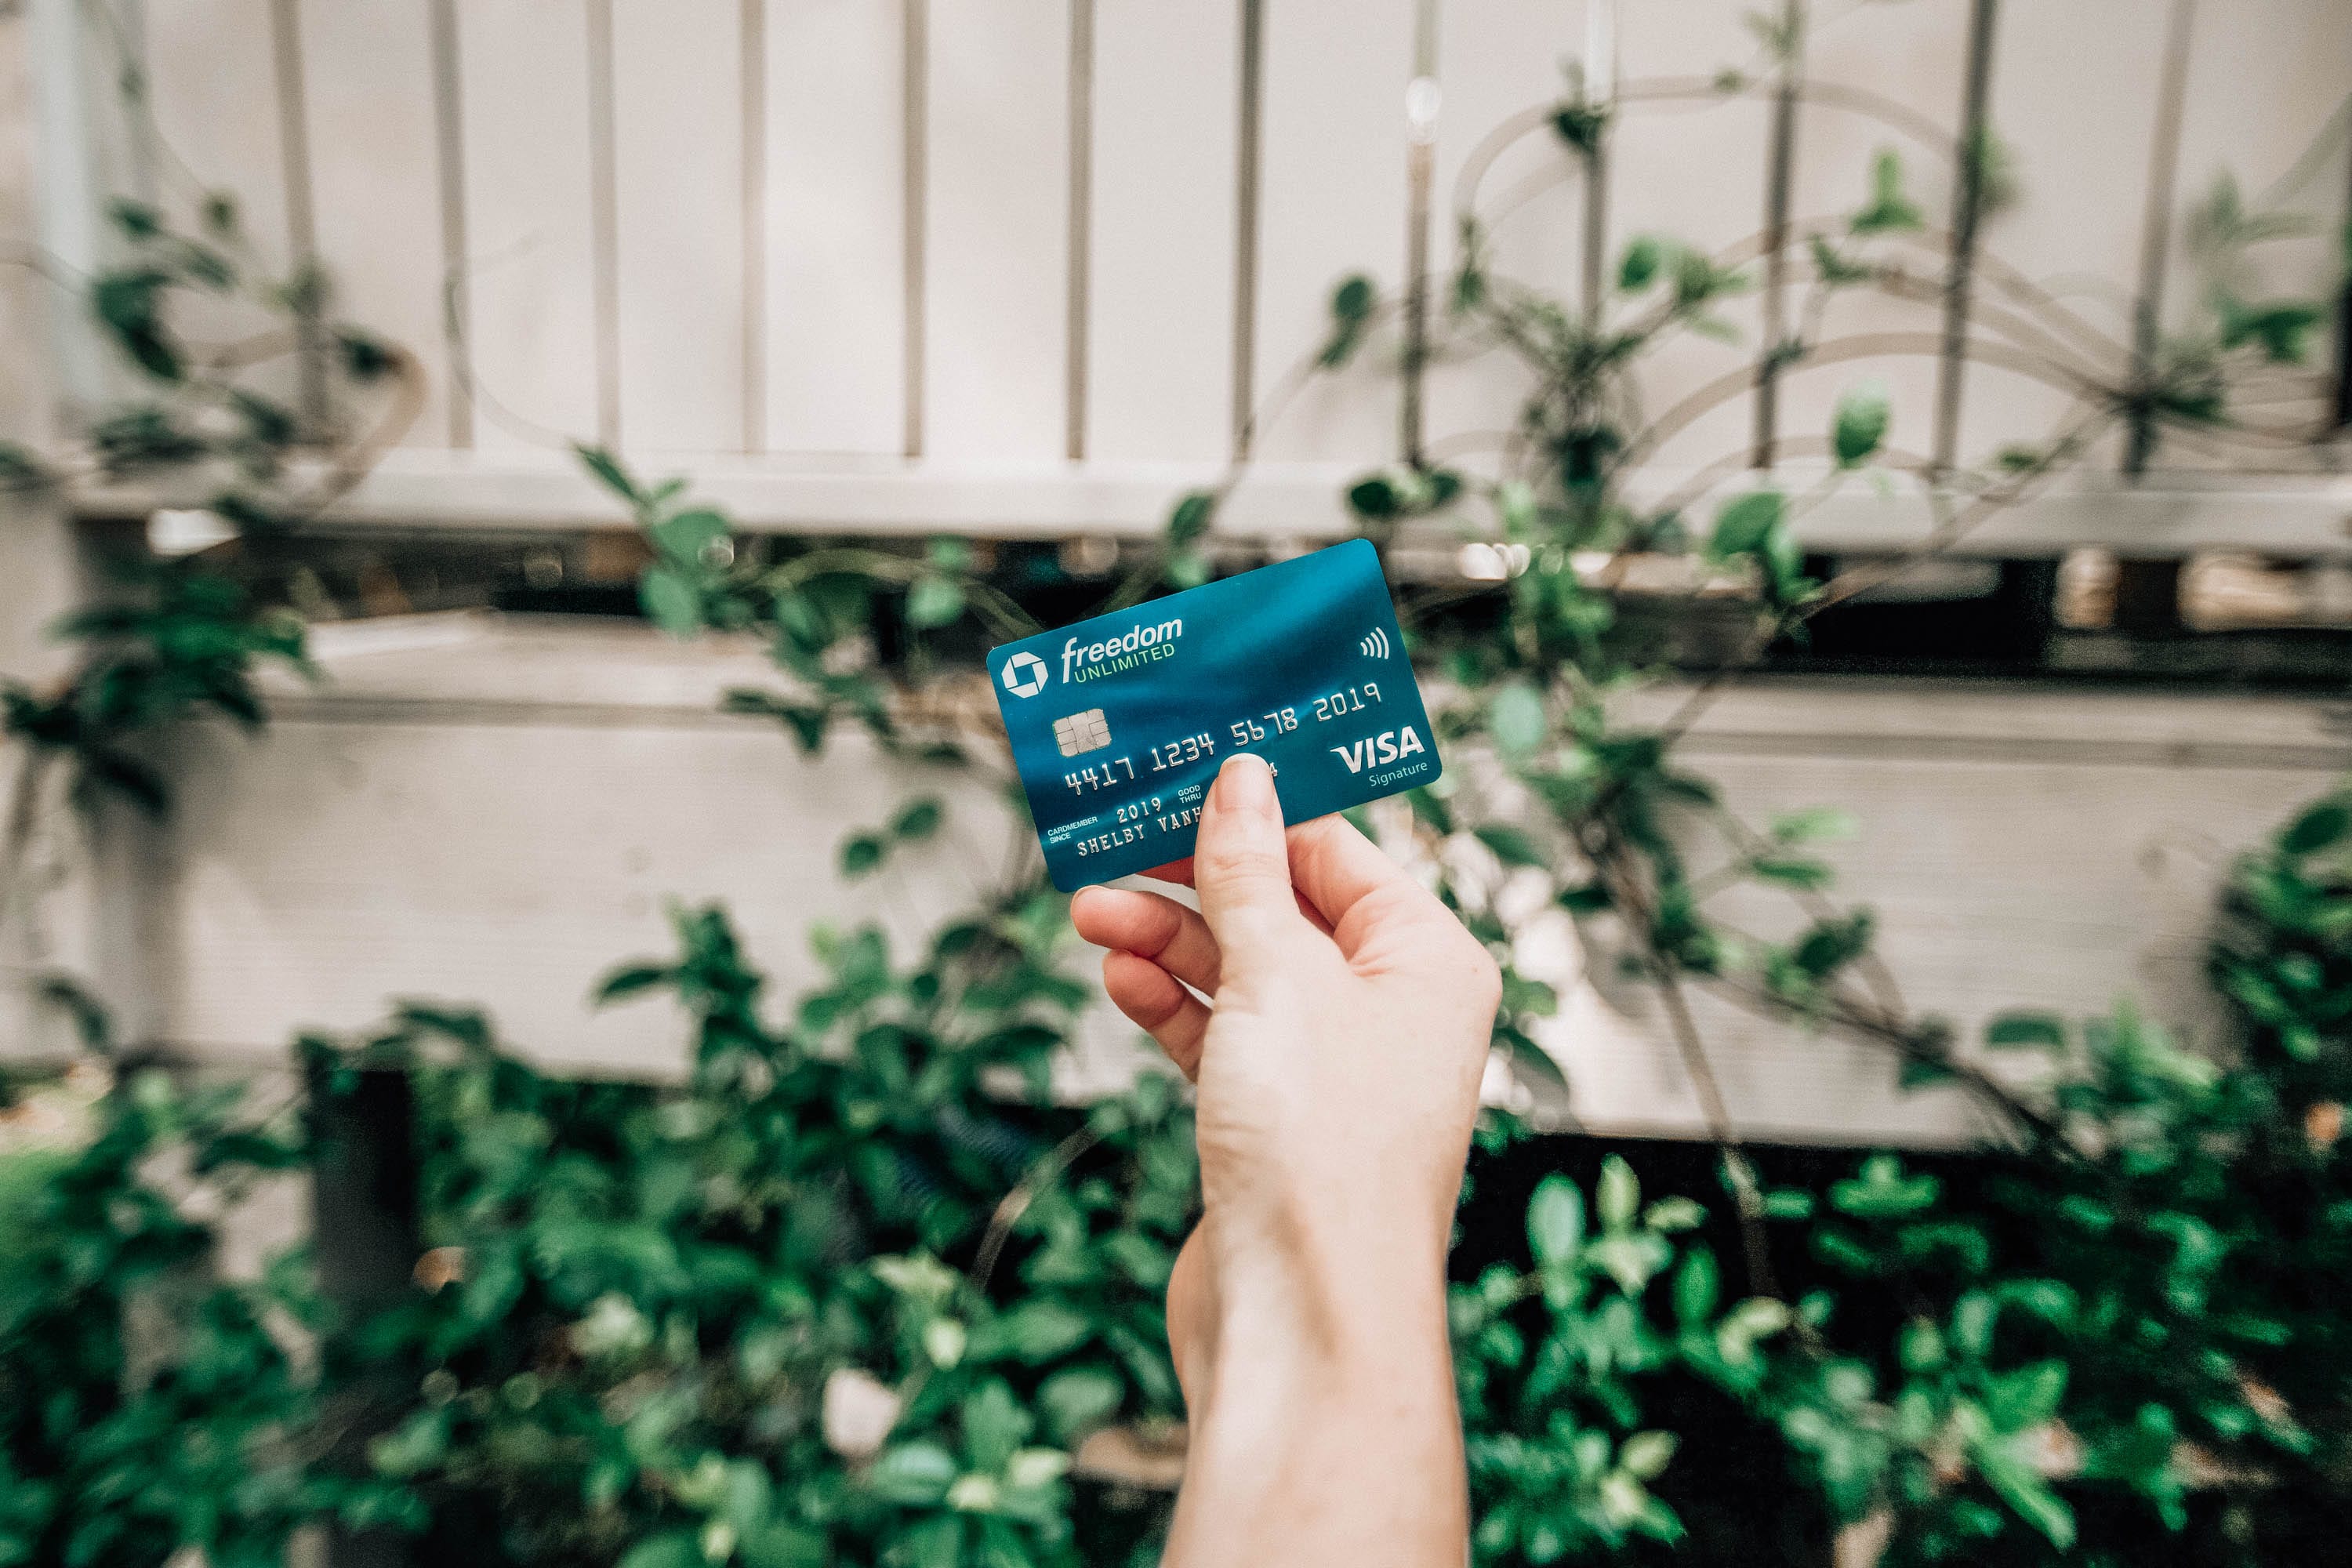
Before we get to the inspiration, I wanted to share an update on our arbor! I was able to order an arbor to go right in front of our gate (thanks to our Chase Freedom Unlimited cash back credit card!) and I snapped some photos right after we built it and purchased a new crepe myrtle to go right beside it. We have since planted some climbing roses around it so that they can grow over the arbor (they’re growing quicker than I thought and will share photos soon!).
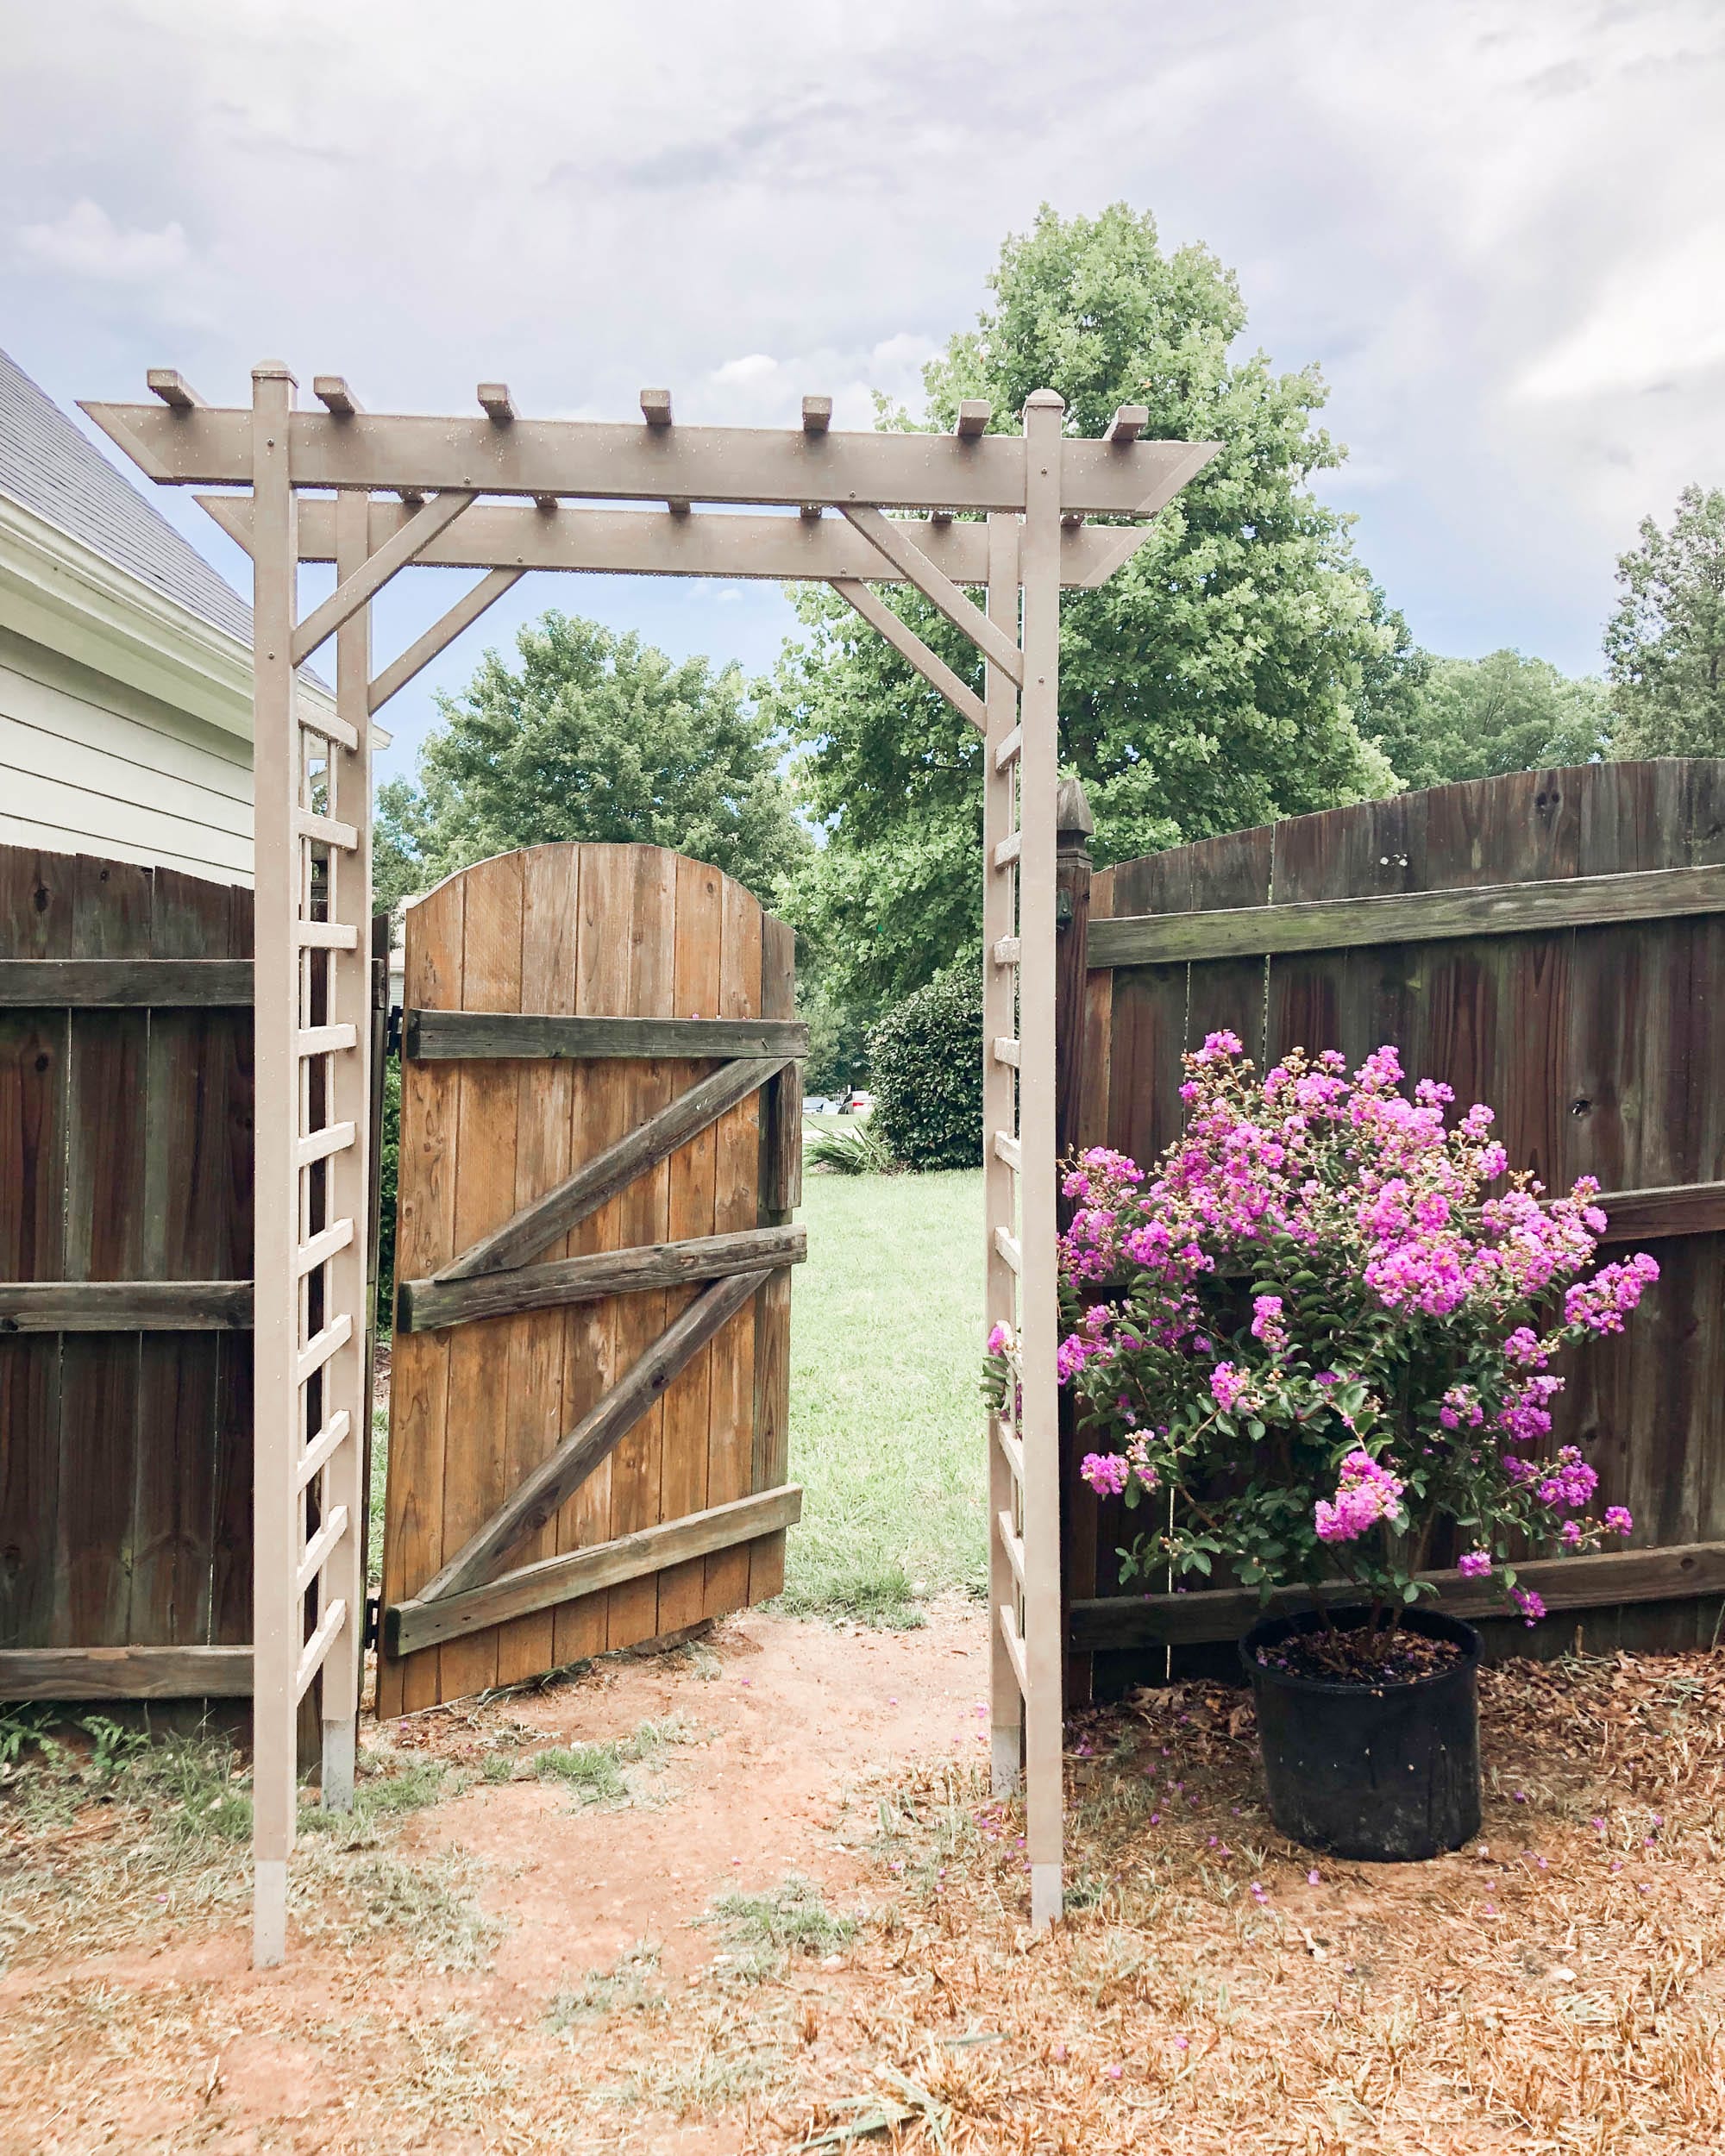
When we came home from France, the crepe myrtle was sadly no longer in bloom, but our jasmine vines had grown a lot! We planted three jasmine plants alongside our deck’s privacy wall and hope to create some sort of trellis design for them to grow up the wall.
So, to summarize our landscaping projects on the horizon (when it’s not 100 degrees):
- Build a small trellis on our deck privacy wall for our jasmine (completed)
- Plant climbing roses around our arbor and more along the back fence (in progress)
- Create a stone path from the arbor to our patio
- Design a new and replace/move old fire pit.
- Grow grass everywhere else
Now for some inspiration photos from our travels:
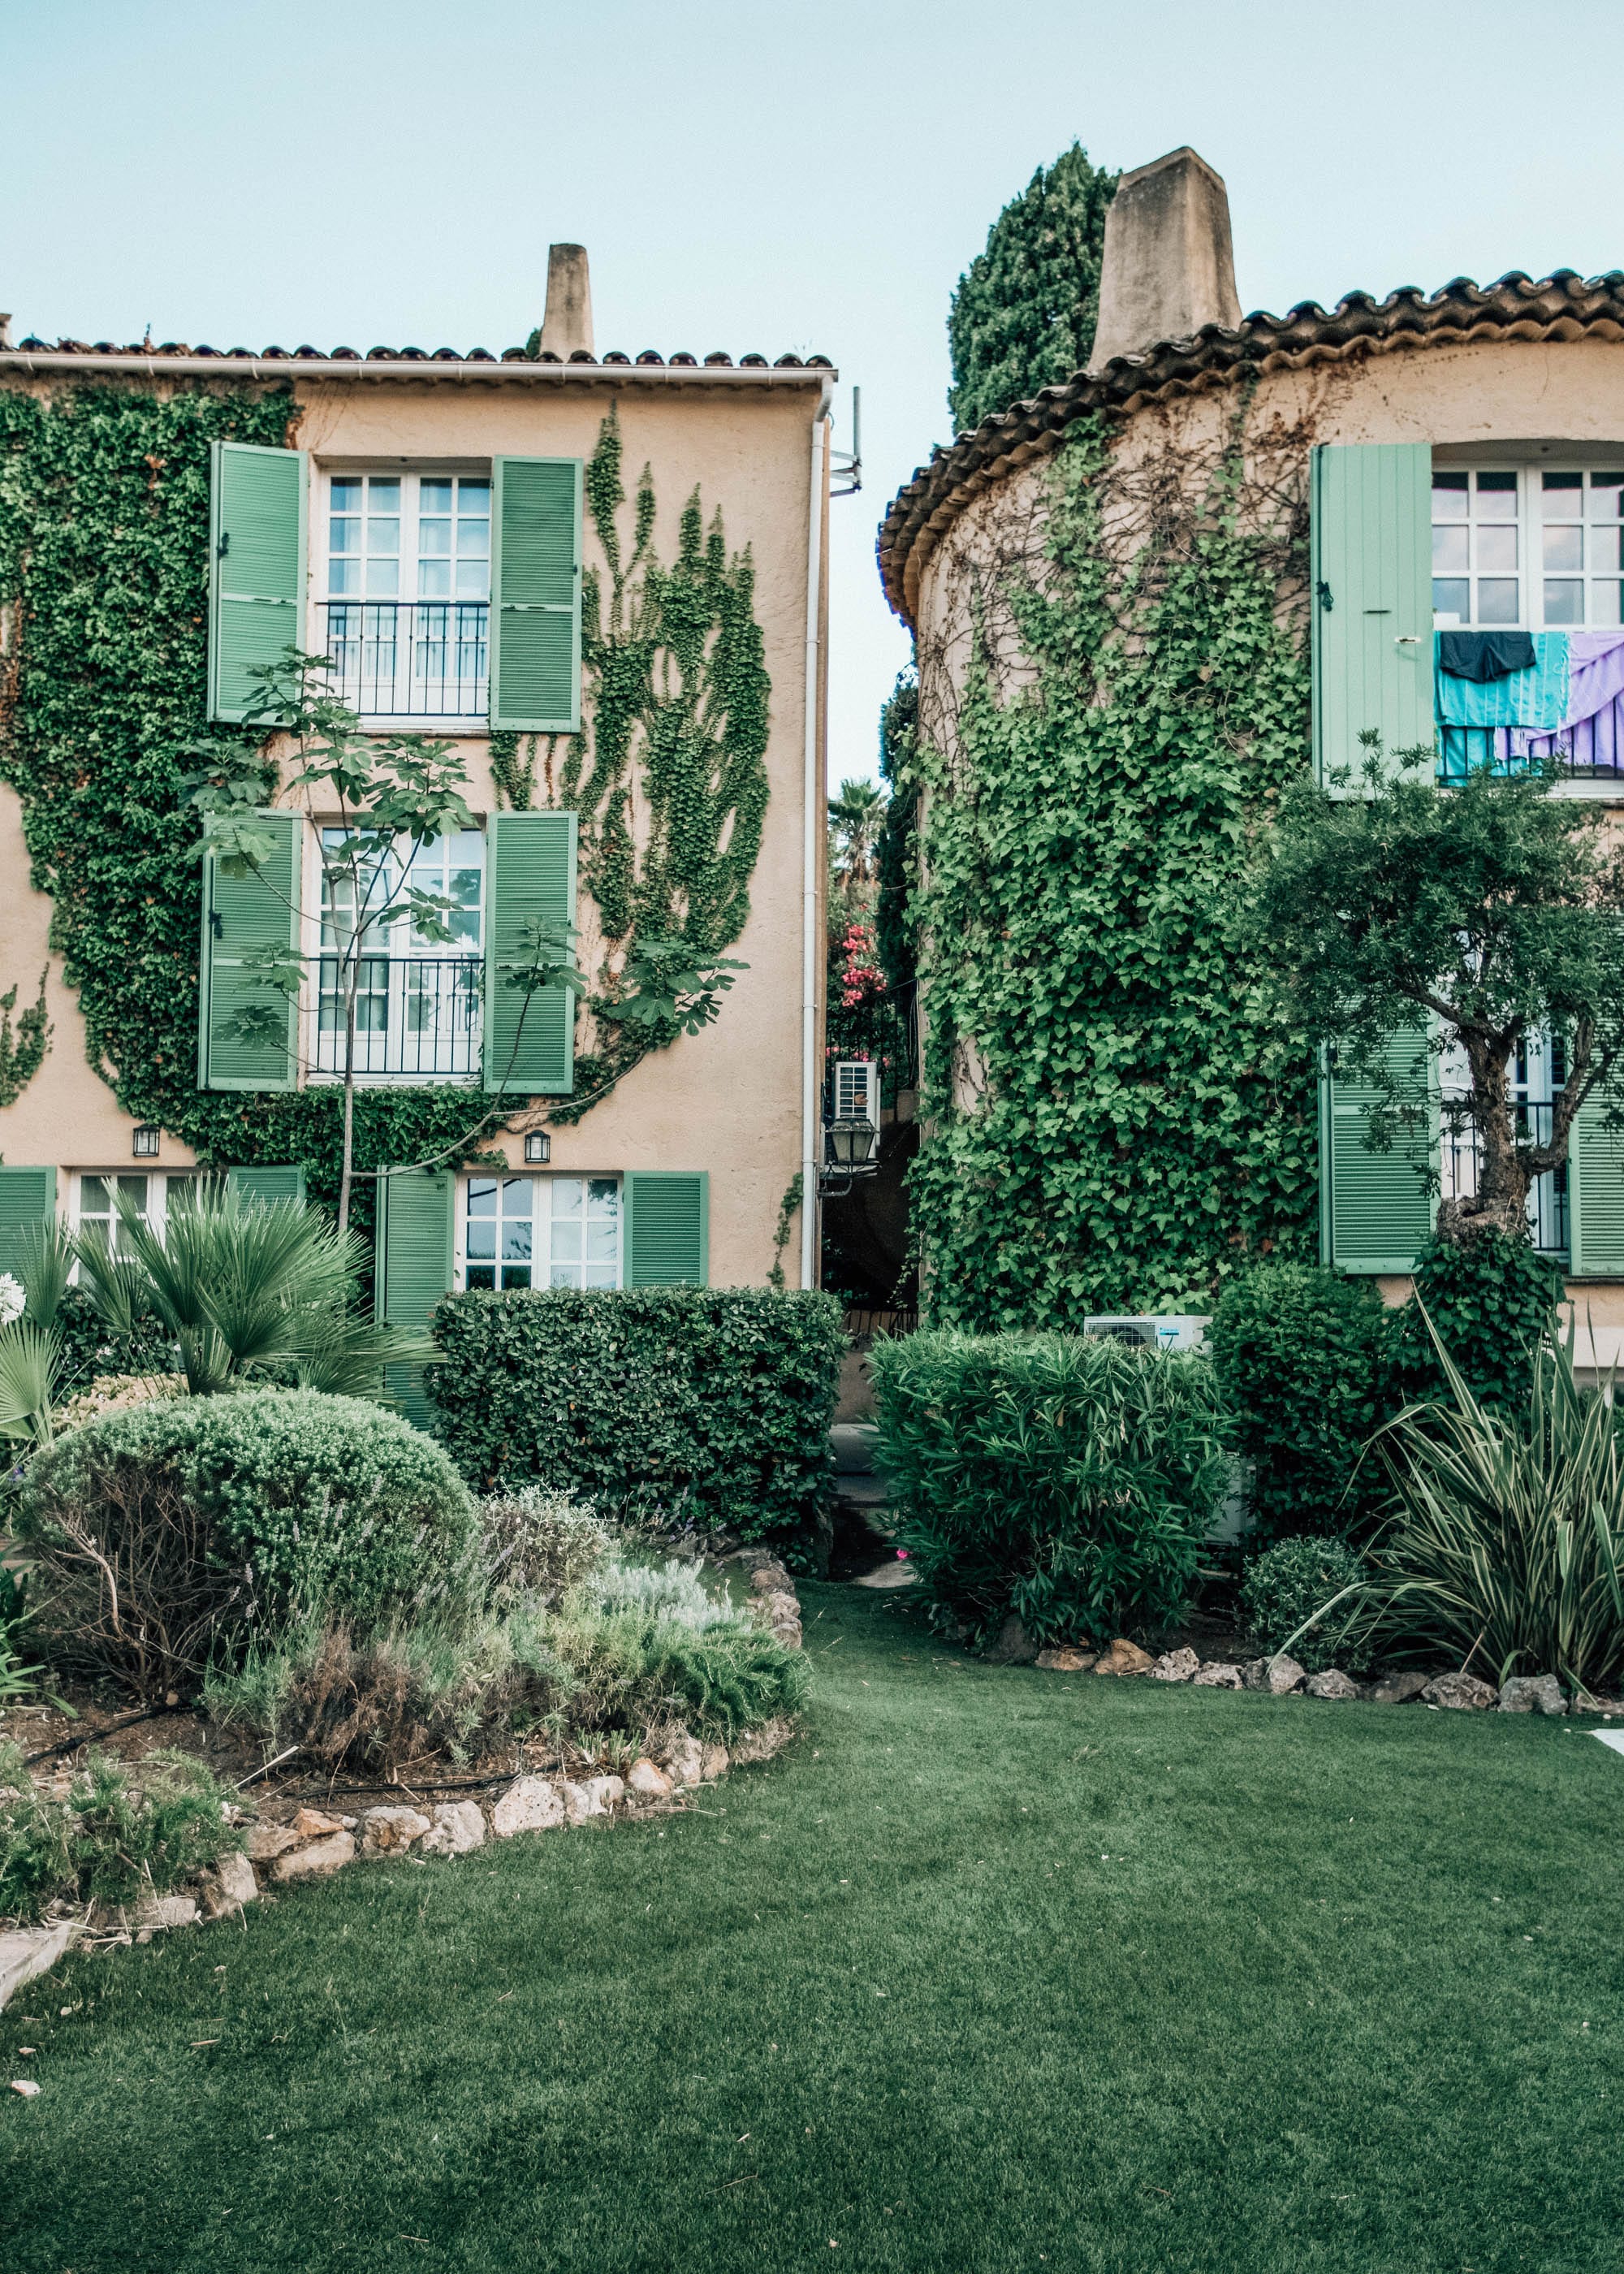
This was behind the hotel we stayed in when we visited St. Tropez in France. The landscaping around this property was beautiful. I was especially inspired by this back-yard area, the ivy climbing up the walls, and the grass area with rock borders. I don’t particularly love the look of our fence, so I’d love to find some sort of ivy that does well here and could climb along the fenced area near the gate and arbor like this one.
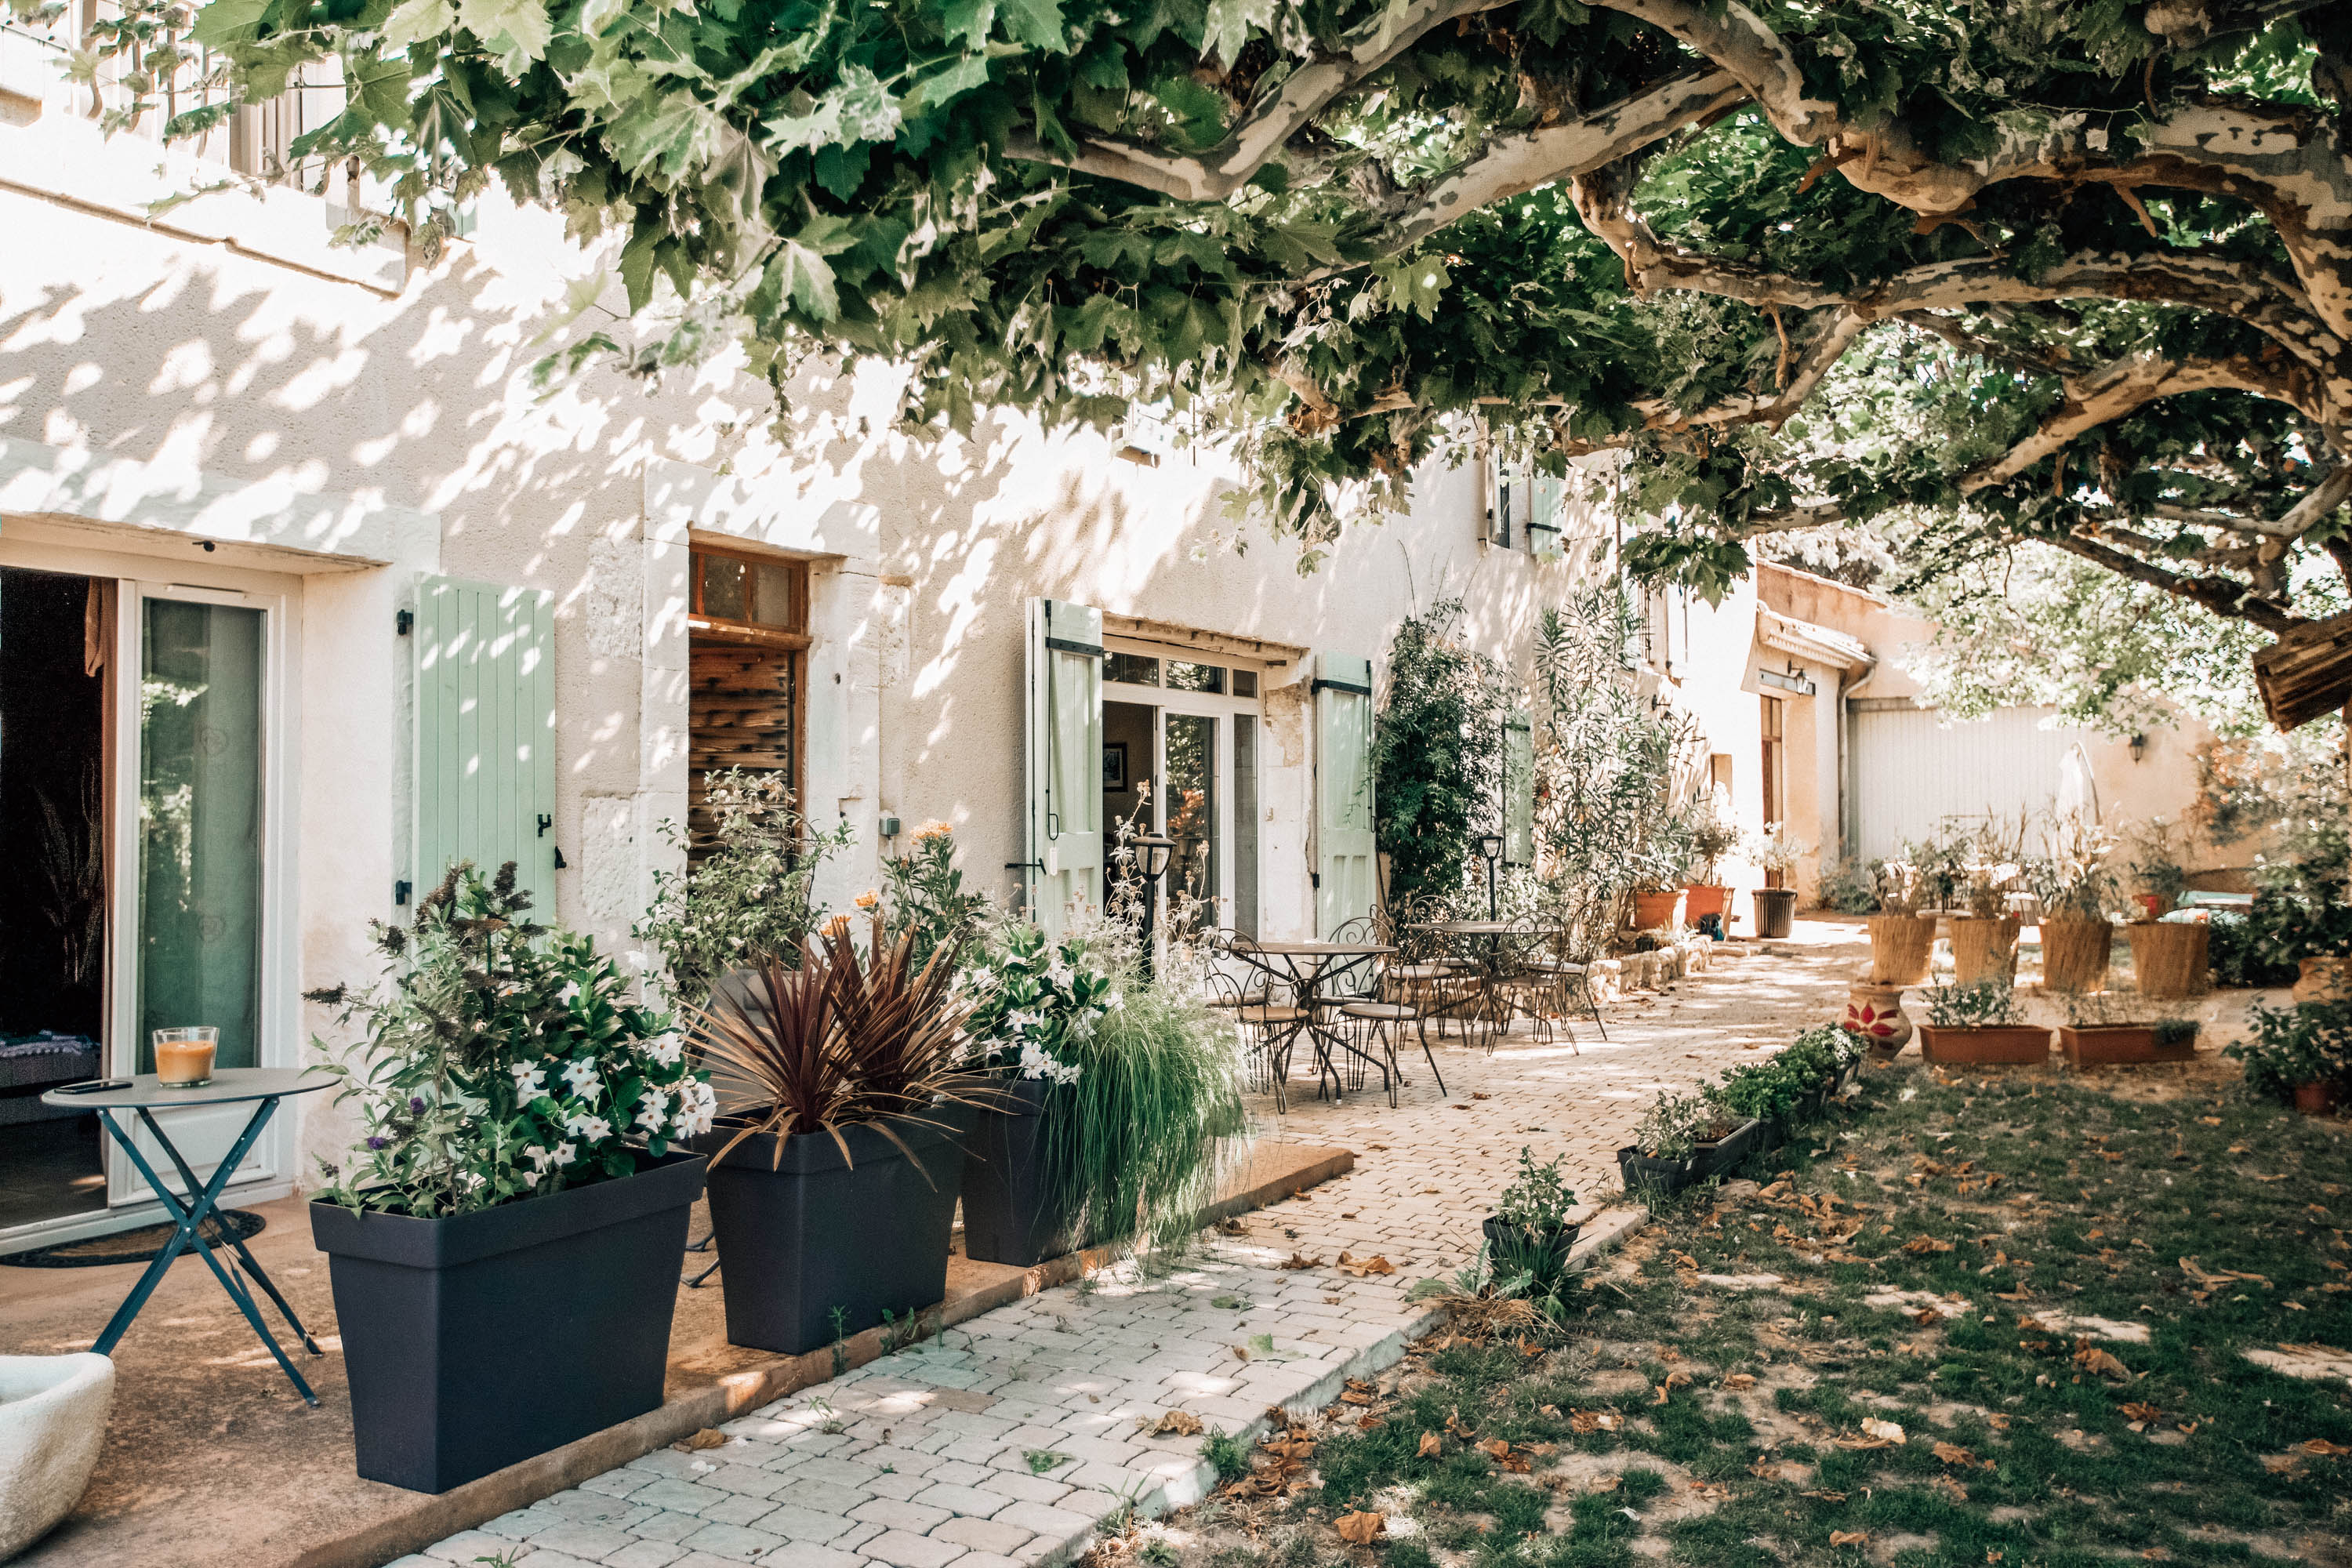
Our second stop had huge planters everywhere to serve as patio privacy and it has me inspired to do the same with our patio. Right now, we have neighbors that can look onto our patio from their porch, so having planters like these would be a great way to give us a little bit more privacy while adding even more plants.
Another example I found of 3 huge planters:
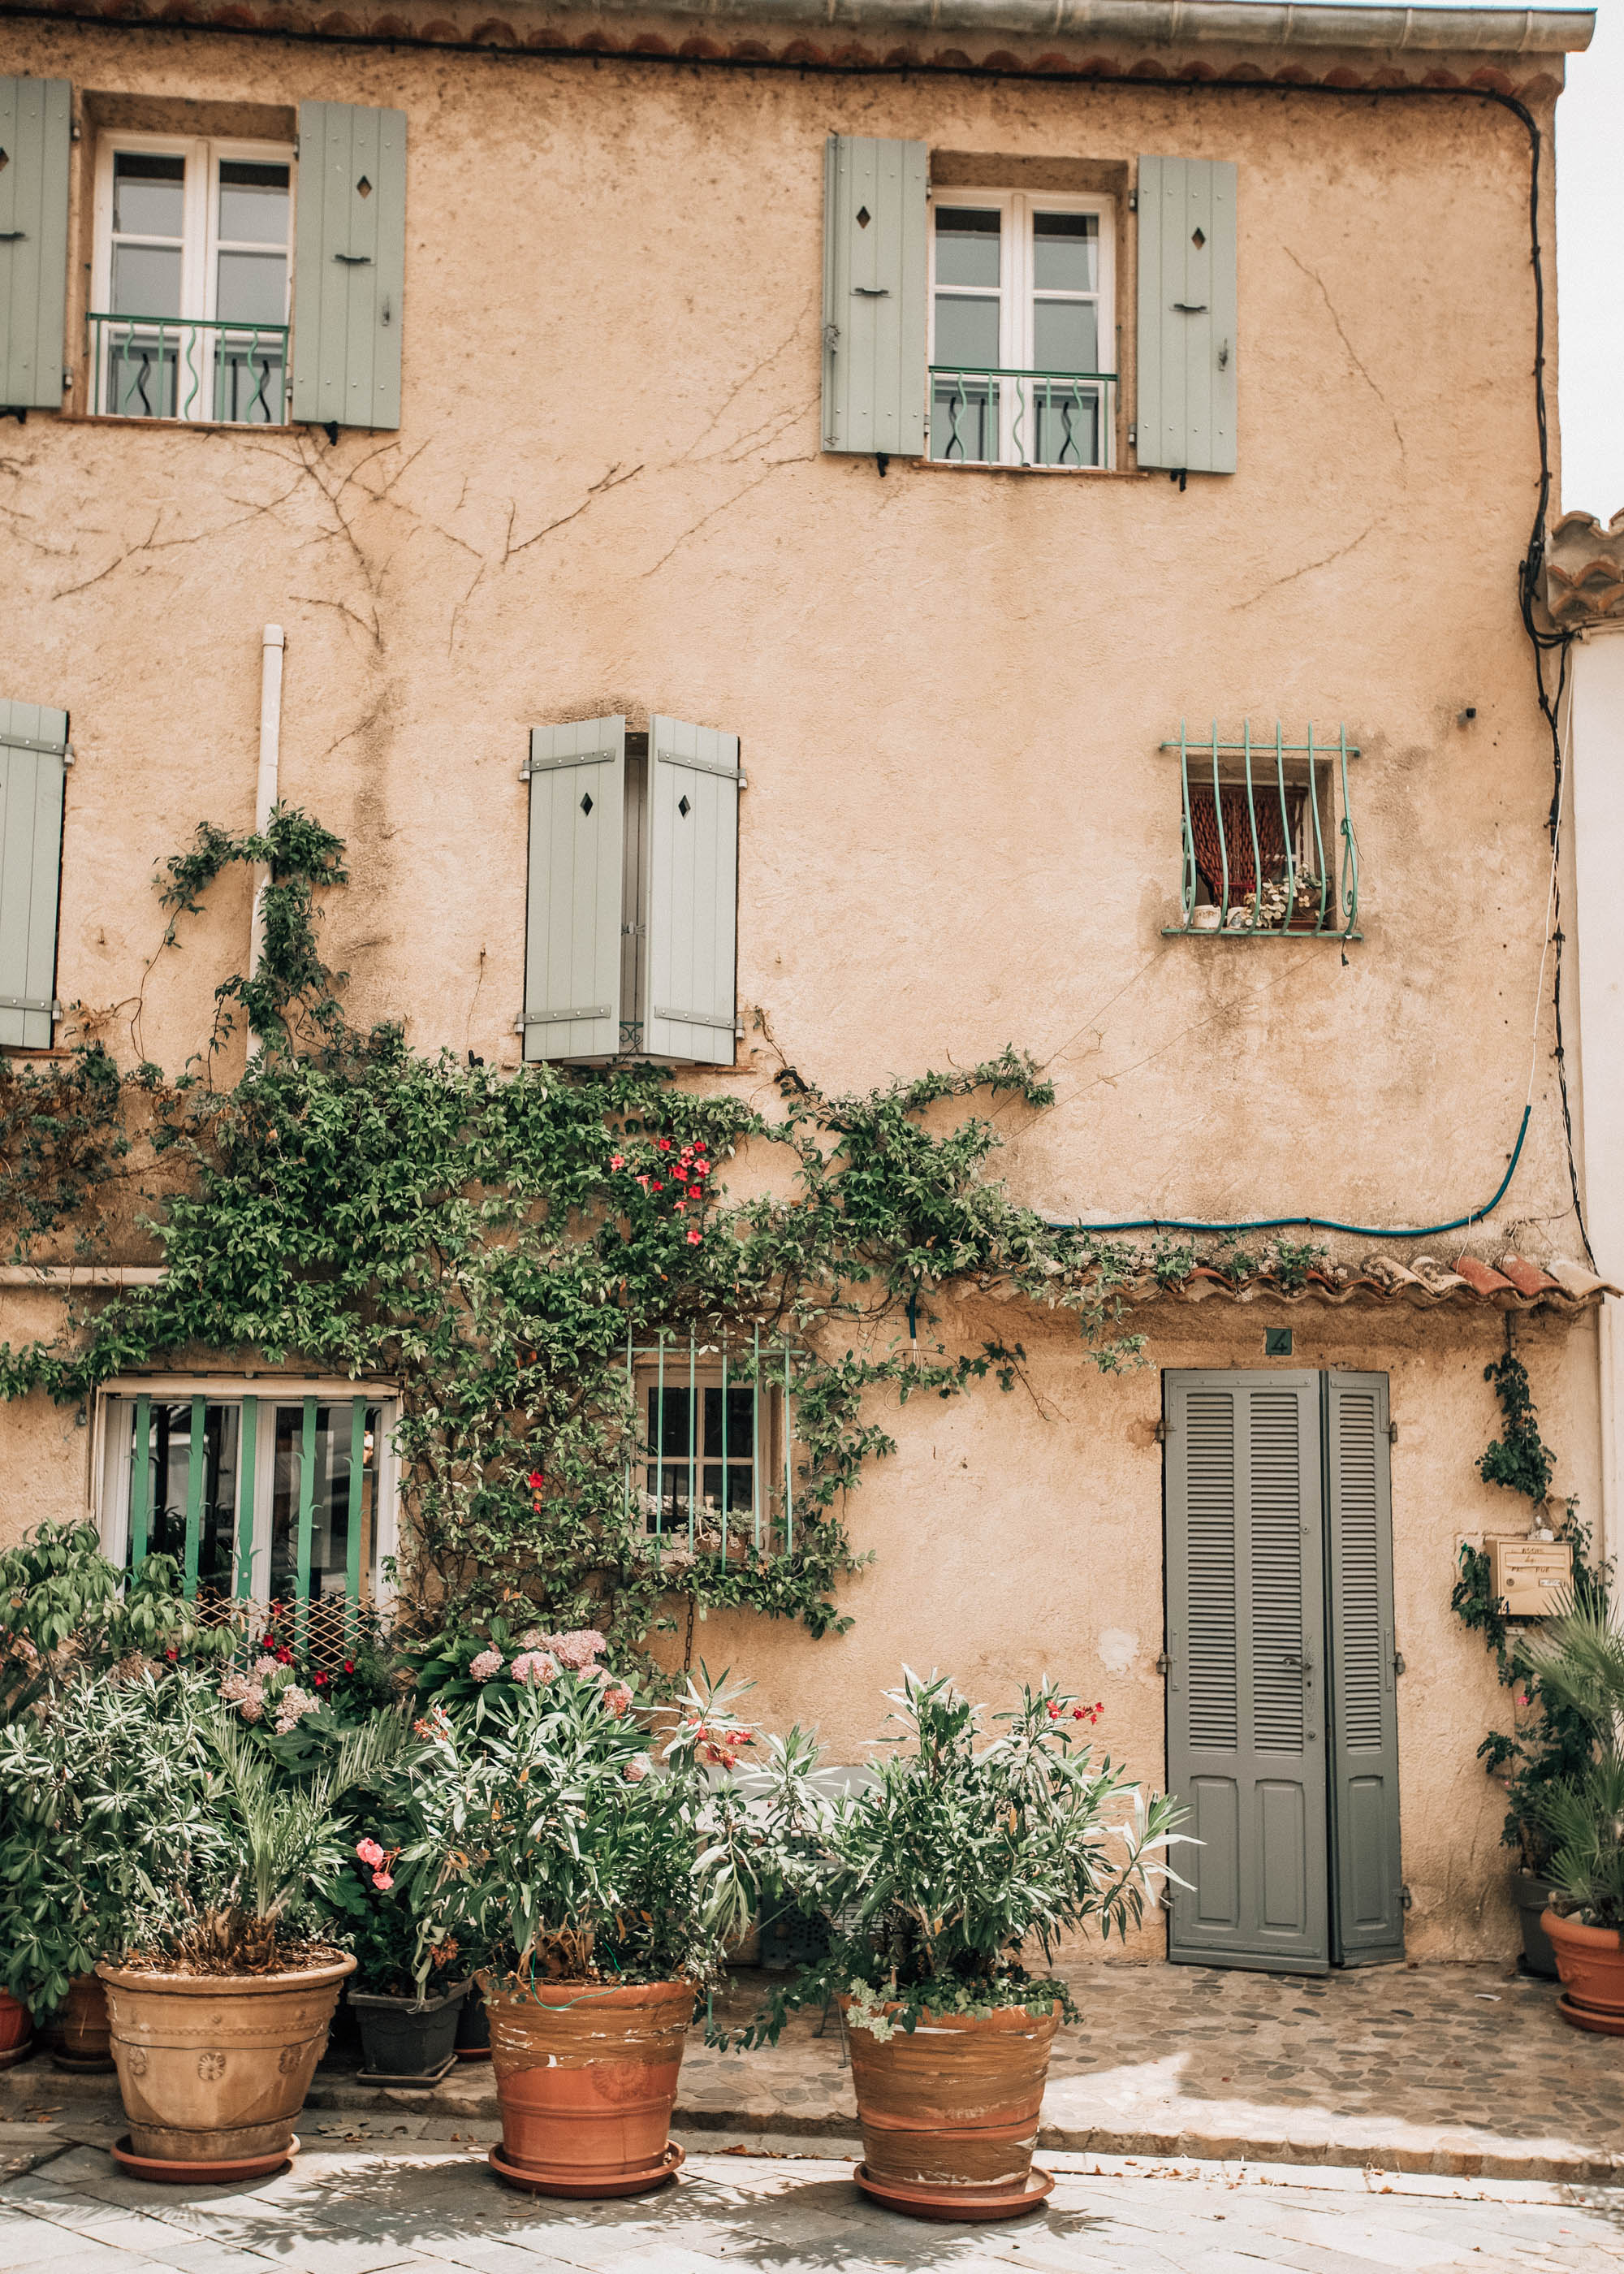
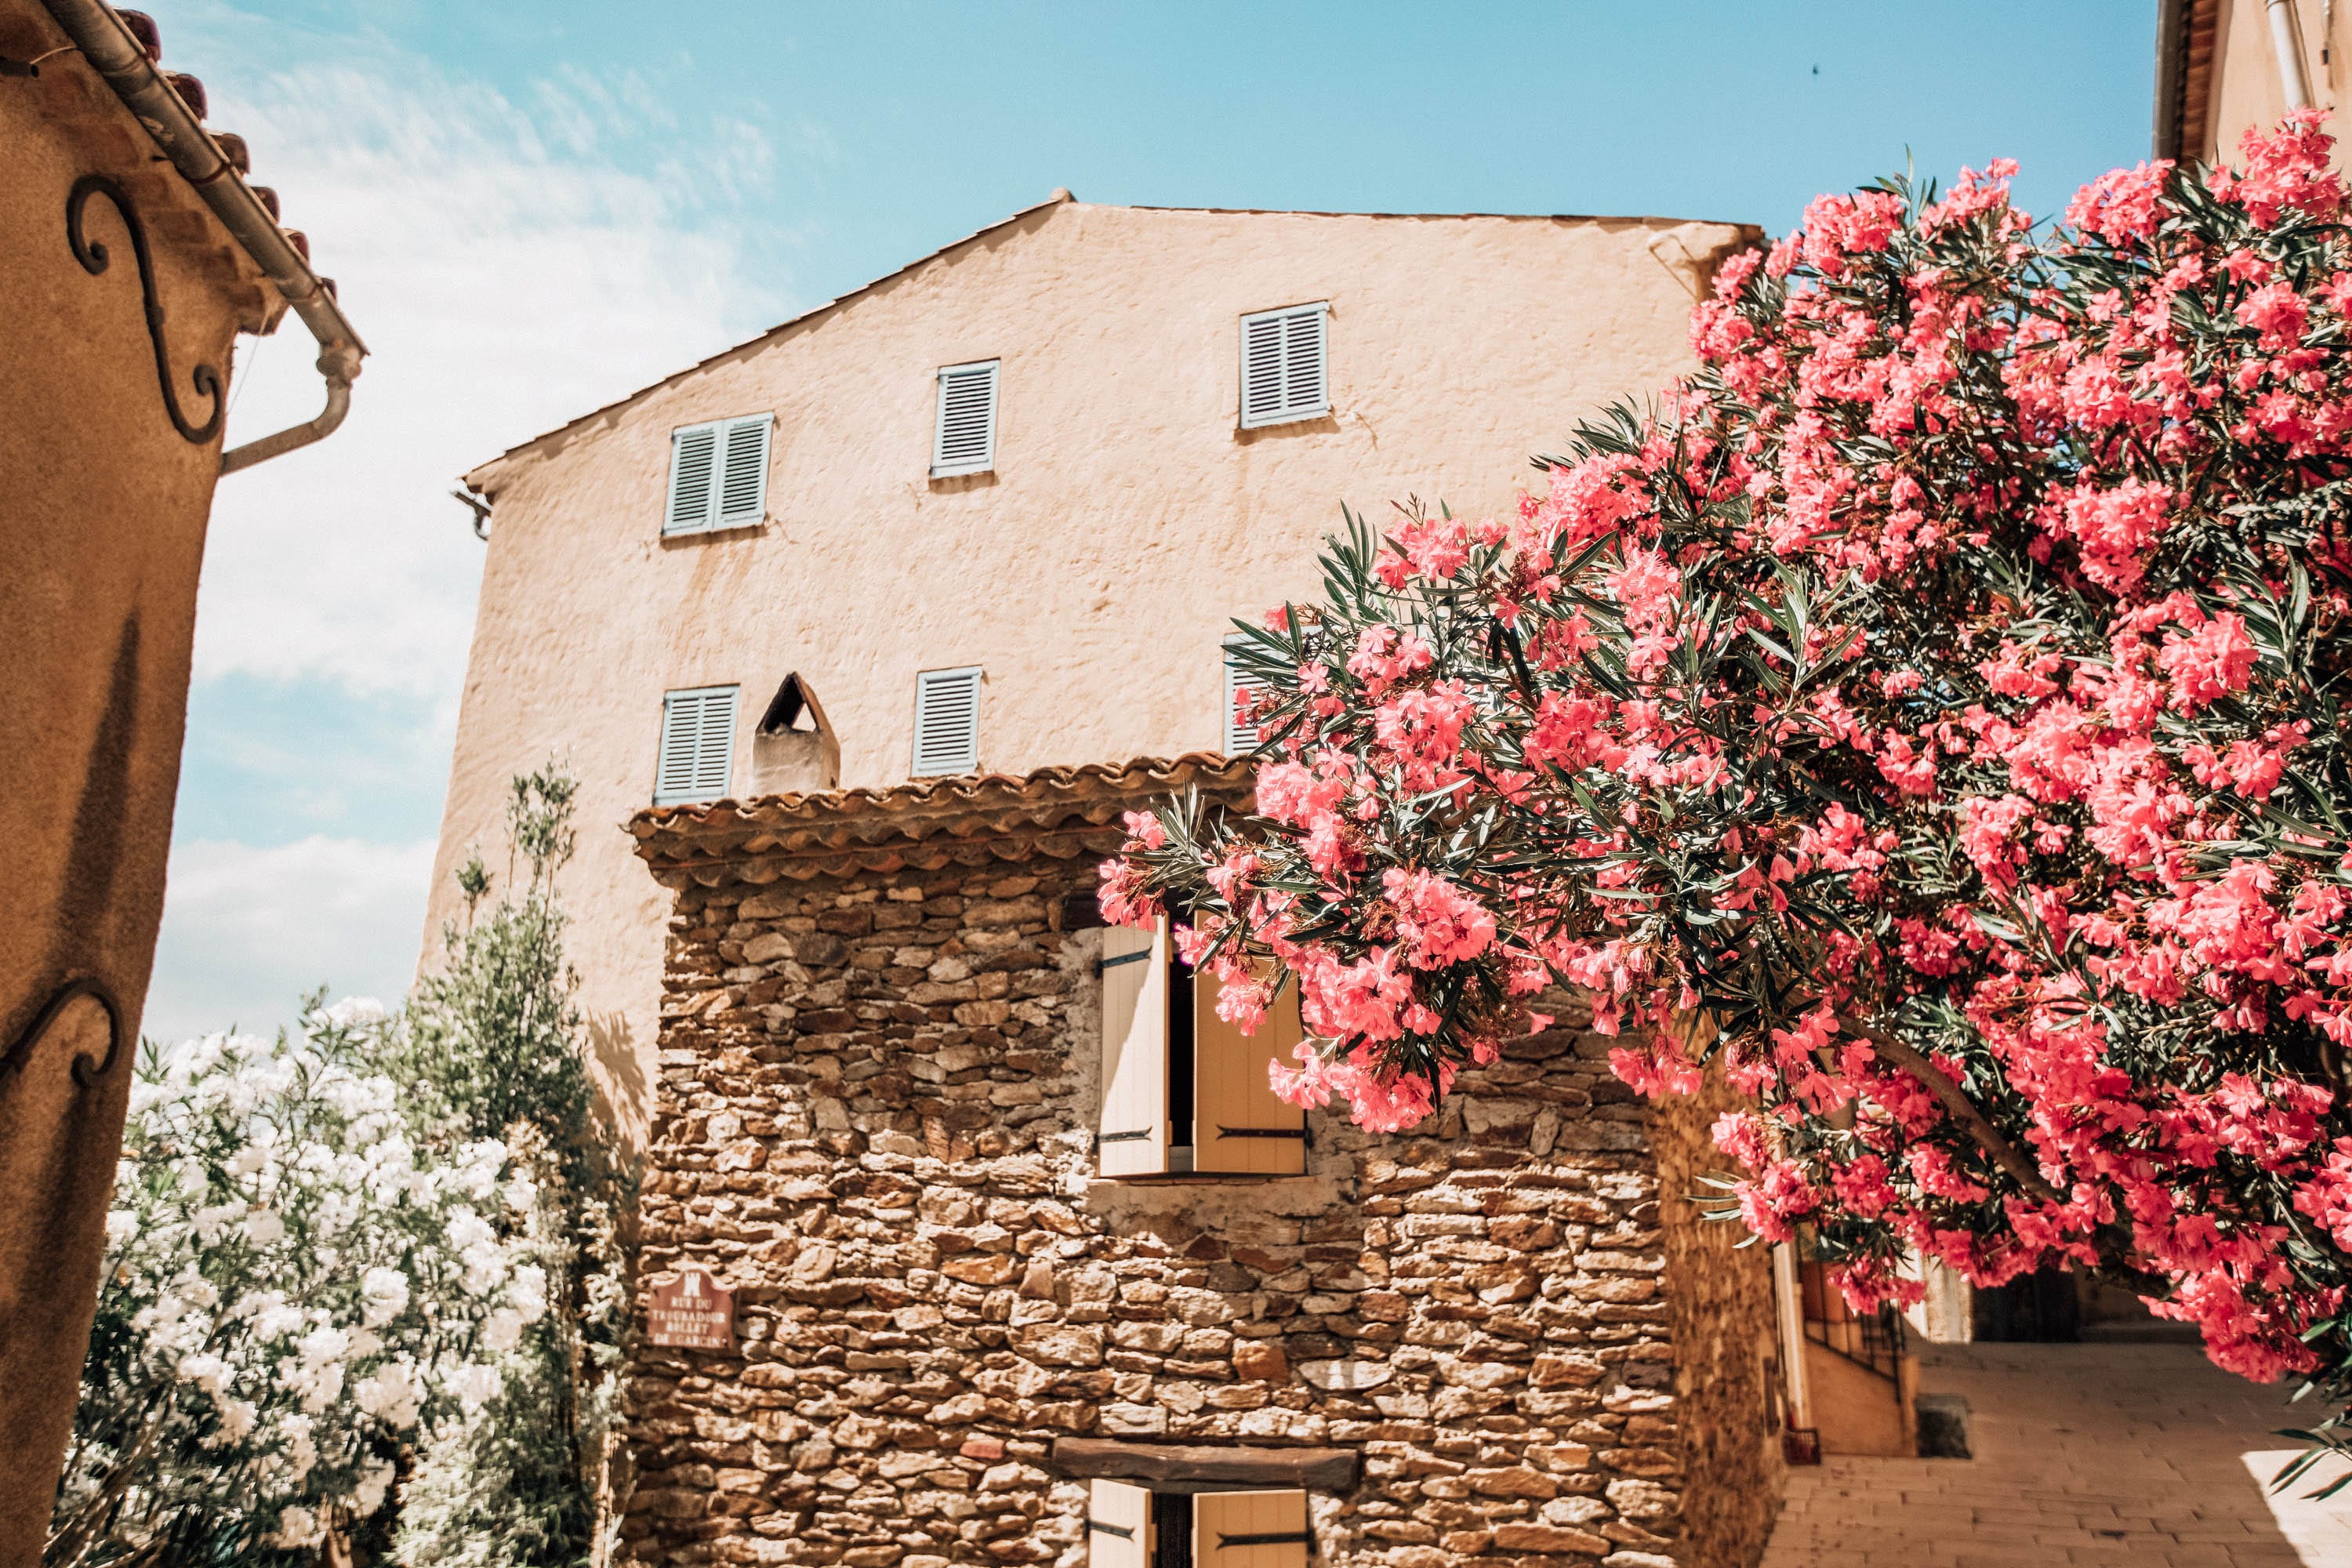
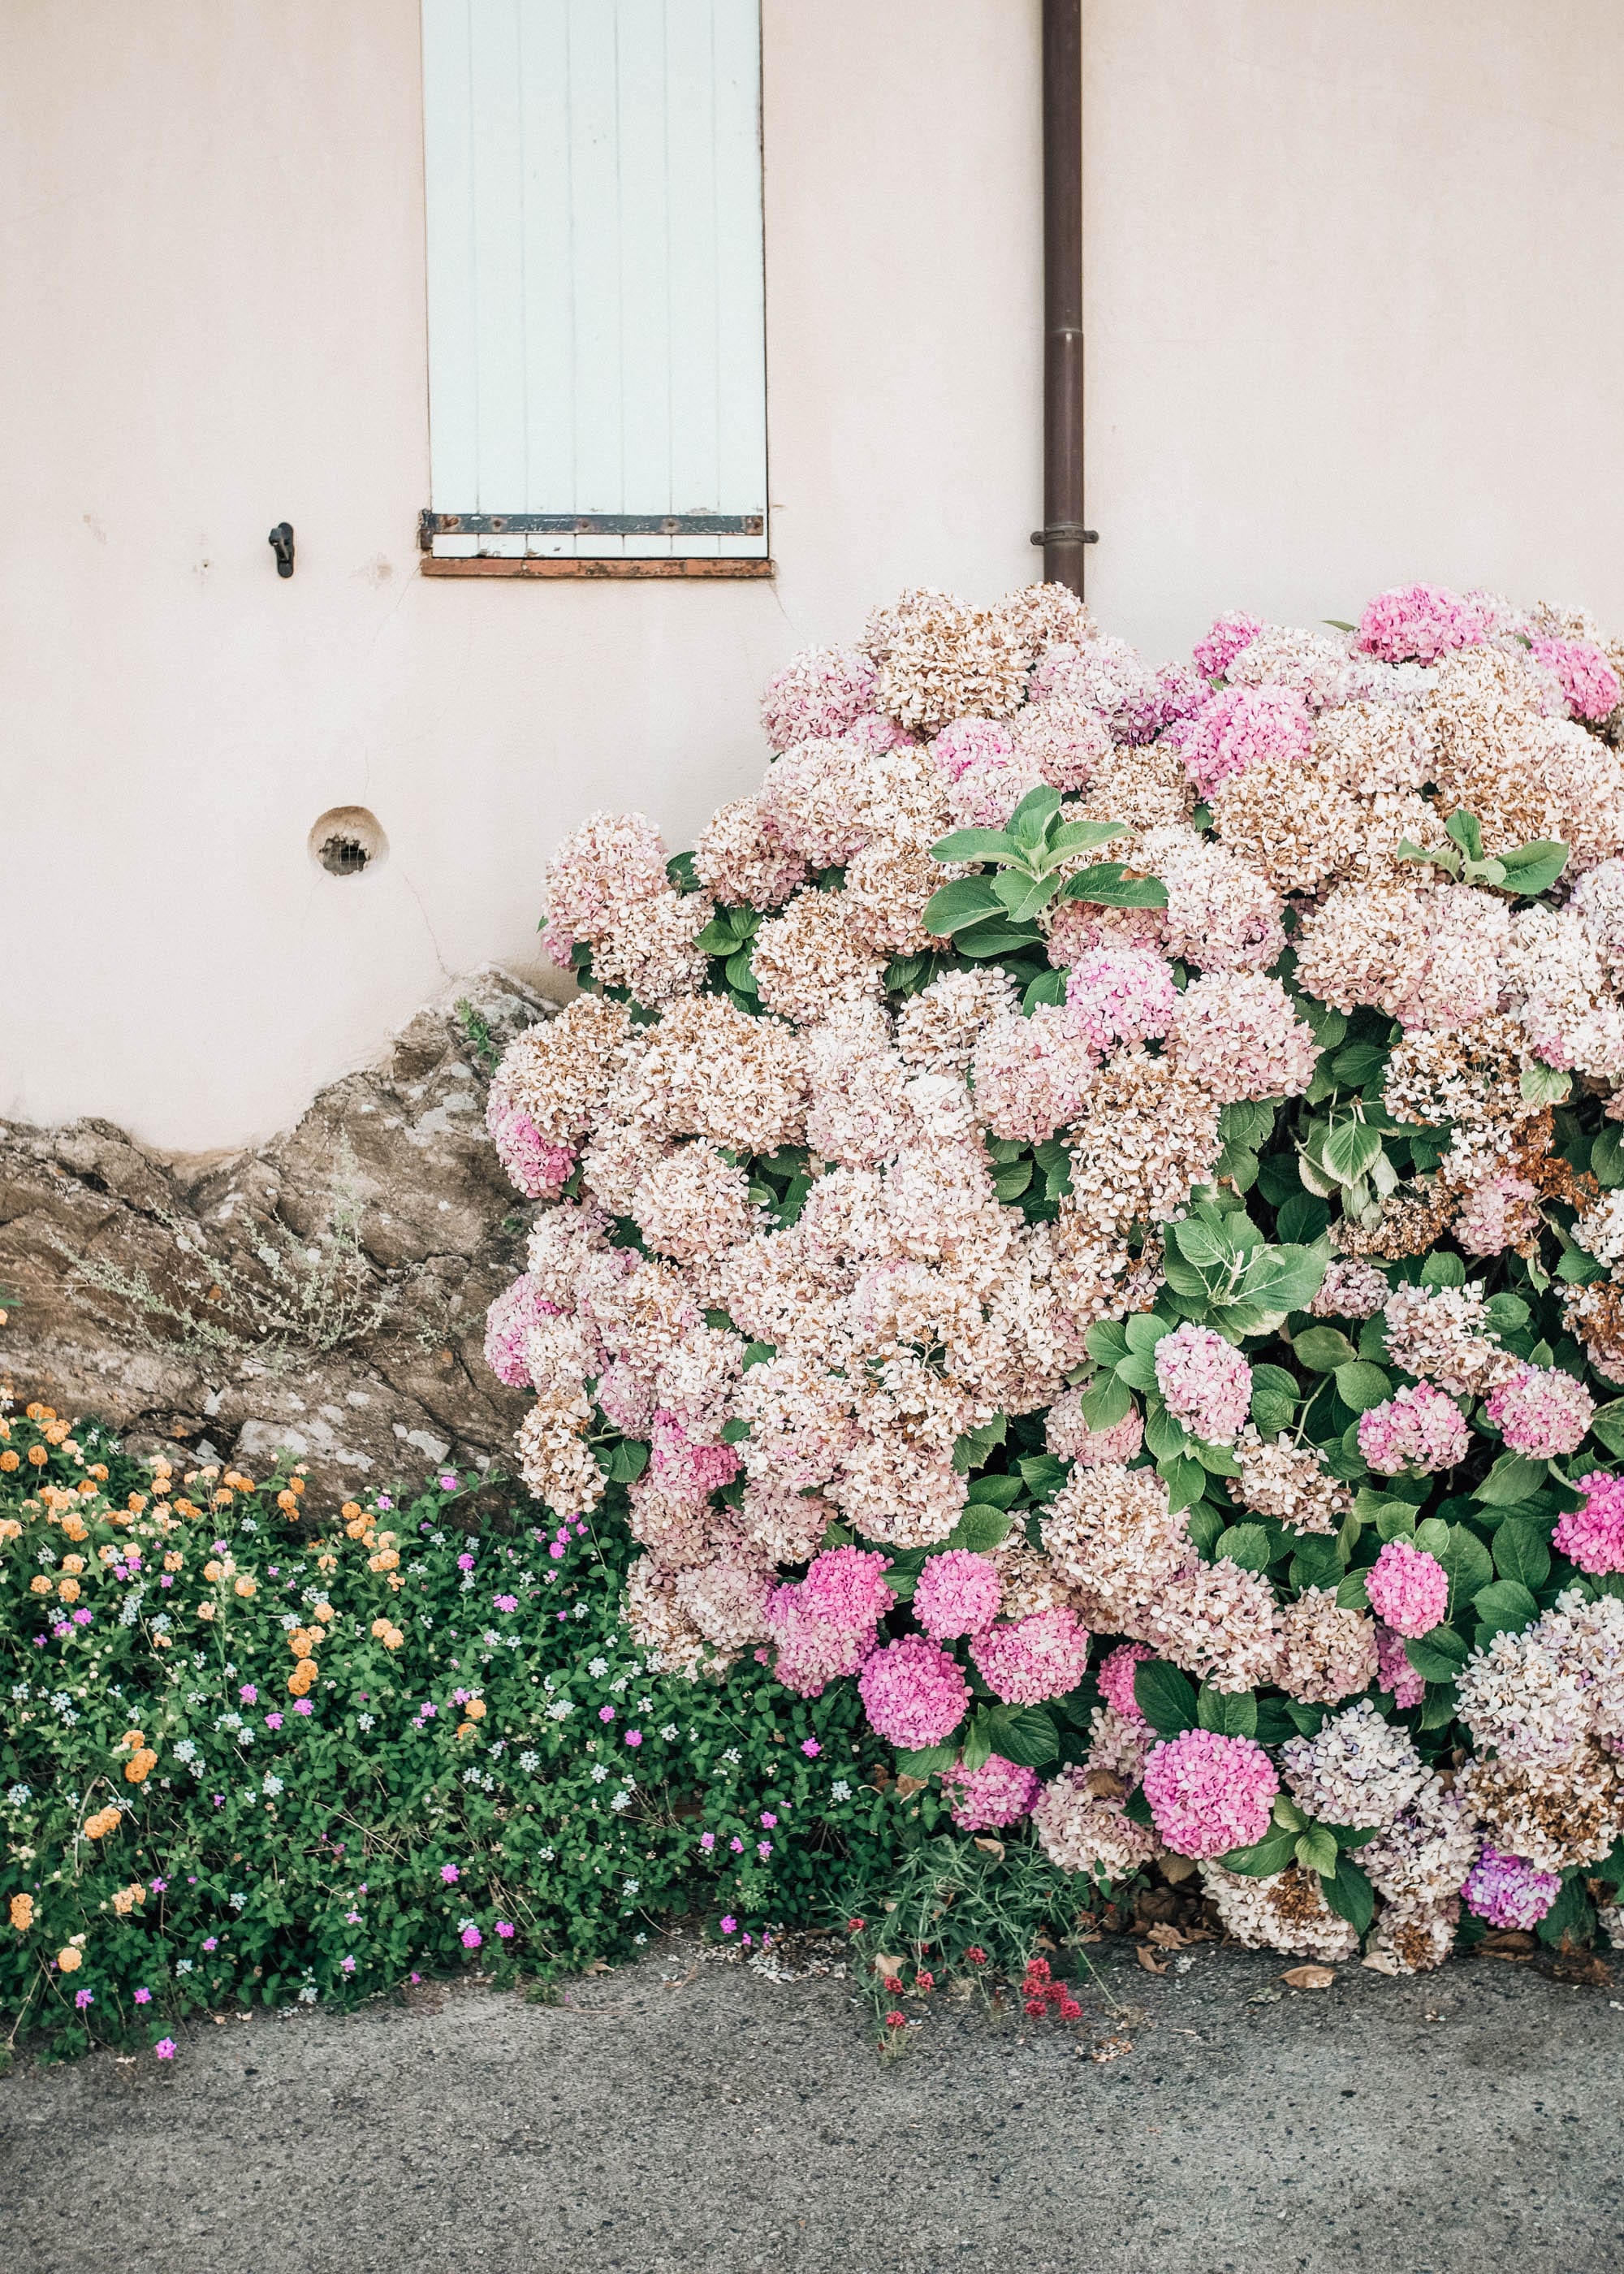
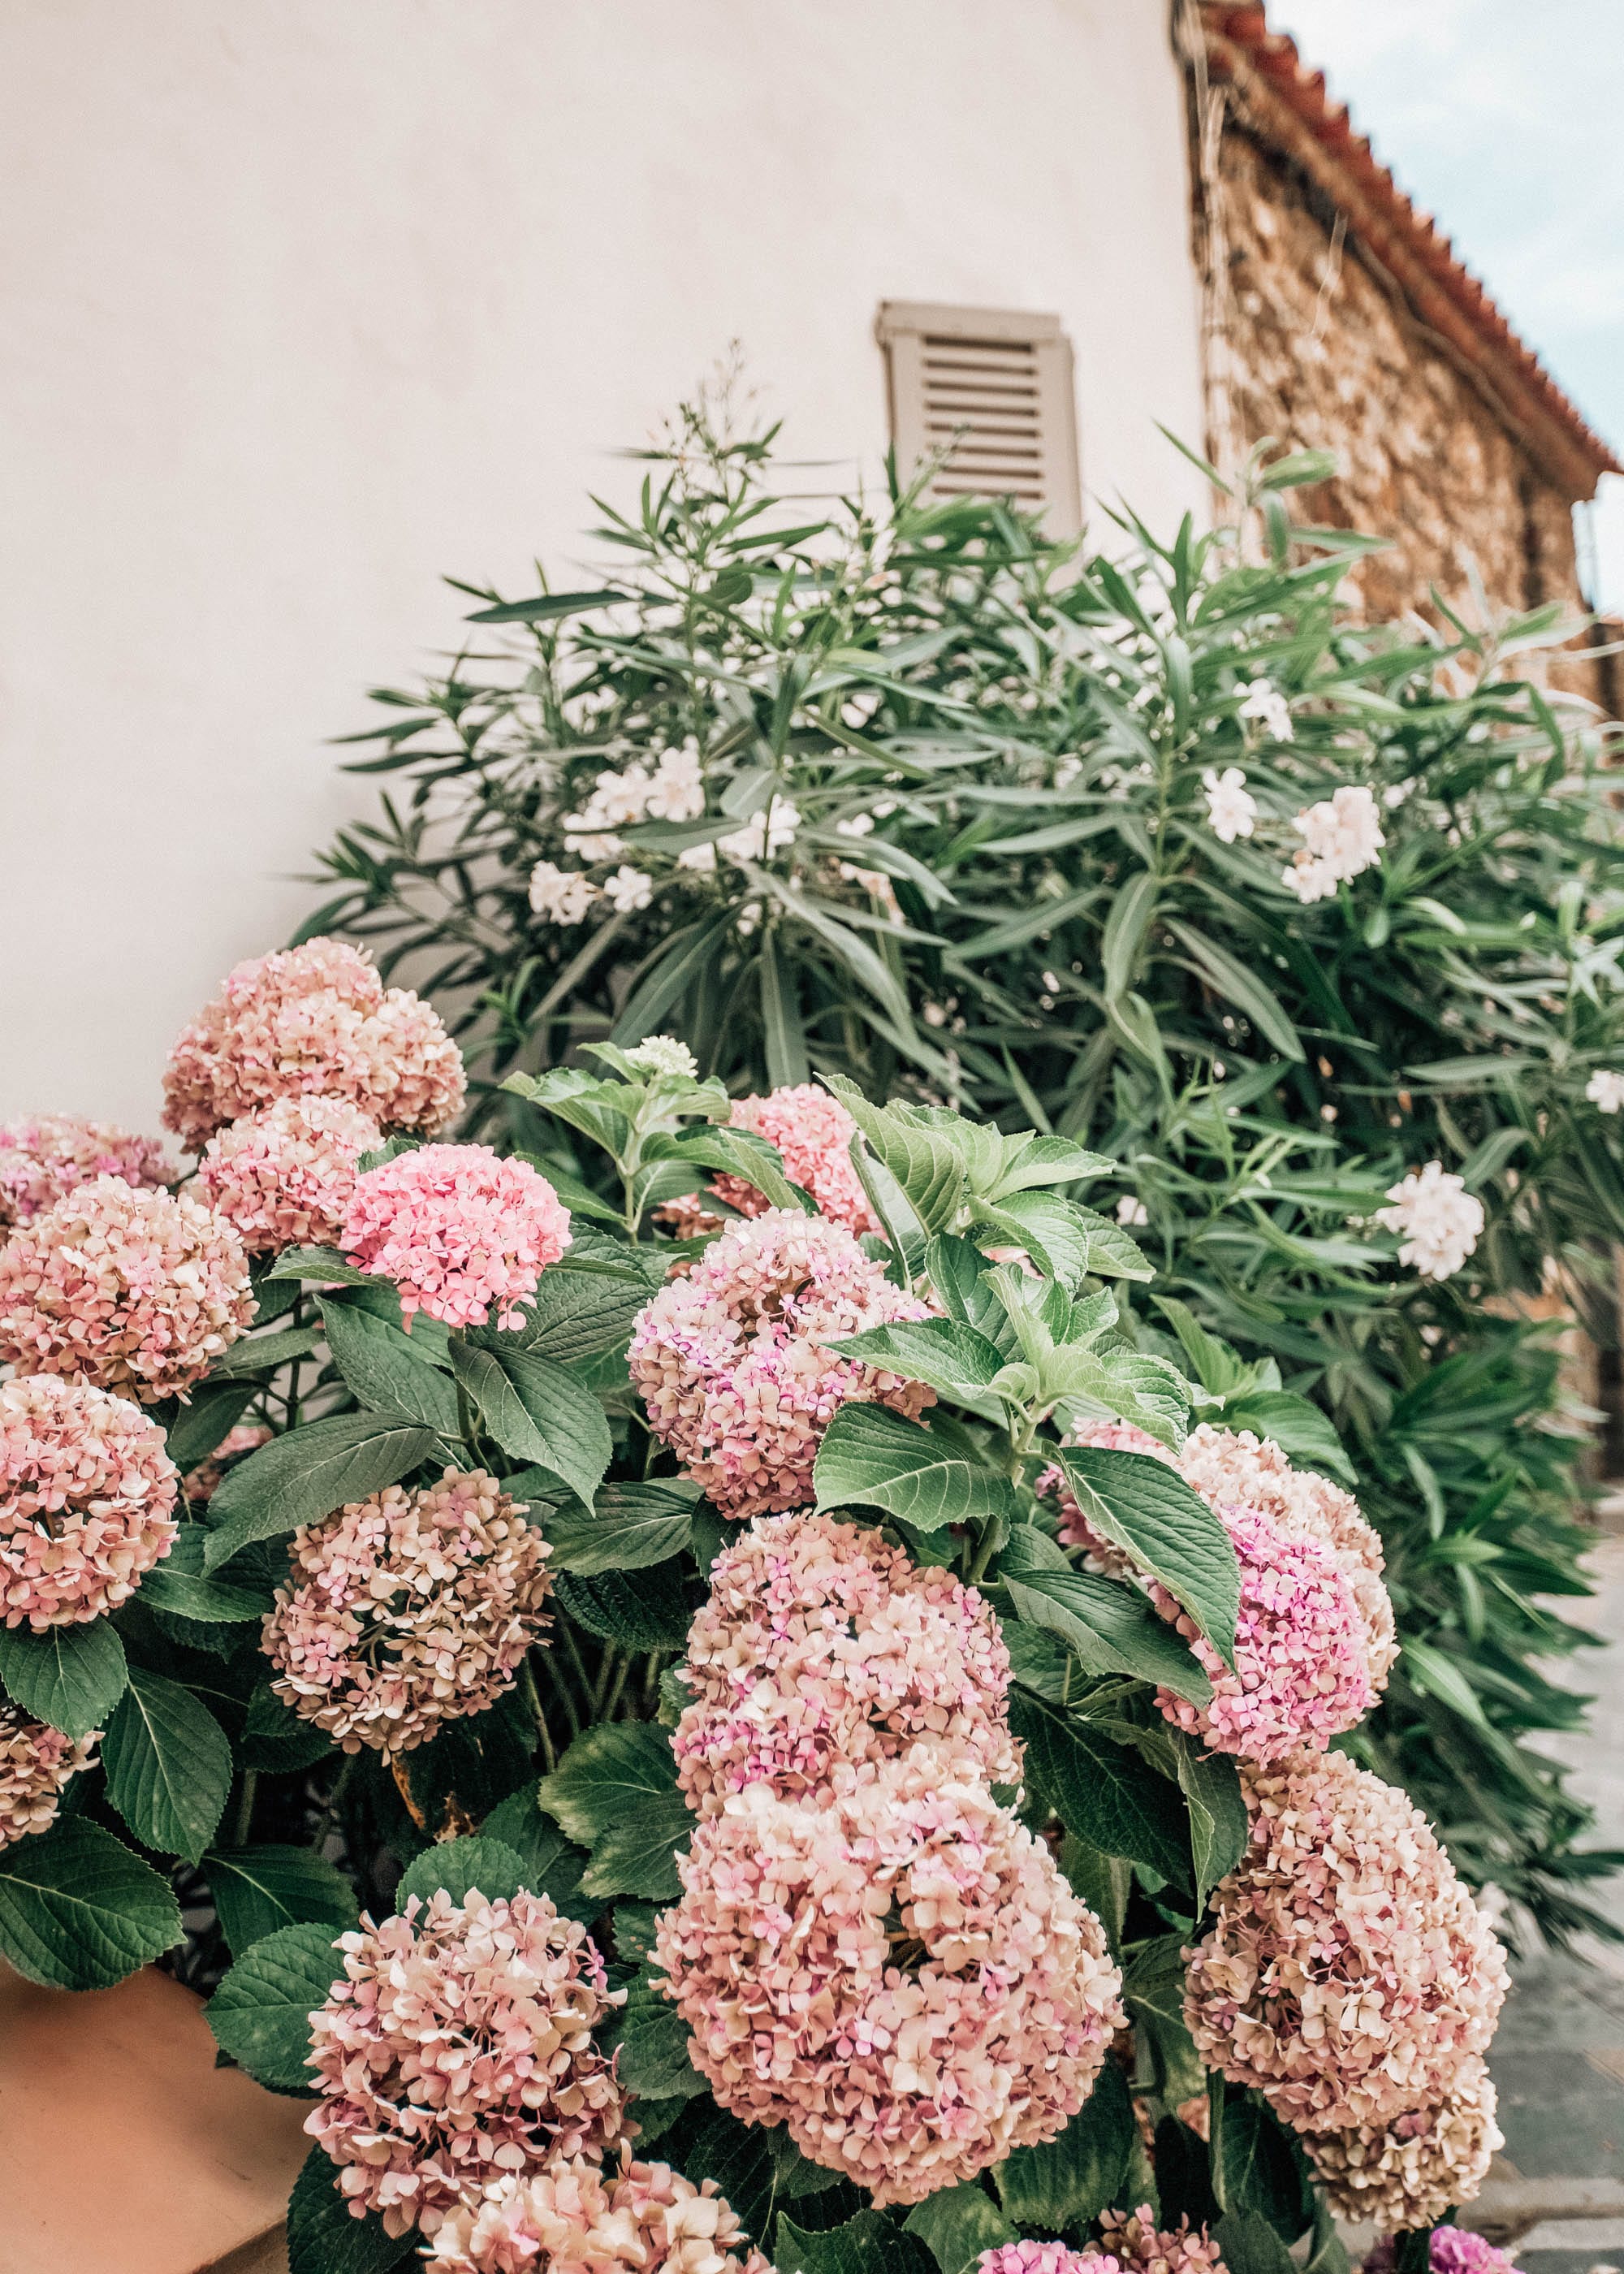
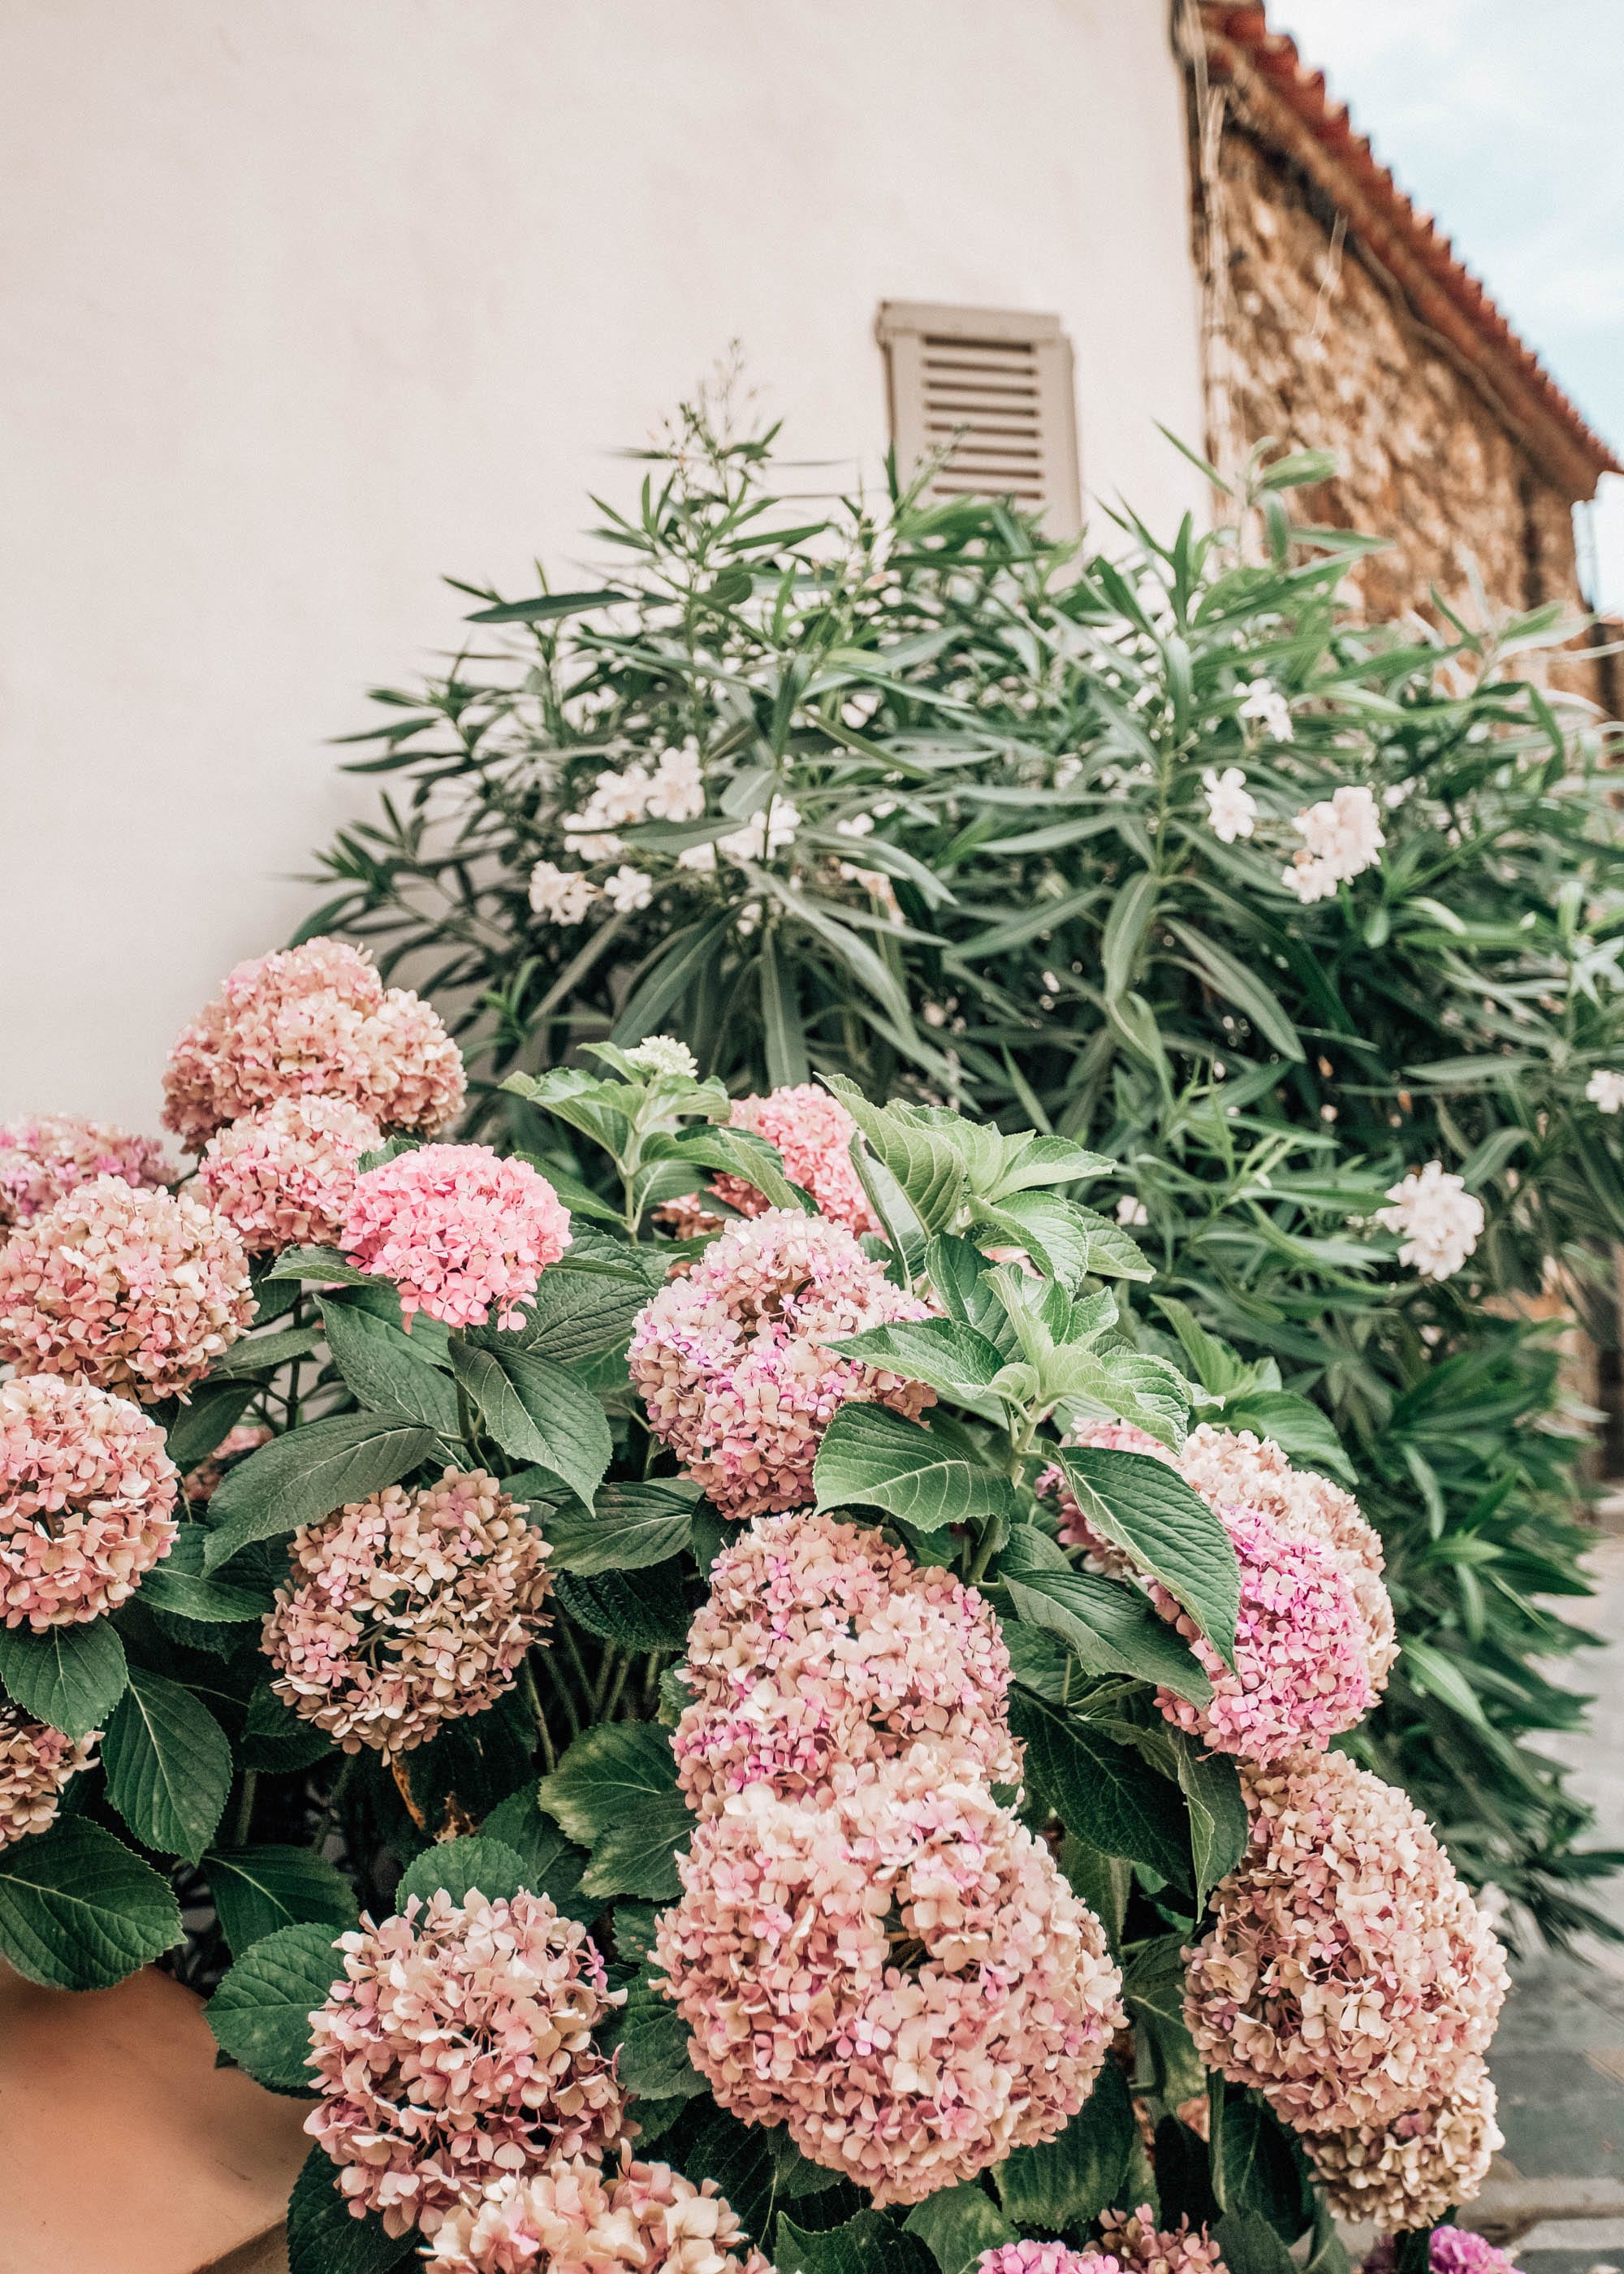
So many hydrangeas all throughout the villages!

We drove around the countryside in Provence and it had me endlessly inspired to try and grow lavender. I even have enough cash back to pay for a few plants. I love that with Chase Freedom Unlimited, you’re always earning cash back, no matter the purchase (hence the name “Unlimited”).
Our next stop was an Airbnb in a small town outside of Nice and the landscaping was a complete dream!
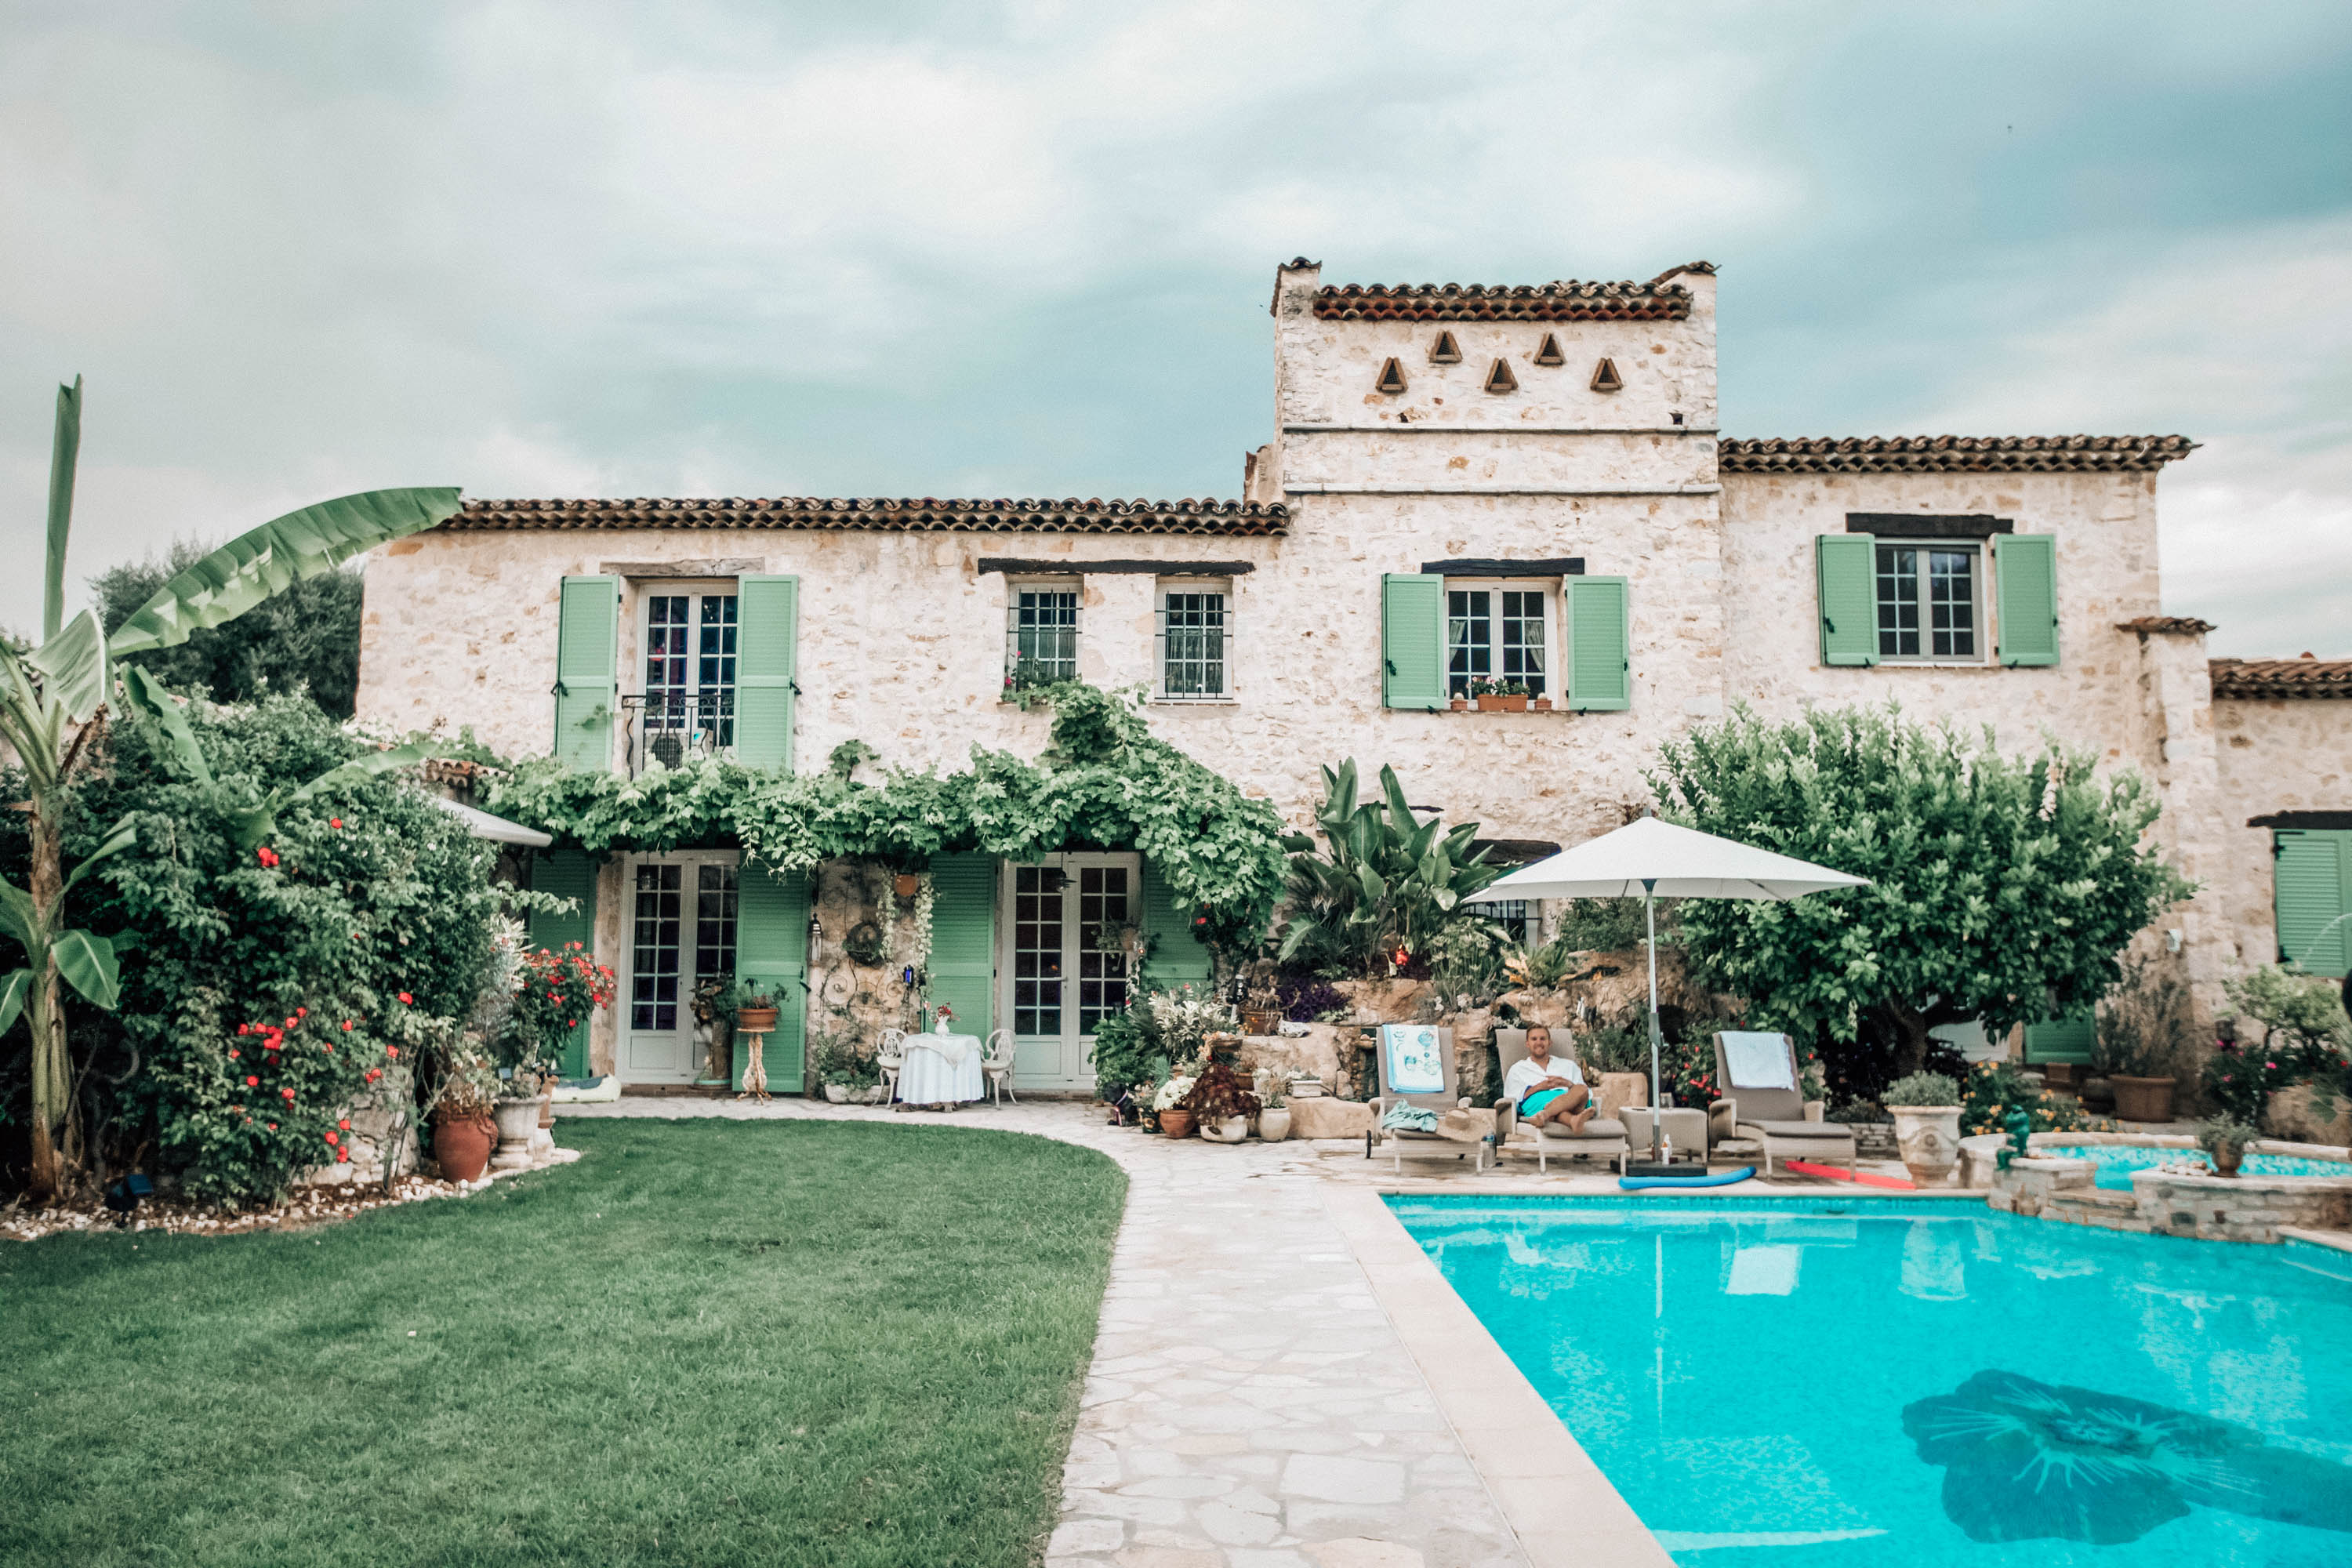
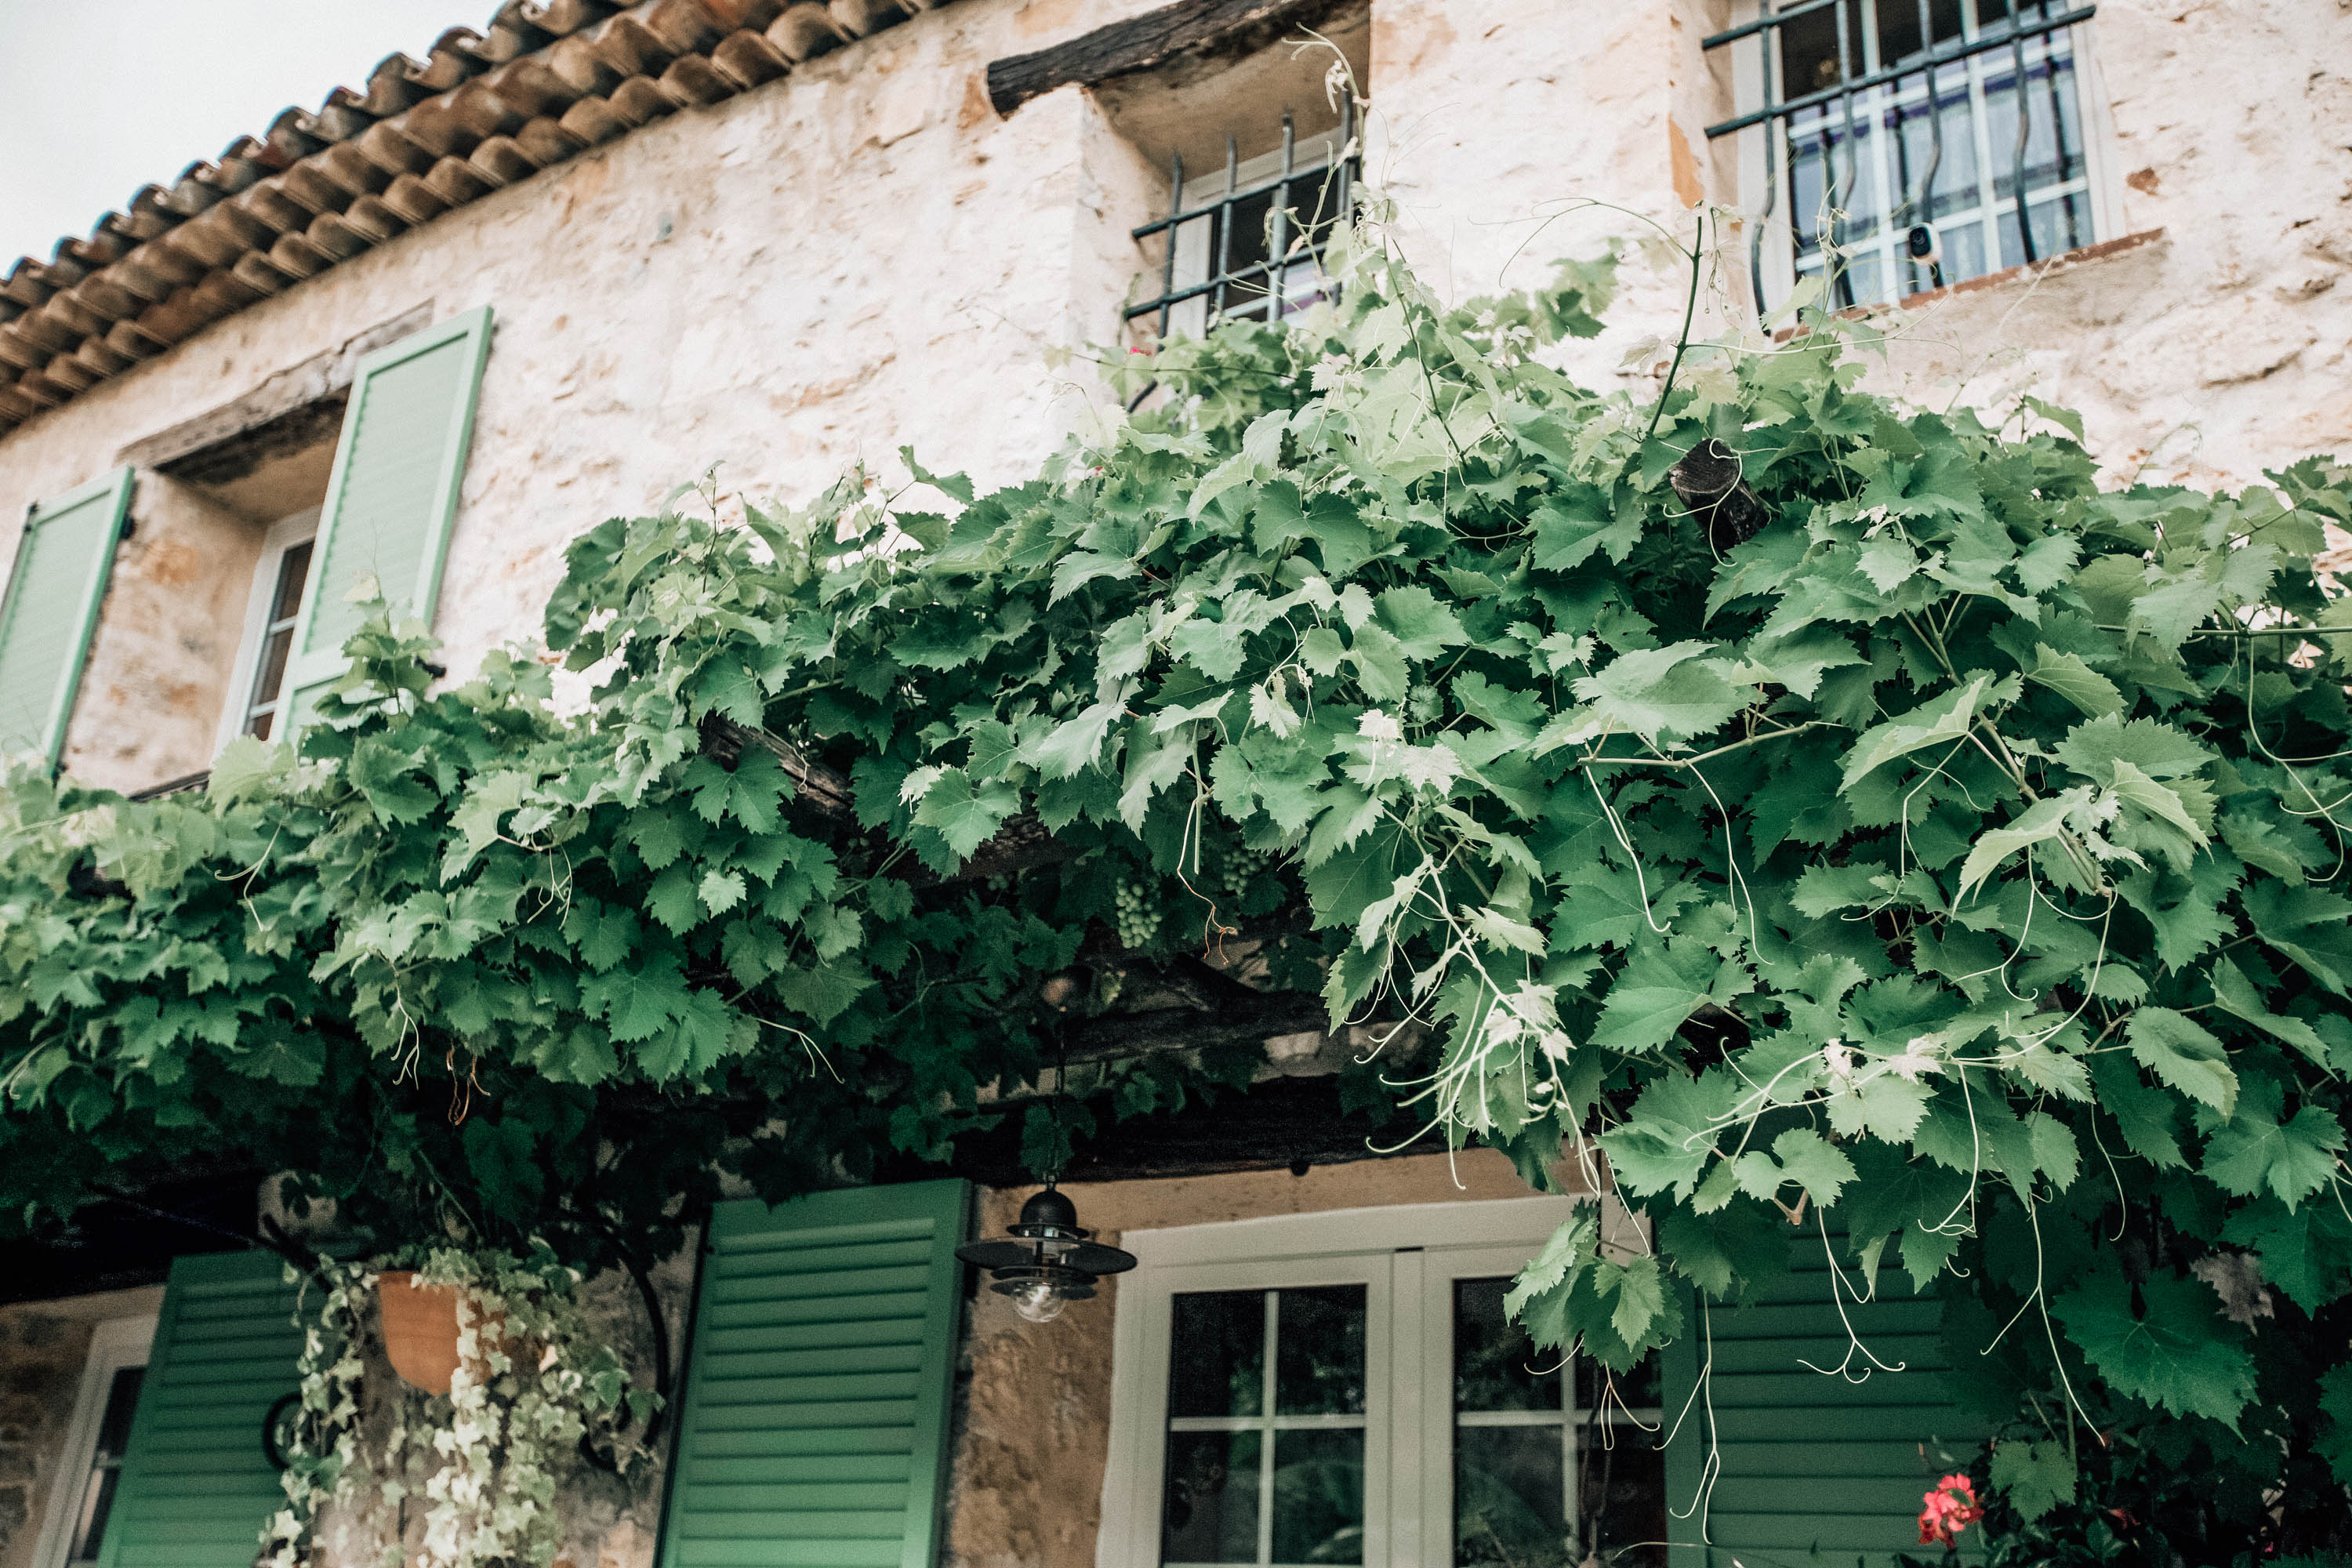
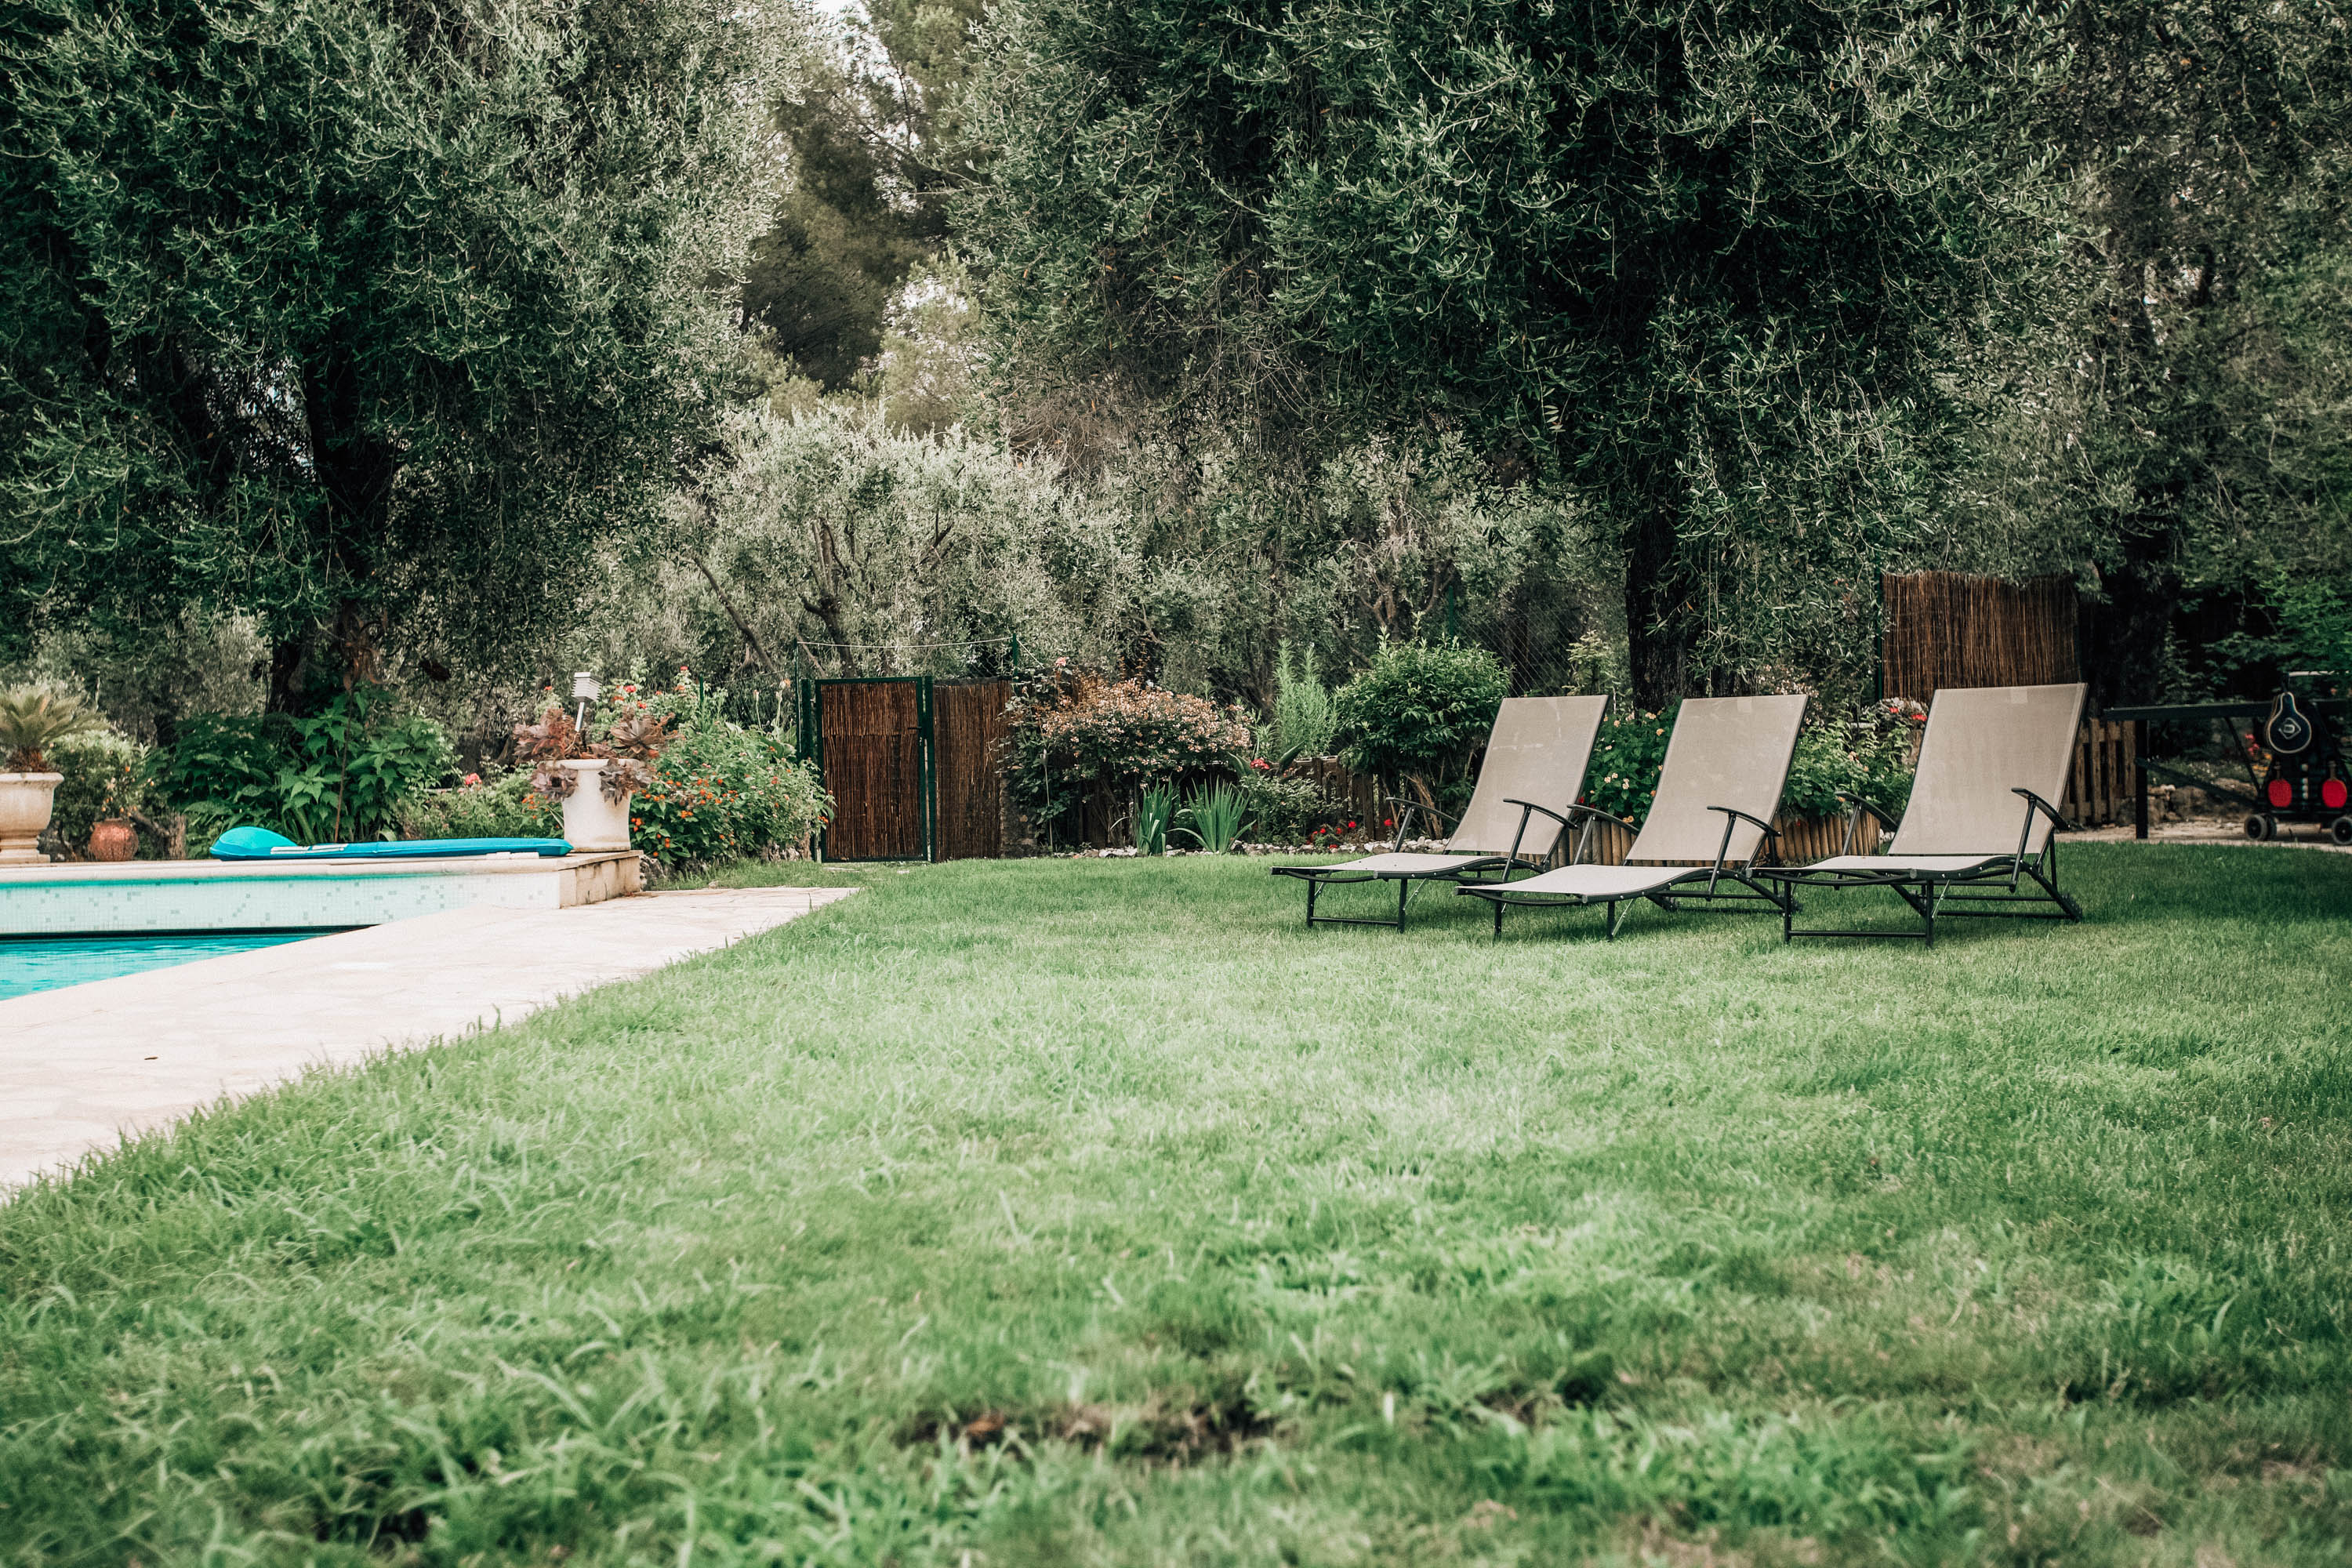
I really loved how the fence was almost completely hidden with various bushes and shrubs planted in front of it.
I also LOVED this stone path with the assortment of landscaping rocks and how it was designed with smaller pebbles surrounding the stepping stones.
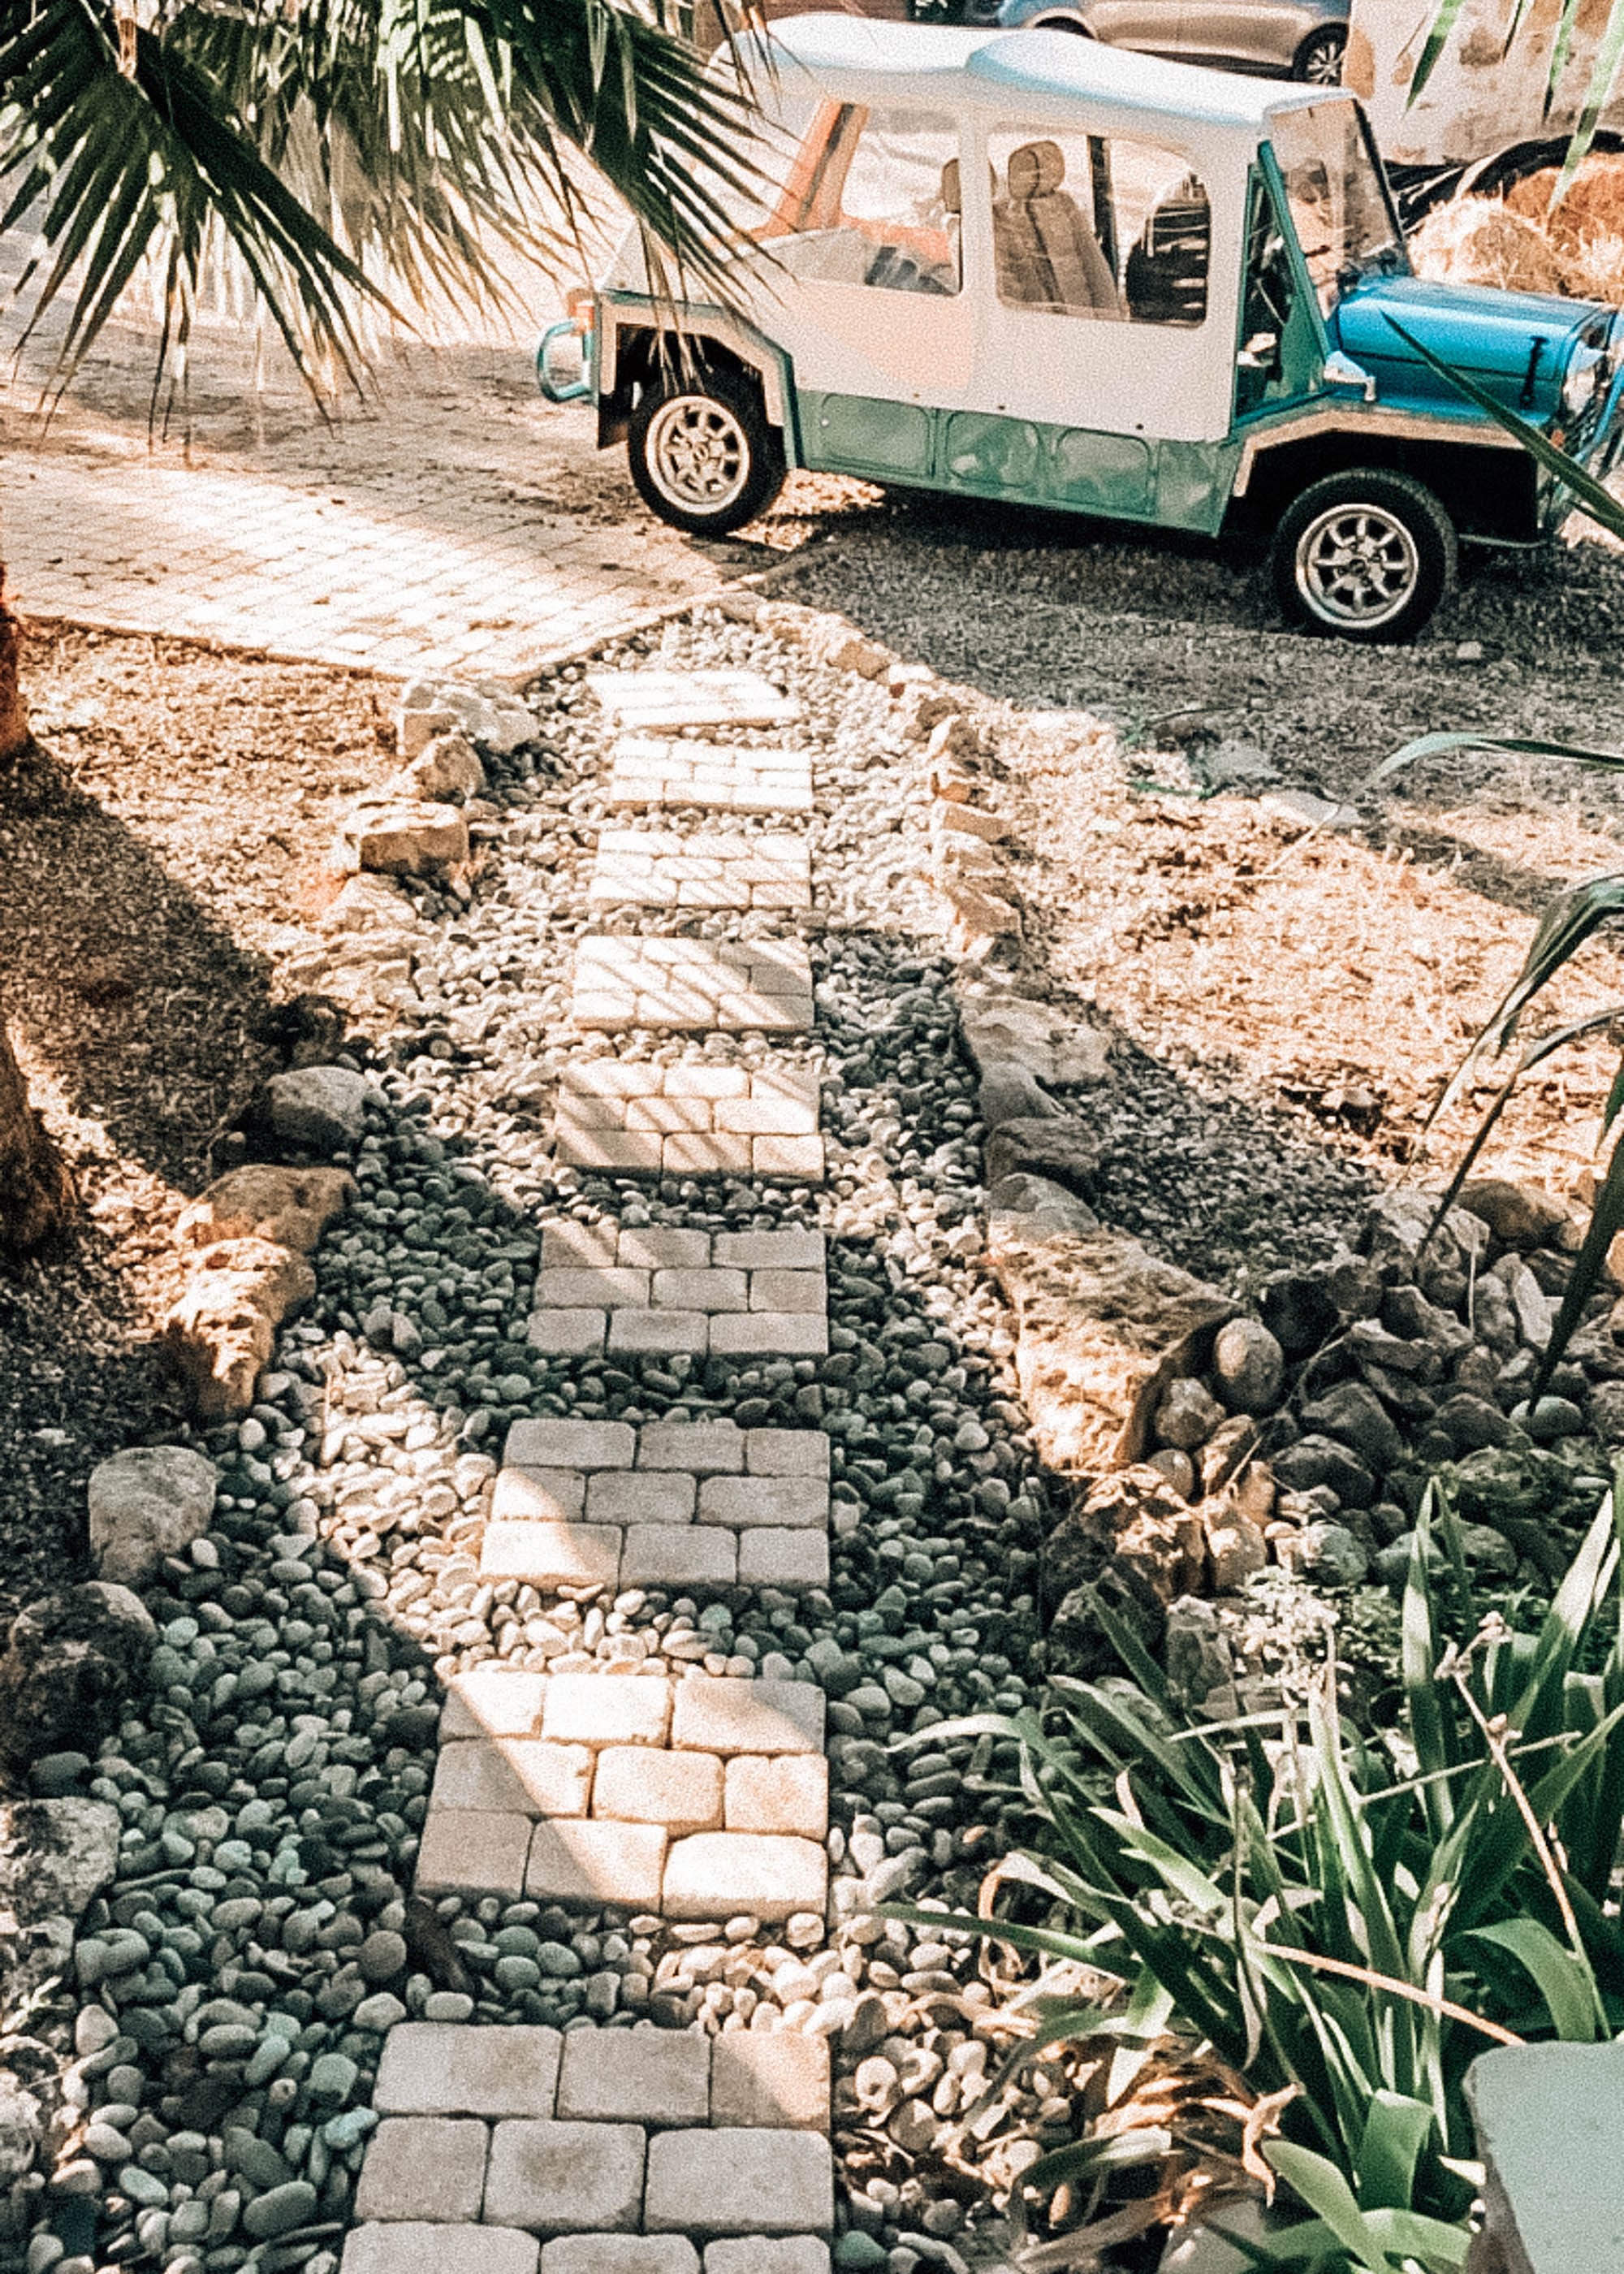
Anyways, these photos don’t even do it justice! Everything in the South of France was so beautiful. Be sure to check out my full travel diary if you haven’t already!
I can’t wait to give you some more updates next month on our backyard progress and which landscaping supplies we decided to use for our path!

5 Healthy Sandwiches To Try
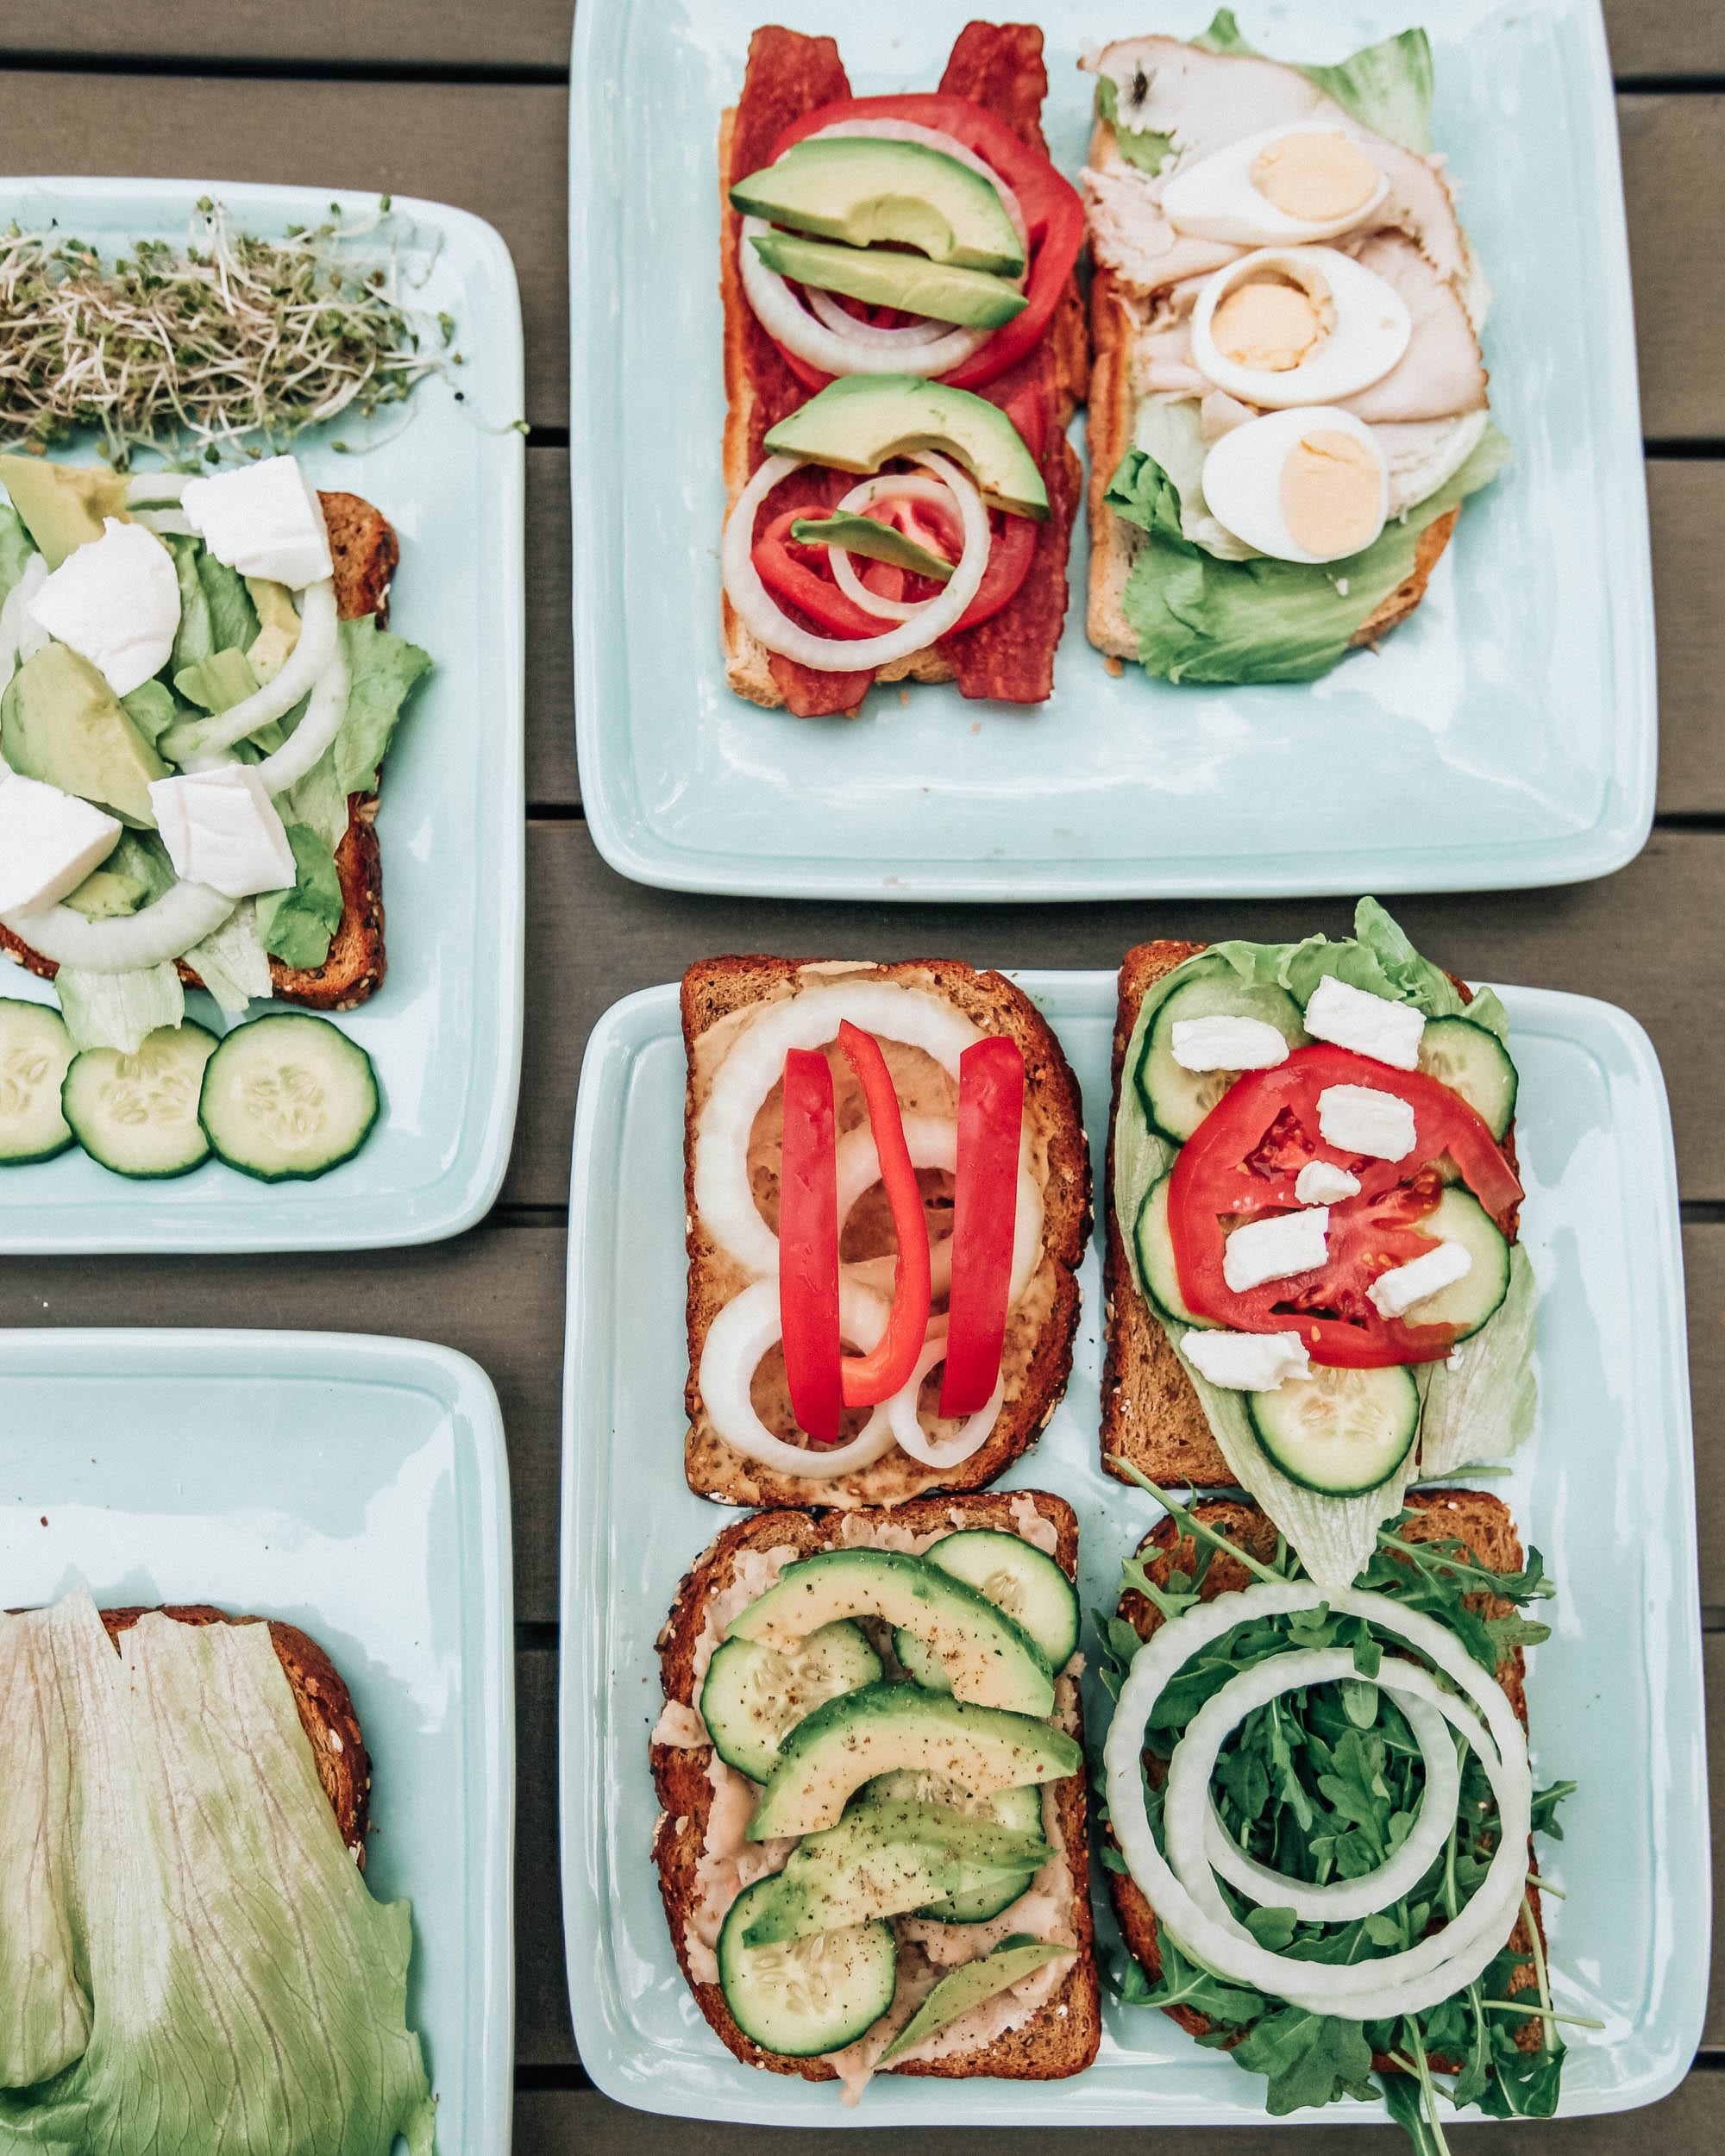
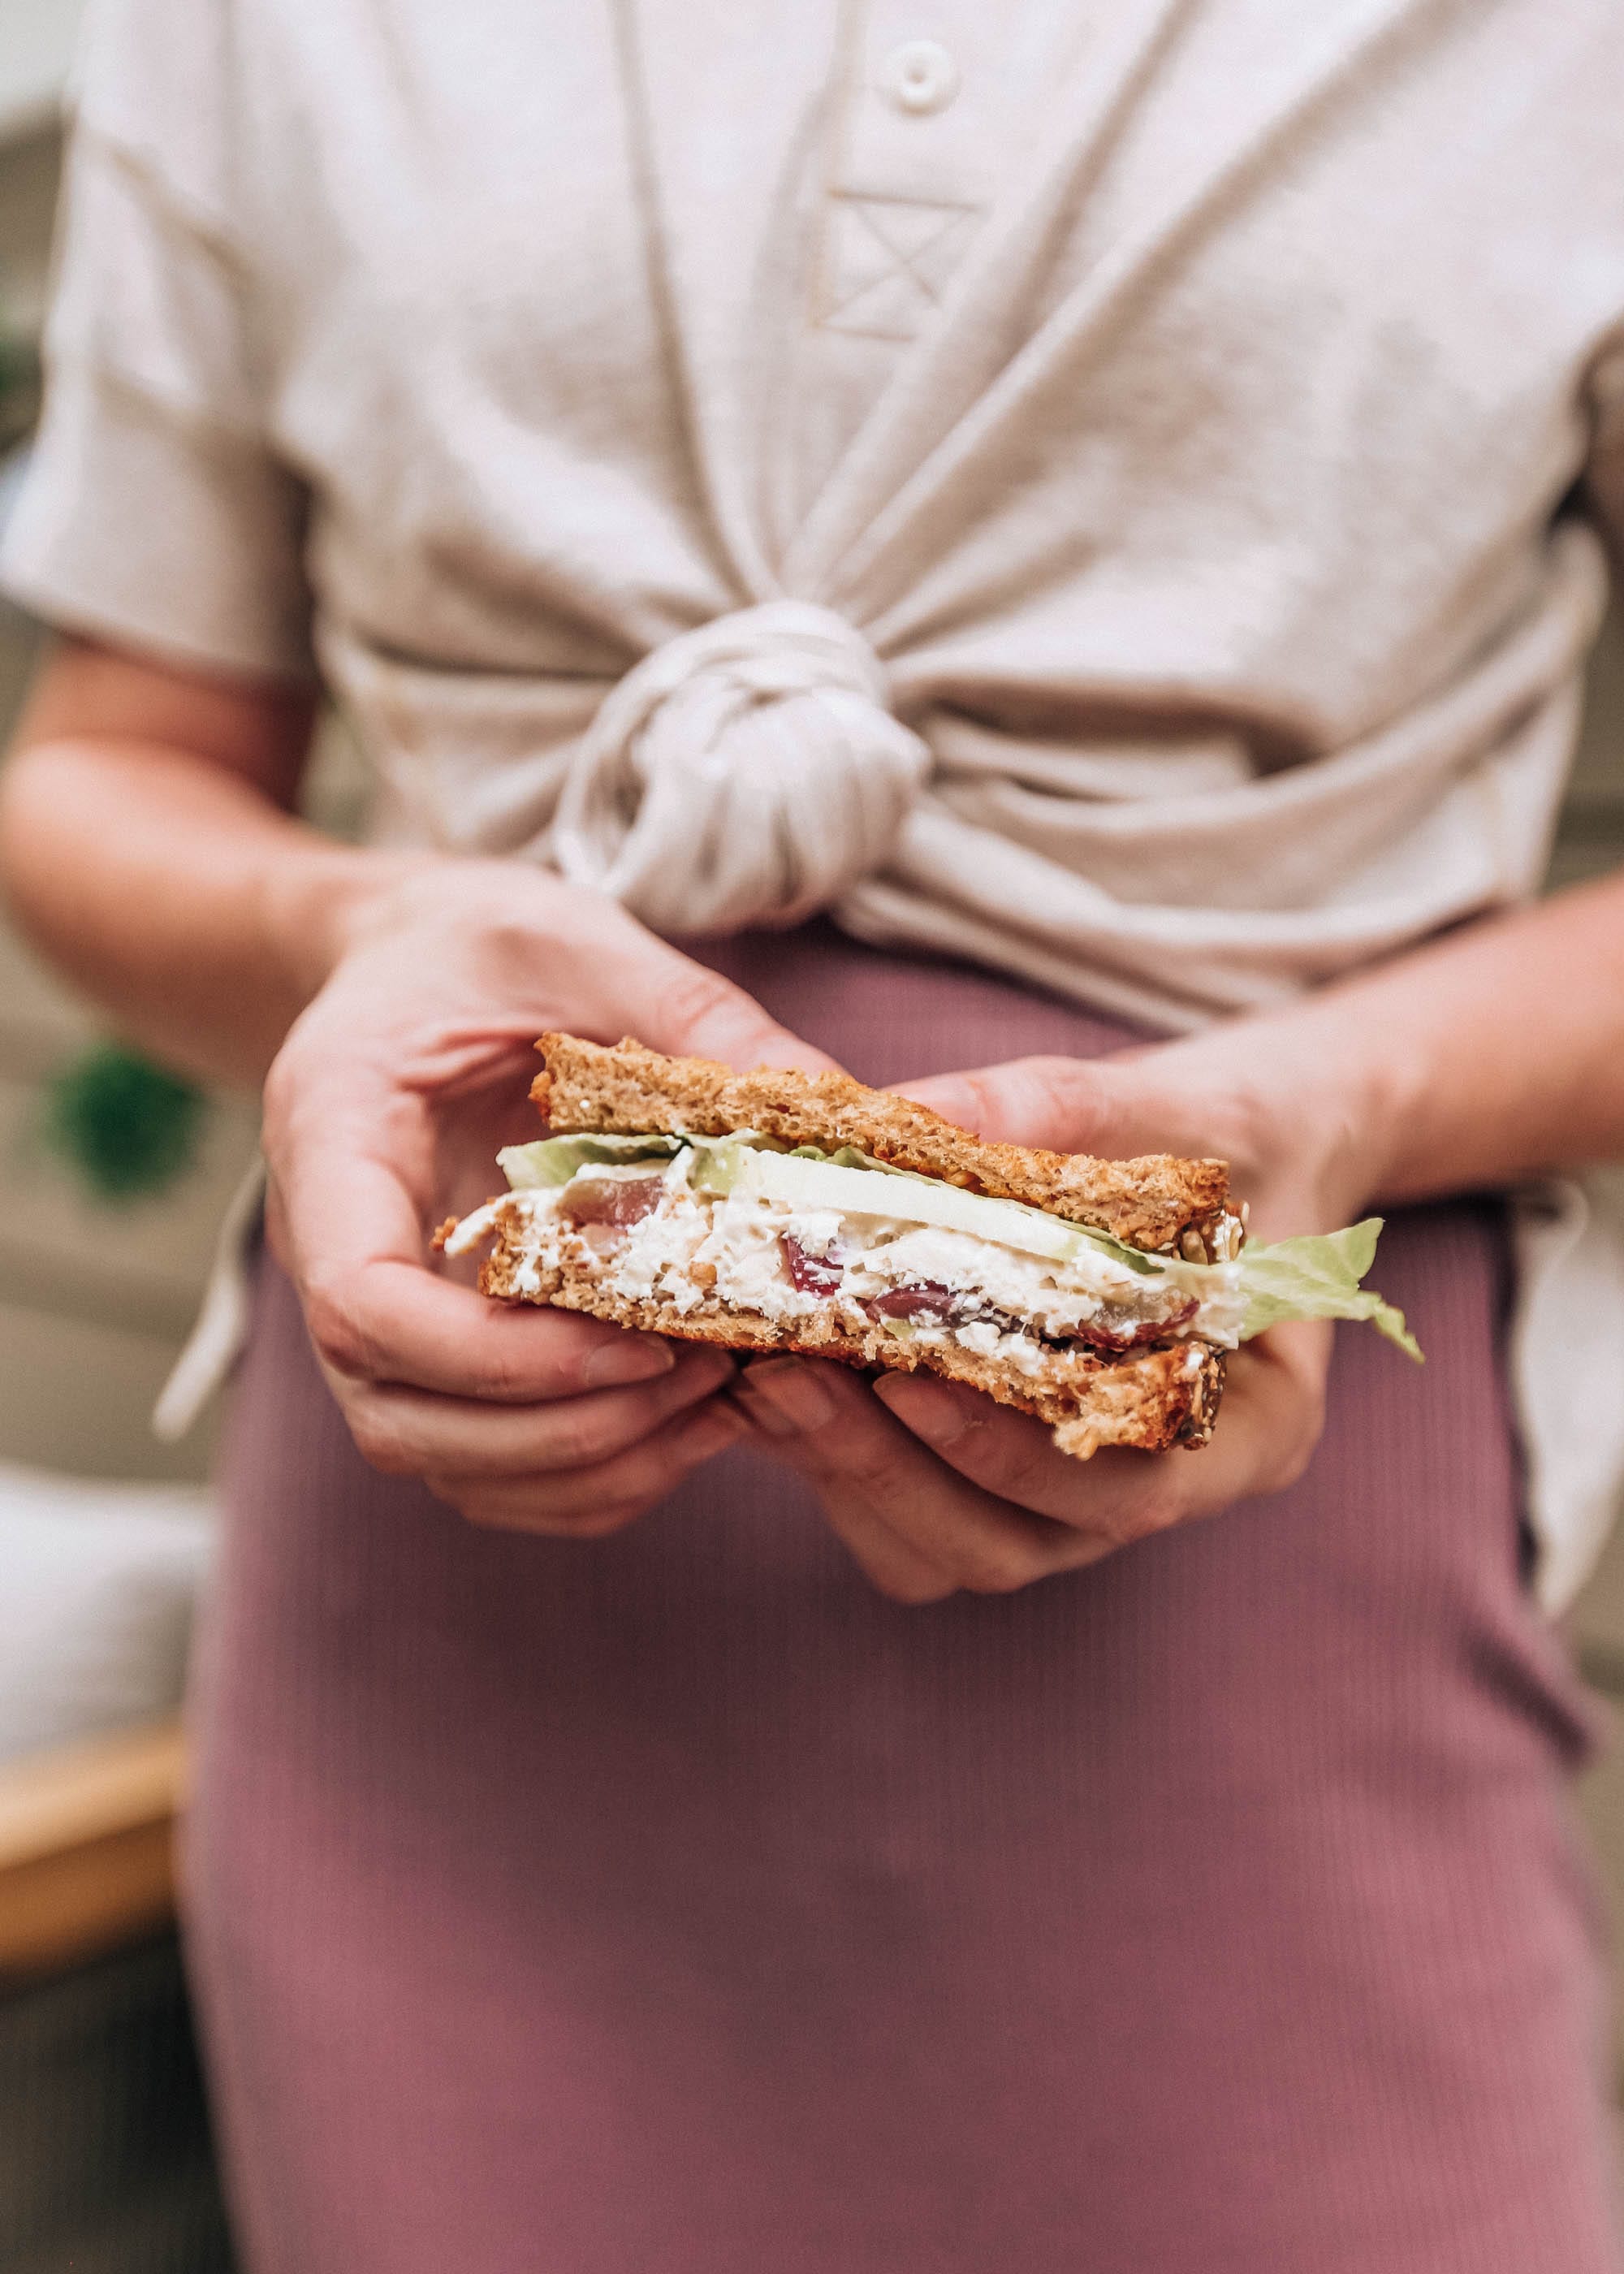
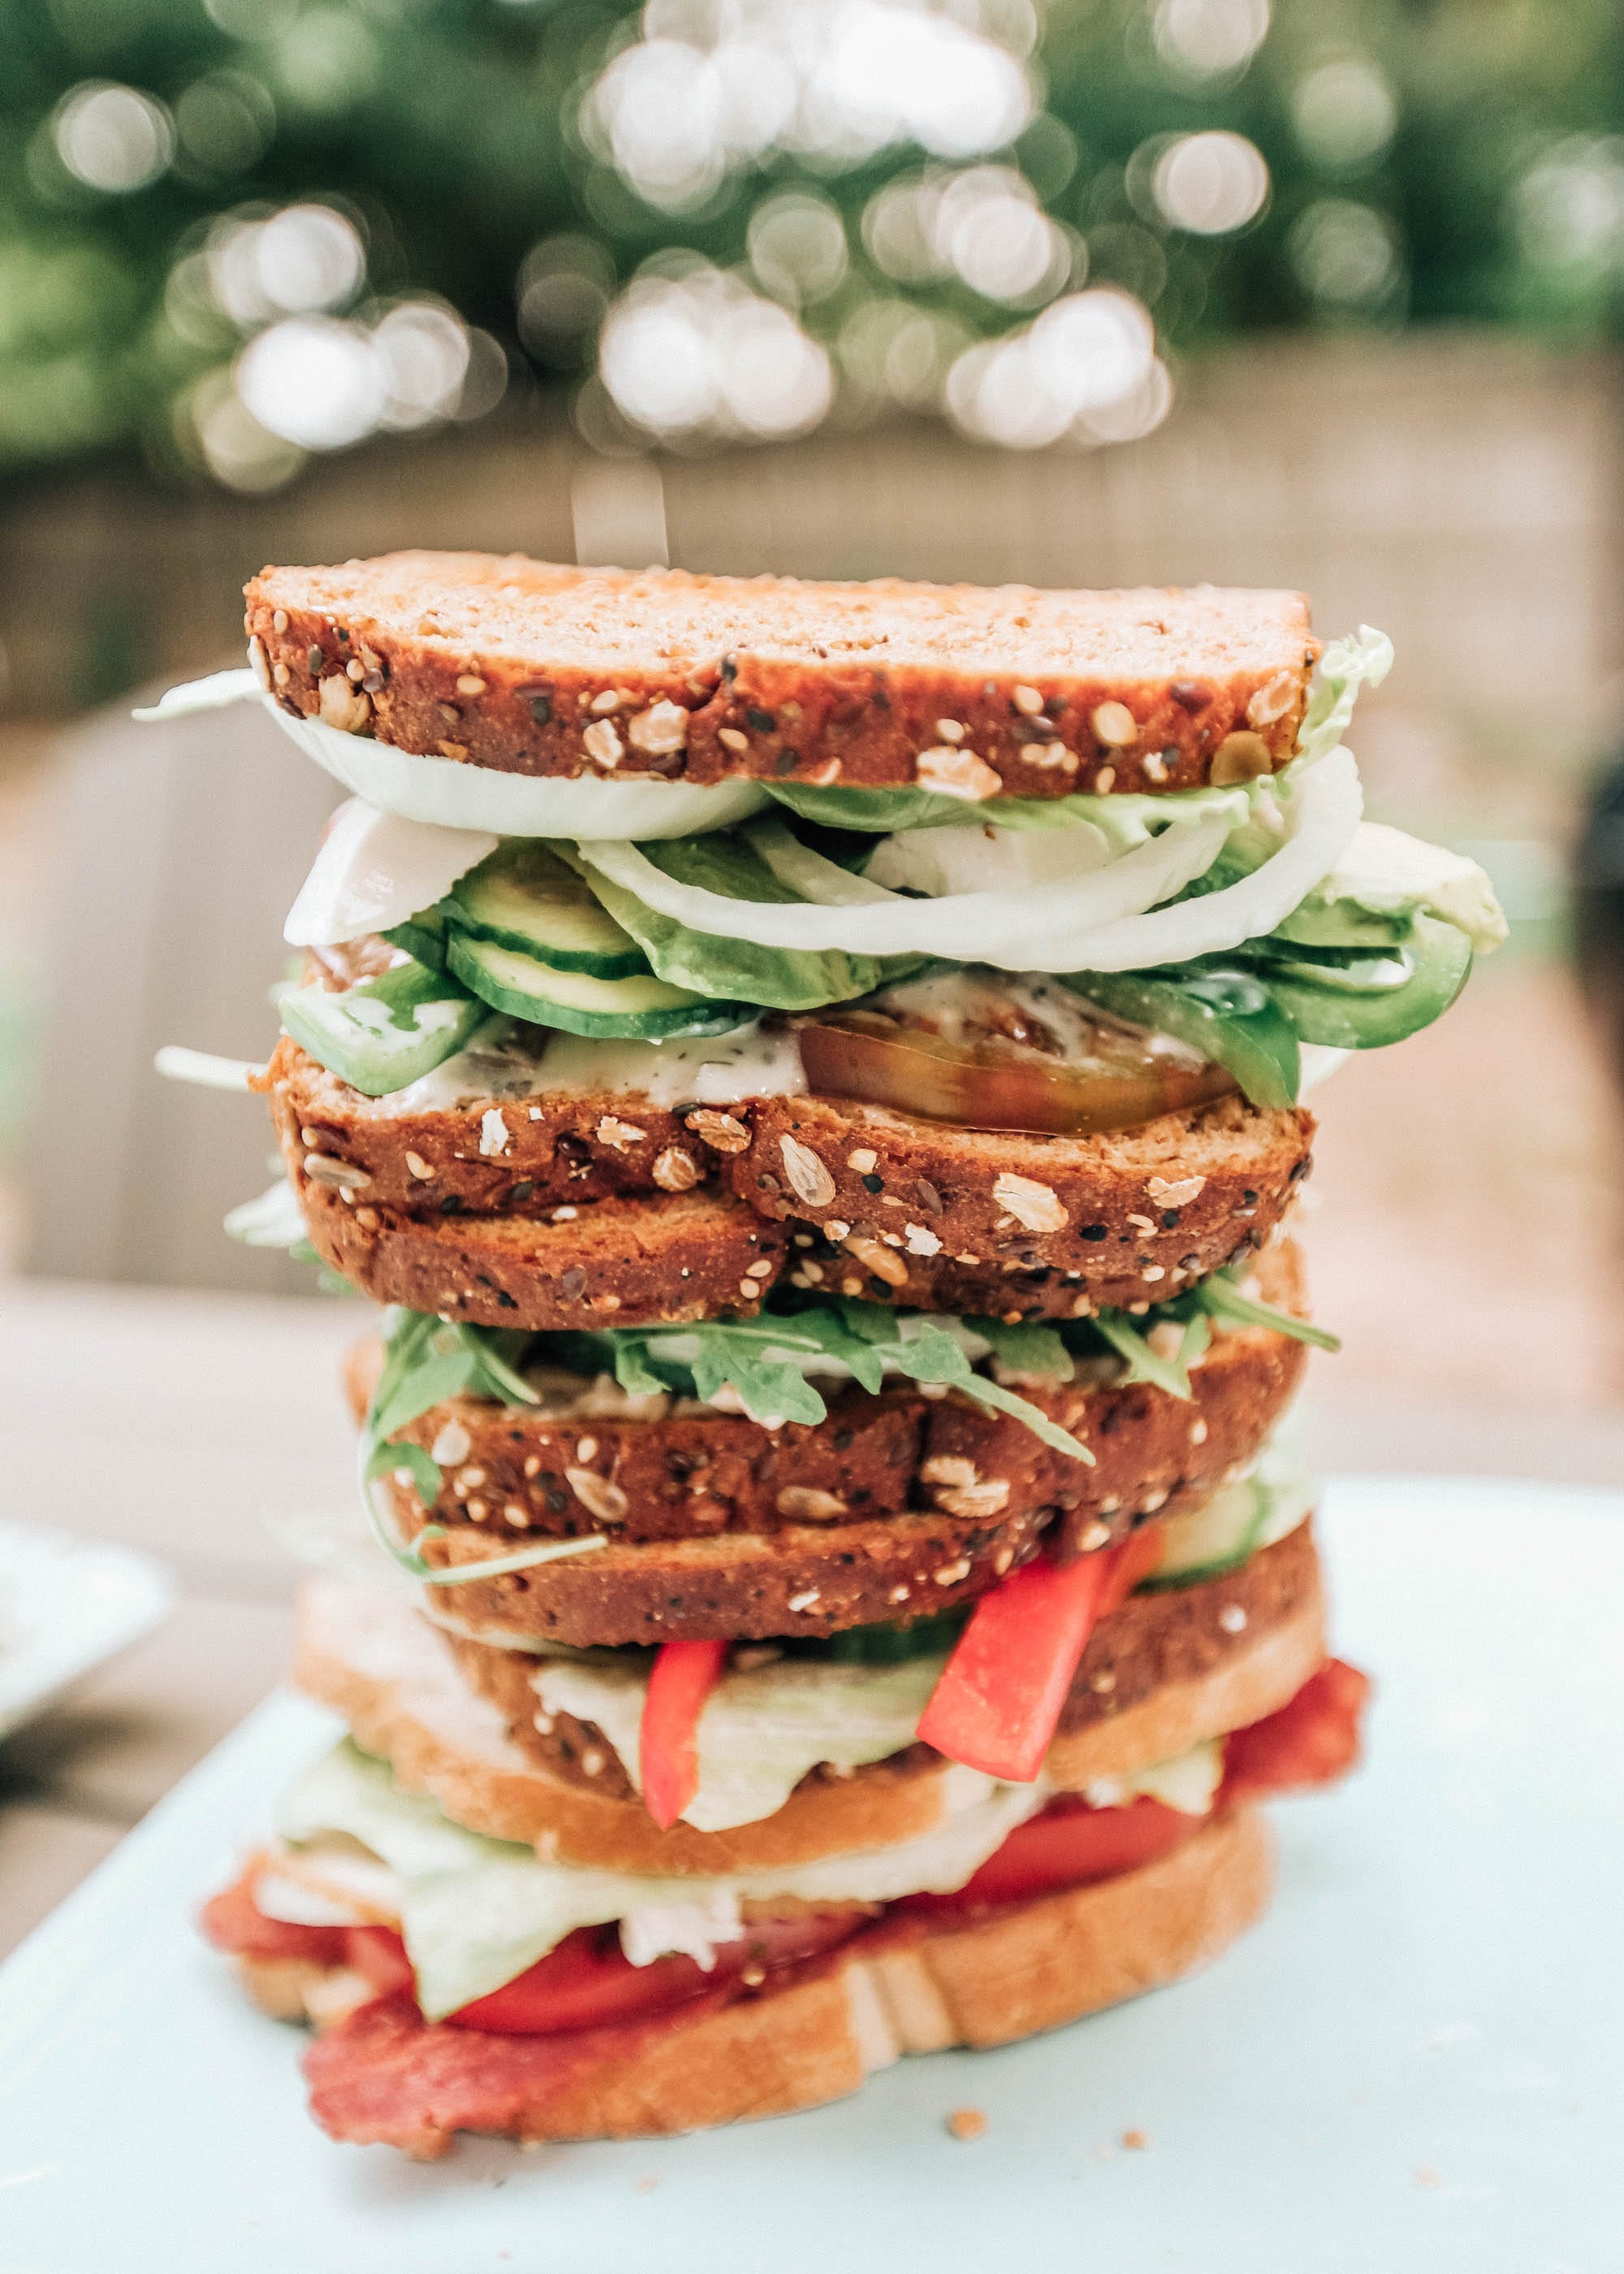
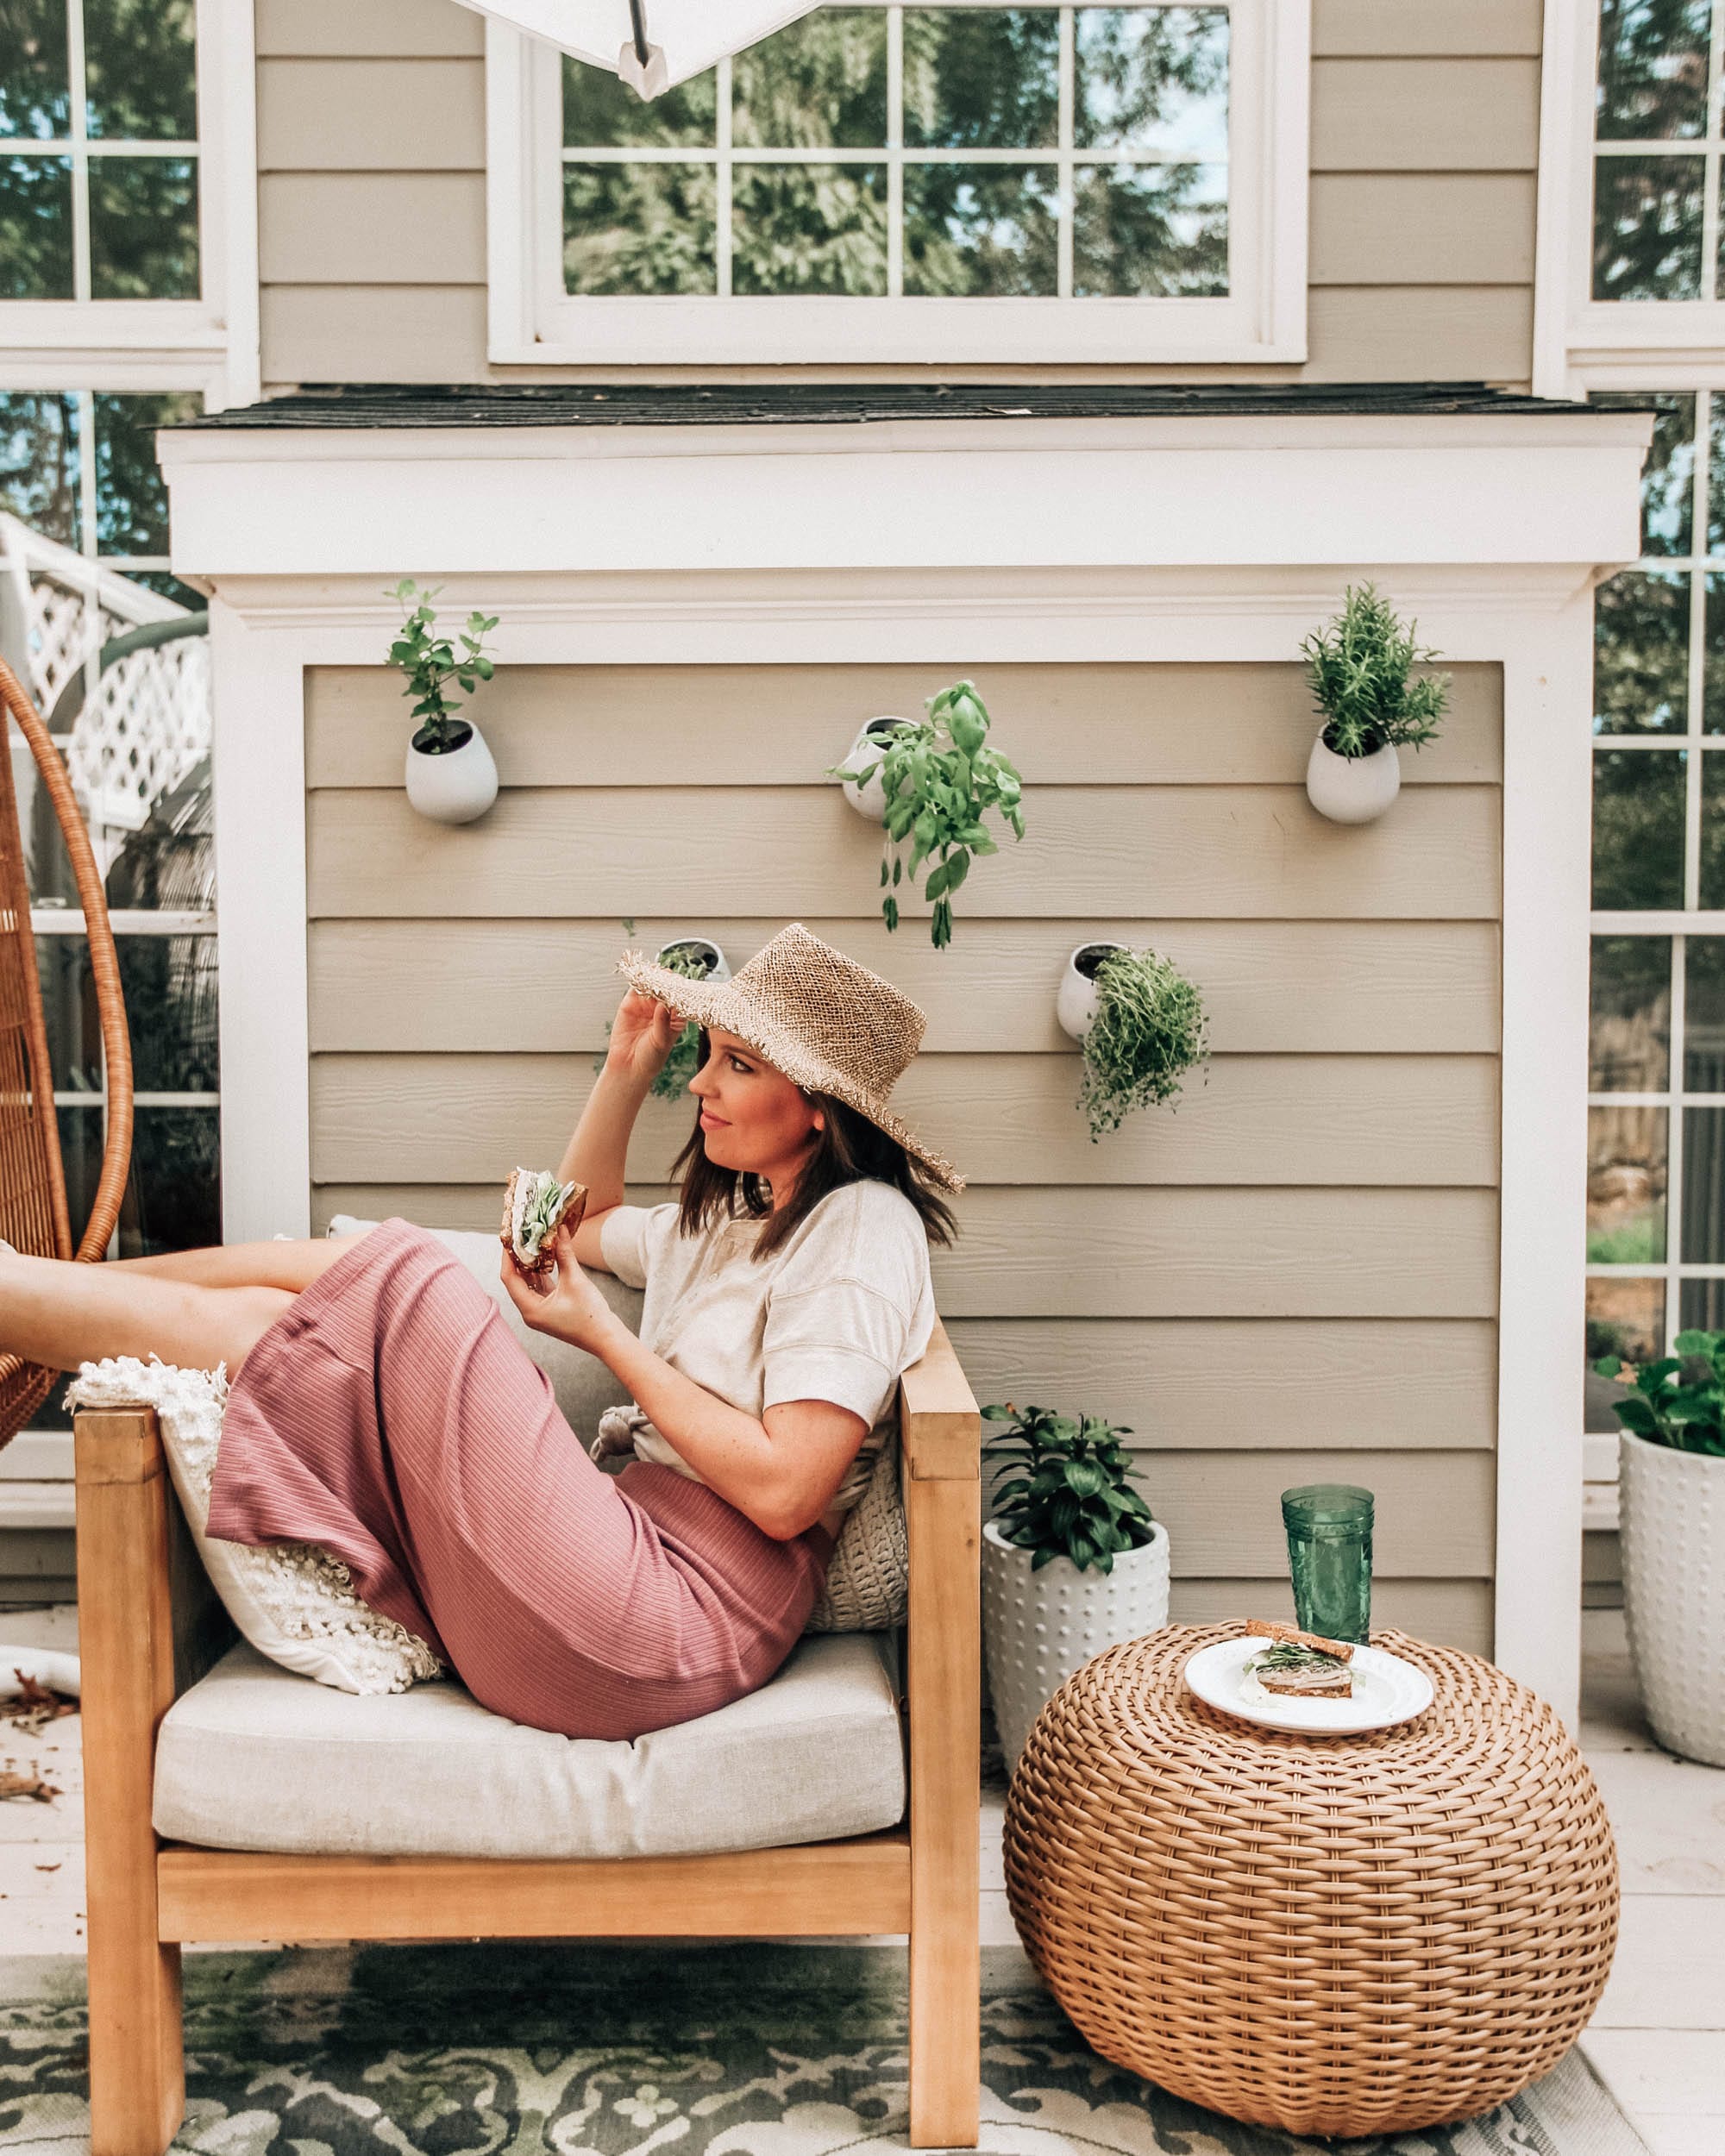
I’ve shared my love for Vidalia onions in a recent post sharing all of my favorite summertime pasta salad recipes but today we’re switching gears and talking about my other love, sandwiches. There is something about making a big refreshing and nutrient-filled sandwich in the middle of a 90 degree day. They’re delicious, healthy and filling, easy to pack for later, and I love how you can get so creative with it depending on the season! In the summer, you can usually me slicing cucumbers, tomatoes, onions, and avocados and toasting some of my favorite multigrain bread for a solid lunch break. I’m excited to share 5 different sandwiches recipes I’ve been making this summer that leave me feeling rejuvenated and ready to take on the rest of my day.
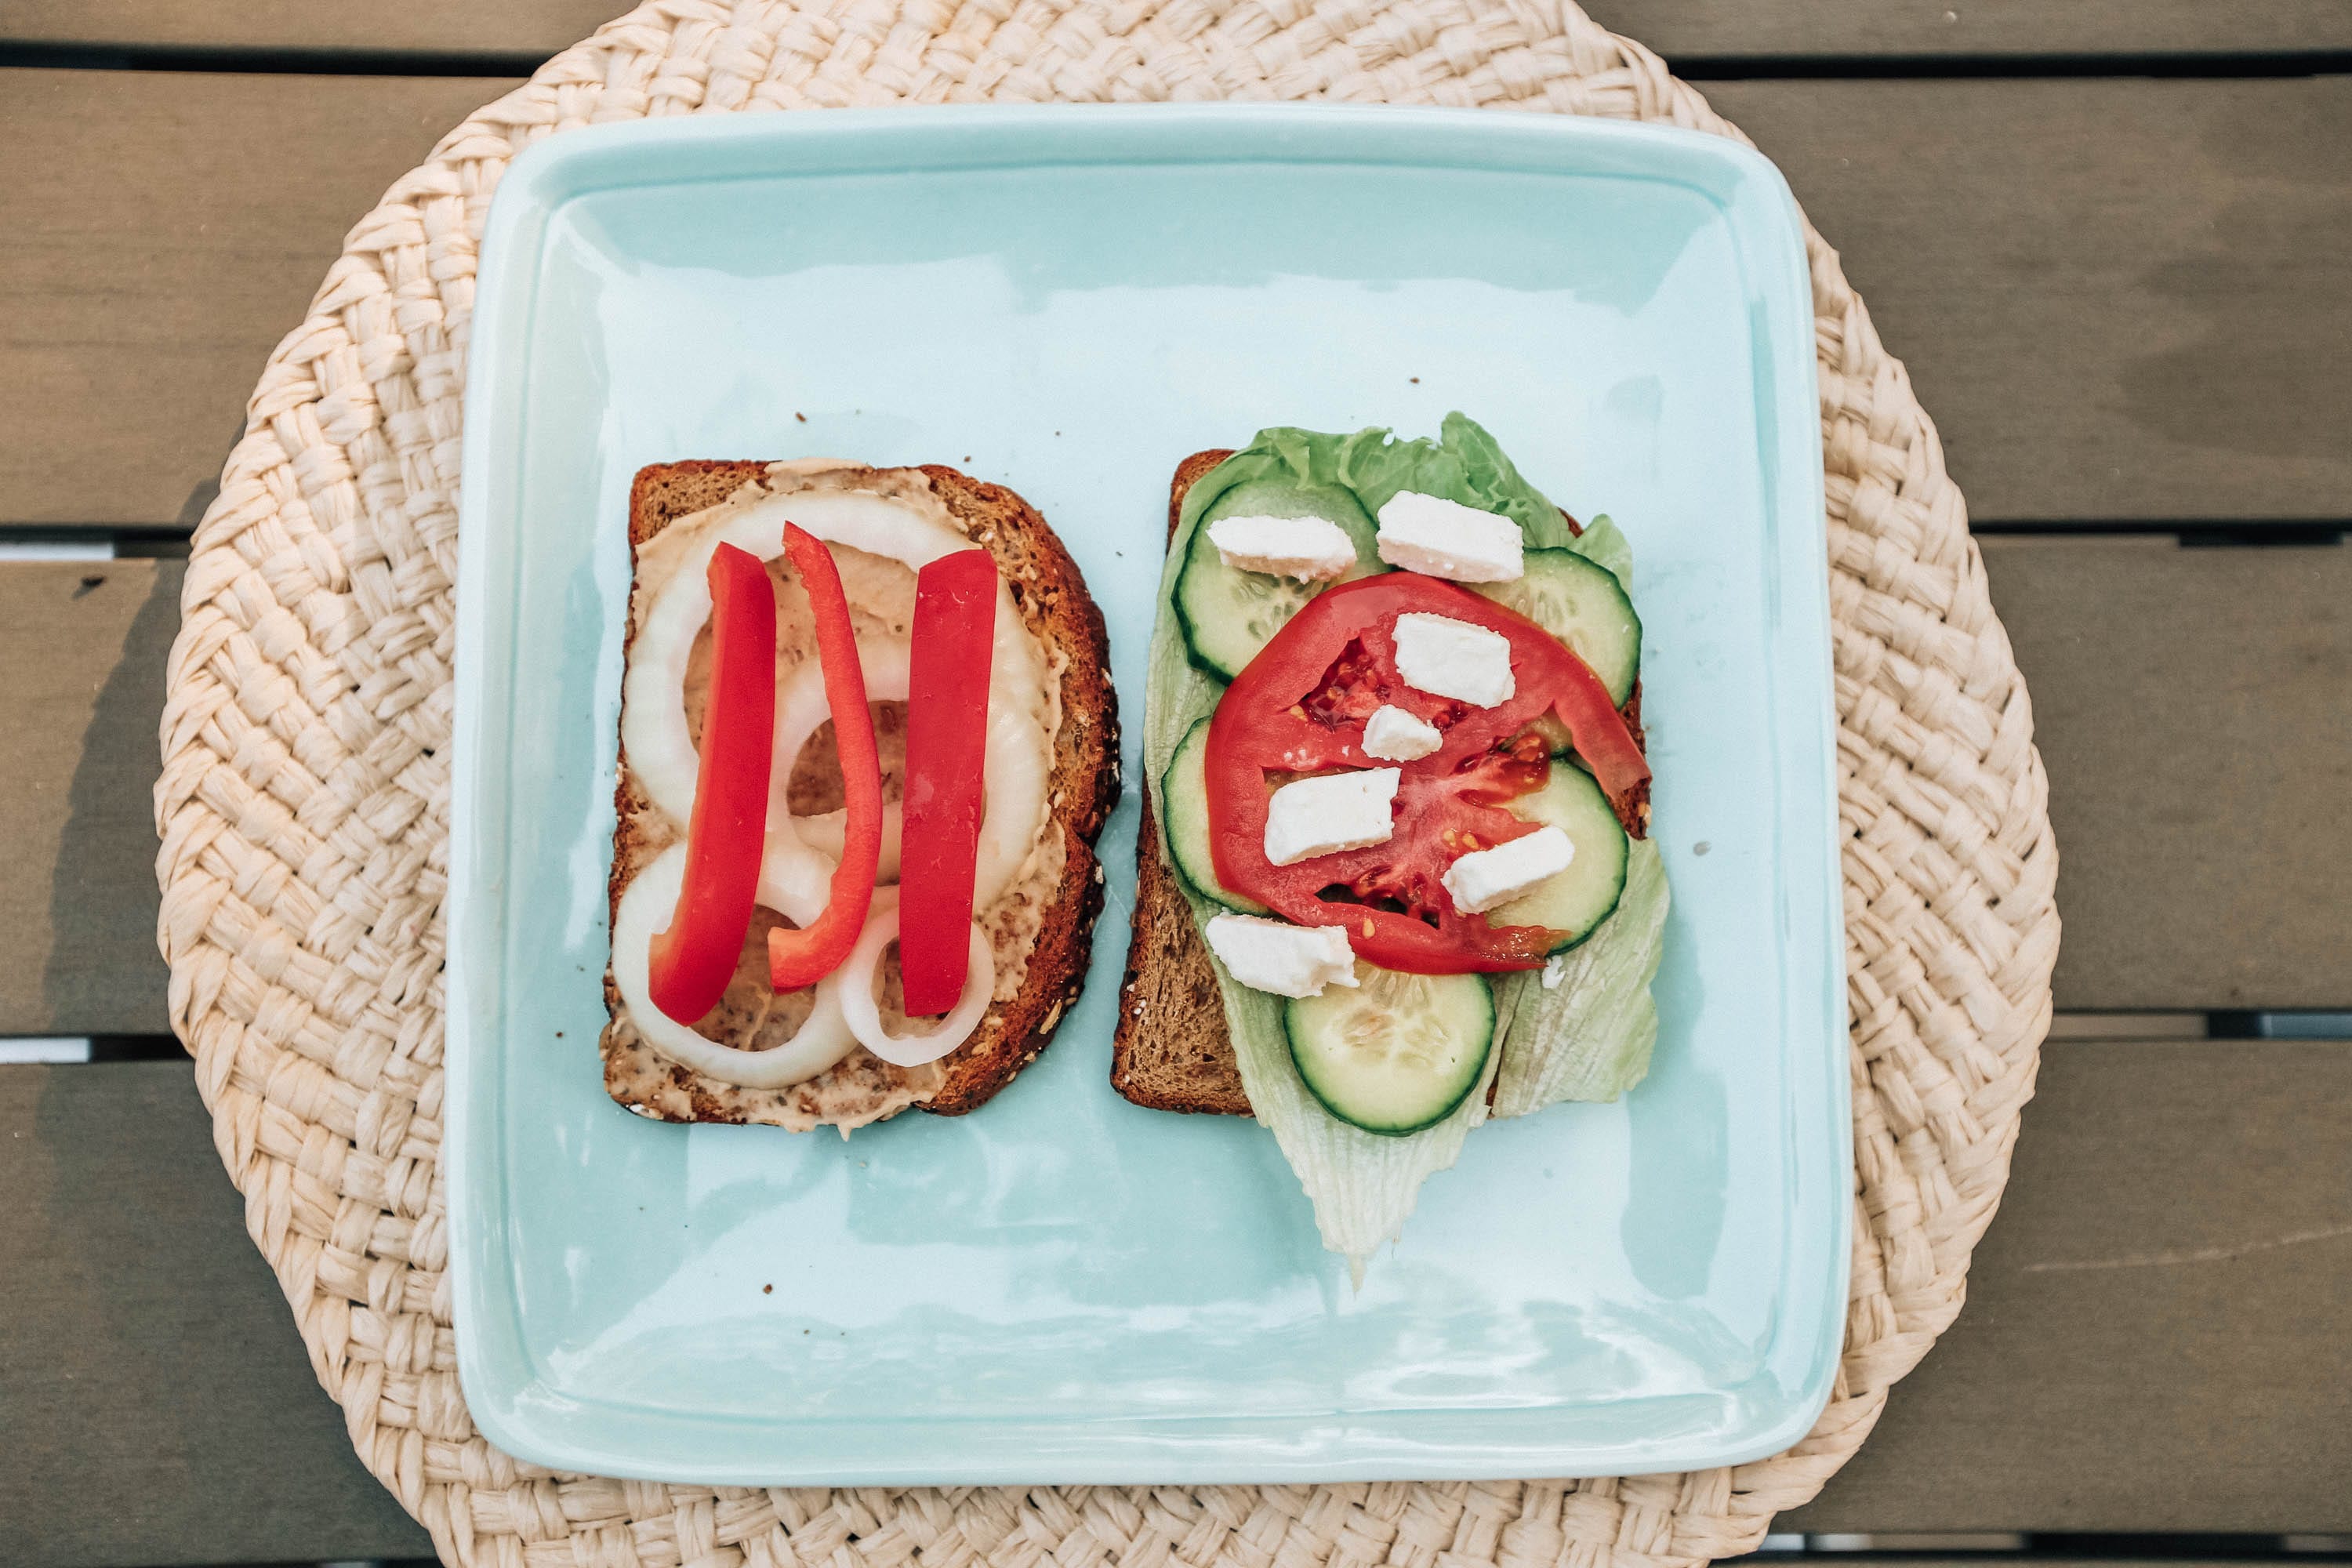
The Mediterranean One
Suggested Ingredients: Feta, Hummus, Cucumber, Onion, Lettuce, Tomato, Peppers
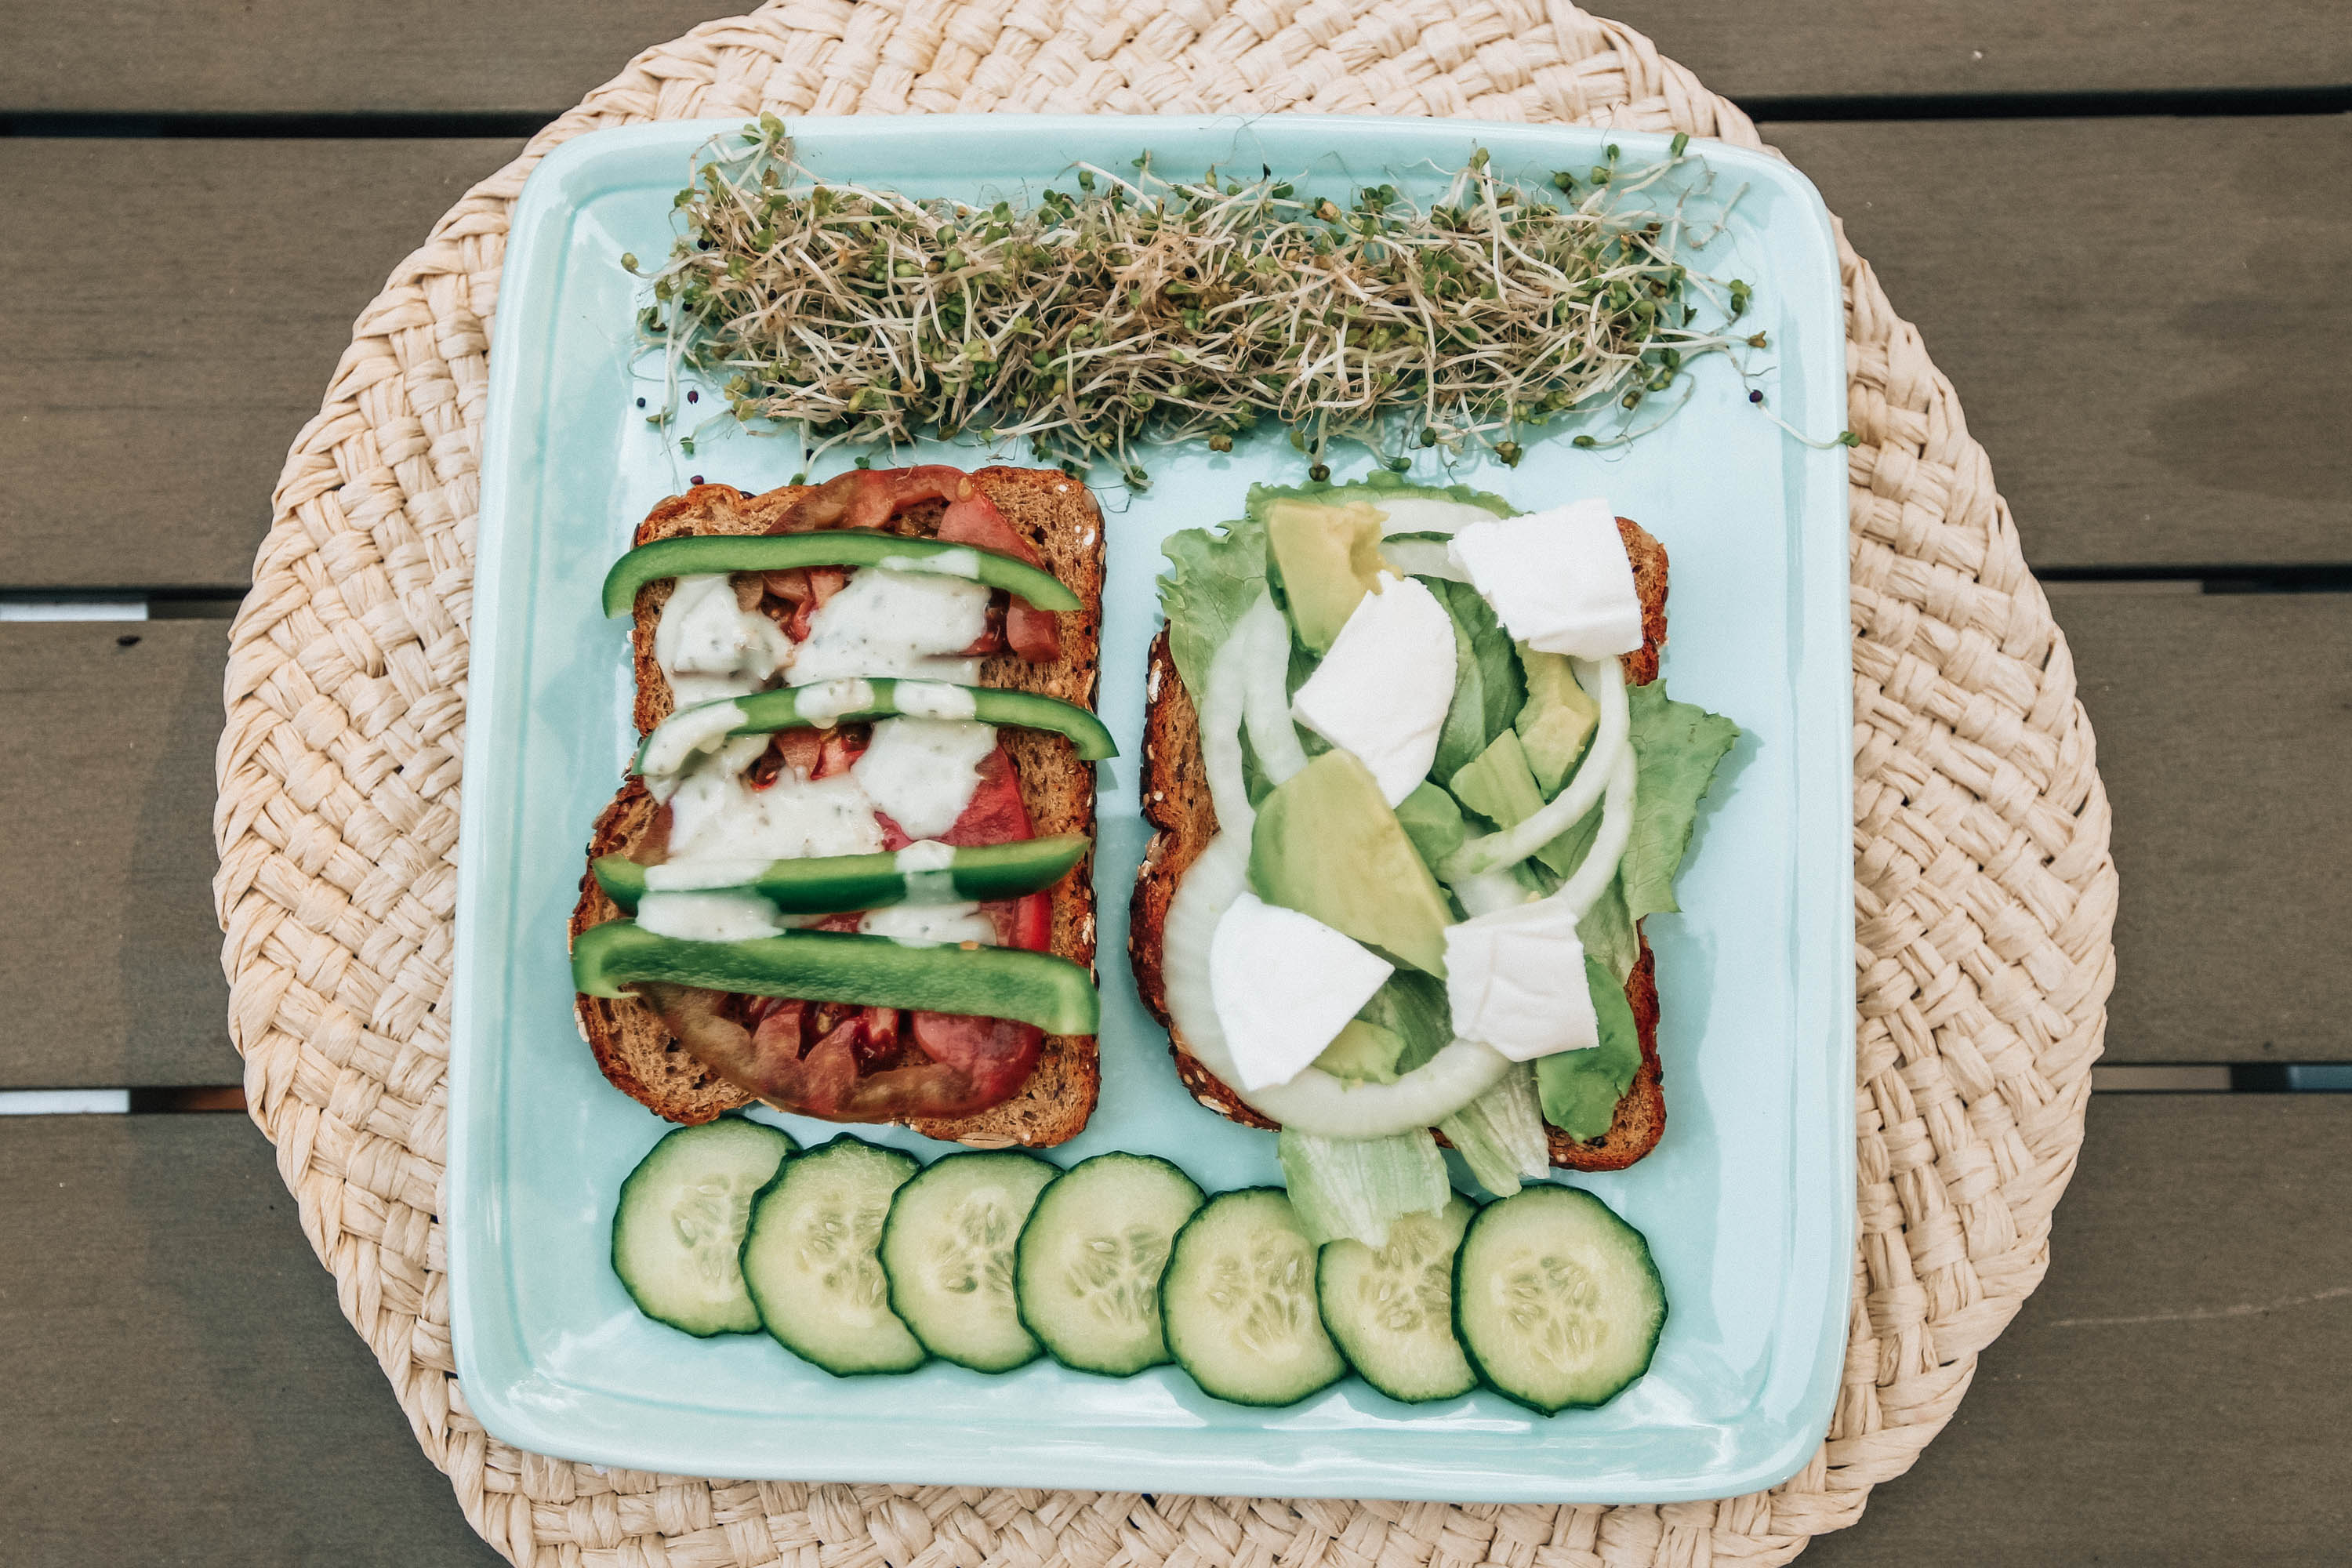
The Green One
Suggested Ingredients: Cucumber Slices, Green Tomatoes (or whatever tomatoes you have), Avocado Slices, Lettuce, Mozzarella, Vidalia Onion Slices, Cilantro/Avocado dressing (or Green Goddess dressing), sprouts.
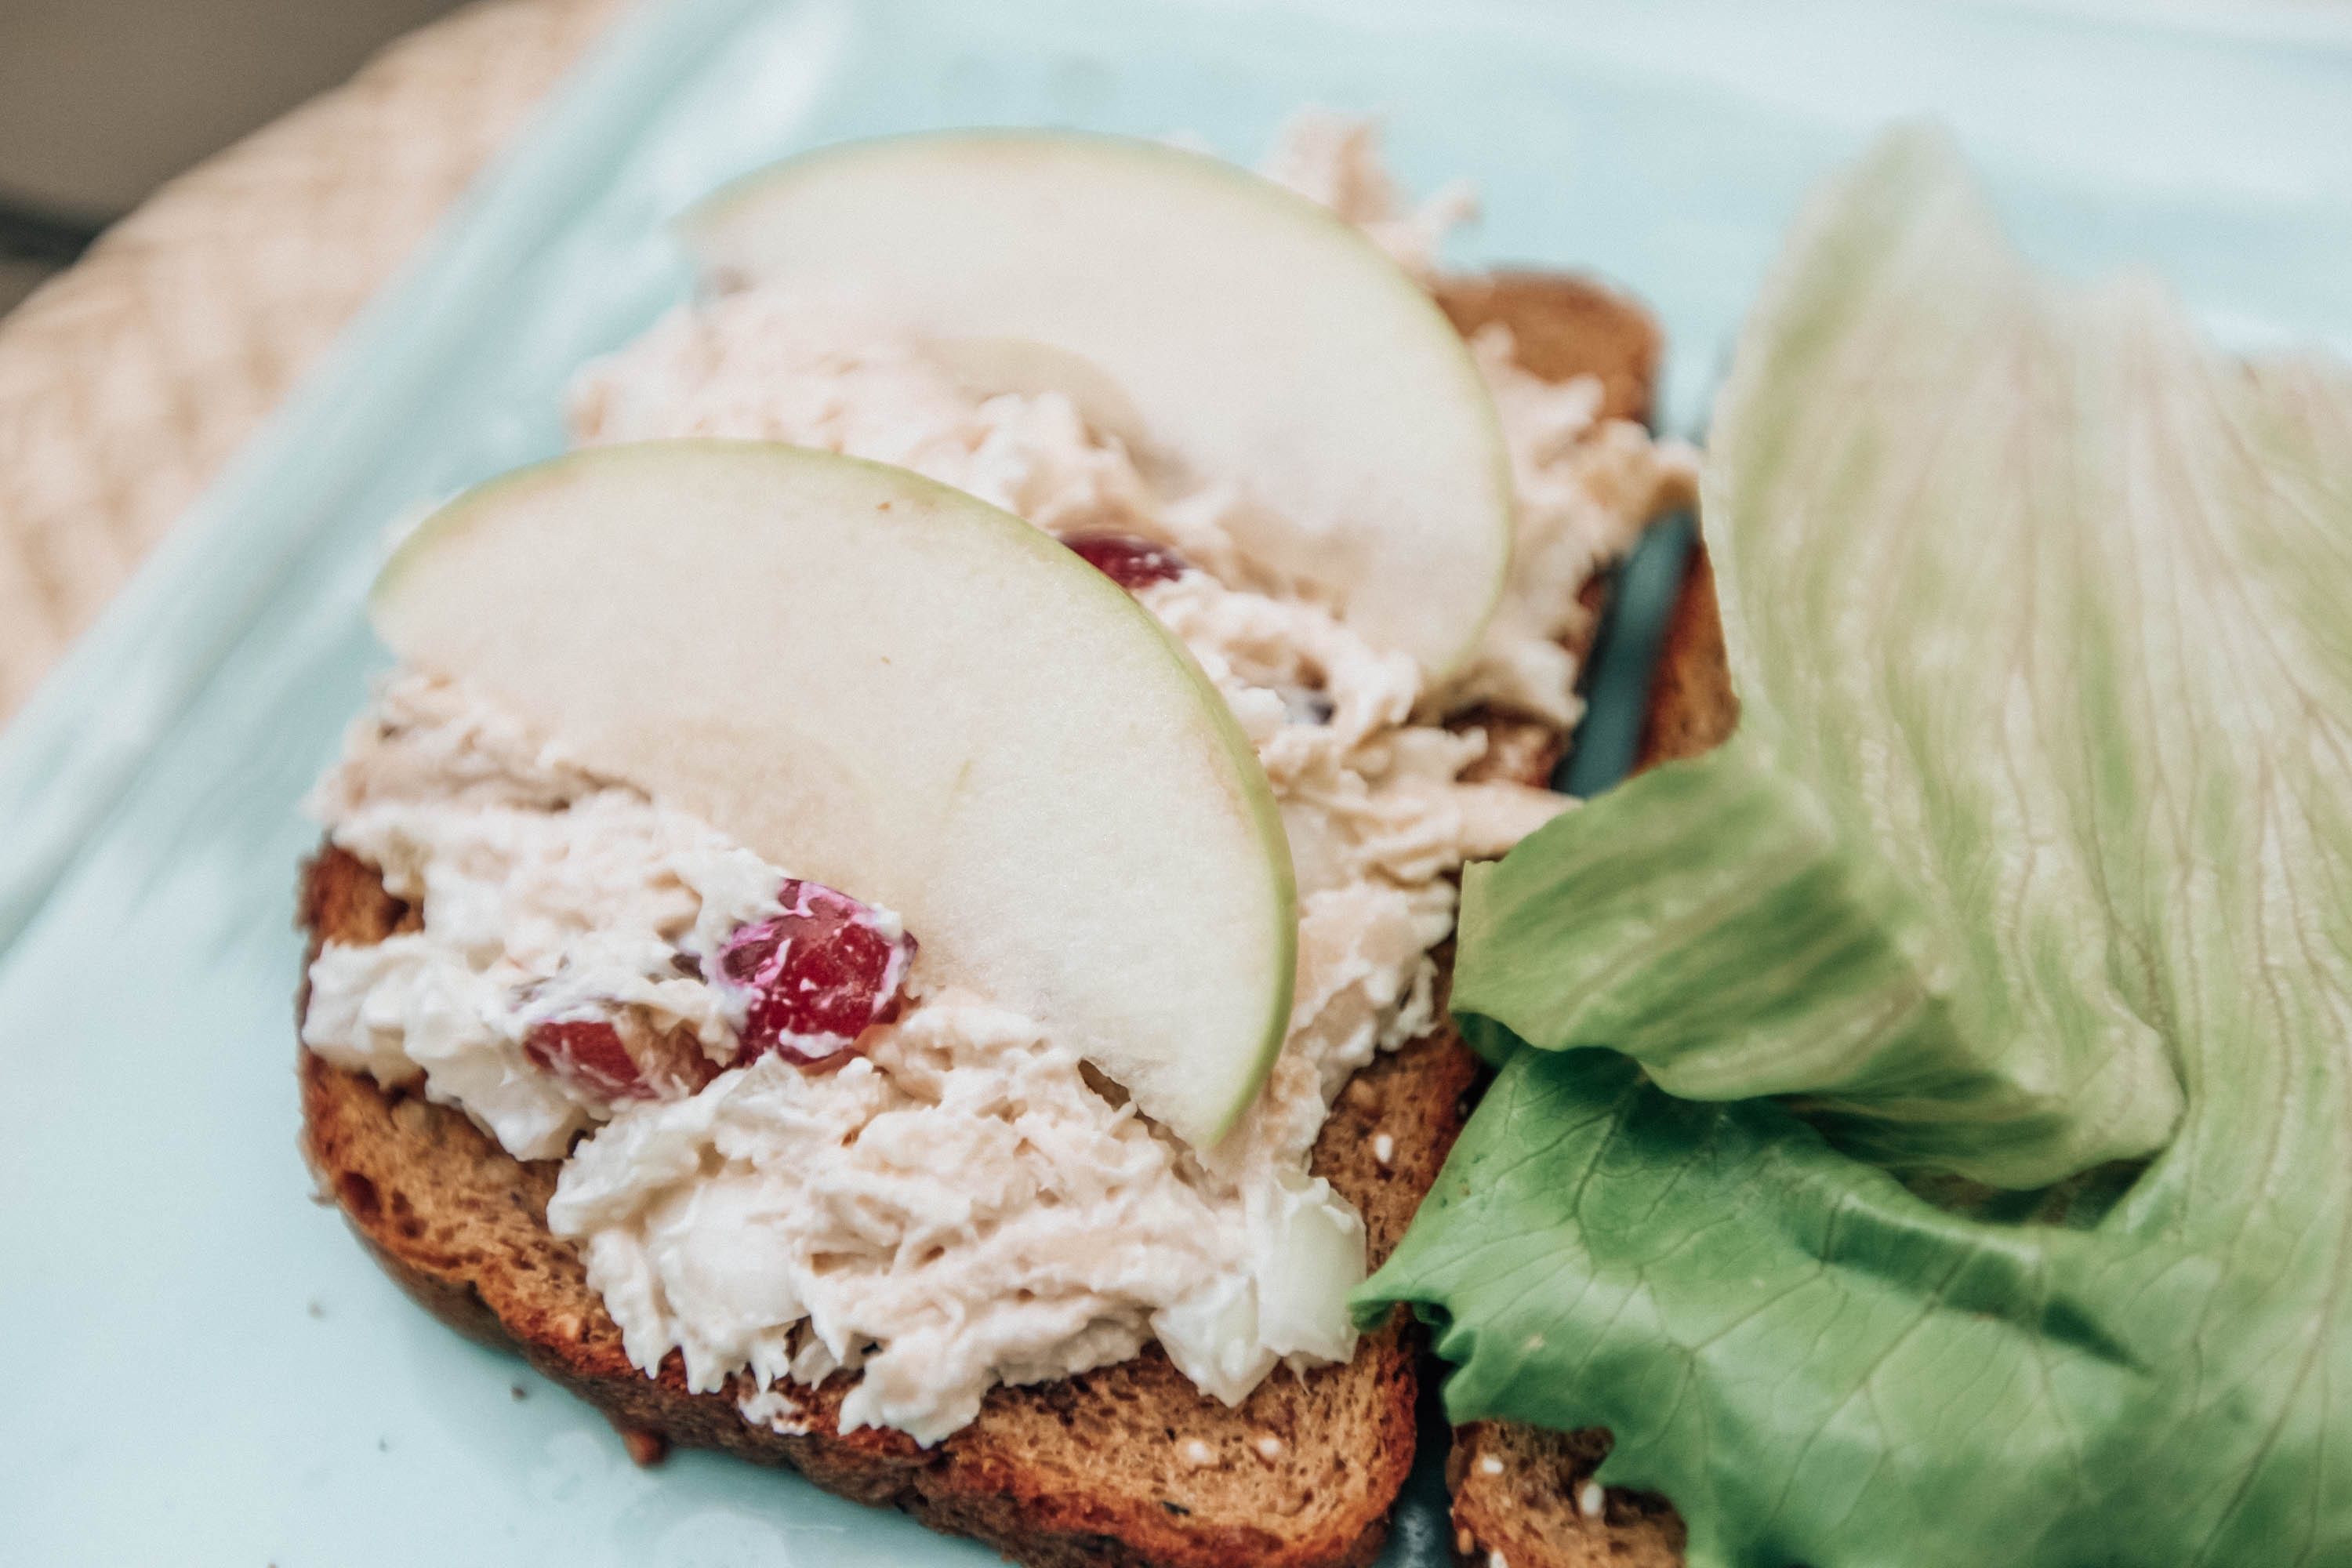
The Chicken Salad One
Suggested Ingredients: Plain Greek Yogurt, Rotisserie Chicken, Vidalia Onion, Apple, Grapes, Slivered Almonds, Lemon Juice, Garlic Powder, Lettuce
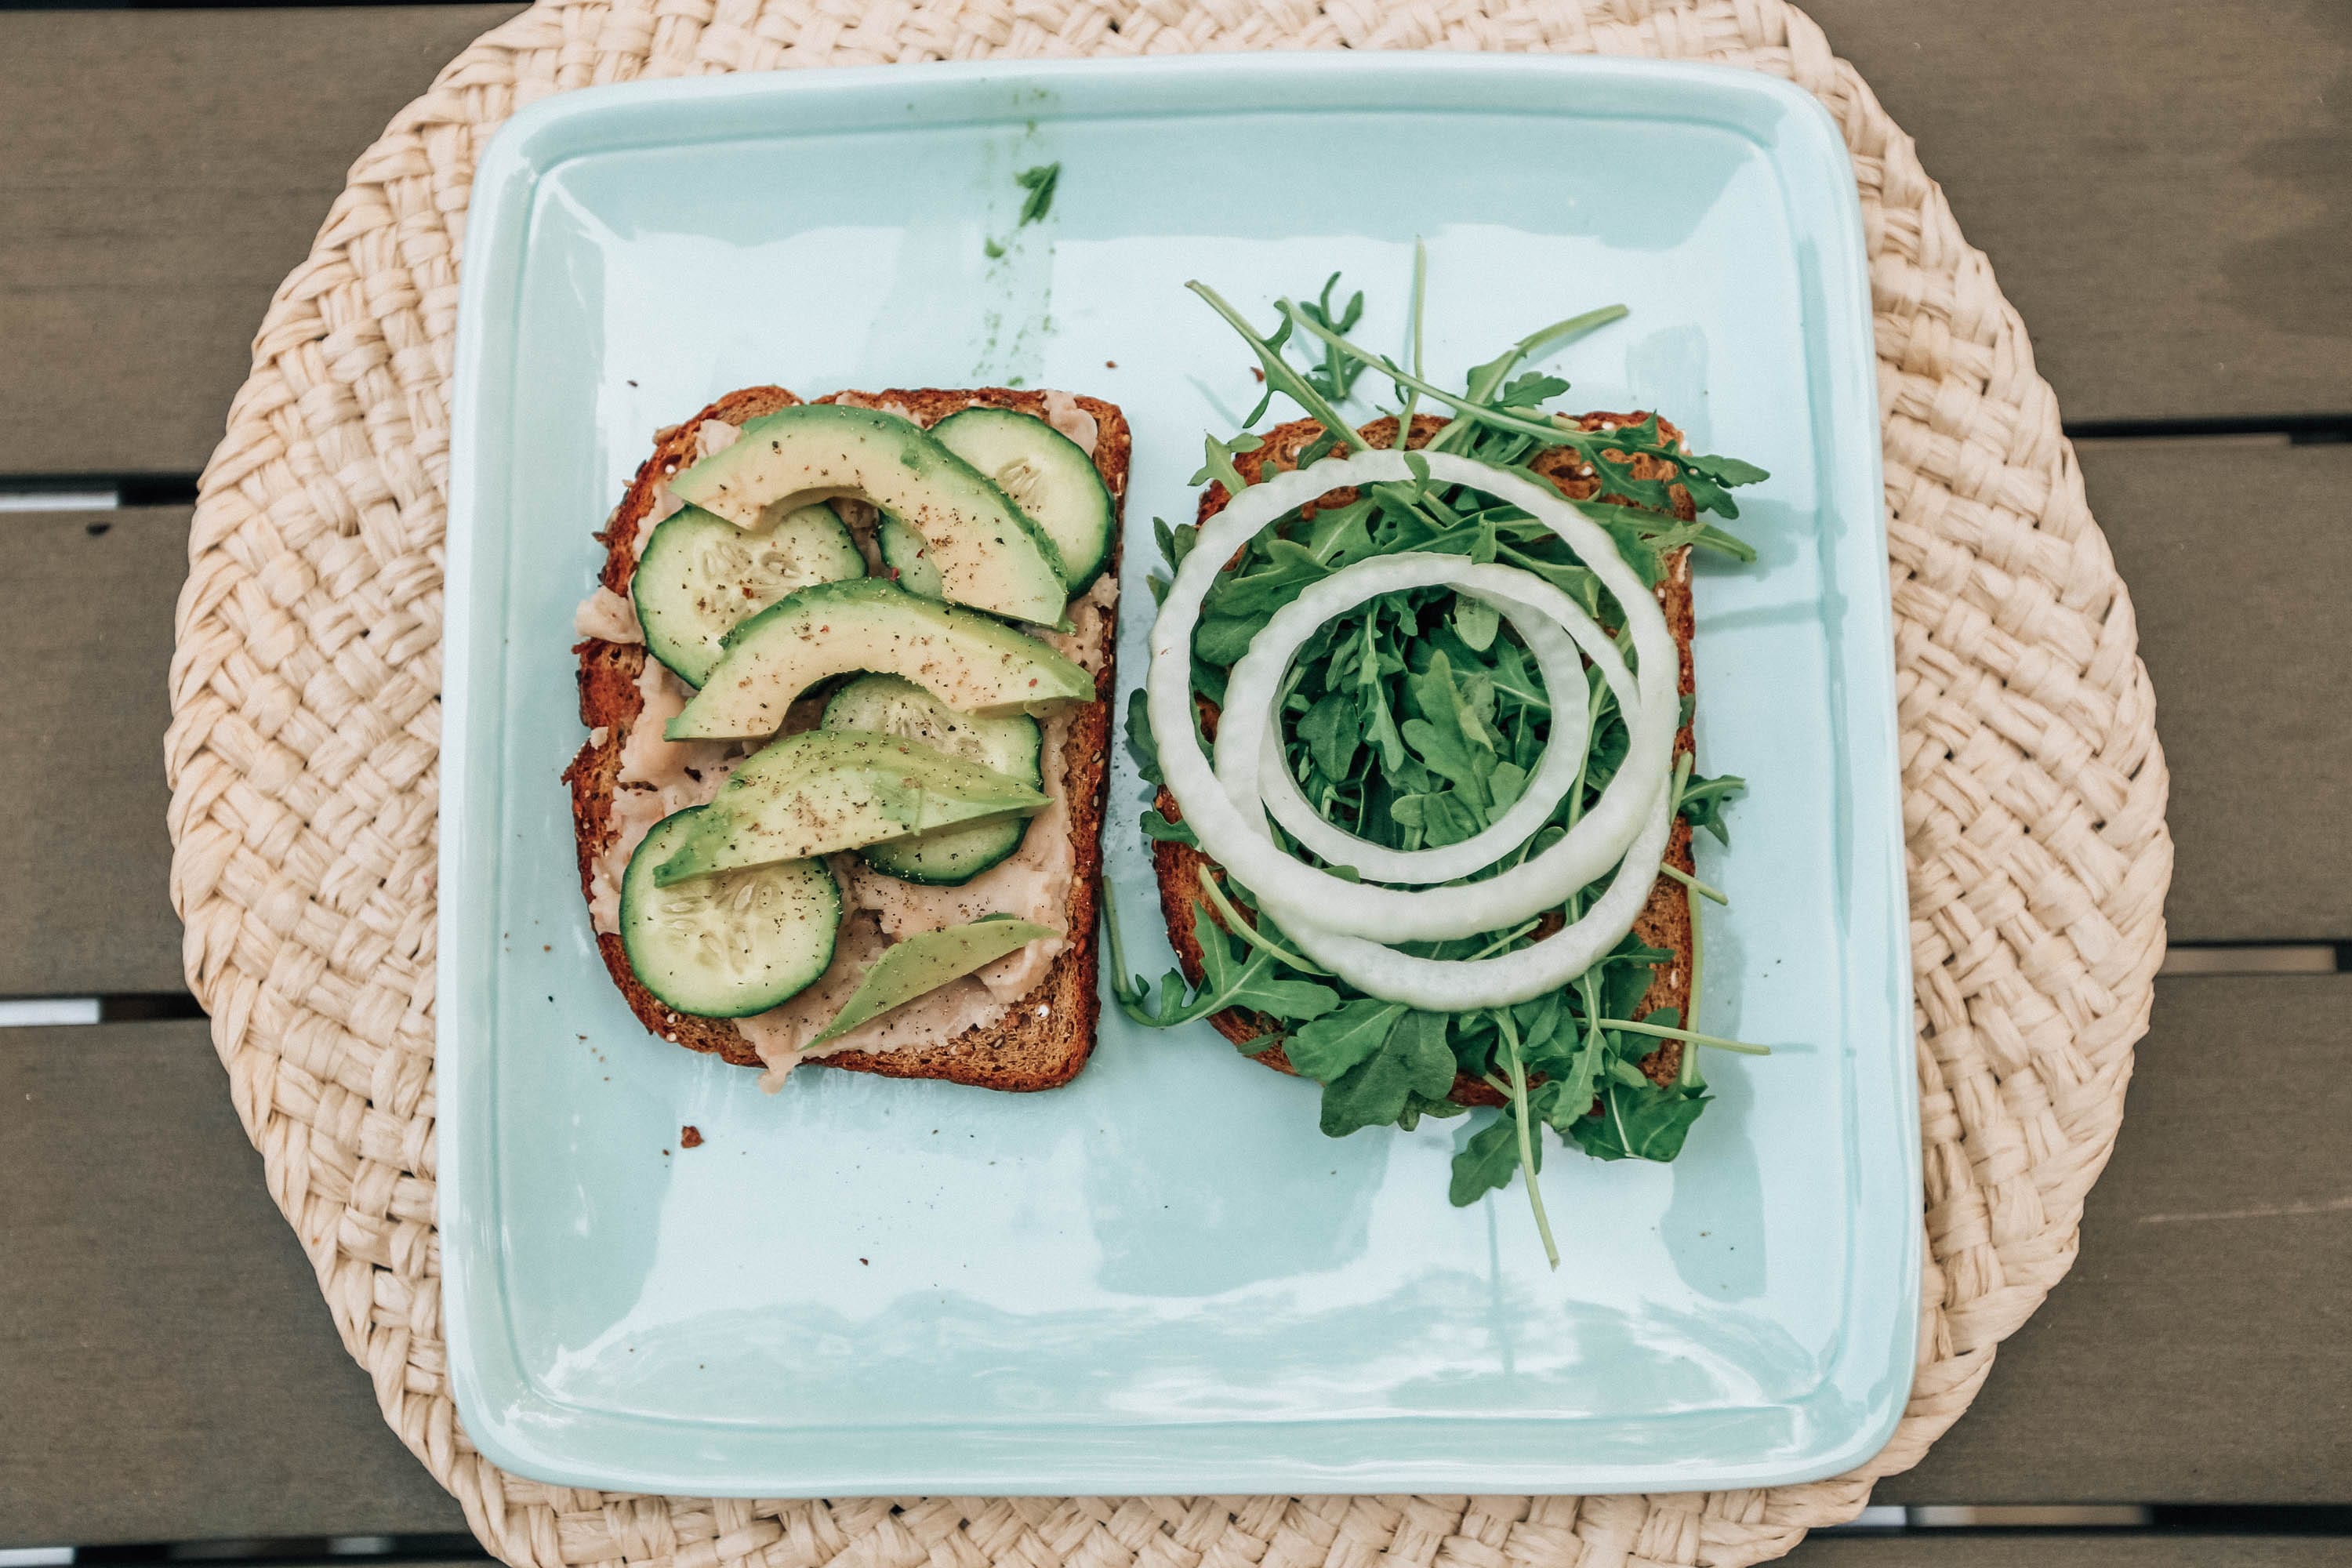
The White Bean One
Suggested Ingredients: White beans, Olive Oil, Salt/Pepper, Lemon Juice(all mashed up), Vidalia Onion, Cucumber, Arugula, Avocado
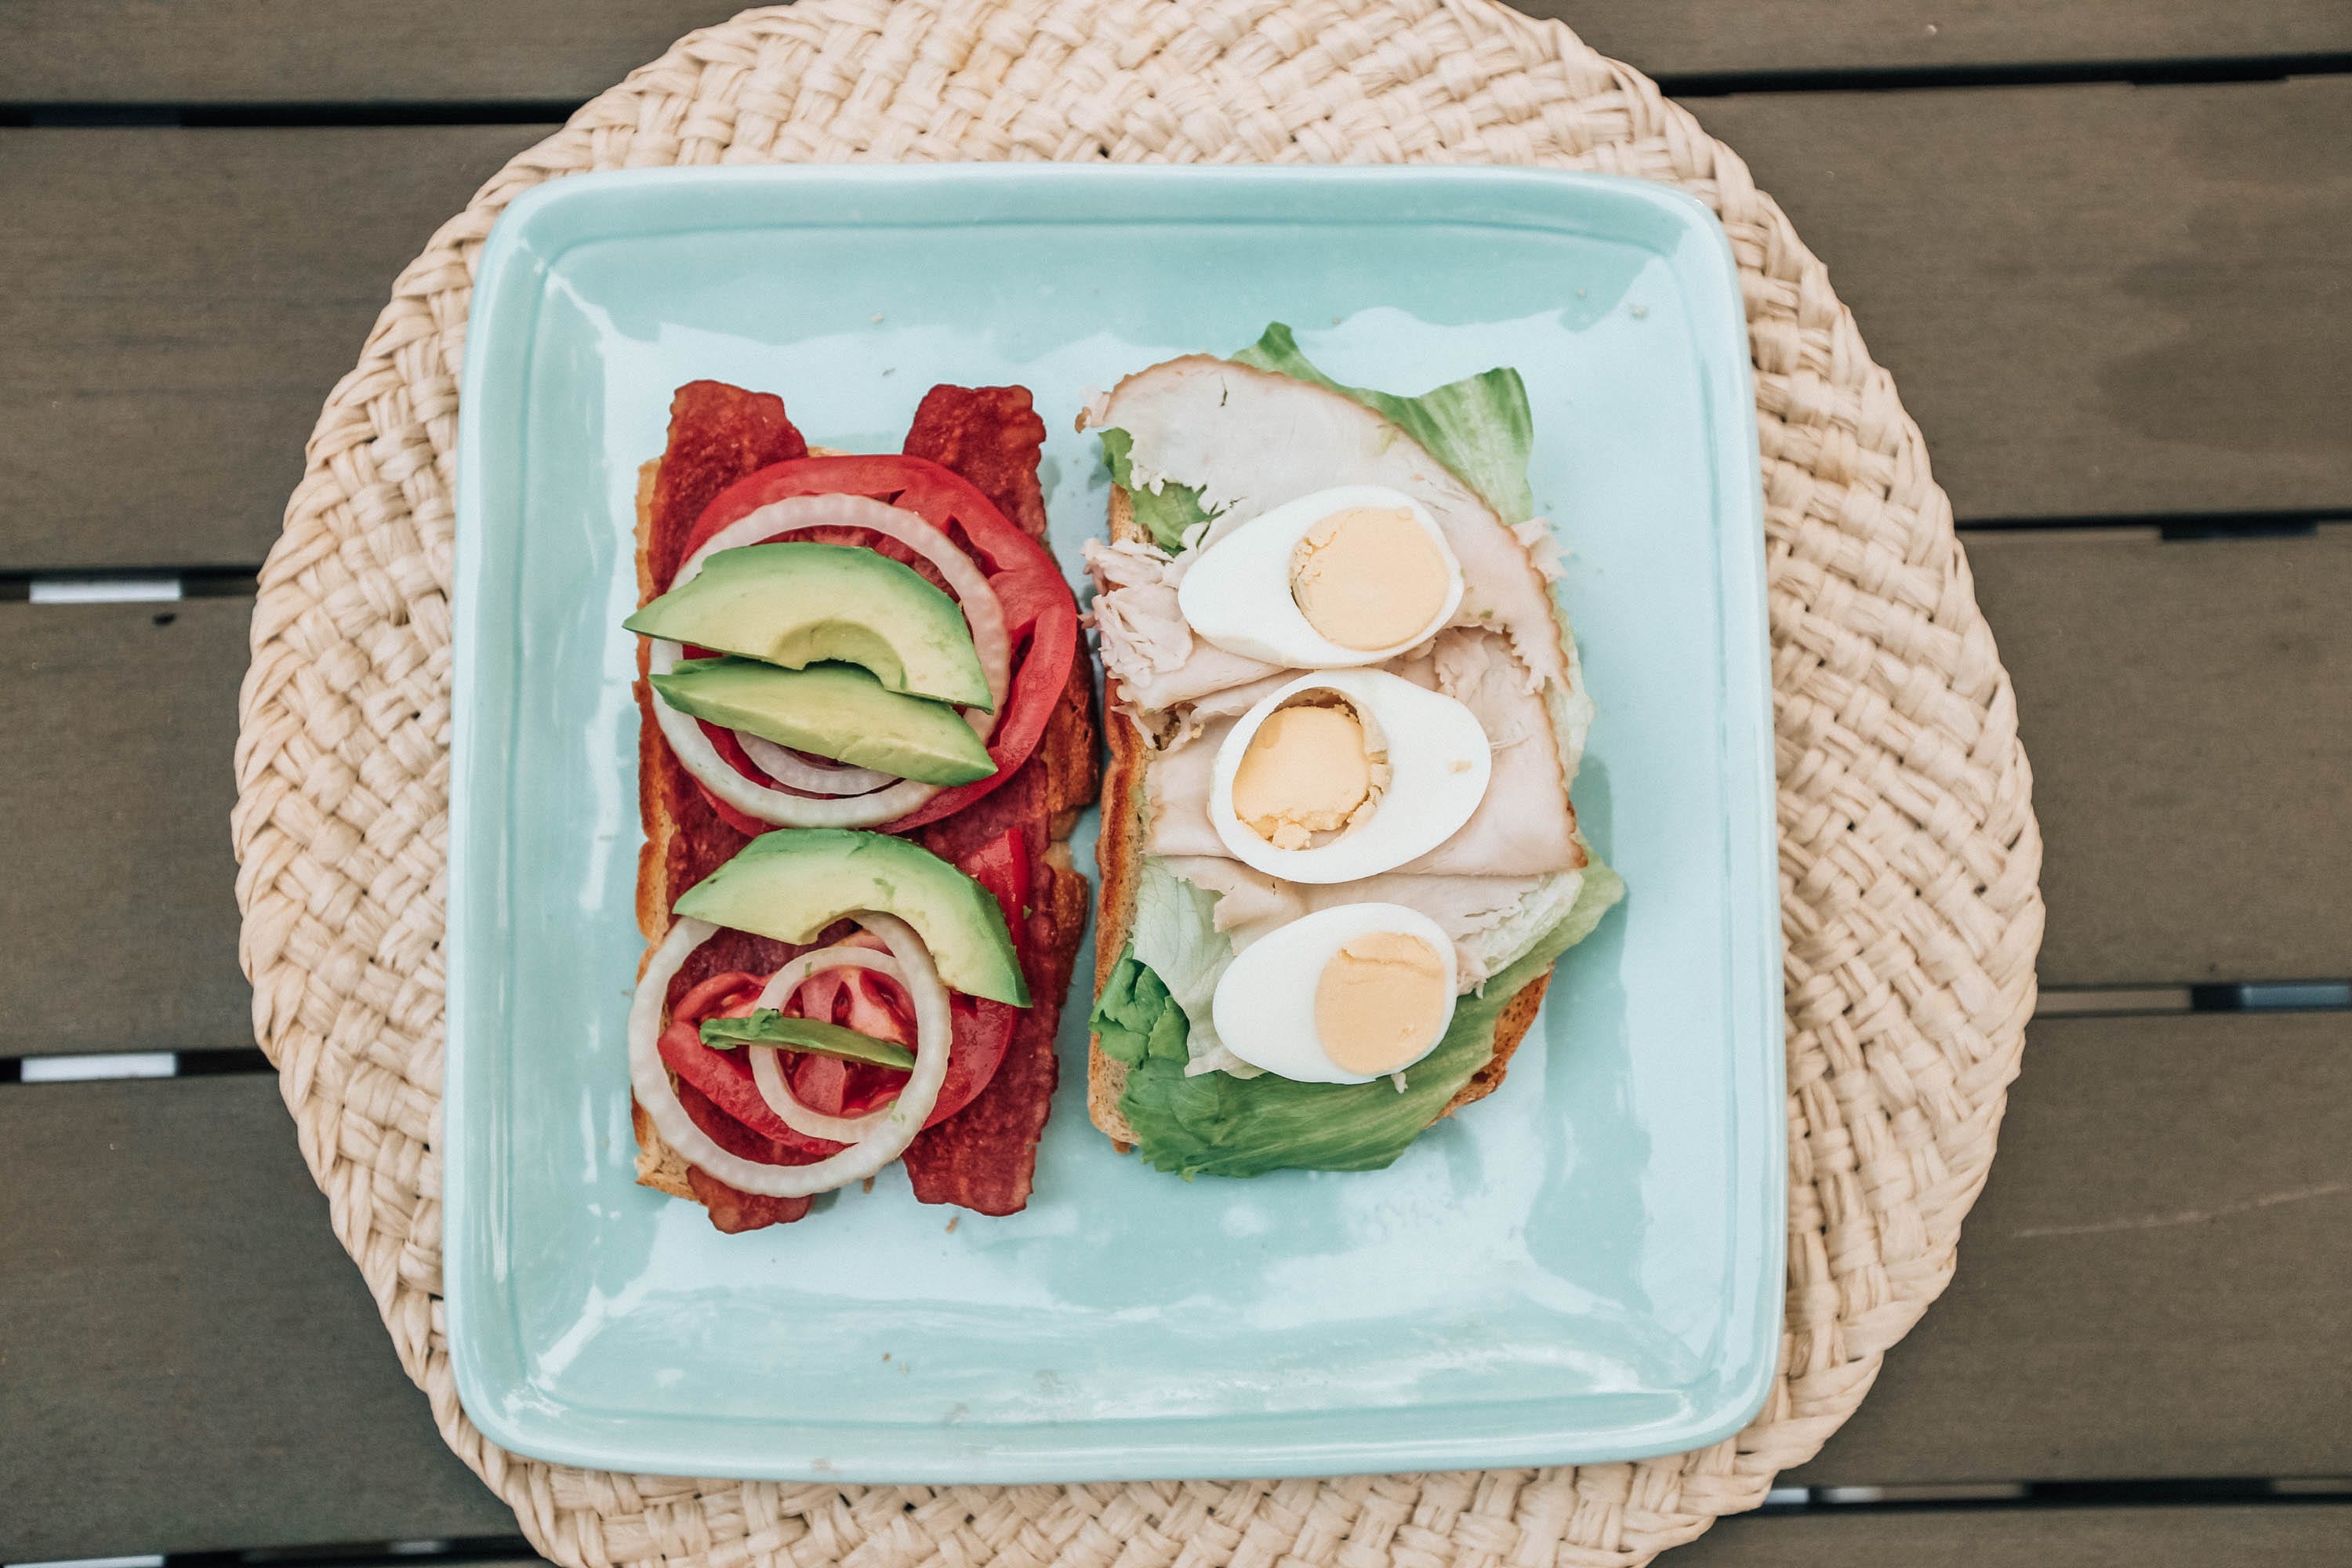
The Cobb Salad One
Suggested Ingredients: Sliced Turkey, Lettuce, Tomato, Onions, Hard-boiled Egg Slices, Avocado, Turkey Bacon, Cheese (I personally don’t like blue cheese although it is typical for cobb salads).
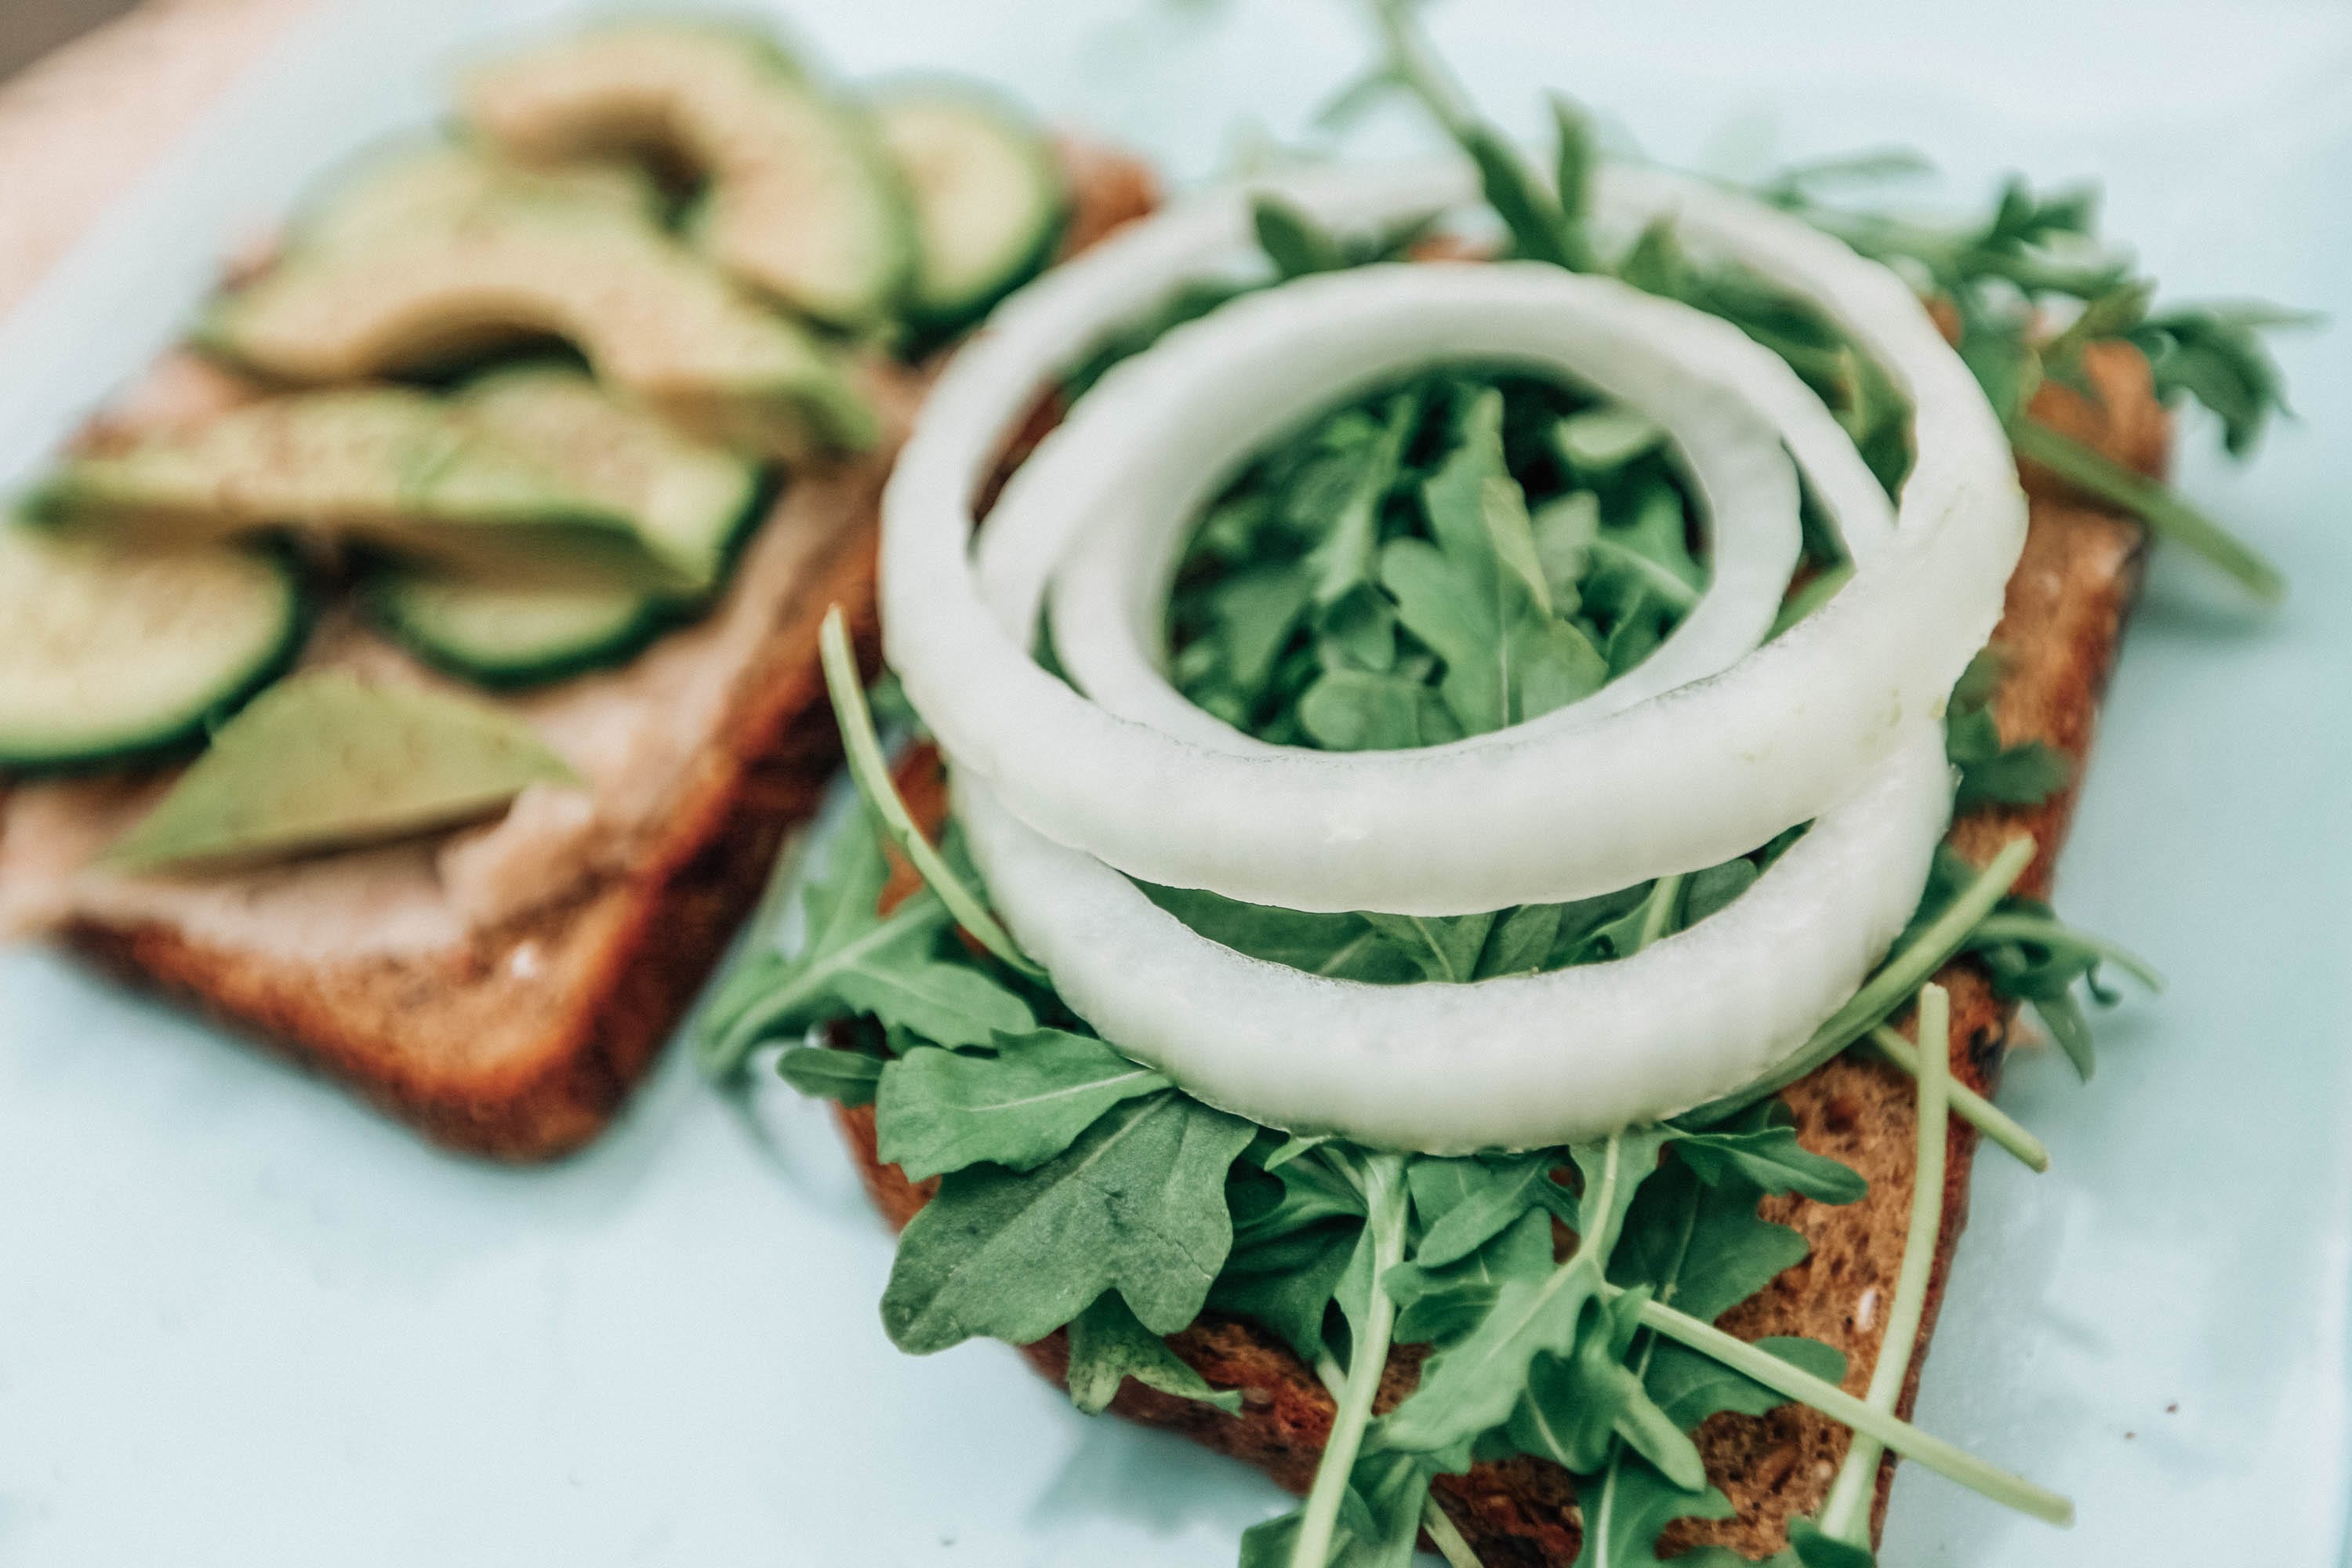
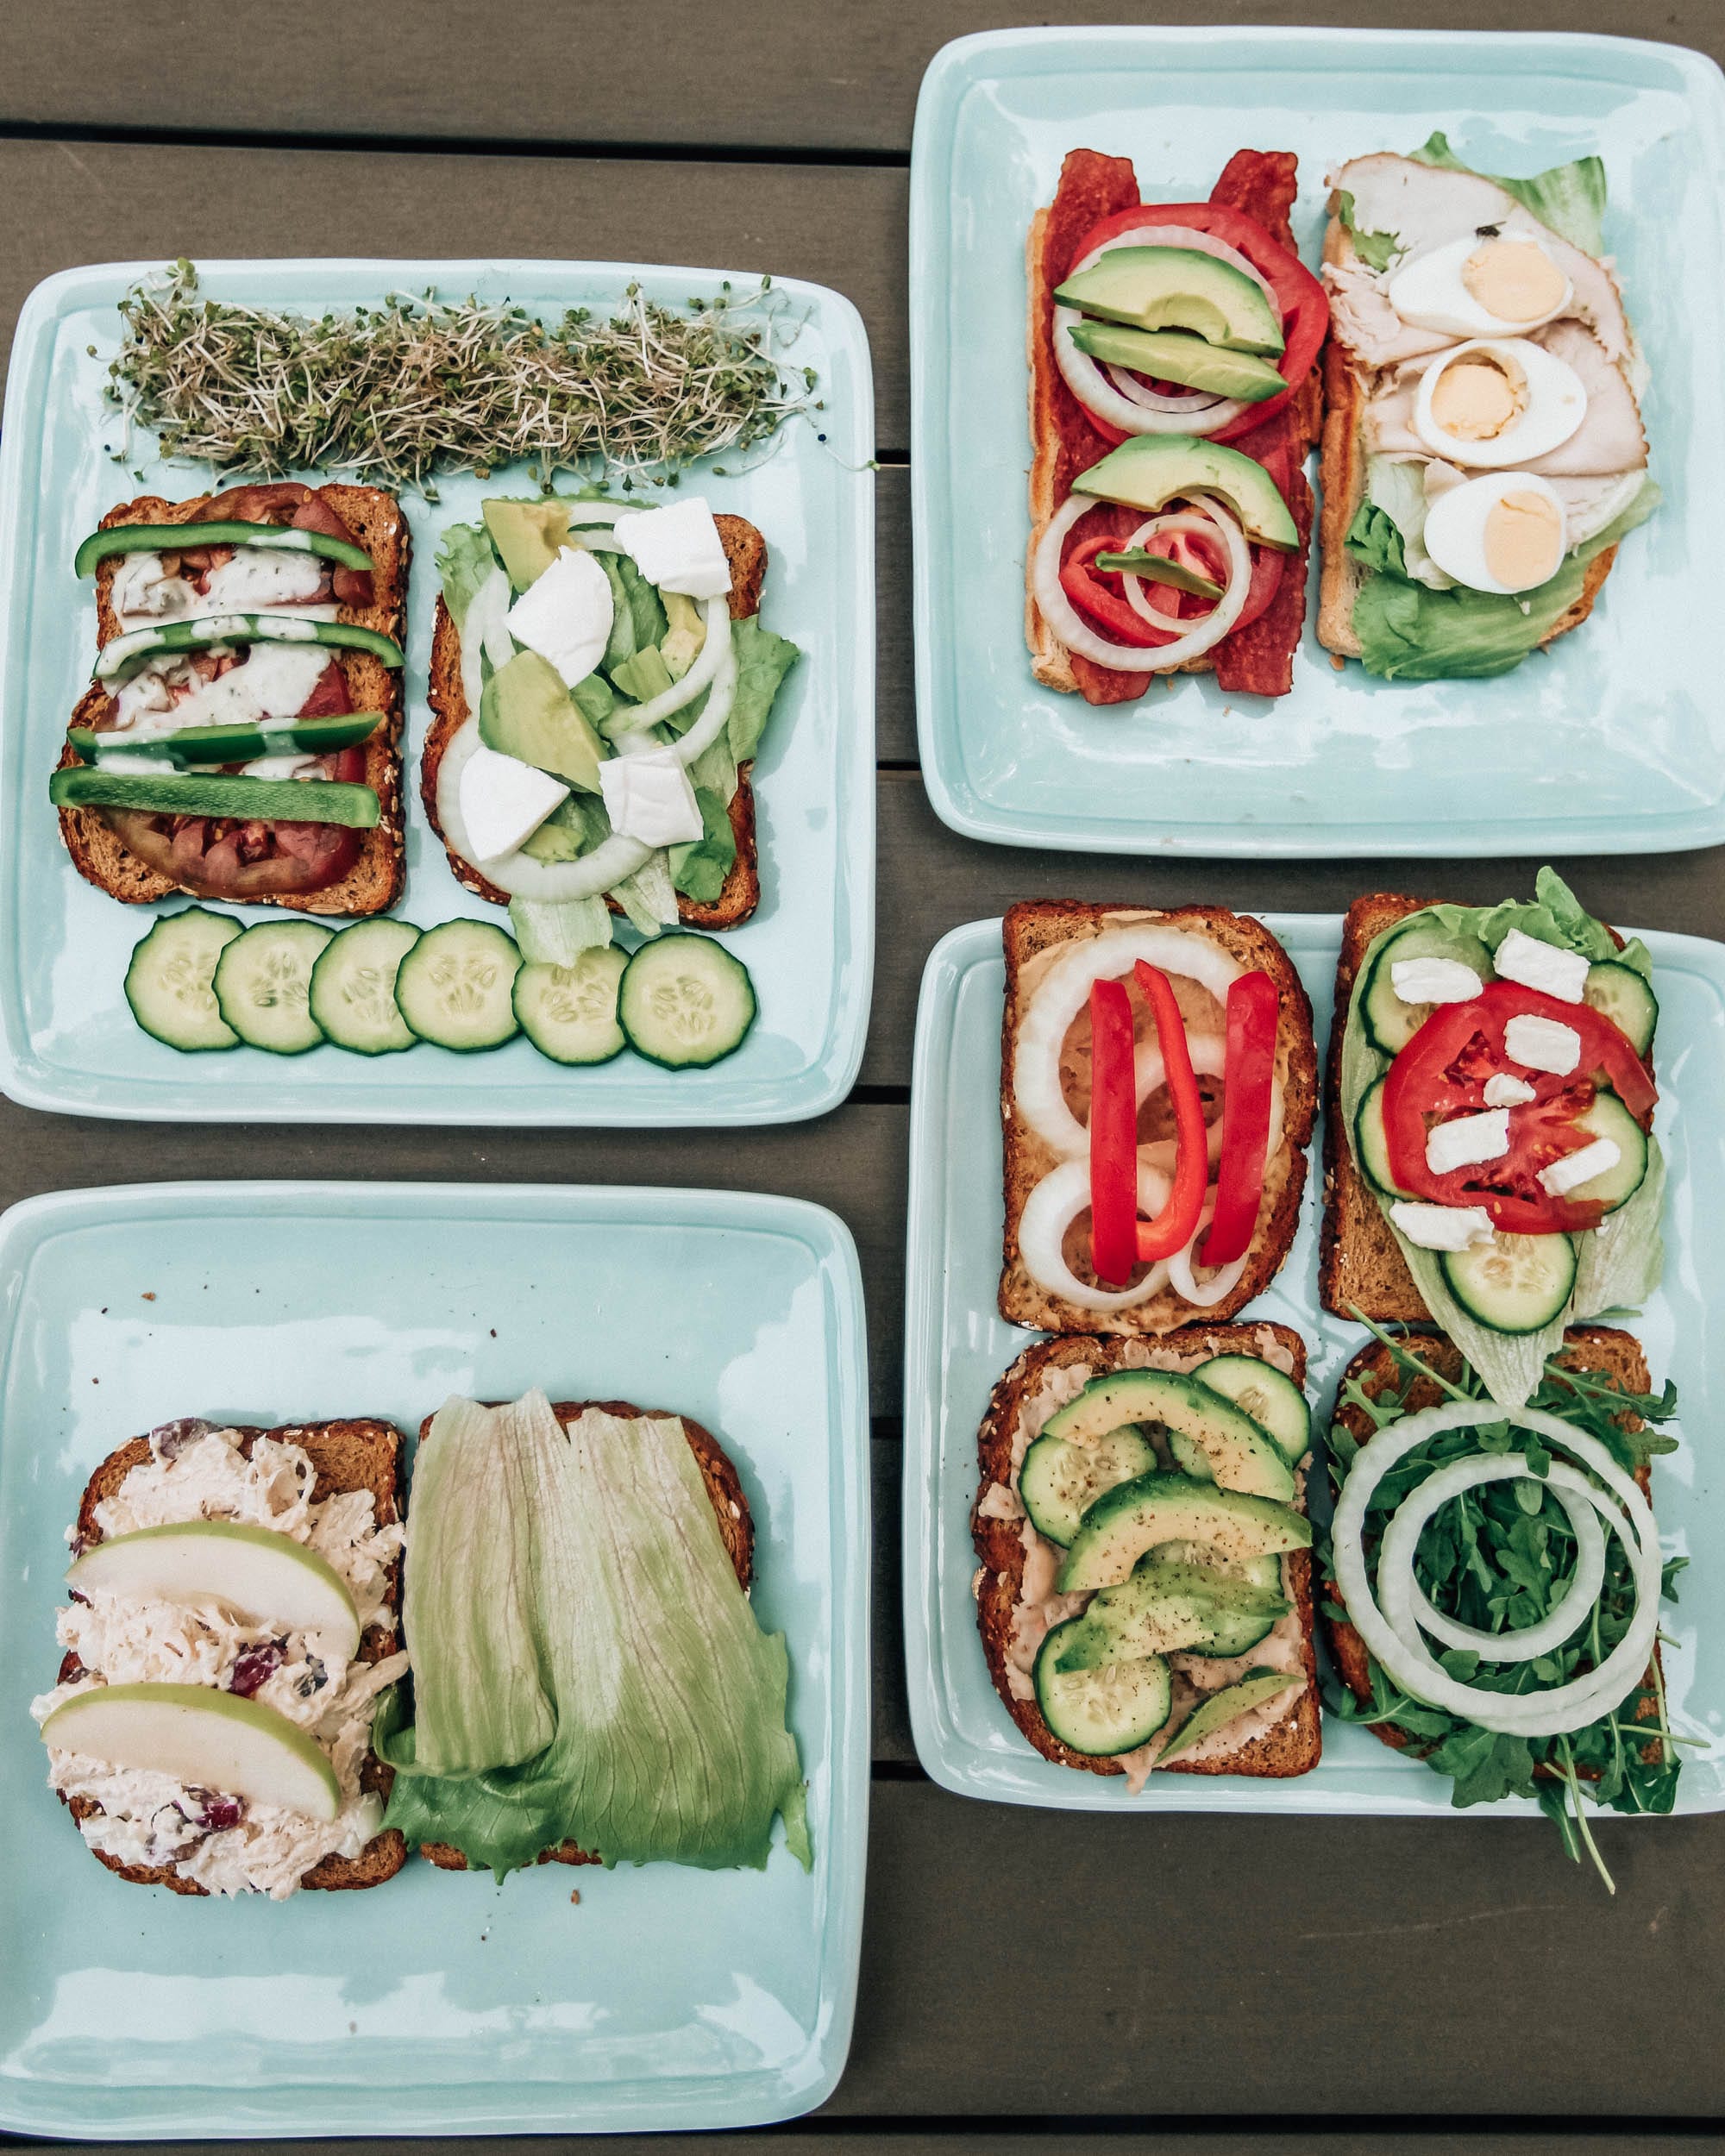
There are only a few weeks left to find Vidalia onions in grocery stores and then the season is over until next April so, if you’re like me, you’ll be stocking up for all your pasta salads and sandwiches before it’s too late! They’re my favorite thing to pick up for sandwiches, pasta salads, anything really. Plus, they’re inexpensive and have the perfect amount of sweetness! I would love to know your personal favorite sandwich to make at home! I love trying new recipes you recommend!
Thank you to the Vidalia Onion Committee for collaborating on this post!
July’s Amazon Order History
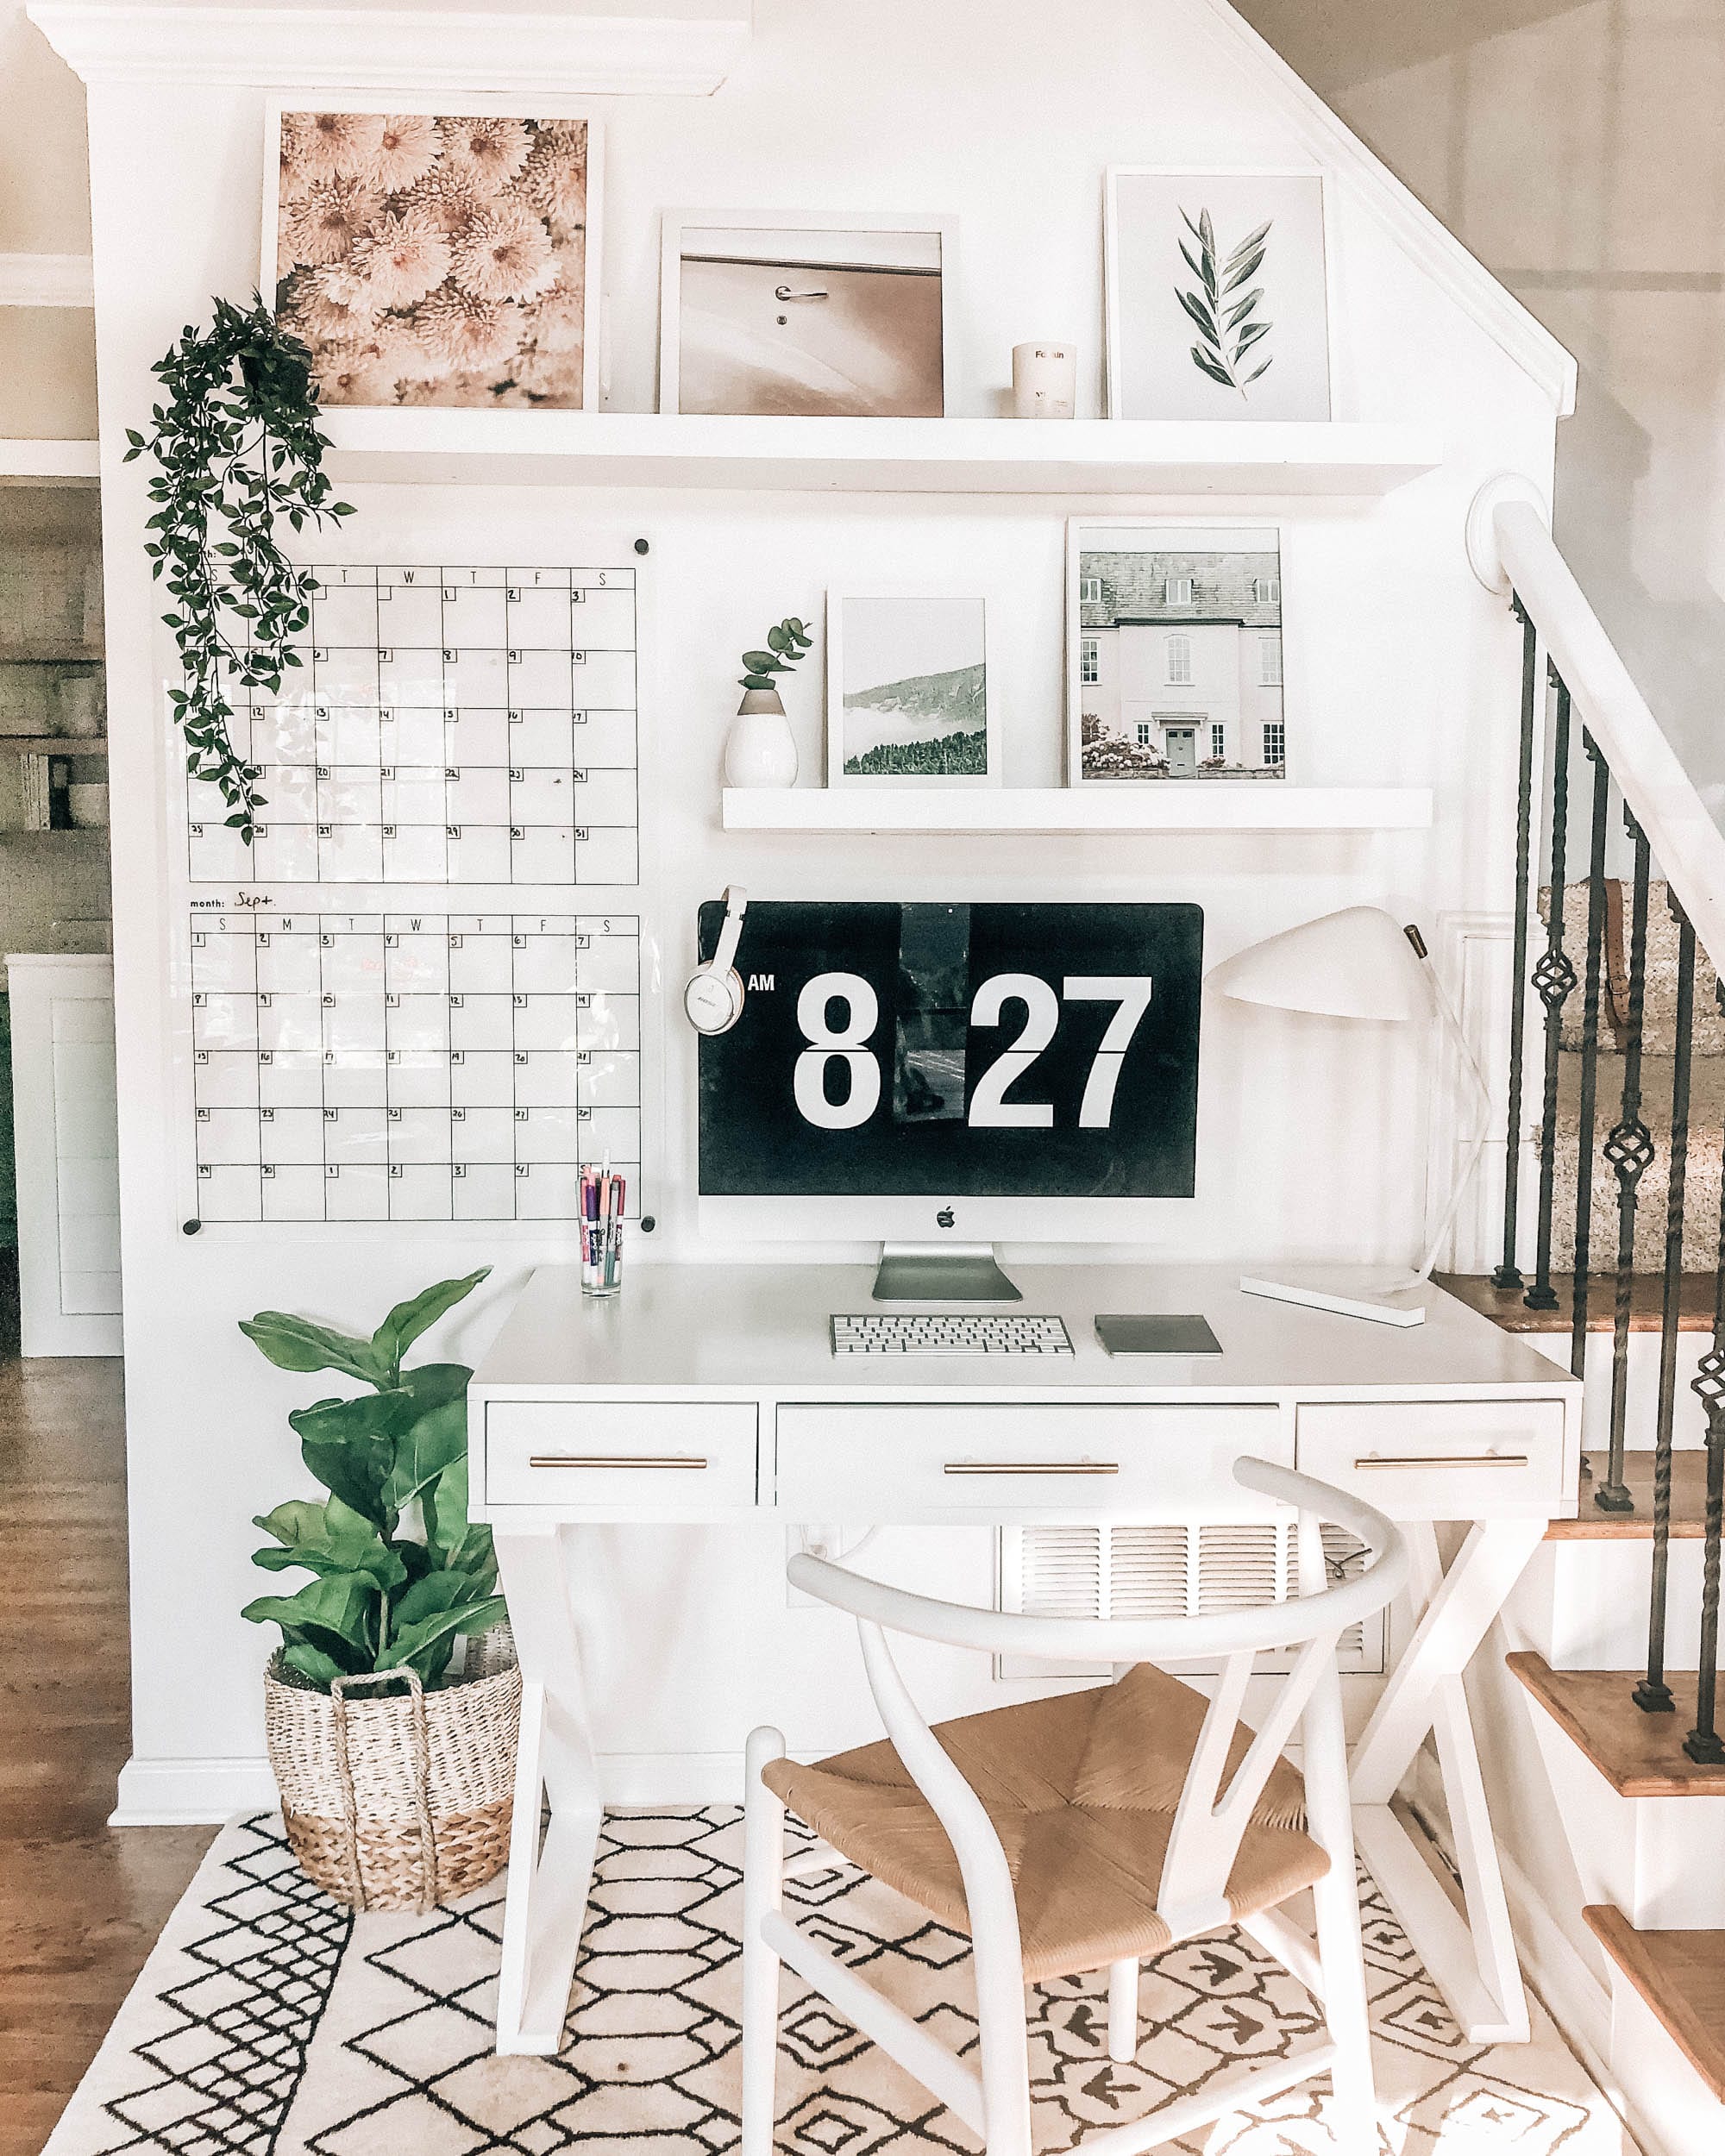
I was looking back through my Amazon order history of July and thought I’d share what finds were delivered last month. These lists are usually very, very random and this last month is no different but I did find some good stuff! If you’re interested in seeing June’s list, you can read that here.
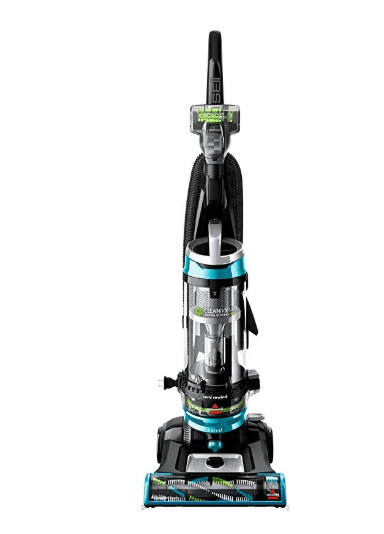
July included Amazon Prime Day so this list will be a tad bit different because of that. For example, we ordered a couple of pricier items due to them being majorly discounted at the time, including this vacuum cleaner. A few days after this arrived, we actually won a whole set of different sized cordless vacuum cleaners at a conference we attended but we still LOVE this for our everyday vacuum cleaner. It’s the Bissell Cleanview Swivel Rewind Pet Vacuum Cleaner and it’s a major upgrade from what we were using. The 27 foot power cord rewinds and makes it SO easy for storage and the way the vacuum swivels makes it easy to clean up anywhere. If you’re in the market for a new vacuum for carpets and pet hair, this one is a great option.

Another Prime Day purchase… a new pair of Bose headphones! My previous headphones were also Bose but they were 7-8-ish years old and not Bluetooth-enabled so it was time for an upgrade and the deal was too good to pass up. These headphones are perfect for travel and I love just wearing them everyday when I’m trying to get work done and really want to focus without any distractions. These would also make a great gift!
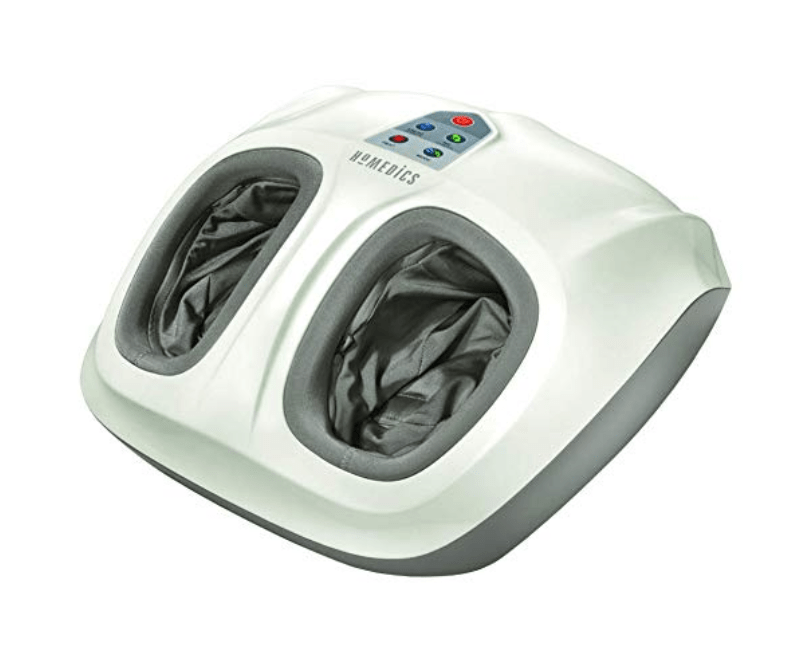
My final Amazon Prime Day purchase… during one of our stays in France, our Airbnb had this exact foot massager in our bedroom and it was so nice to use right before bed so I knew I needed one for back home. I’ve used it more than I thought I would and think it’s a great way to rewind at the end of the day!
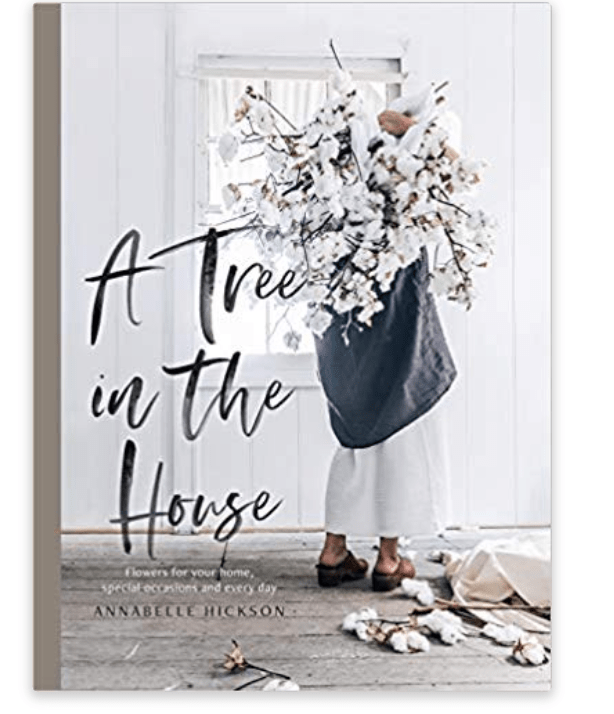
I don’t think a month goes by where I don’t have some sort of book in my Amazon order history. I’ve been thinking of how to style our future breakfast nook shelves and this book just jumped out at me for some reason. It’s filled with pages of inspiration of ways to celebrate special occasions with flowers and also looks beautiful styled on a shelf. I’m sure next month I’ll have a few more books to share!
That’s all for July! I feel like August is about to fly. We’re finishing up our breakfast nook this week/weekend (SO excited) and our kitchen ceilings will be painted on Friday so I’m looking forward to all of that and starting some new projects later this month.
Landscaping Projects and Garden Decor
This post is in collaboration with Chase Freedom Unlimited.
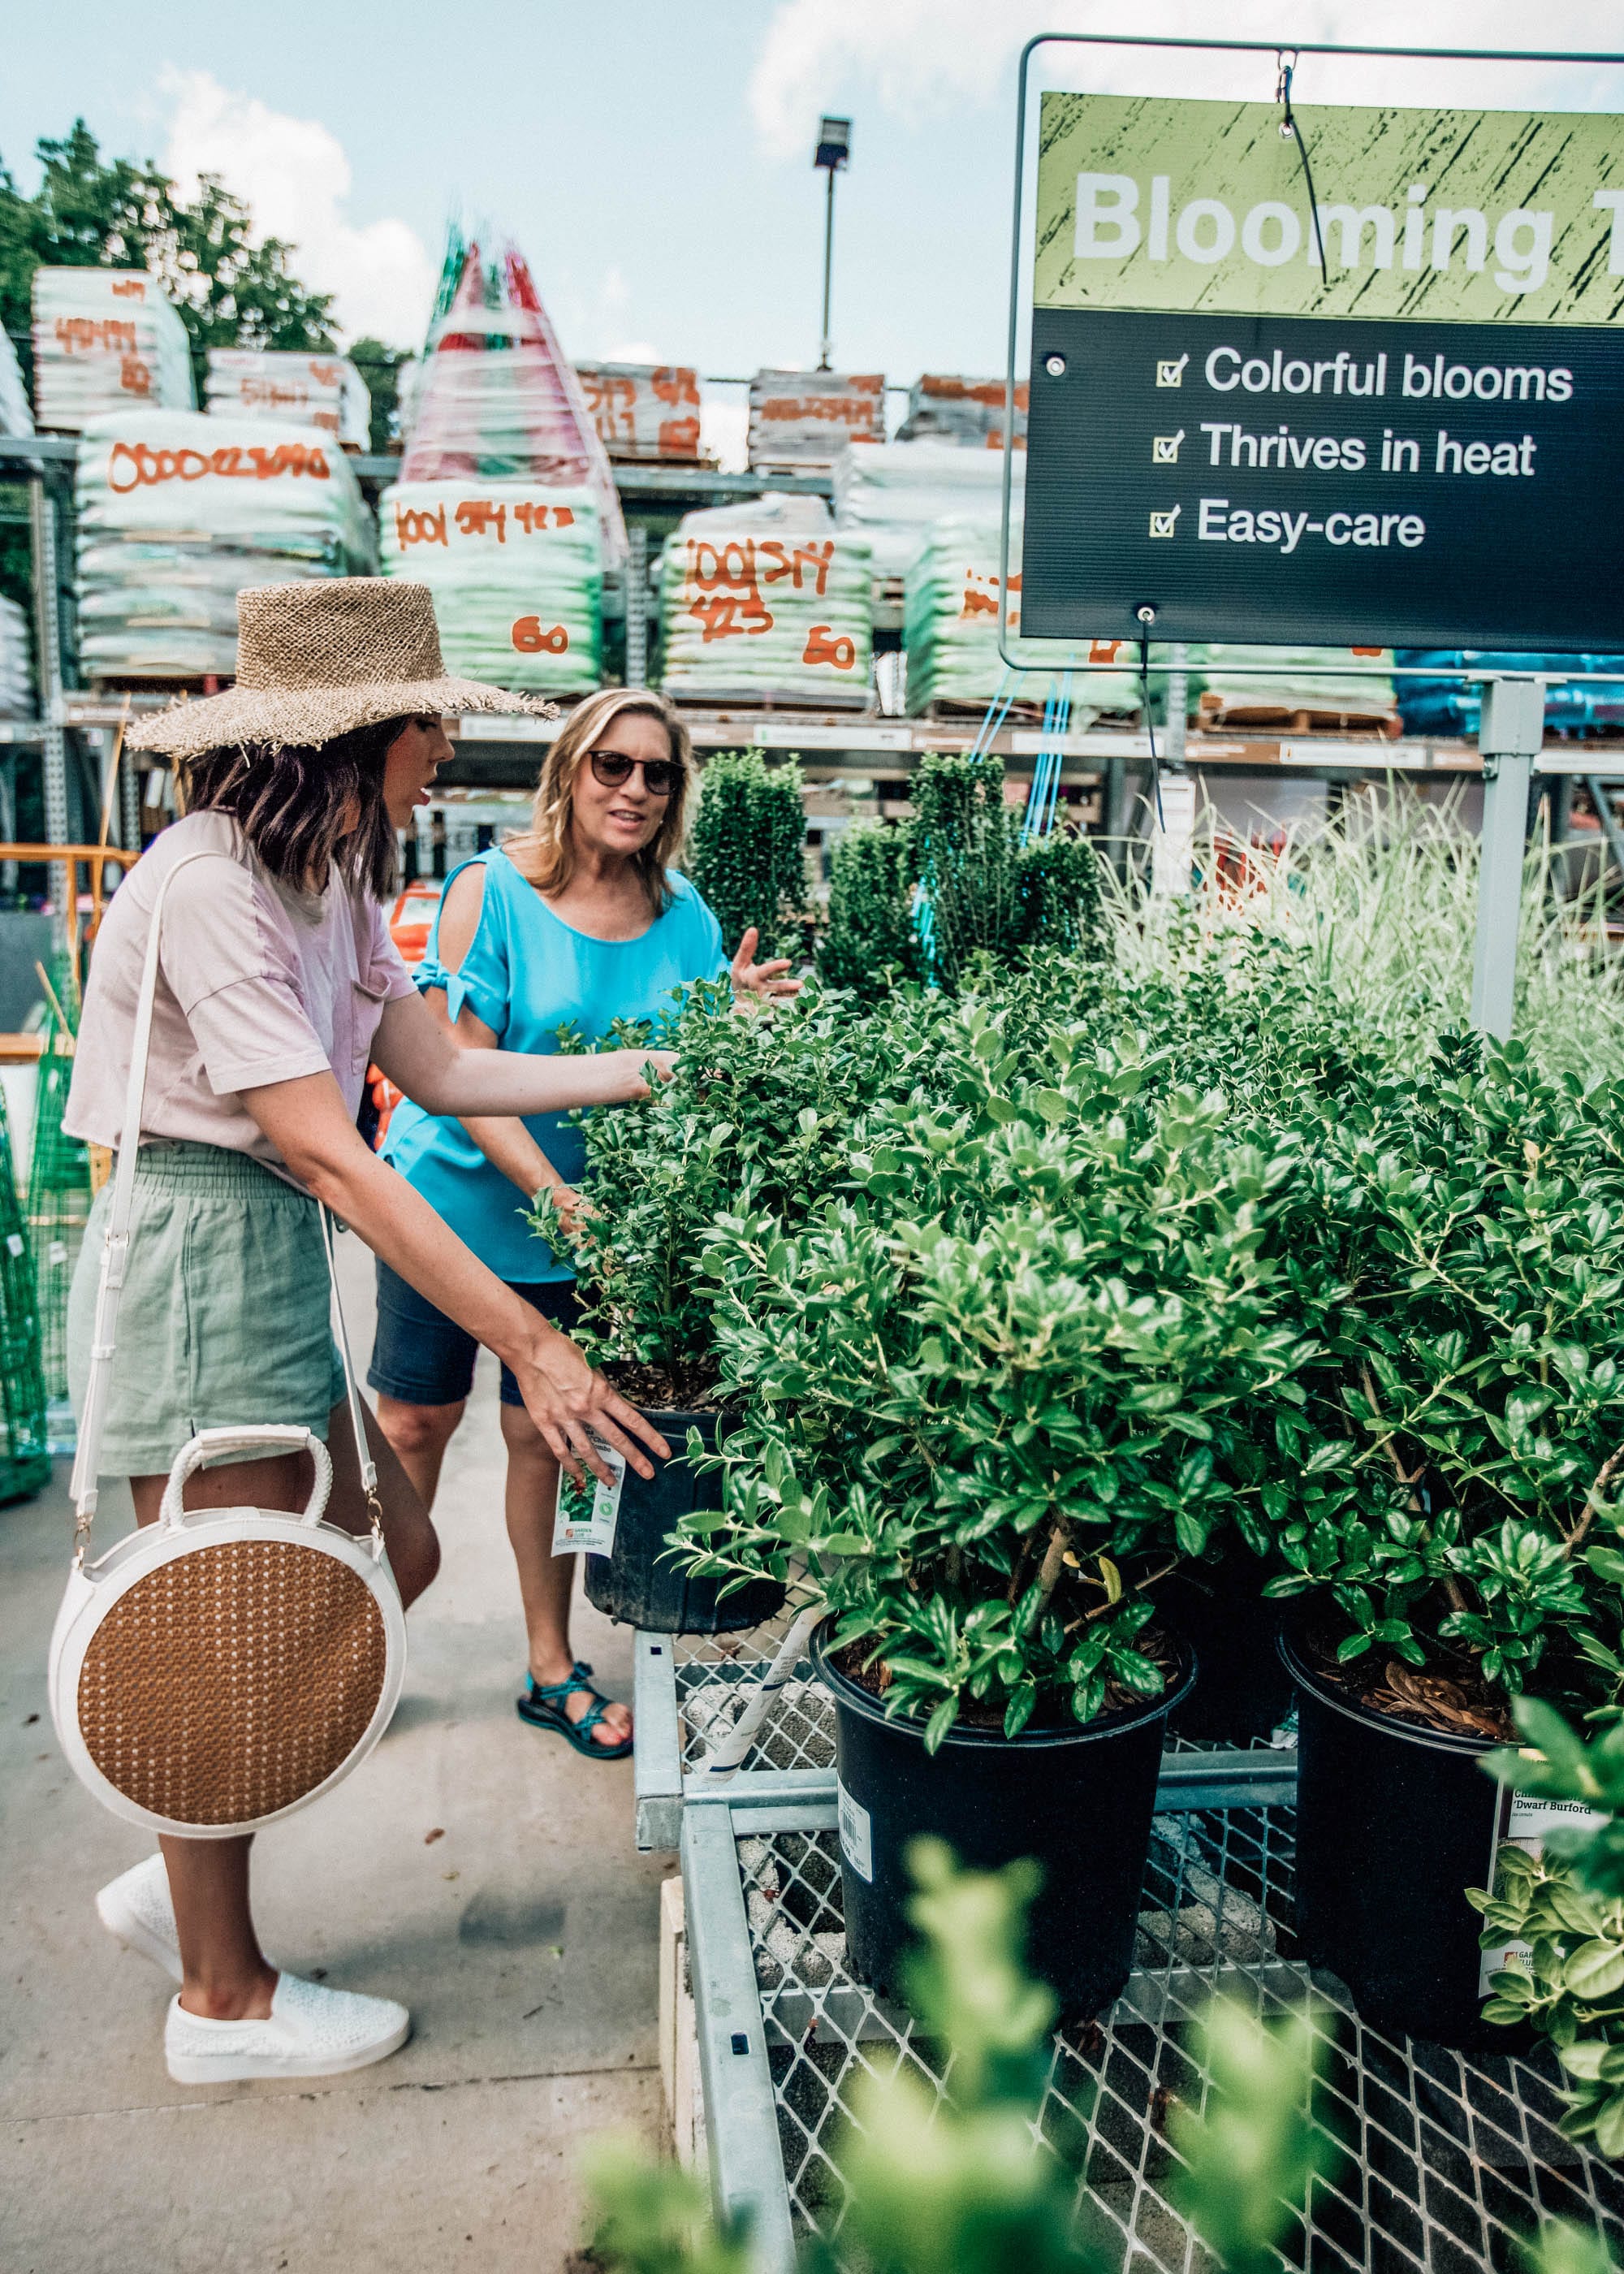
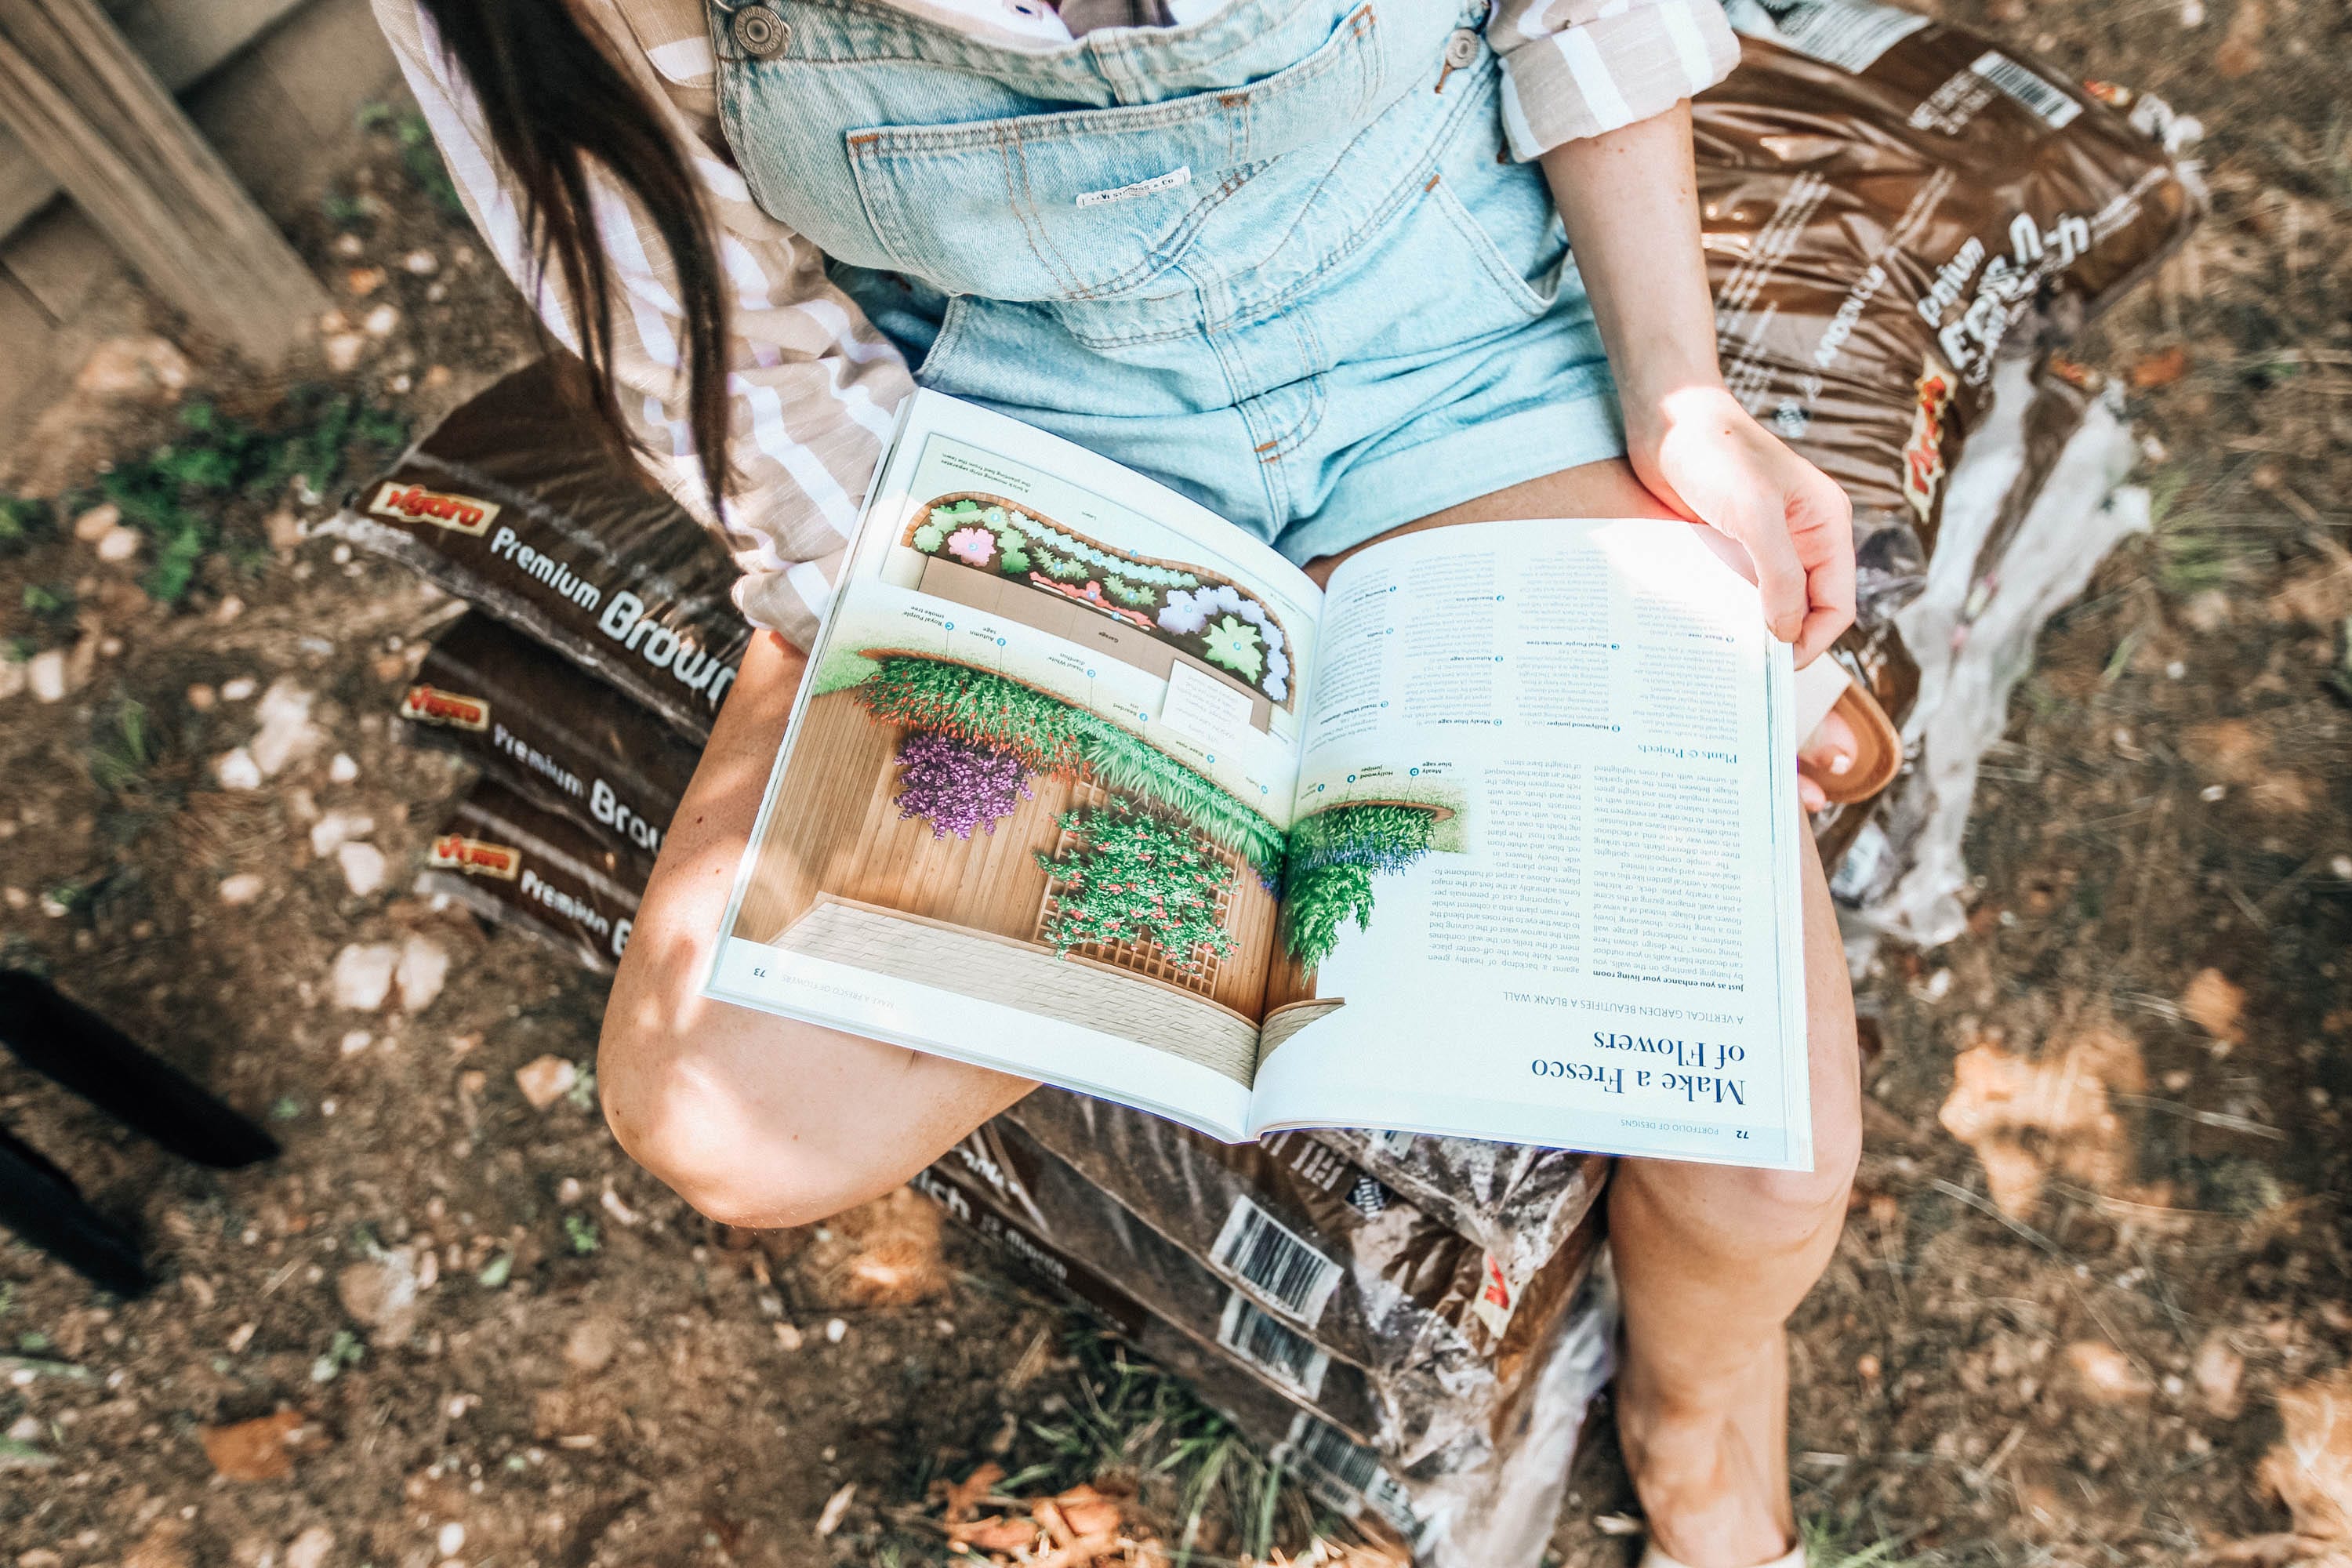
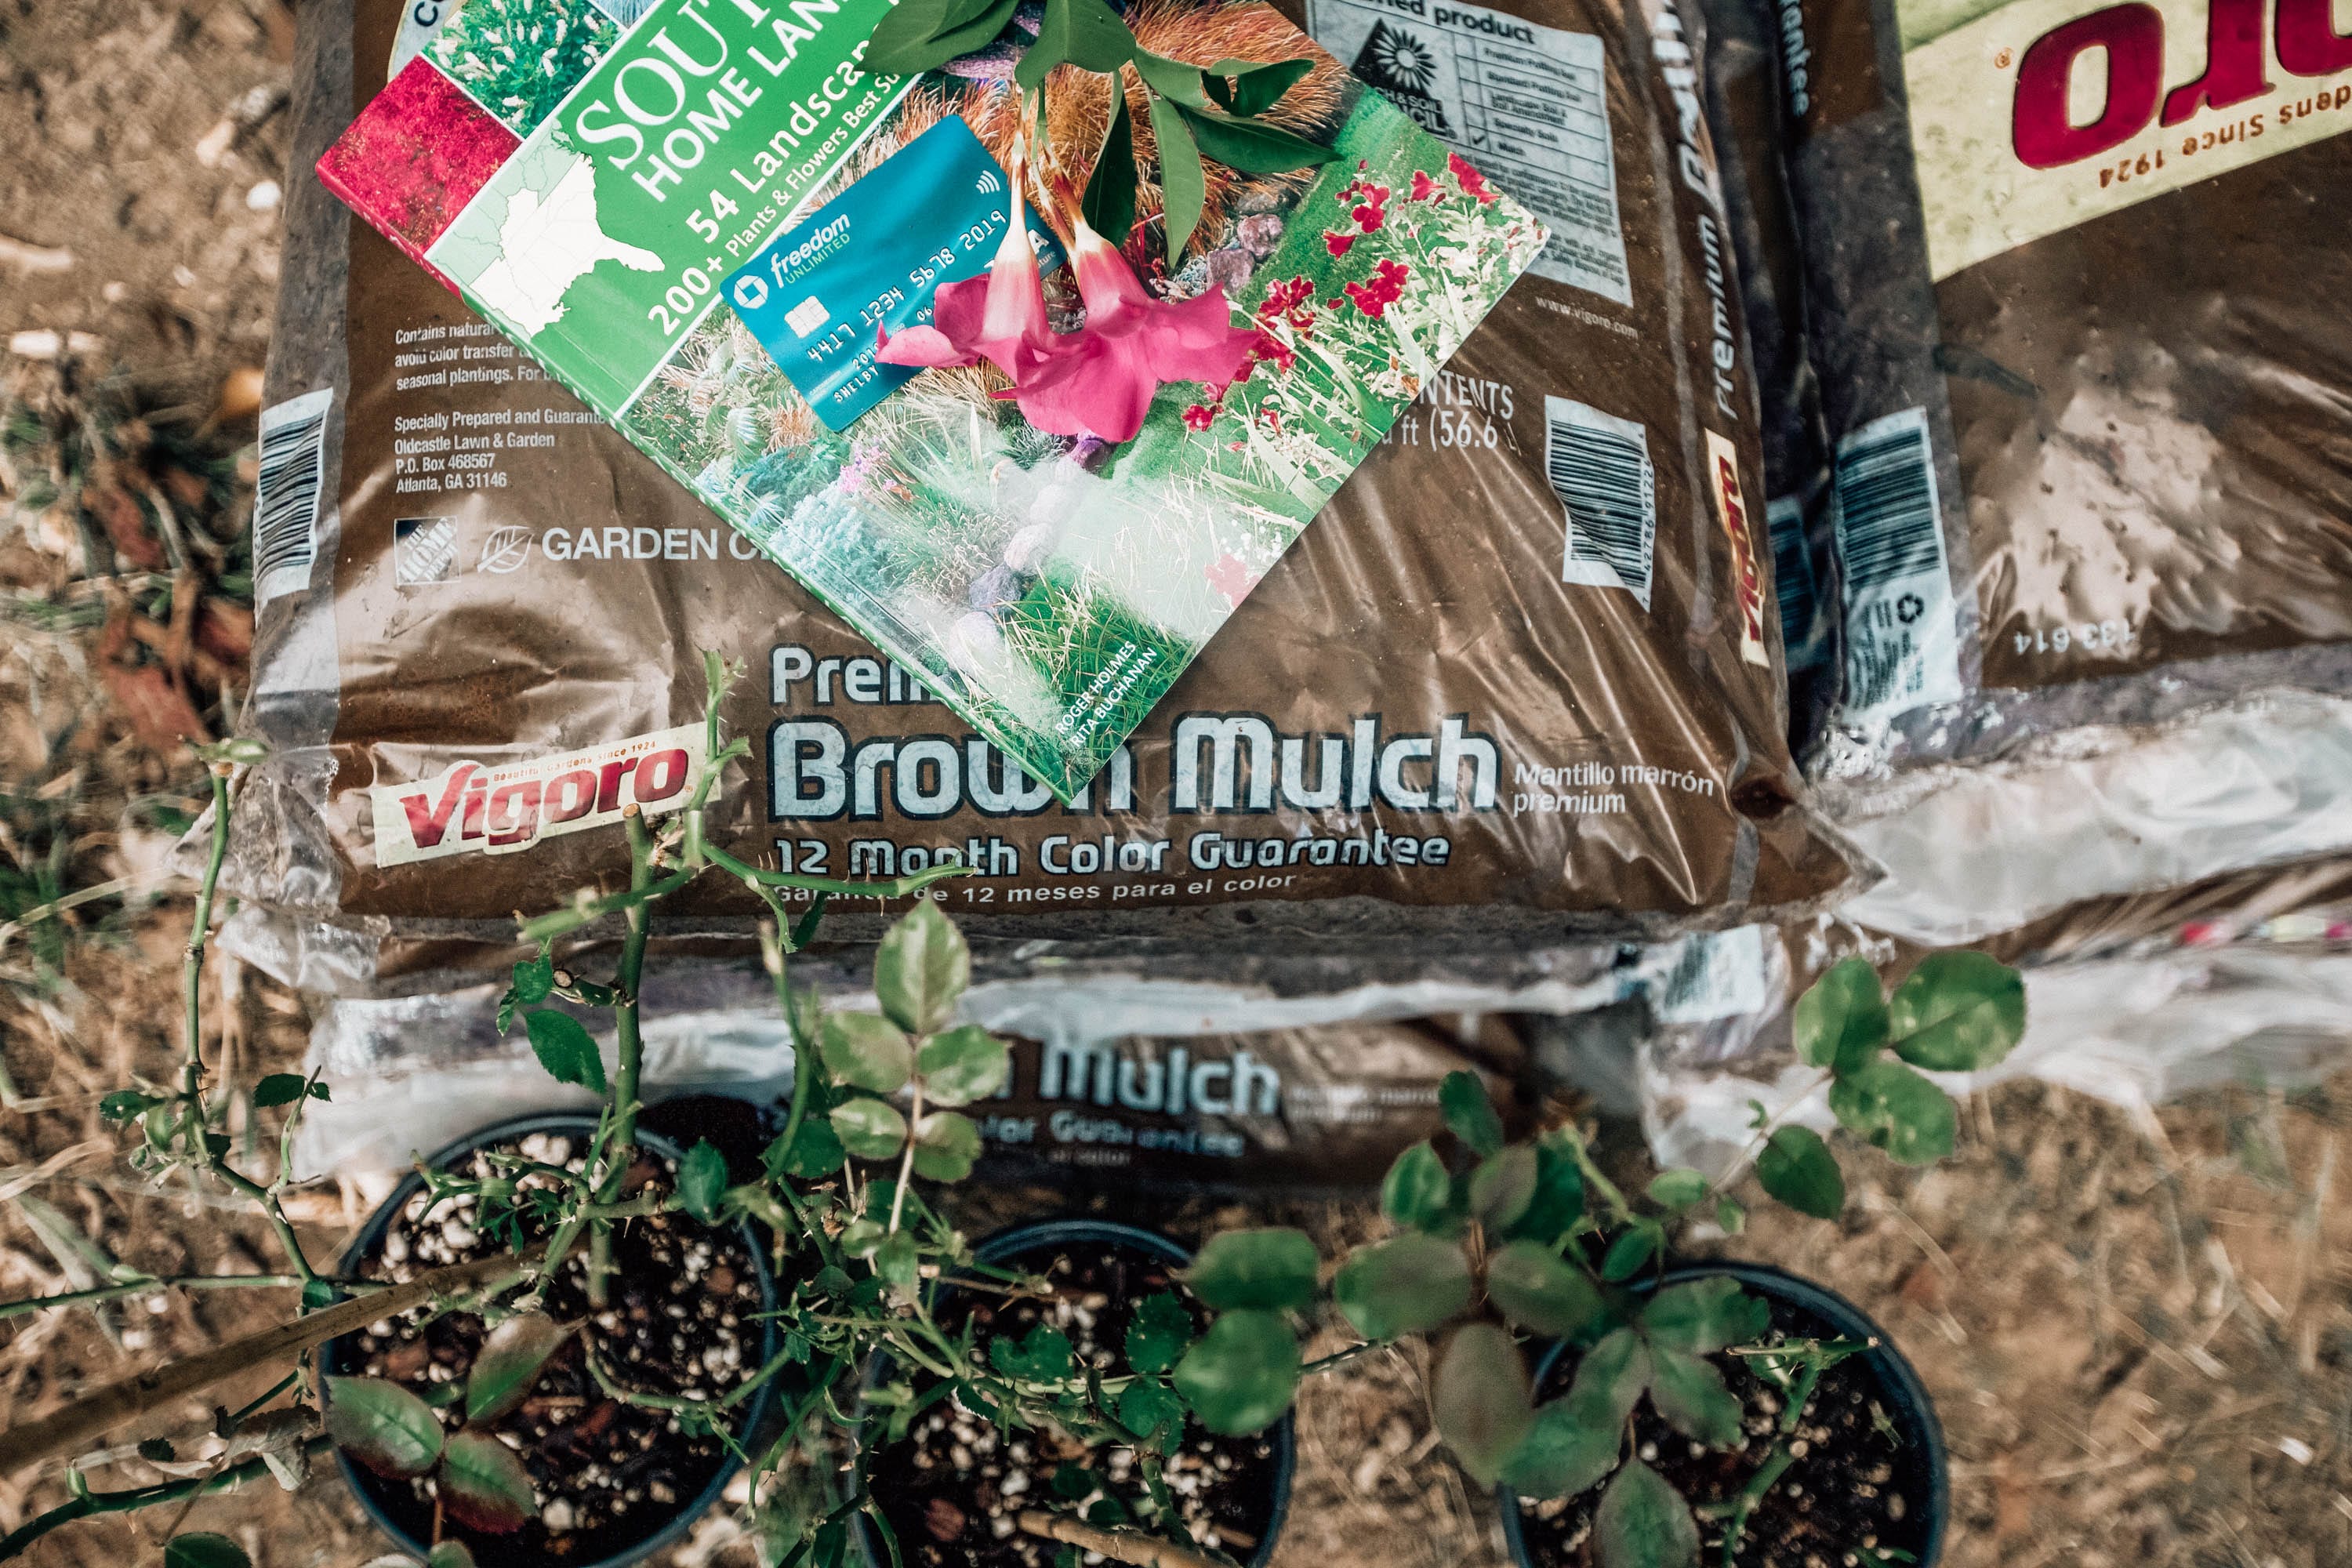
I can’t believe we’re already so far into summer! Fall is already on my mind these days but I’m trying to soak in the last couple of months of summer and get as much done to our yard as possible. If you’ve been following along on Instagram or on the blog, I set a goal for myself a couple of months ago to learn more about landscaping, gardening, and turn our backyard into an oasis one plant project at a time. I will be documenting the entire journey on here and what resources I use to help us reach that goal. So far, I’ve completed the book Southeast Home Landscaping which has taught me SO much, mapped out what we would like for our backyard to look like, selected some plants and where they will go, and booked a visit to my all-time favorite botanical garden in the next couple of months for more fine gardening and garden decor inspiration. I’m collaborating with Chase Freedom Unlimited, so that I’m always earning while getting closer to my goal. My cash back credit card allows me to earn 1.5% cash back on every single purchase.
The first step of this goal was education focused. I purchased some landscaping books a while back where I learned about what types of bushes and flowers grow the best in our zone. After learning more about specific plants that would thrive in the Southeast and reviewing a portfolio of landscaping designs, TJ and I mapped out a few different upcoming projects including: planting climbing roses against our back fence, growing climbing jasmine vines along our privacy fence, building stone paths leading from our gate to the patio, and eventually, growing grass back there which will be our biggest challenge. Since we’re earning on every purchase with Chase Freedom Unlimited, we’ve been able to plan a few extra bonus projects as well including an arbor and a class at my favorite botanical garden.
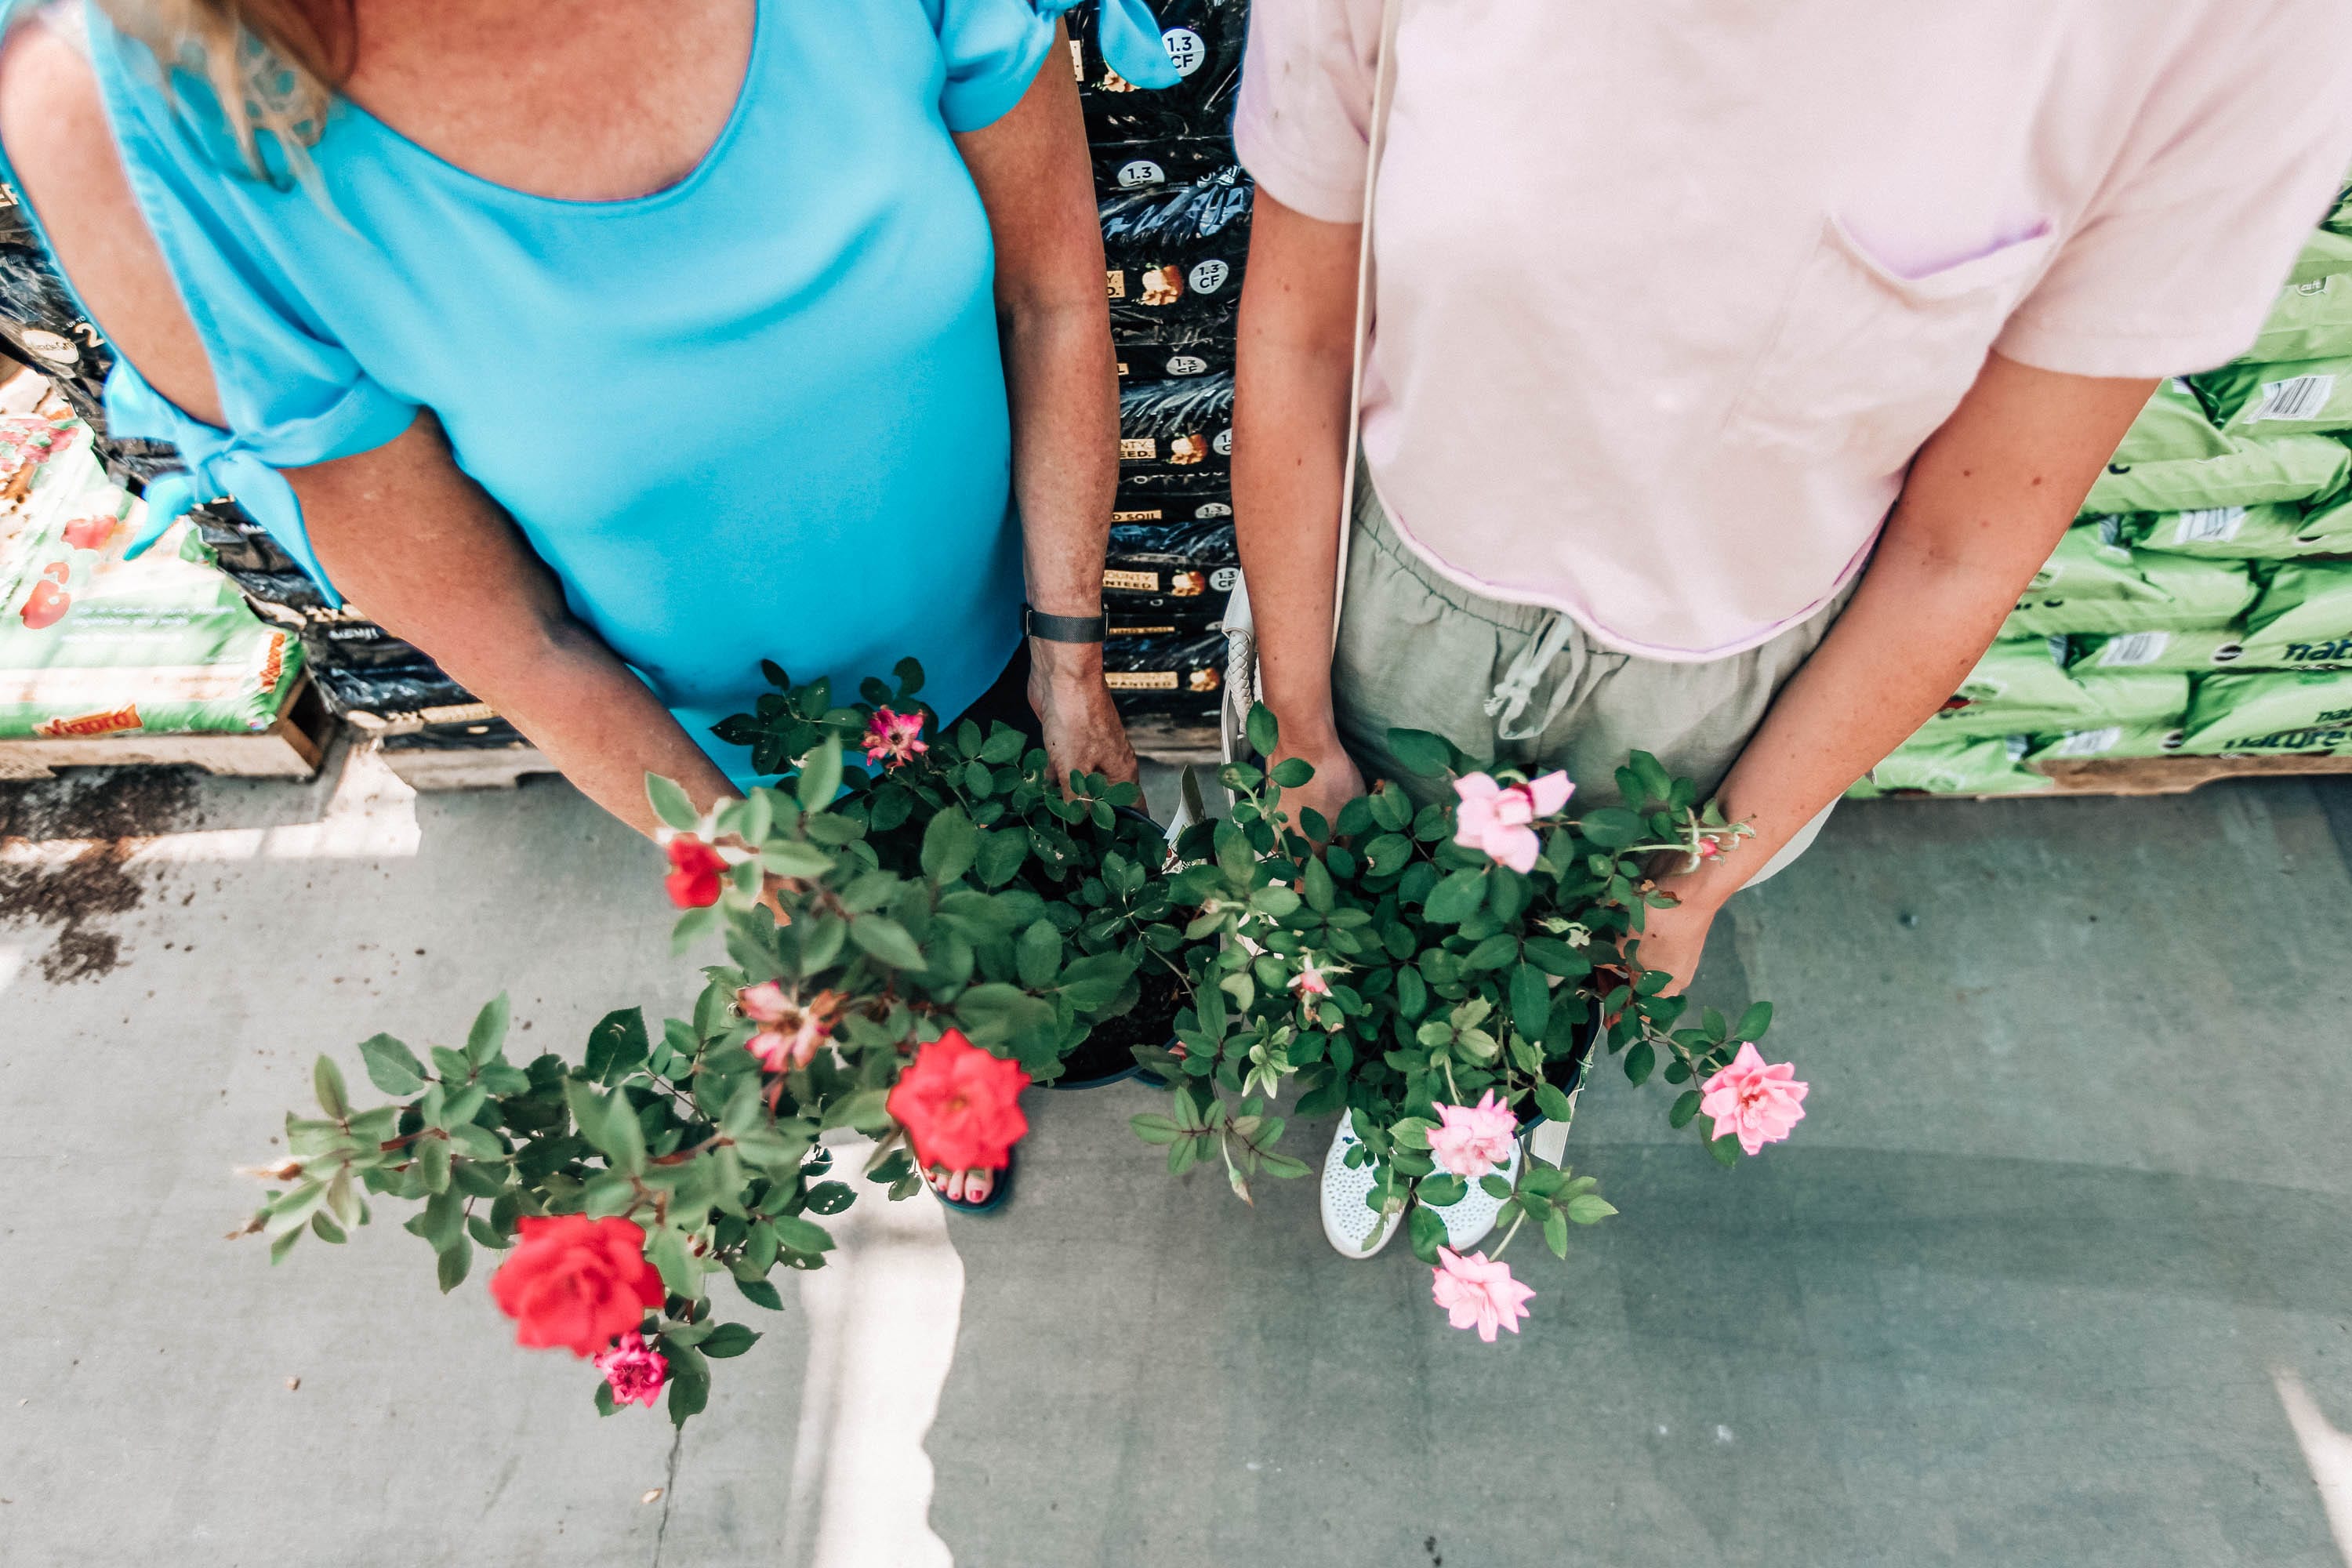
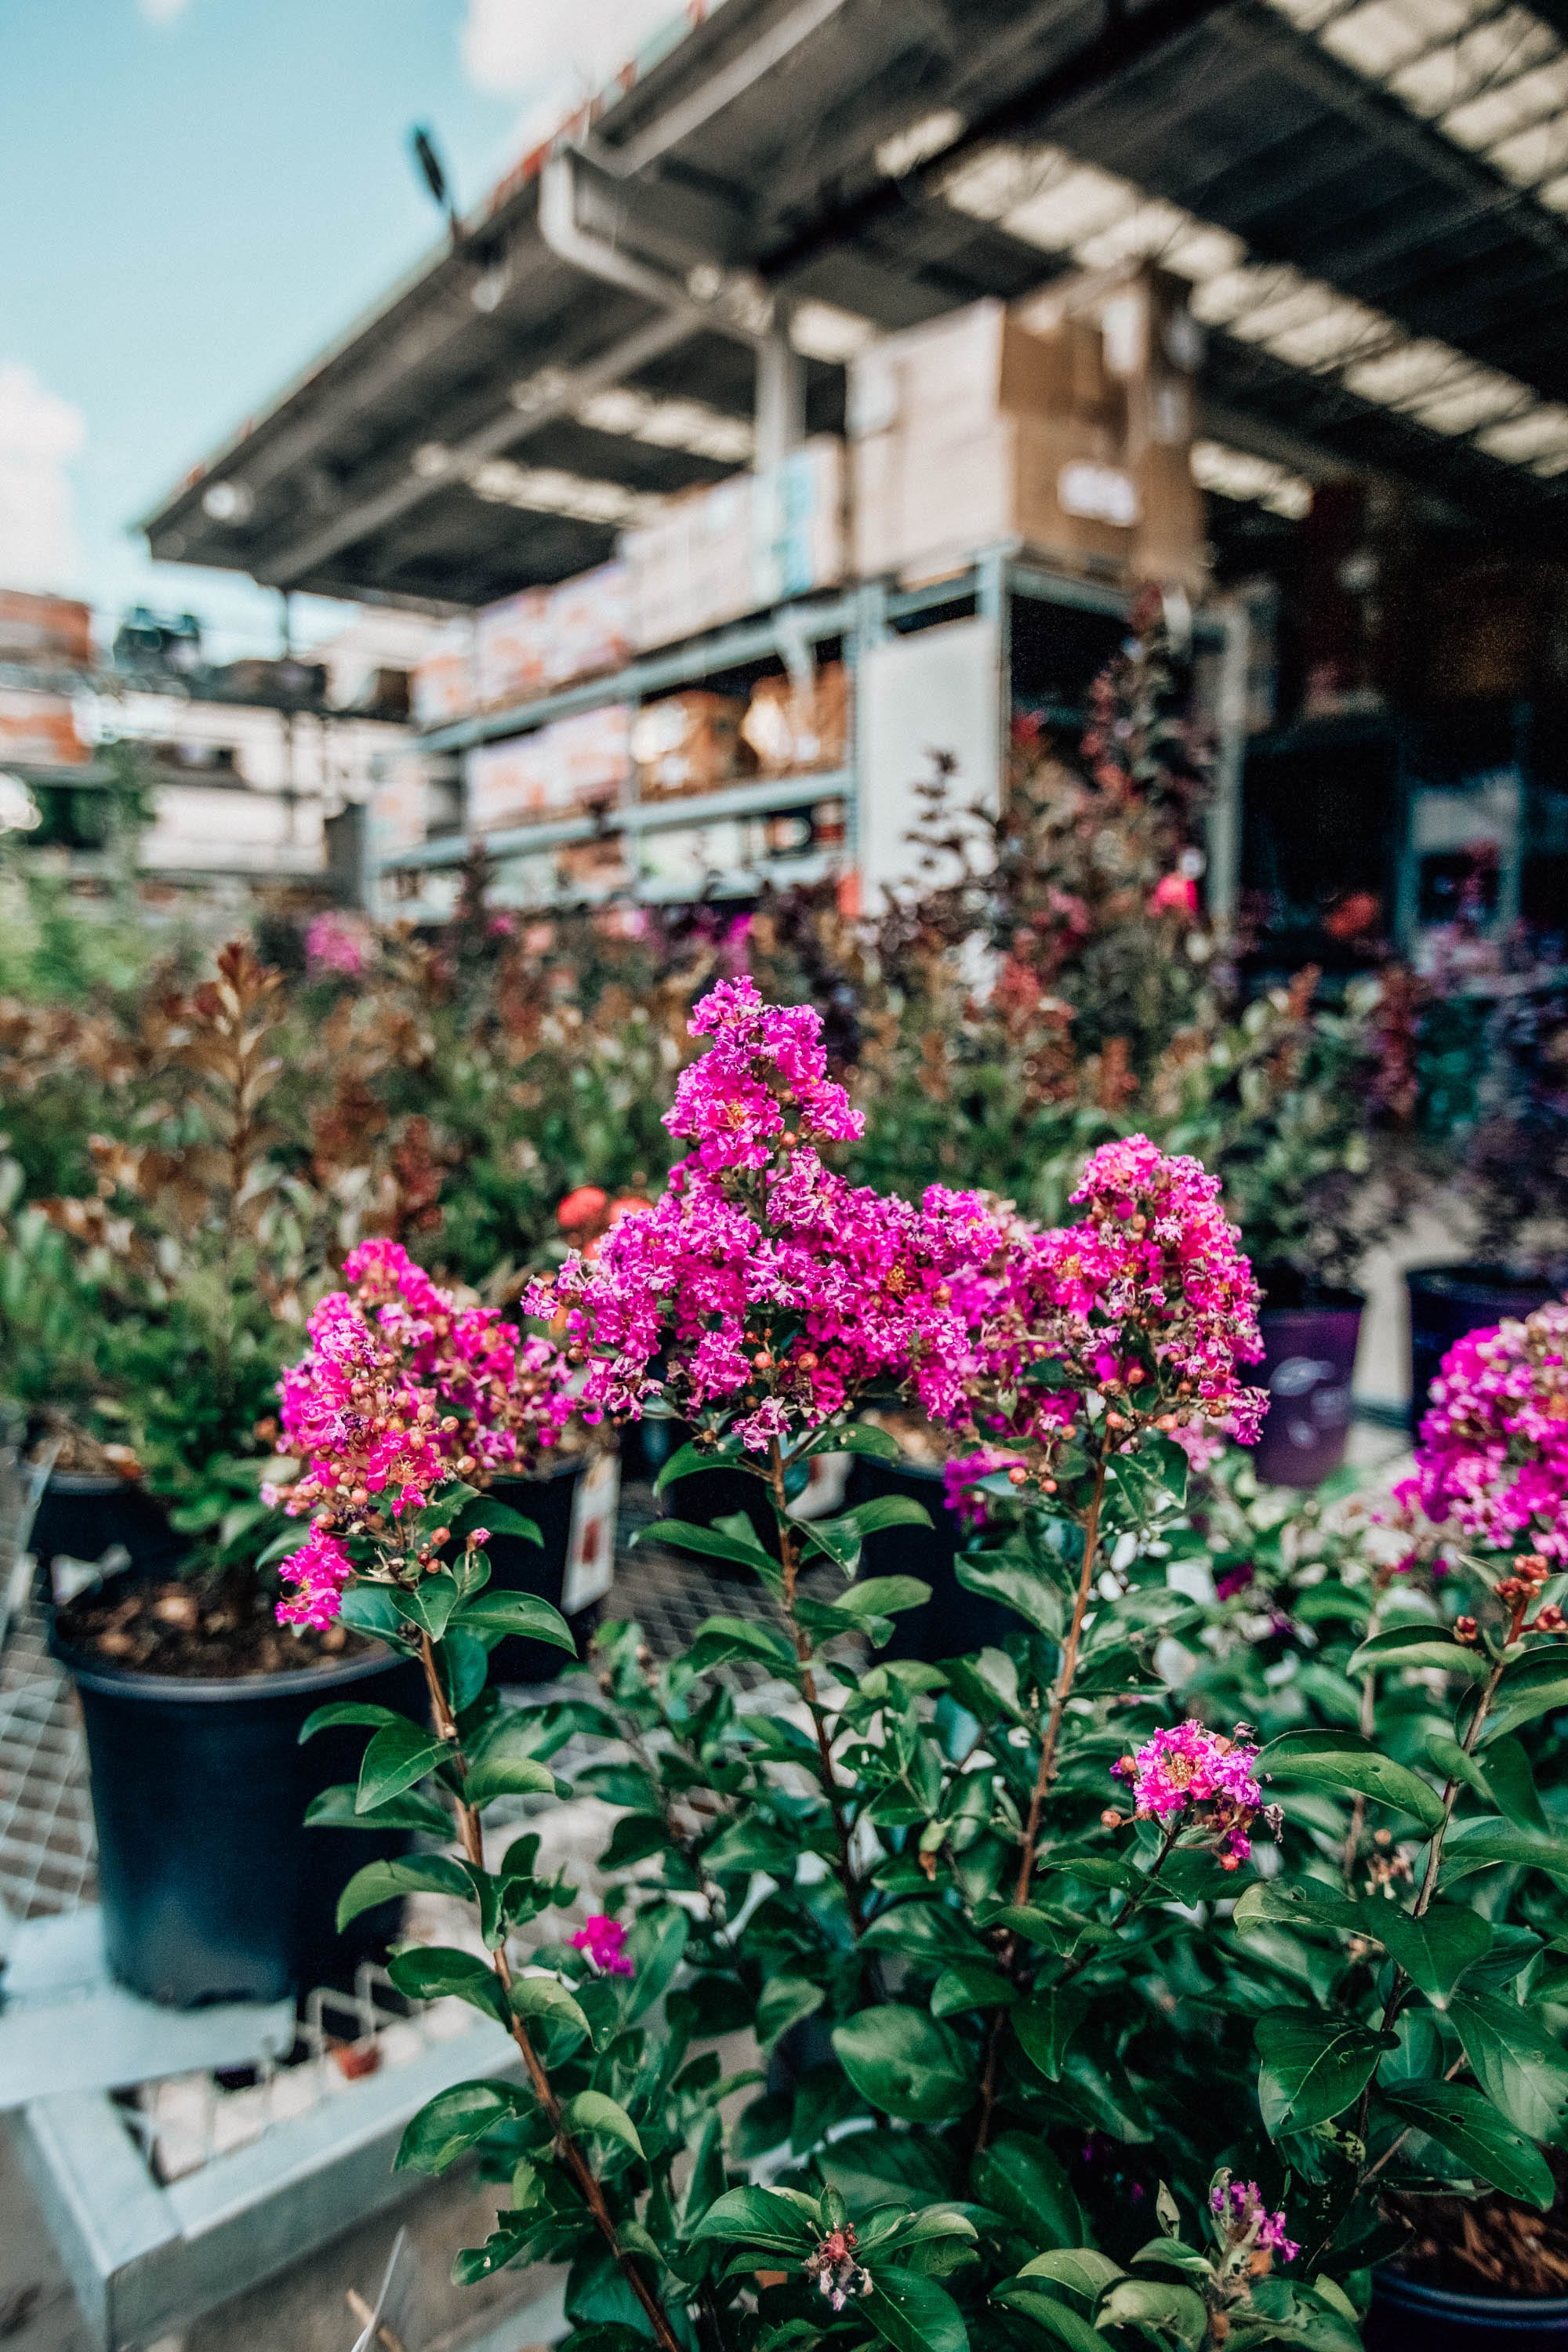
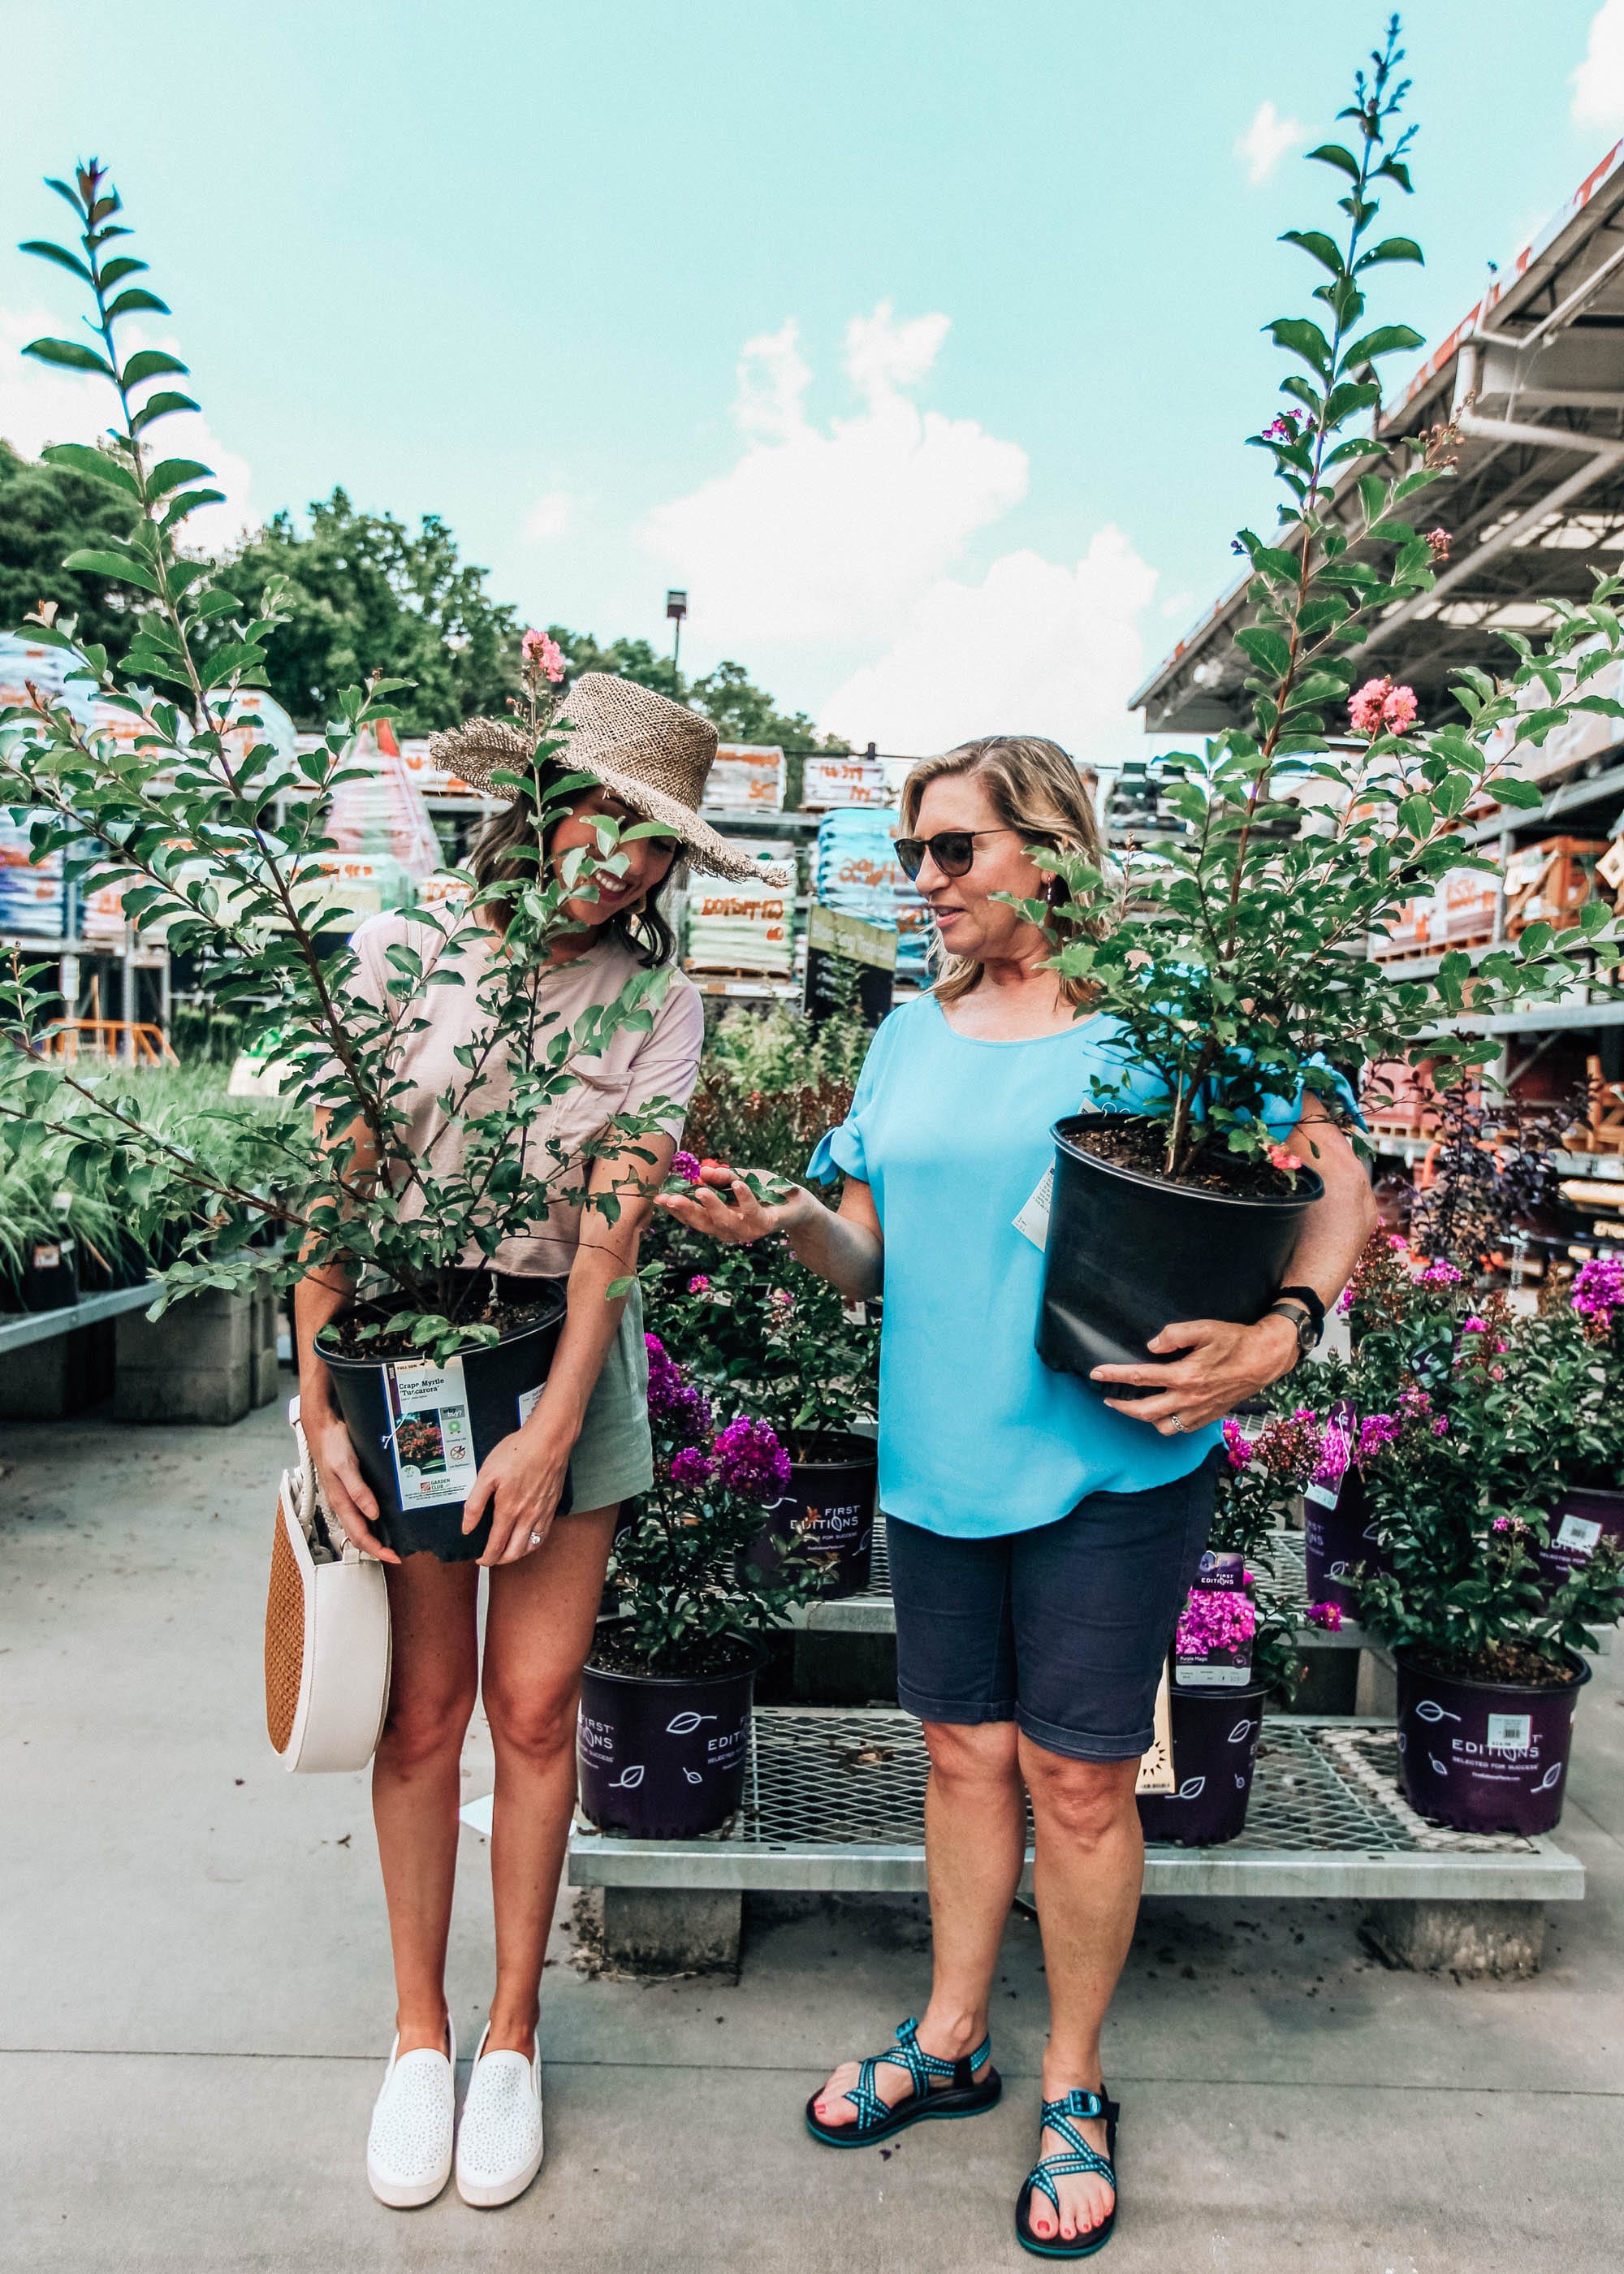
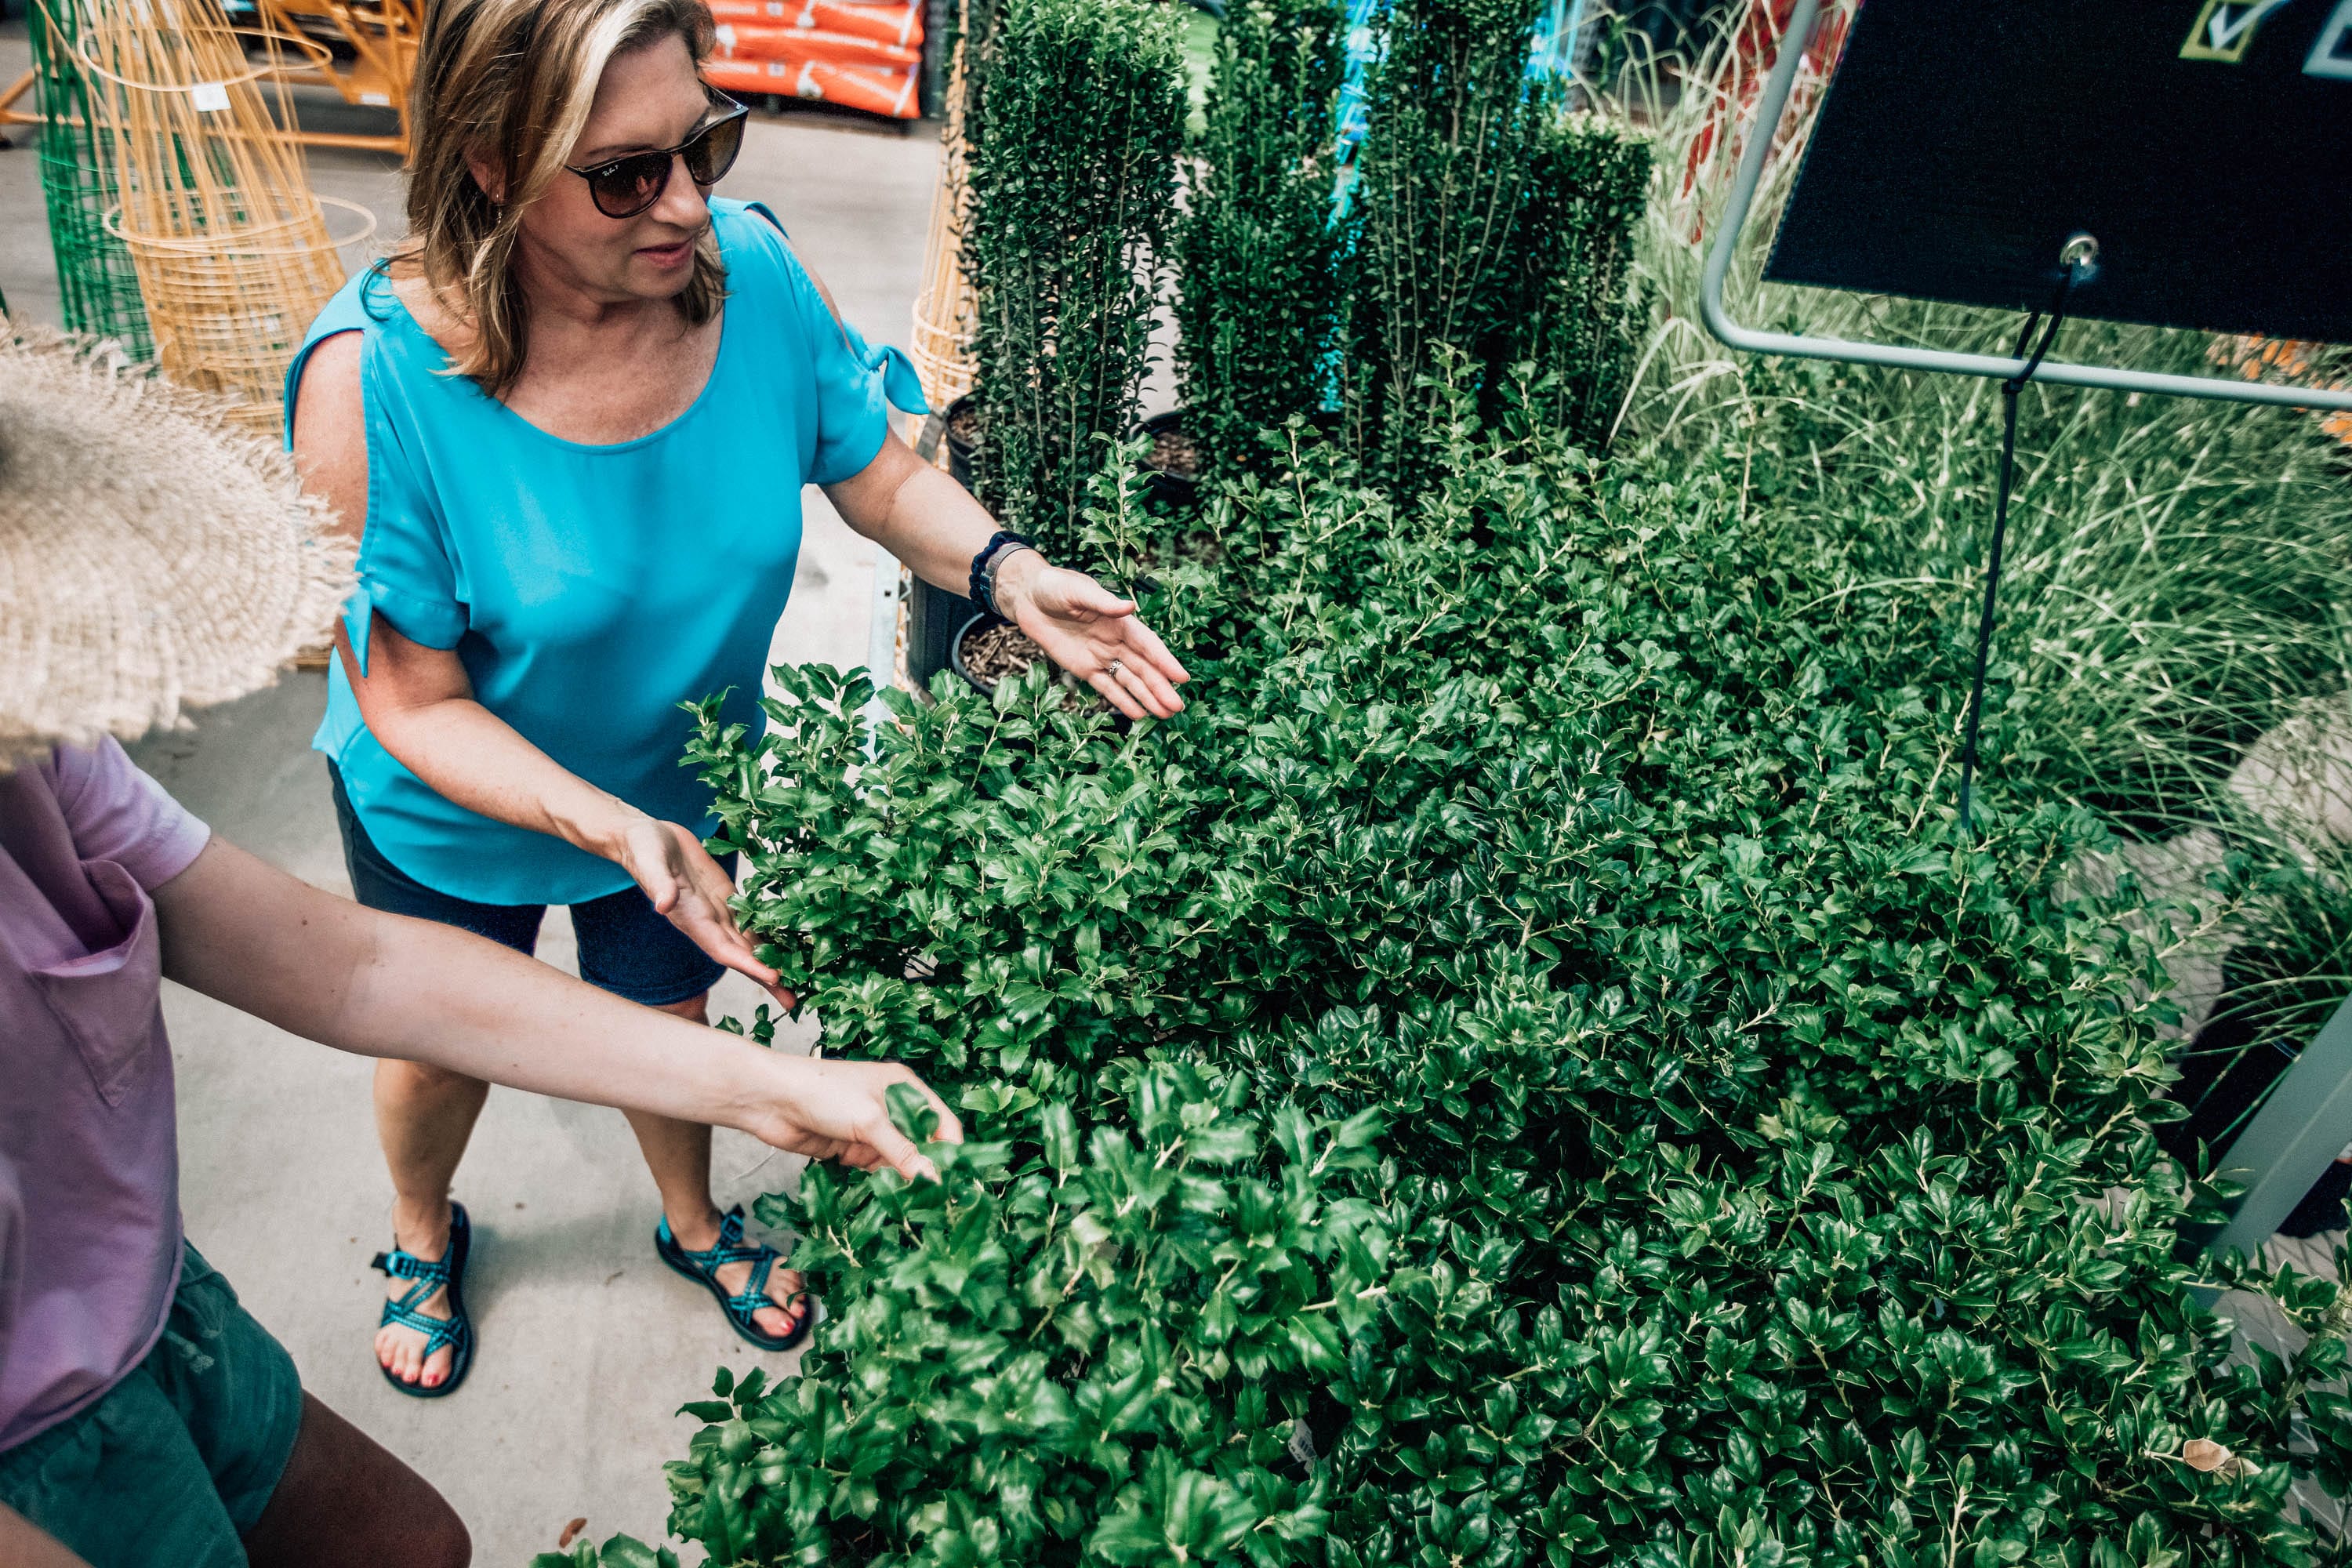
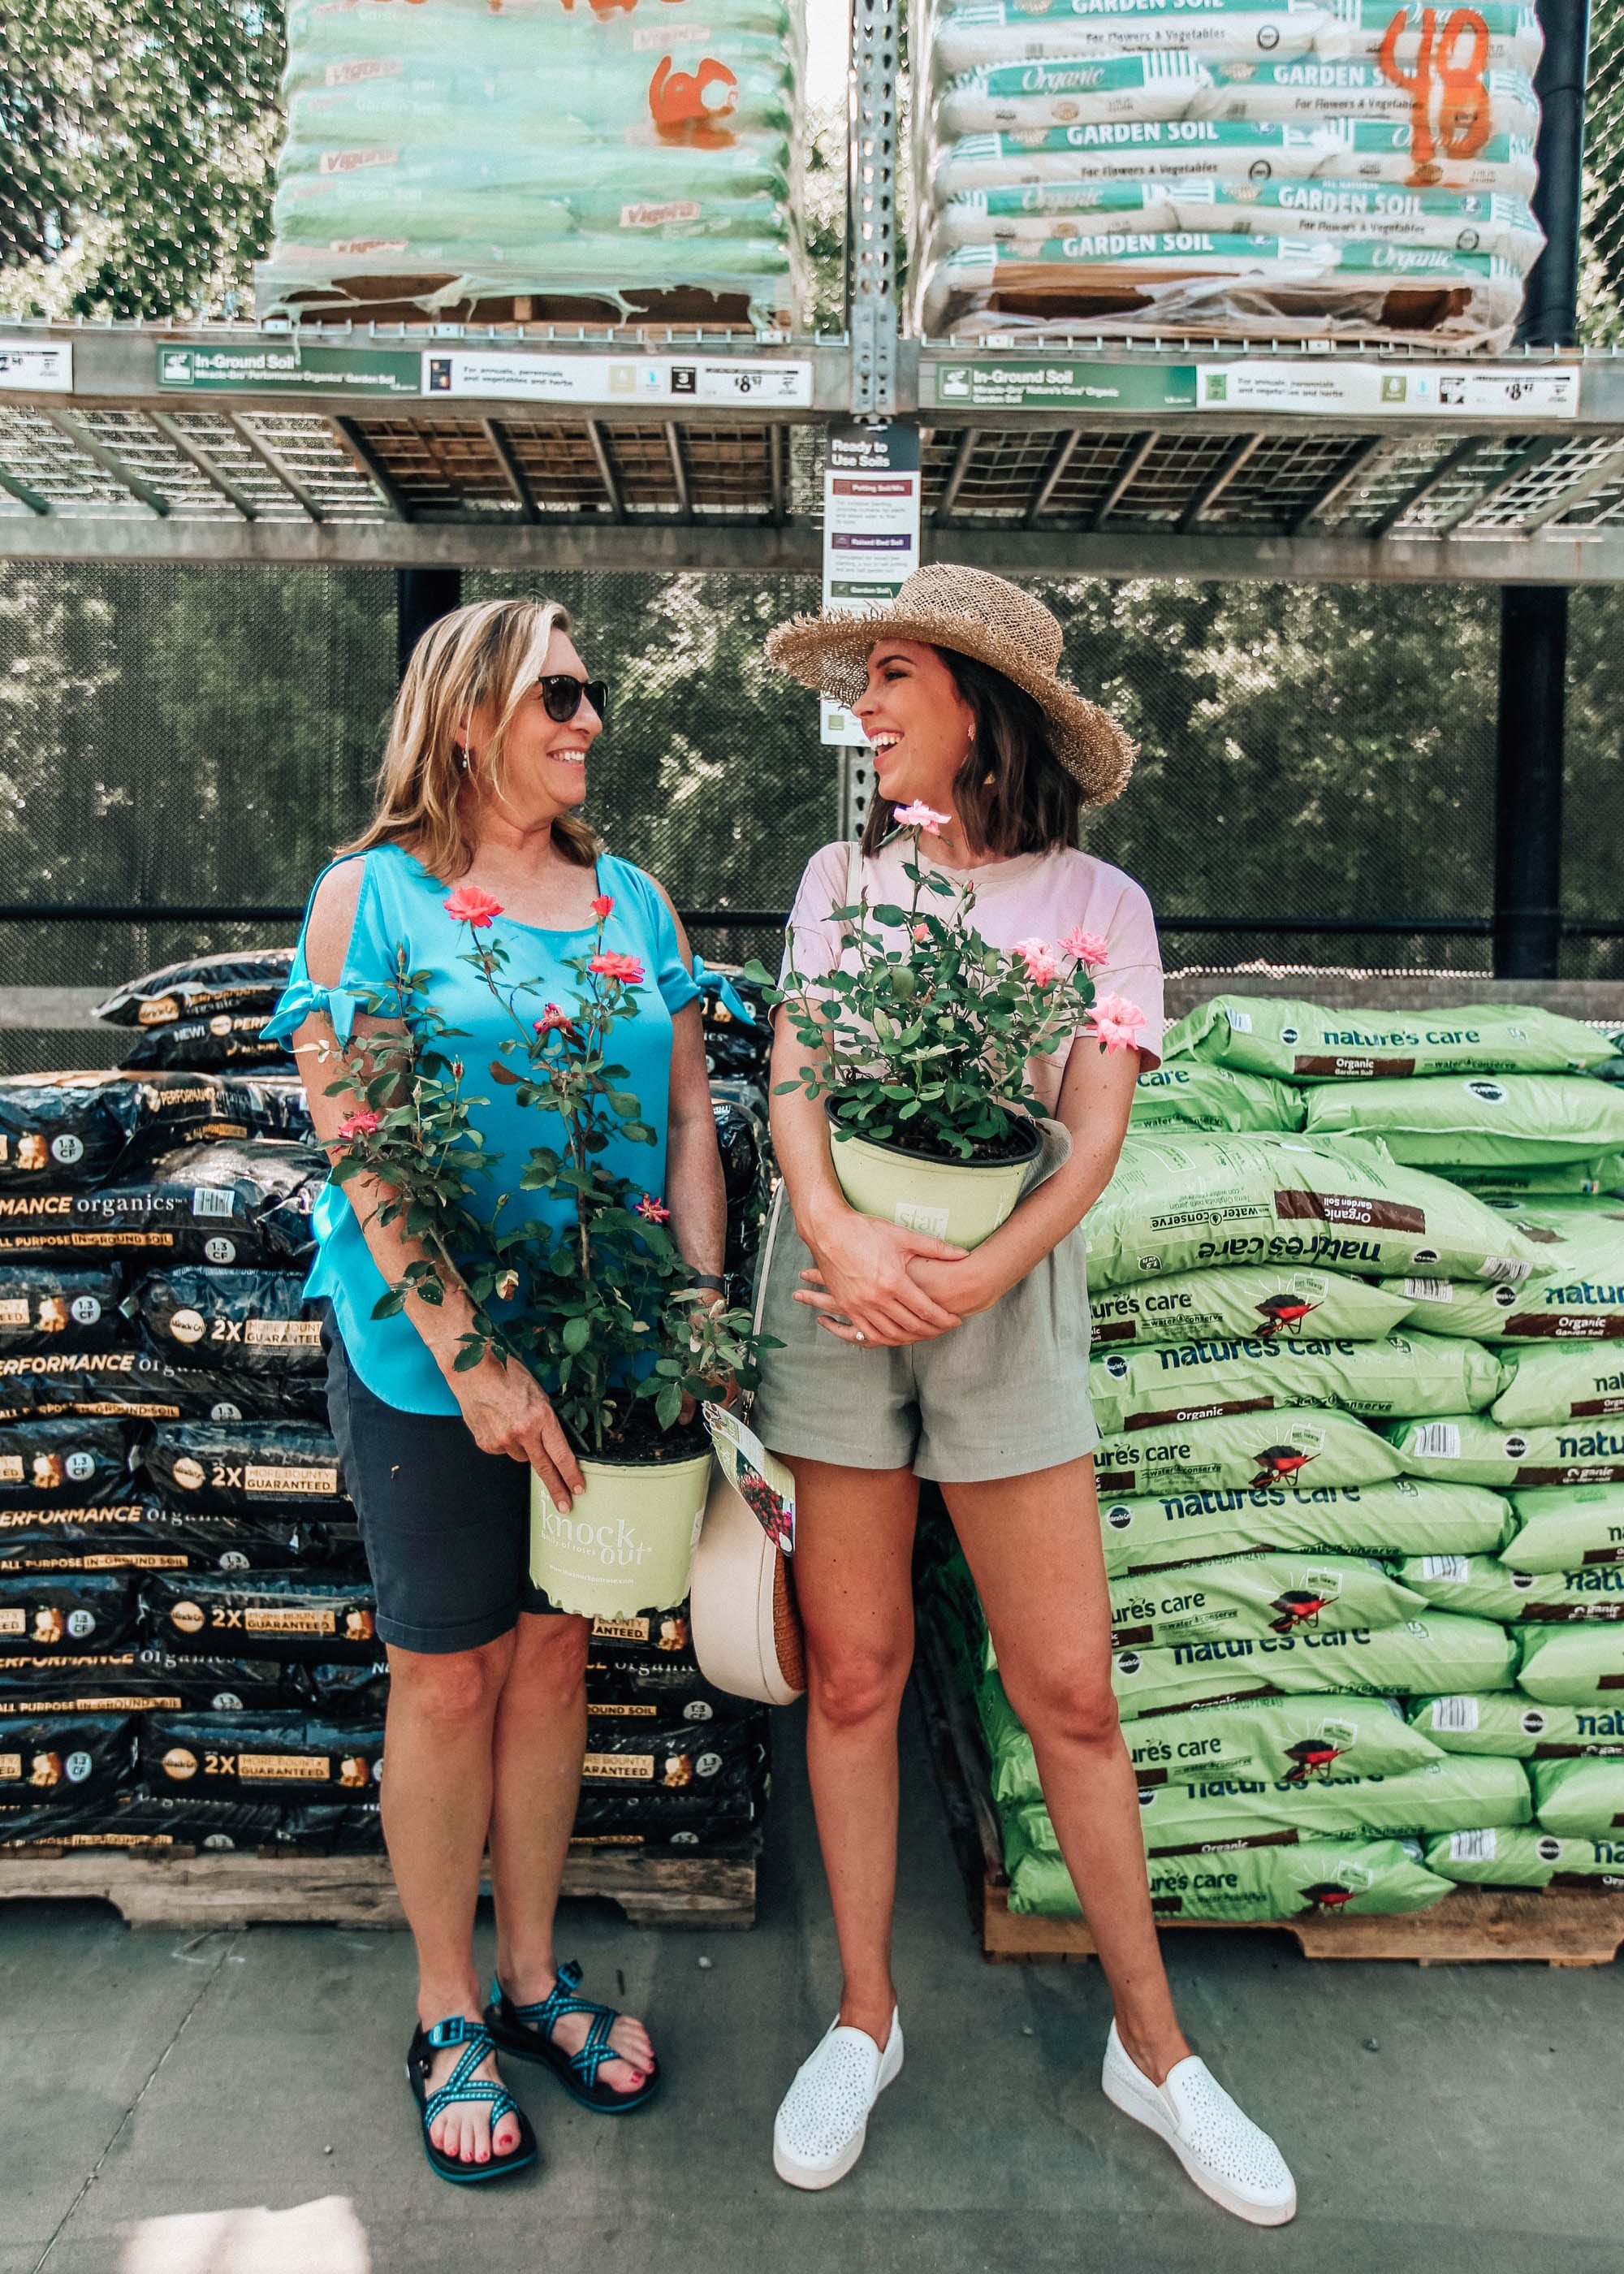
I’ve also been soaking up all the plant knowledge I can like a sponge and went plant shopping with my mom last weekend. I’ll have to share her landscaping sometime soon, but her yard is beautiful and she’s so knowledgeable when it comes to landscaping. We picked up a few of my personal favorite, pink Crape Myrtles, to plant alongside our deck, along with a few more roses.
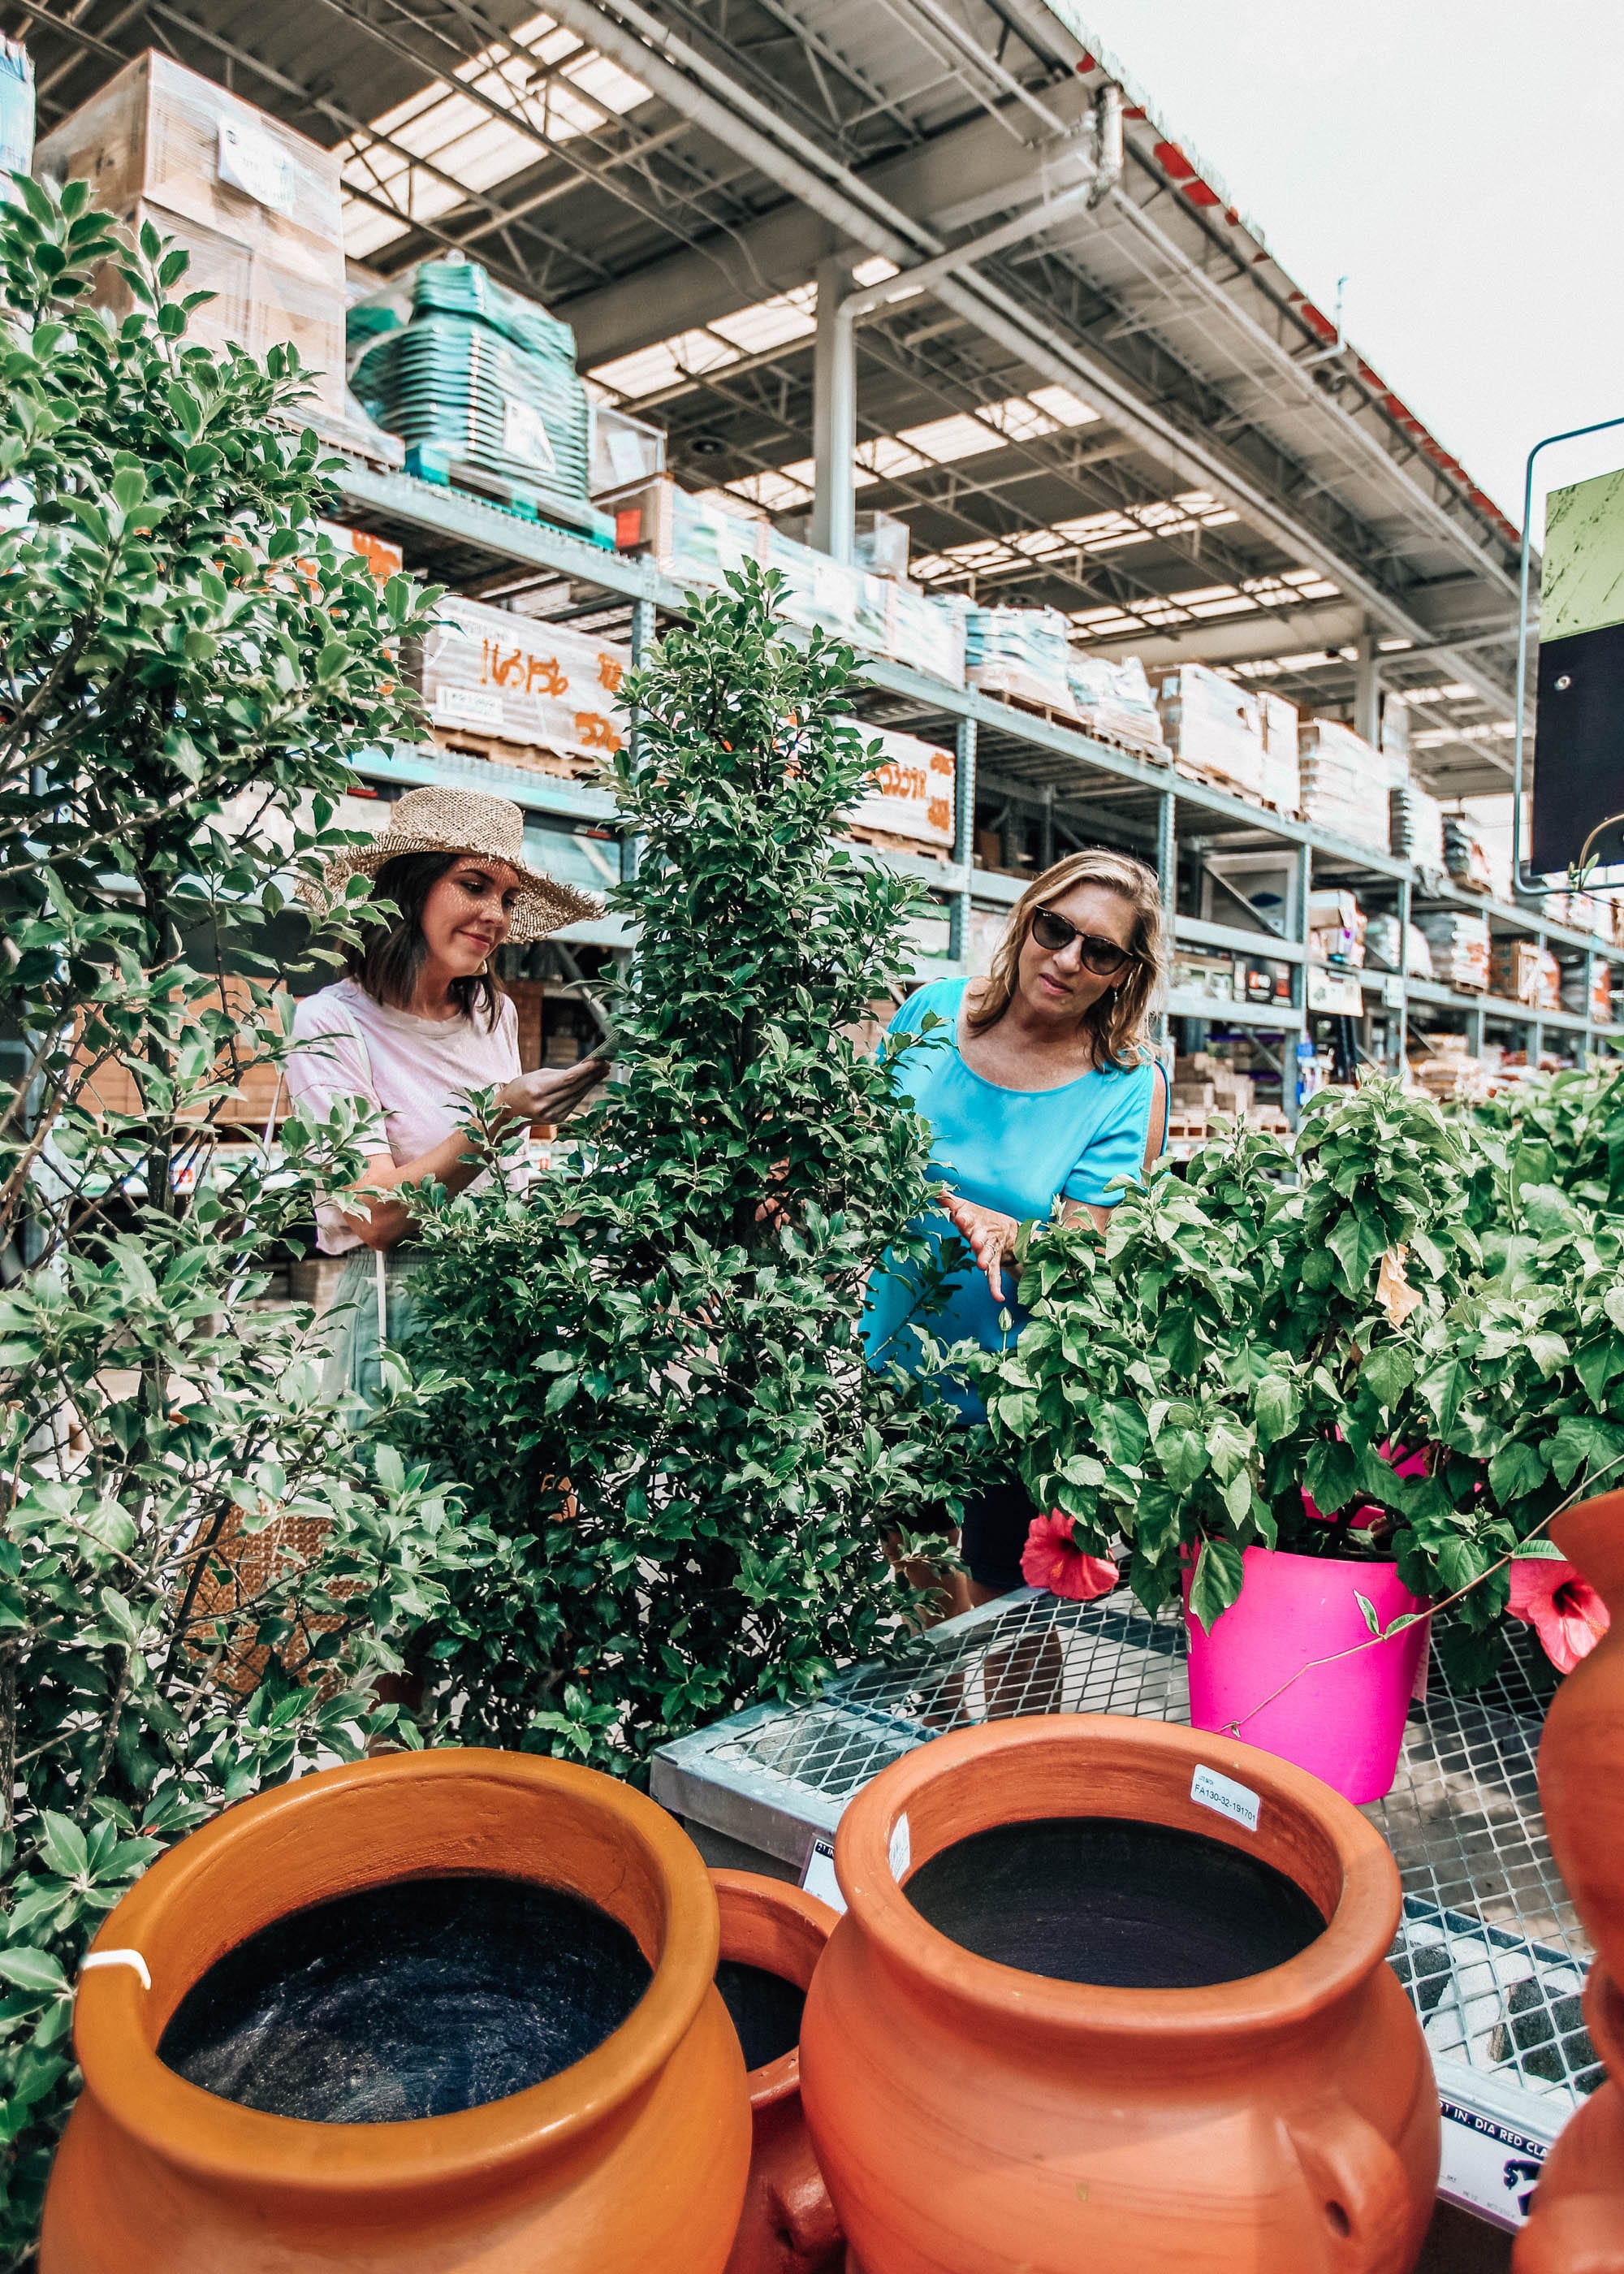
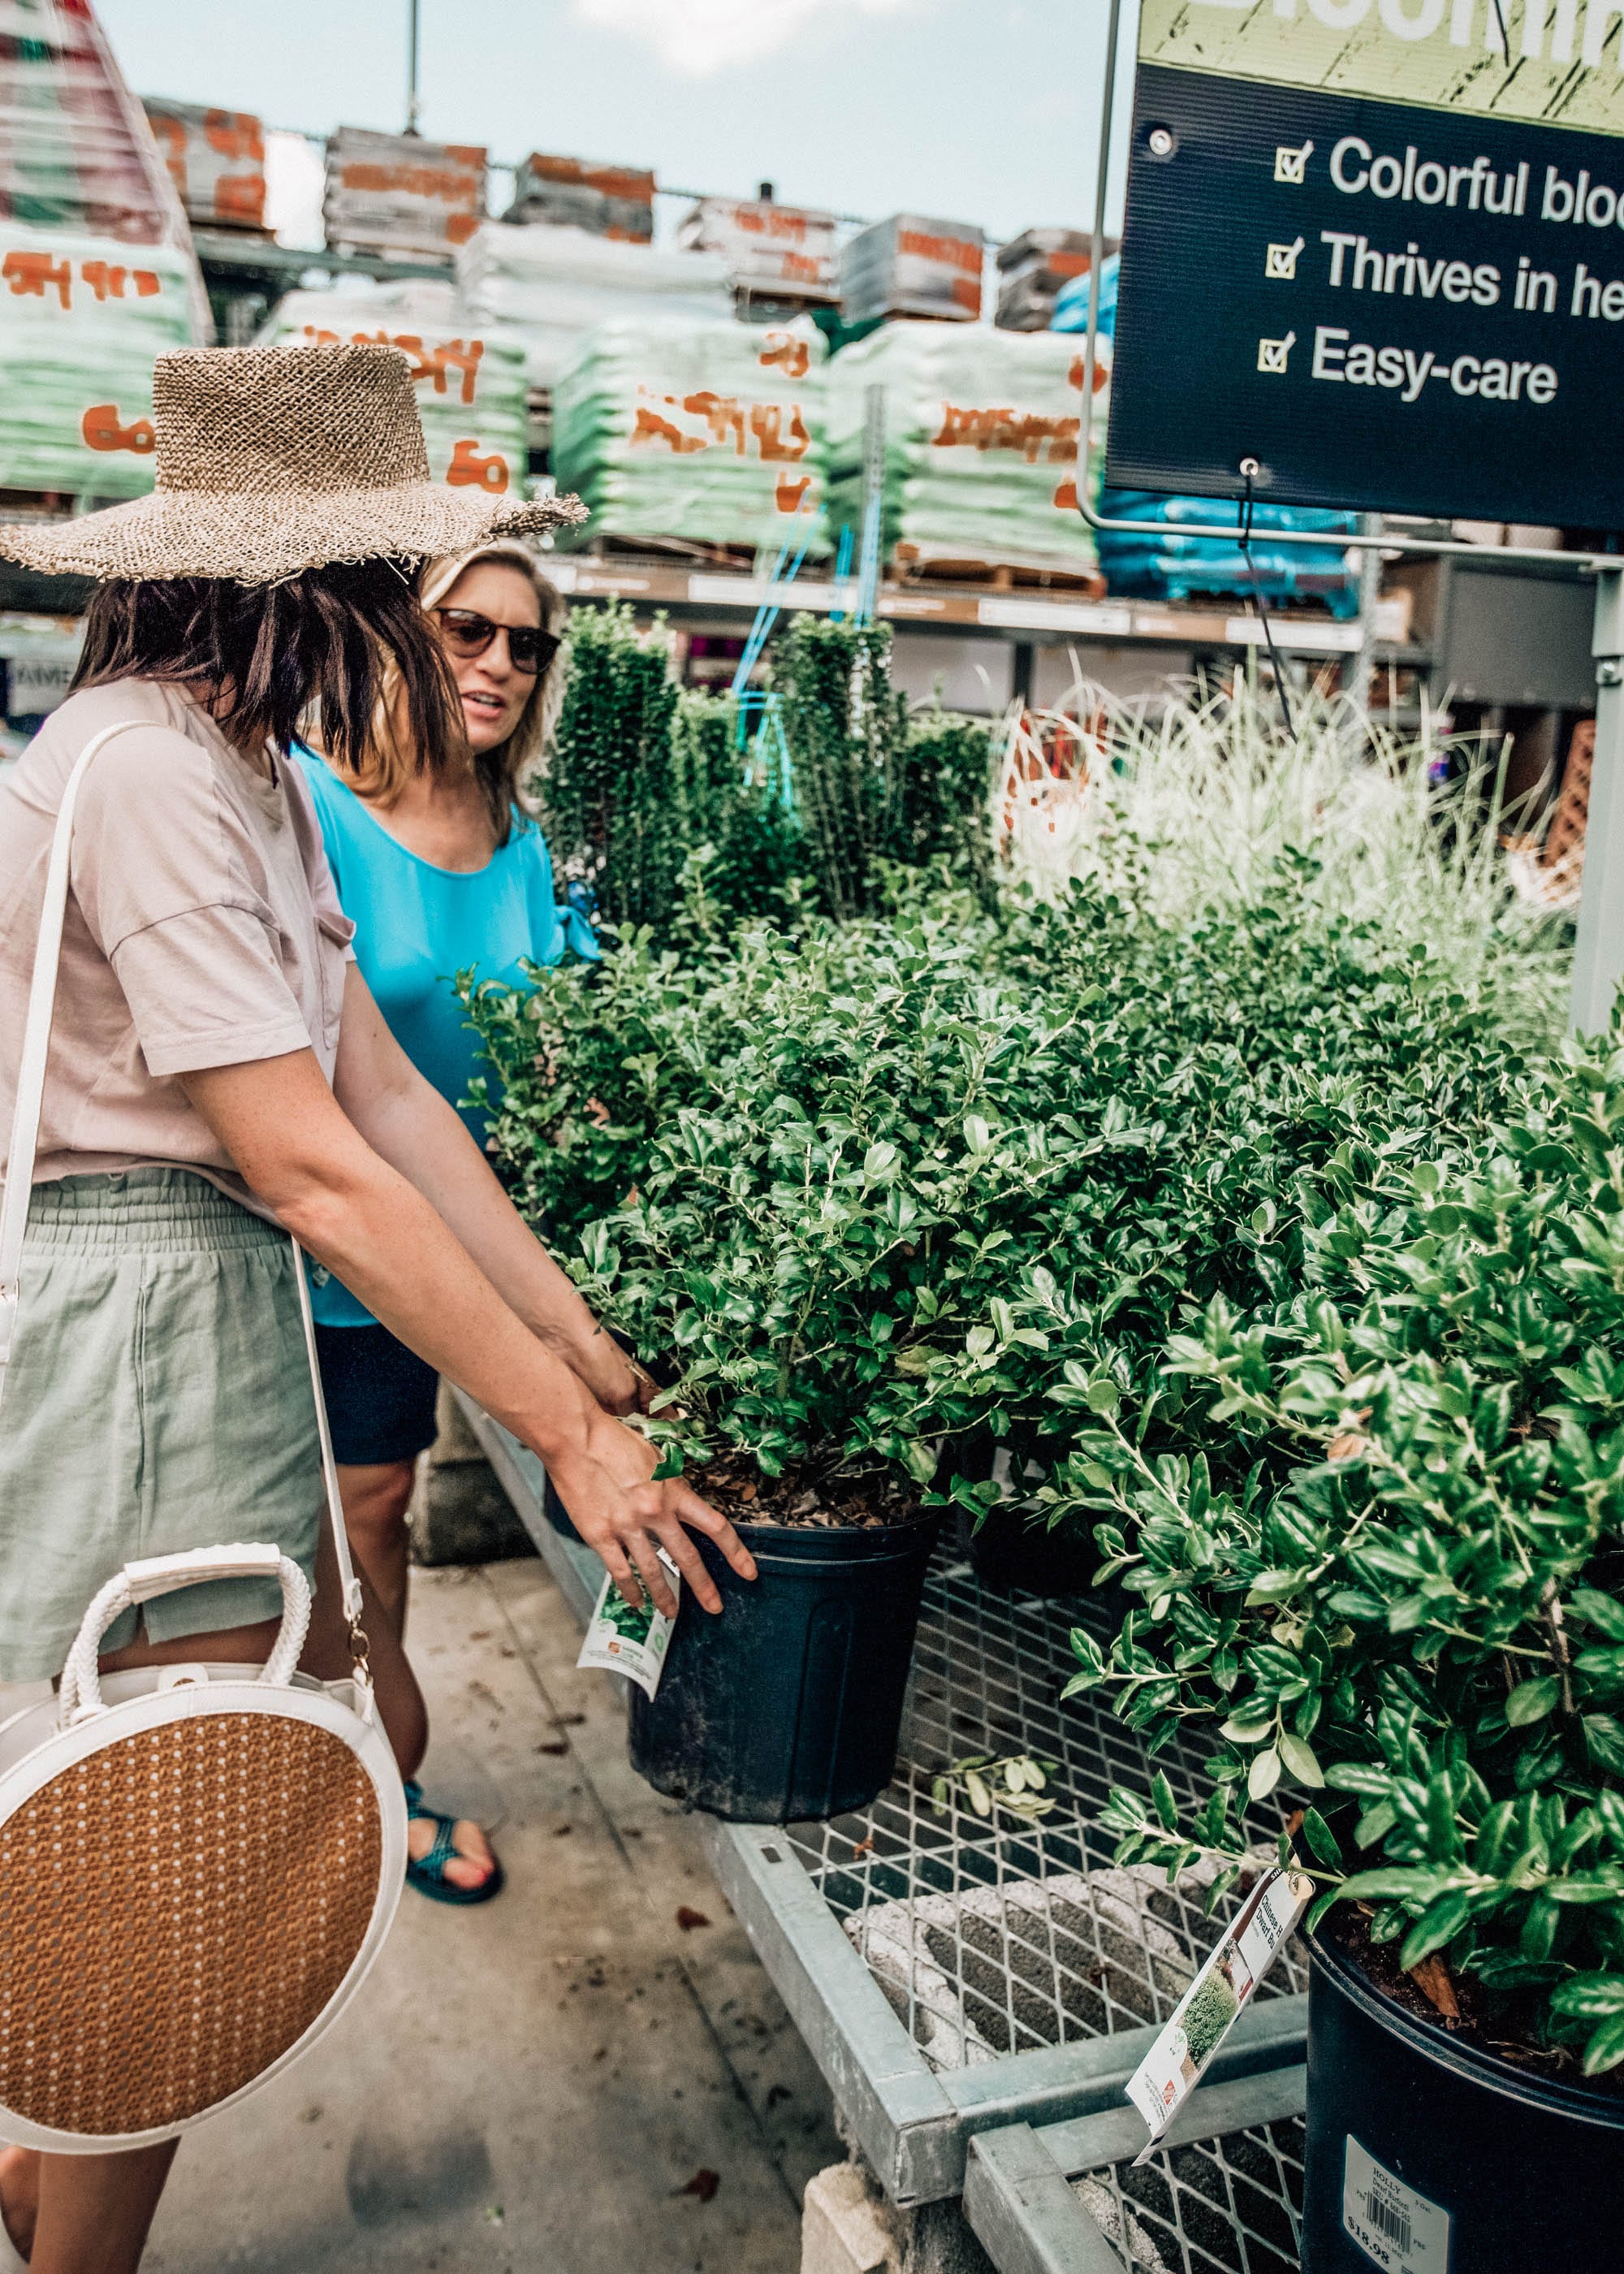
July was a big month of travel, which was great for more gardening inspo, but I’m also excited to share our jasmine, roses, and arbor in the next few weeks! Hopefully we’ll see a lot more growth between now and then which will make for some great before and after photos!
Microblading Q&A
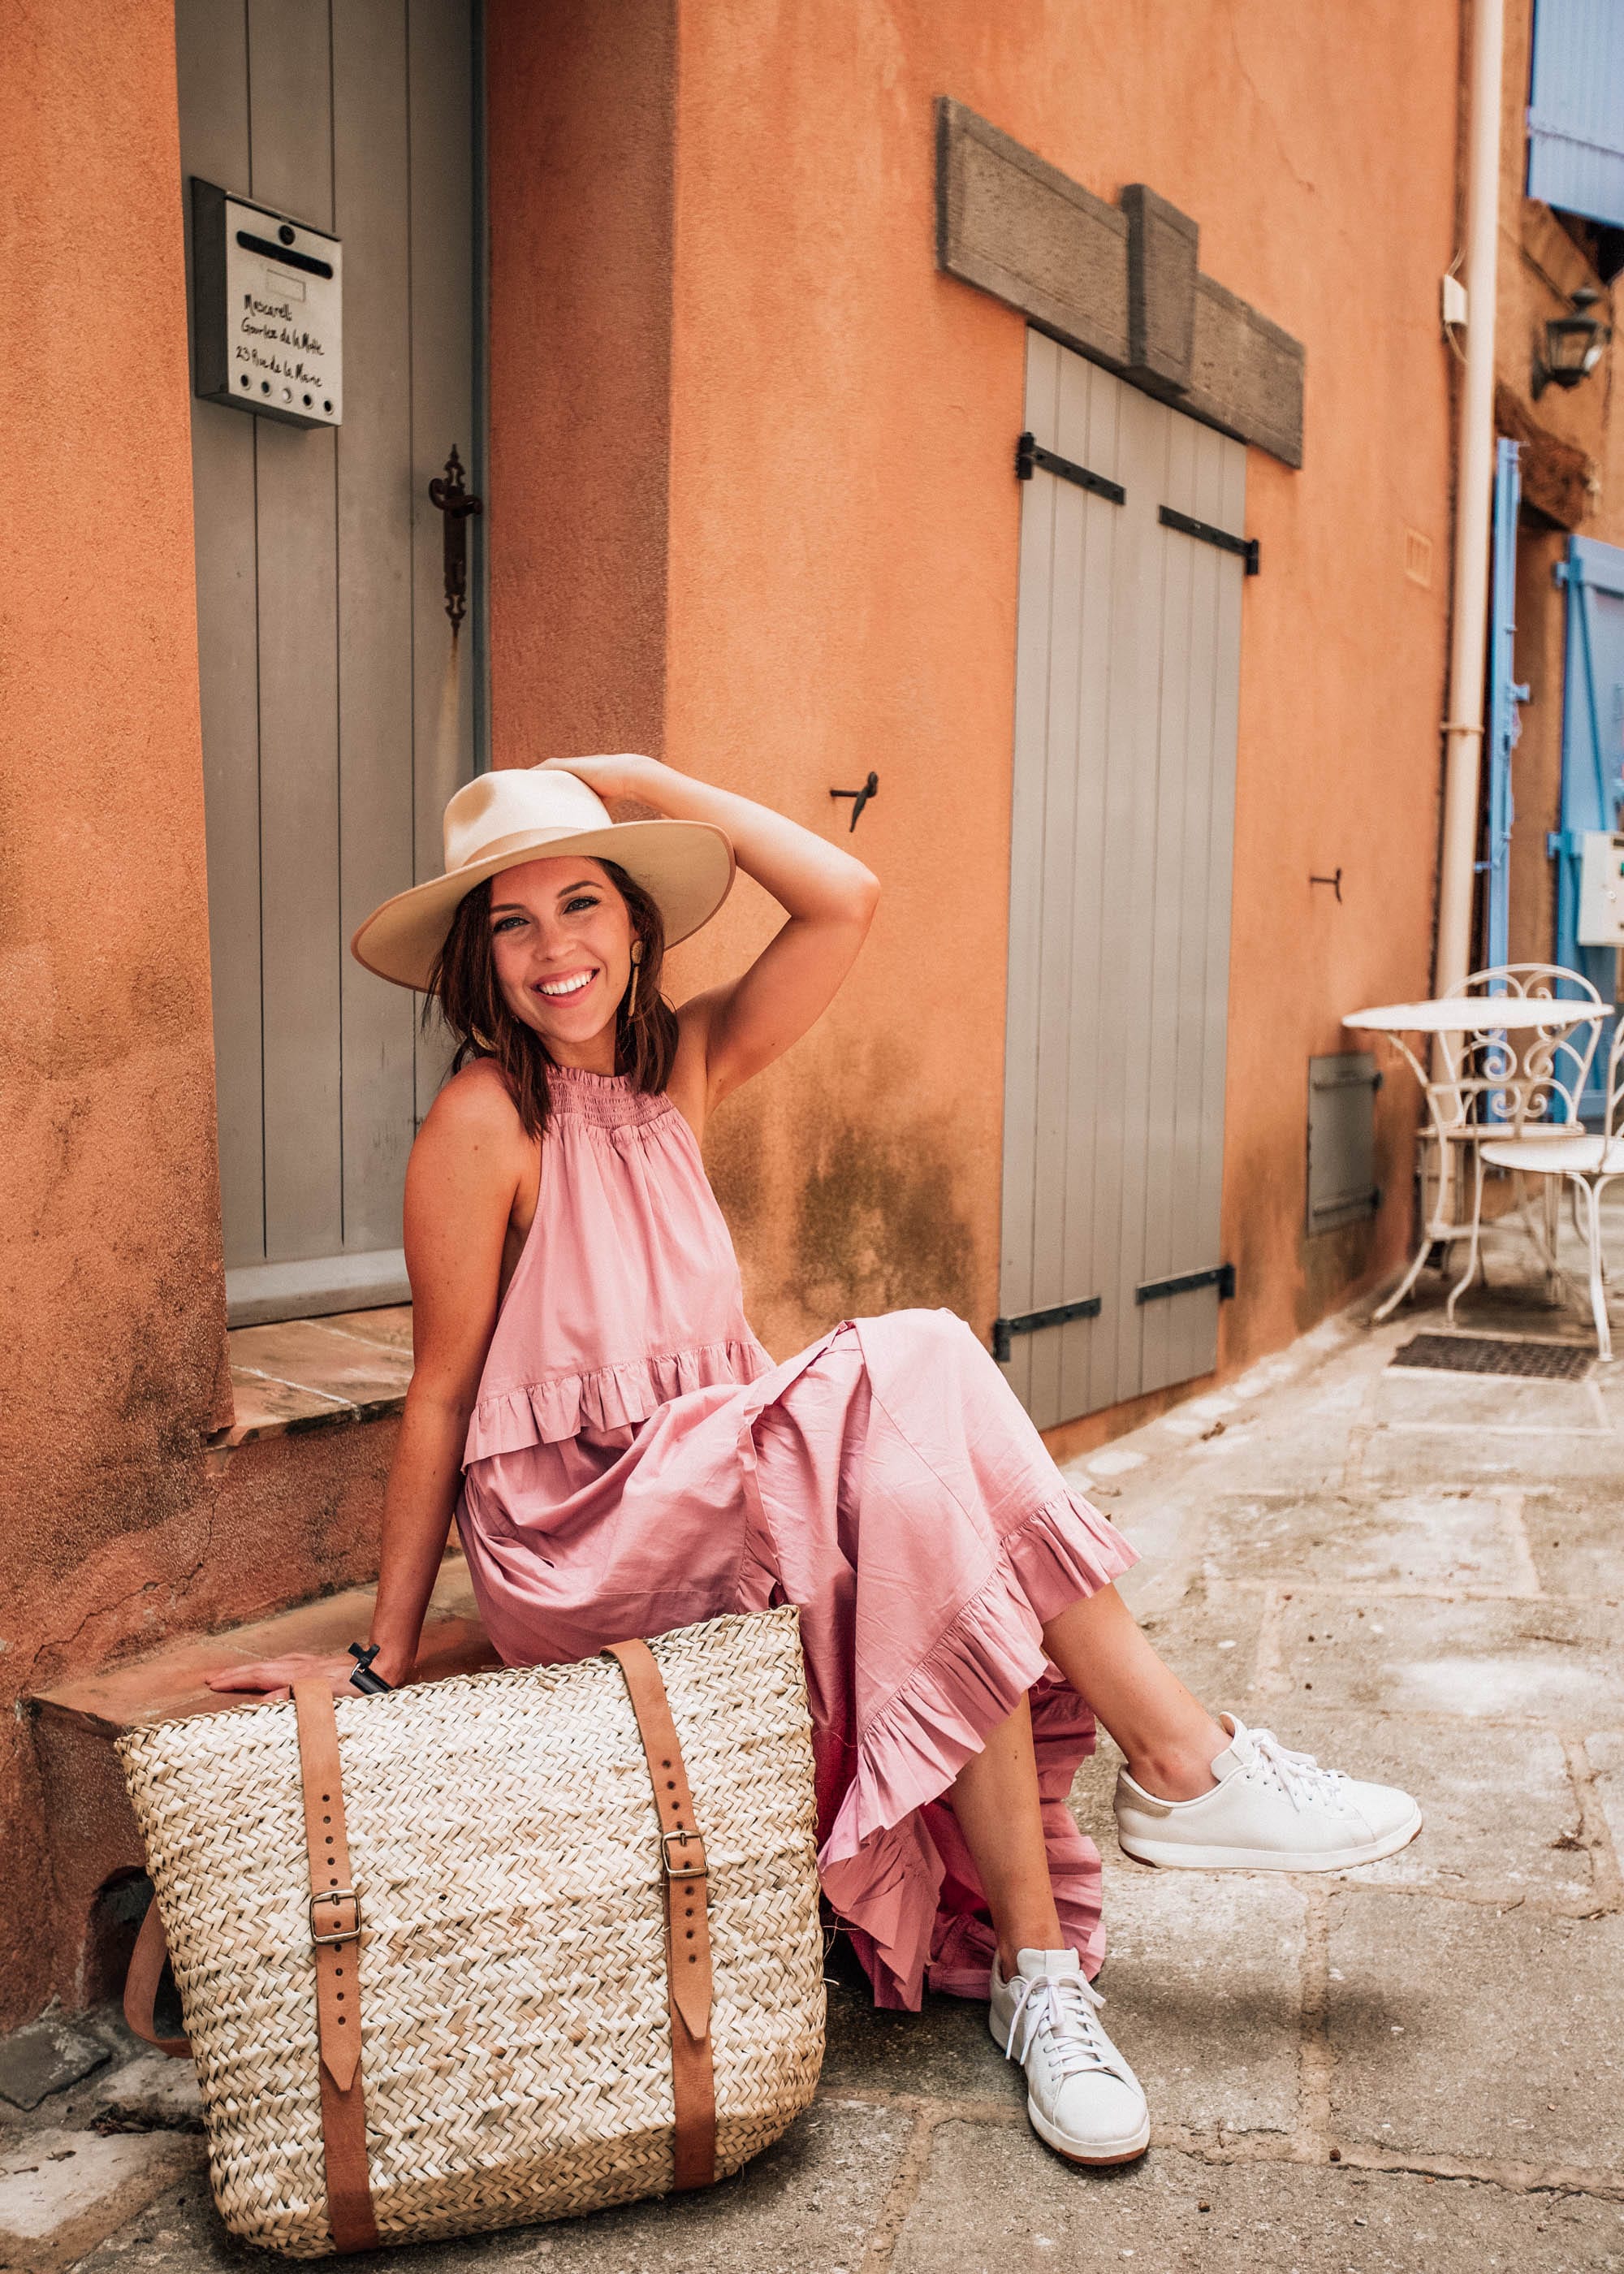
*This was taken 15 days after initial appointment.
At the very end of June/beginning of July, I scheduled an appointment to have my eyebrows microbladed after doing some research on the process and the options of where to get it done in the Raleigh area. Back in college, I never even filled my eyebrows in or anything. It wasn’t until after college when I learned the magic of eyebrow pencils lol… and was able to really give my brows some shape and depth! Within the past few years or so, microblading has become really popular and it has been something I wanted to do for a few reasons: 1) It saves time. You don’t have to put any makeup on them or do any filling in. You wake up and your brows are ready to take on the day. I also won’t be buying any brow products for a long time… or maybe ever. 2) The results can last up to 3 years and 3) They can make your eyebrows look more identical, even, thicker, or darker.
I decided to answer a few questions about my experience incase you have also been considering it!
Q: What IS microblading?
A: Microblading is a semi-permanent technique of tattooing eyebrow stokes that are made to create the look of natural, full brows. I’ve never had a real tattoo before but this process is supposedly way, way less intense than a real tattoo. You can see more before/after photos of others’ results here.
Q: Is it permanent or something you have to keep doing?
A: It can last anywhere from 1-3 years! After your initial session, they recommend a “color boost” every 1-3 years.
Q: How much did you pay and how long will it last?
A: I paid $400 and it should last hopefully 3 years but I will most likely get a color boost before then. I’ve heard that some places can cost anywhere from $300-800.
Q: Did you get microblading and colorshading or just microblading?
A: I only did microblading! There is another technique called “powder brows” and you can also choose to have a combination of both of those. The results of the powder technique make your brows look even more full than regular microblading.
Q: Where did you go and who did it?
A: A couple of months ago I asked for microblading recommendations around the Raleigh area and the most popular suggestion was Altered Aesthetics in North Raleigh. One of my best friends had hers done here 1.5 years ago so I was very familiar with the name already. At the time, the owner, Jen was completely booked up so I decided to schedule an appointment with Kimi and I paid $400 for the service. Kimi was so great and I highly recommend Altered Aesthetics if you are looking to have microblading done! You can book Kimi here or look through her “brow gallery” for photos! If you’re looking for a good place but aren’t located near Raleigh, I would be sure to look at a lot of before and after photos of whoever you decide to go to.
Q: Why is it a “process” and not one and done?
A: I can only speak from my experience with where I went but I had to go in for an initial appointment and then again 5-6 weeks later for a “perfecting session”. The first session was more for creating the foundation of the brows where they mapped them all out (before starting), did a few passes of strokes, and then the second time around she touched them up and made them a tad bit darker. She also added more strokes around the head of the brows. There is also a healing process and after-care instructions to follow including keeping them moisturized and clean for the 7 days following.
Q: Does it hurt?
A: This was 100x easier than I thought it would be. It didn’t hurt and definitely didn’t feel like needles at all. They apply topical numbing cream to the area before starting and let it sit for about 20 minutes which makes this process a piece of cake. You may feel some pressure and, if it does start to be uncomfortable, they’ll add more numbing cream/gel/whatever it is they use. I watched a movie on my phone the entire time. It was actually a very comfortable and relaxing couple of hours, in my opinion.
Q: Do you have a before and after photo?
A: I think the best before/after photo is probably the one that is on Kimi’s instagram. If you want to see more before/after, you can watch my recent stories from when I had a hydrafacial and had no makeup on and compare it to stories from yesterday or recently.
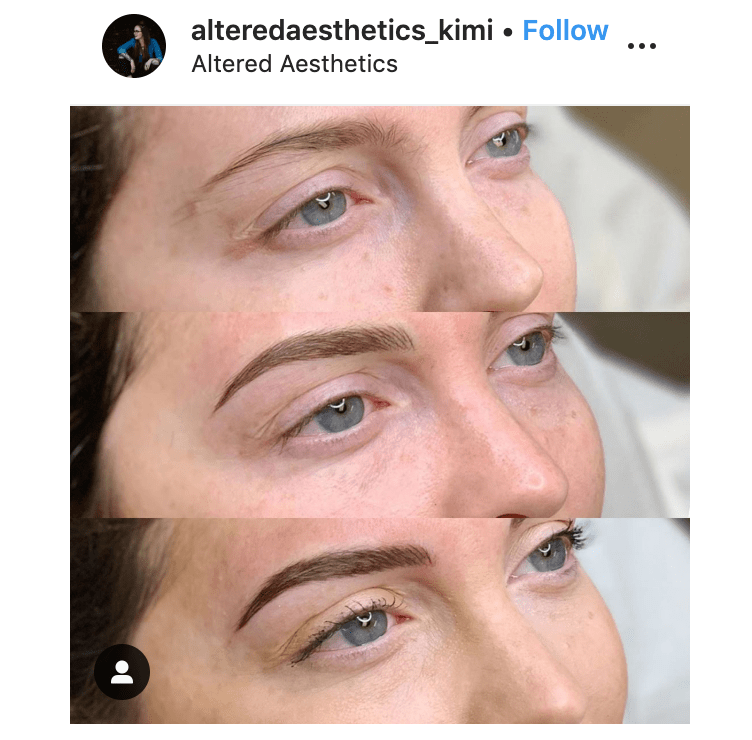
Q: What was the healing process like? Any scabbing?
A: I had a little bit of “flaking” but no scabbing! I just made sure to follow their aftercare instructions for 7 days following. It wasn’t bad at all. My eyebrows were really dark the first couple of days though and then they faded back to a more natural looking color.
I am so glad I decided to have this done and love how natural-looking and low maintenance they are now. I’ll still have to get rid of a few straggling hairs with tweezers every now and then. I love that these types of beauty services exist these days, especially for women who may be experiencing alopecia or other hair loss causes (or even if you are just a recovering overplucker). If you have any other questions, let me know!

South of France Travel Diary, Part 1
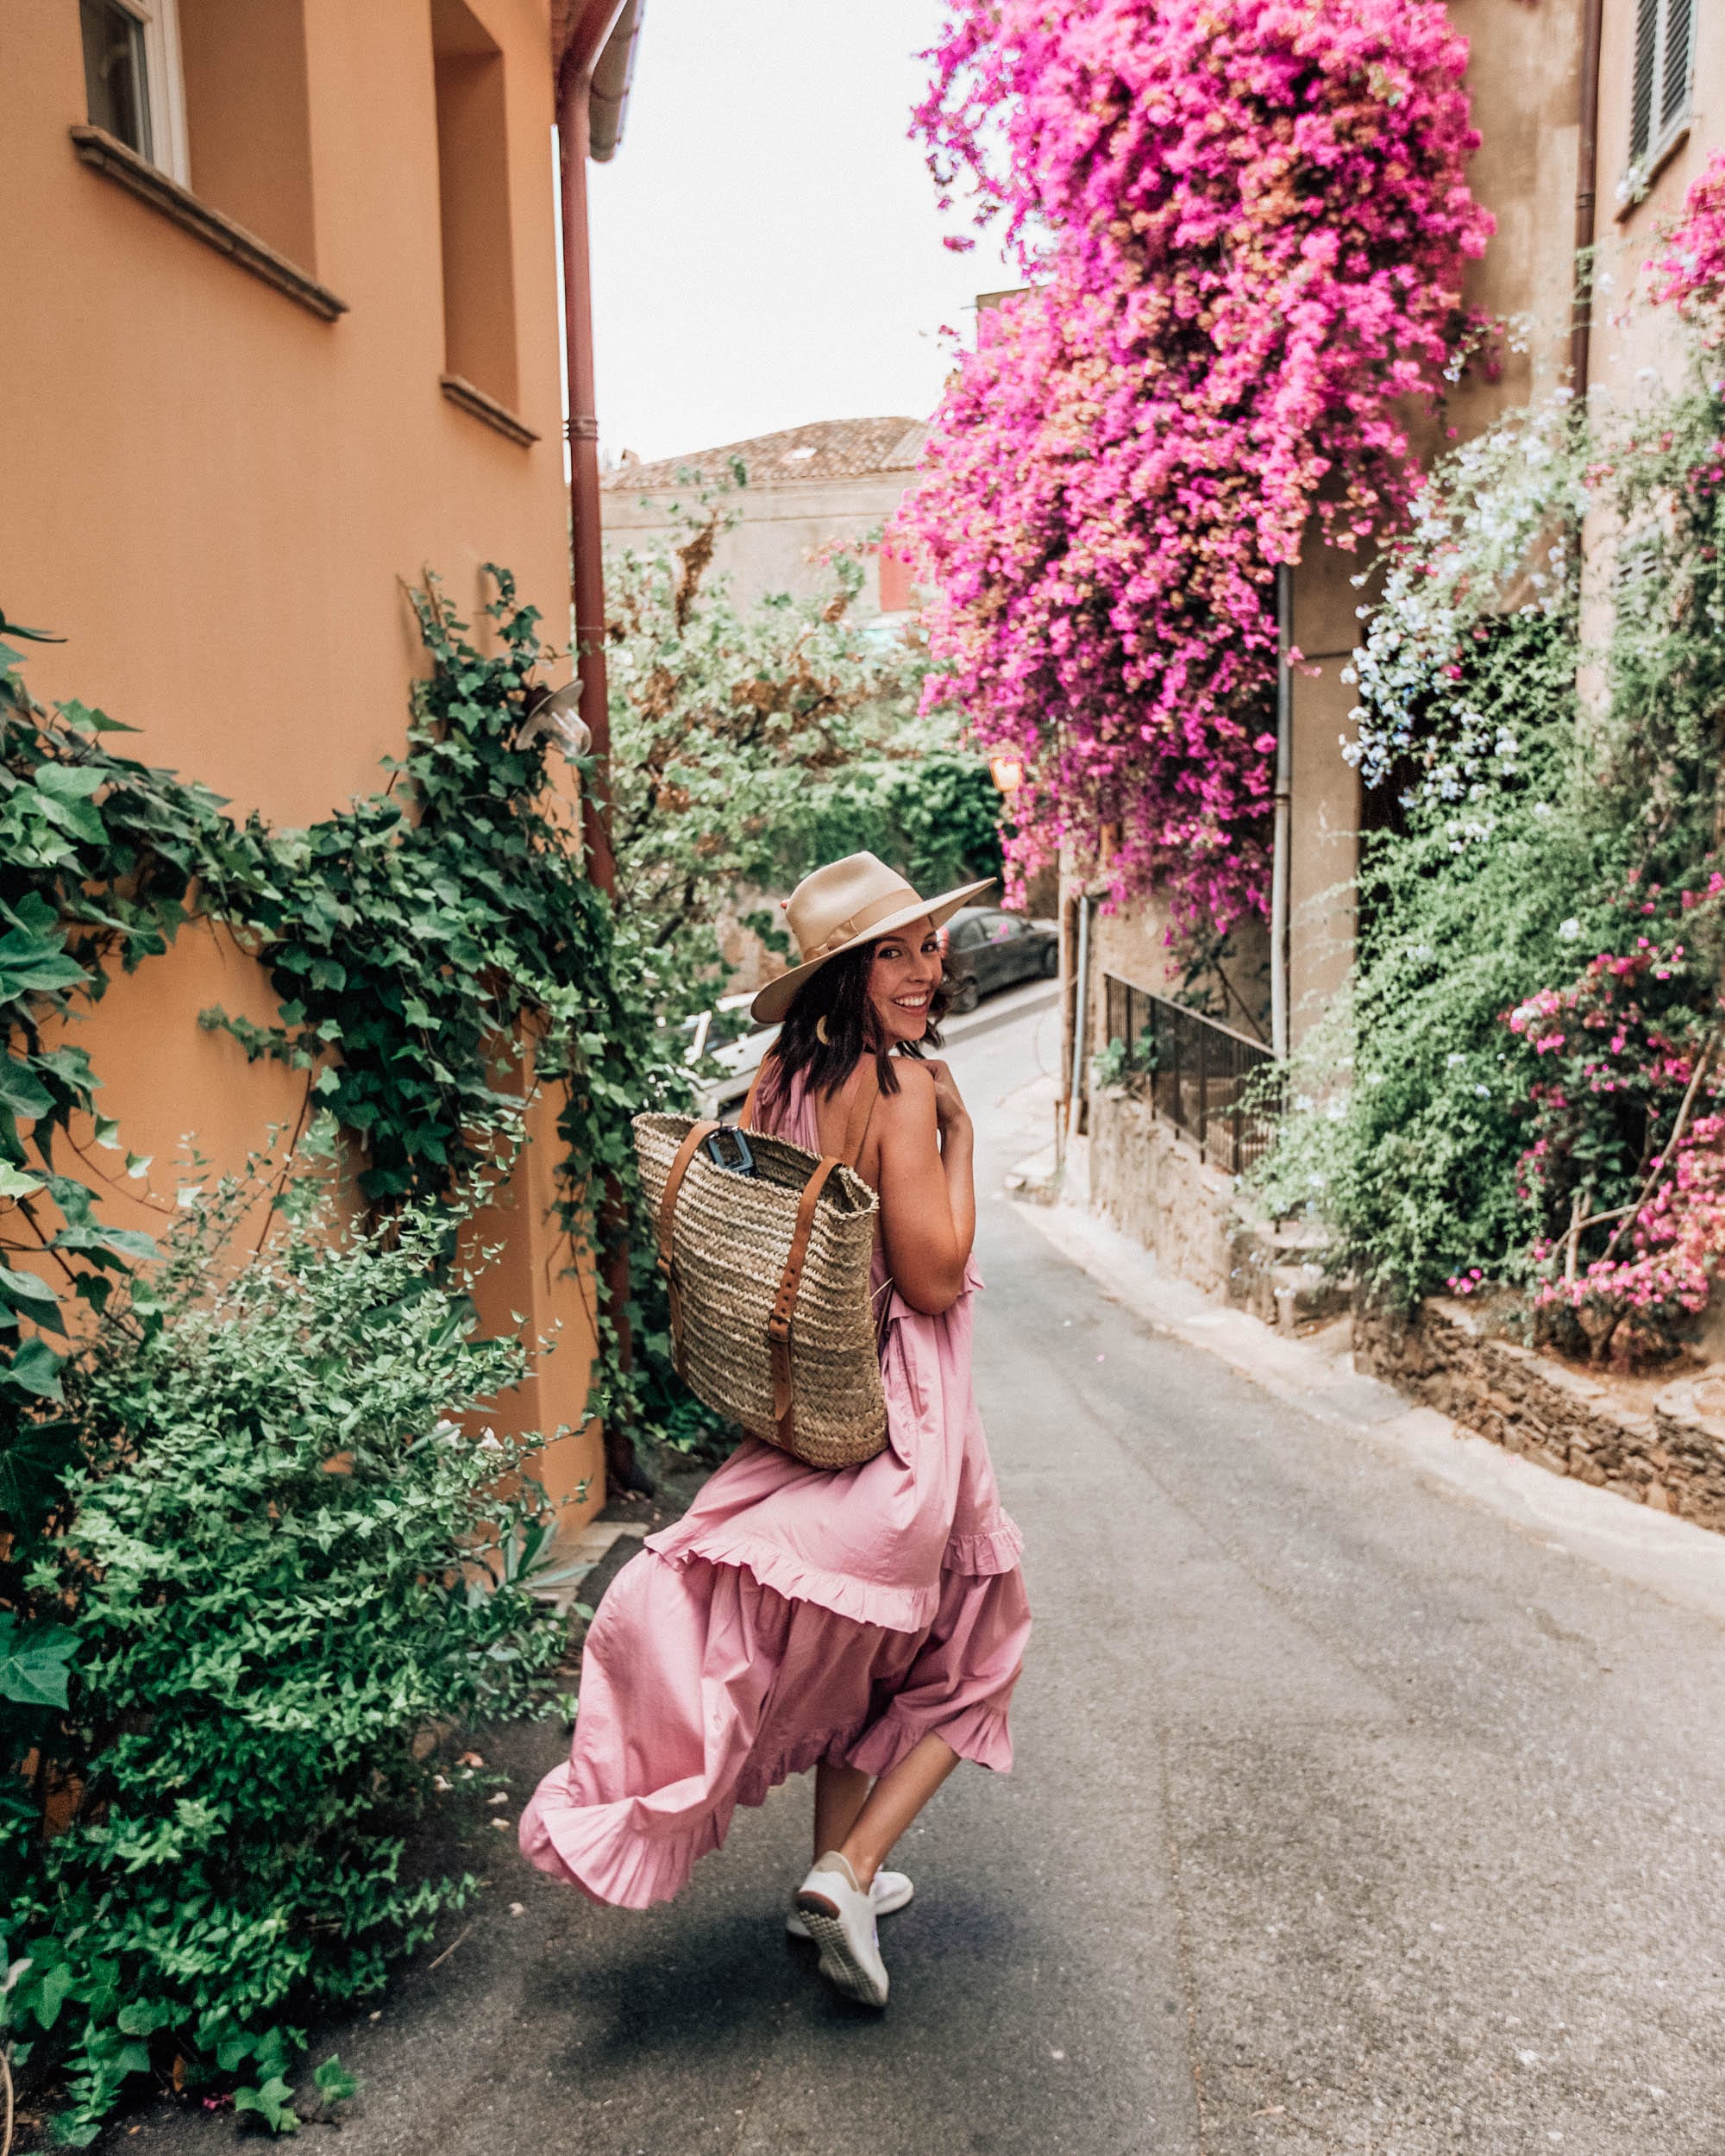
Every time I sit down to write this post I find myself getting distracted looking back at all of the photos of the stunning villages and coastal views so it has taken me much longer than expected to write this! About a year and a half ago, TJ and I decided to plan a trip to the South of France. We knew from the beginning we would go in July but it wasn’t until April/Mayish when we started to book everything and we somehow lucked out even for waiting semi-last minute with all of our places to stay, especially the budget-friendly Airbnbs! I knew I always wanted to visit Italy and France but, for some reason, I decided that our first trip to Europe would be the South of France and I am so glad we decided on that, although I am pretty confident that I’d be in love with Italy as well. If we were to go to Italy, I would want at least 10 days though and we didn’t have that for this trip. I also remember being really inspired by the movie, “A Good Year”, and immediately ordered this book on Amazon to learn more about the area.
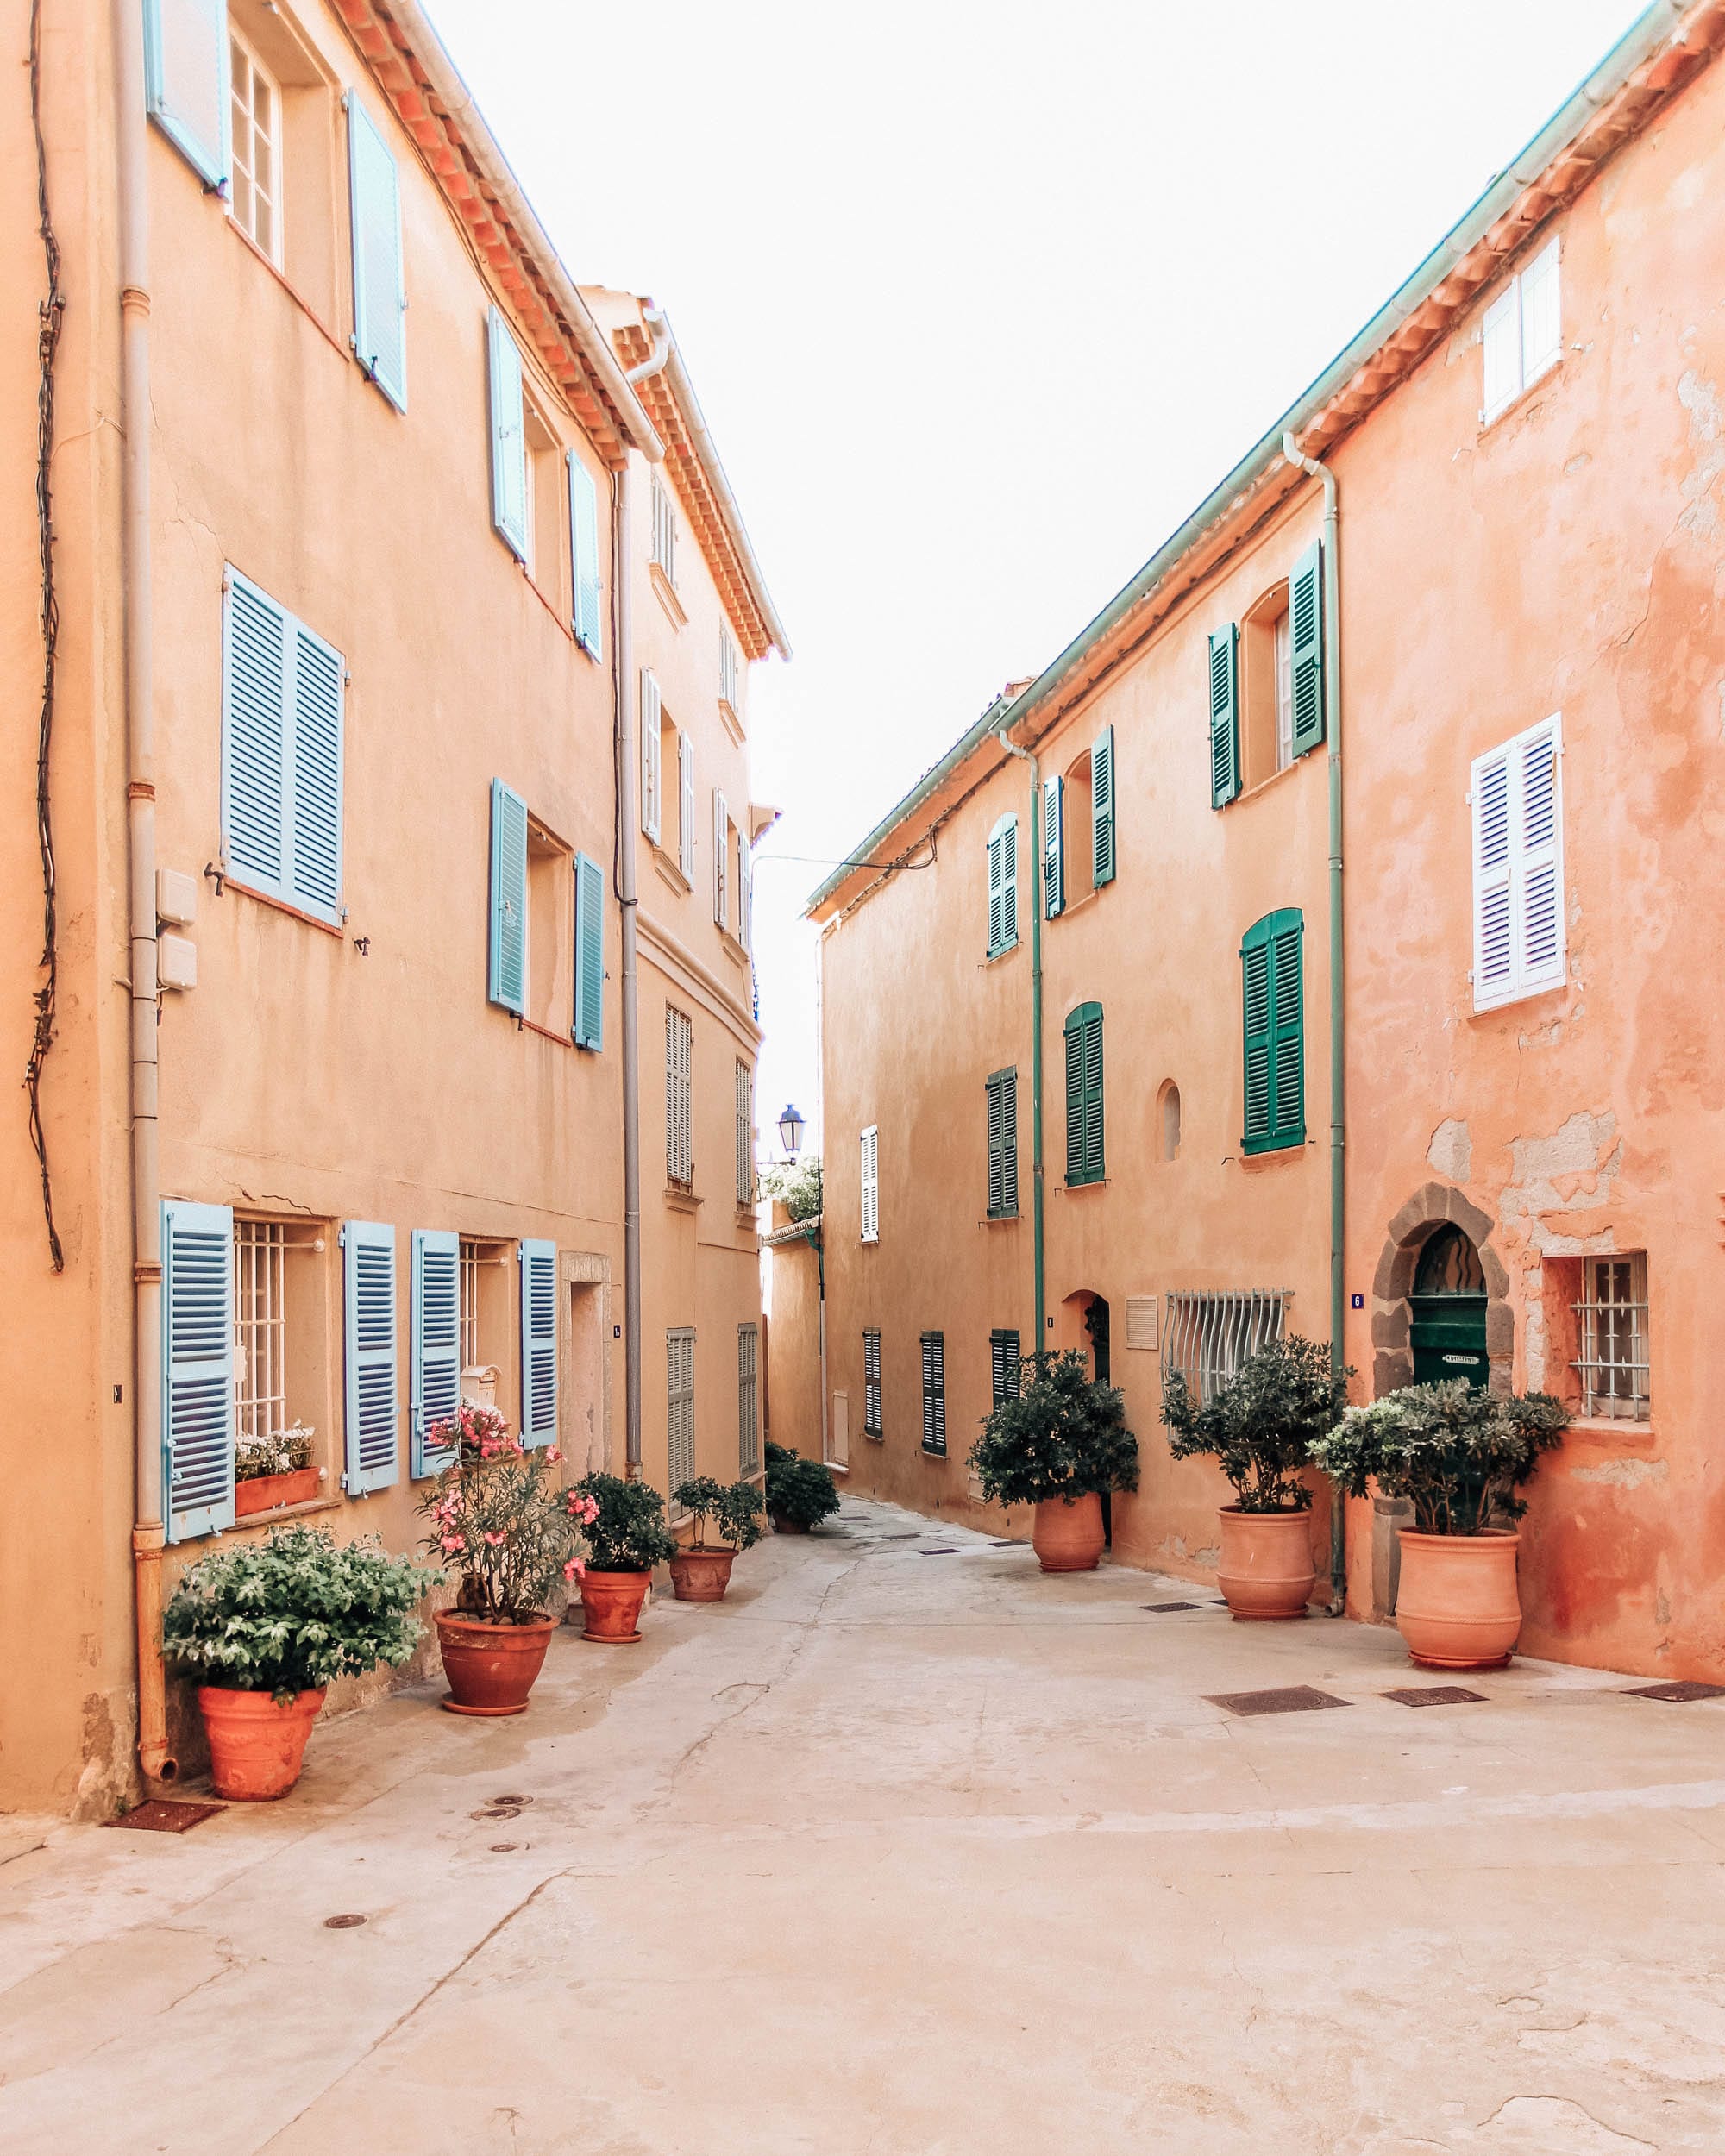
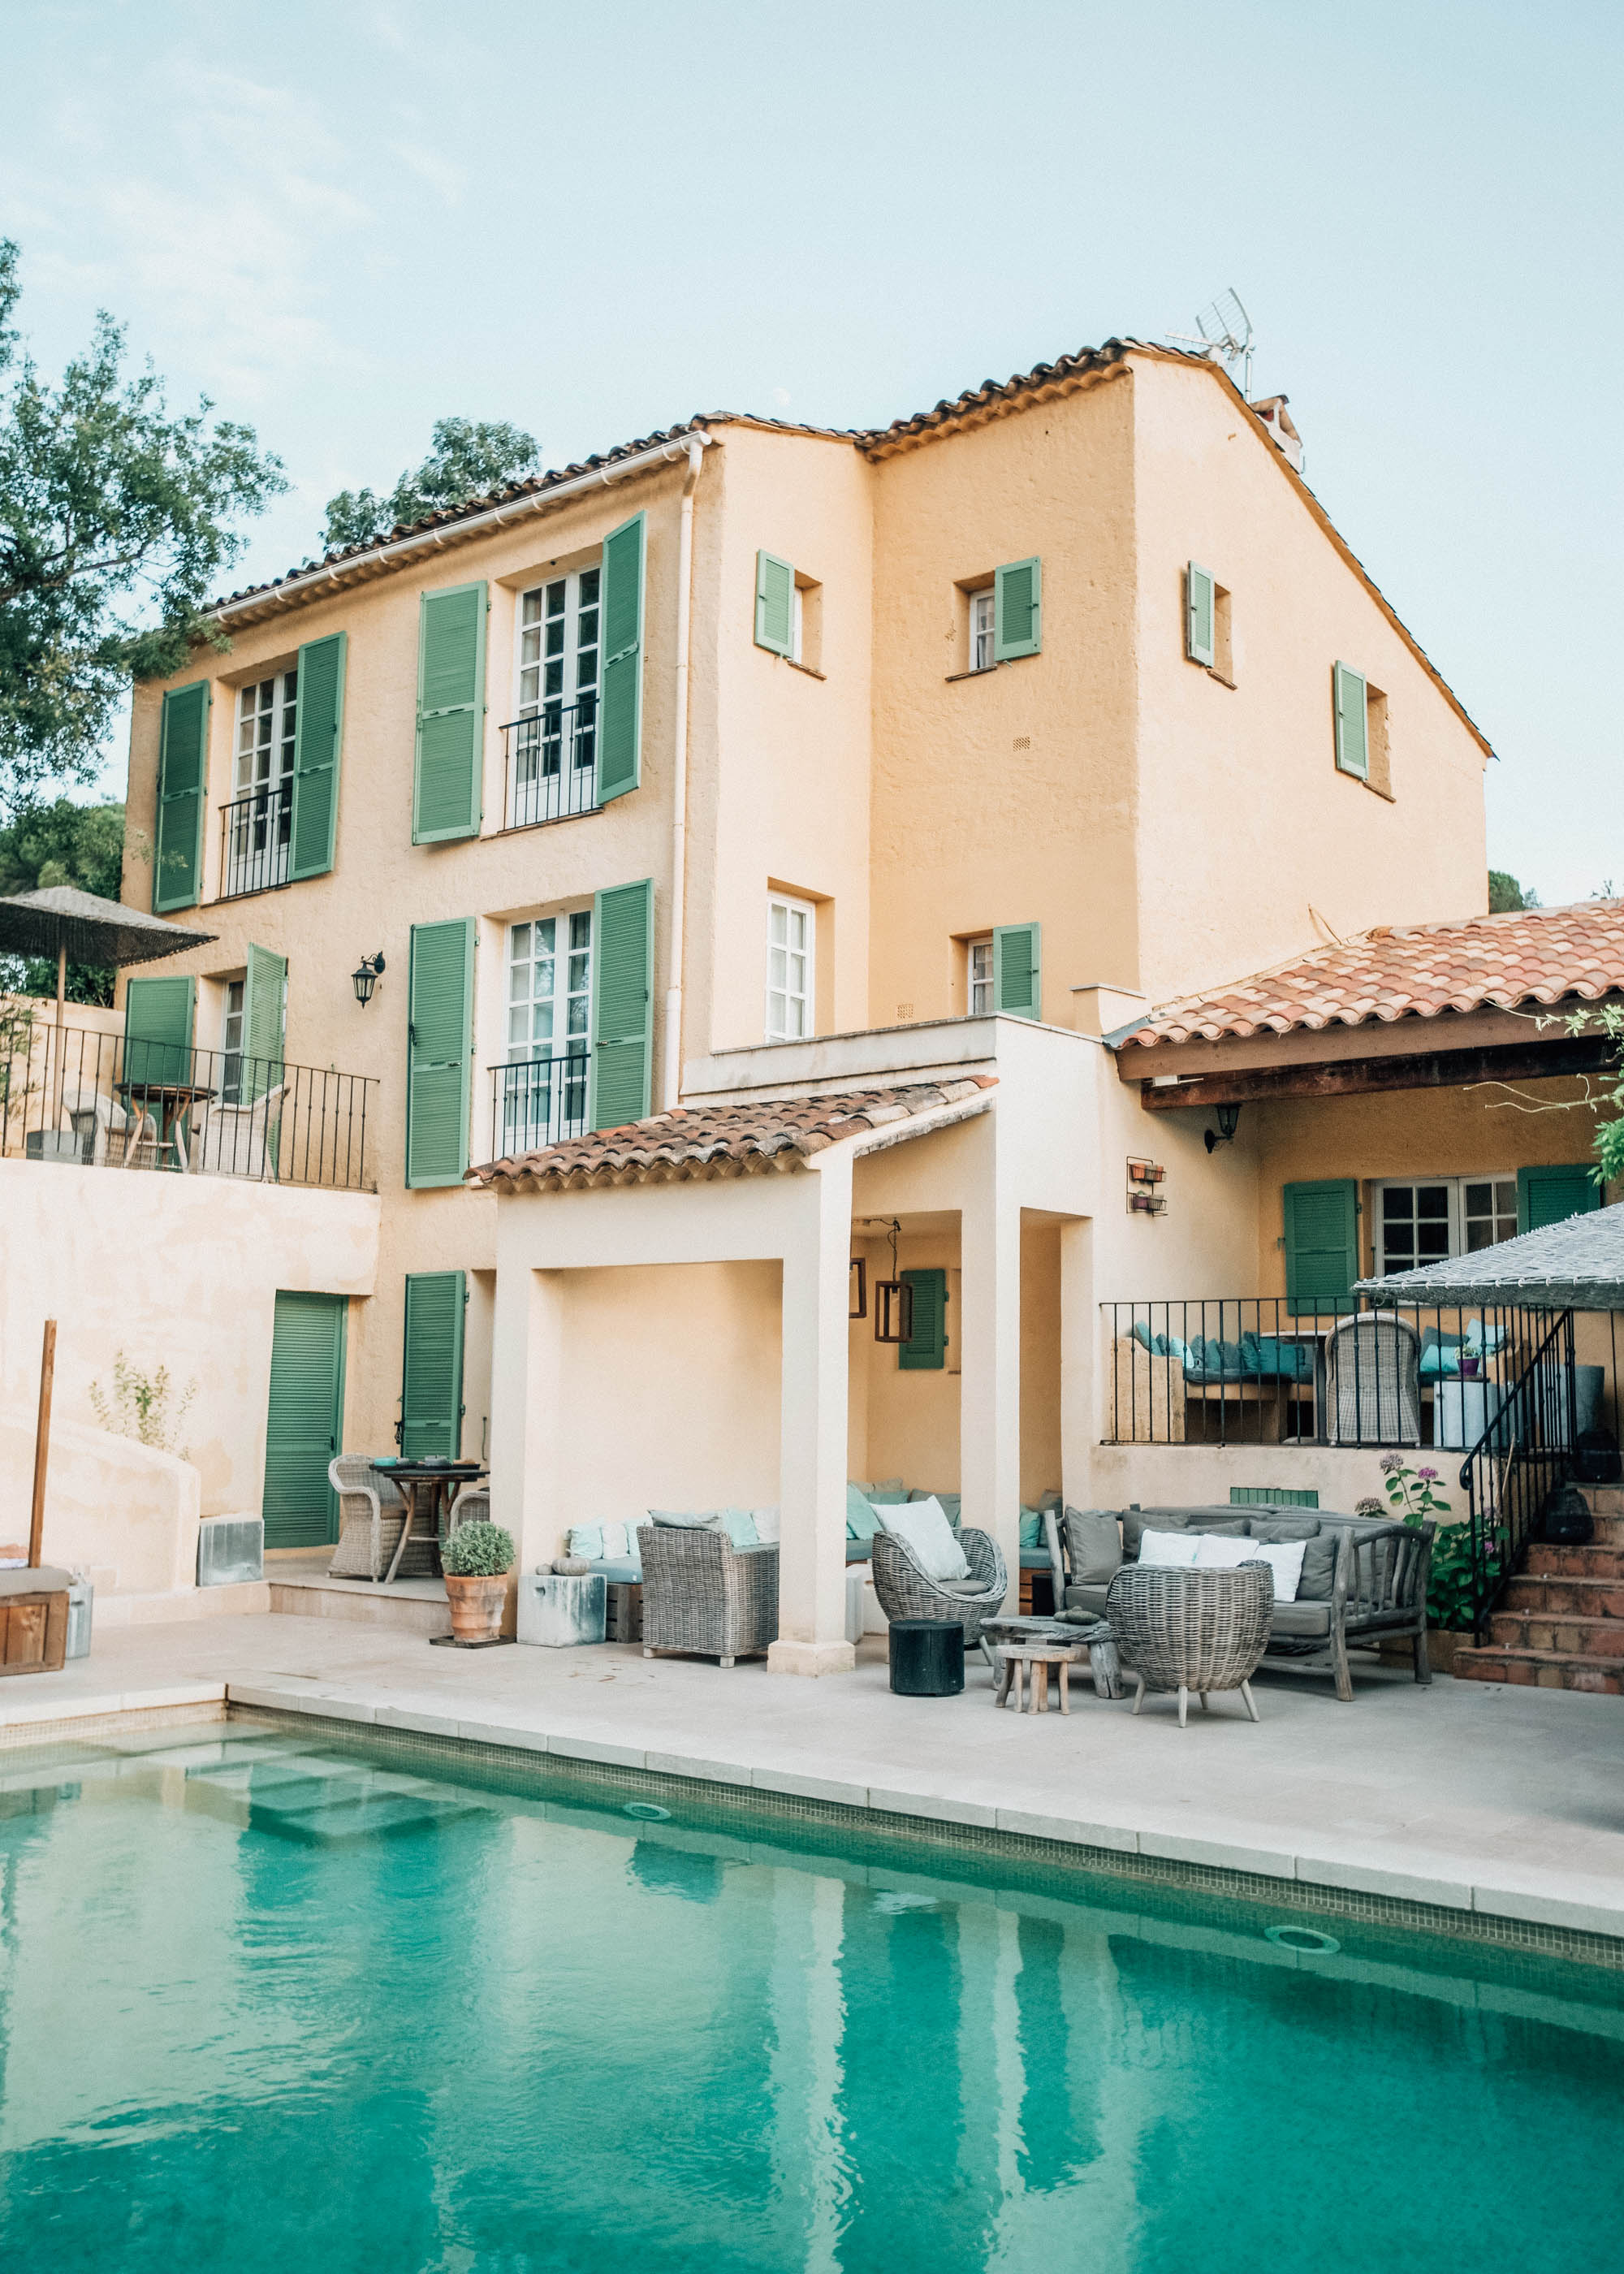
Our flight over there wasn’t too bad… about 6-7 hours to London and then 2.5ish from London to Nice. We flew out of JFK though so it ended up being quite a long travel day. We didn’t sleep on the overnight flight getting there (we were too excited) so when we finally arrived in Nice, we picked up our rental car, and headed to our first of three stops. I thought it would be easier for me to break these posts up into 3 parts: our first, second, and third stop. We decided to splurge the first two nights and stay in a hotel, La Bastide d’Antoine, right outside of St. Tropez in a town called Gassin.
When planning a trip to the South of France, it’s incredibly hard to narrow it down to the different towns you want to see. I knew that I wanted to spend half of our time by the coast and half of our time in the countryside. If we could do it again, we would have stayed at least 3 days longer than we did so that could have just one day to relax at each destination. There was very little relaxation on this trip… there was just way too much to see and do and not enough time! However, it was still such a fun and adventurous trip that I’ll never forget. I’m honestly already trying to figure out how I can go again. If I could go again, I would visit completely different spots and it would feel like a whole new experience. Everywhere was just so beautiful and unique.
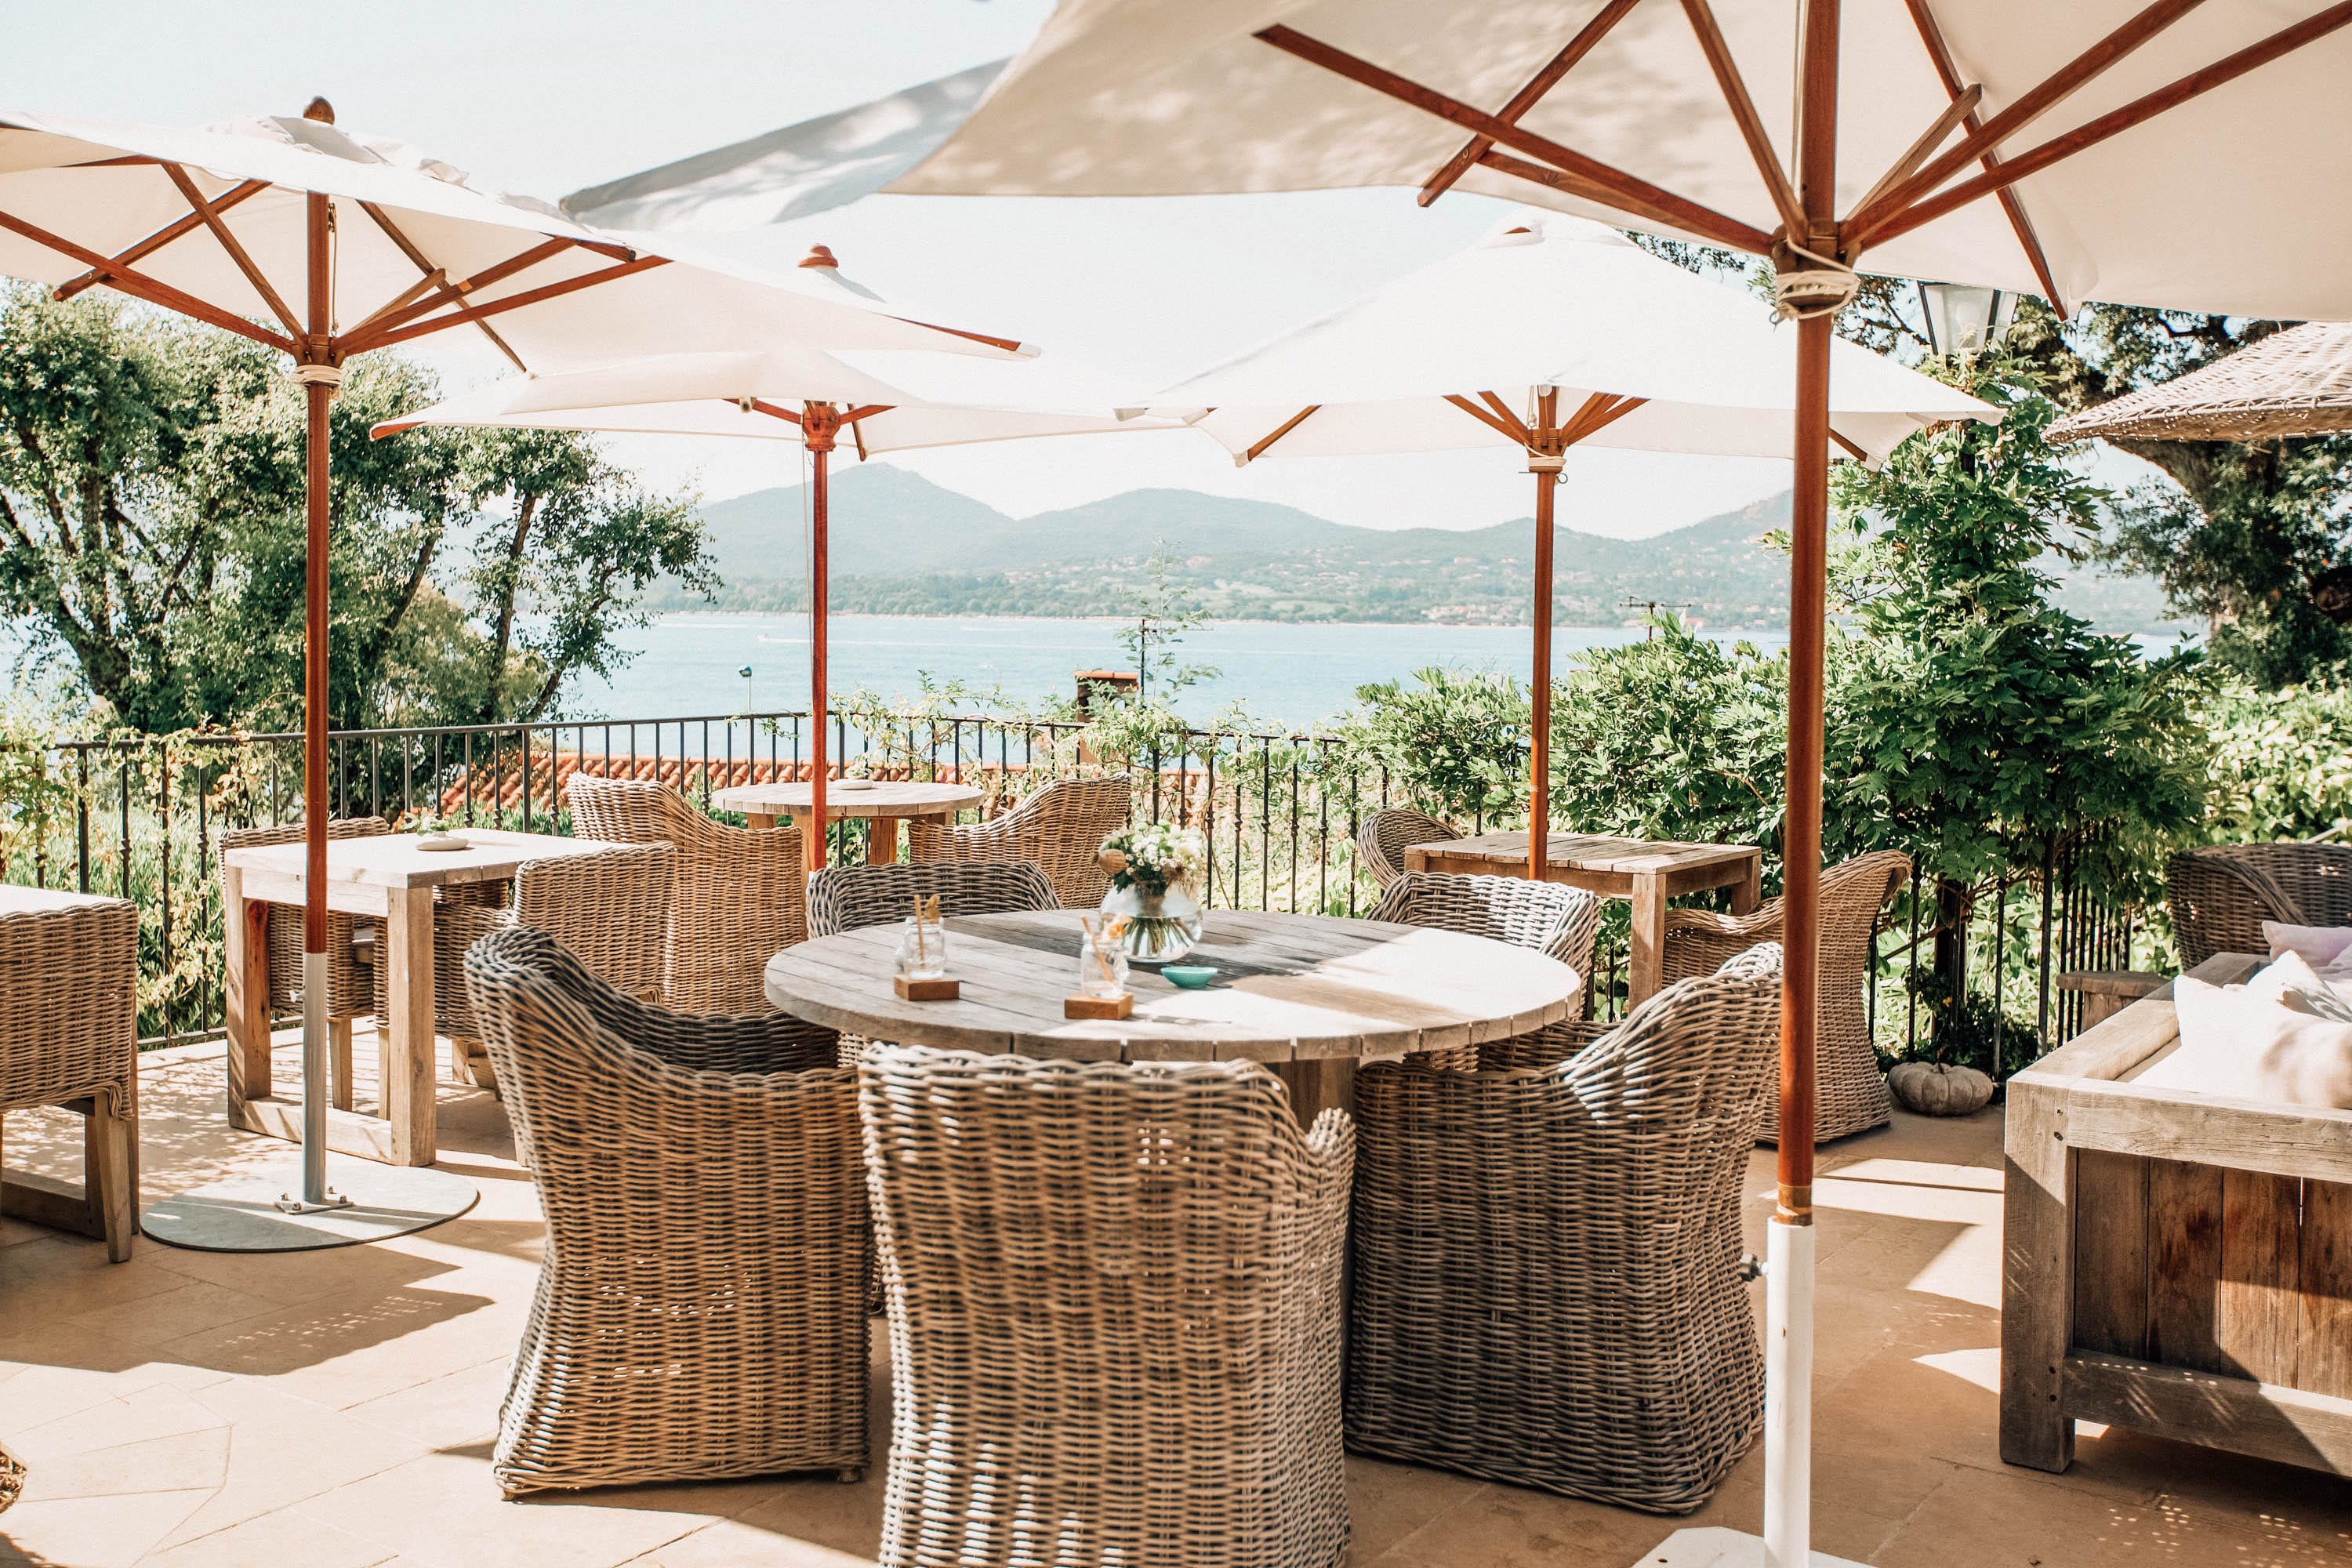
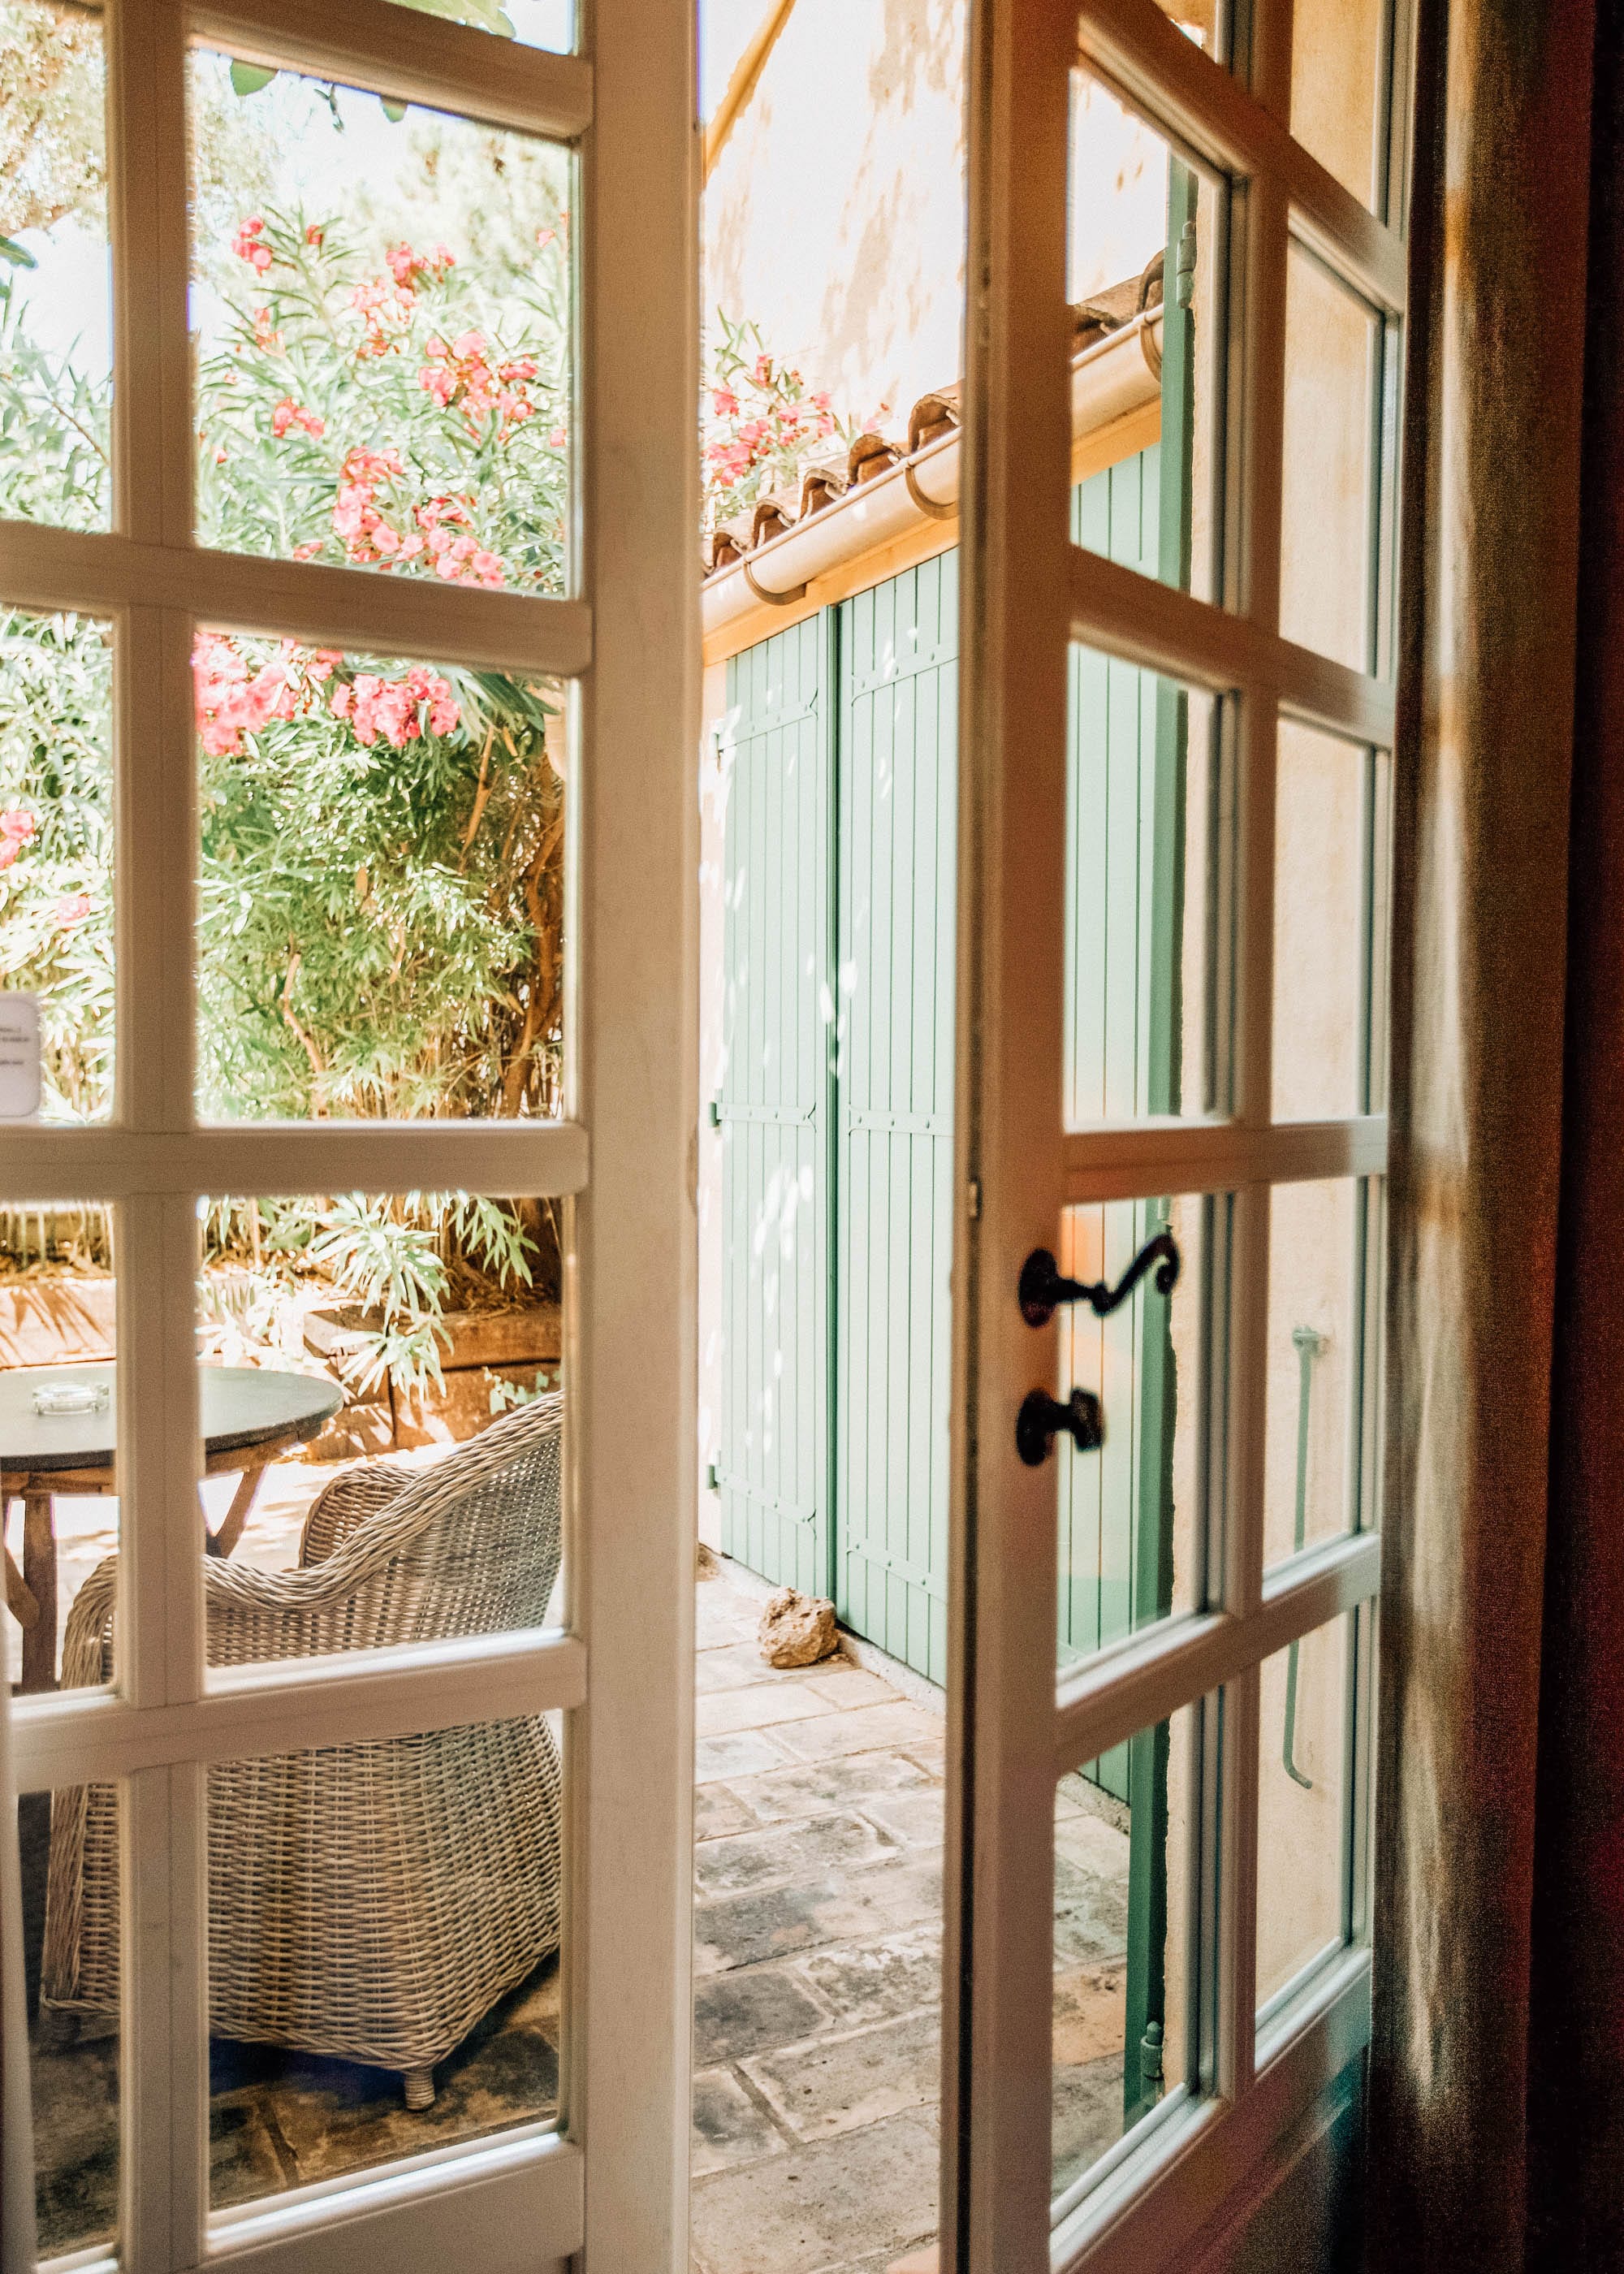
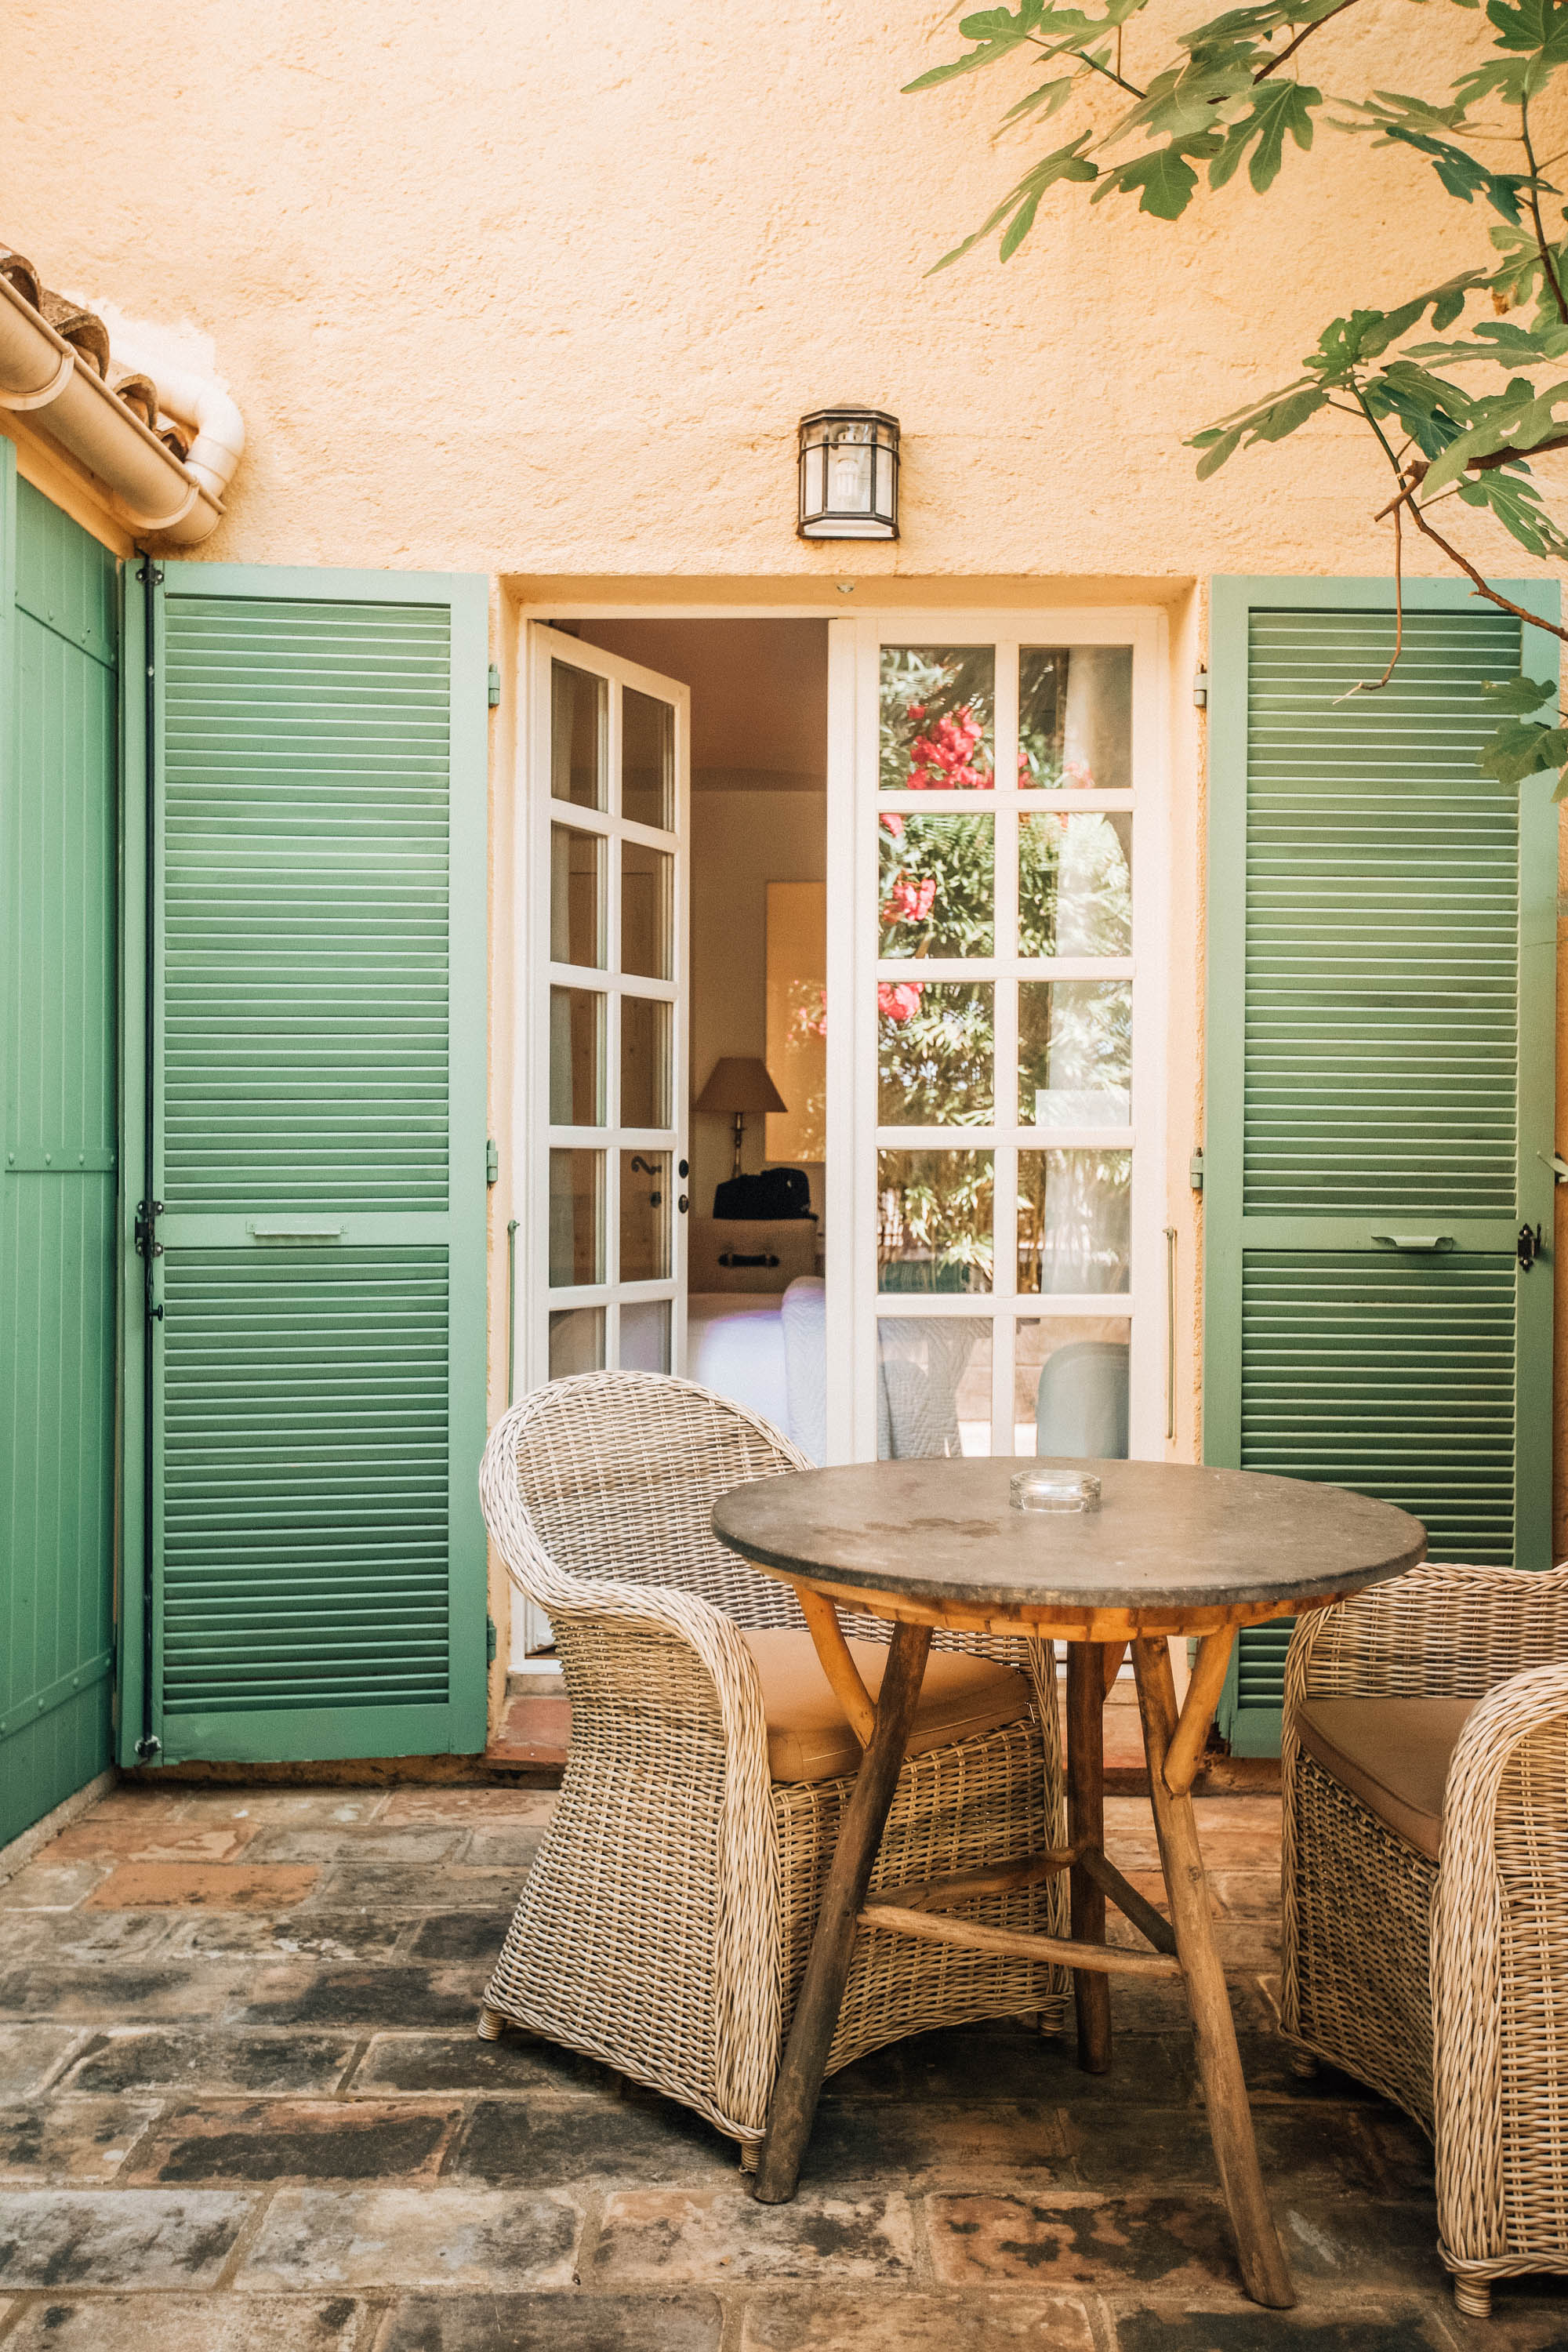
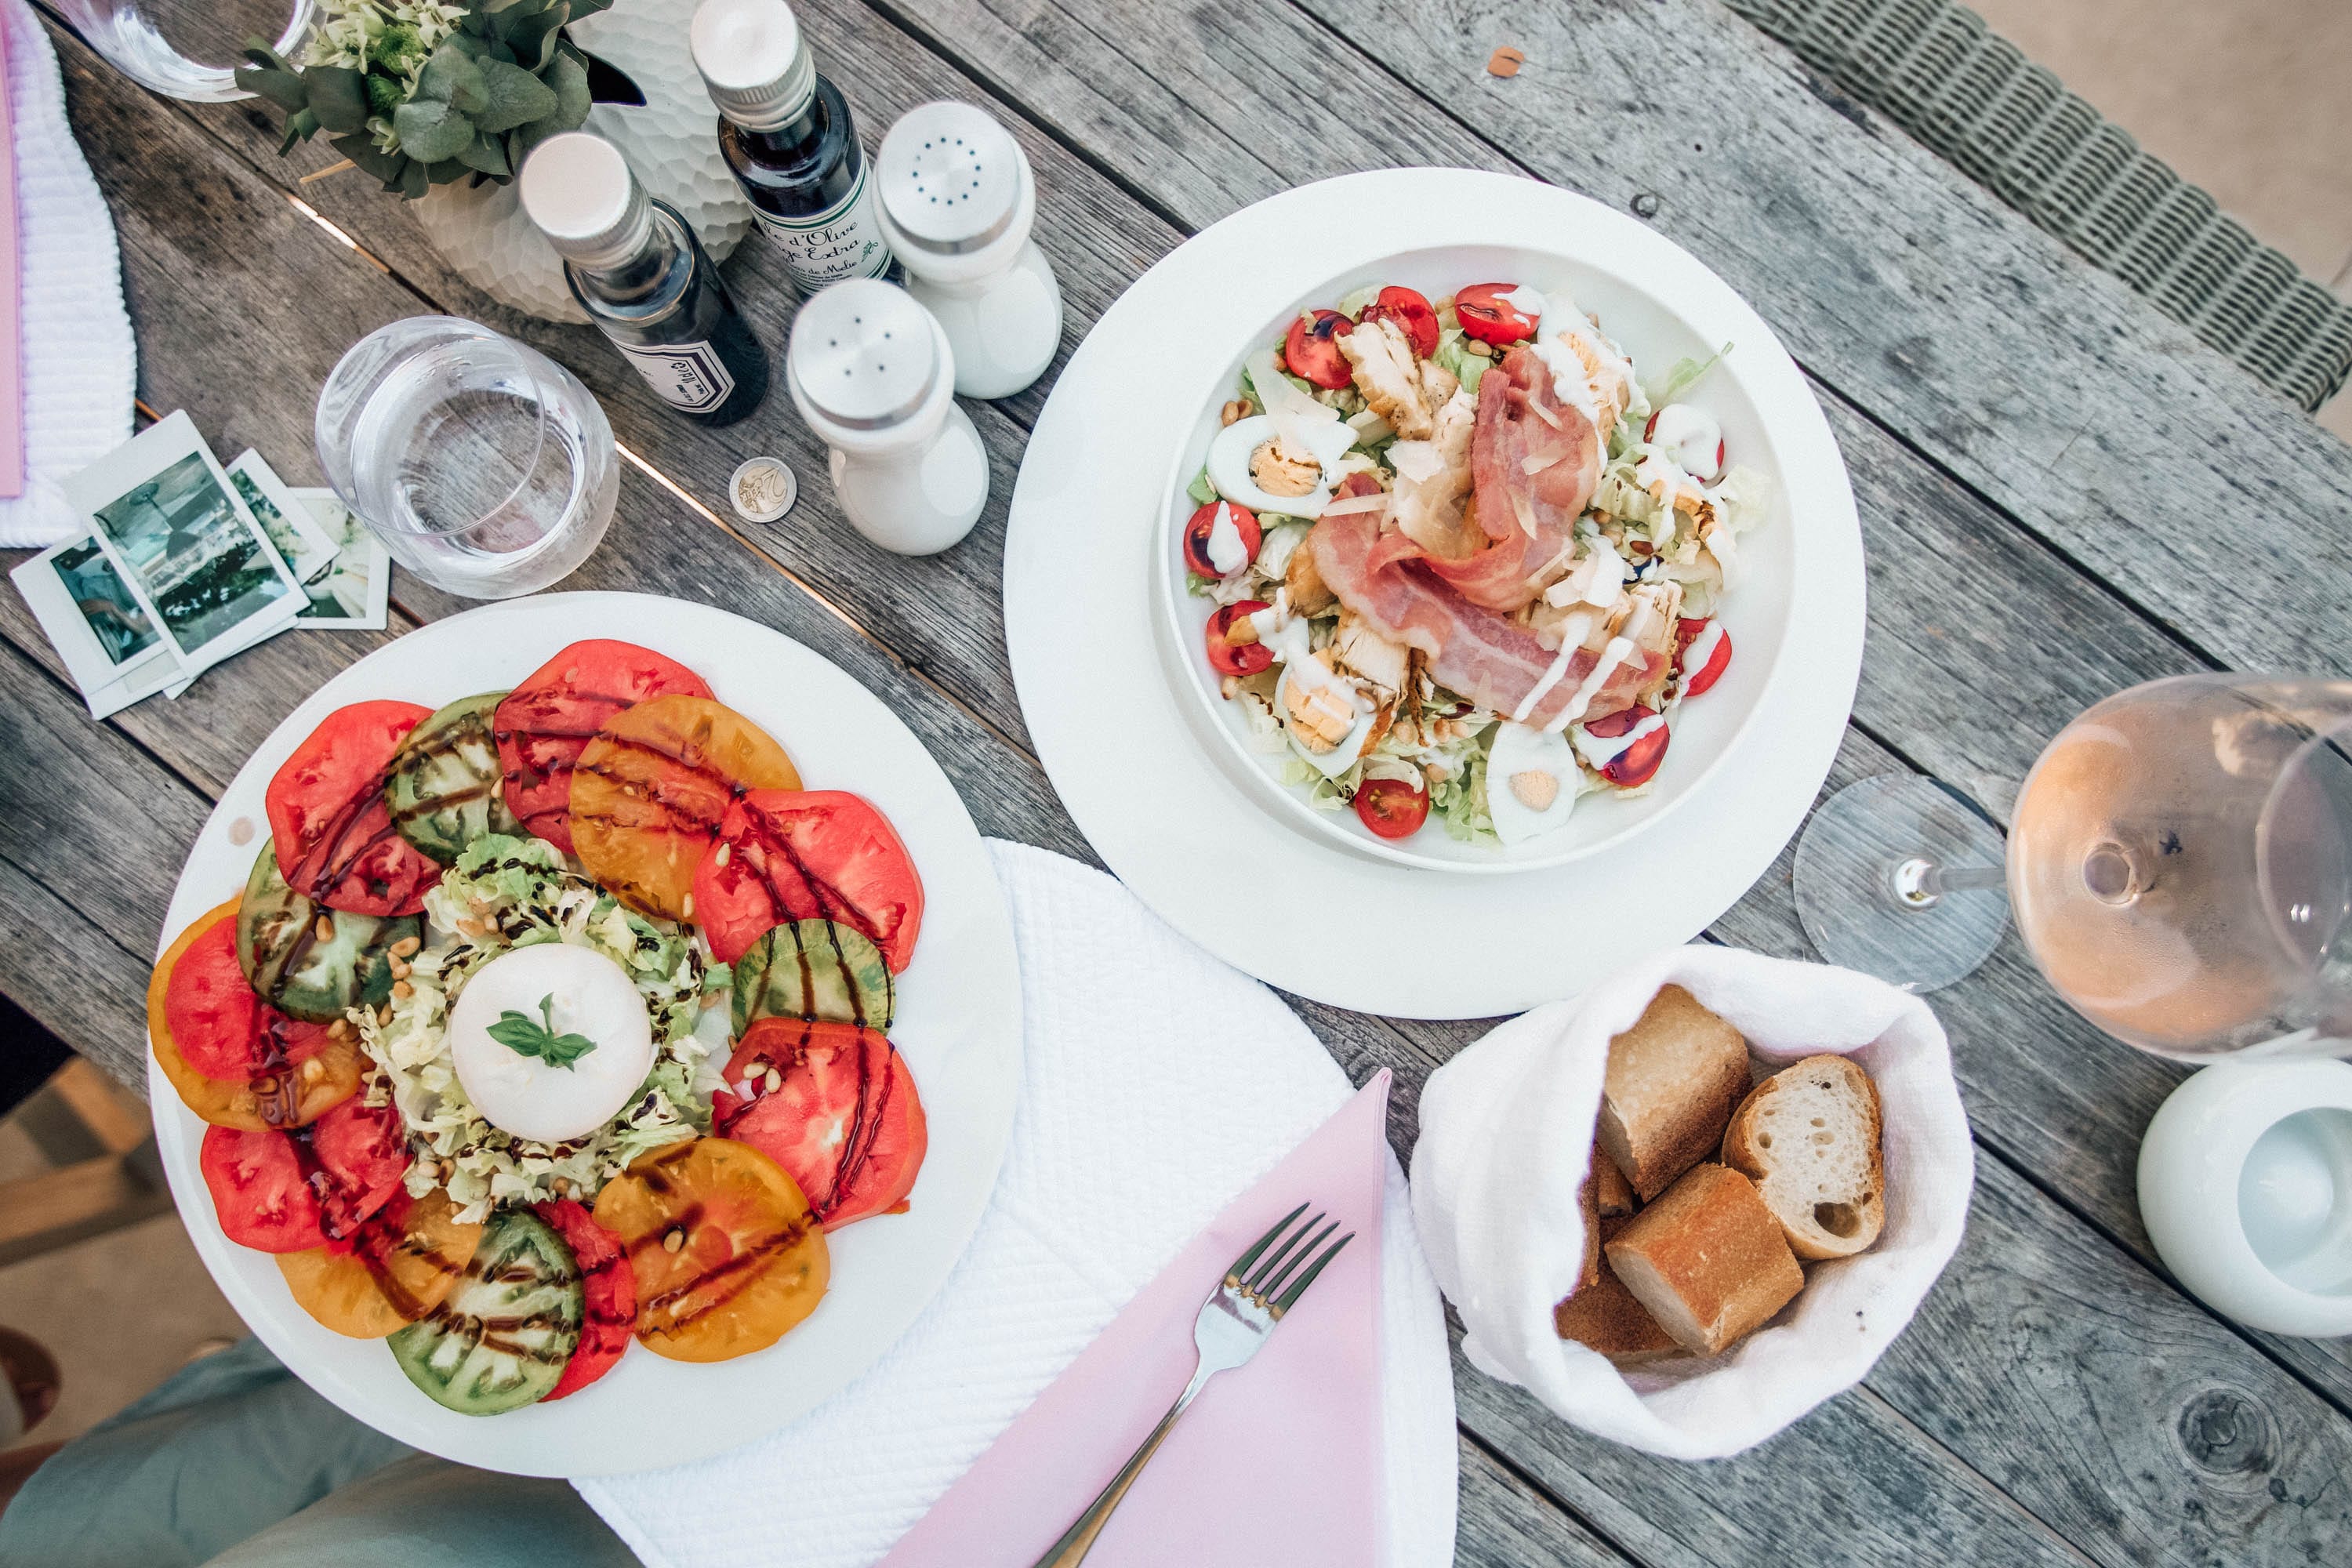
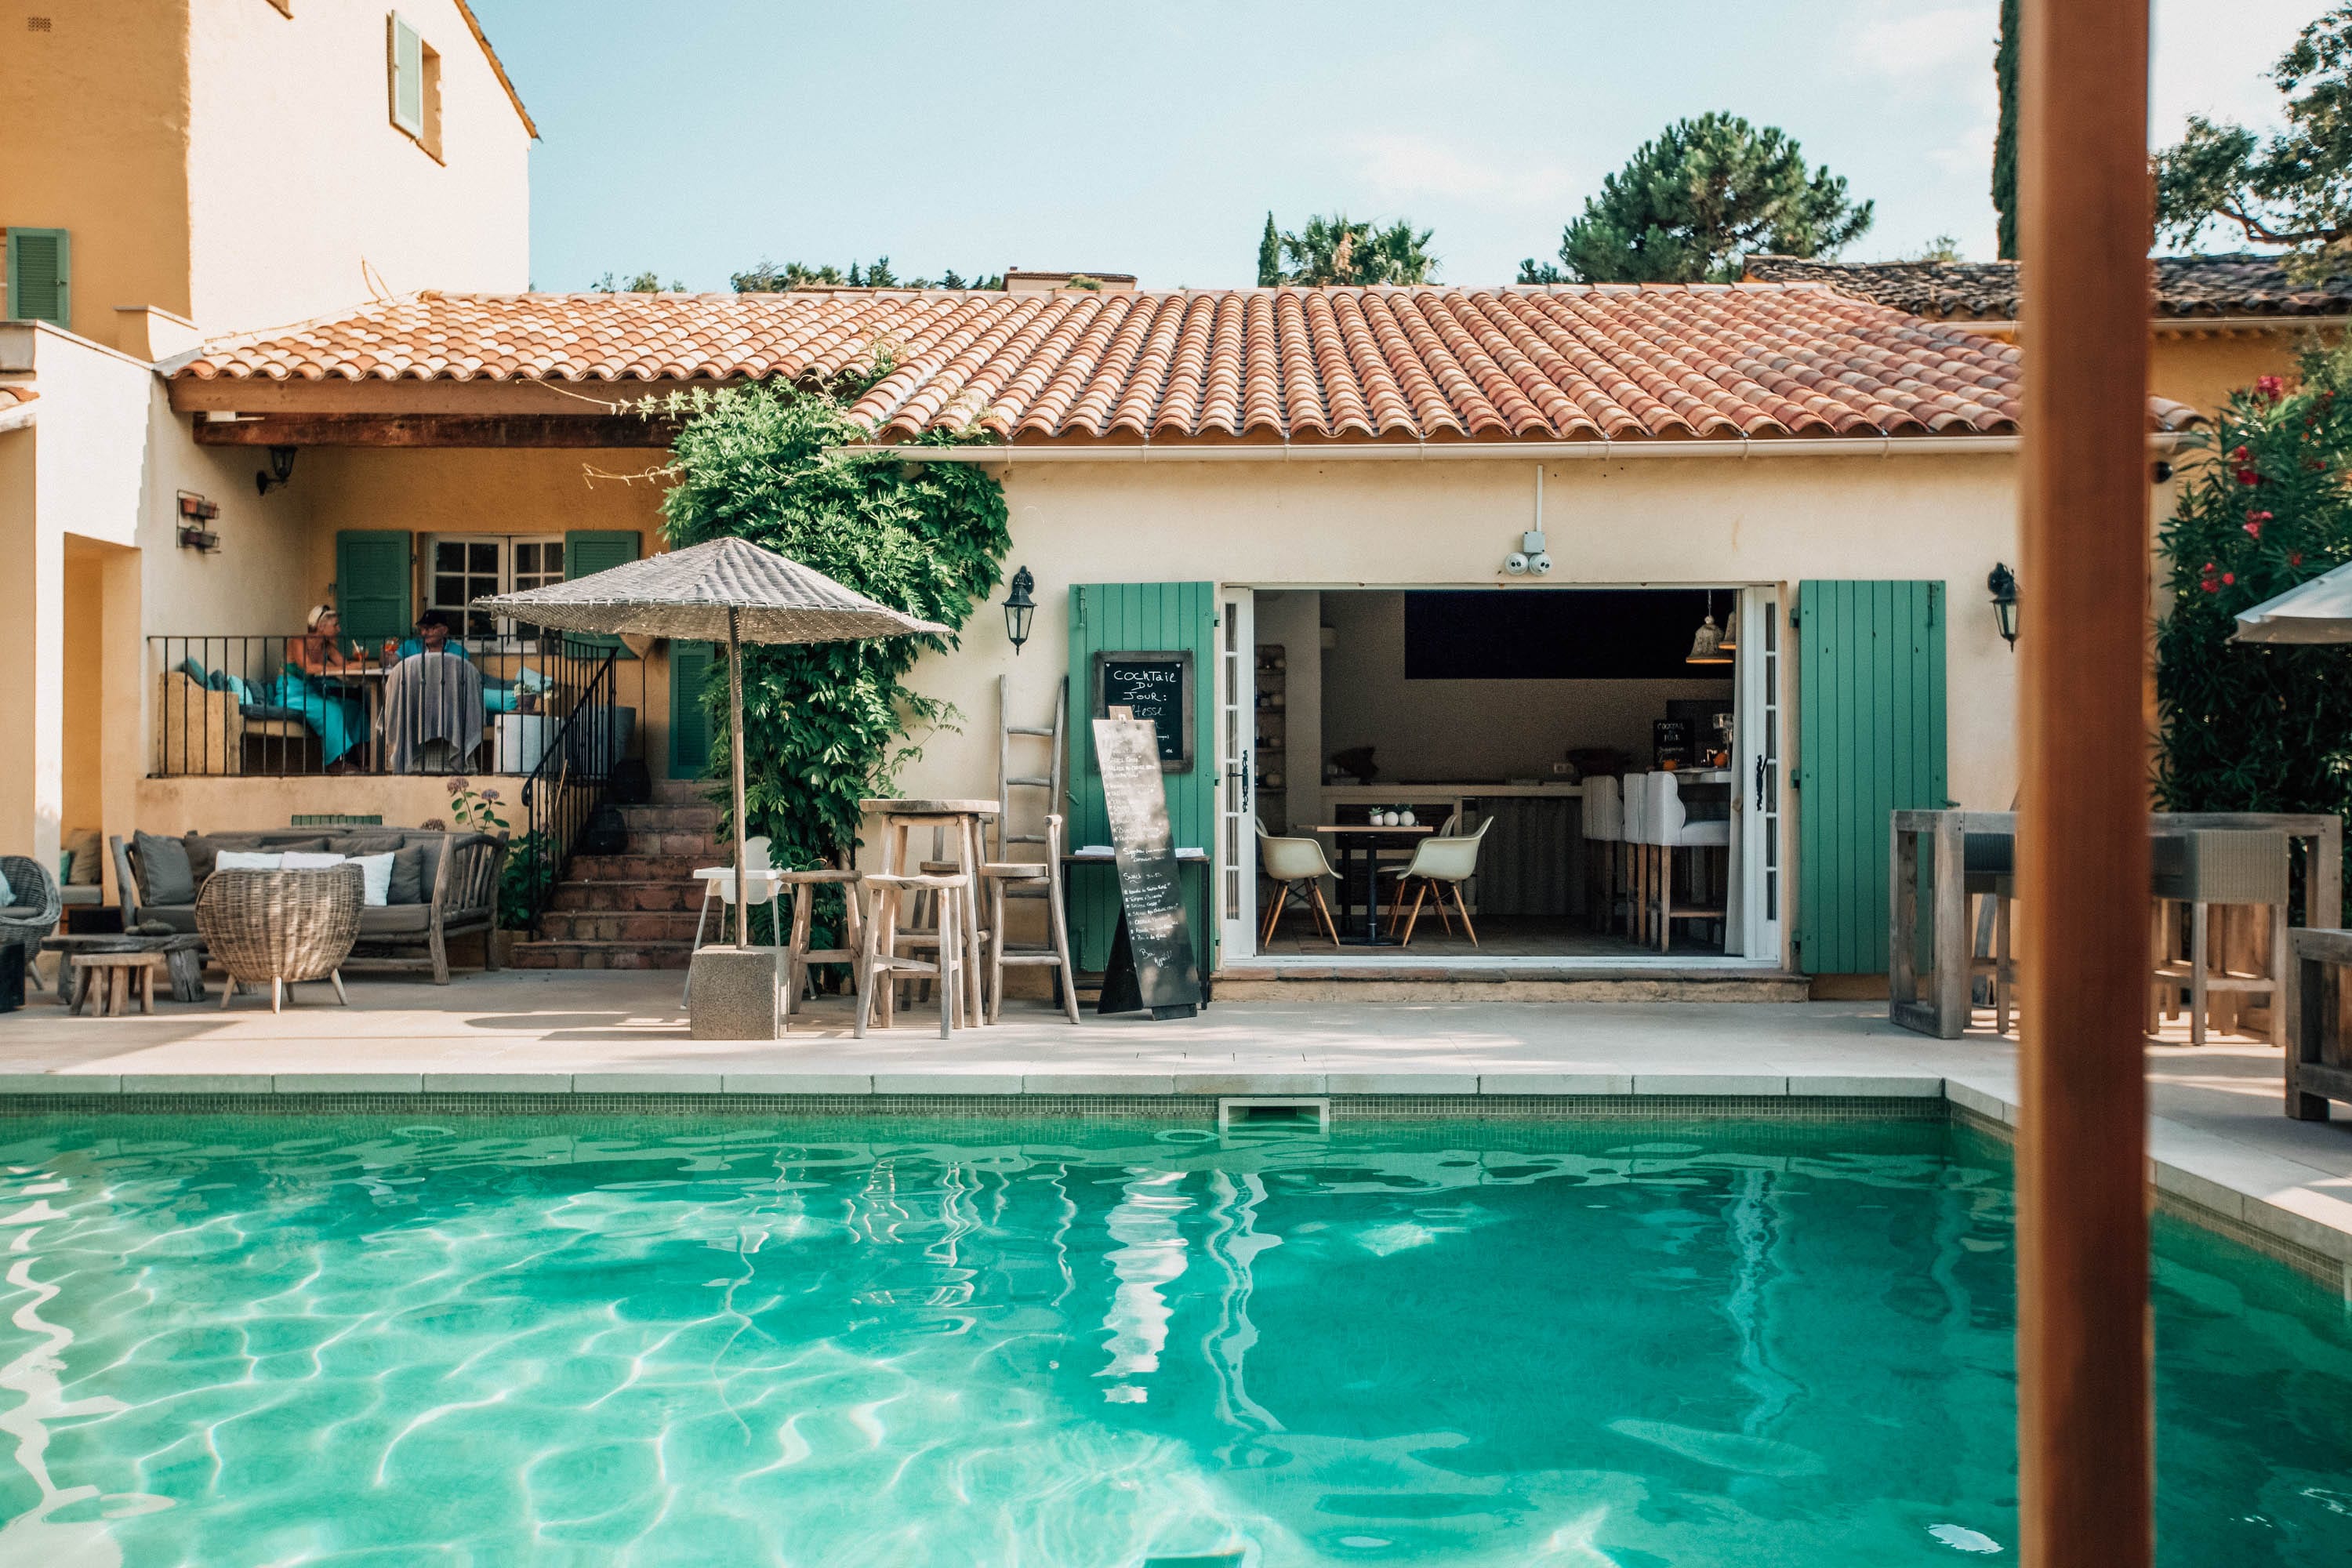
Once we arrived to our hotel for the first 2 nights, La Bastide d’Antoine in Gassin/St. Tropez, we checked-in, ordered some rosé, bread, and cheese by the pool and the largest caprese salad I’d ever seen. It was in that moment when I knew this trip was about to be a dream. After our snack/dinner at our hotel, we drove into St. Tropez to explore. TIP: If you plan on renting a car, prepare to spend some time finding parking in the busier towns, unless your car is really small. If you’re able to ask for a compact car, do it! Or else you’ll find yourself in a tiny little parking garage trying doing 20 point turns to get out like we did. The car rental company gave us a hatchback that for some reason was the longest car ever.
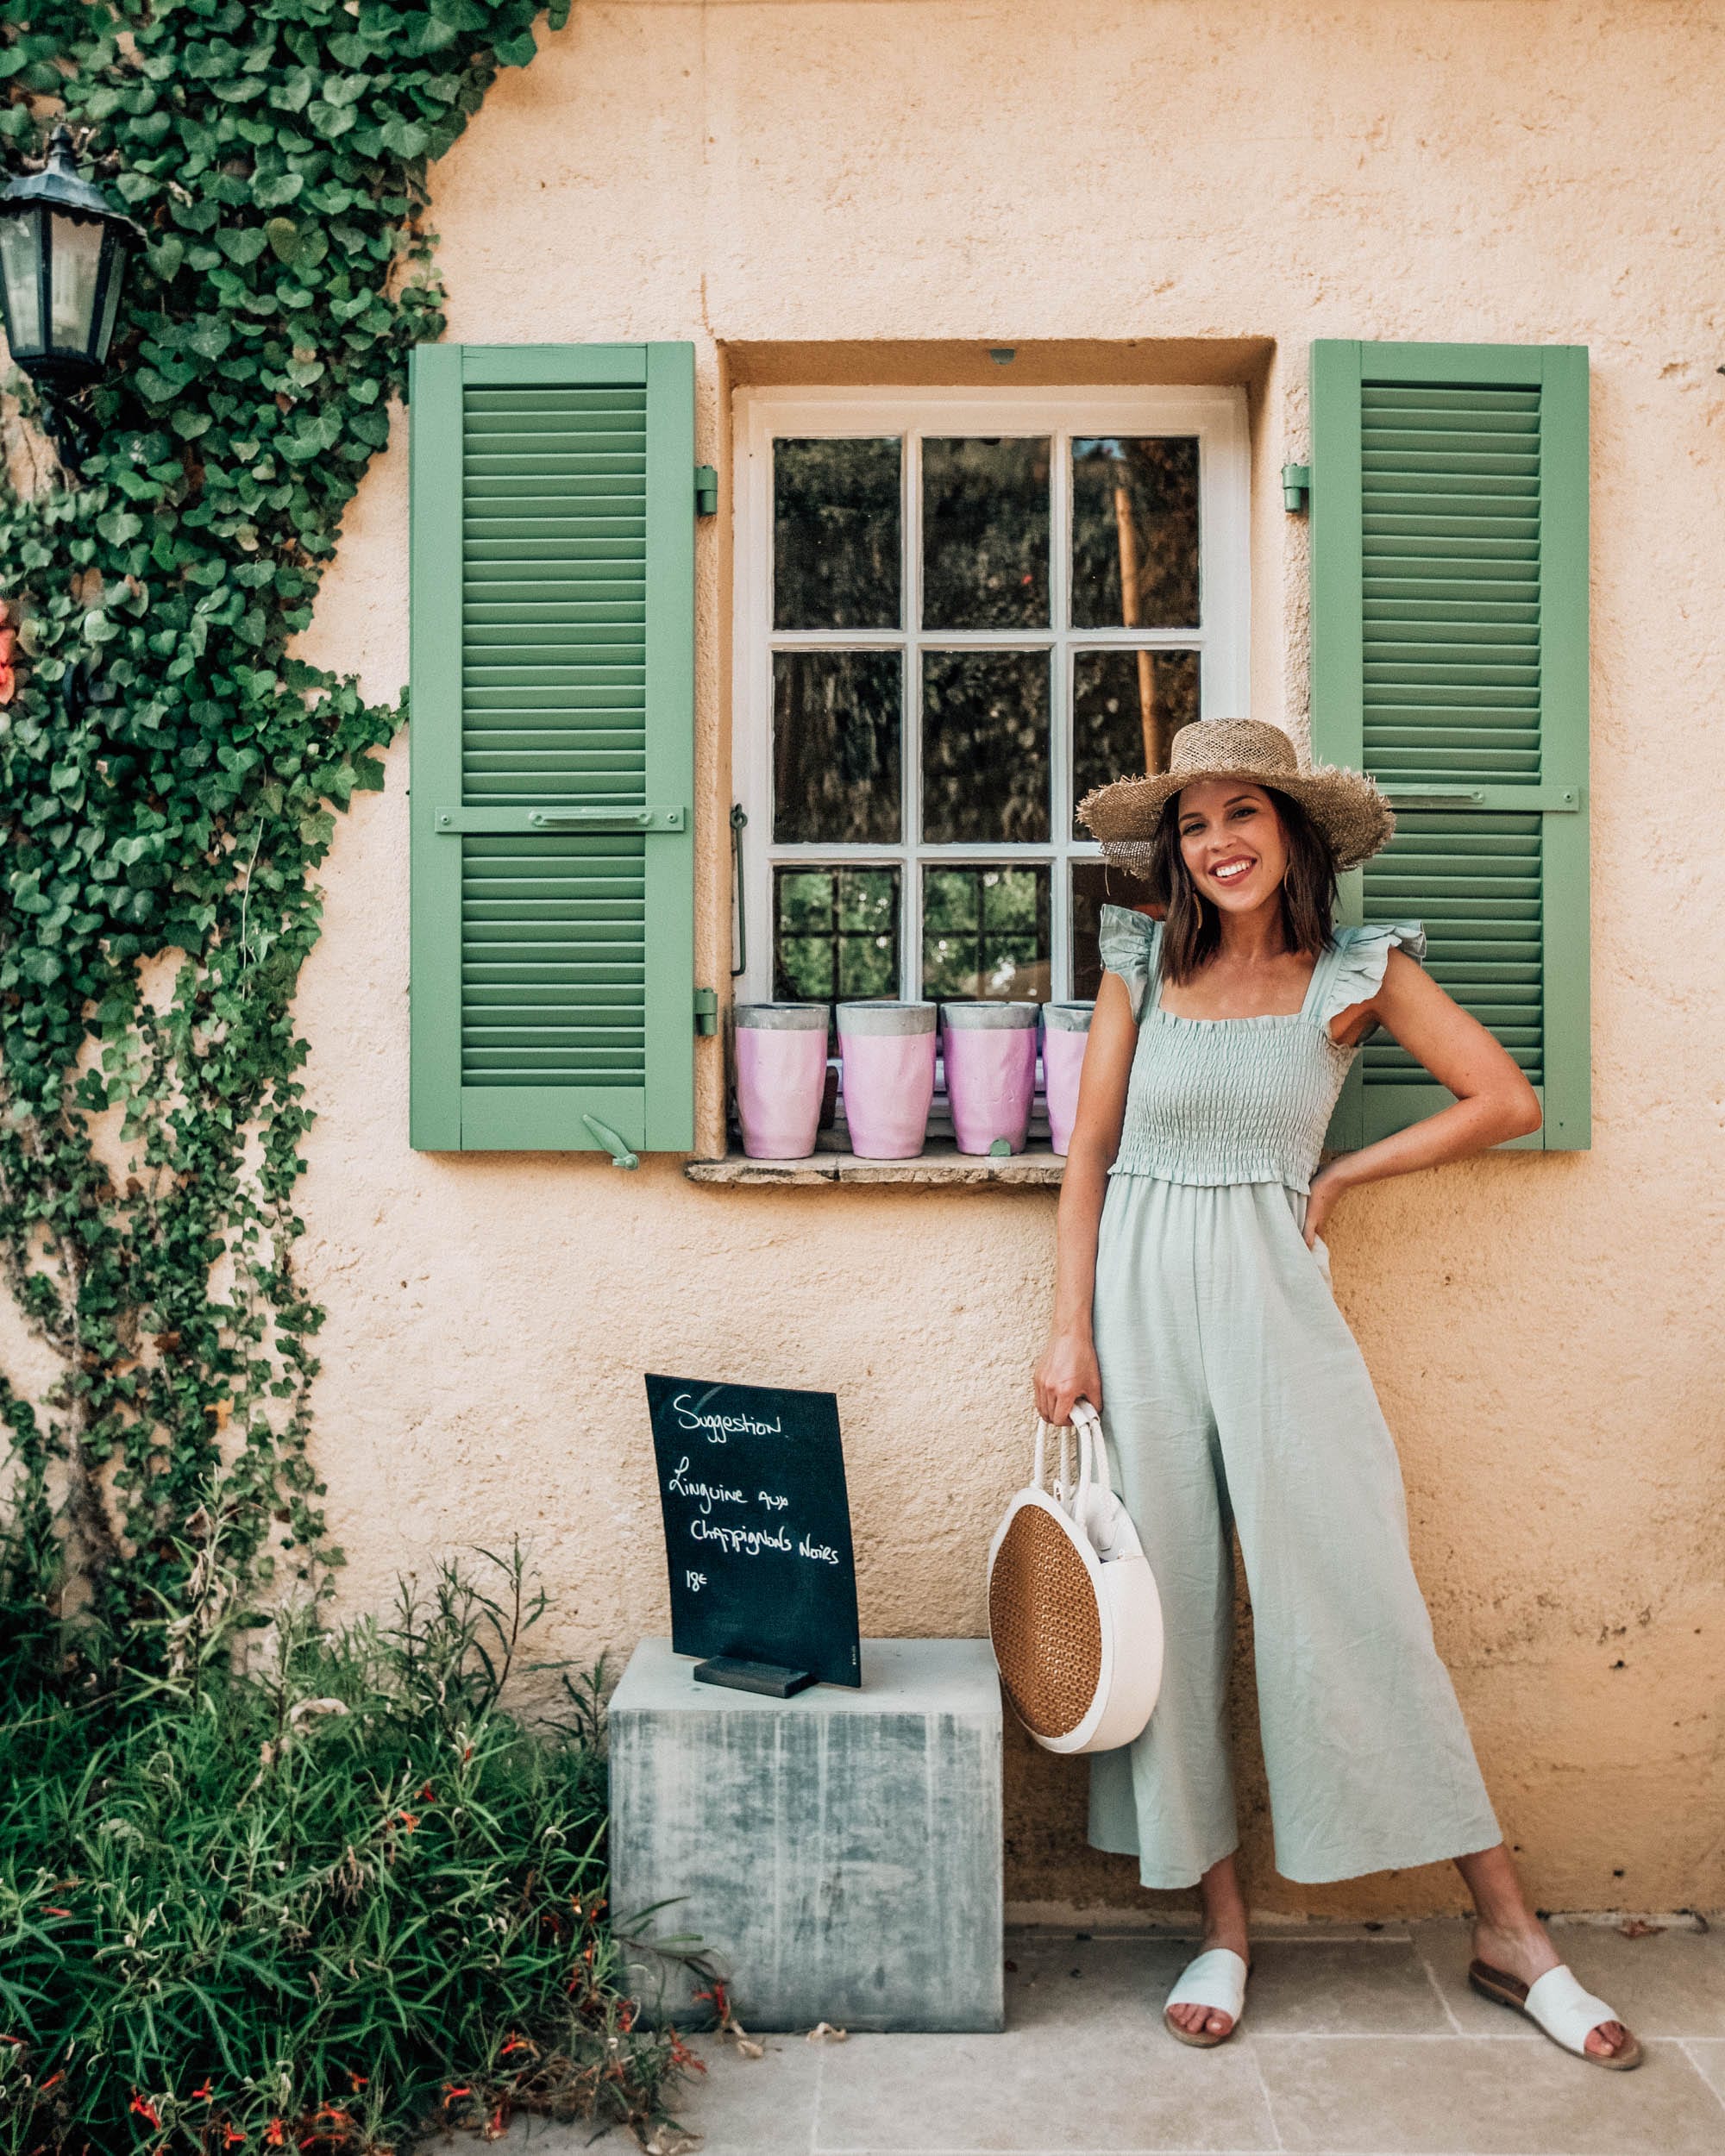
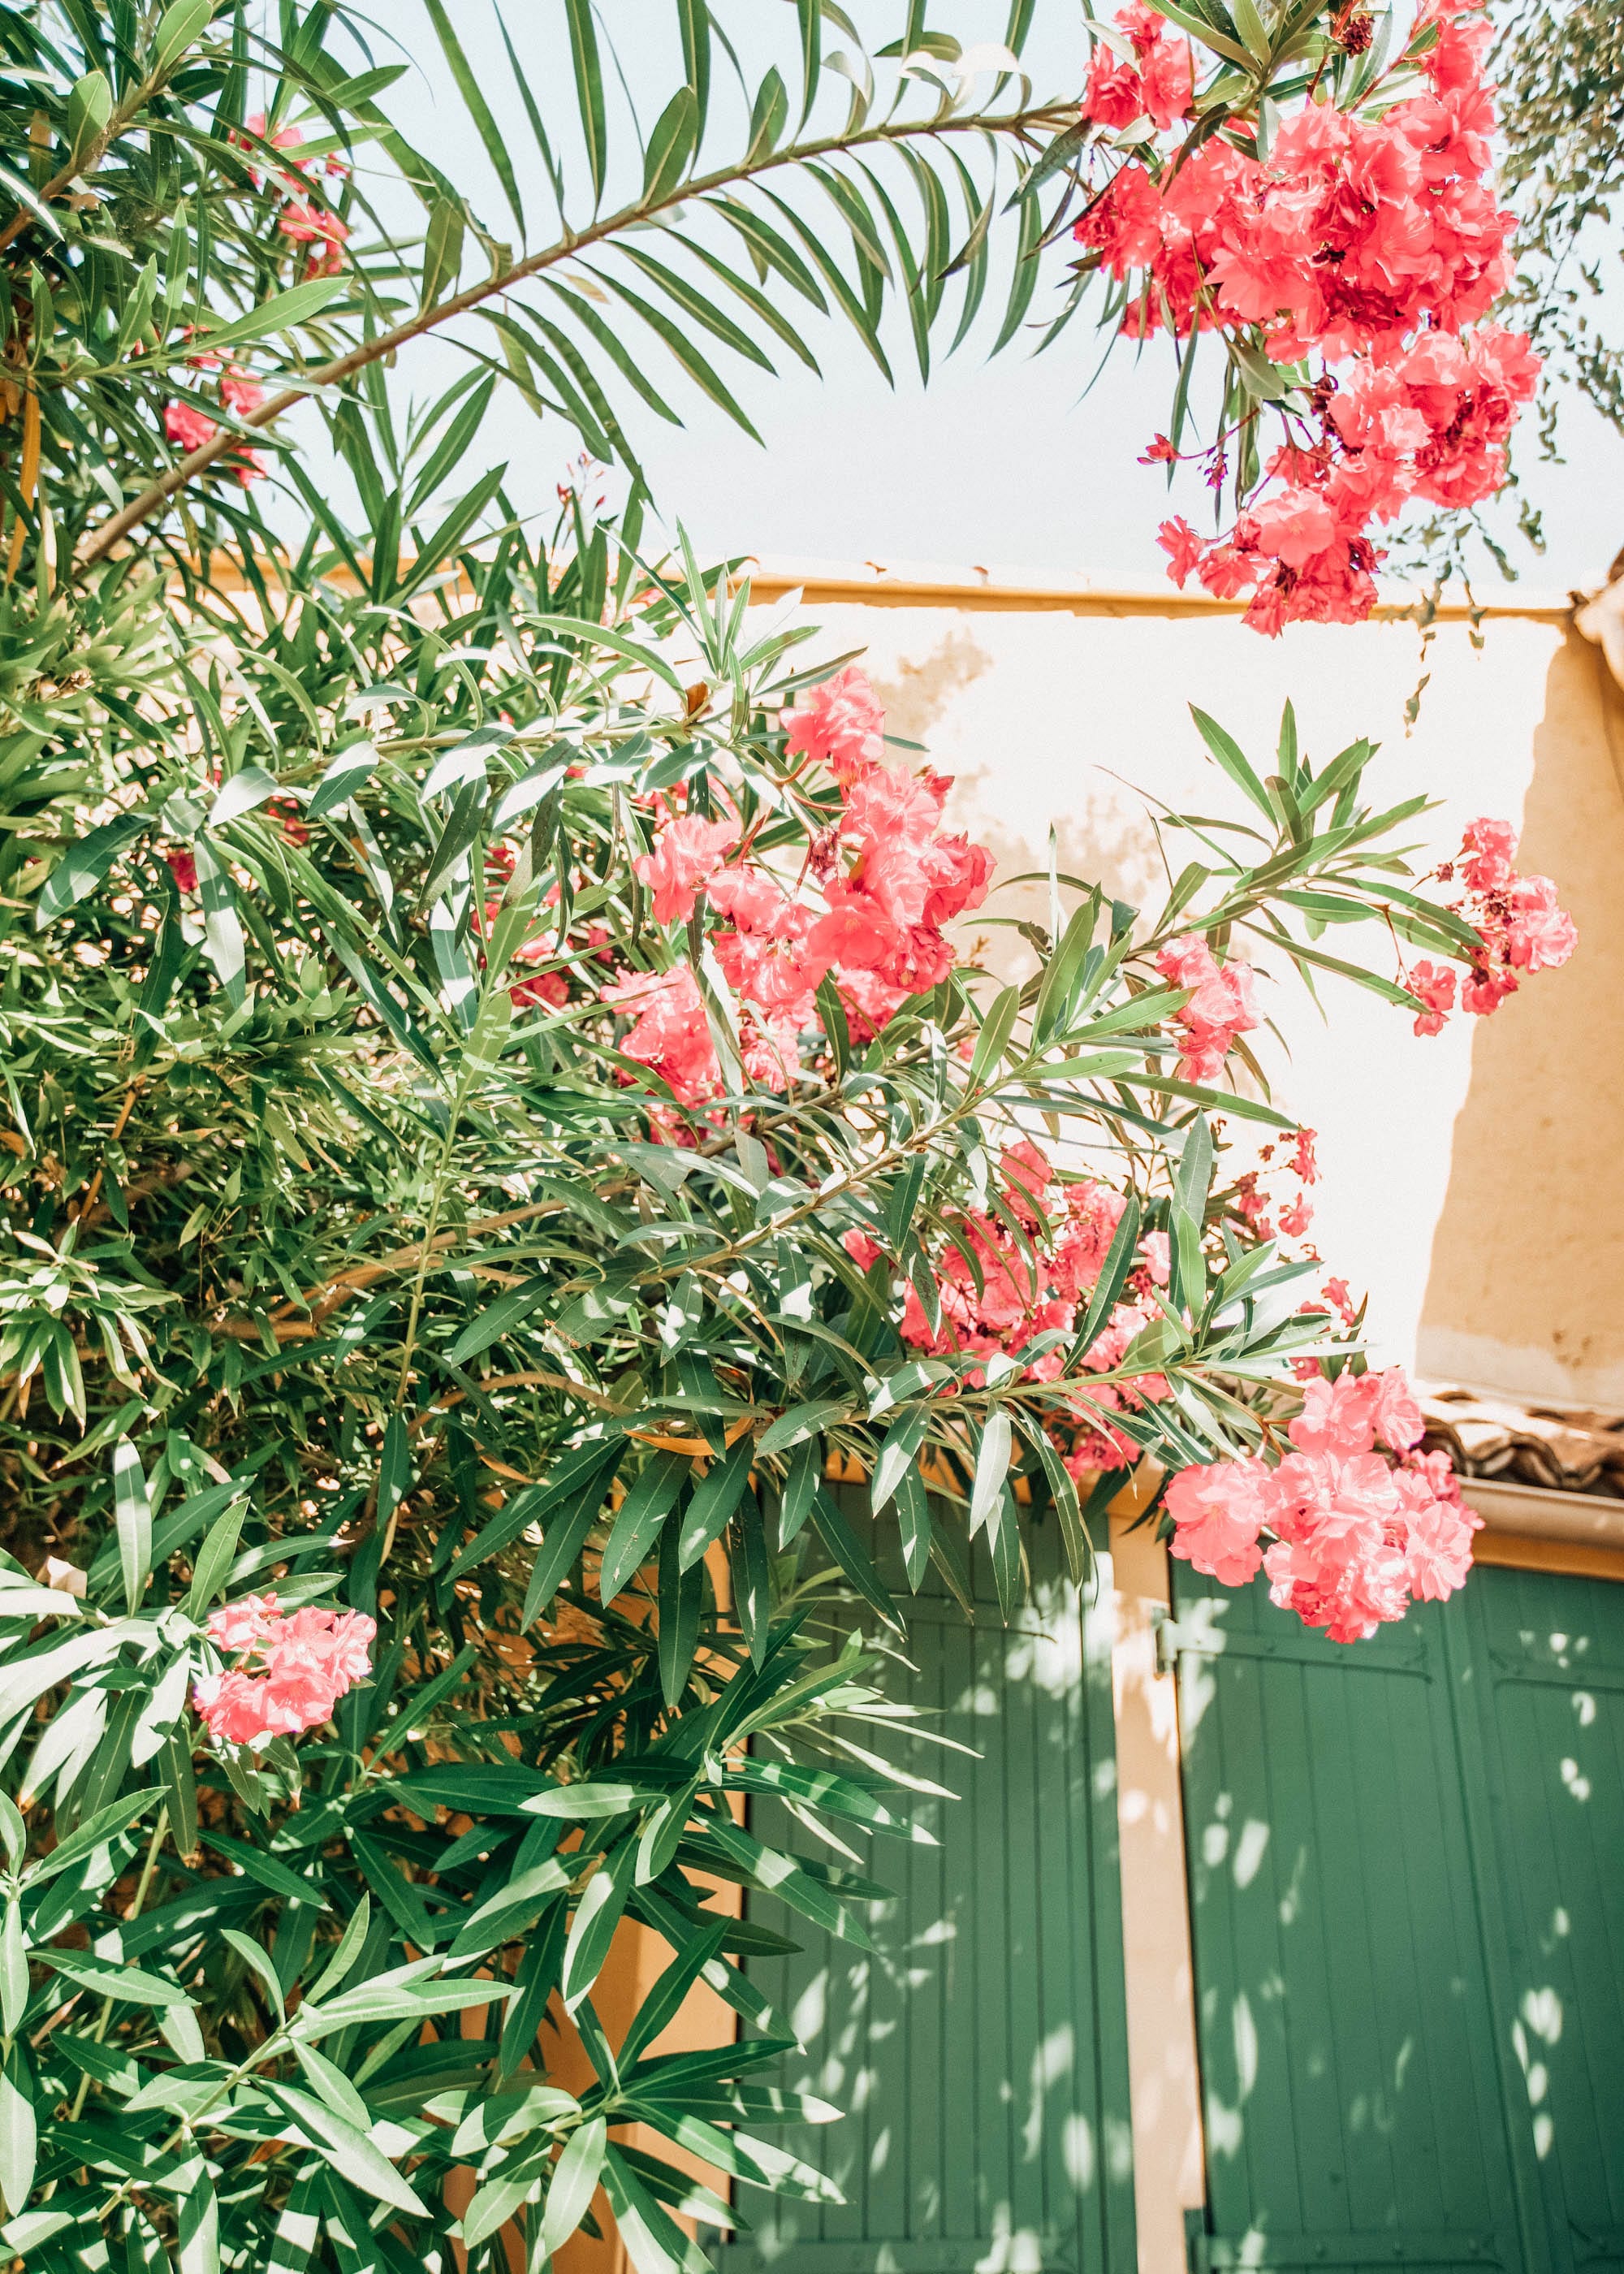
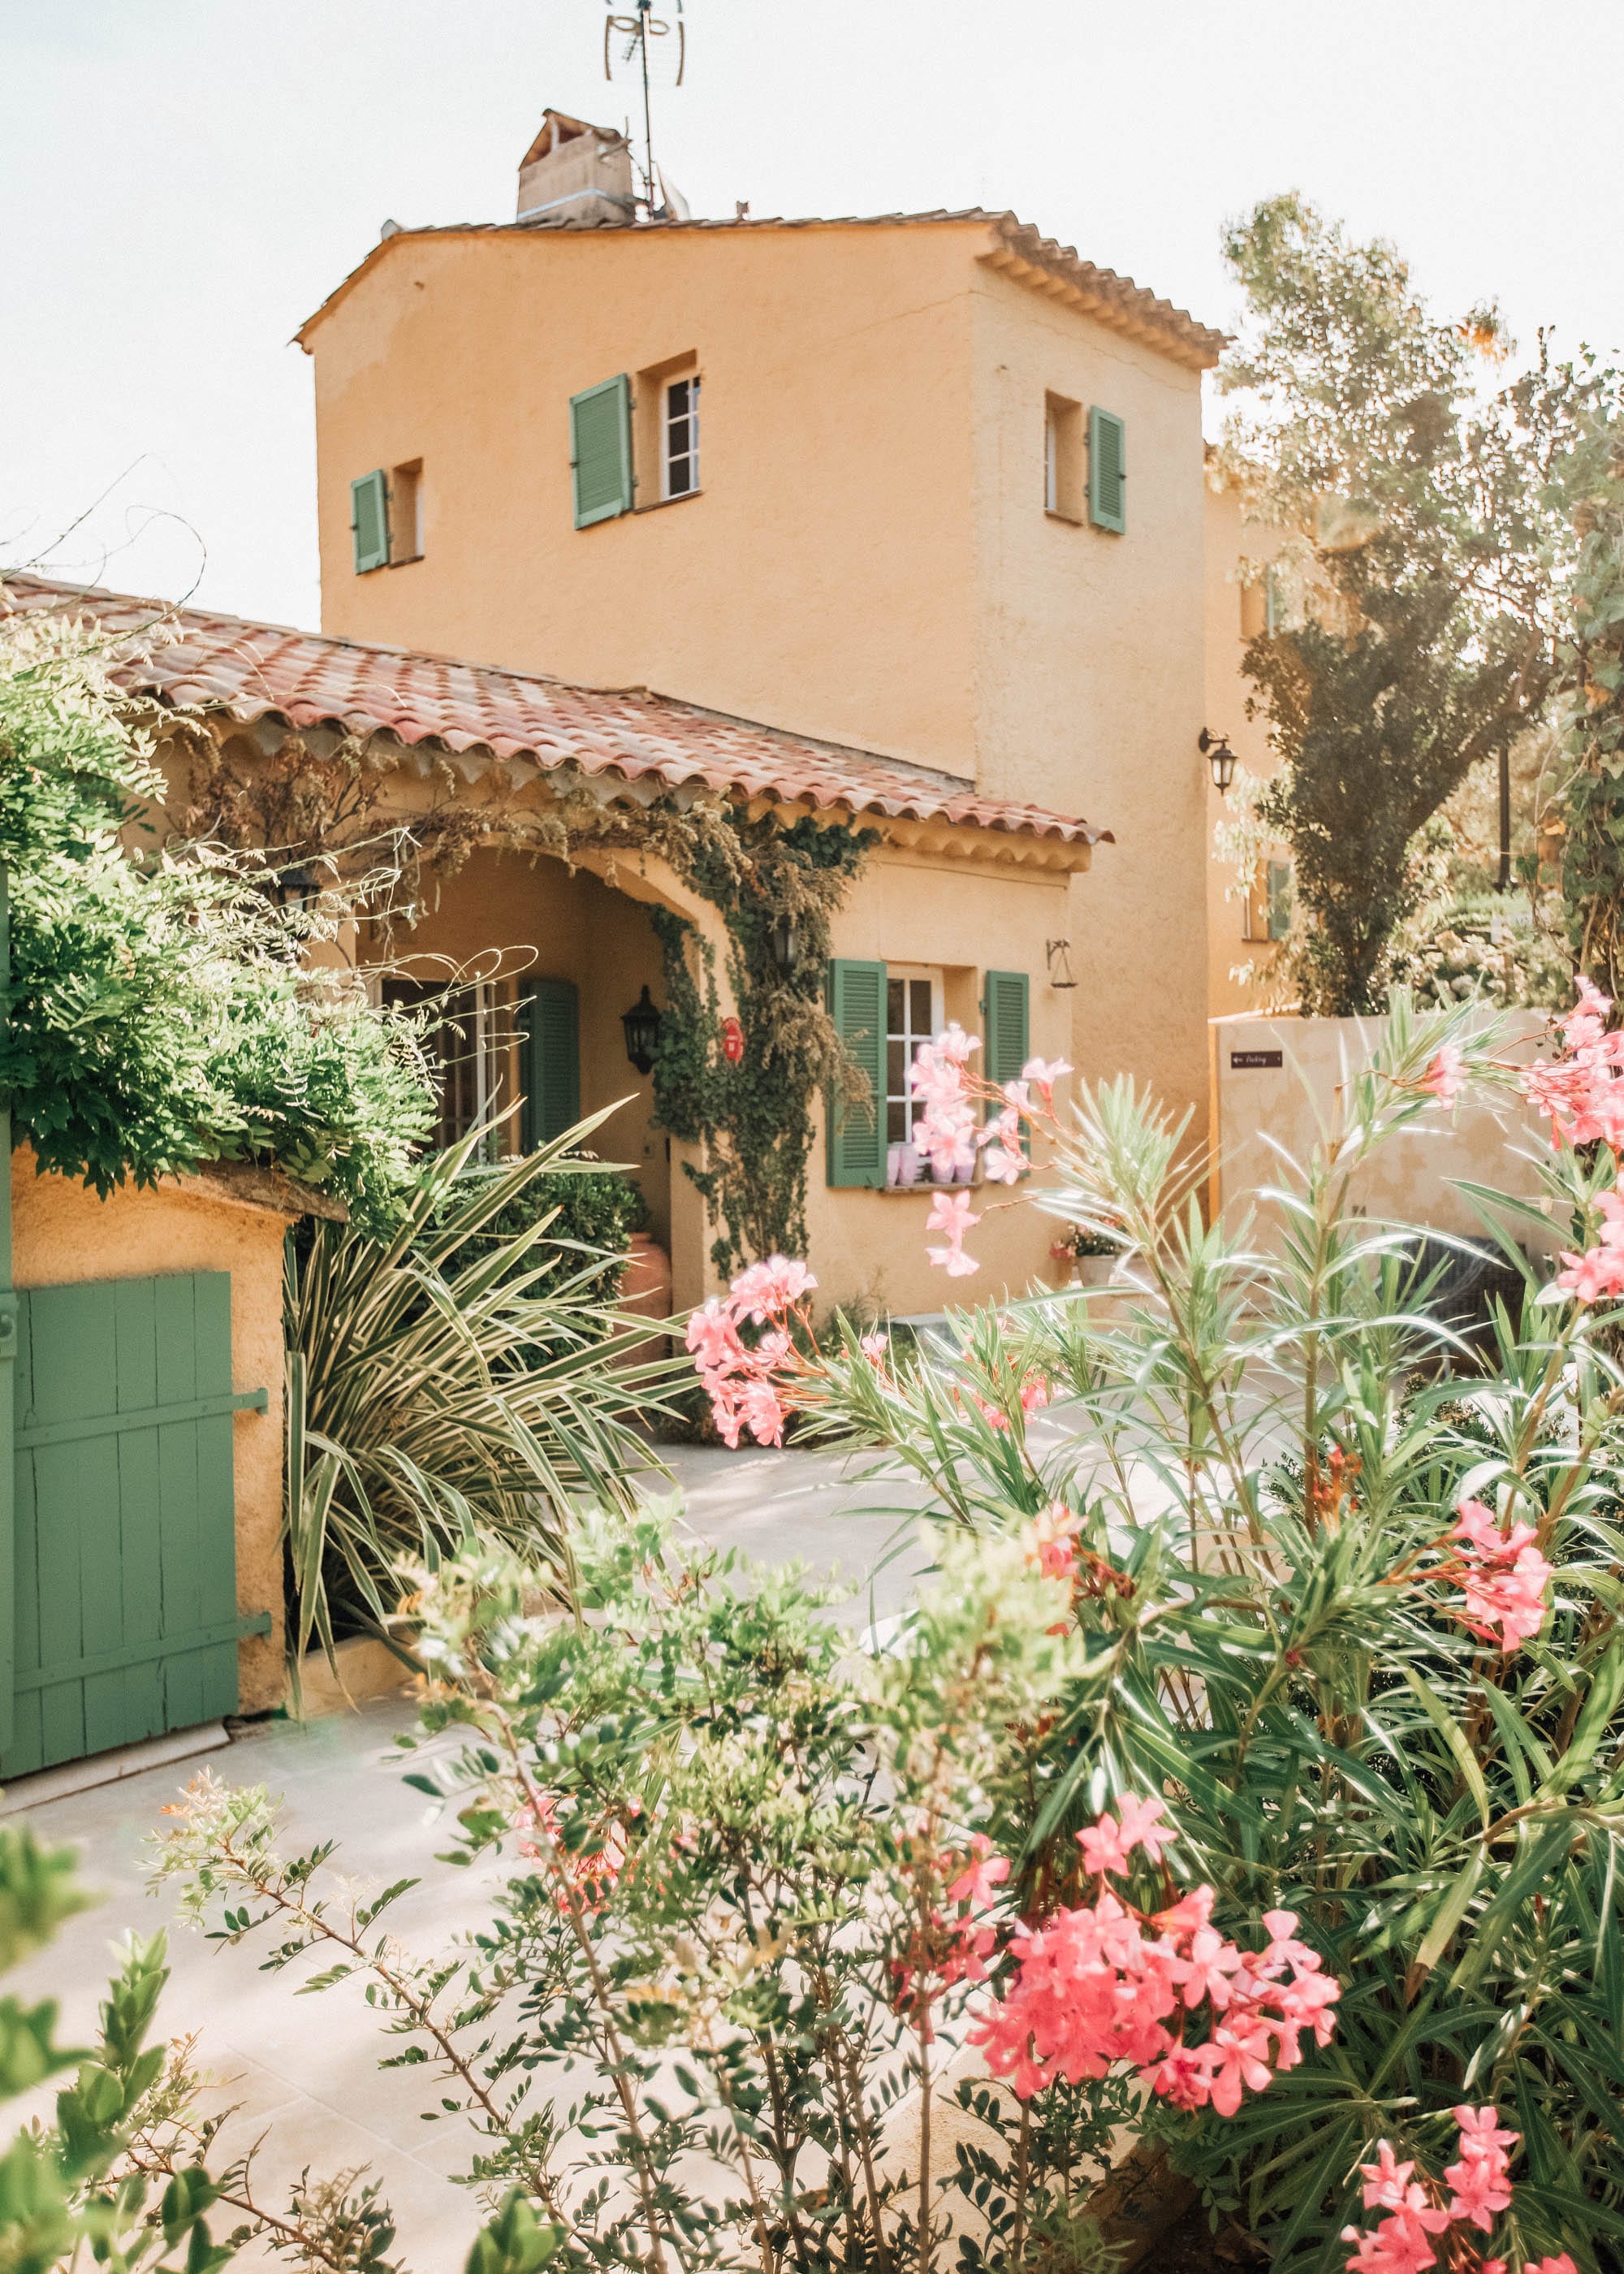
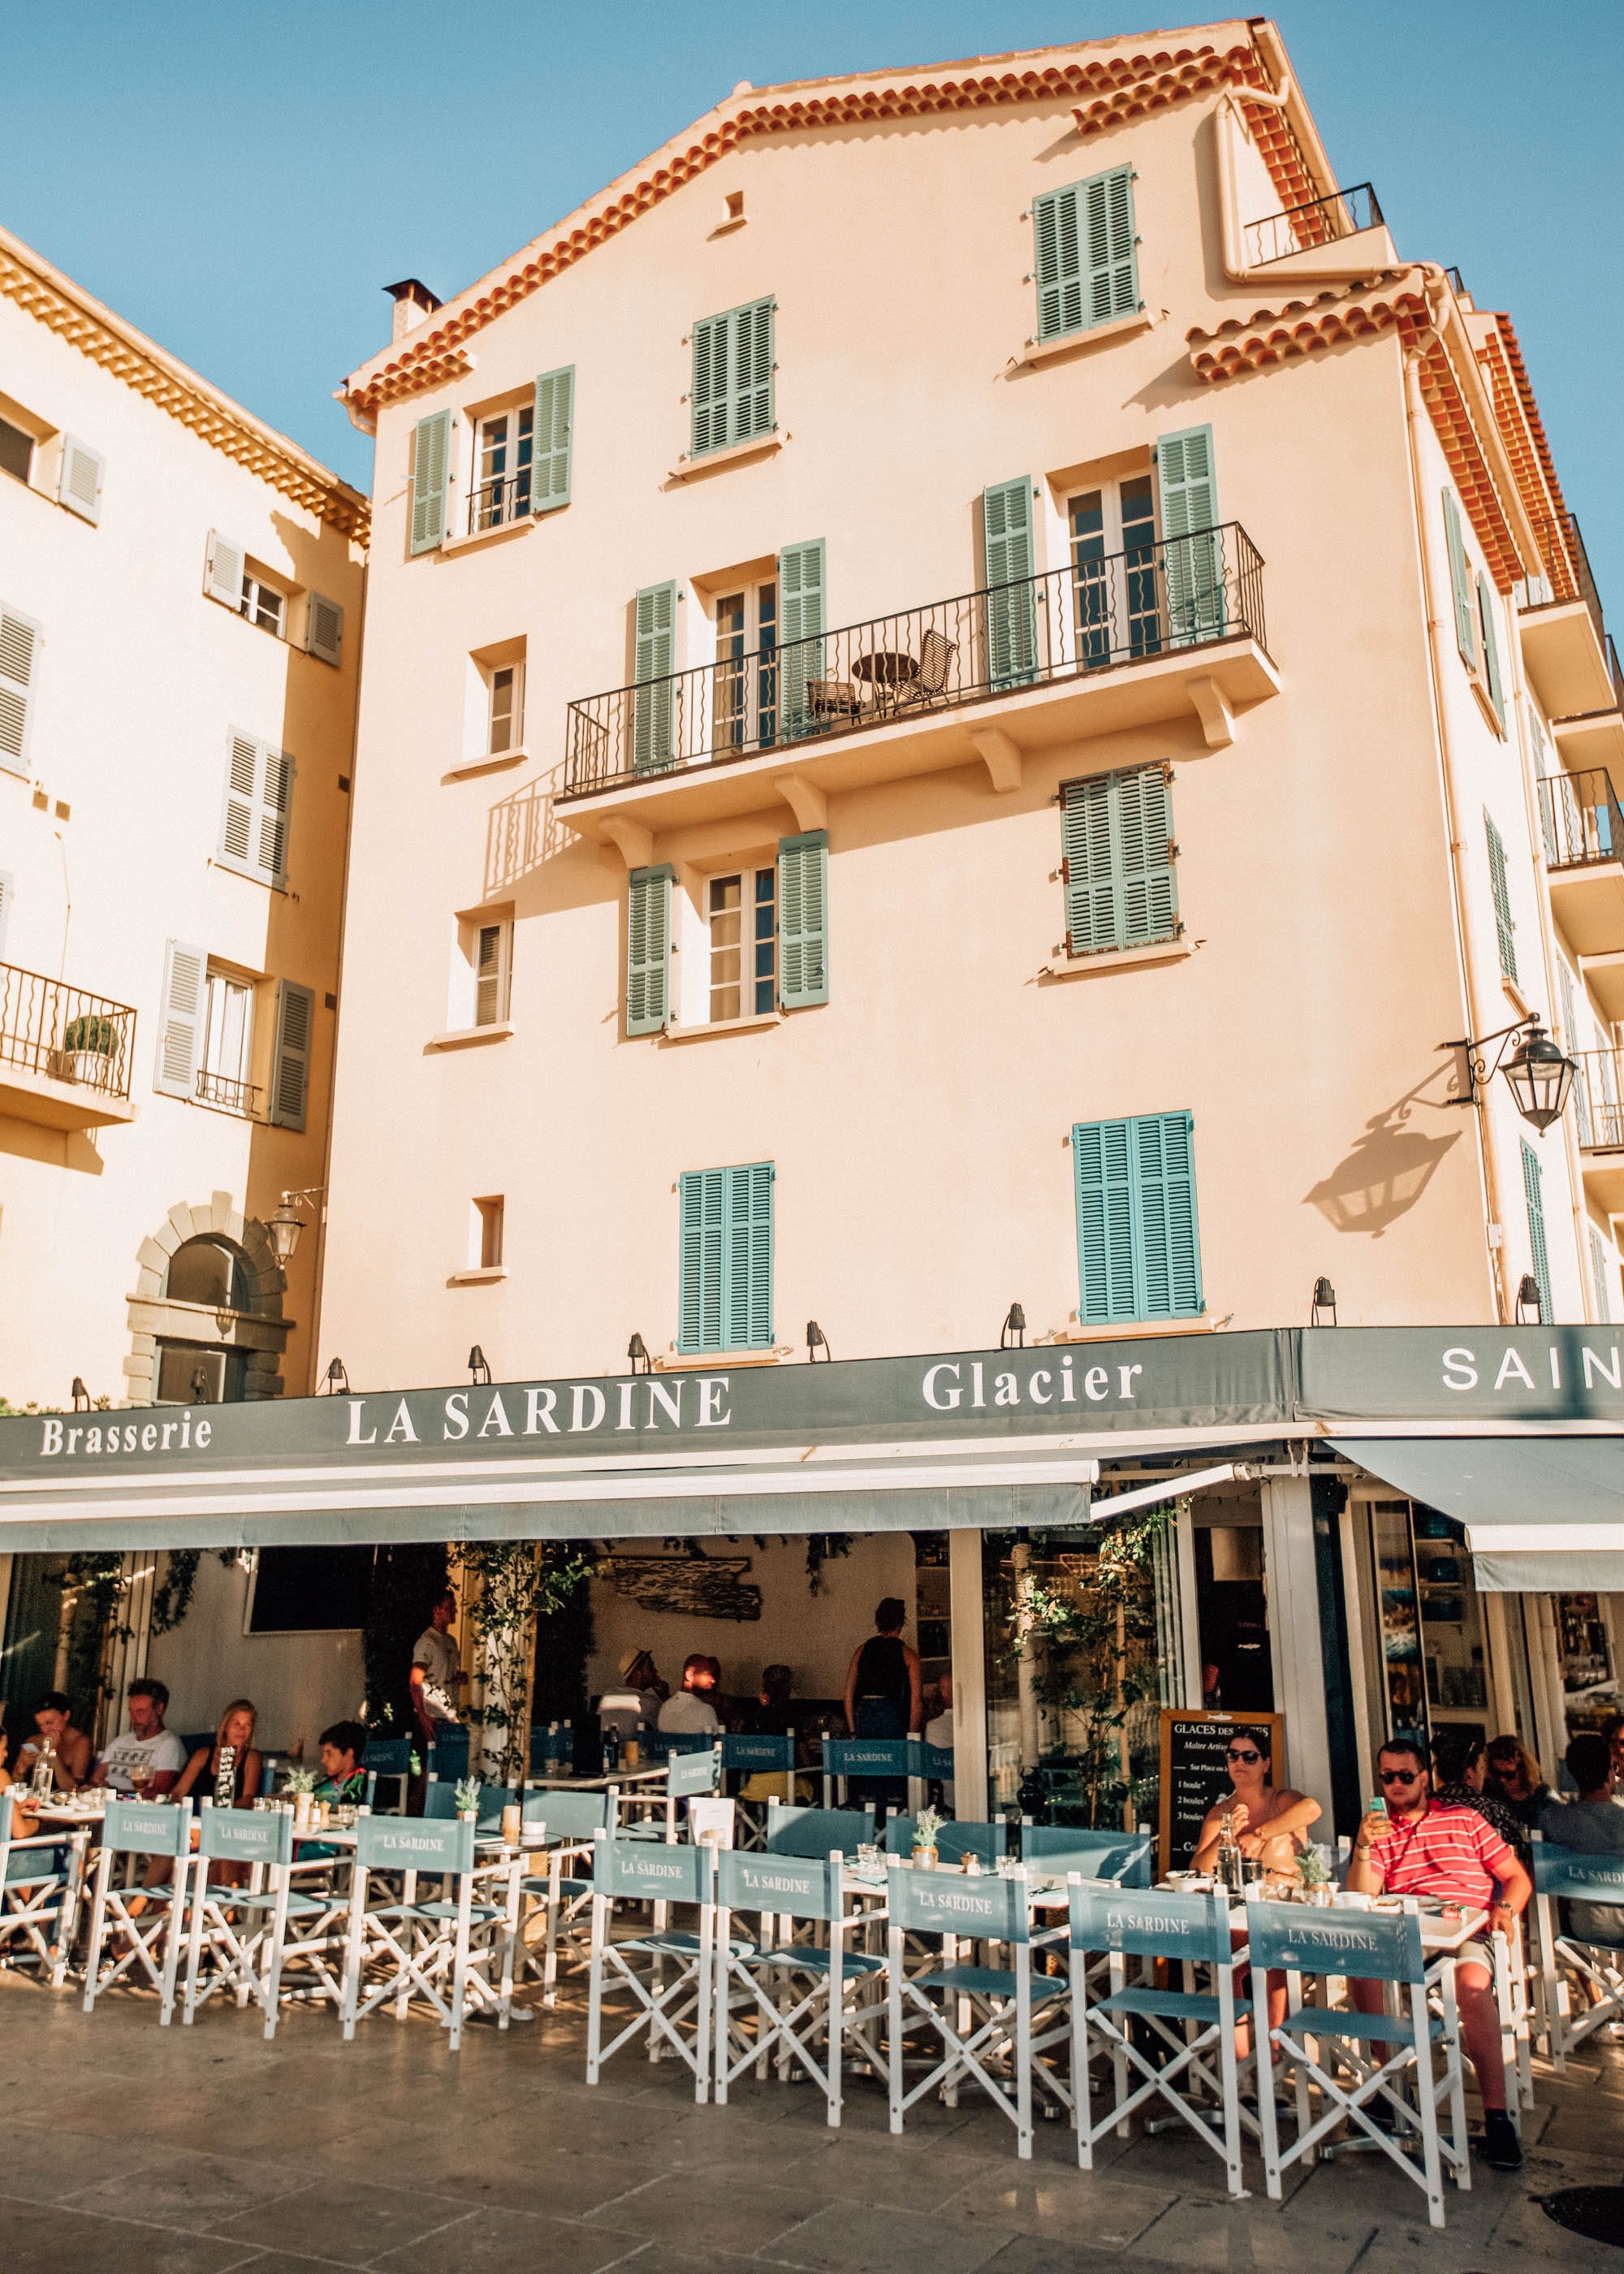
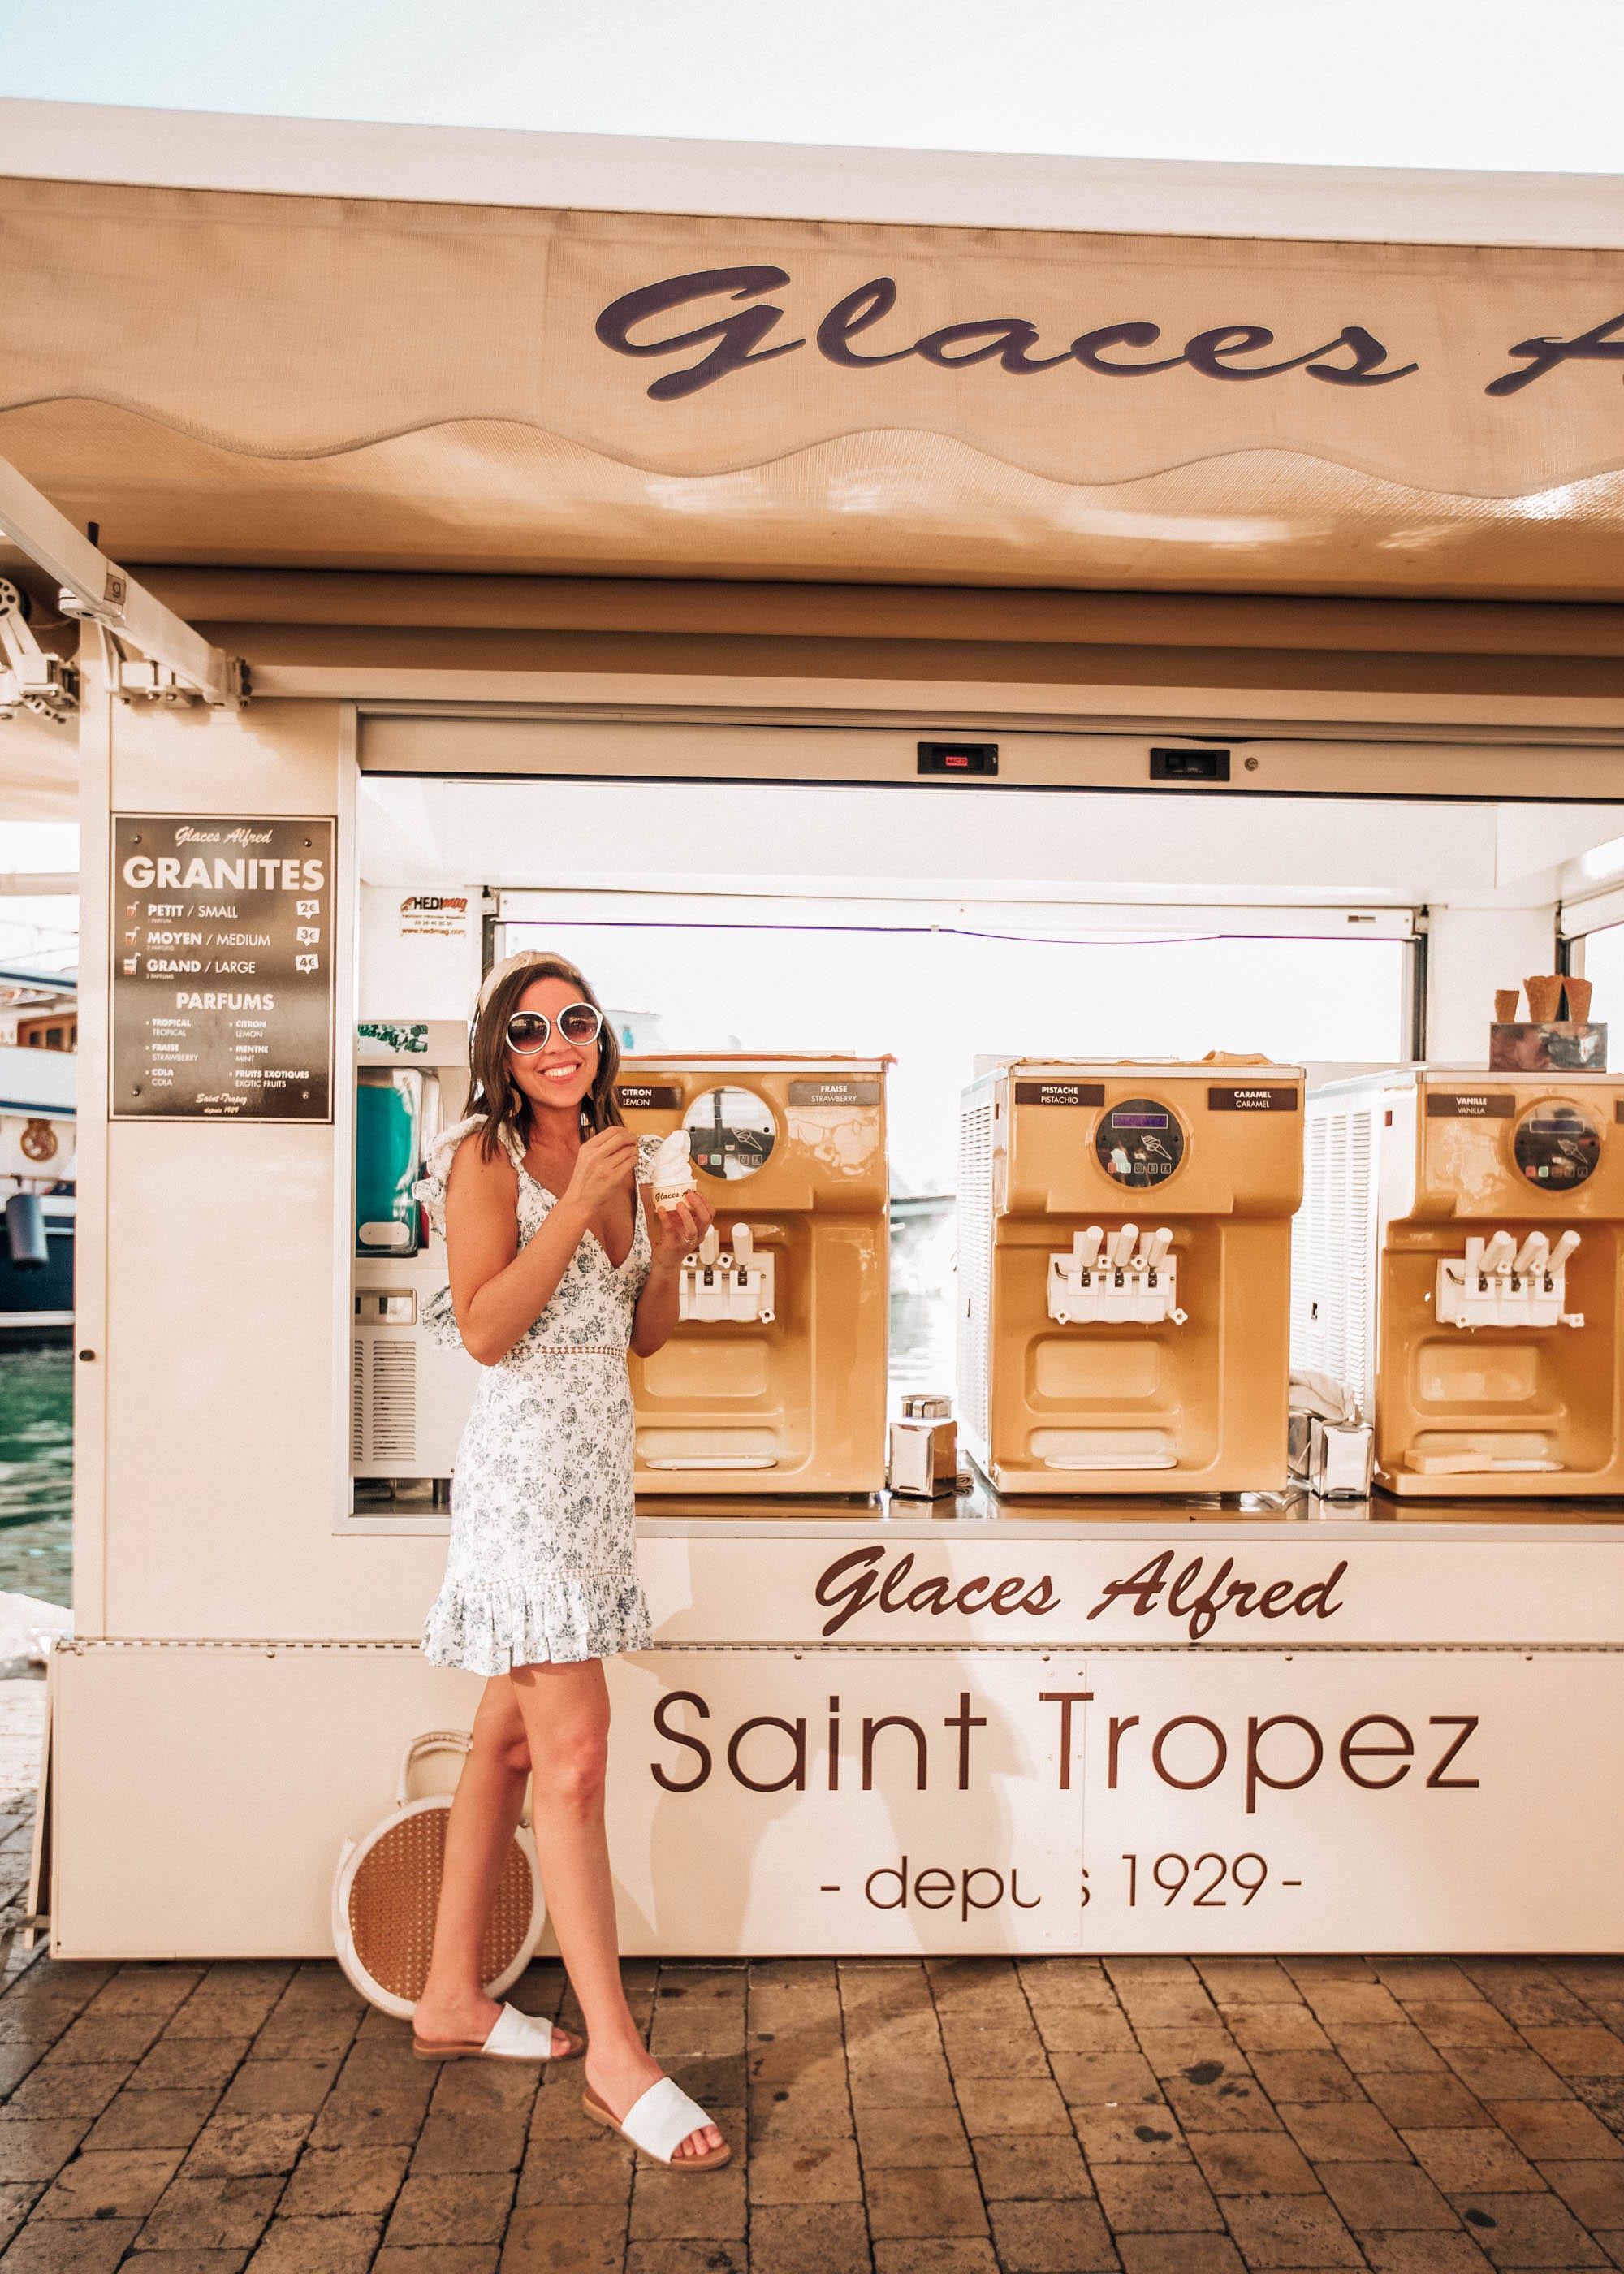
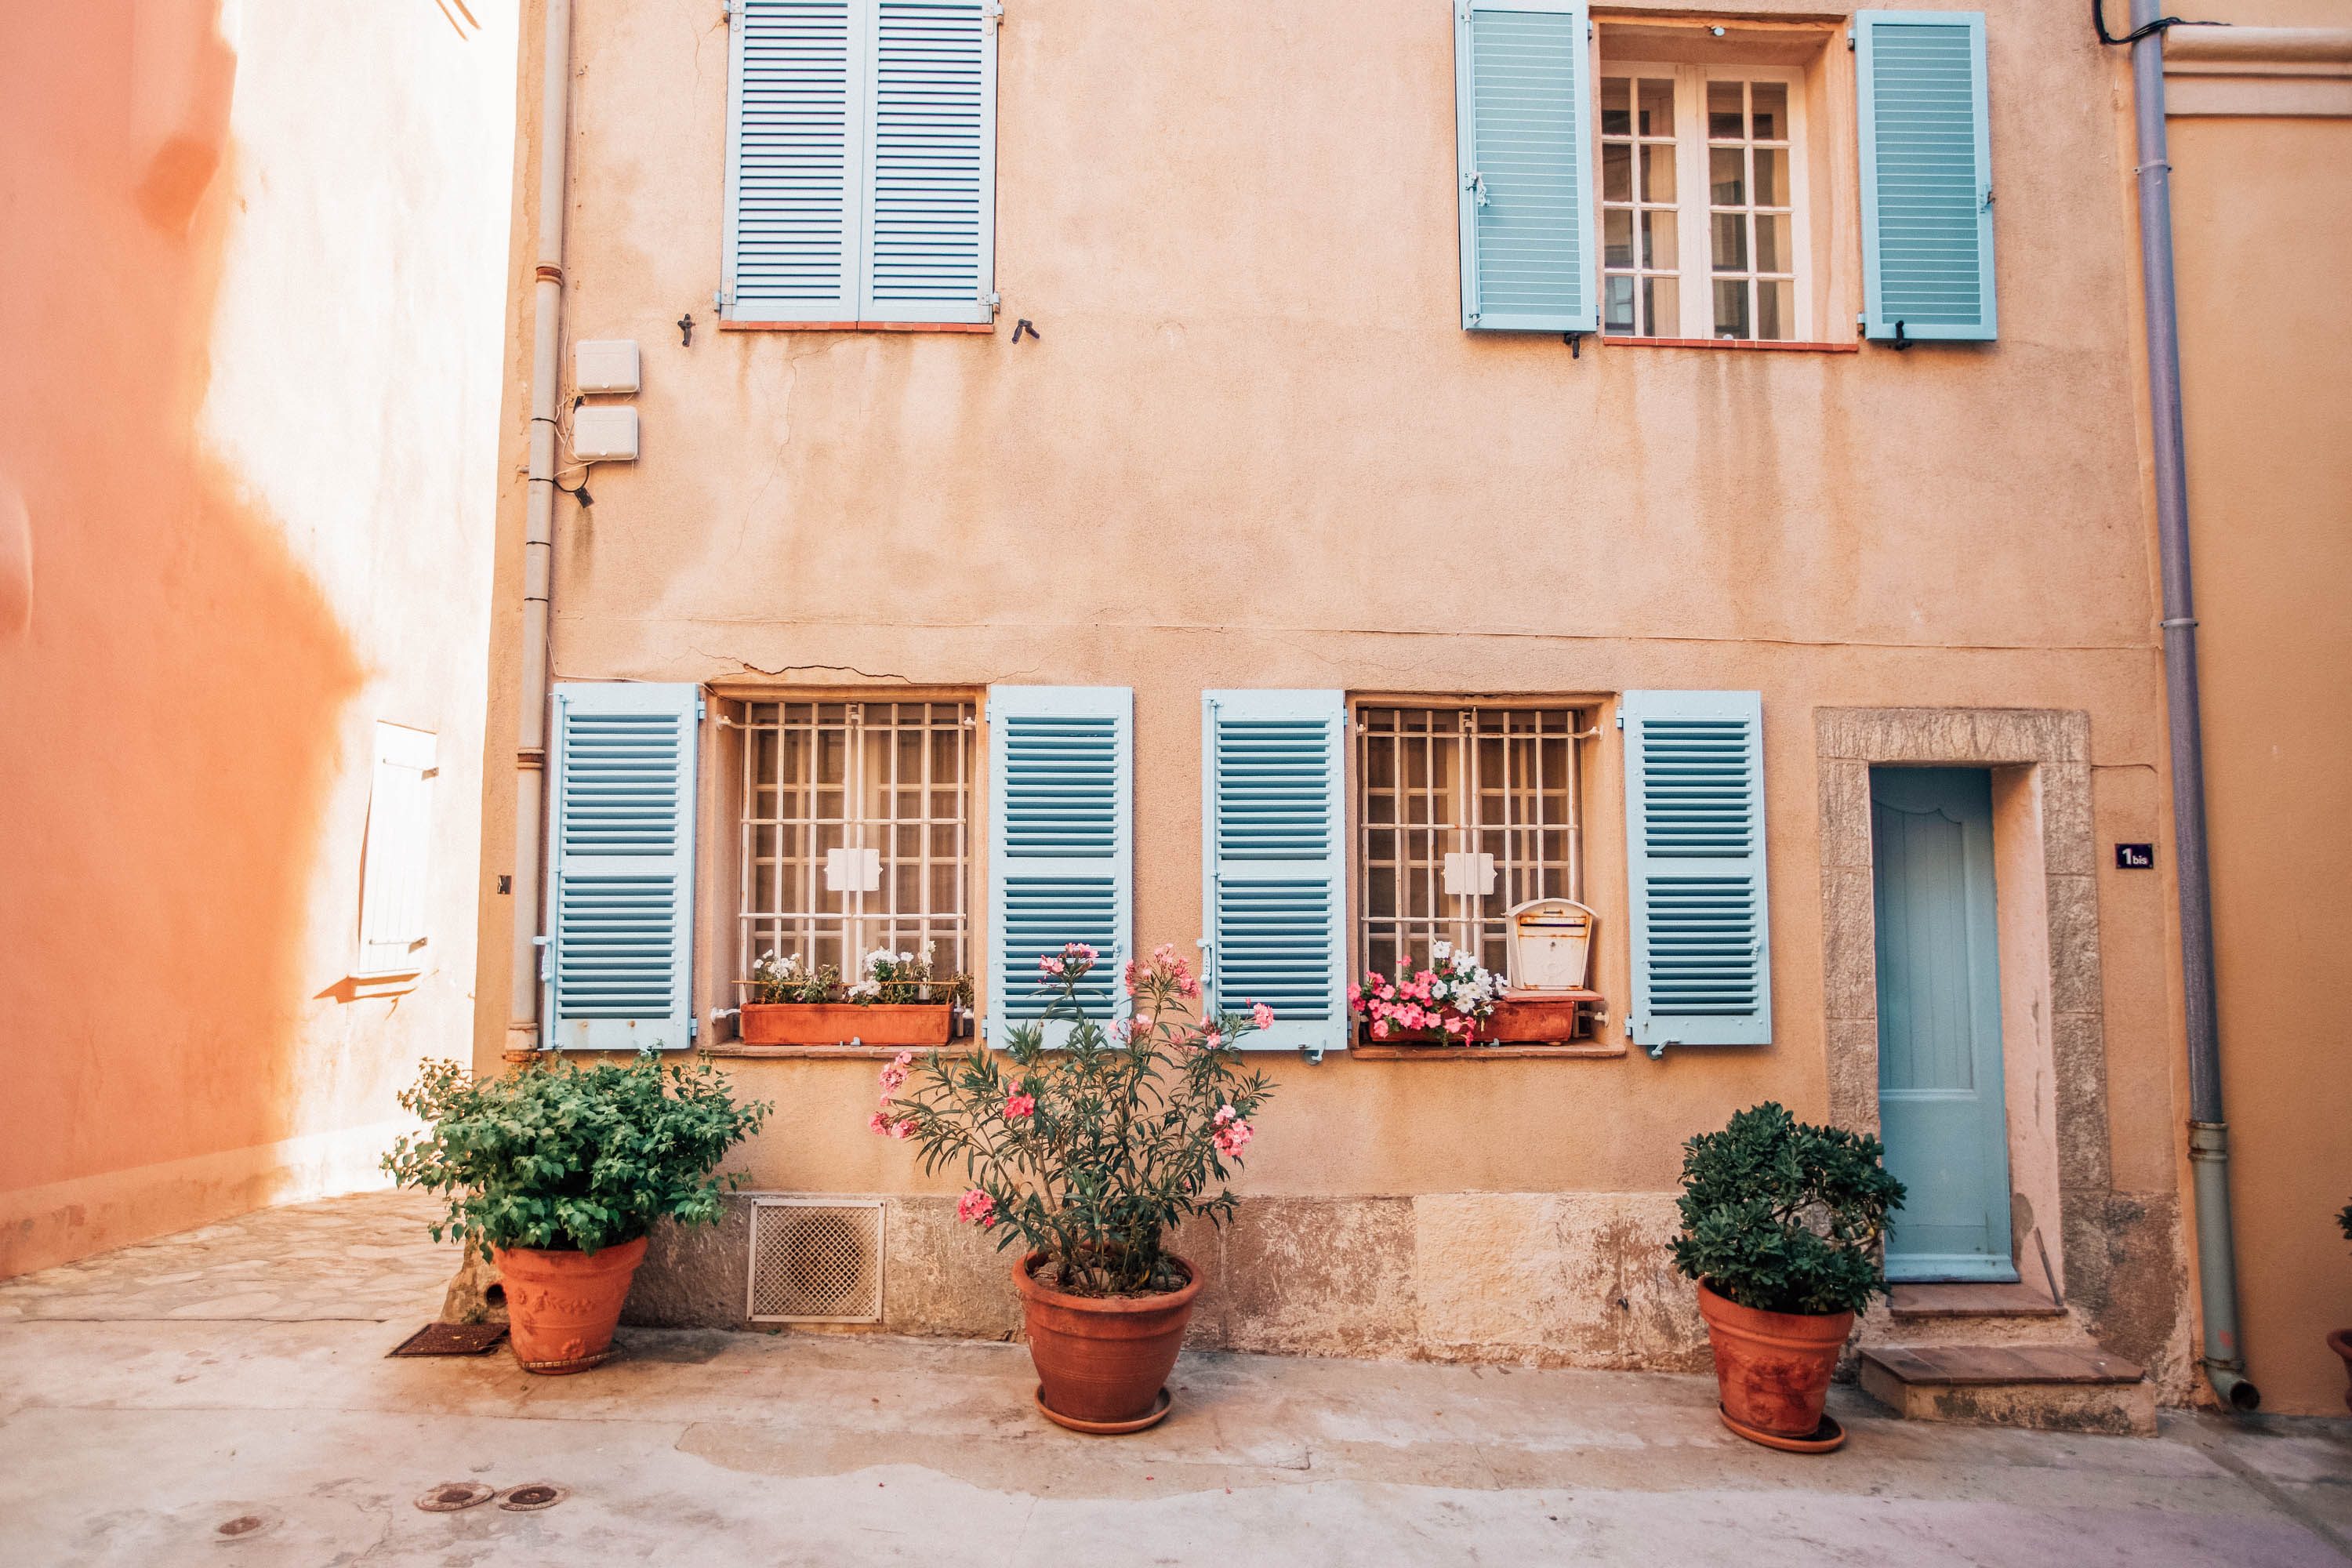
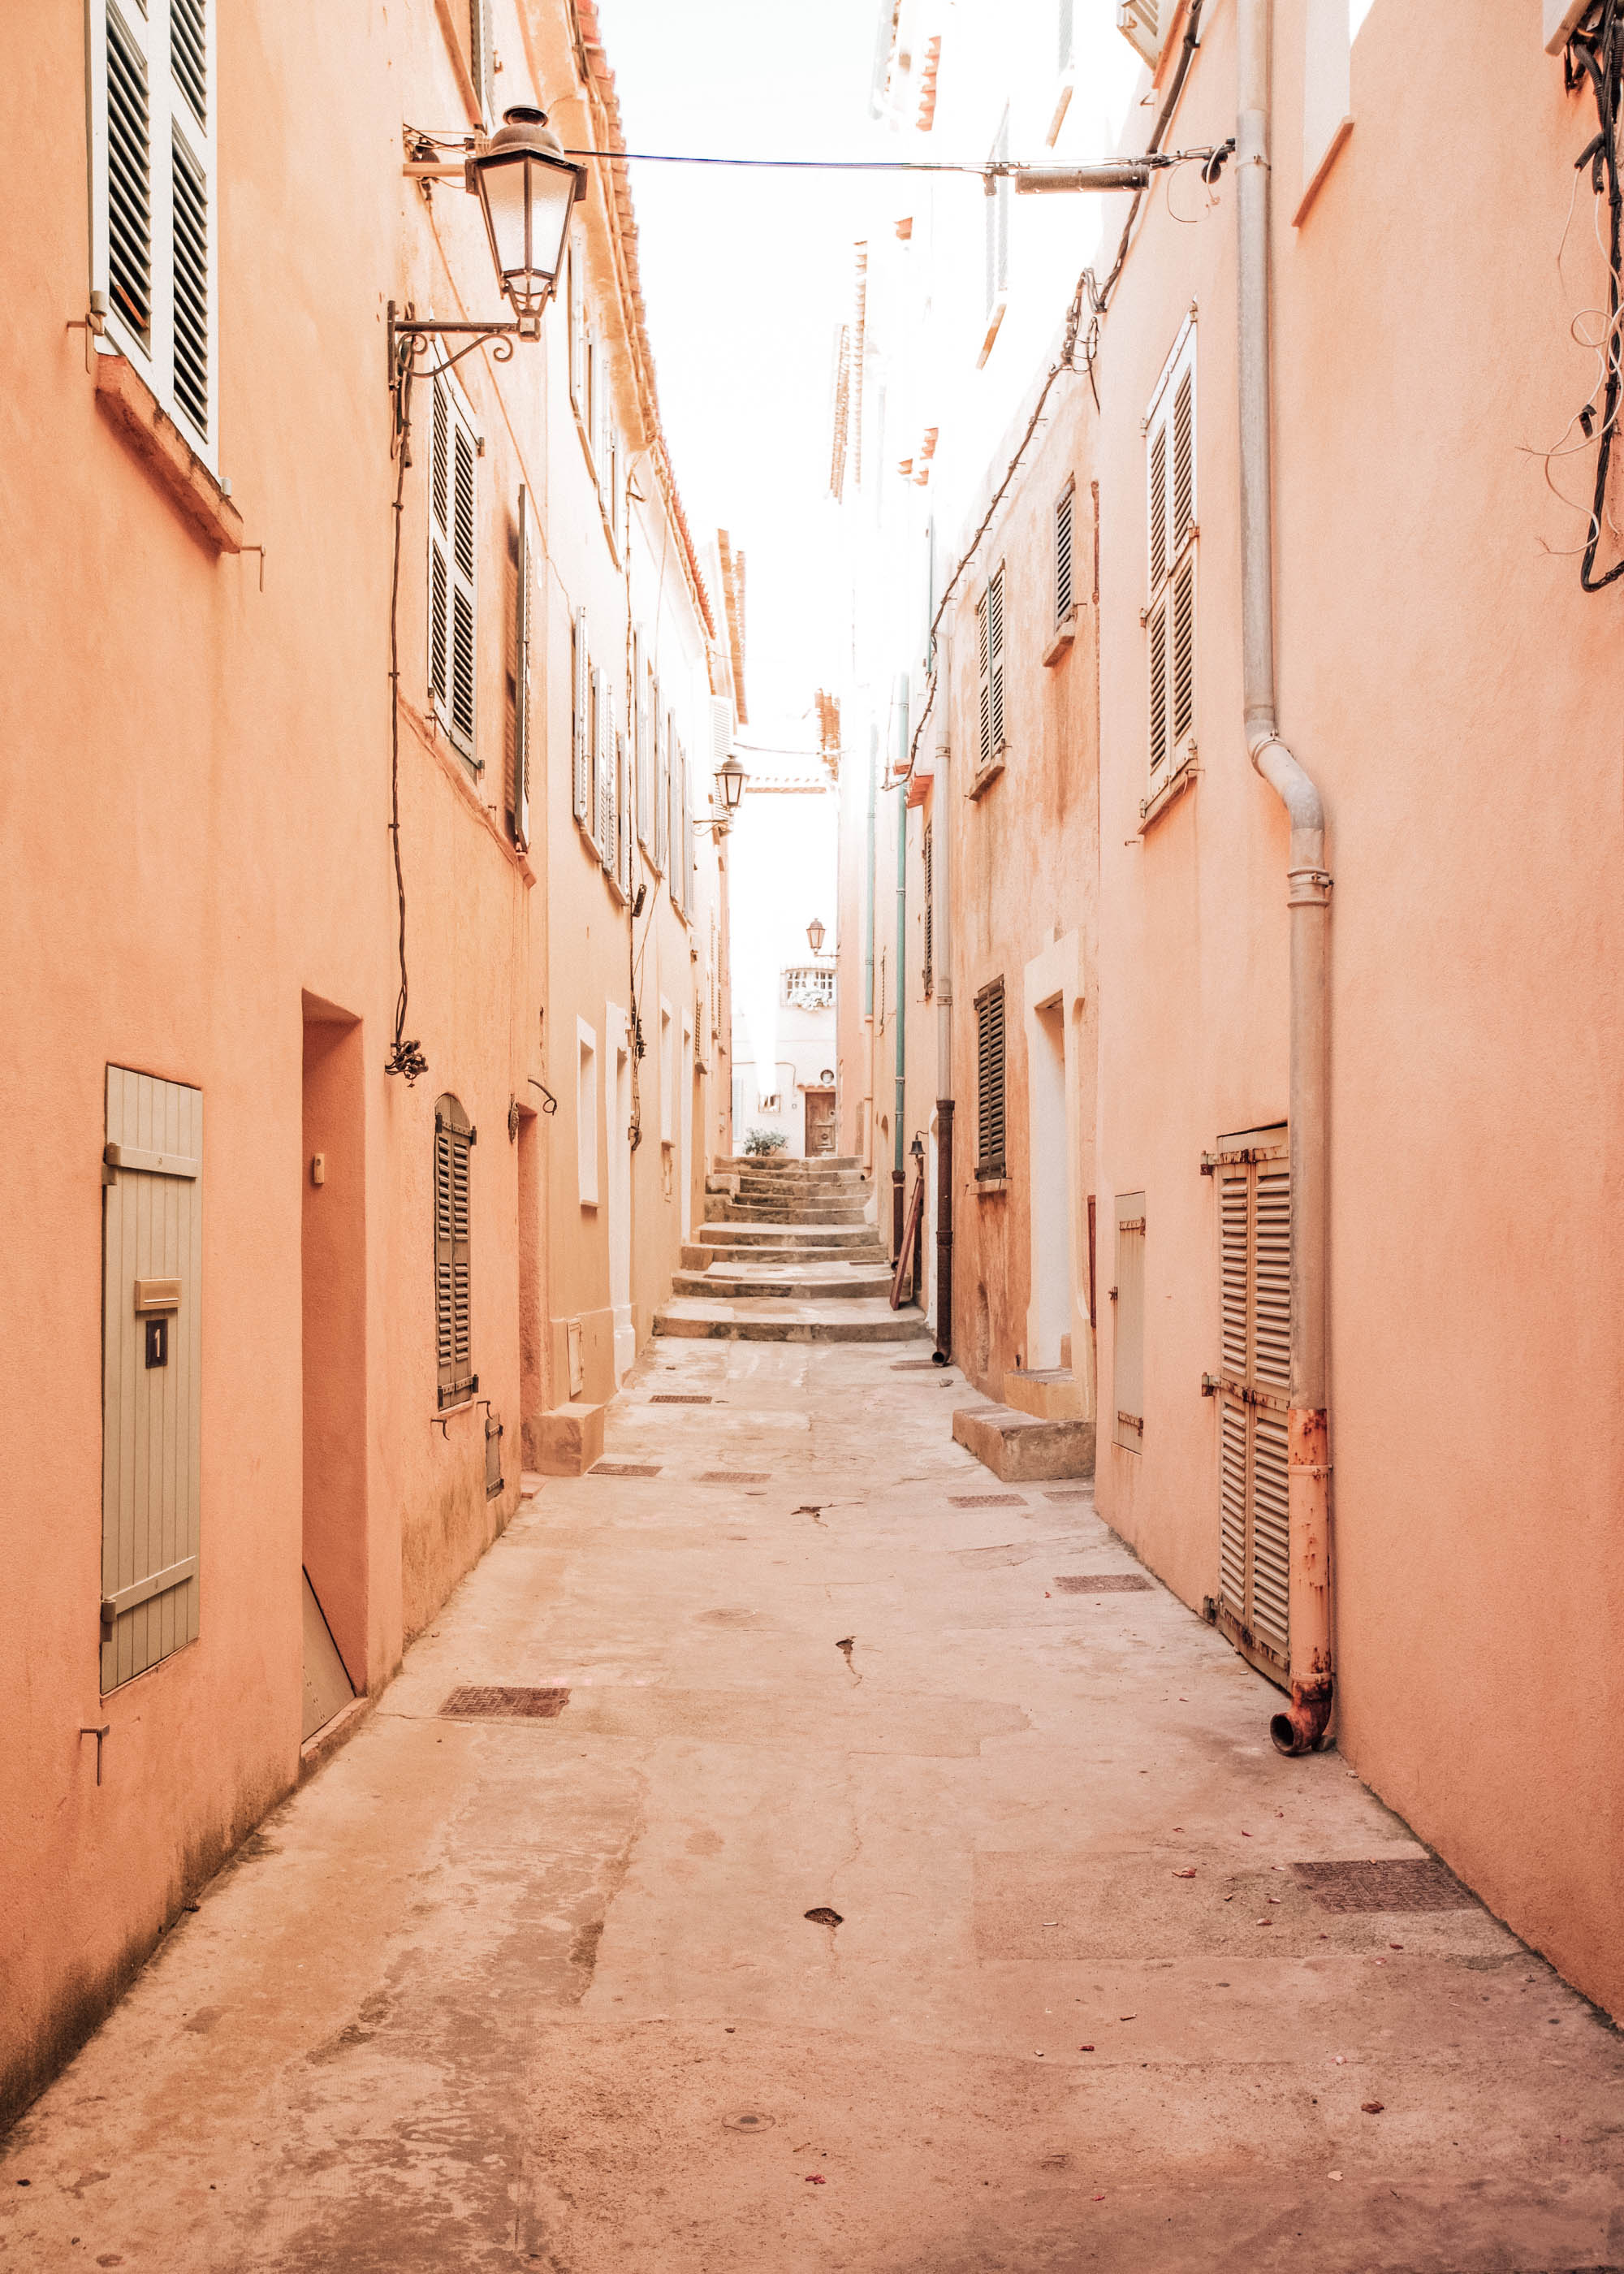
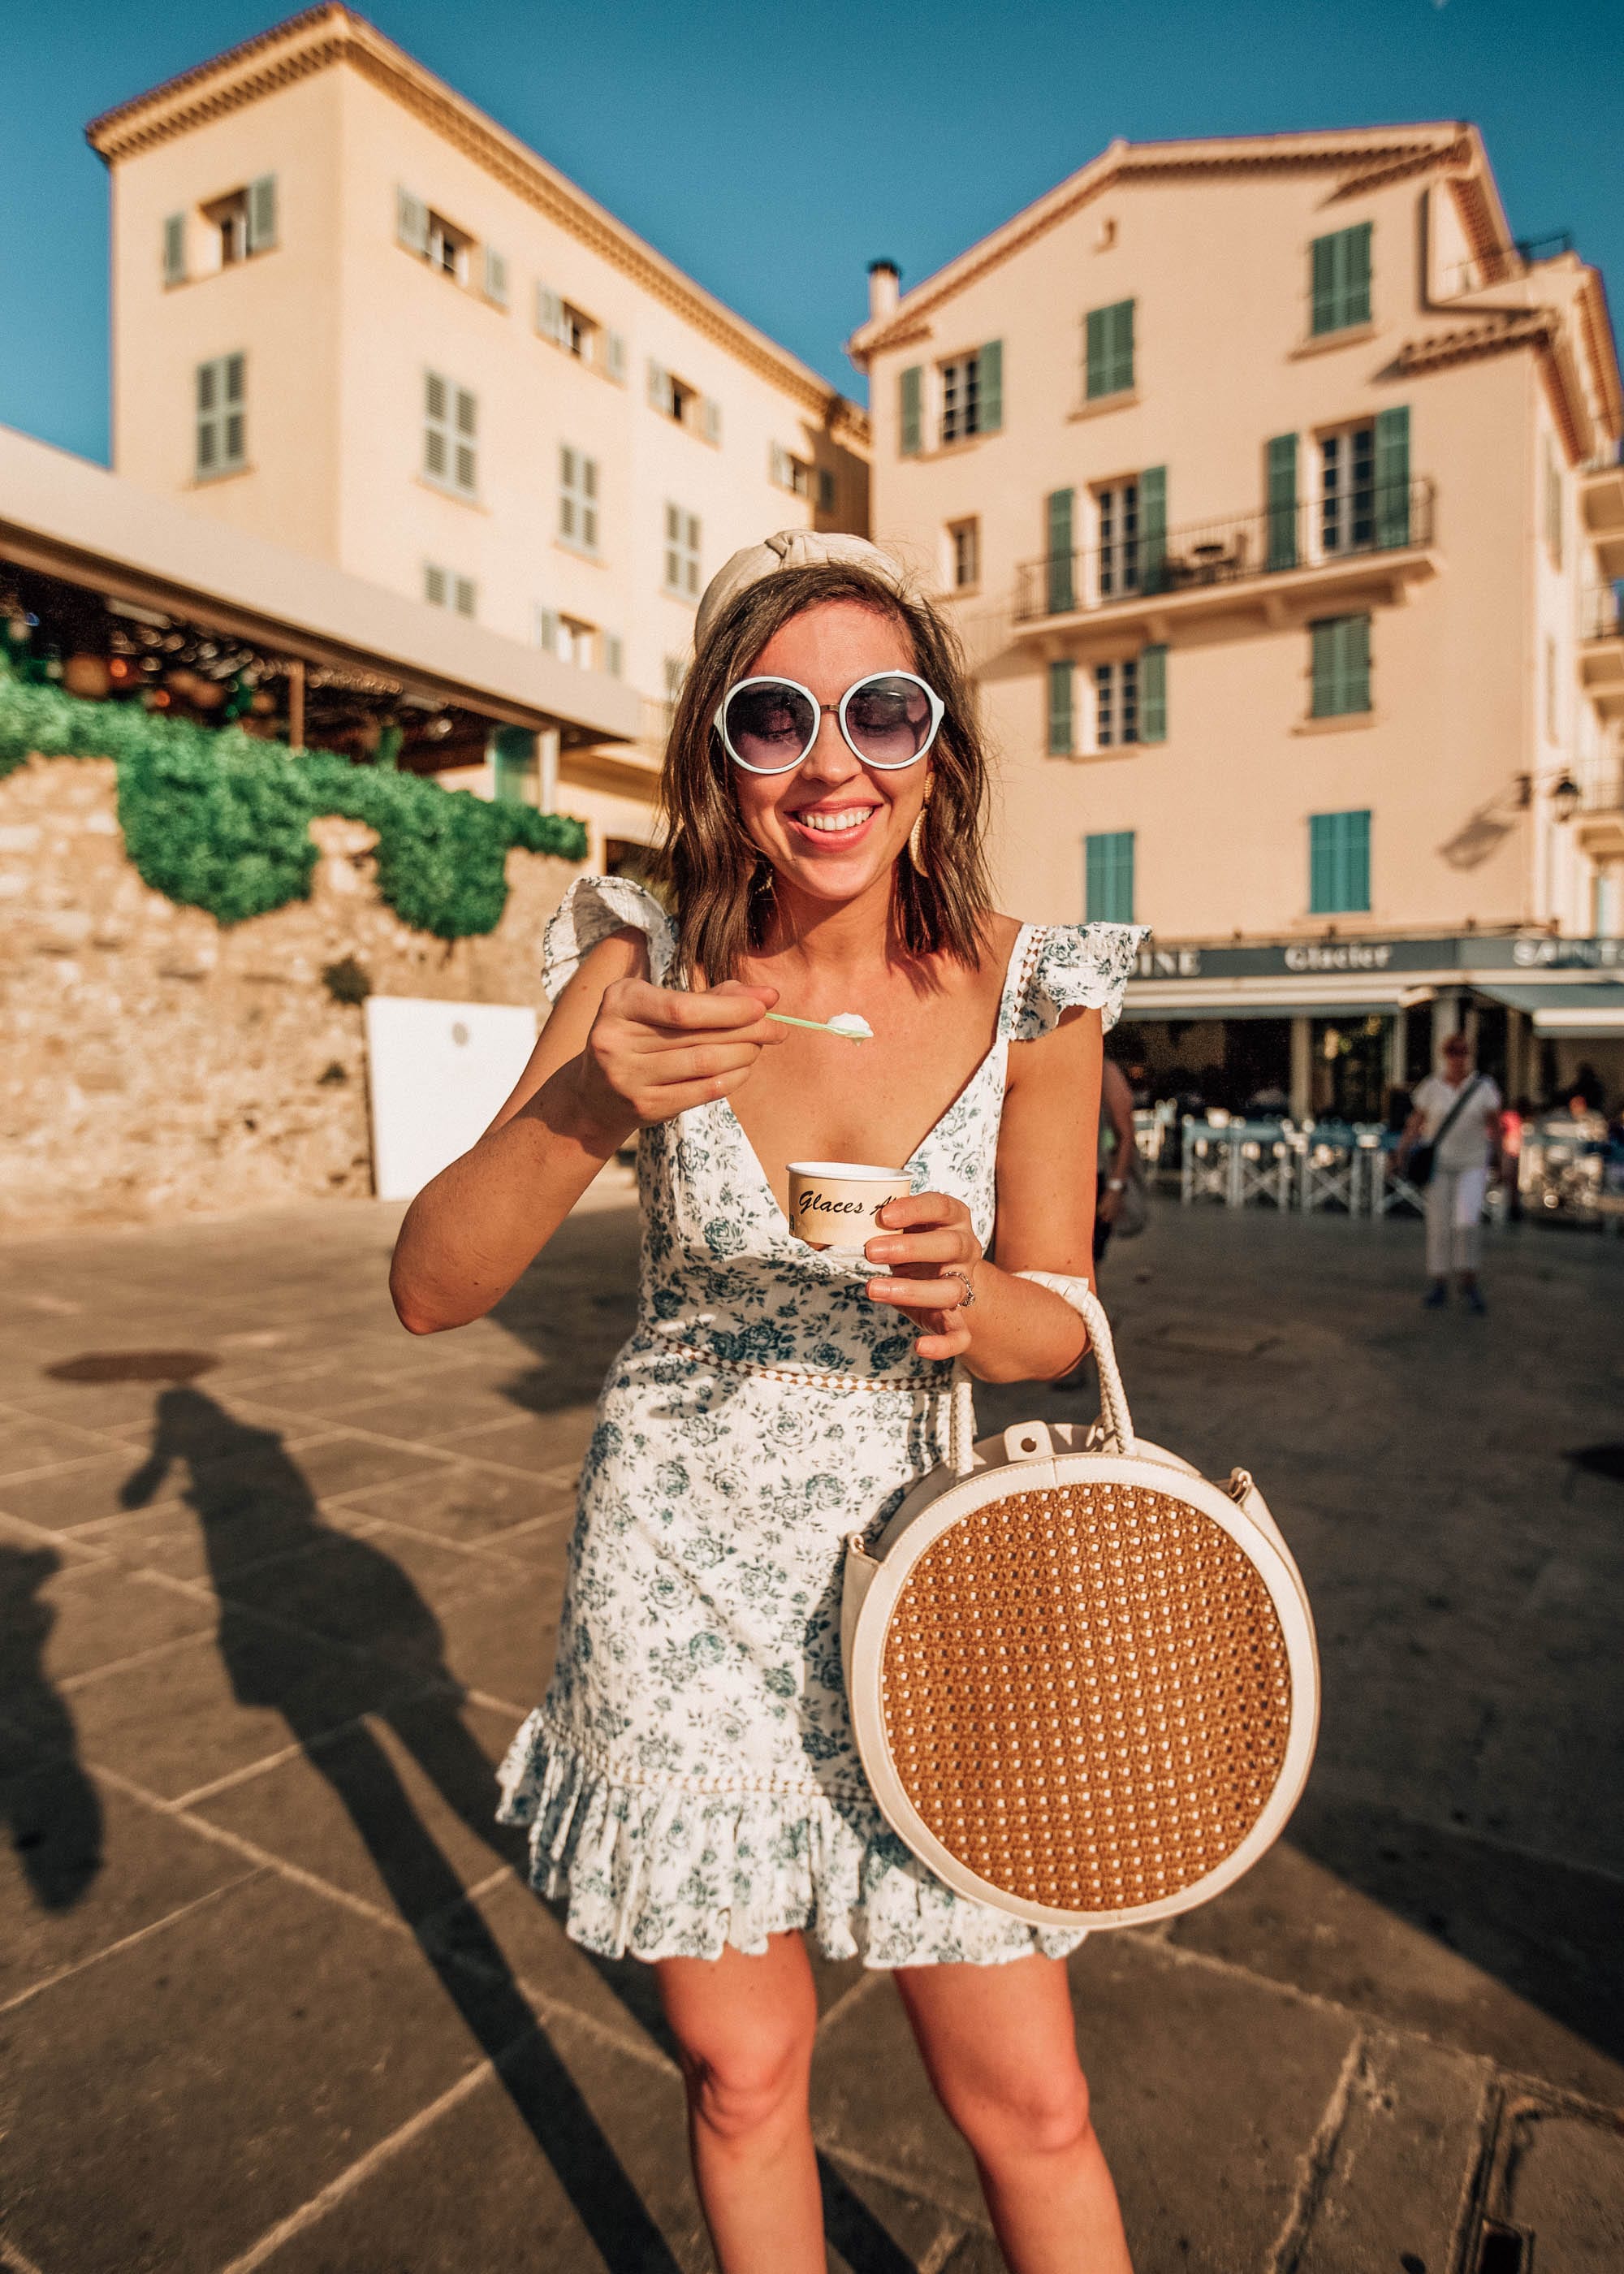
St. Tropez was the first city we visited and it was pretty much what I expected it to be, but more crowded. It was absolutely beautiful, though, and we loved getting lost in Old Town, finding endless colorful secret alleyways. We found a glace (ice-cream) stand and ordered some lemon glace and headed back to our hotel to finally get some sleep.
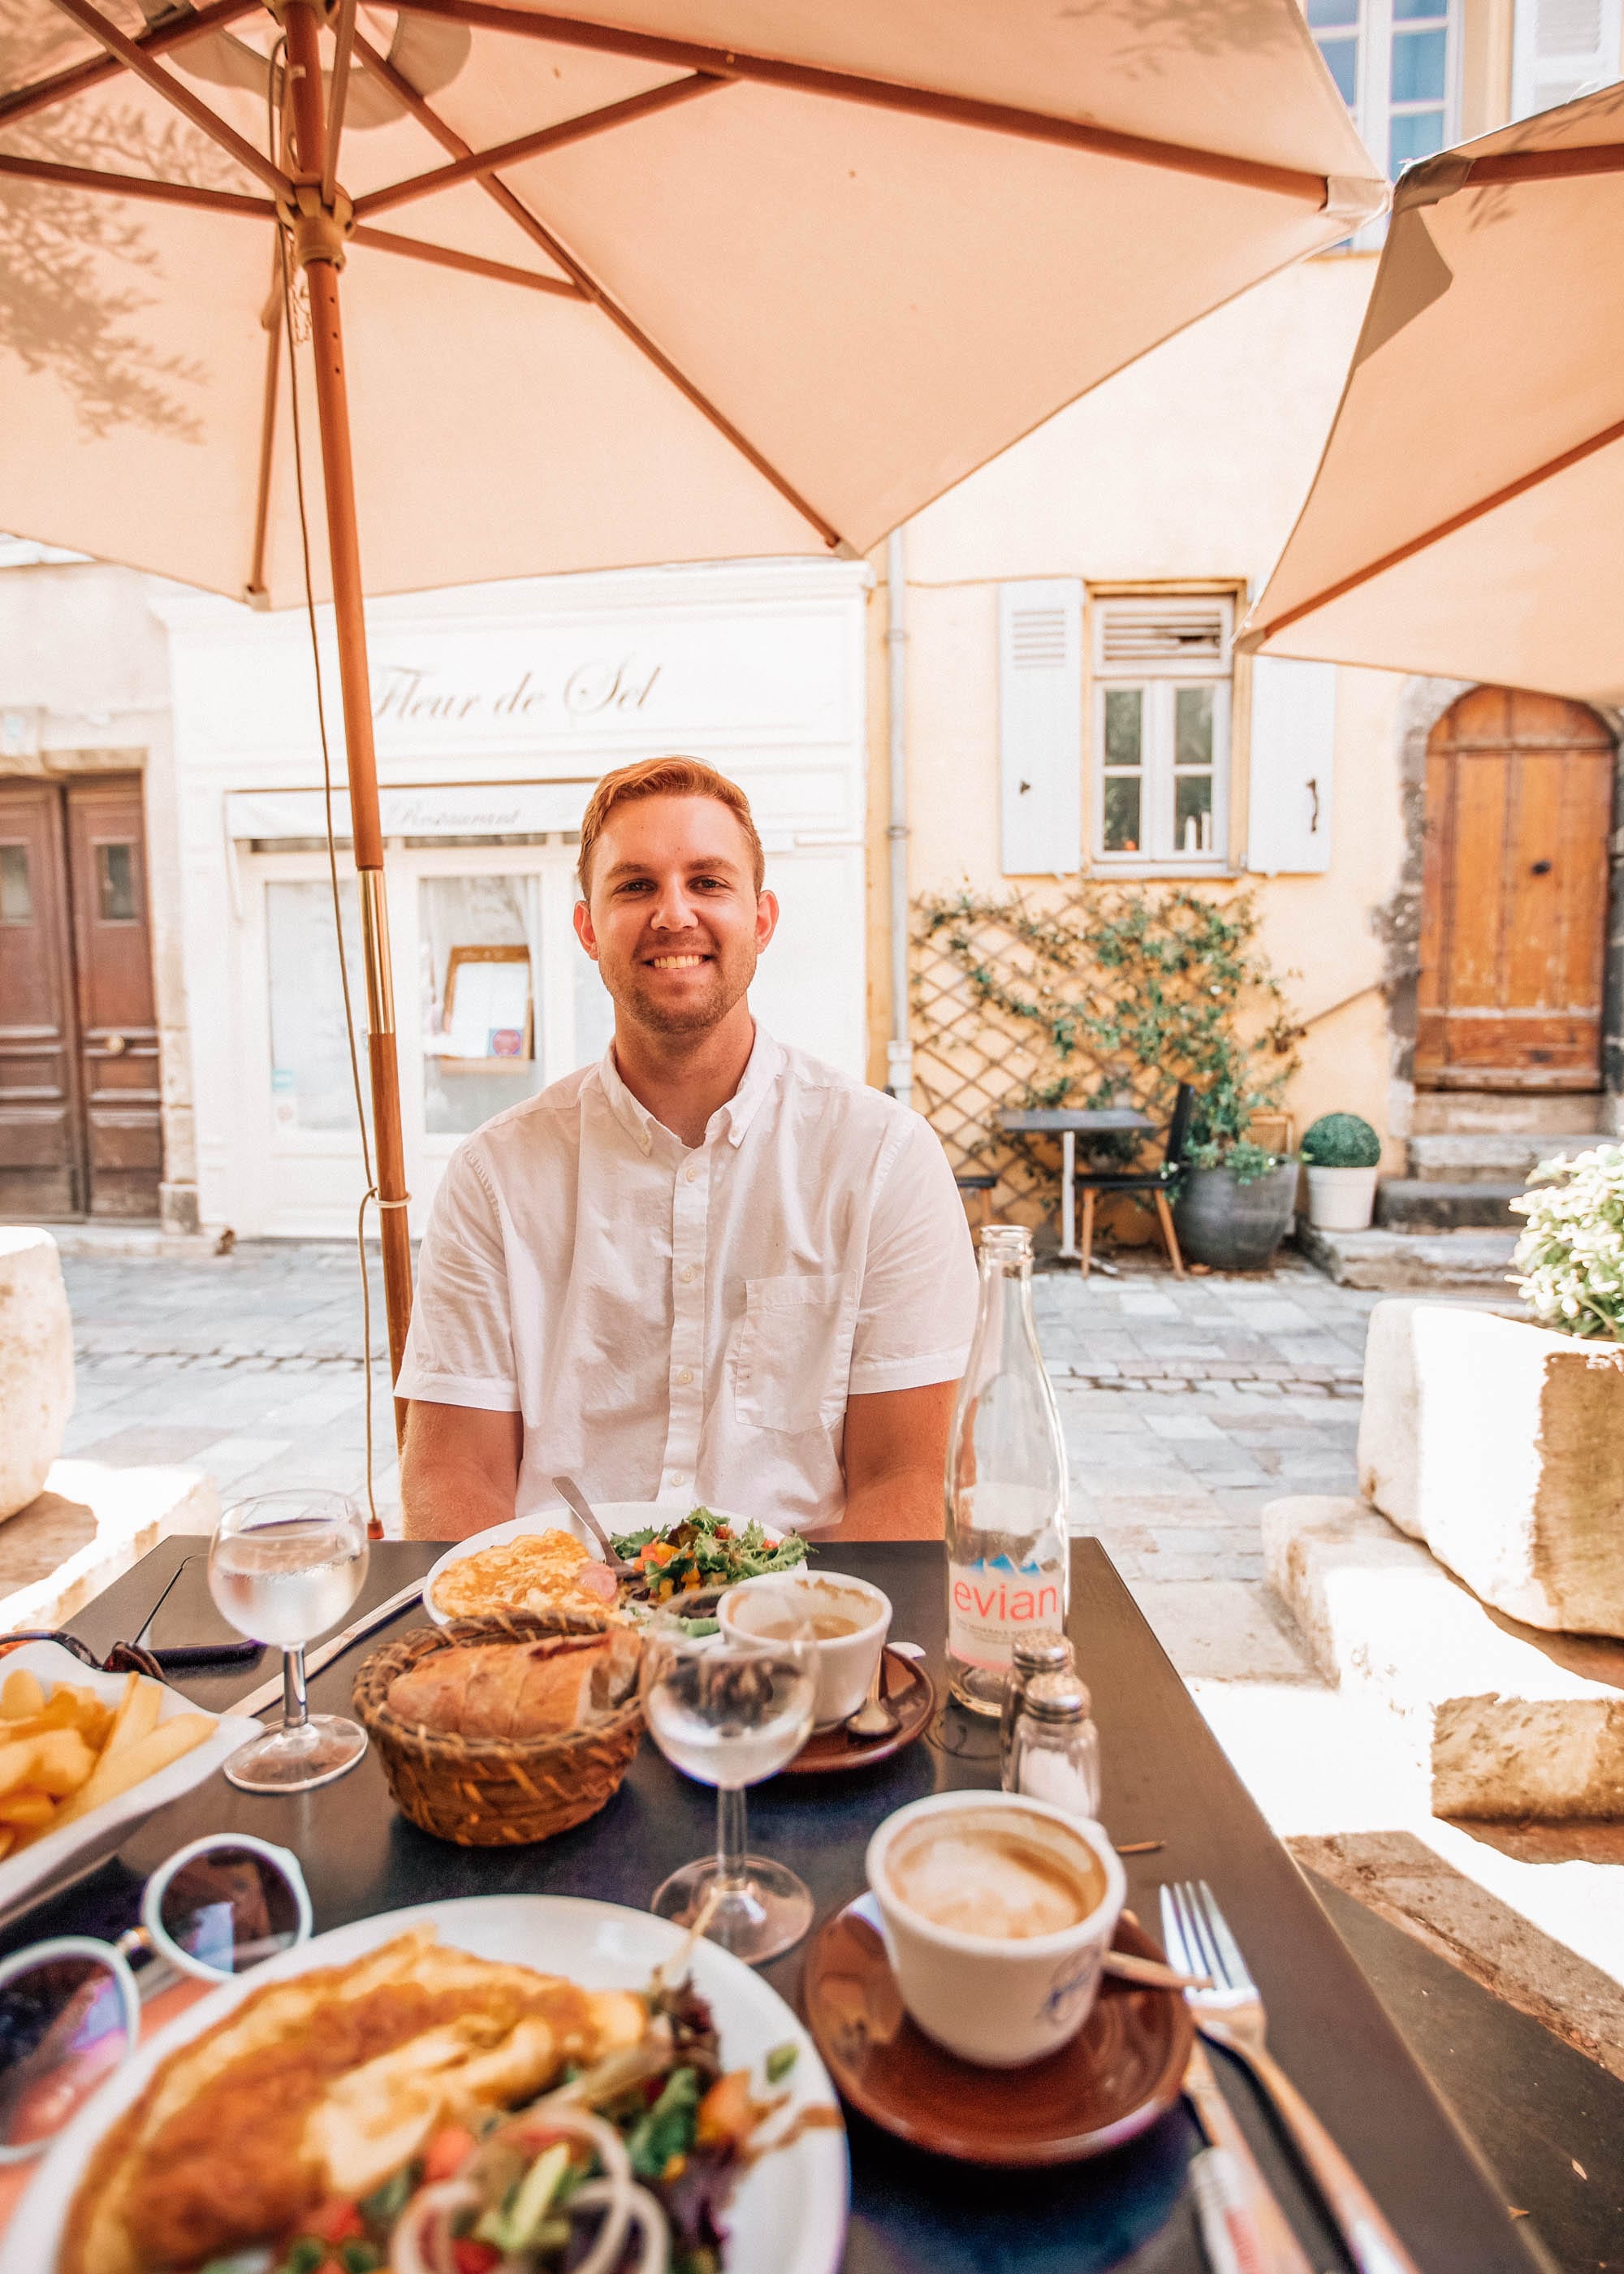
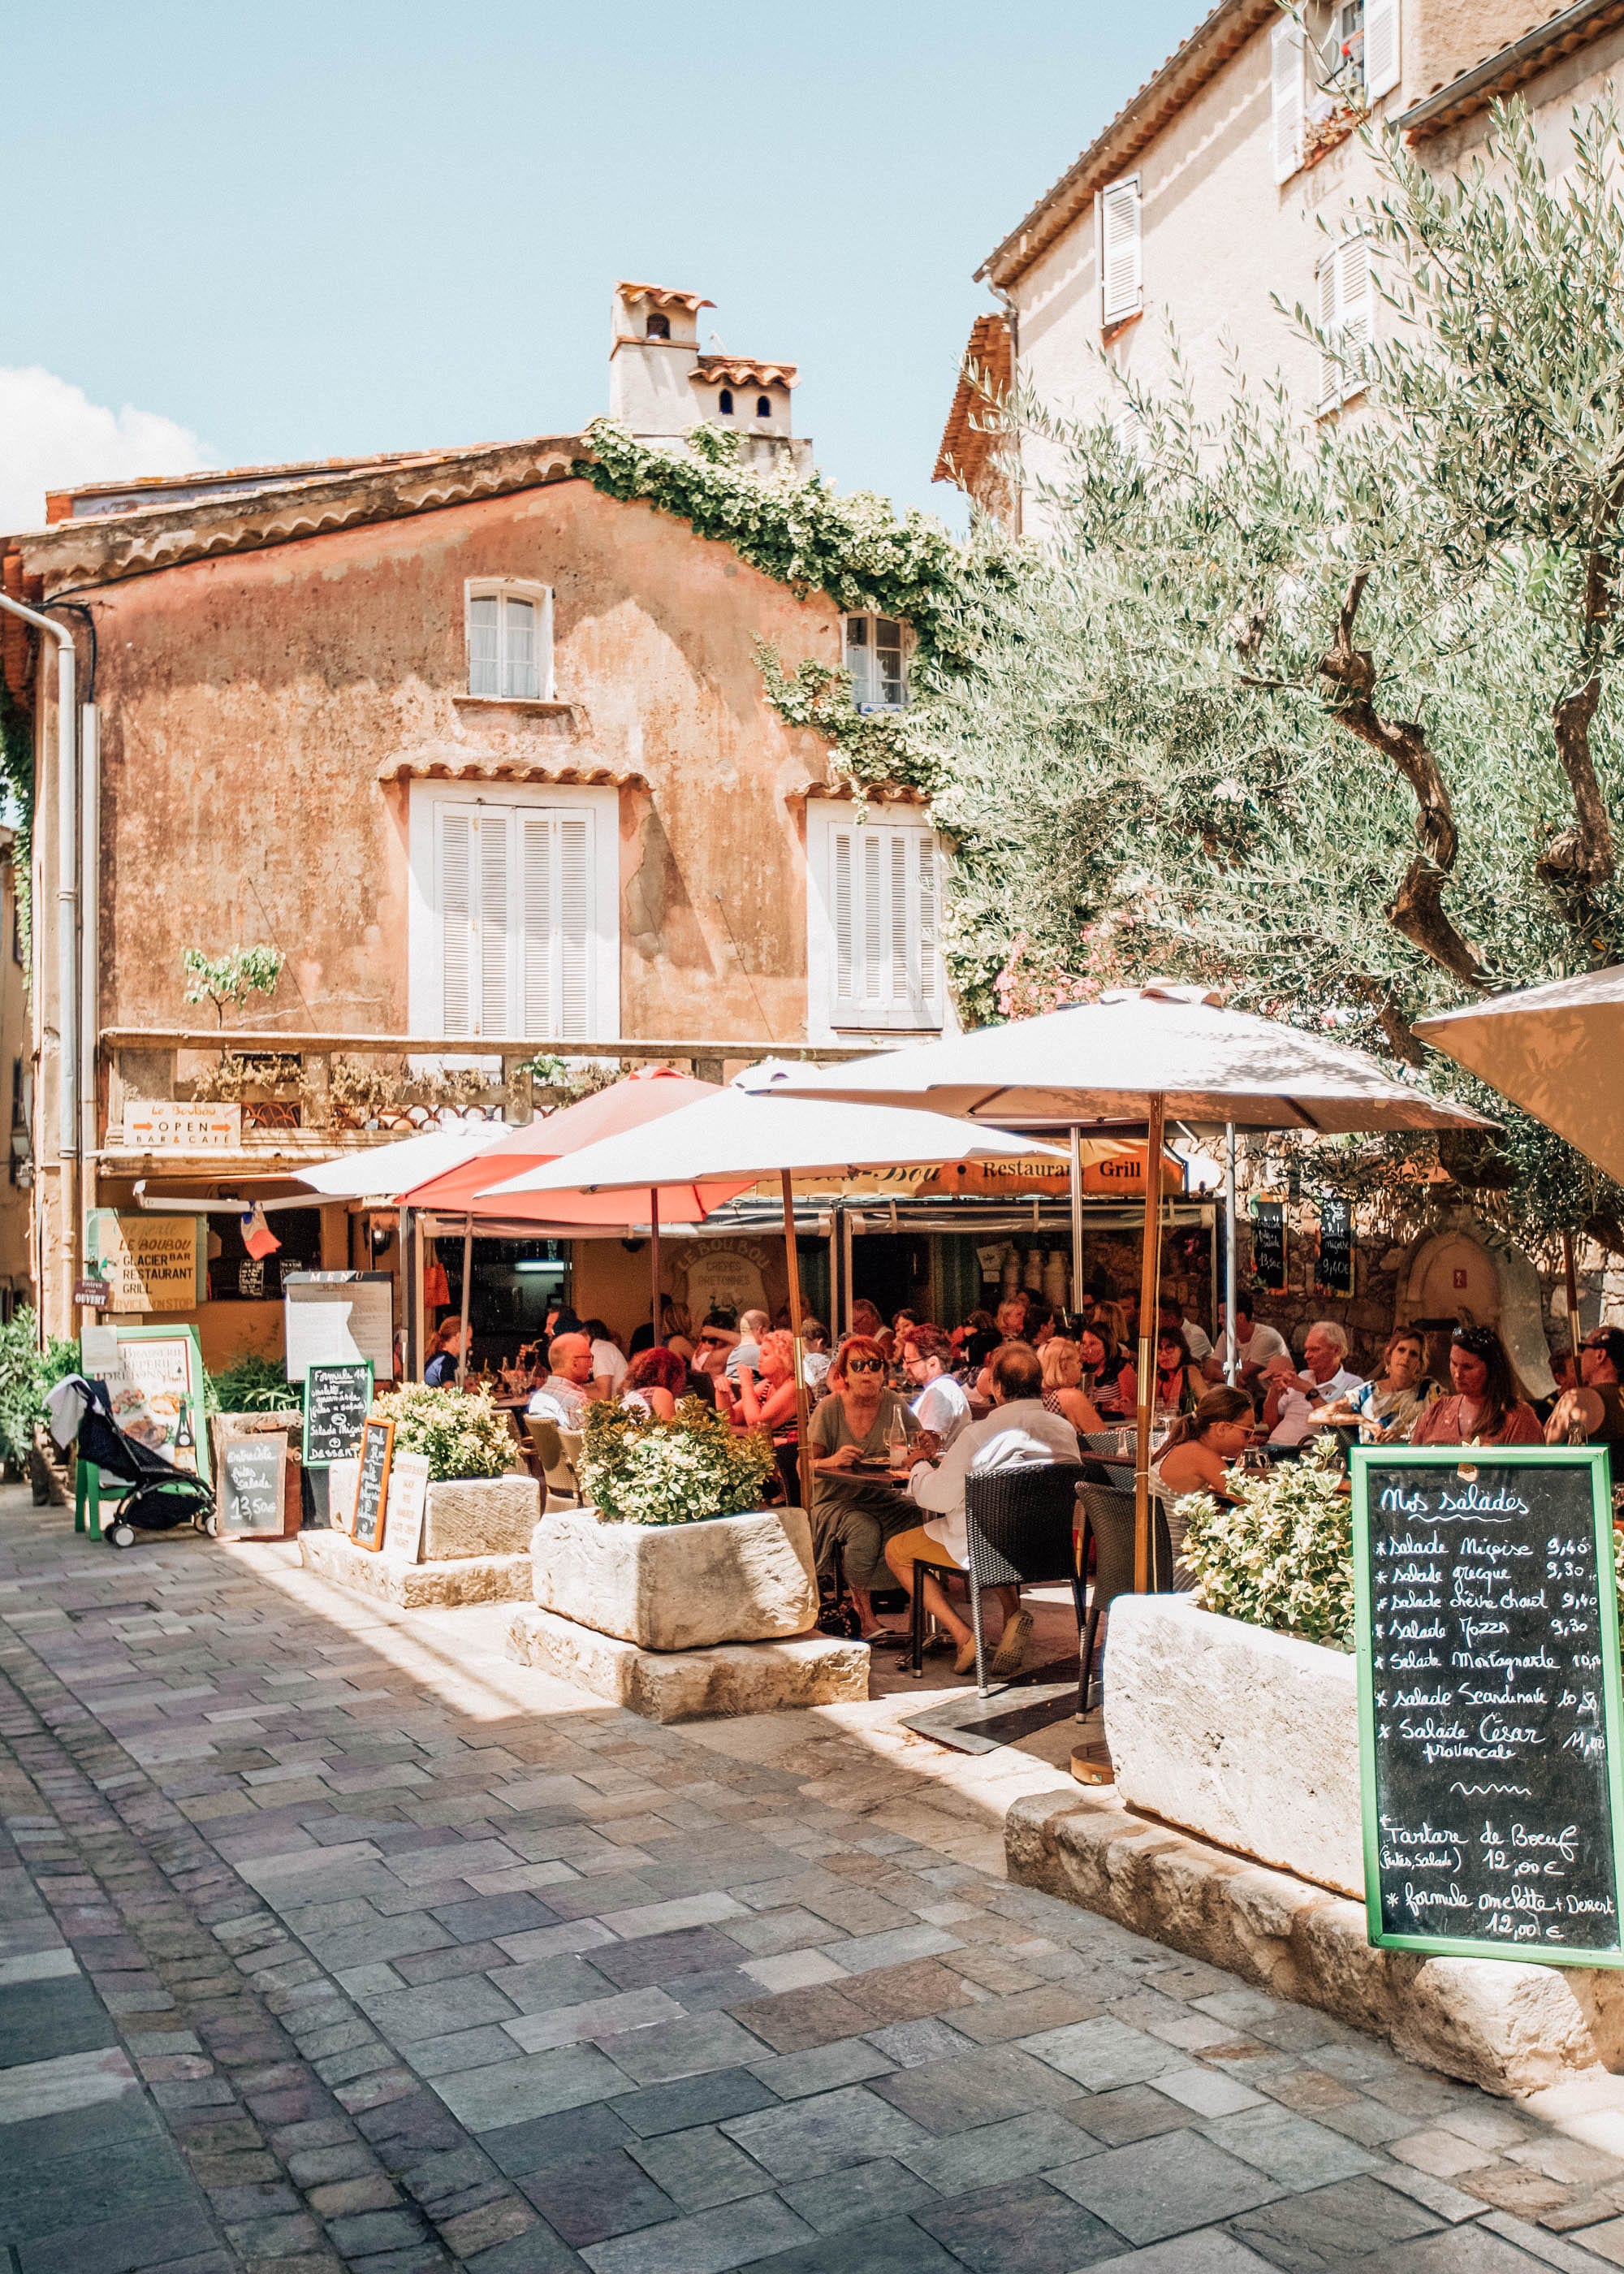
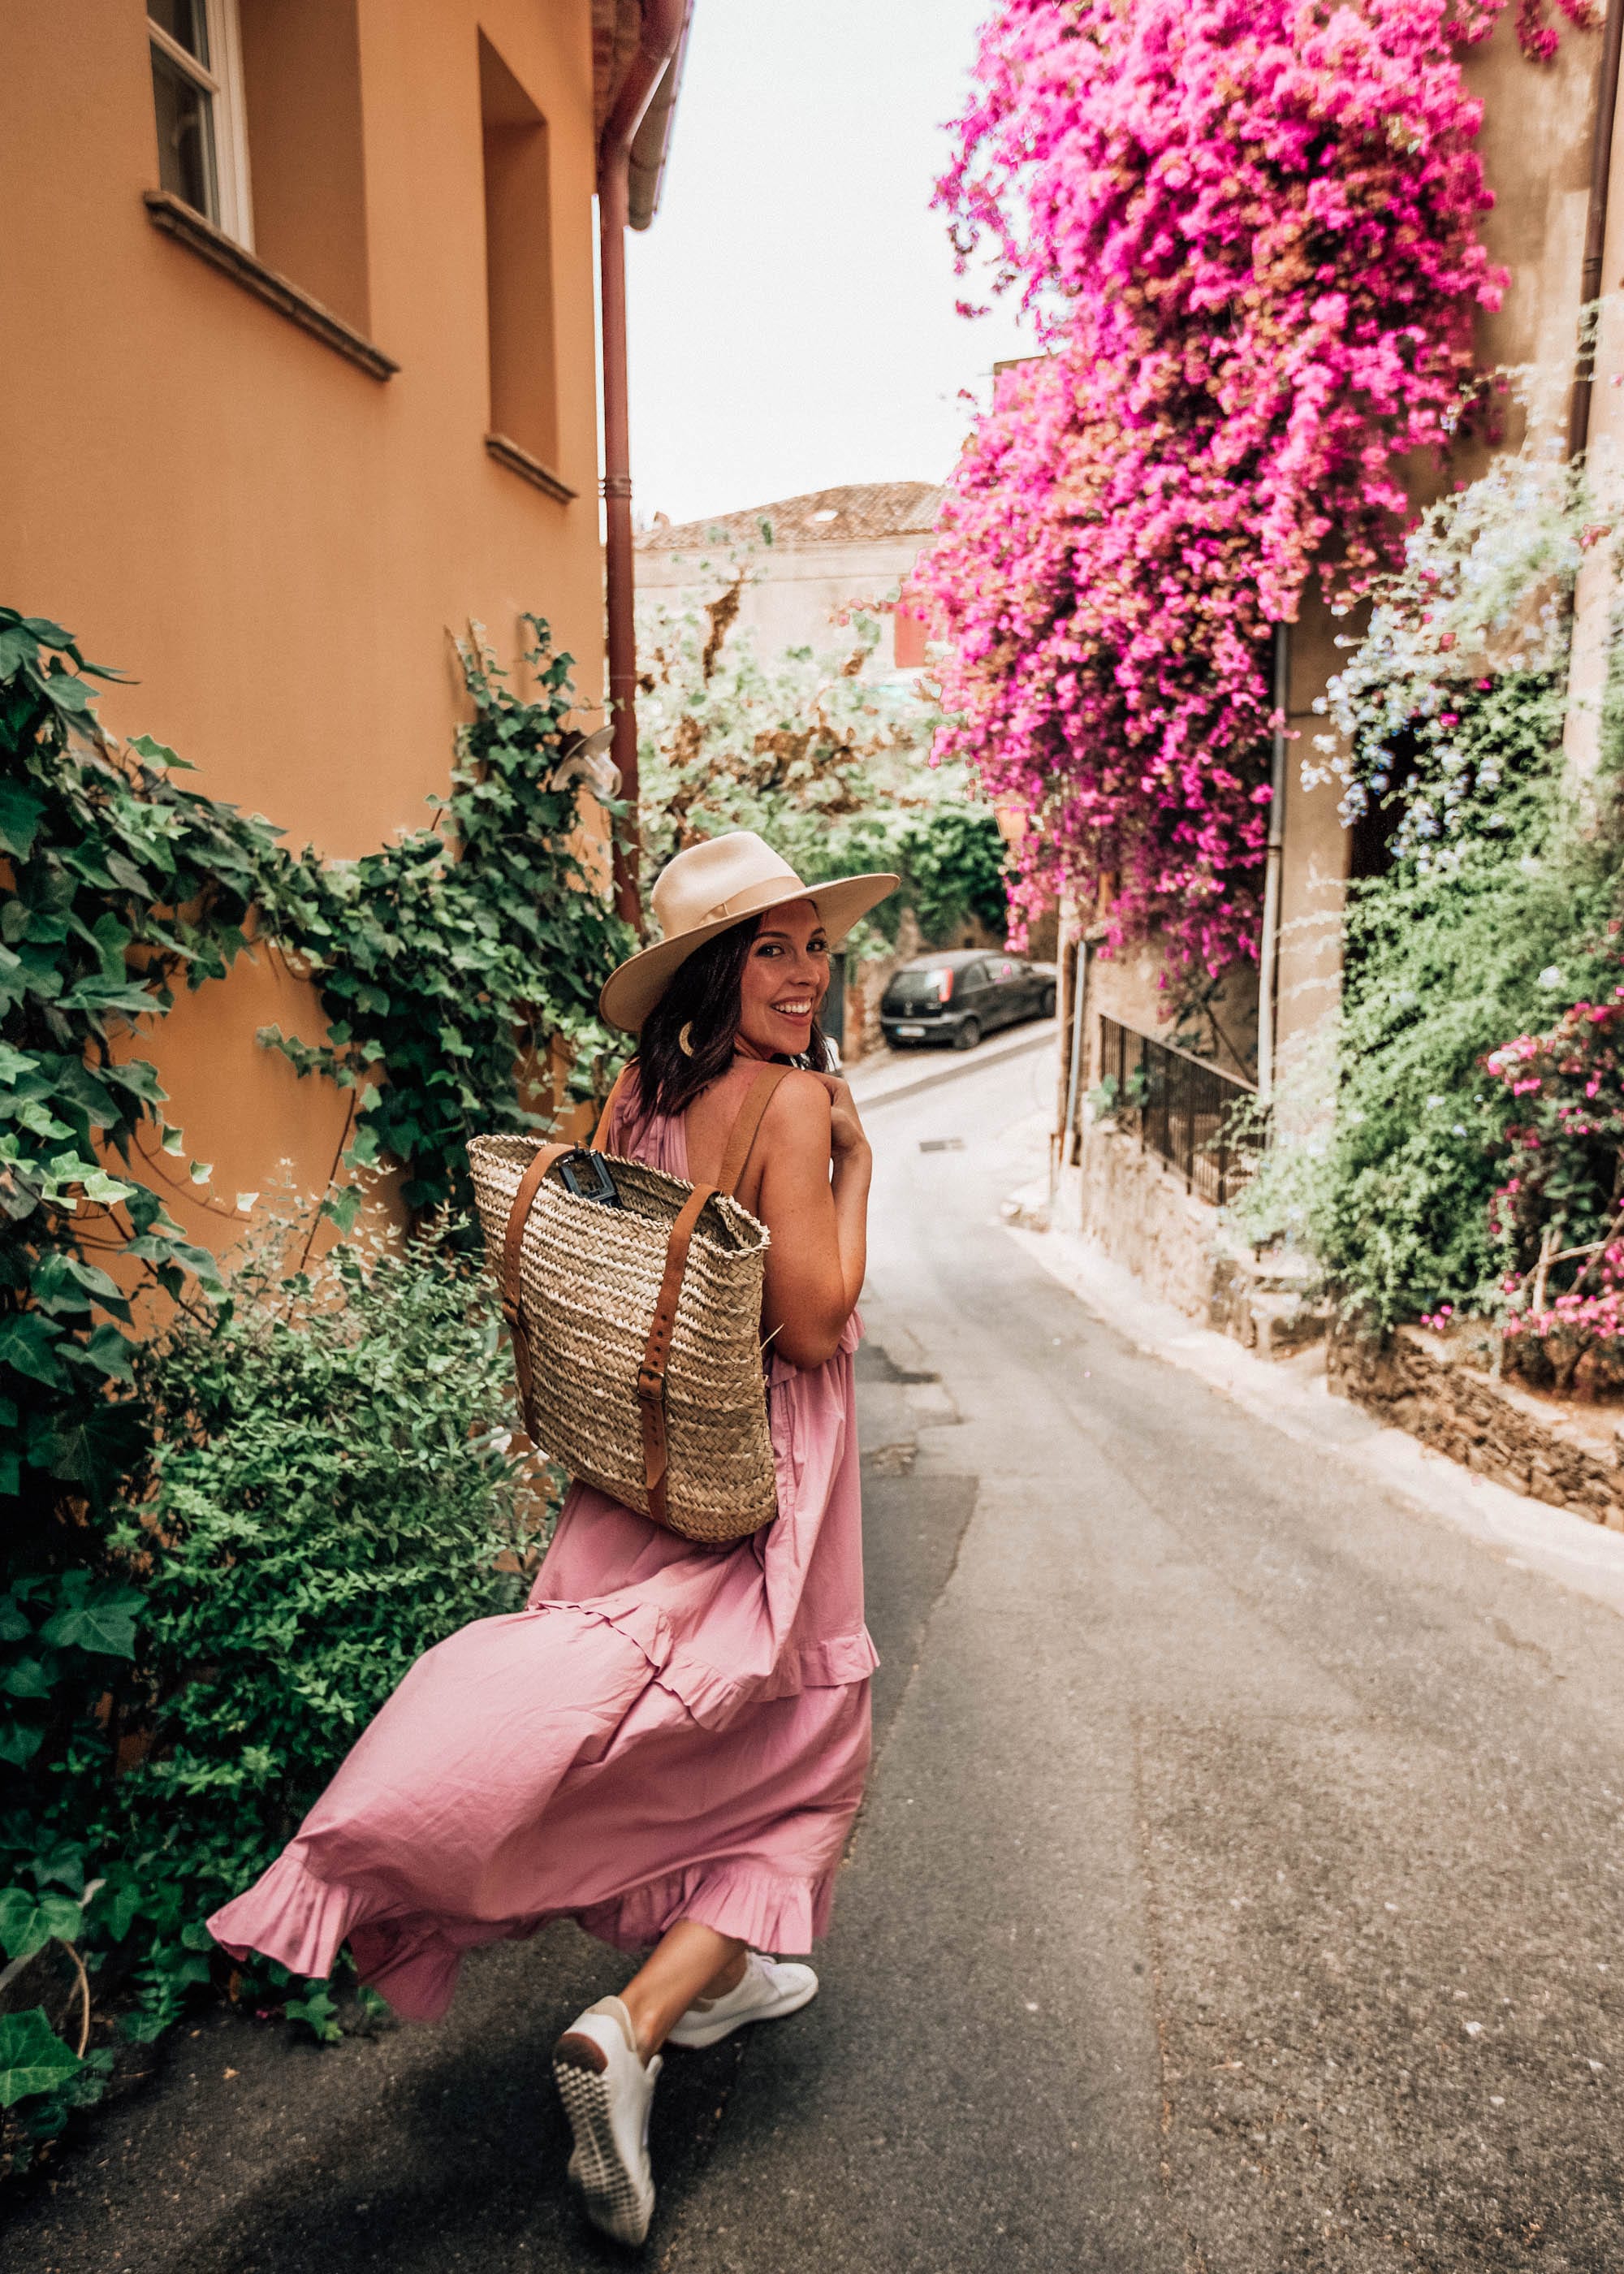
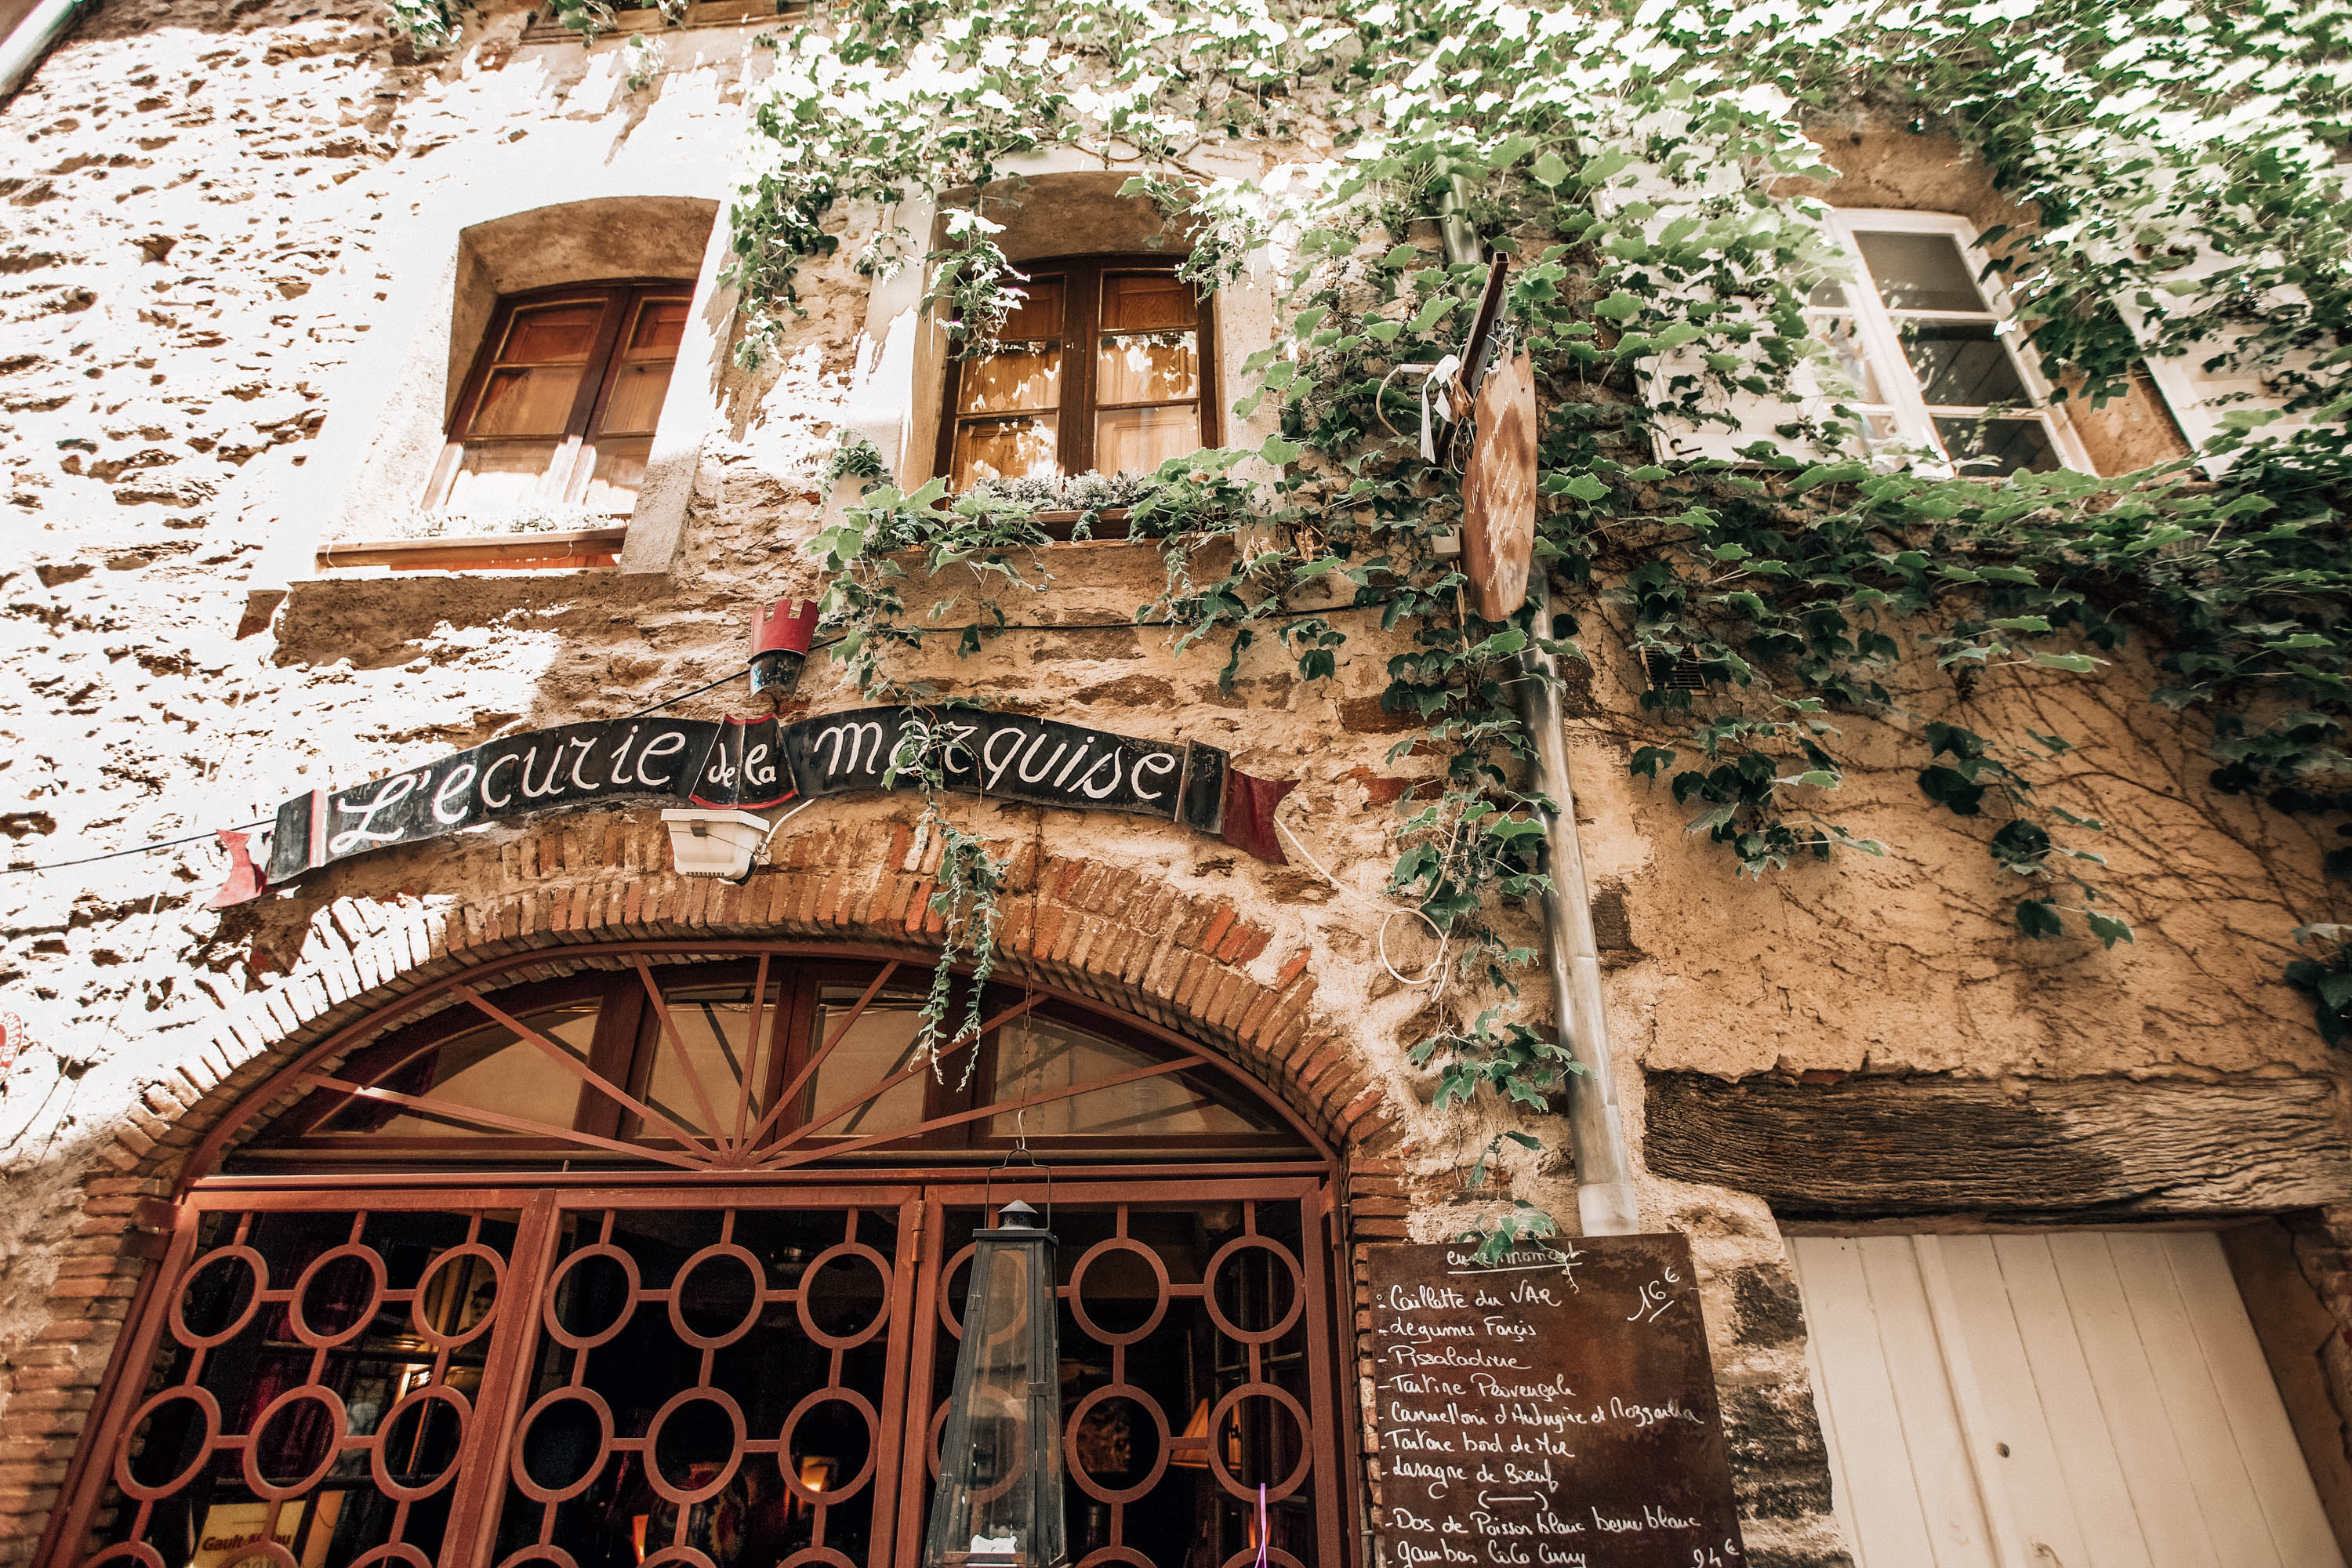
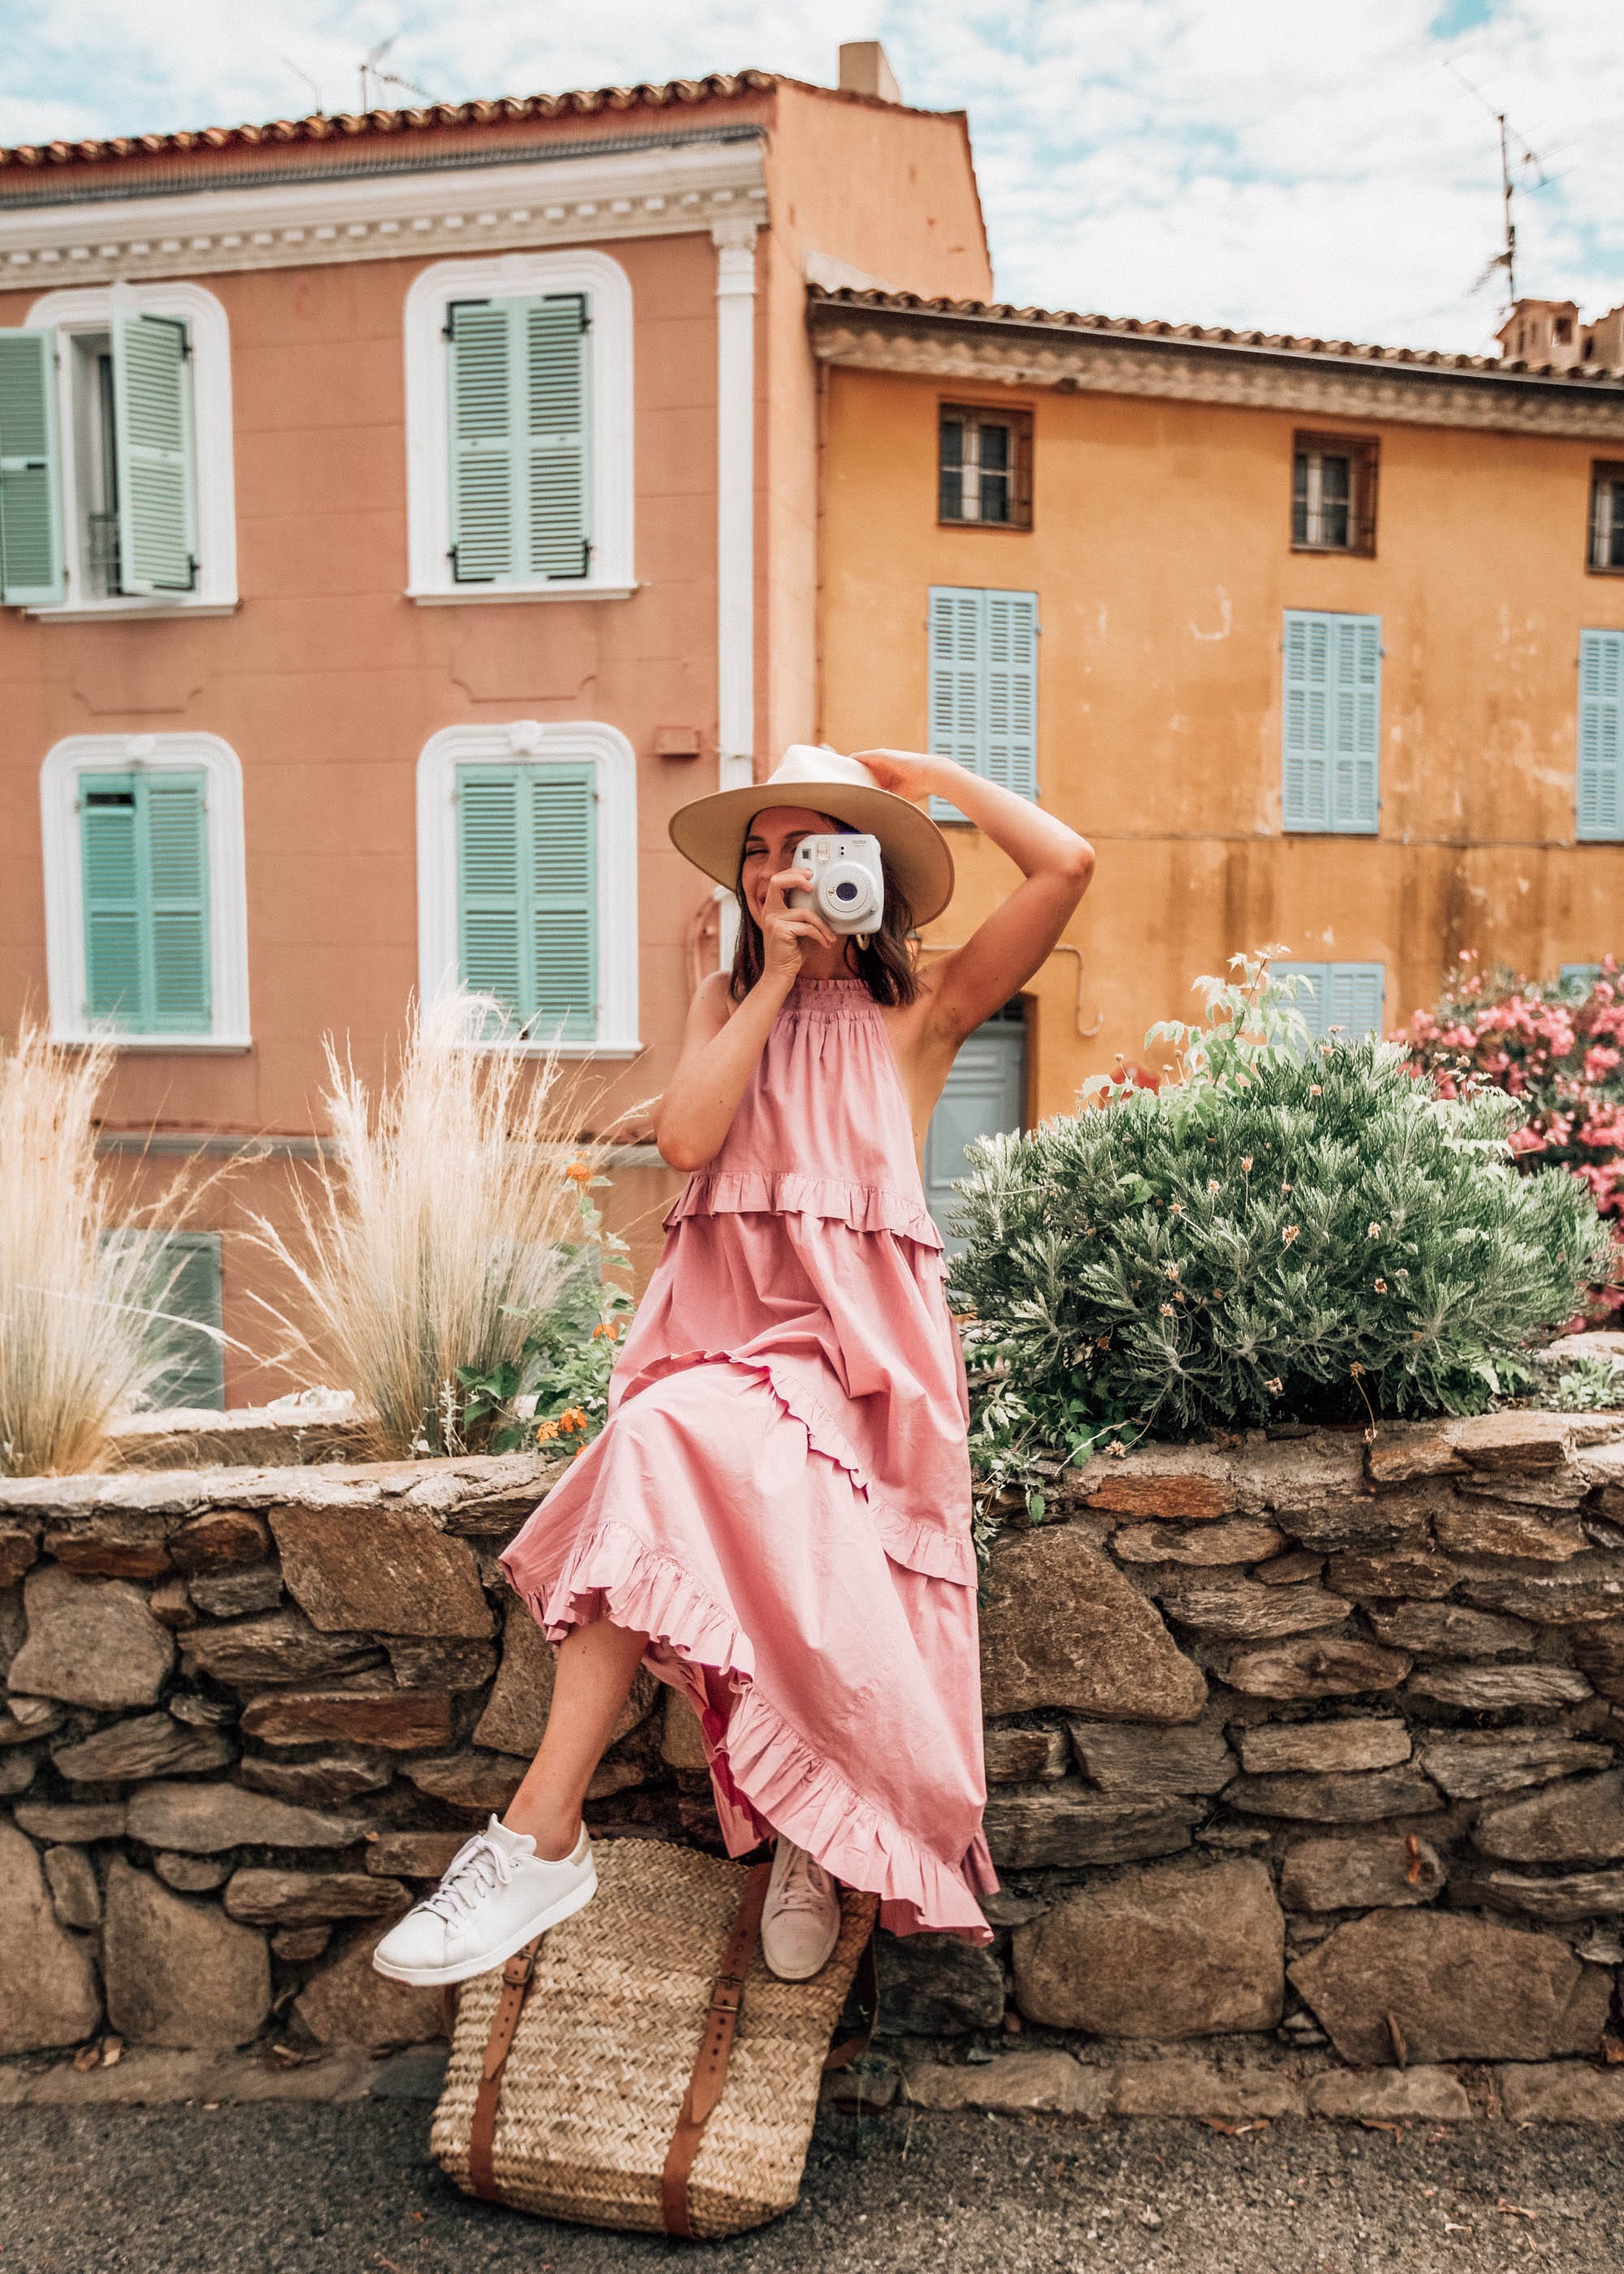
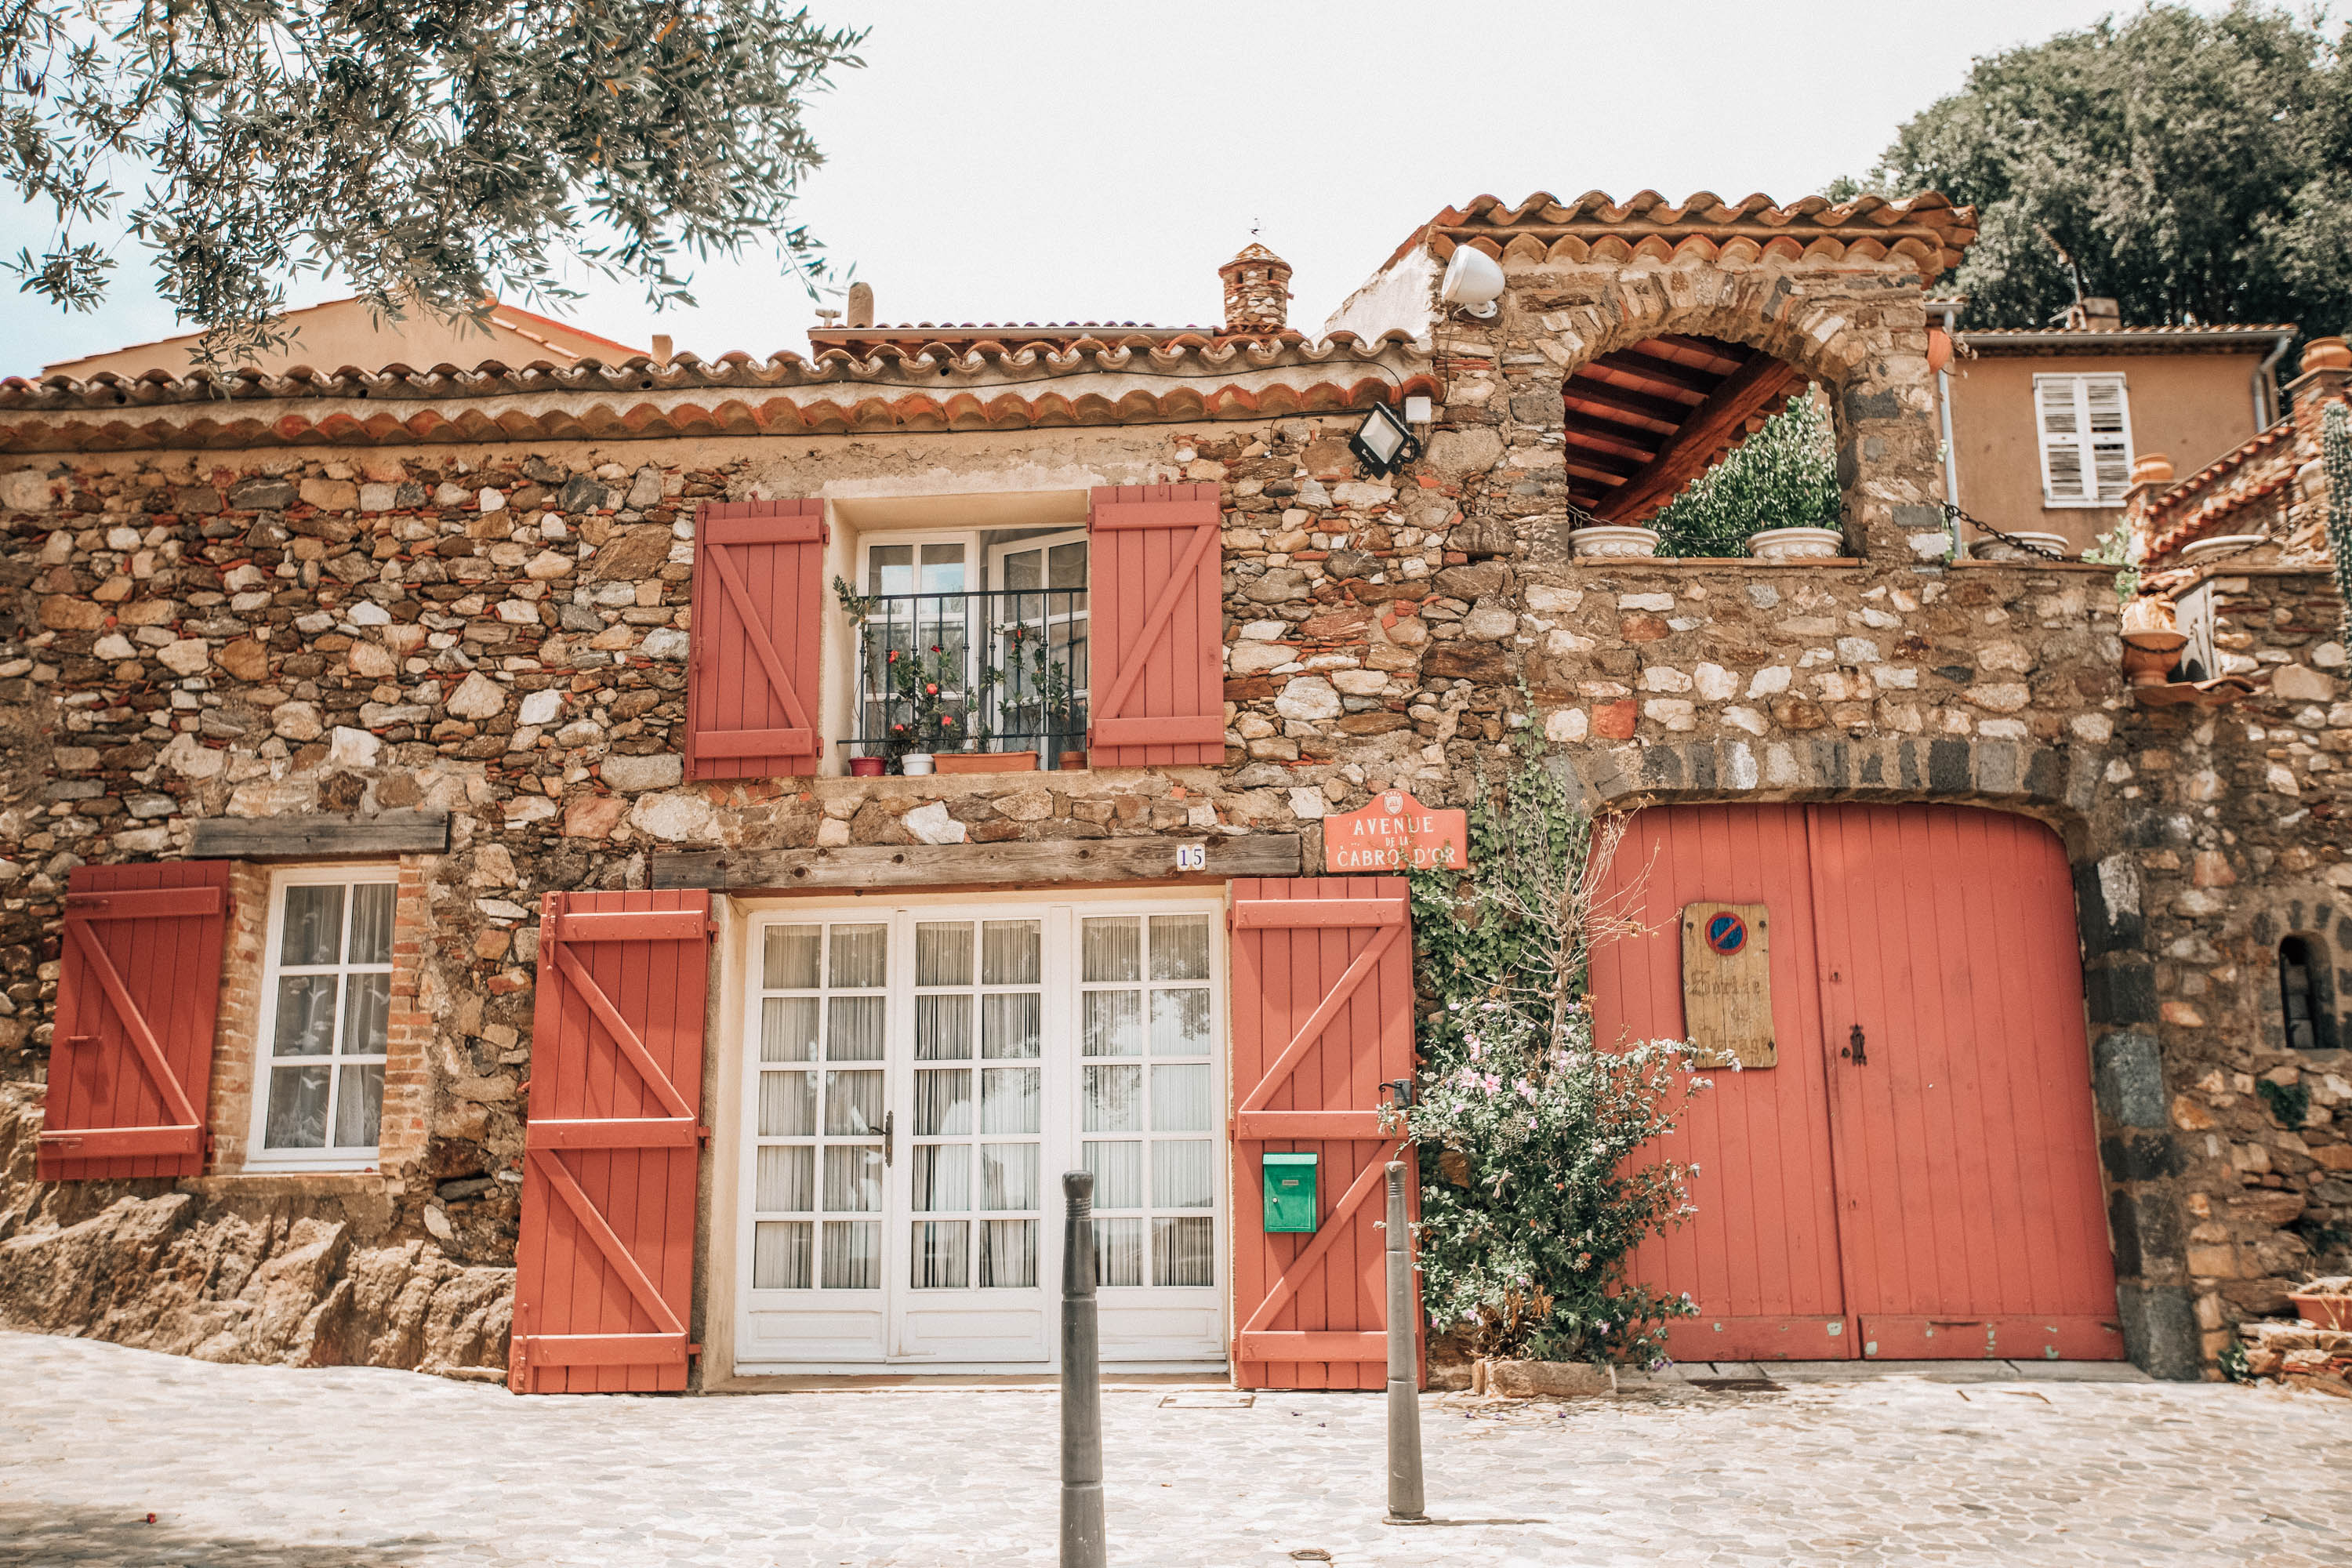
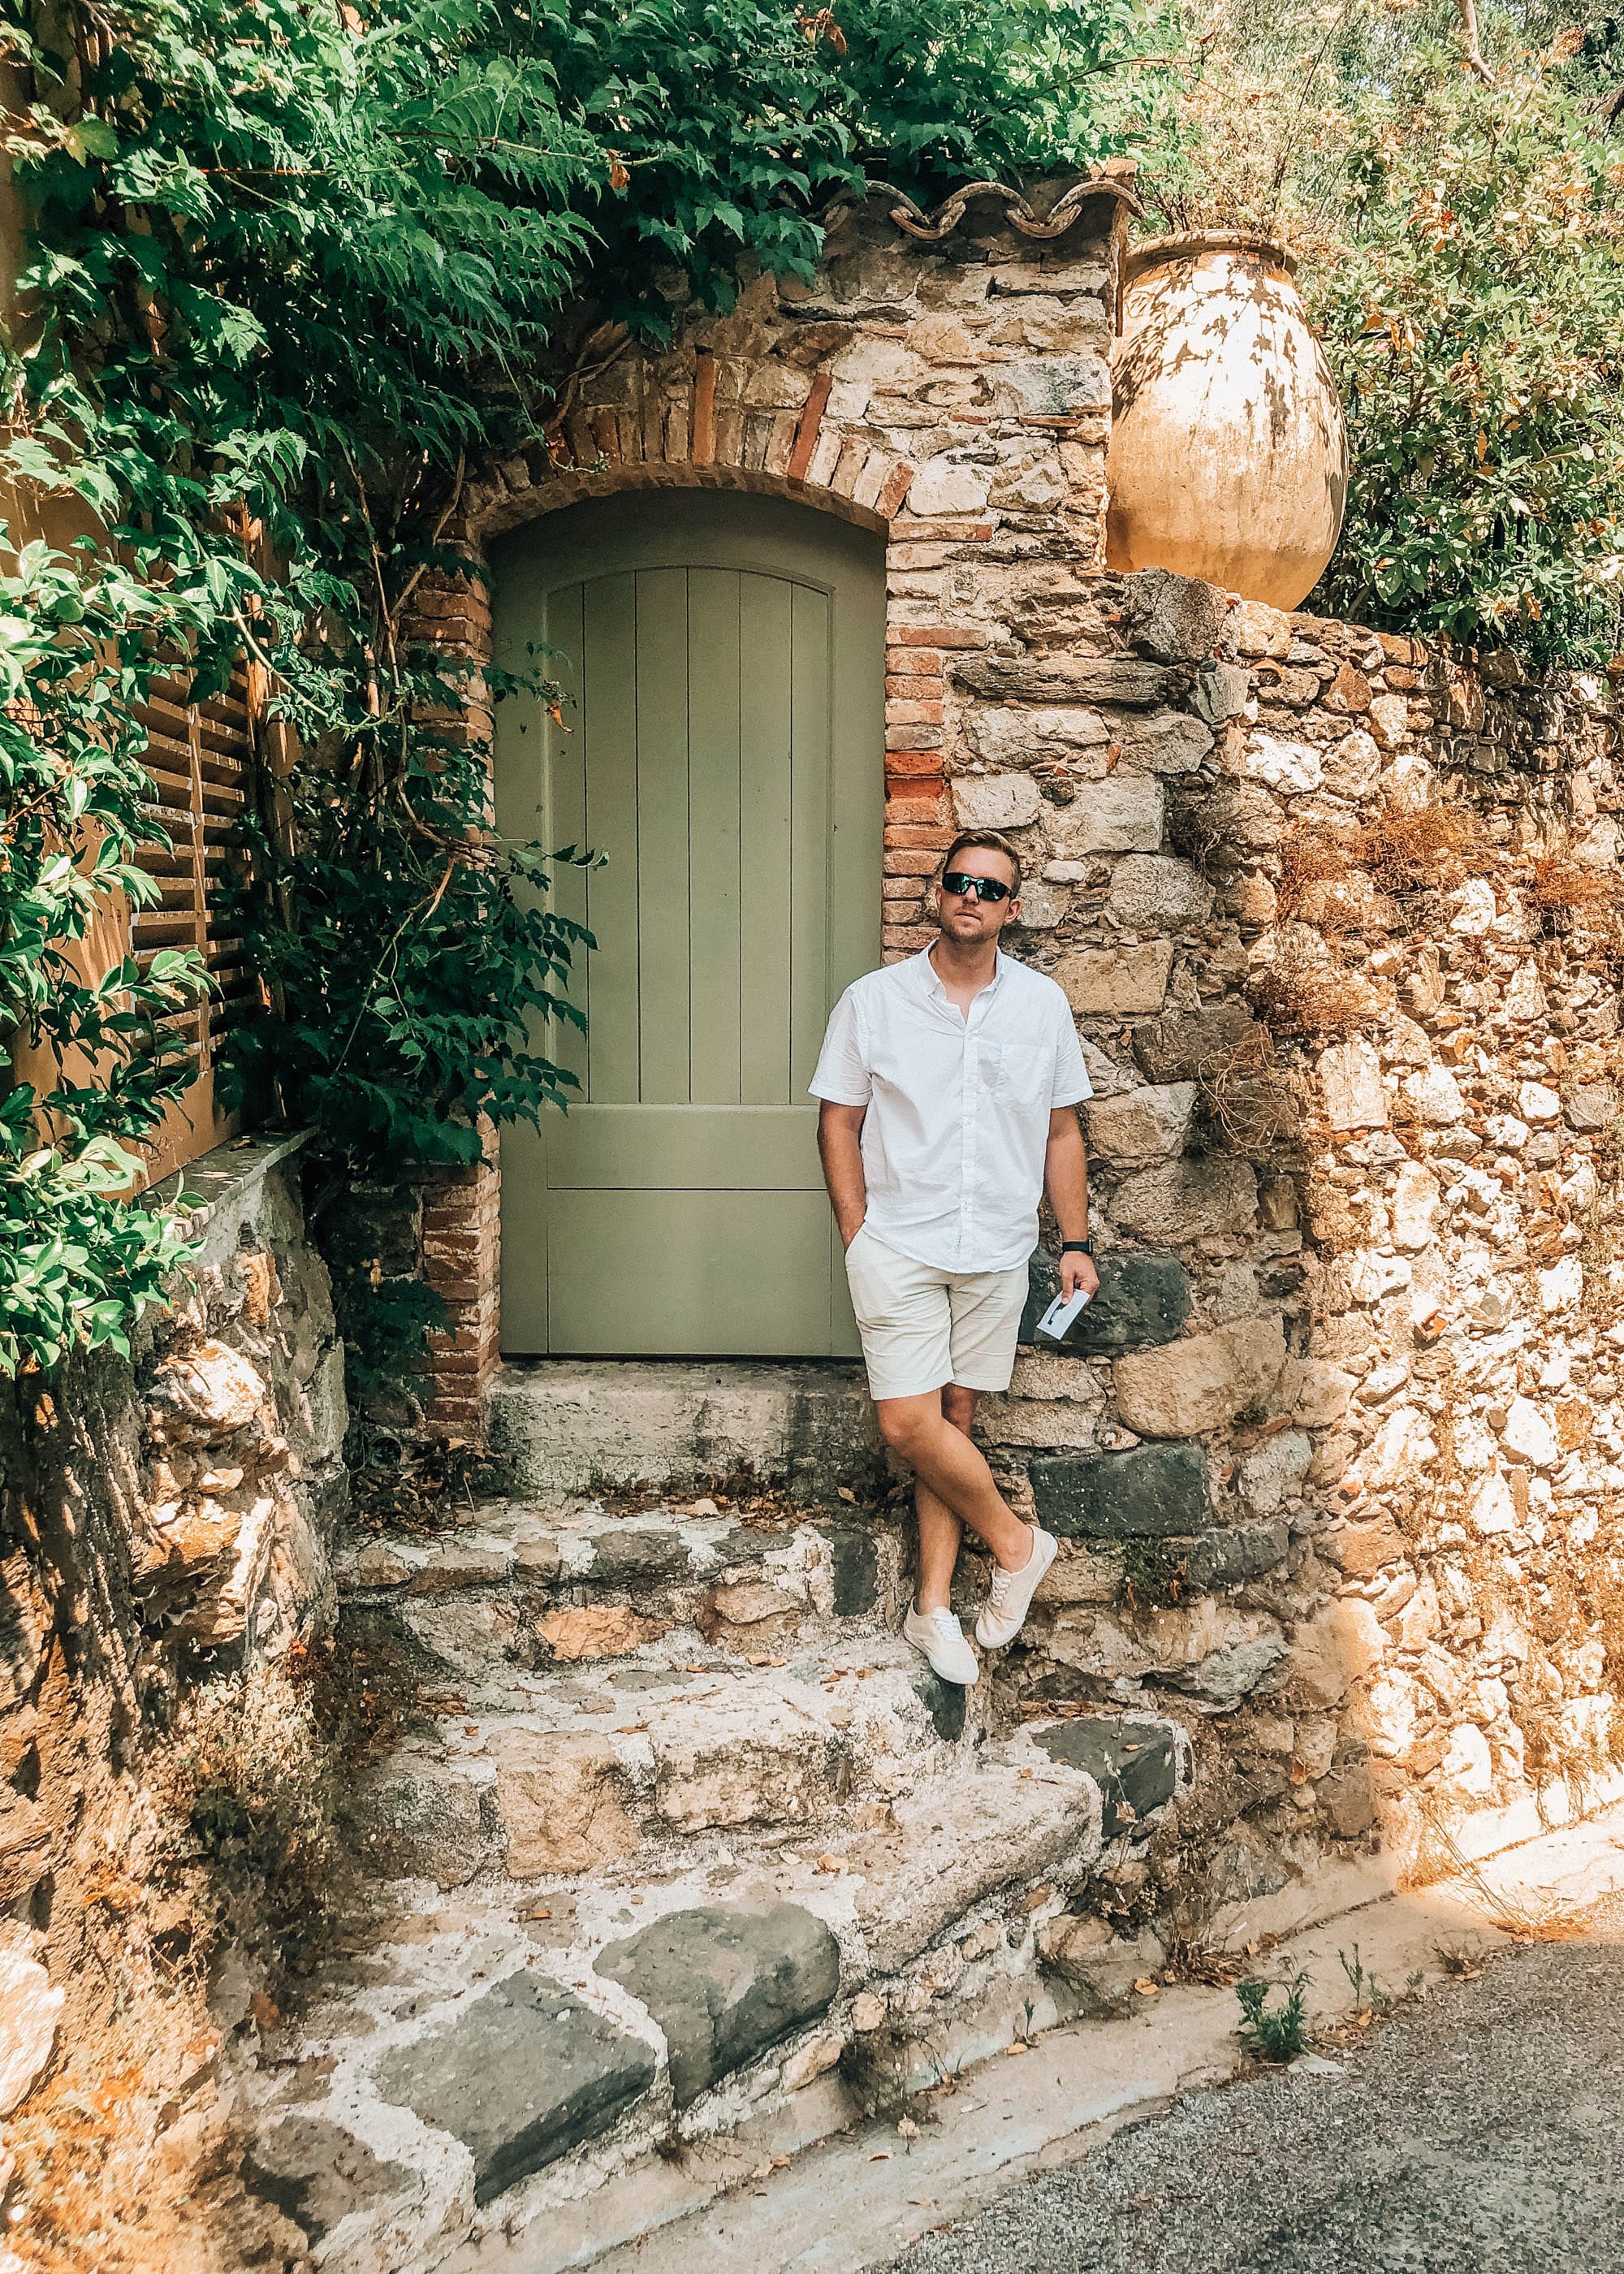
When we woke up the next day we drove to a smaller town that was close-by called Grimaud, about 20 minutes outside of St. Tropez, which might have been one of my personal favorite days of the whole trip. Every inch of this town was so dreamy; I couldn’t believe it was real. We found a small cafe called La Bou Bou and ordered omelets before exploring more of the town. We actually dined outside the entire week, because that’s apparently the norm over there, and I was more than okay with that! This trip was just my dreams coming true. The food was absolutely delicious and the cafe filled up quickly after we sat down under the umbrellas. Once finished with brunch, we began walking the town, exploring the small, fashionable shops, centuries old architecture, and observing the residents and tourists. The town had rolling hills, a very cute “centre ville”, and great quiet spots to record Beauty and the Beast sing-along videos. One thing we began to notice was how the cafes and restaurants were closed in the middle of the afternoon. It was tough trying to find a place to just buy a couple bottles of water. Definitely be prepared for that as you plan out your trip. One thing we just missed was their market in the middle of the village. They were packing up as we got there, but we were determined to find another one among the villages we were planning to go visit (more on that in part 2). We ended up spending about 3-4 hours in Grimaud and then headed over to centre ville Gassin.
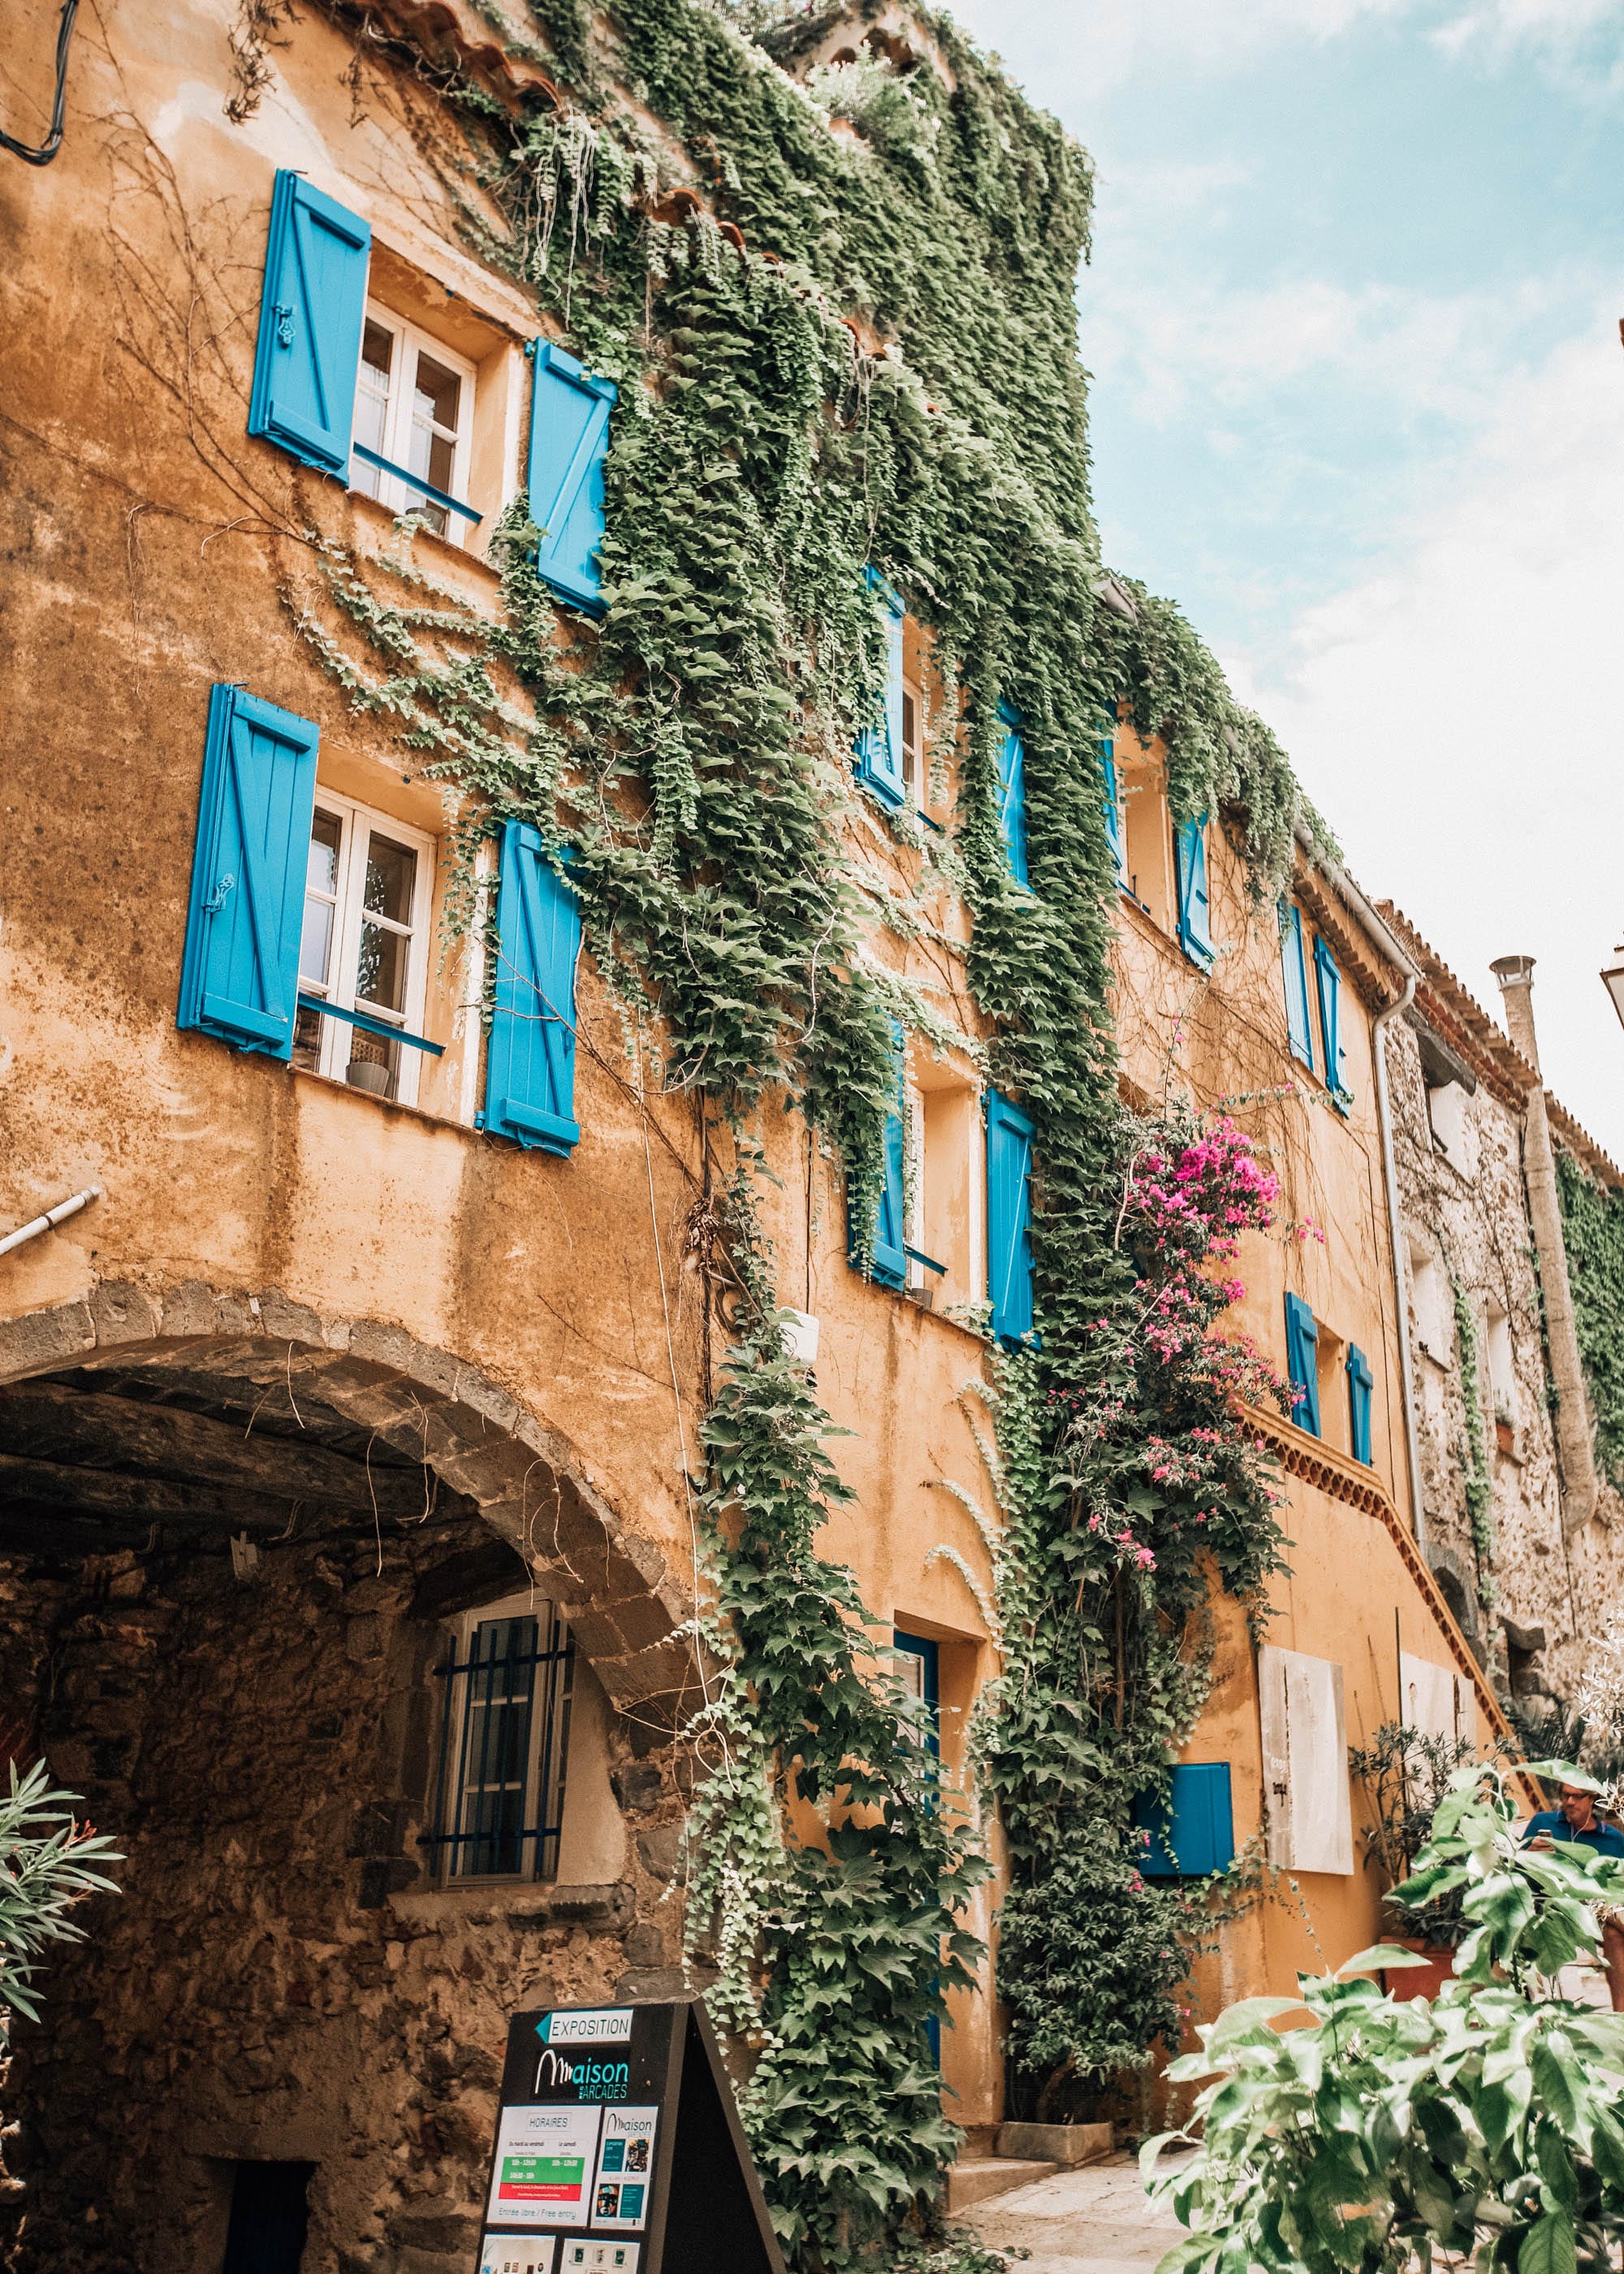
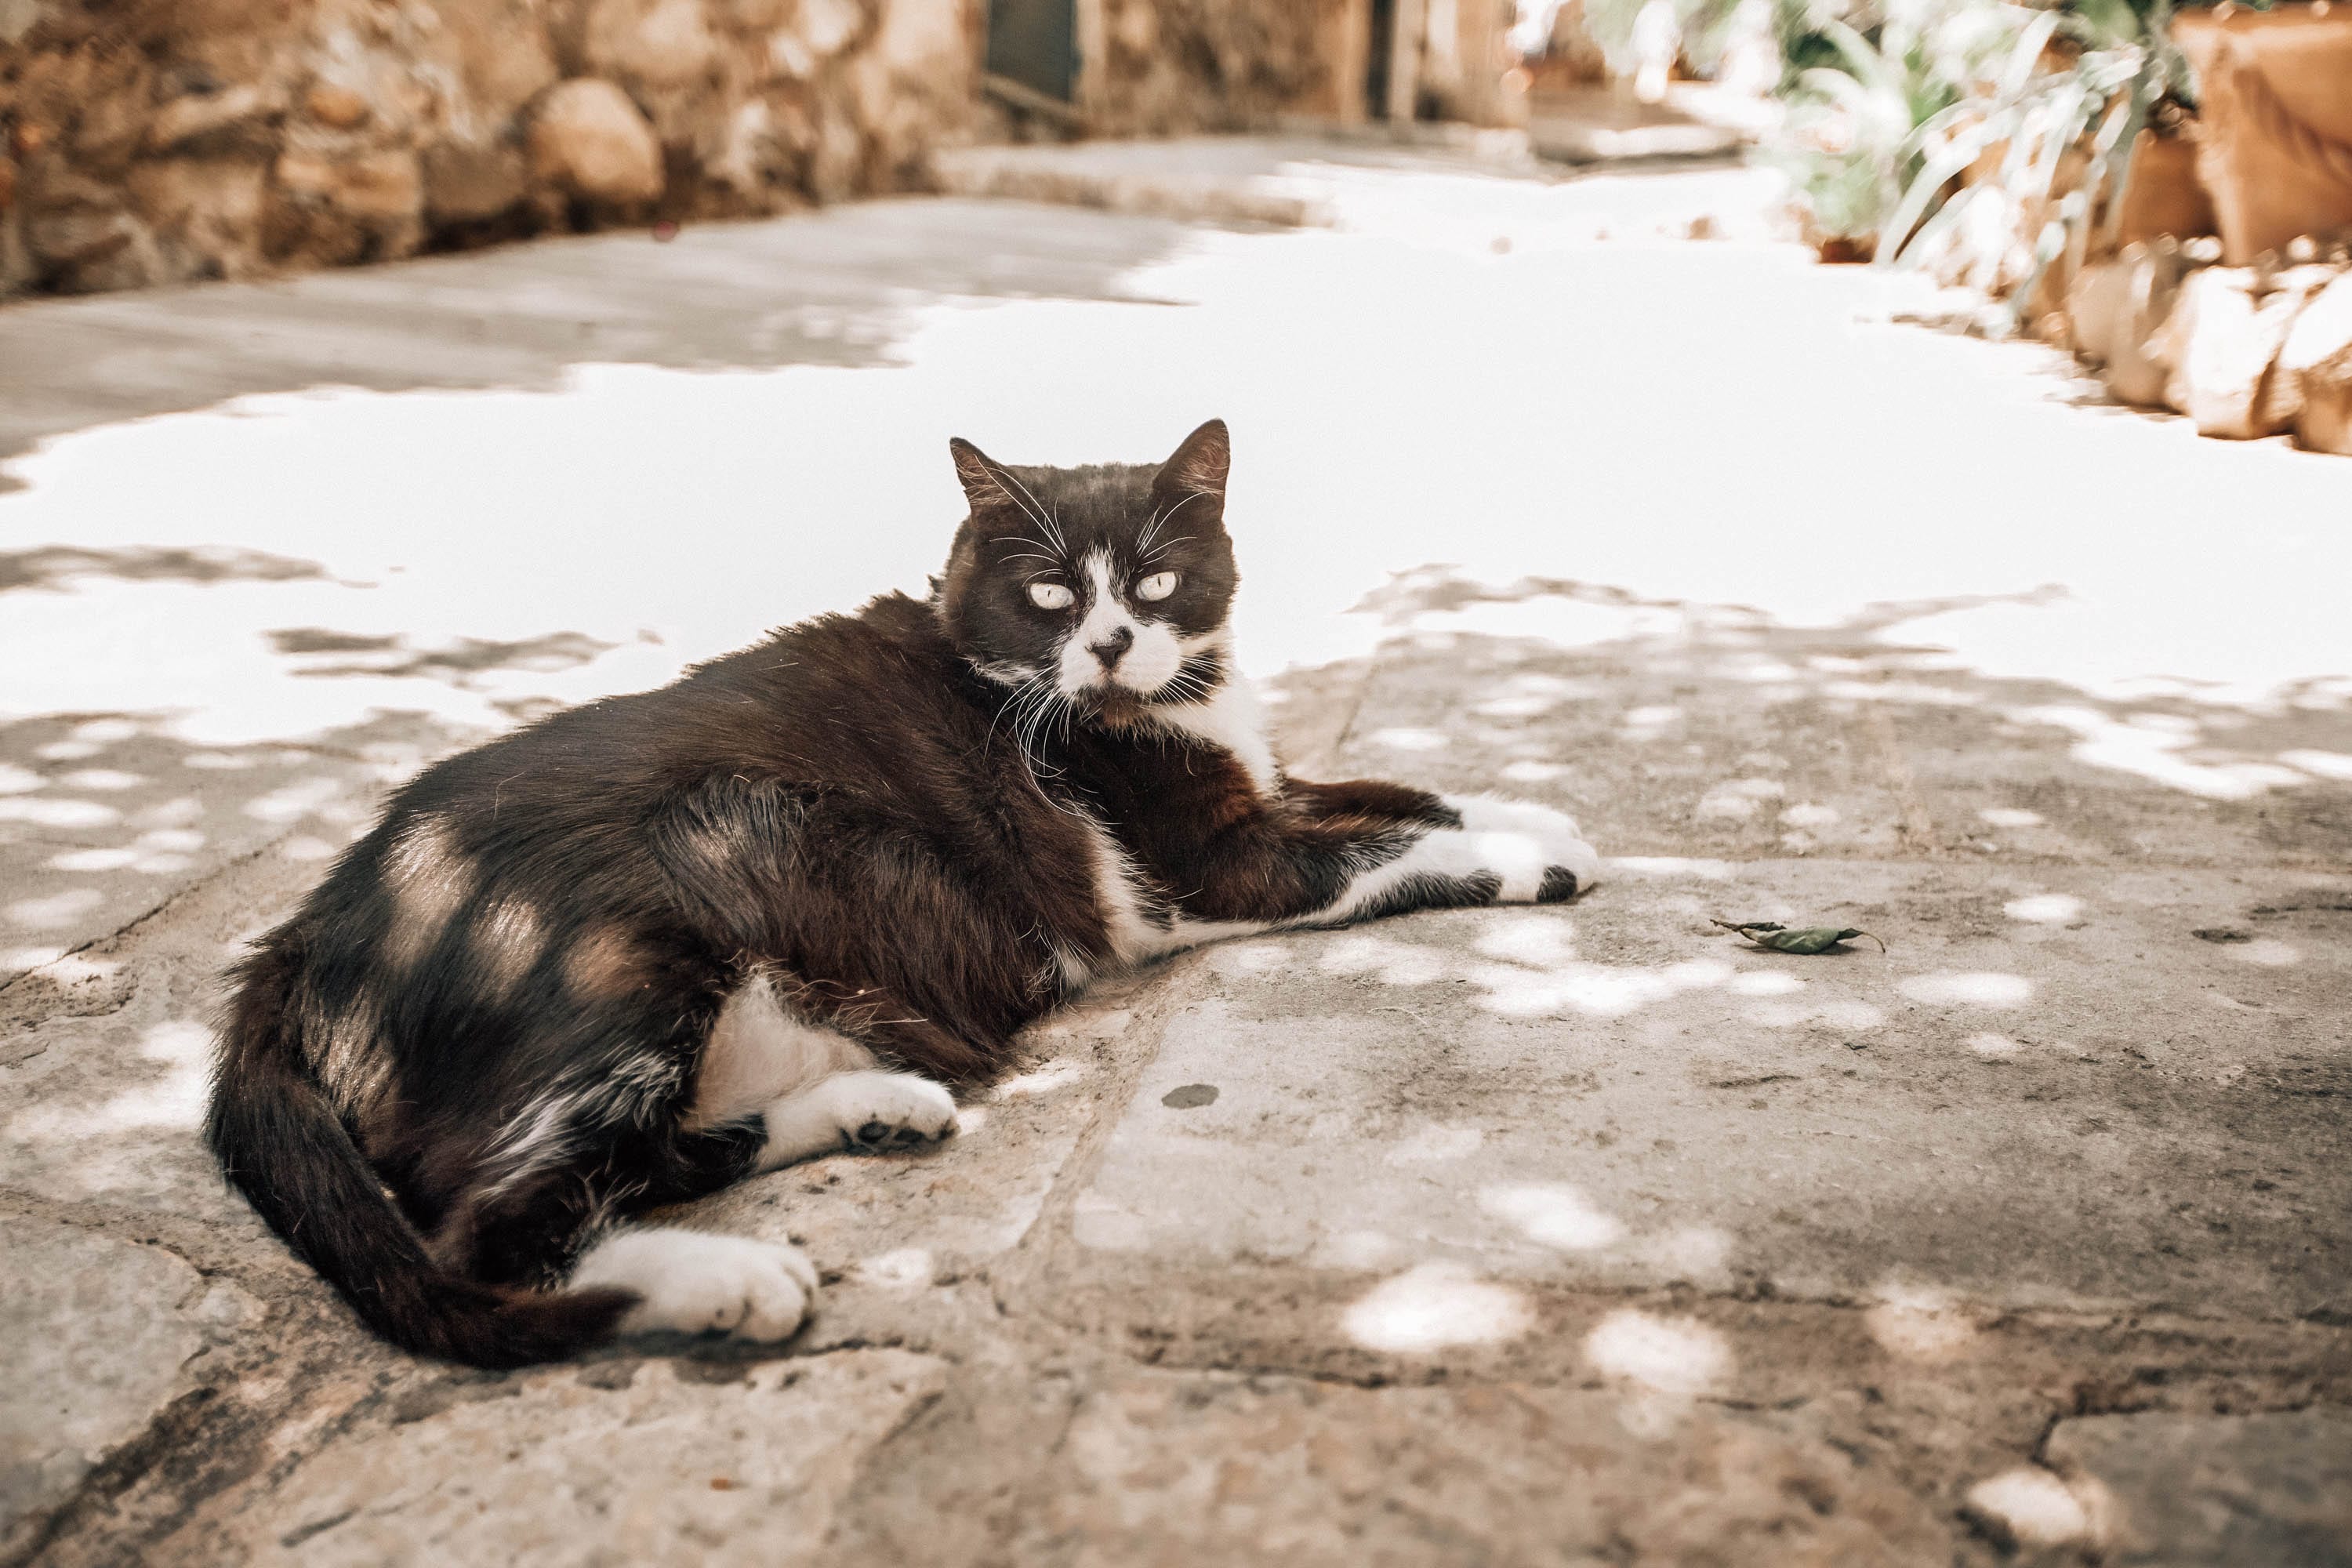
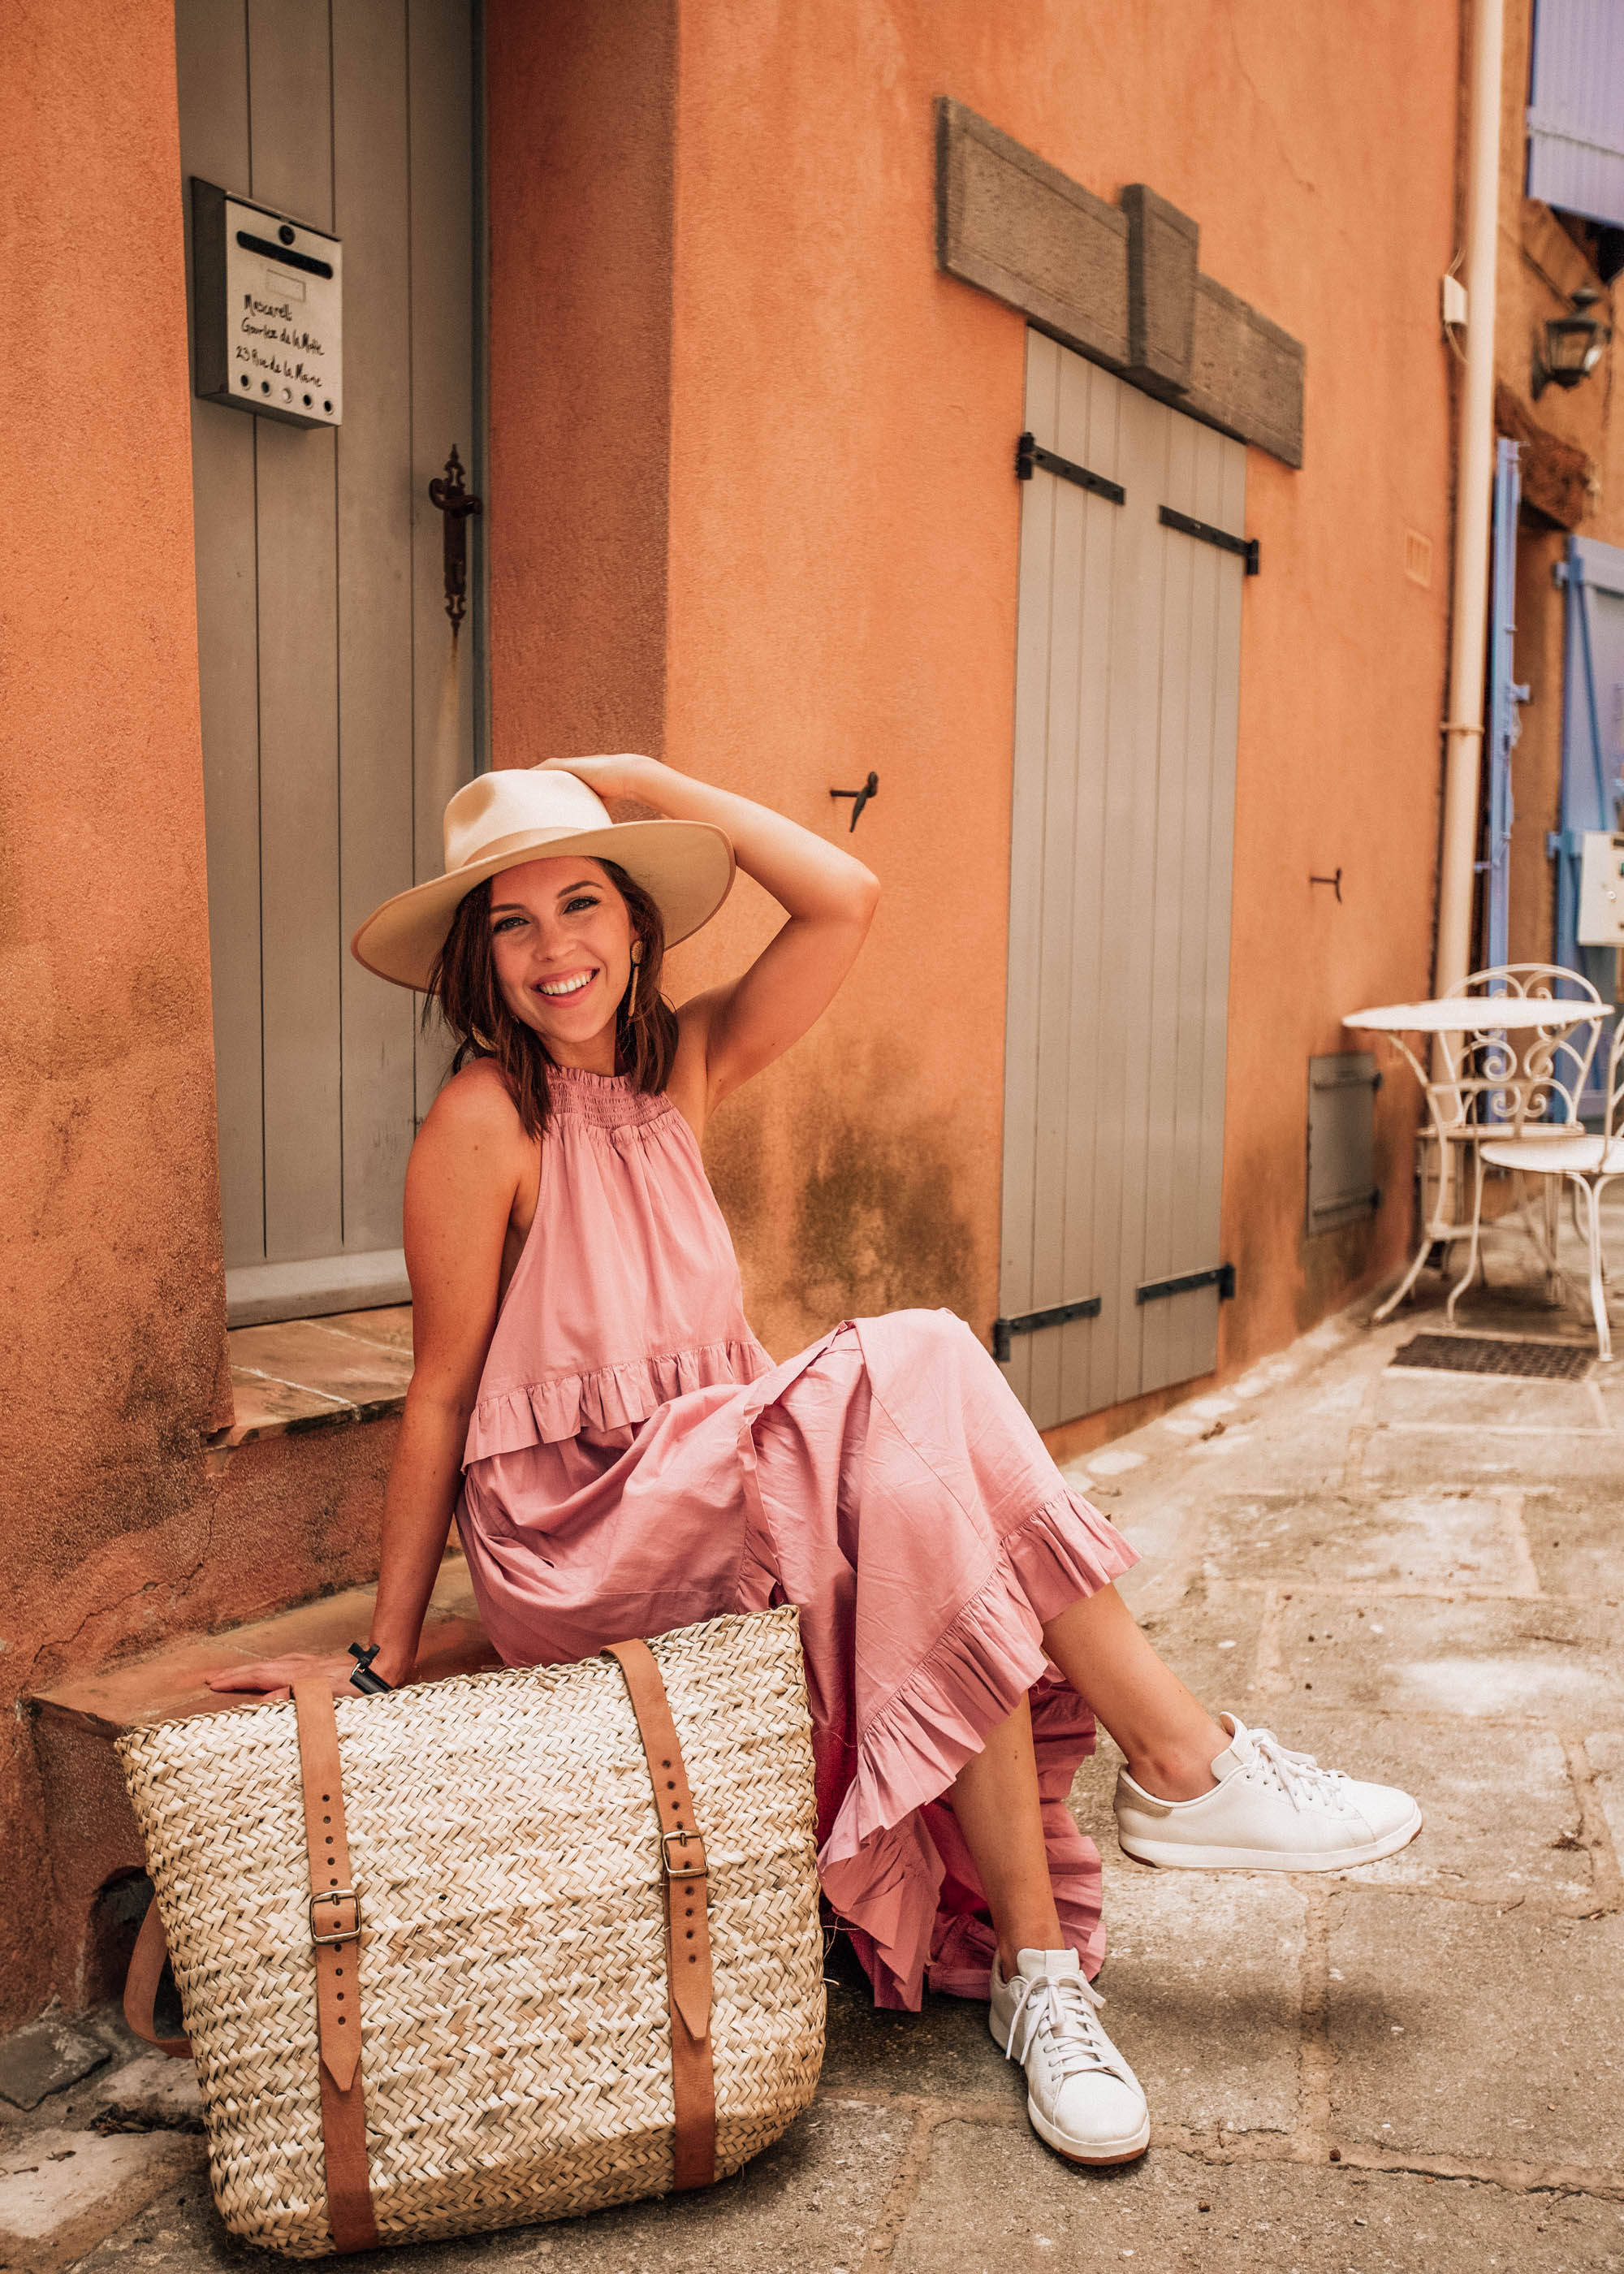
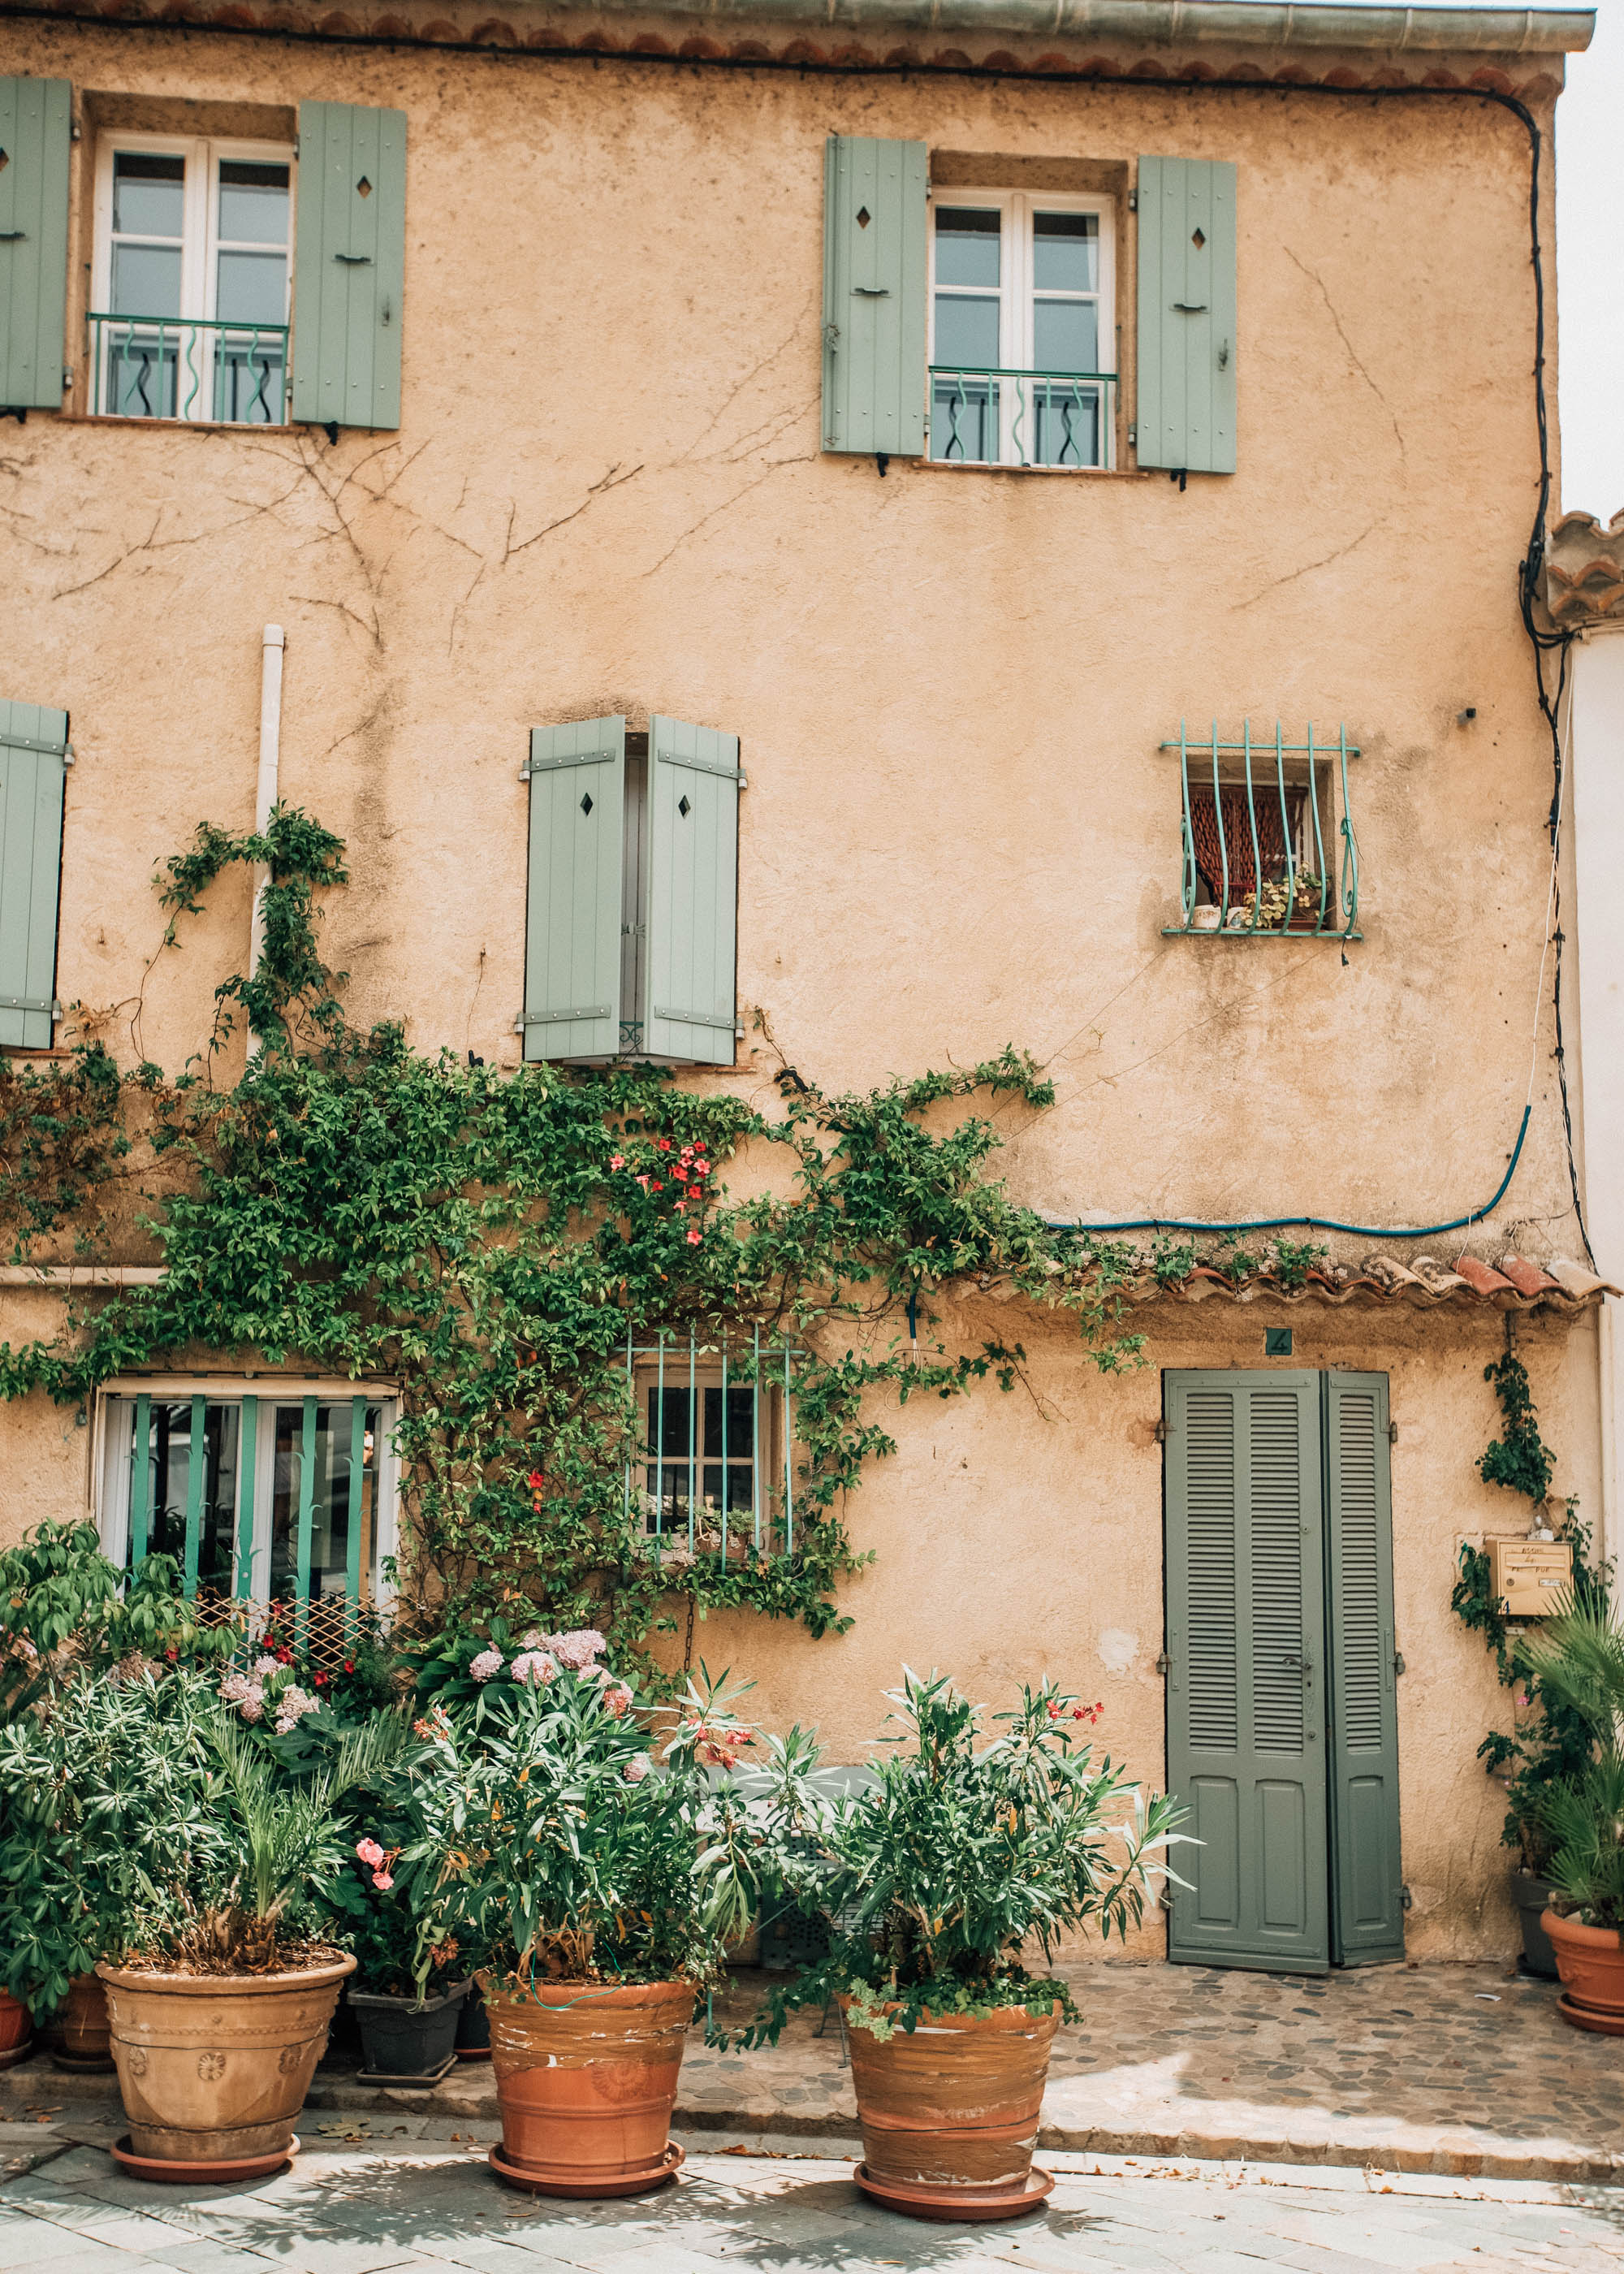
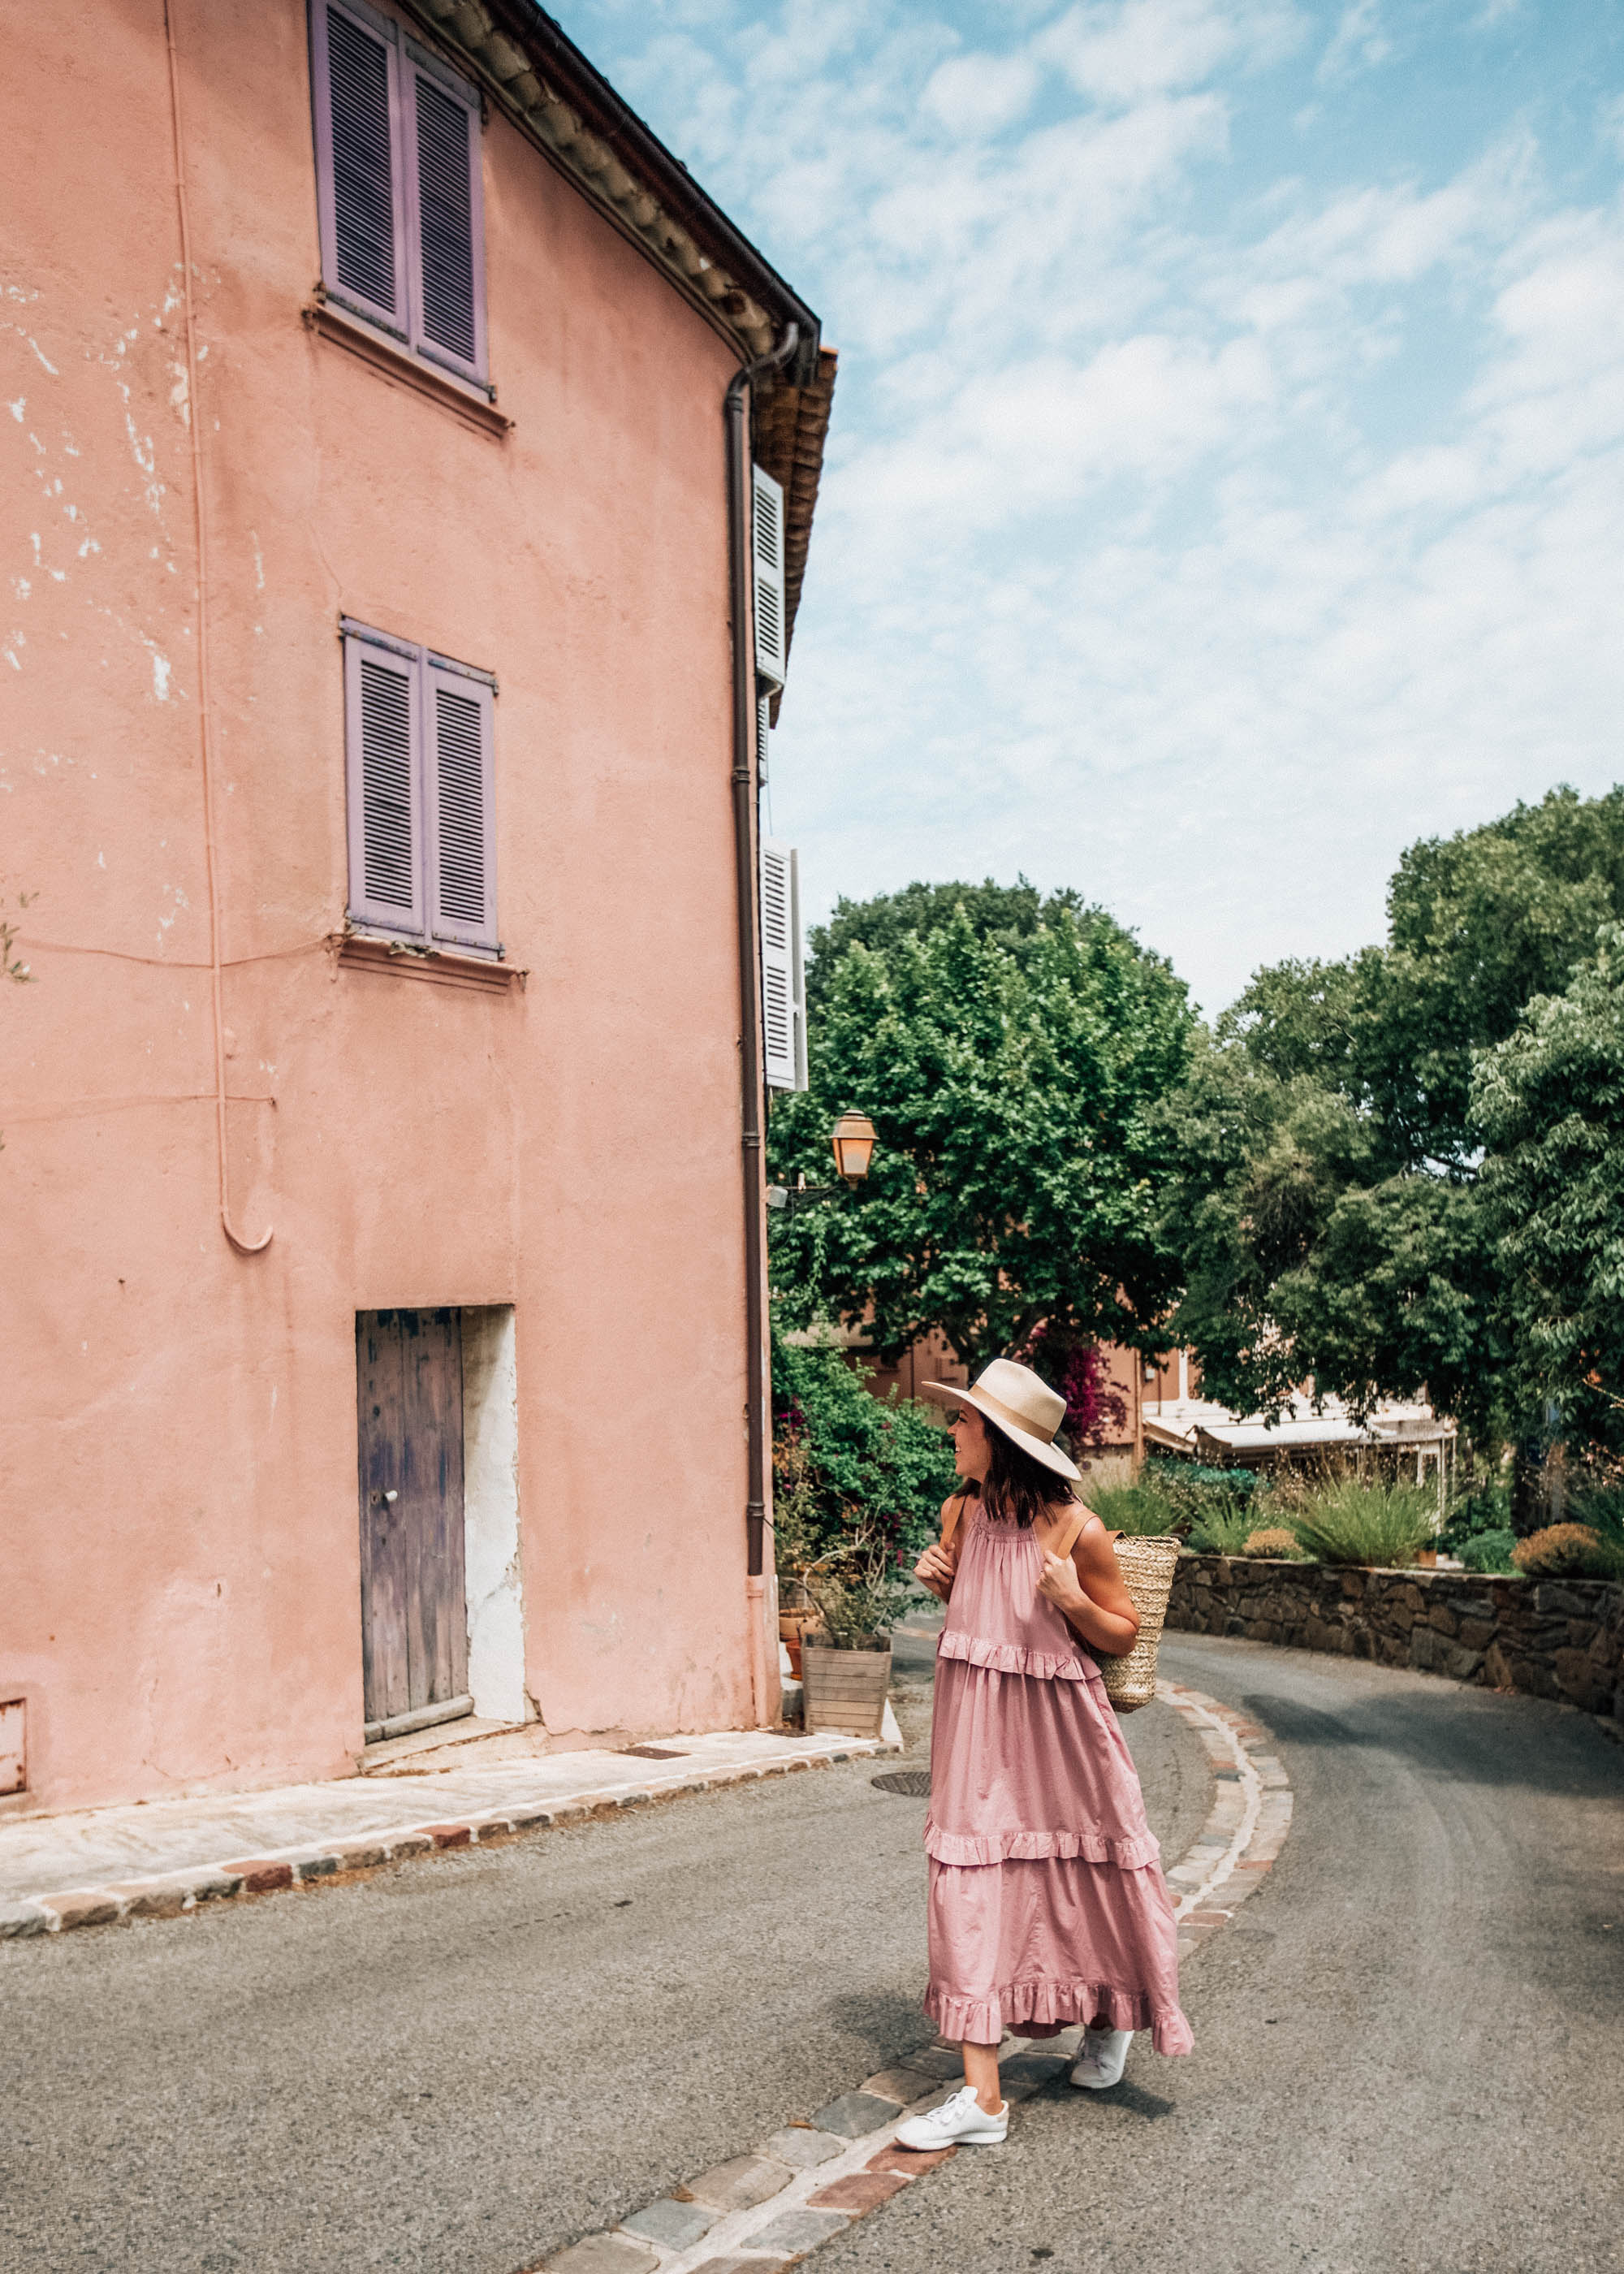
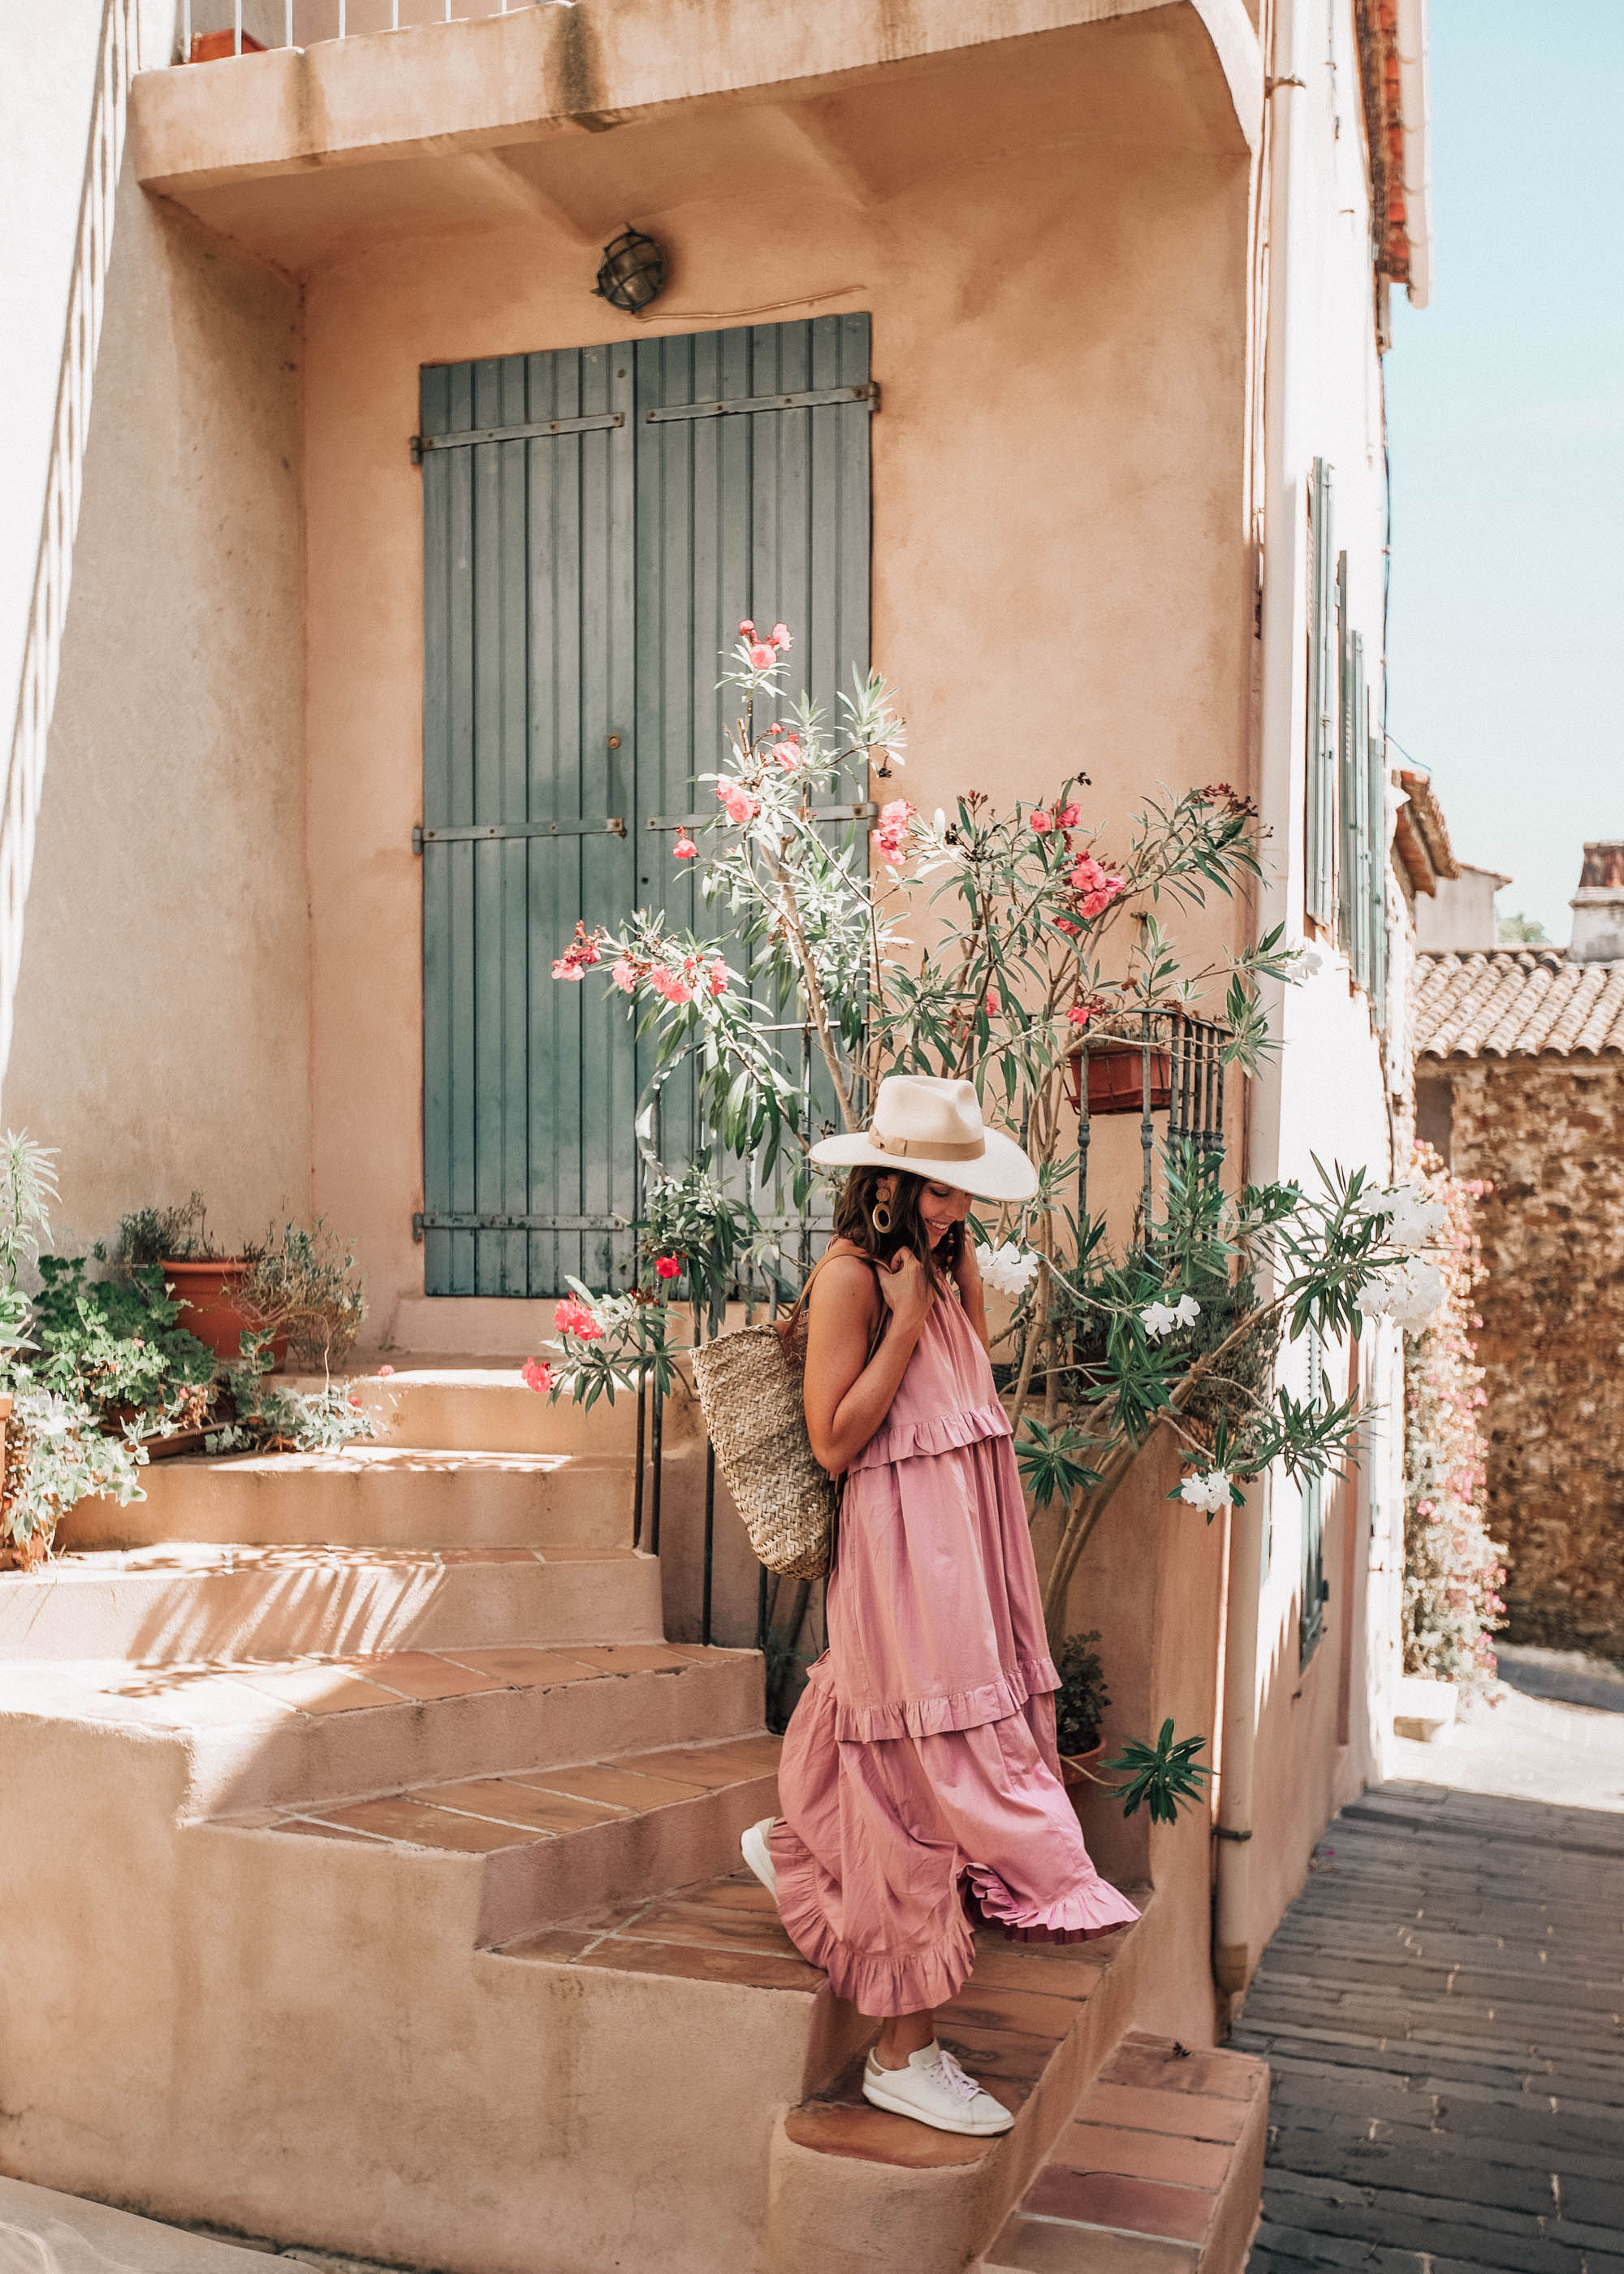
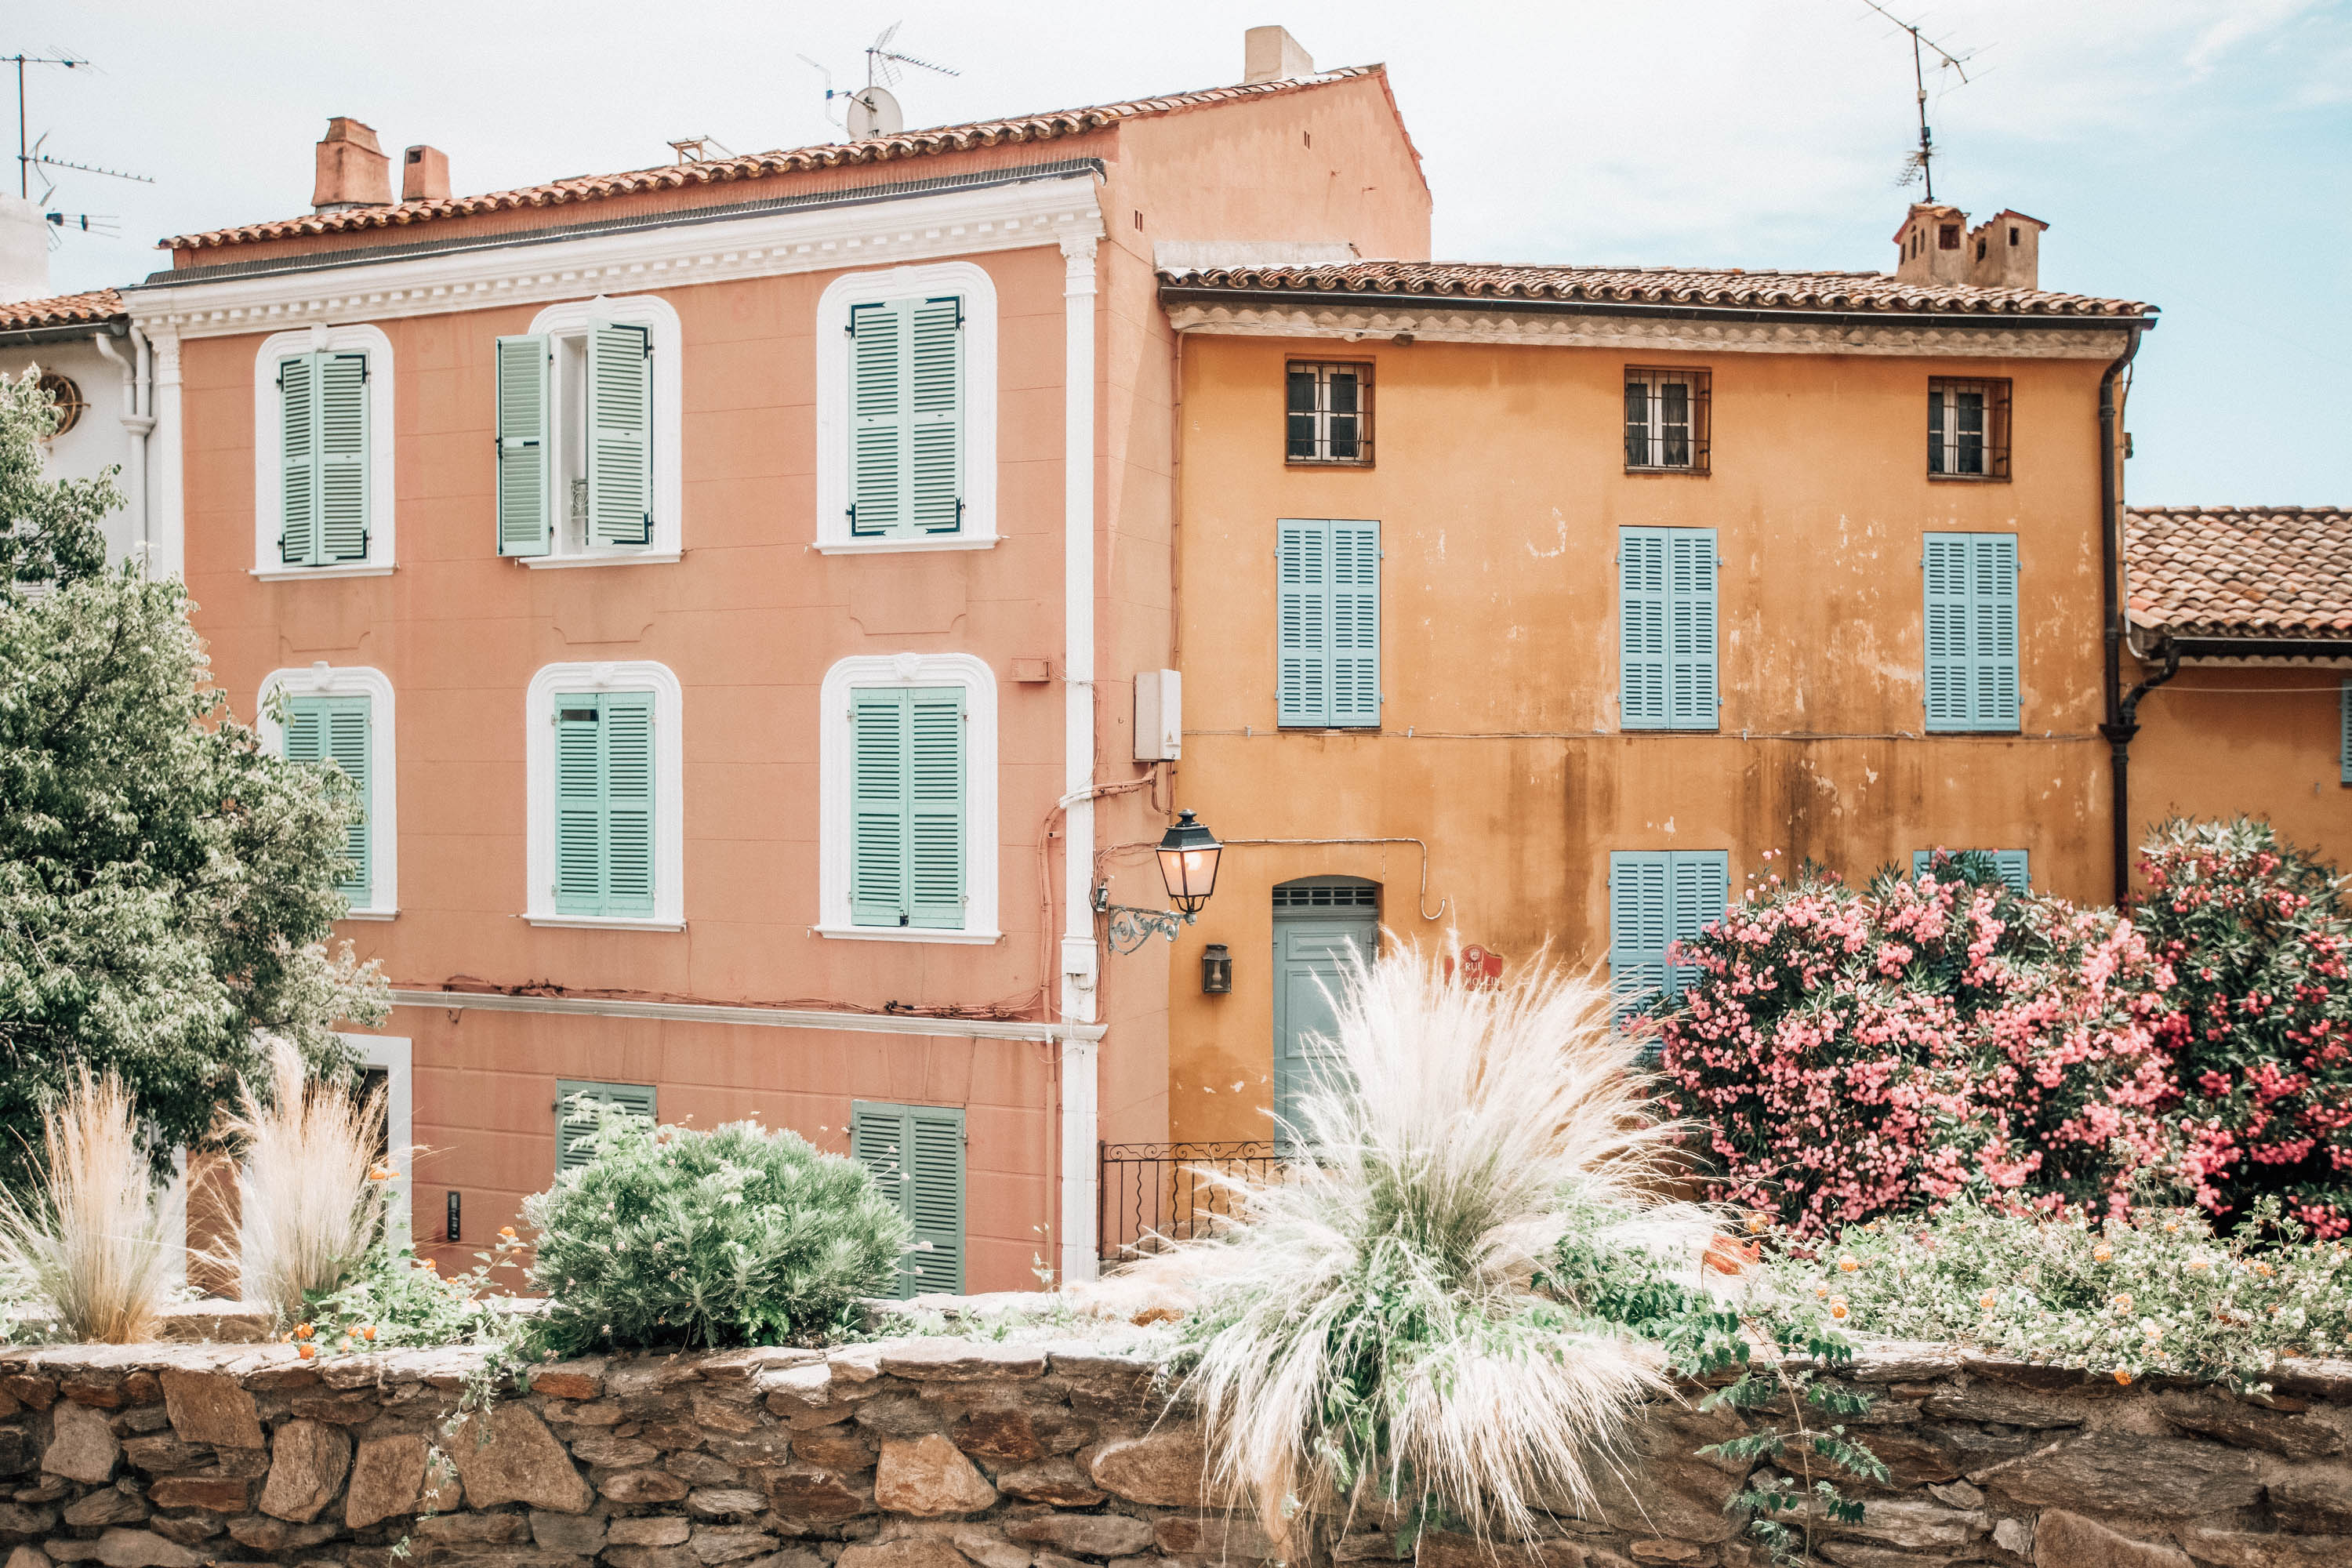
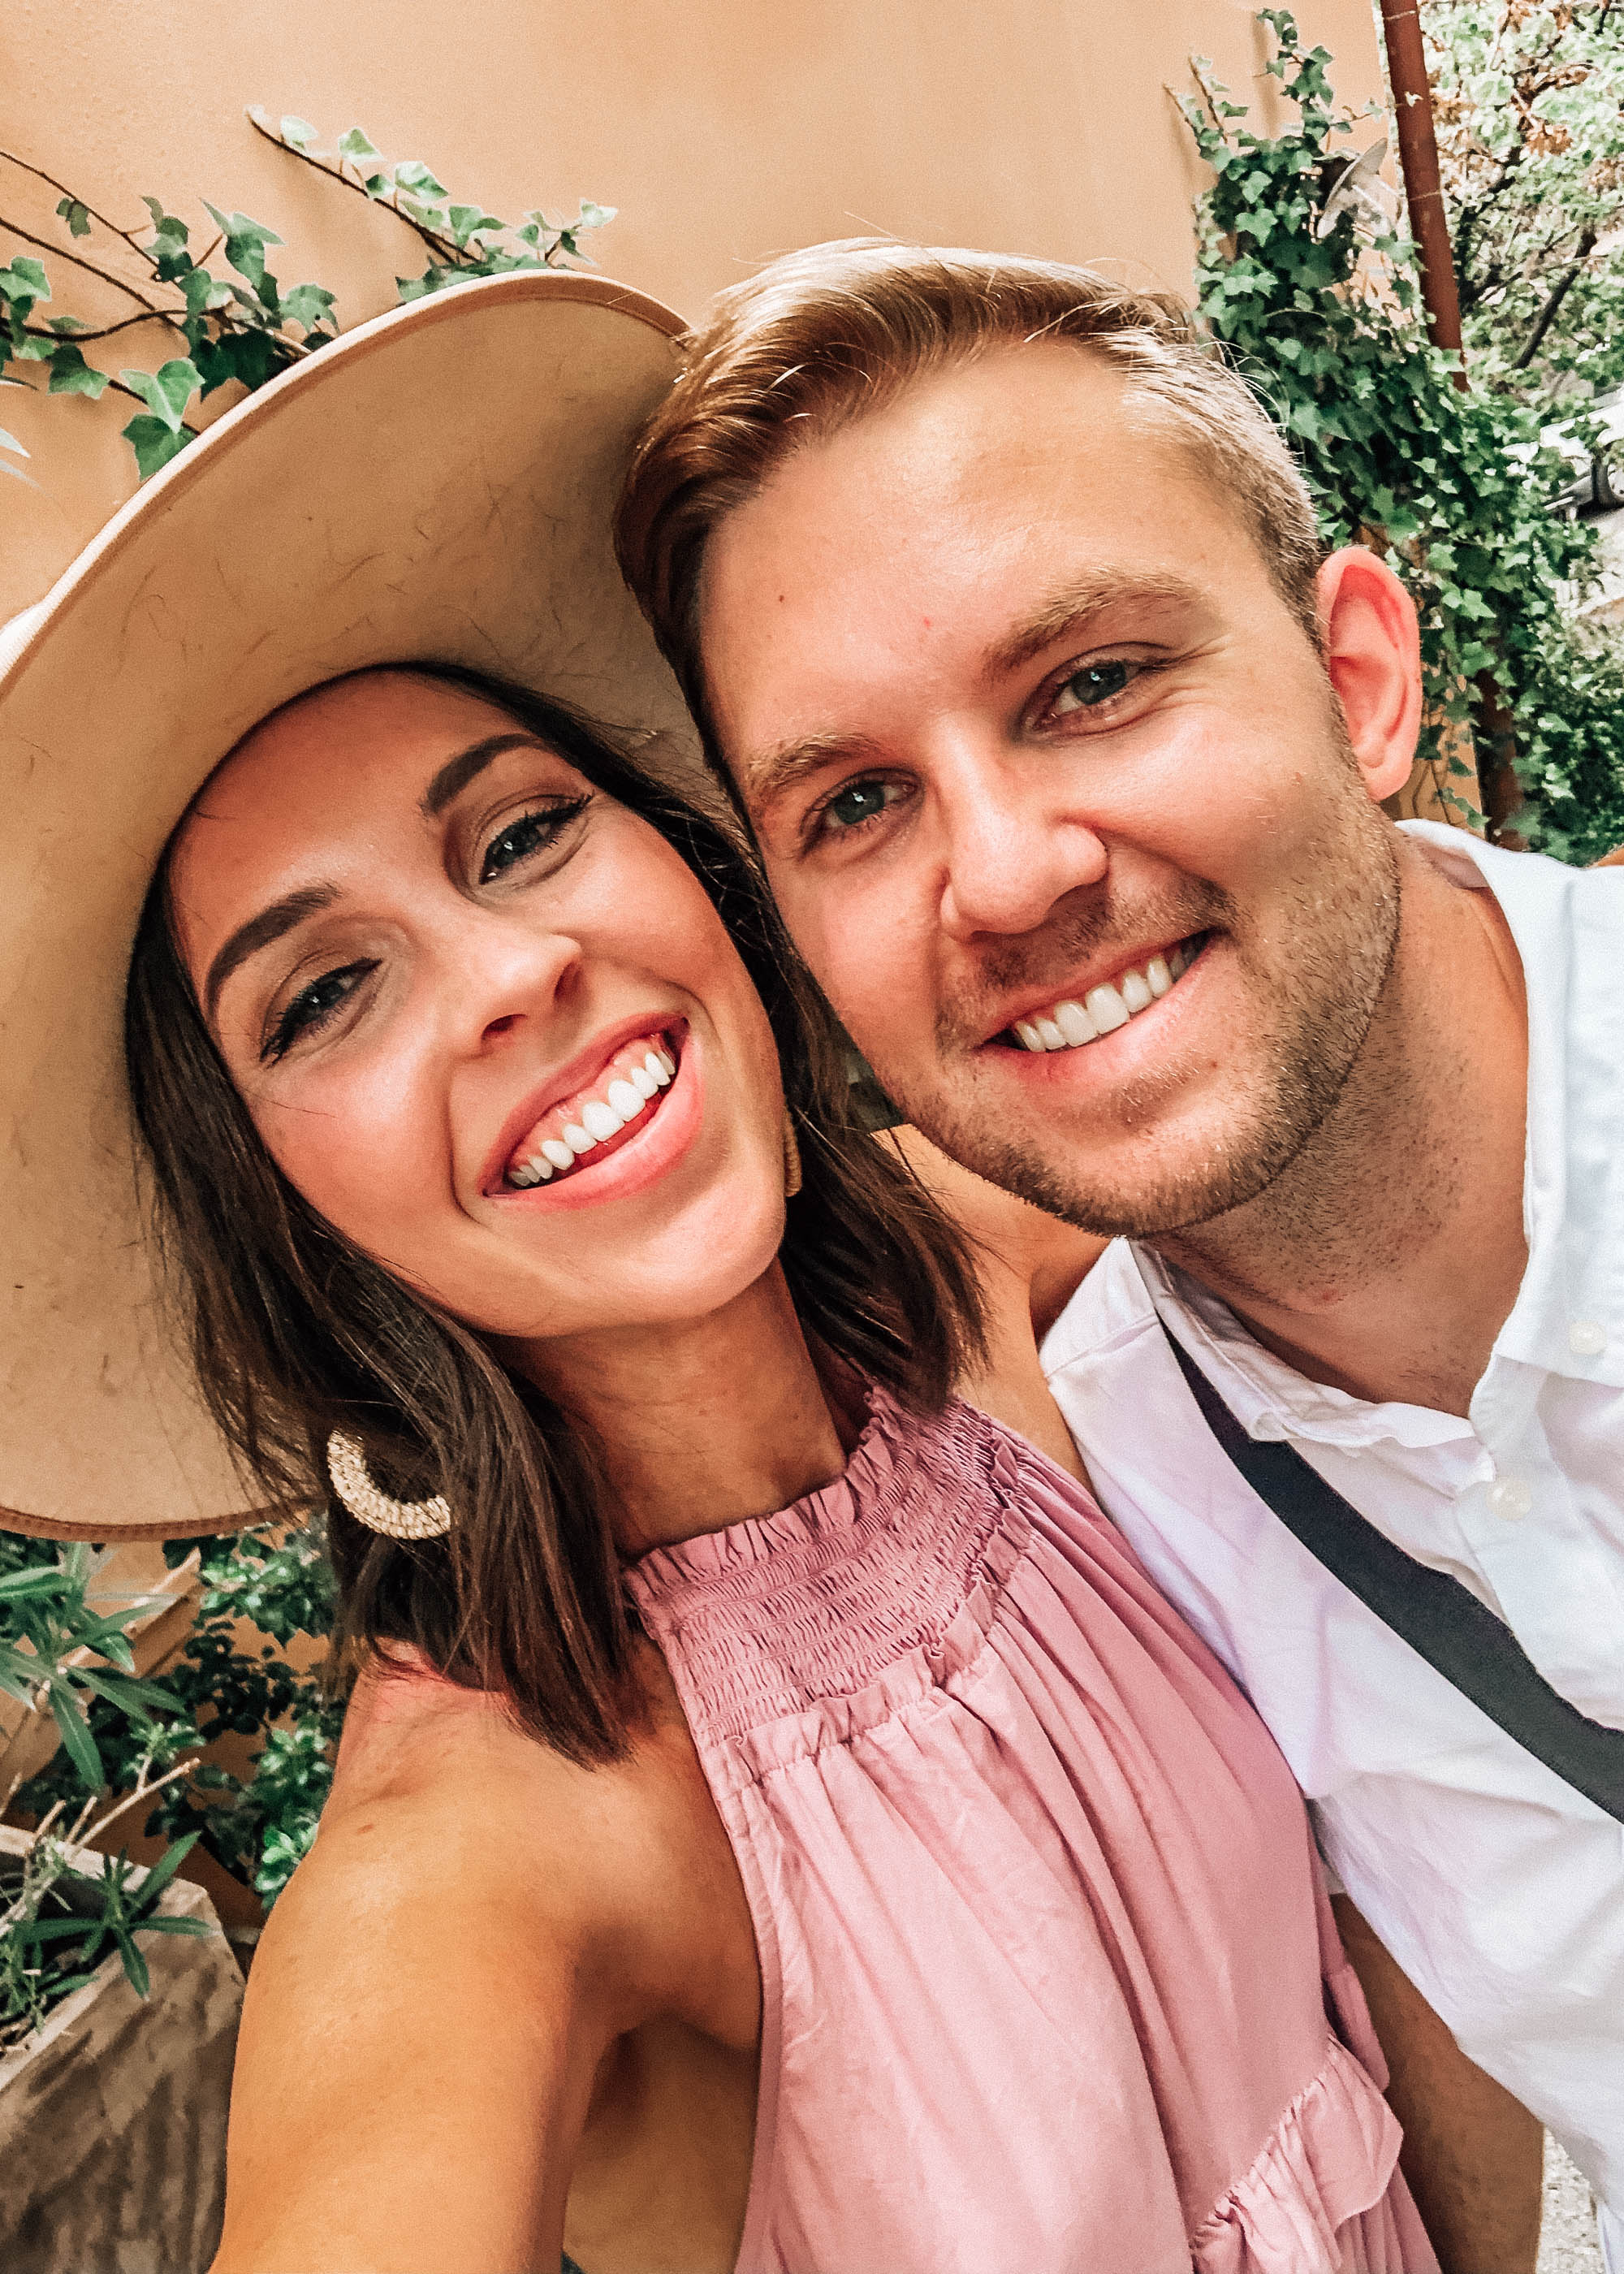
We could have spent all day in Grimaud, but had other places to go see. Gassin, which is a tiny town on top of a huge hill with 360 degree views. It was beautiful. The town was very quiet during the day but it was poppin’ by dinner time. And when I say quiet… I mean dead. We barely saw anyone out of the street. We decided to go back to the hotel before dinner and relax by the pool for a bit before heading back out to Gassin for dinner at Le Micocoulier.

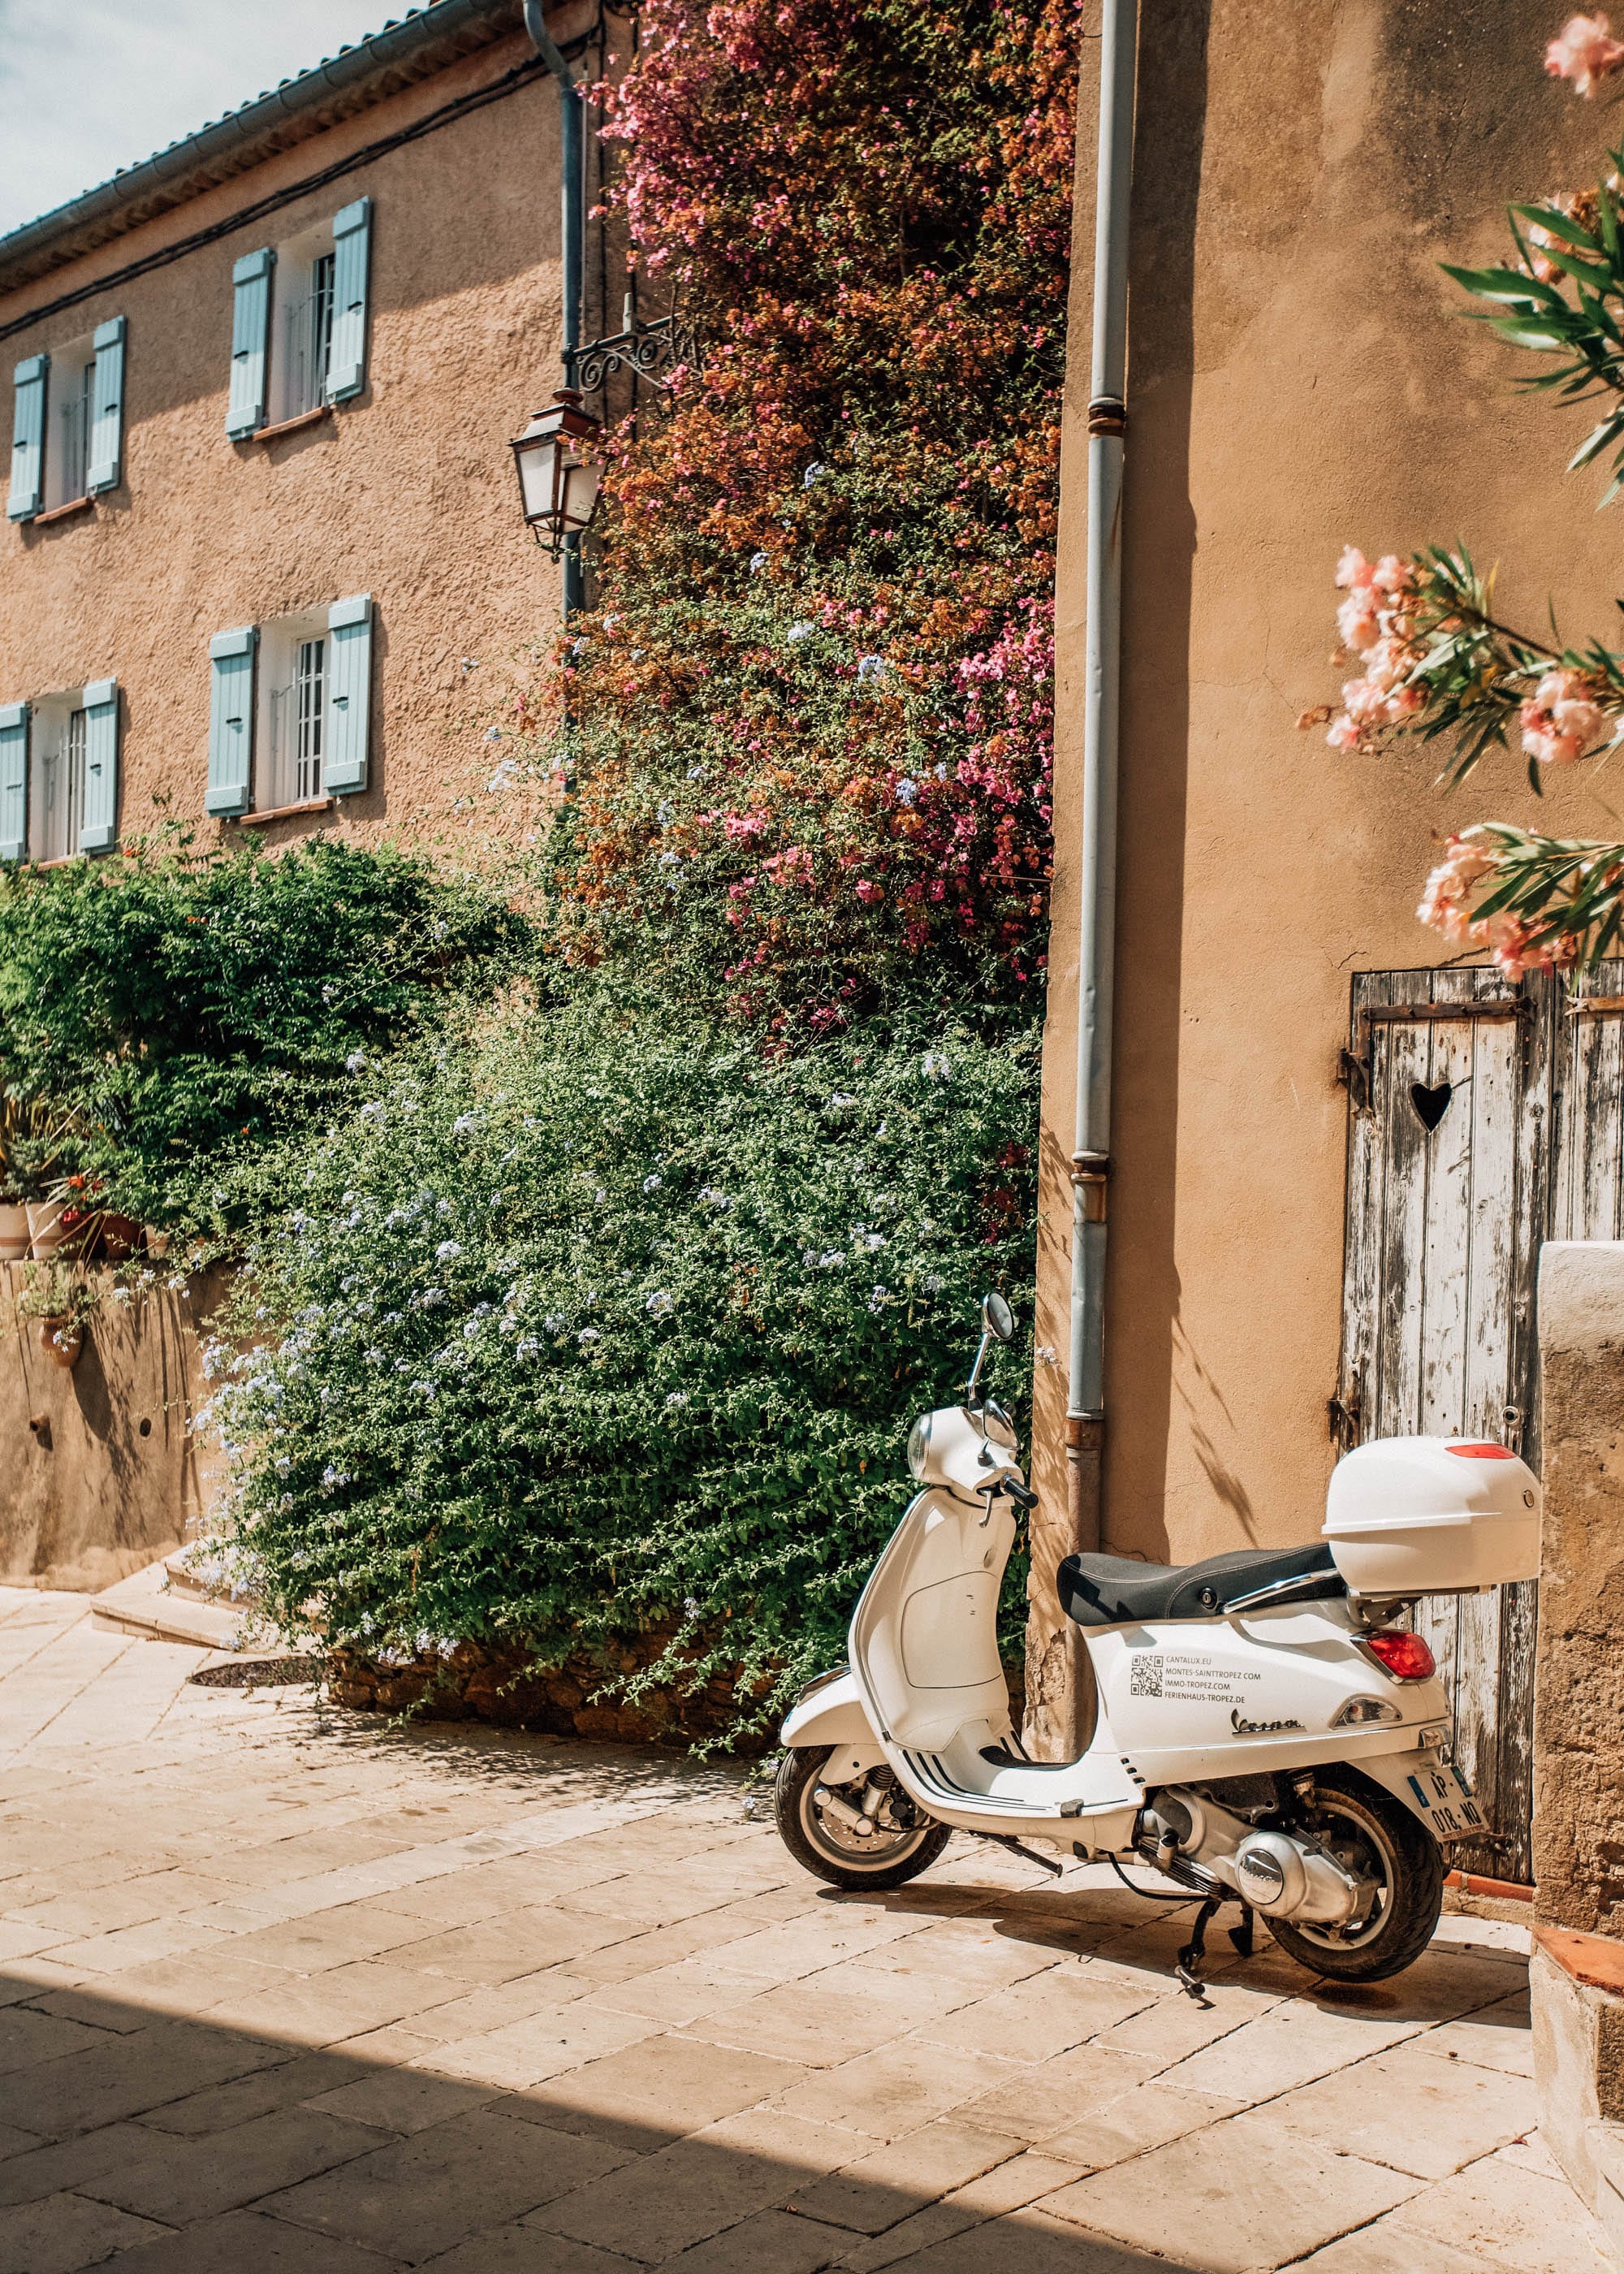
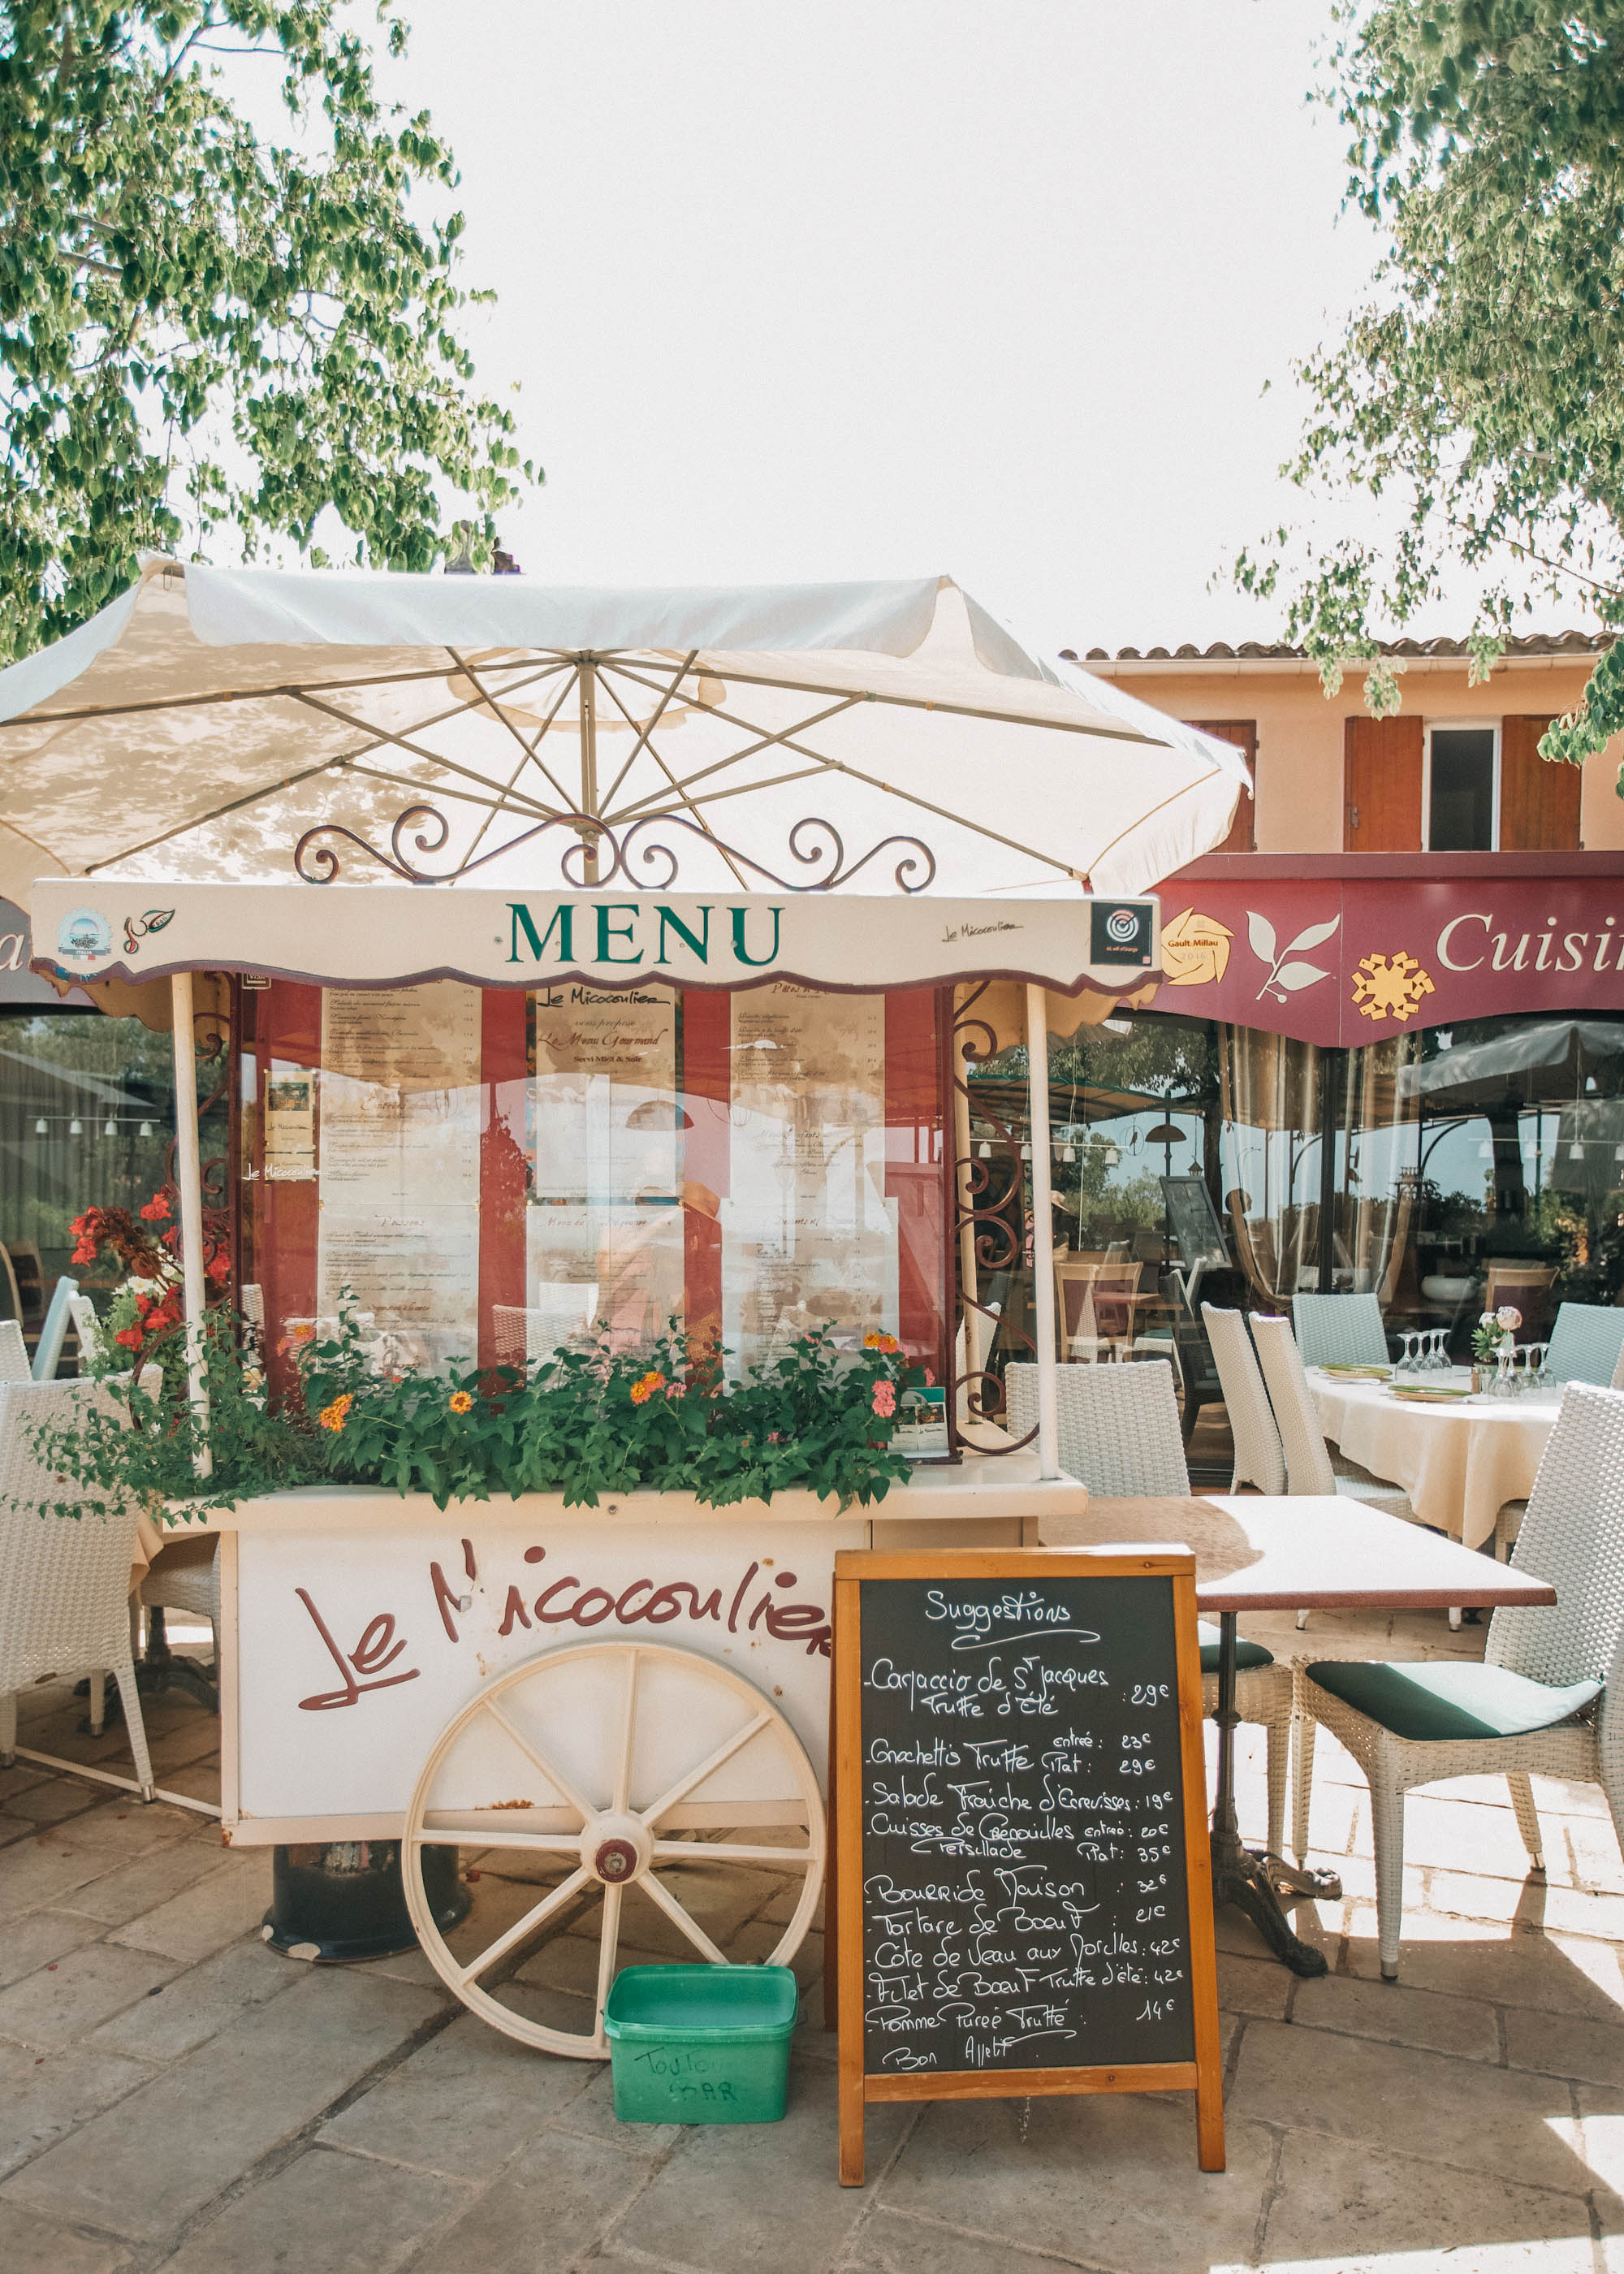
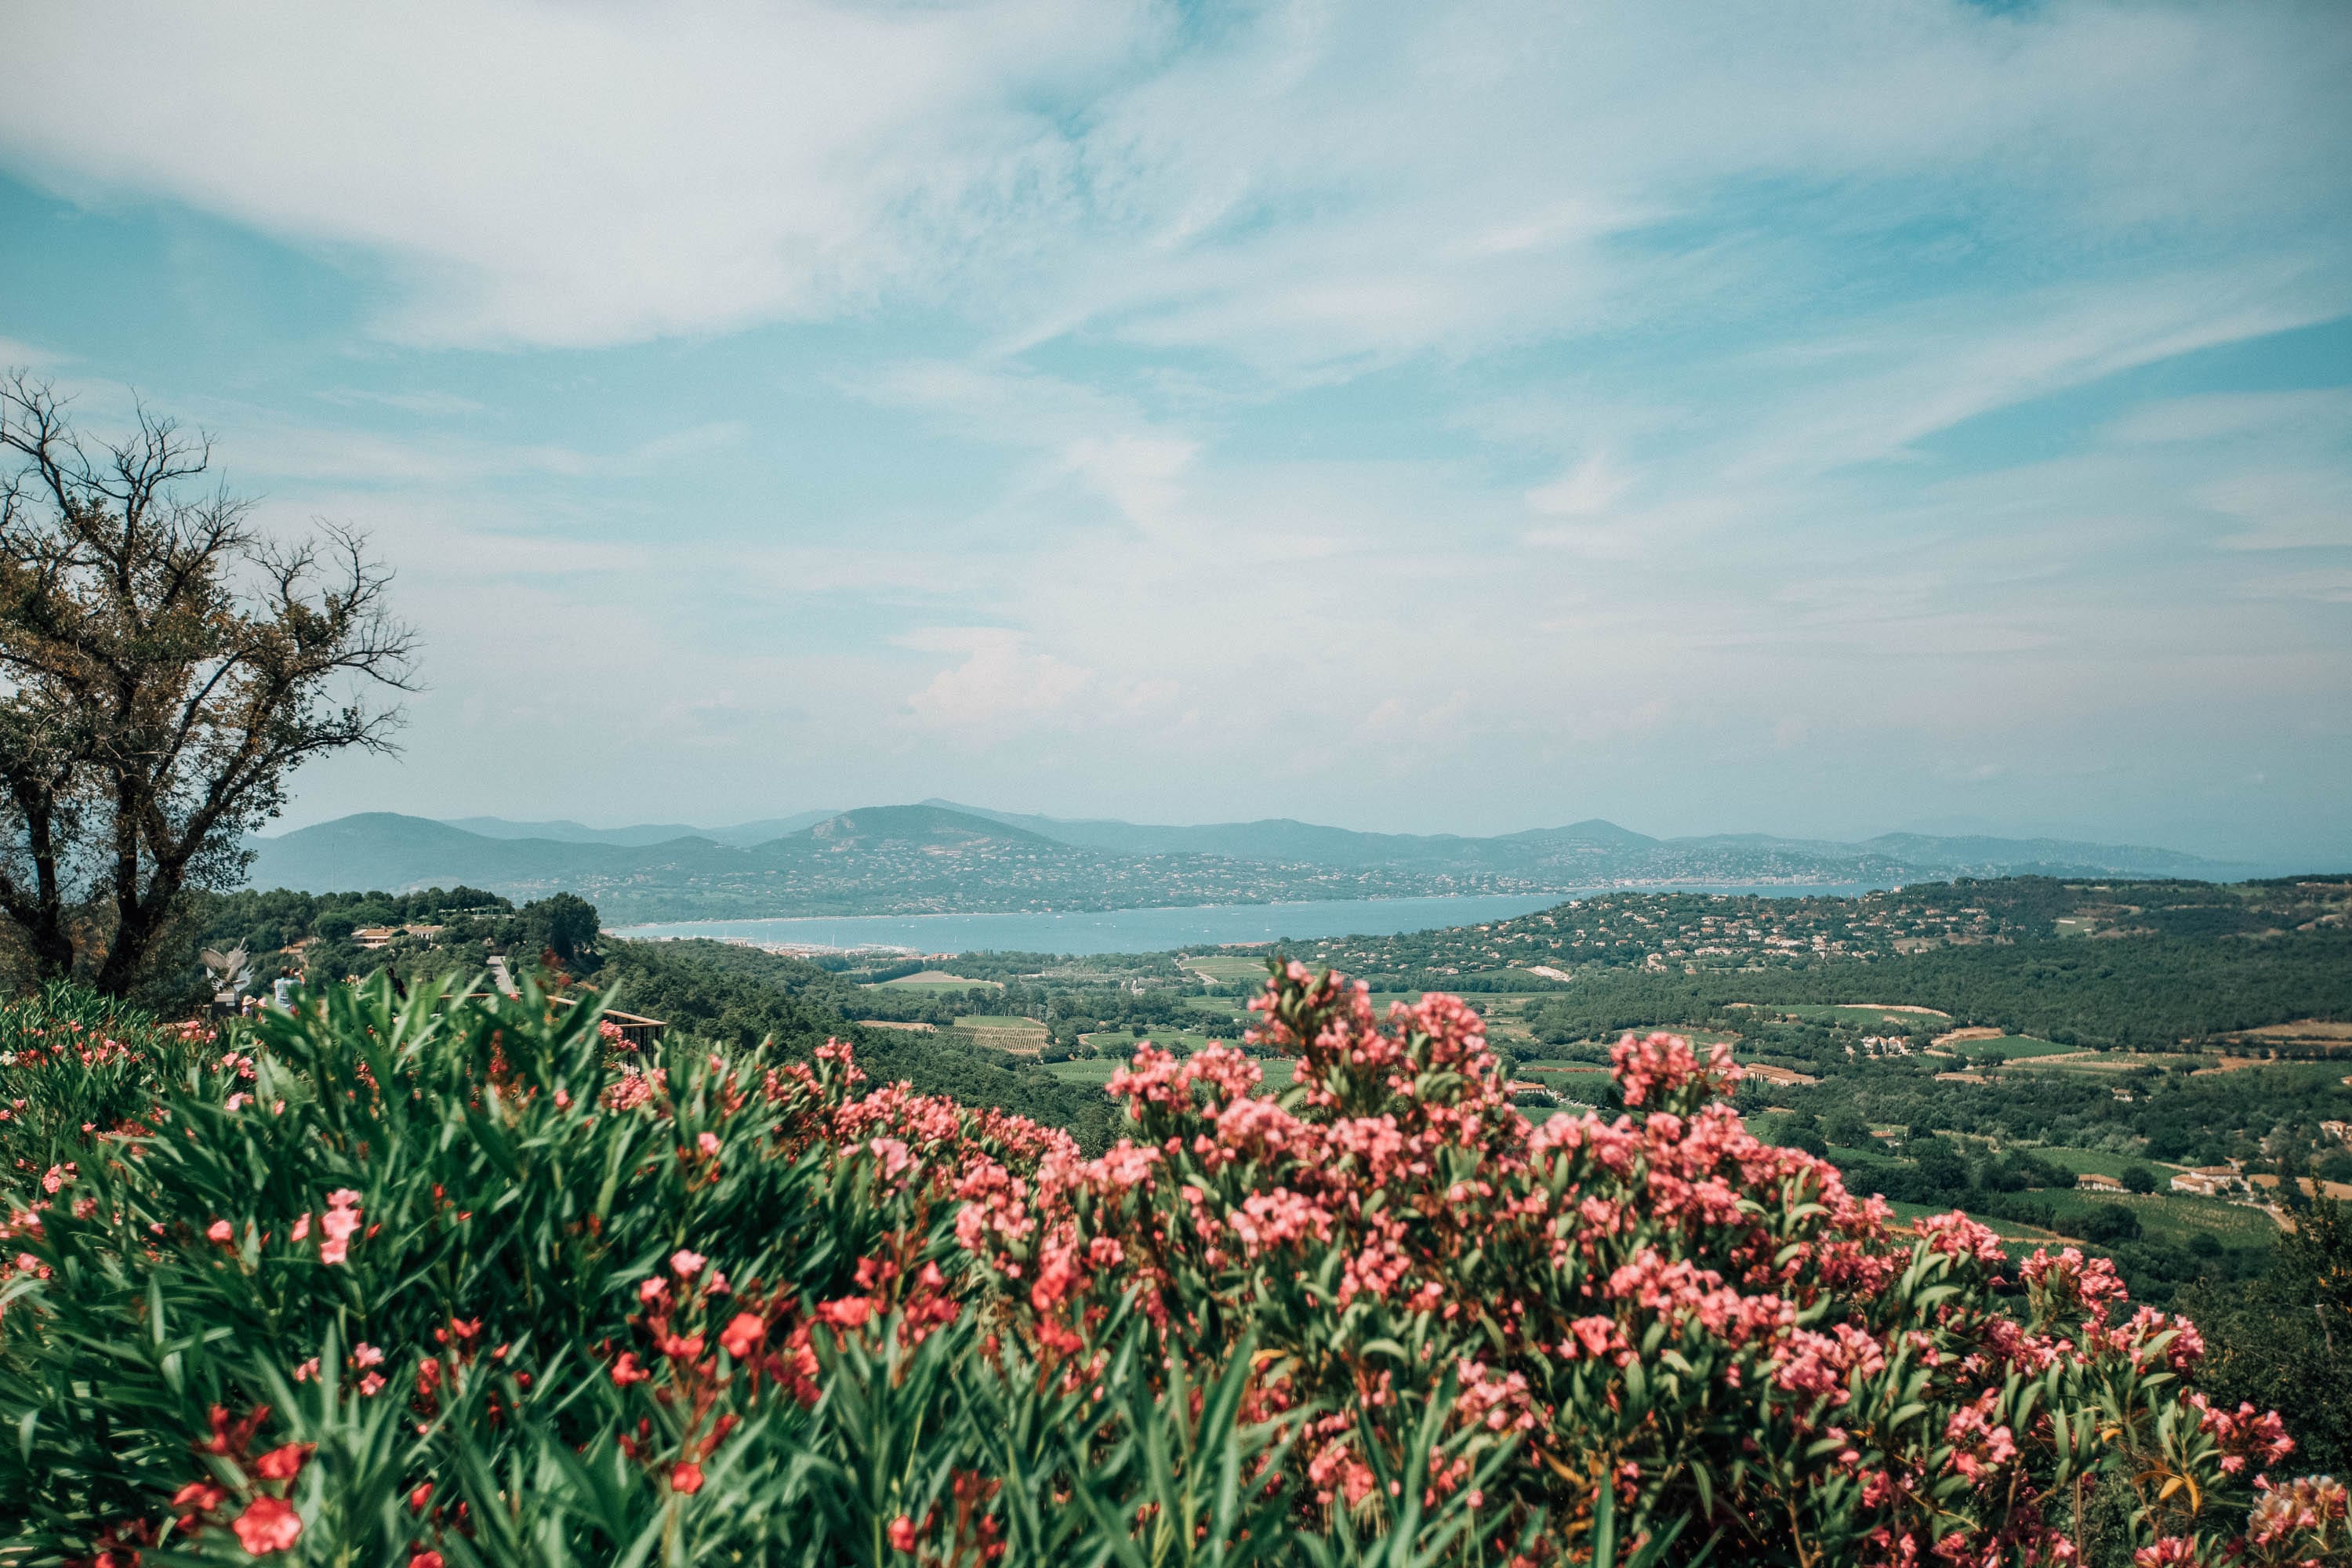
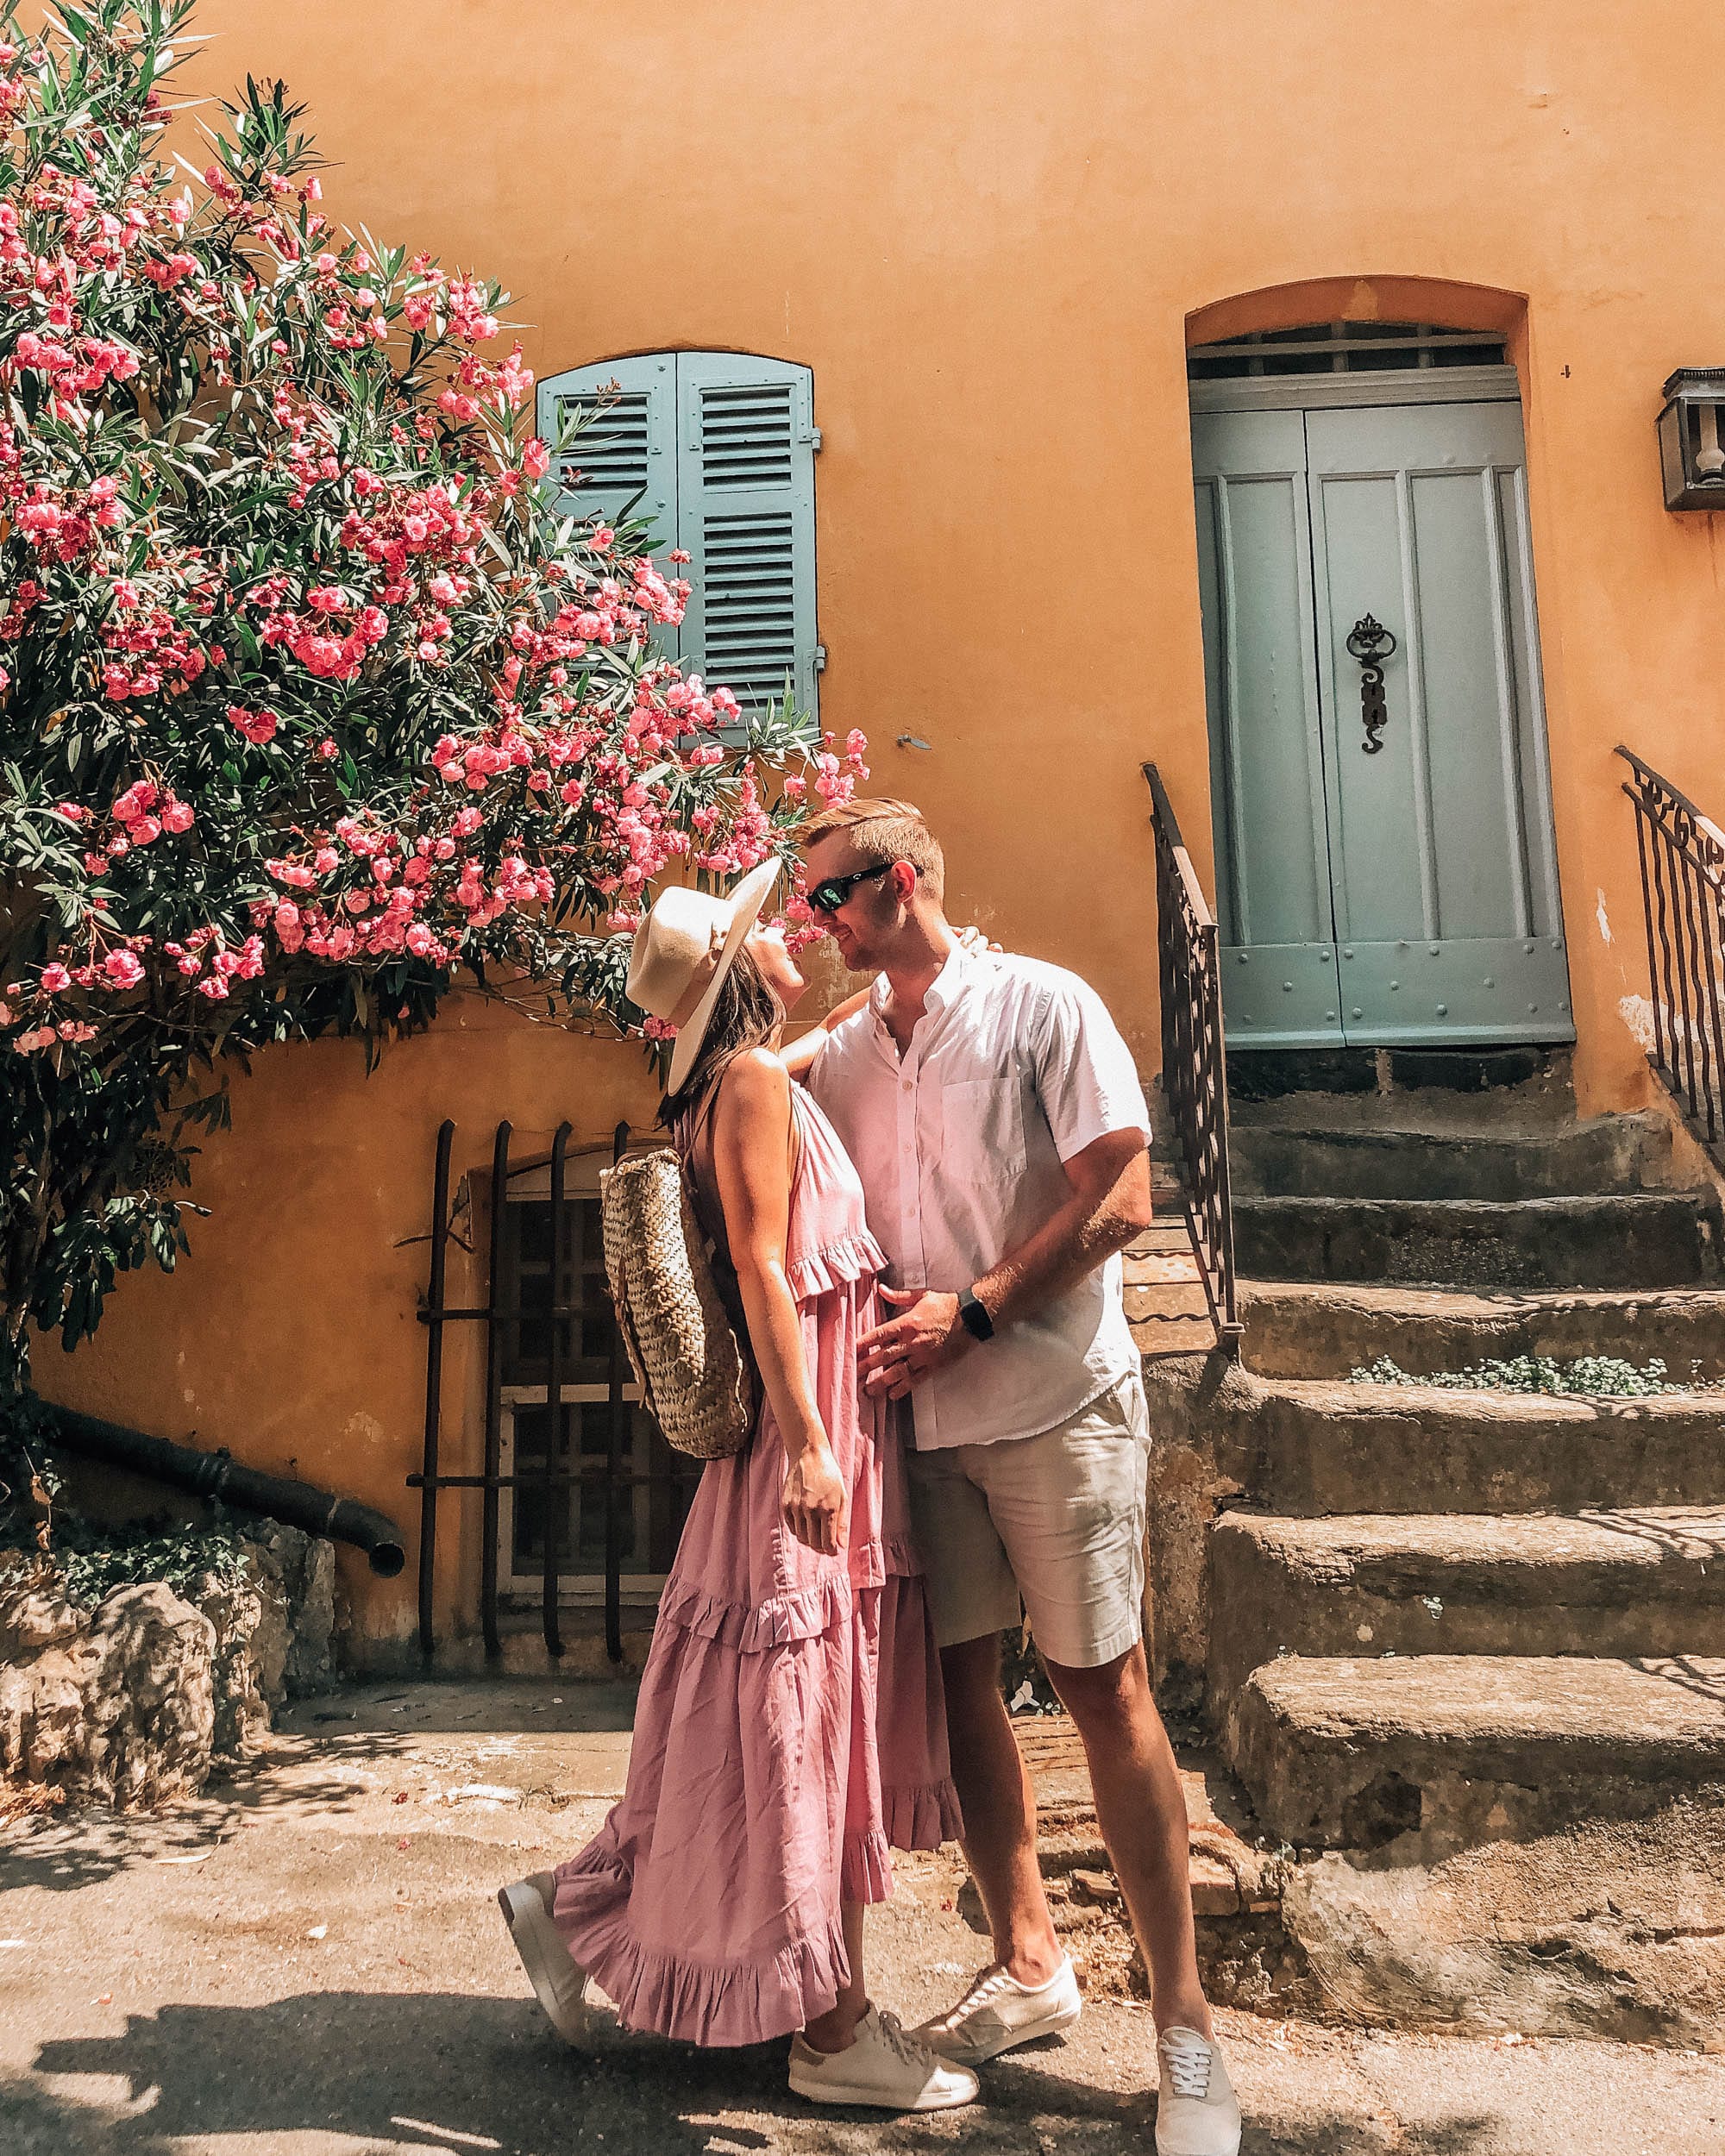
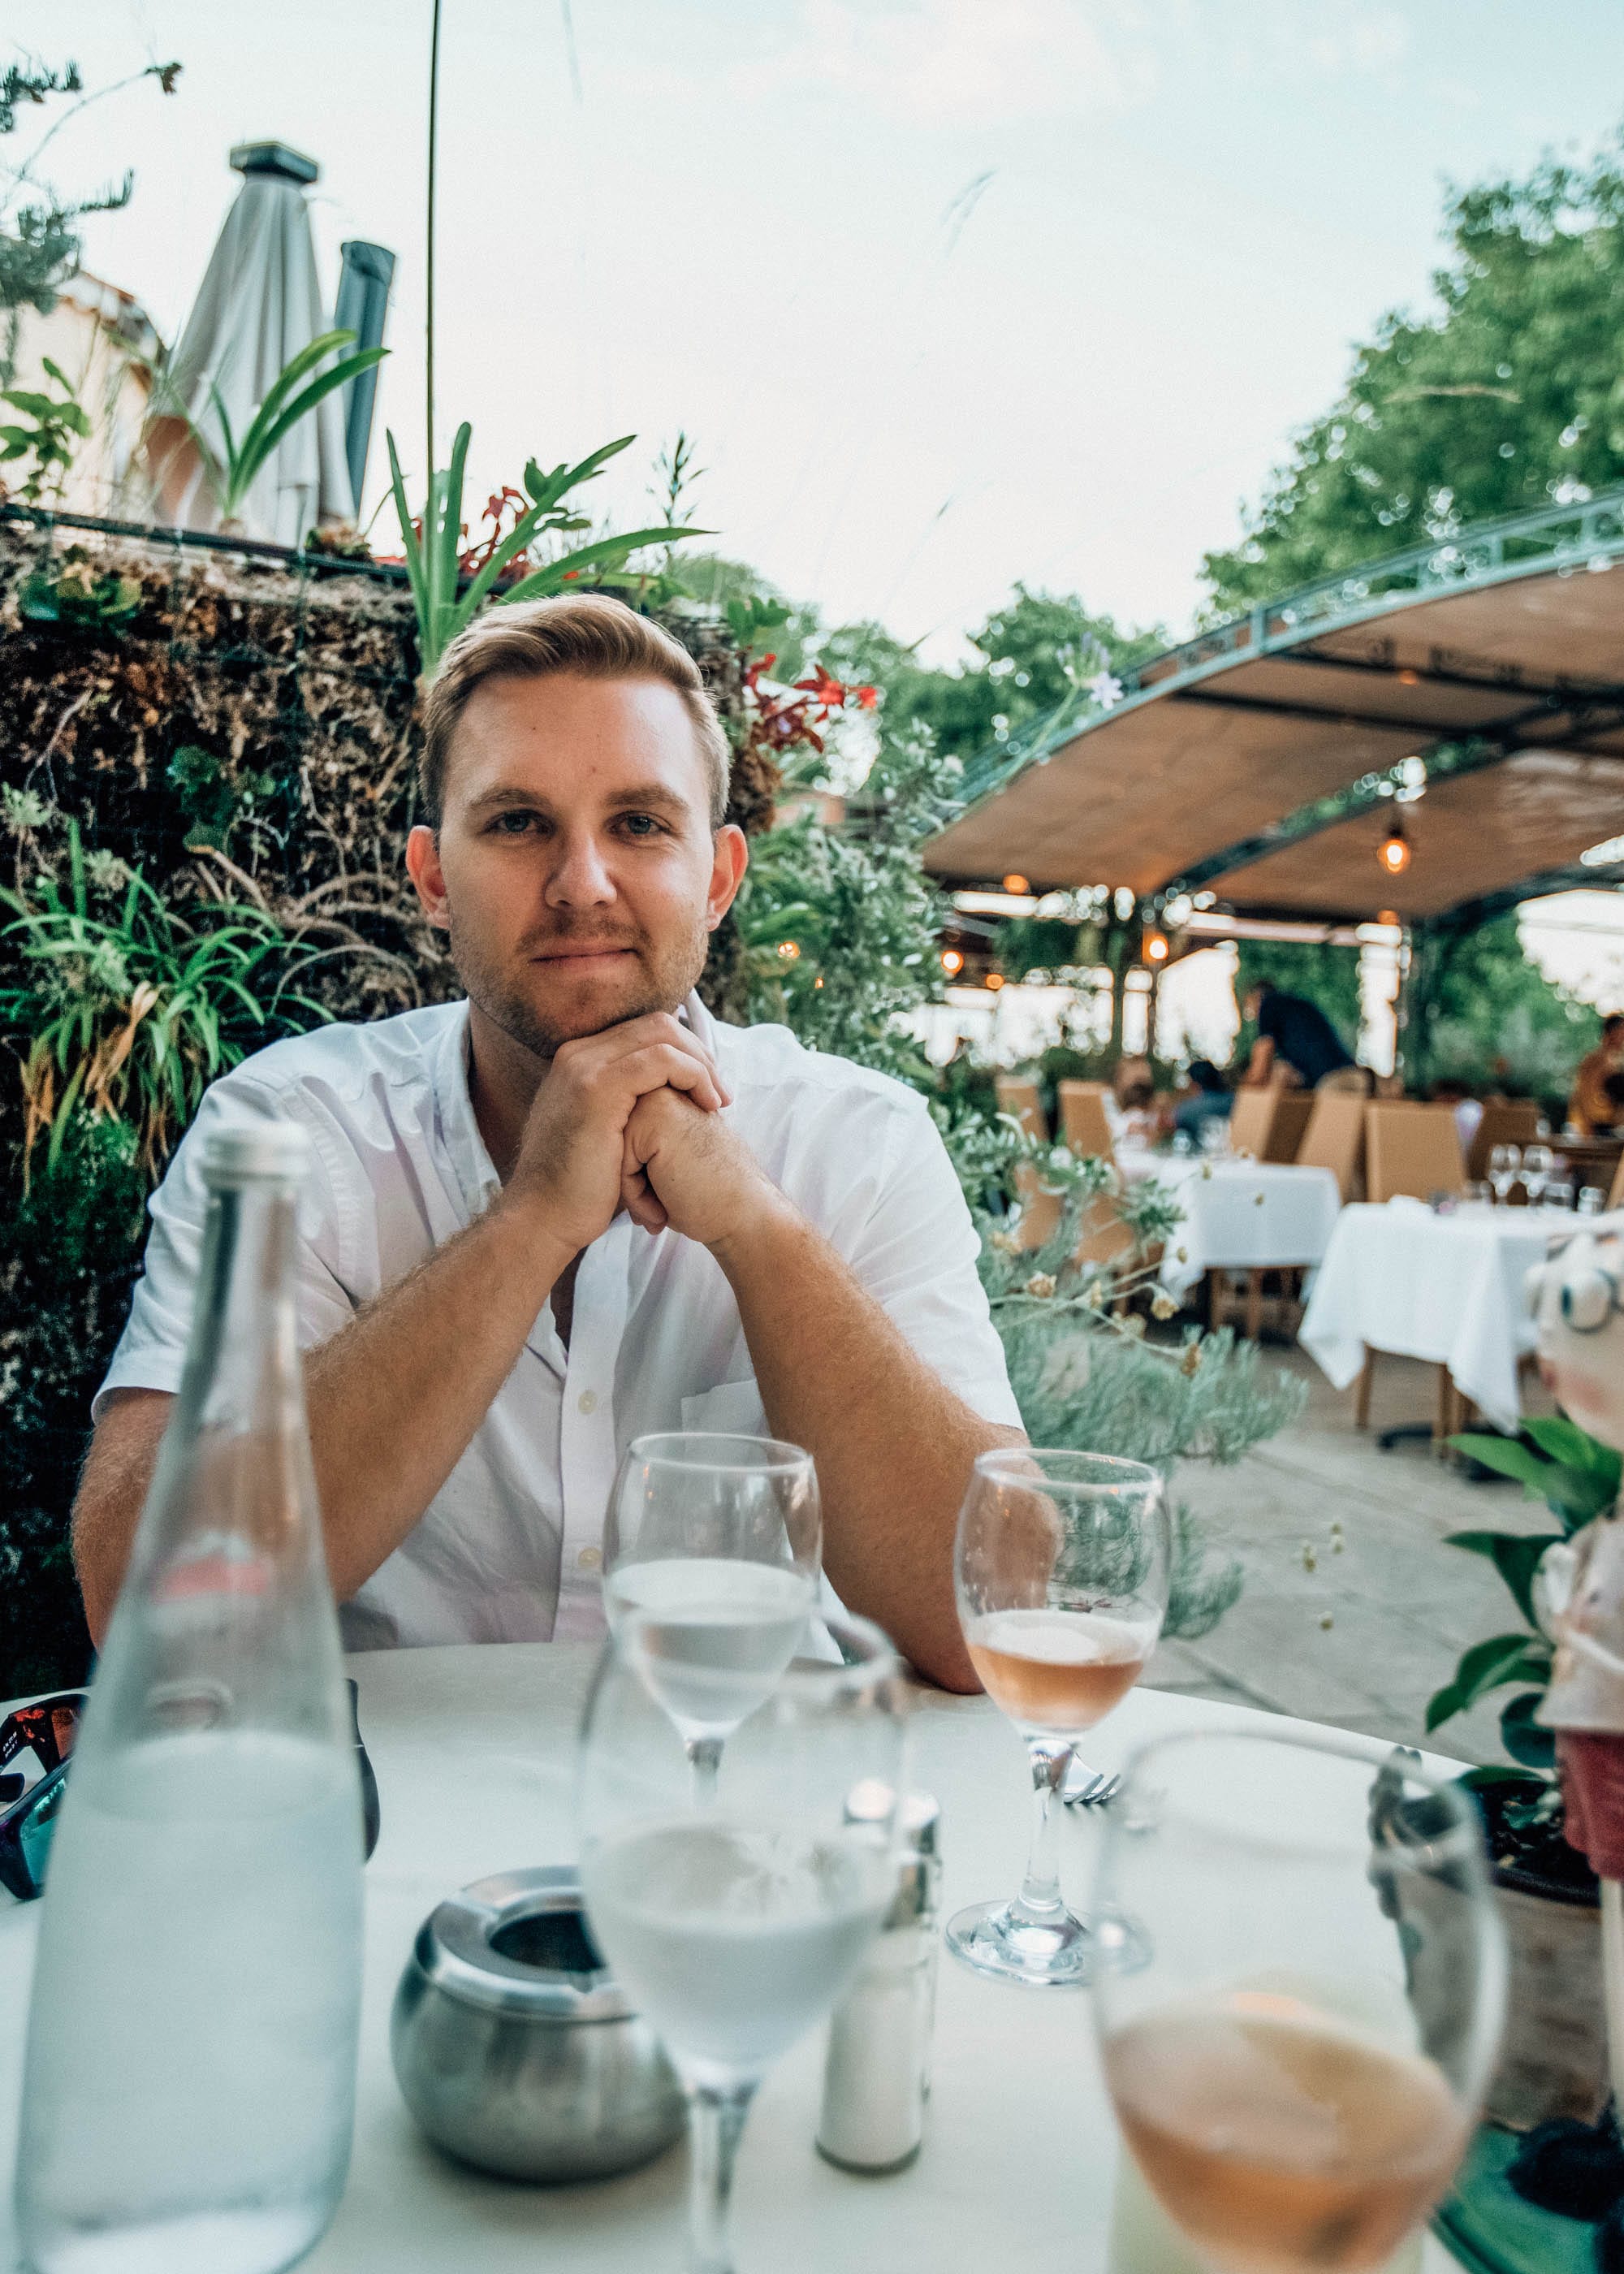
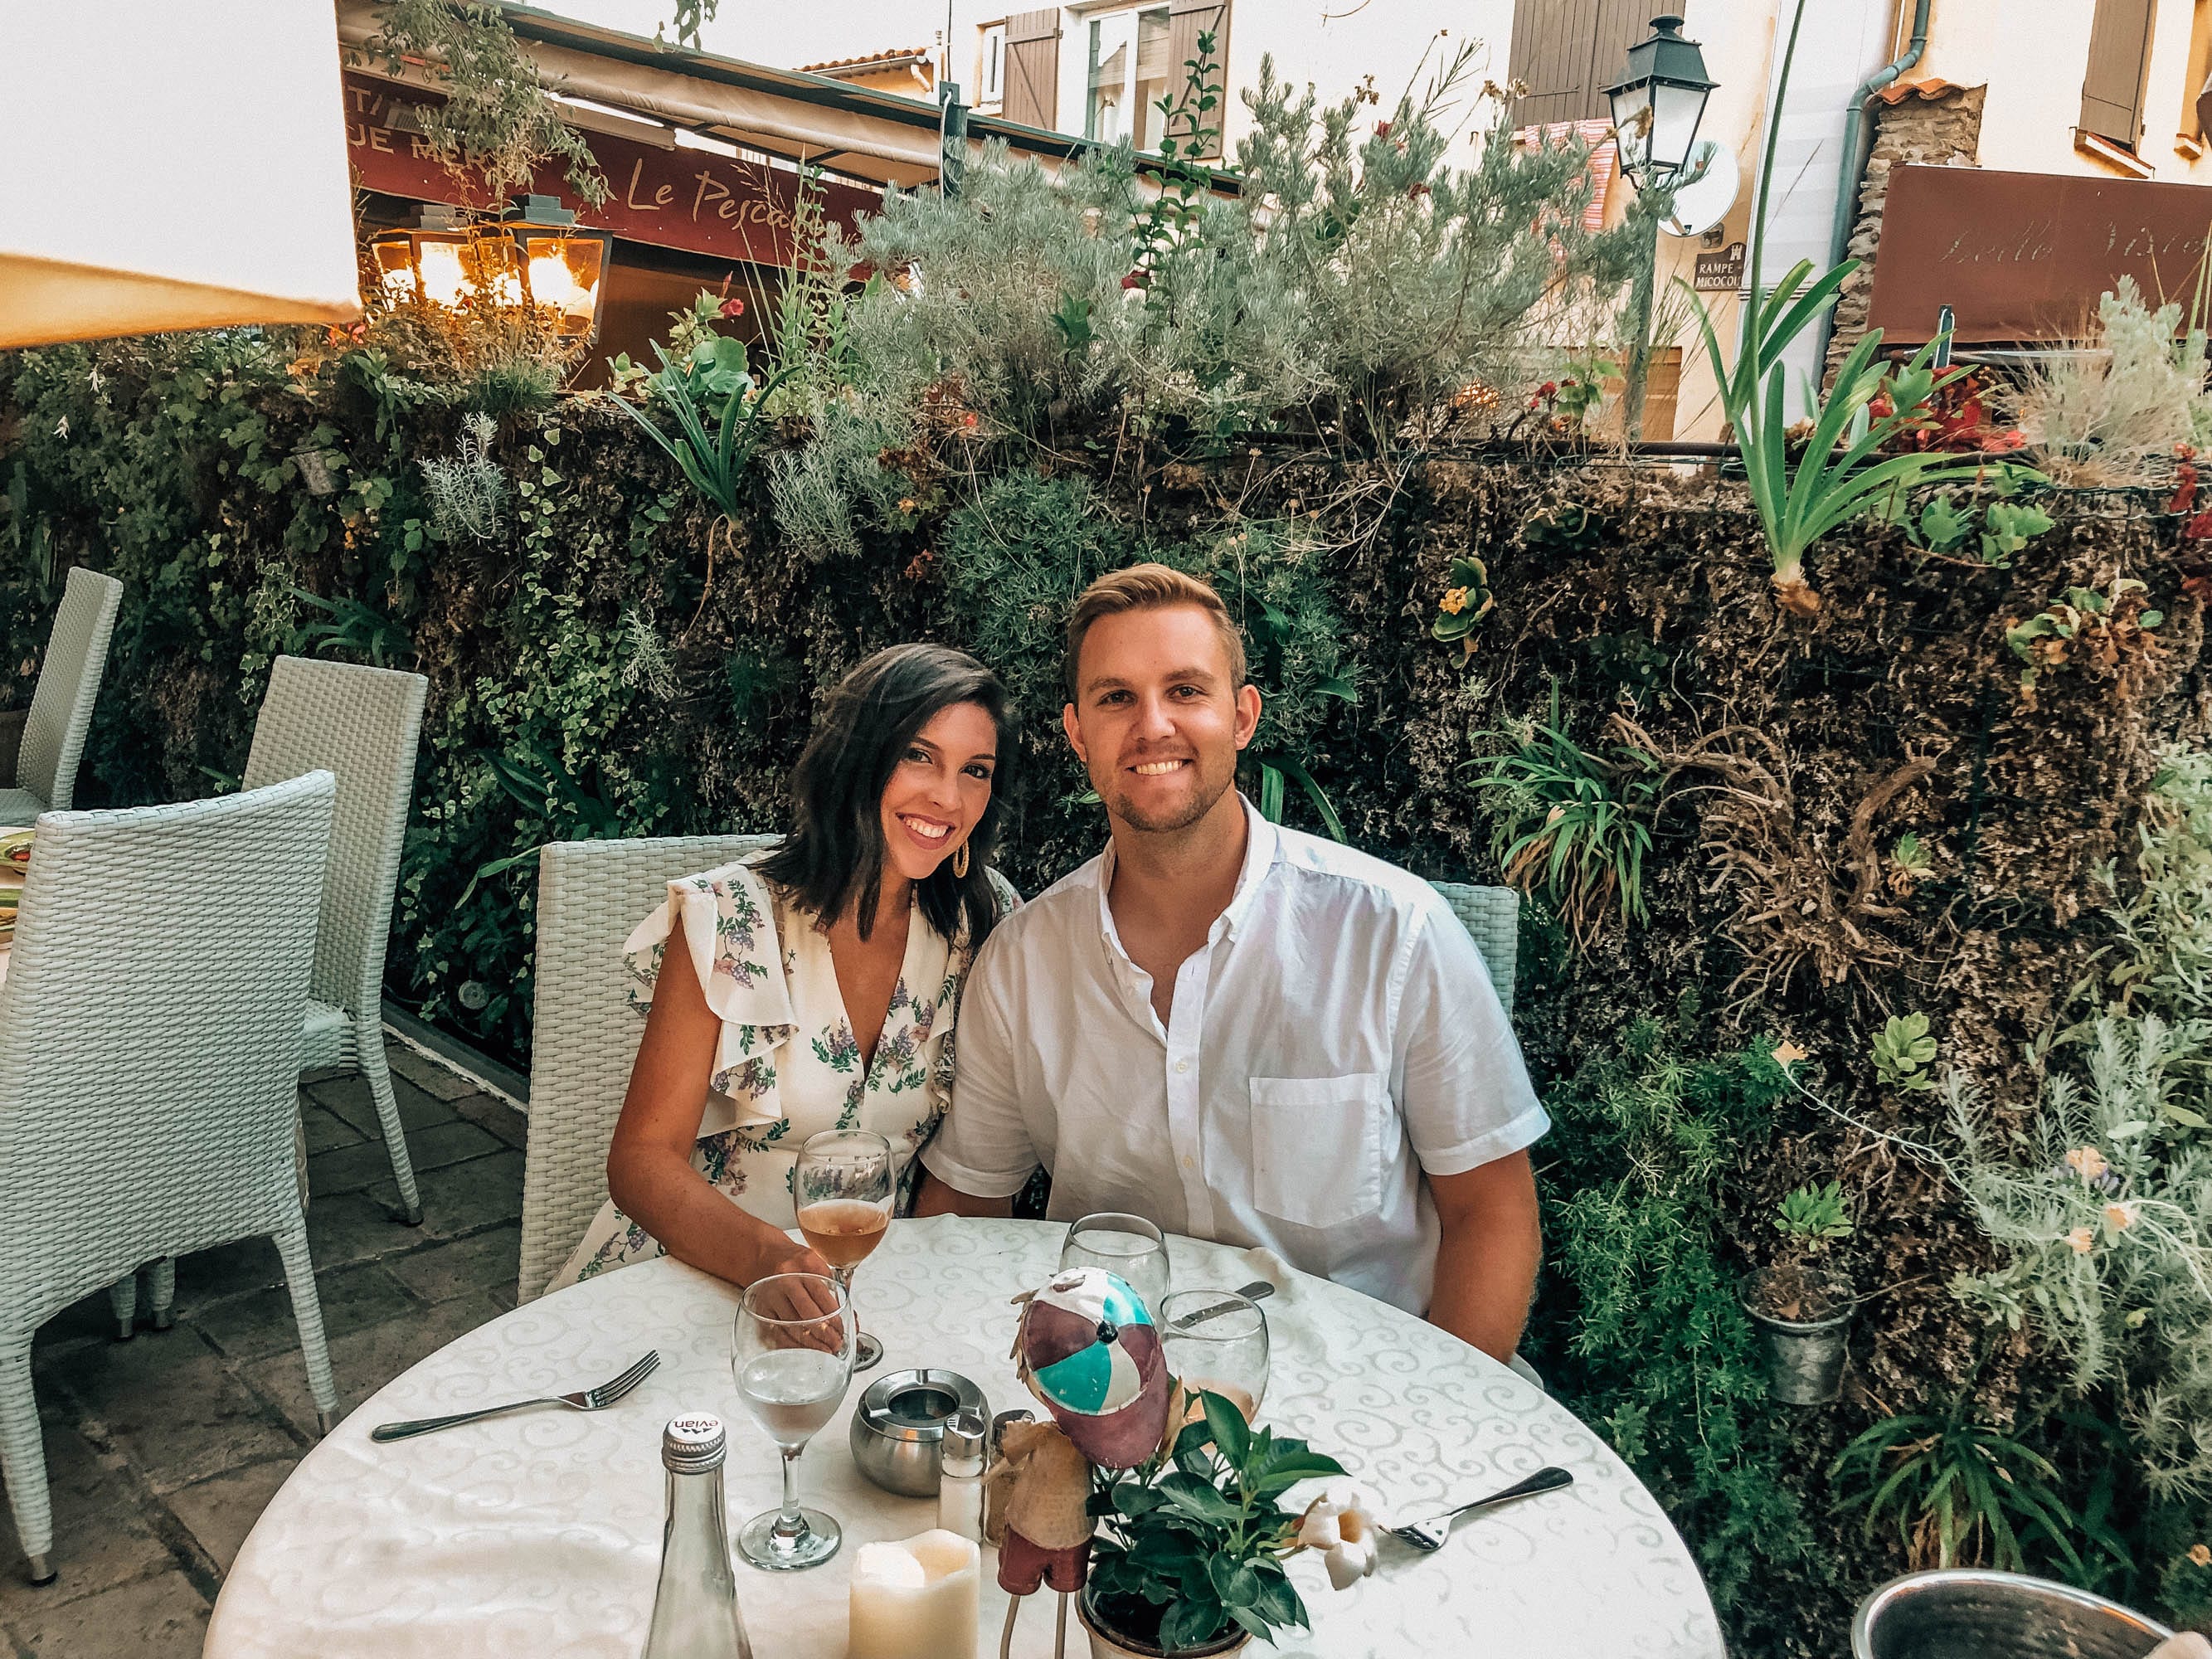
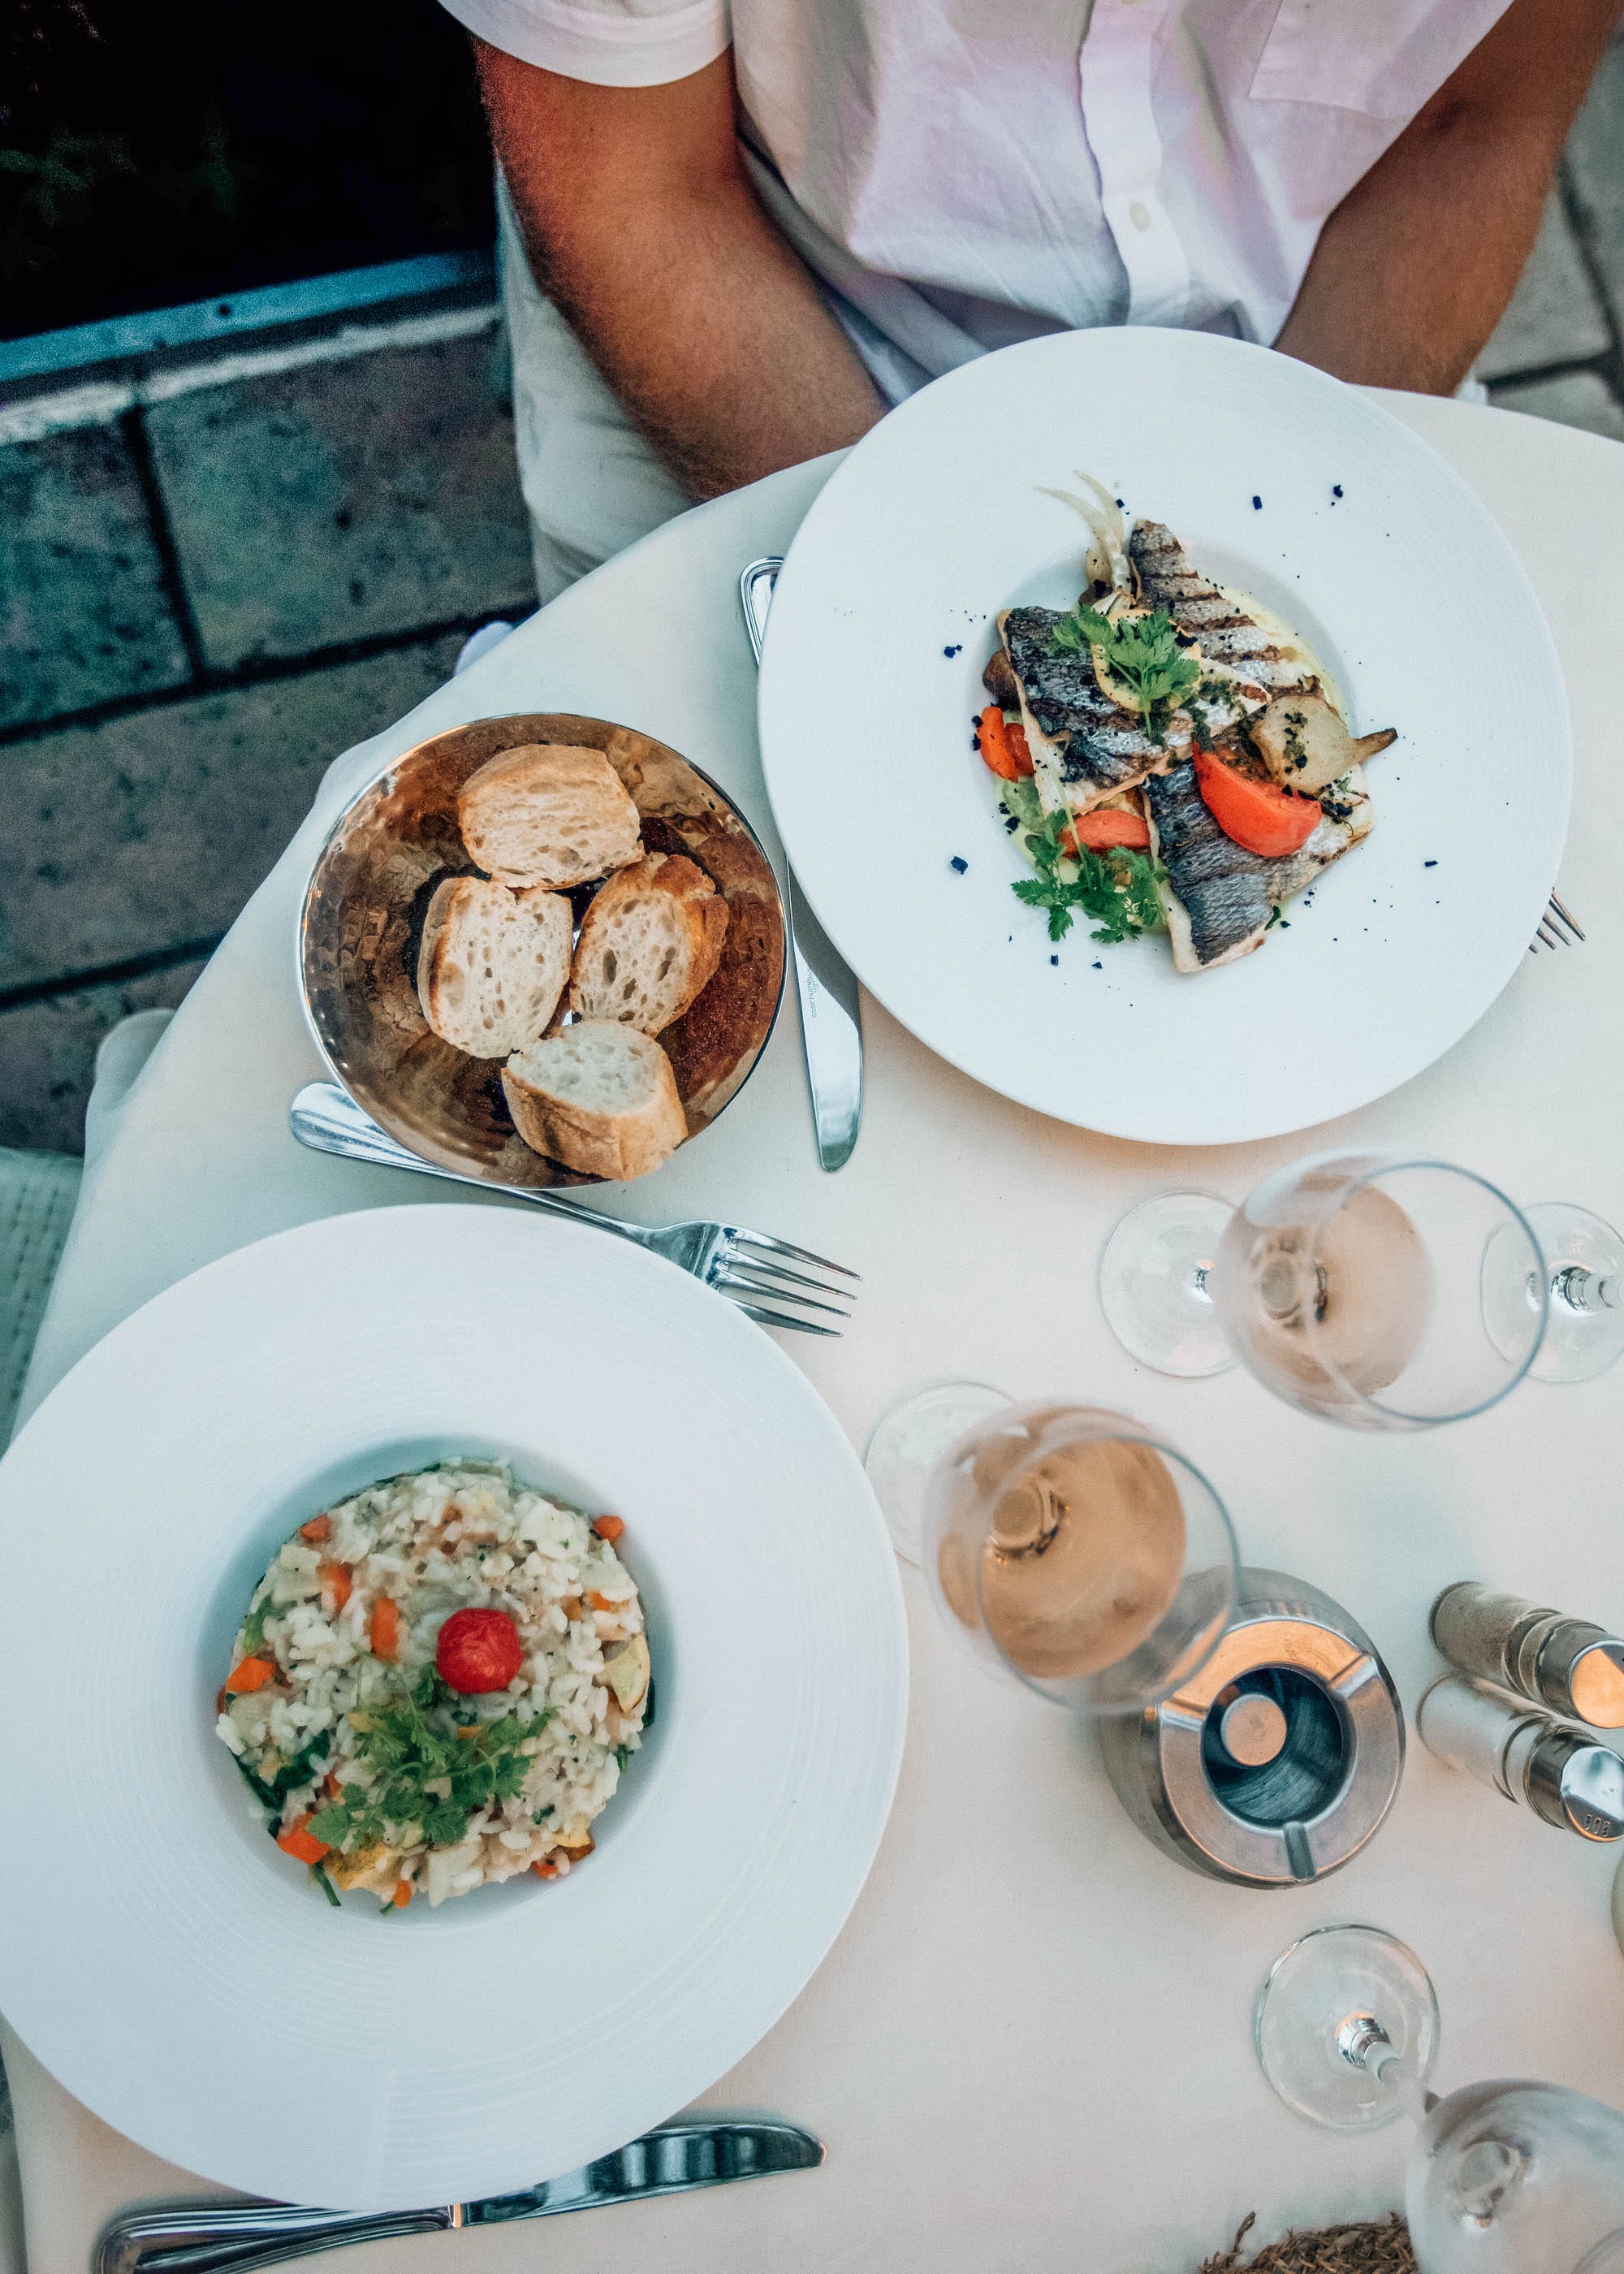
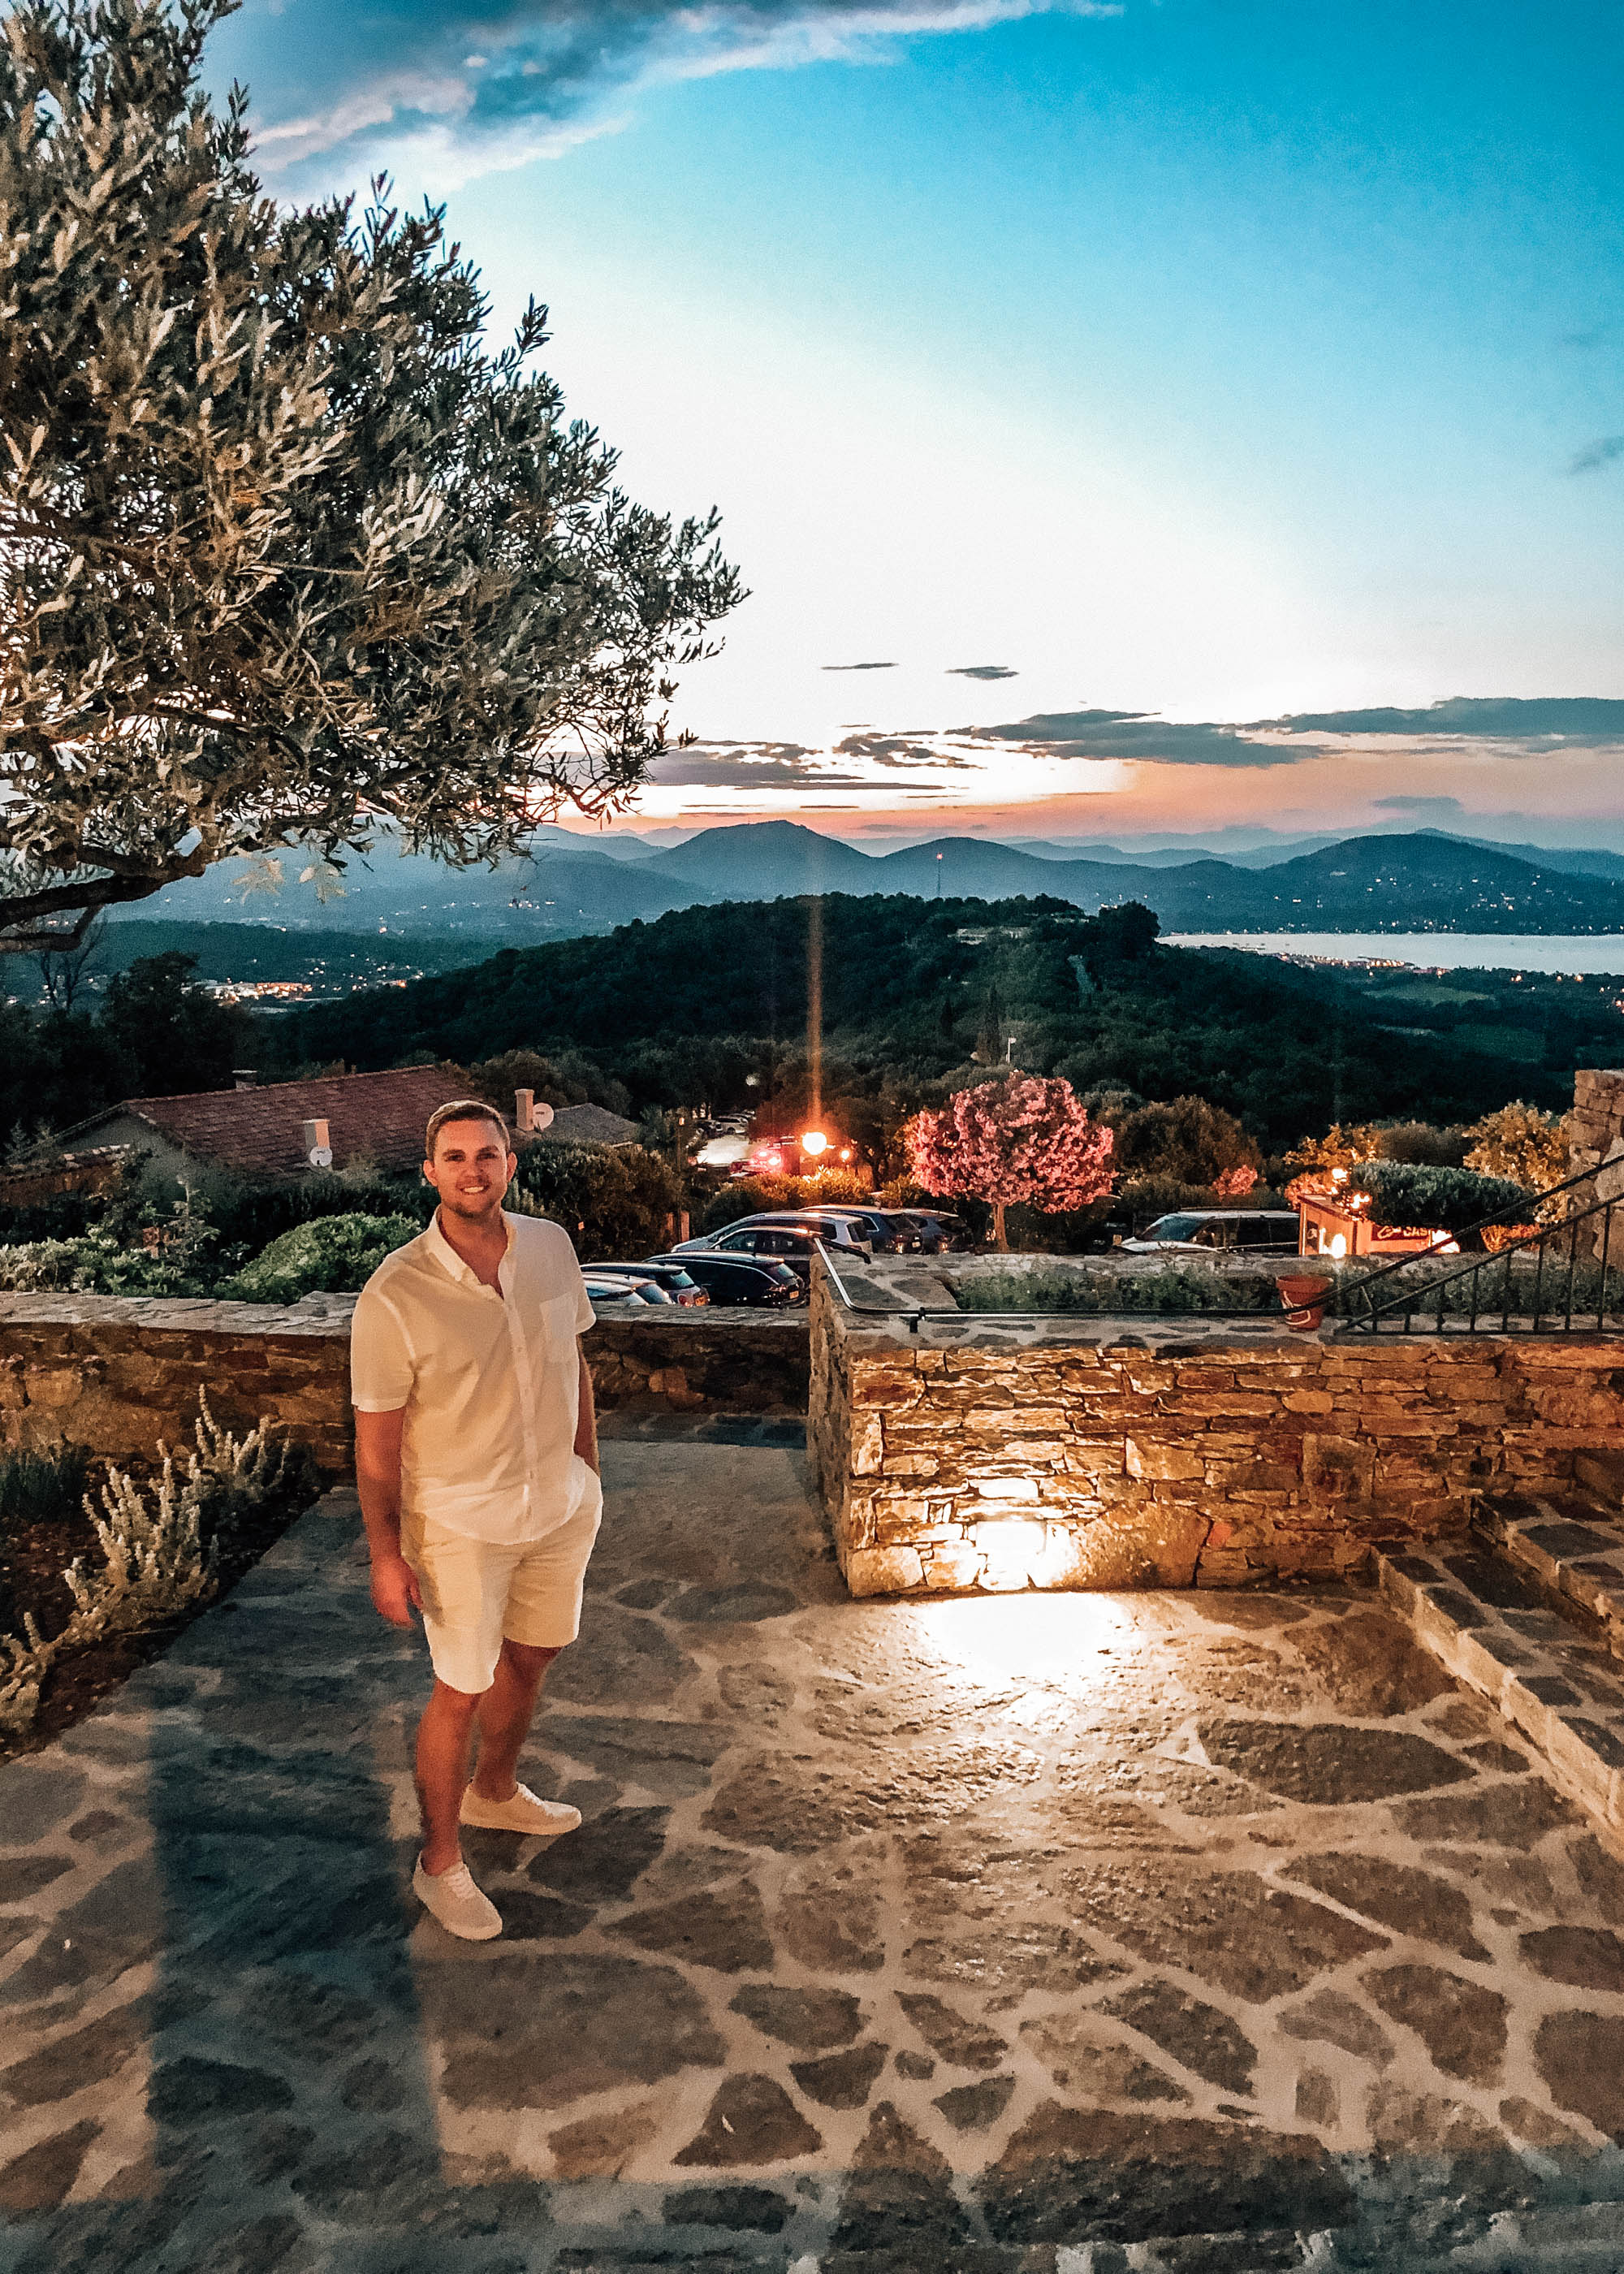
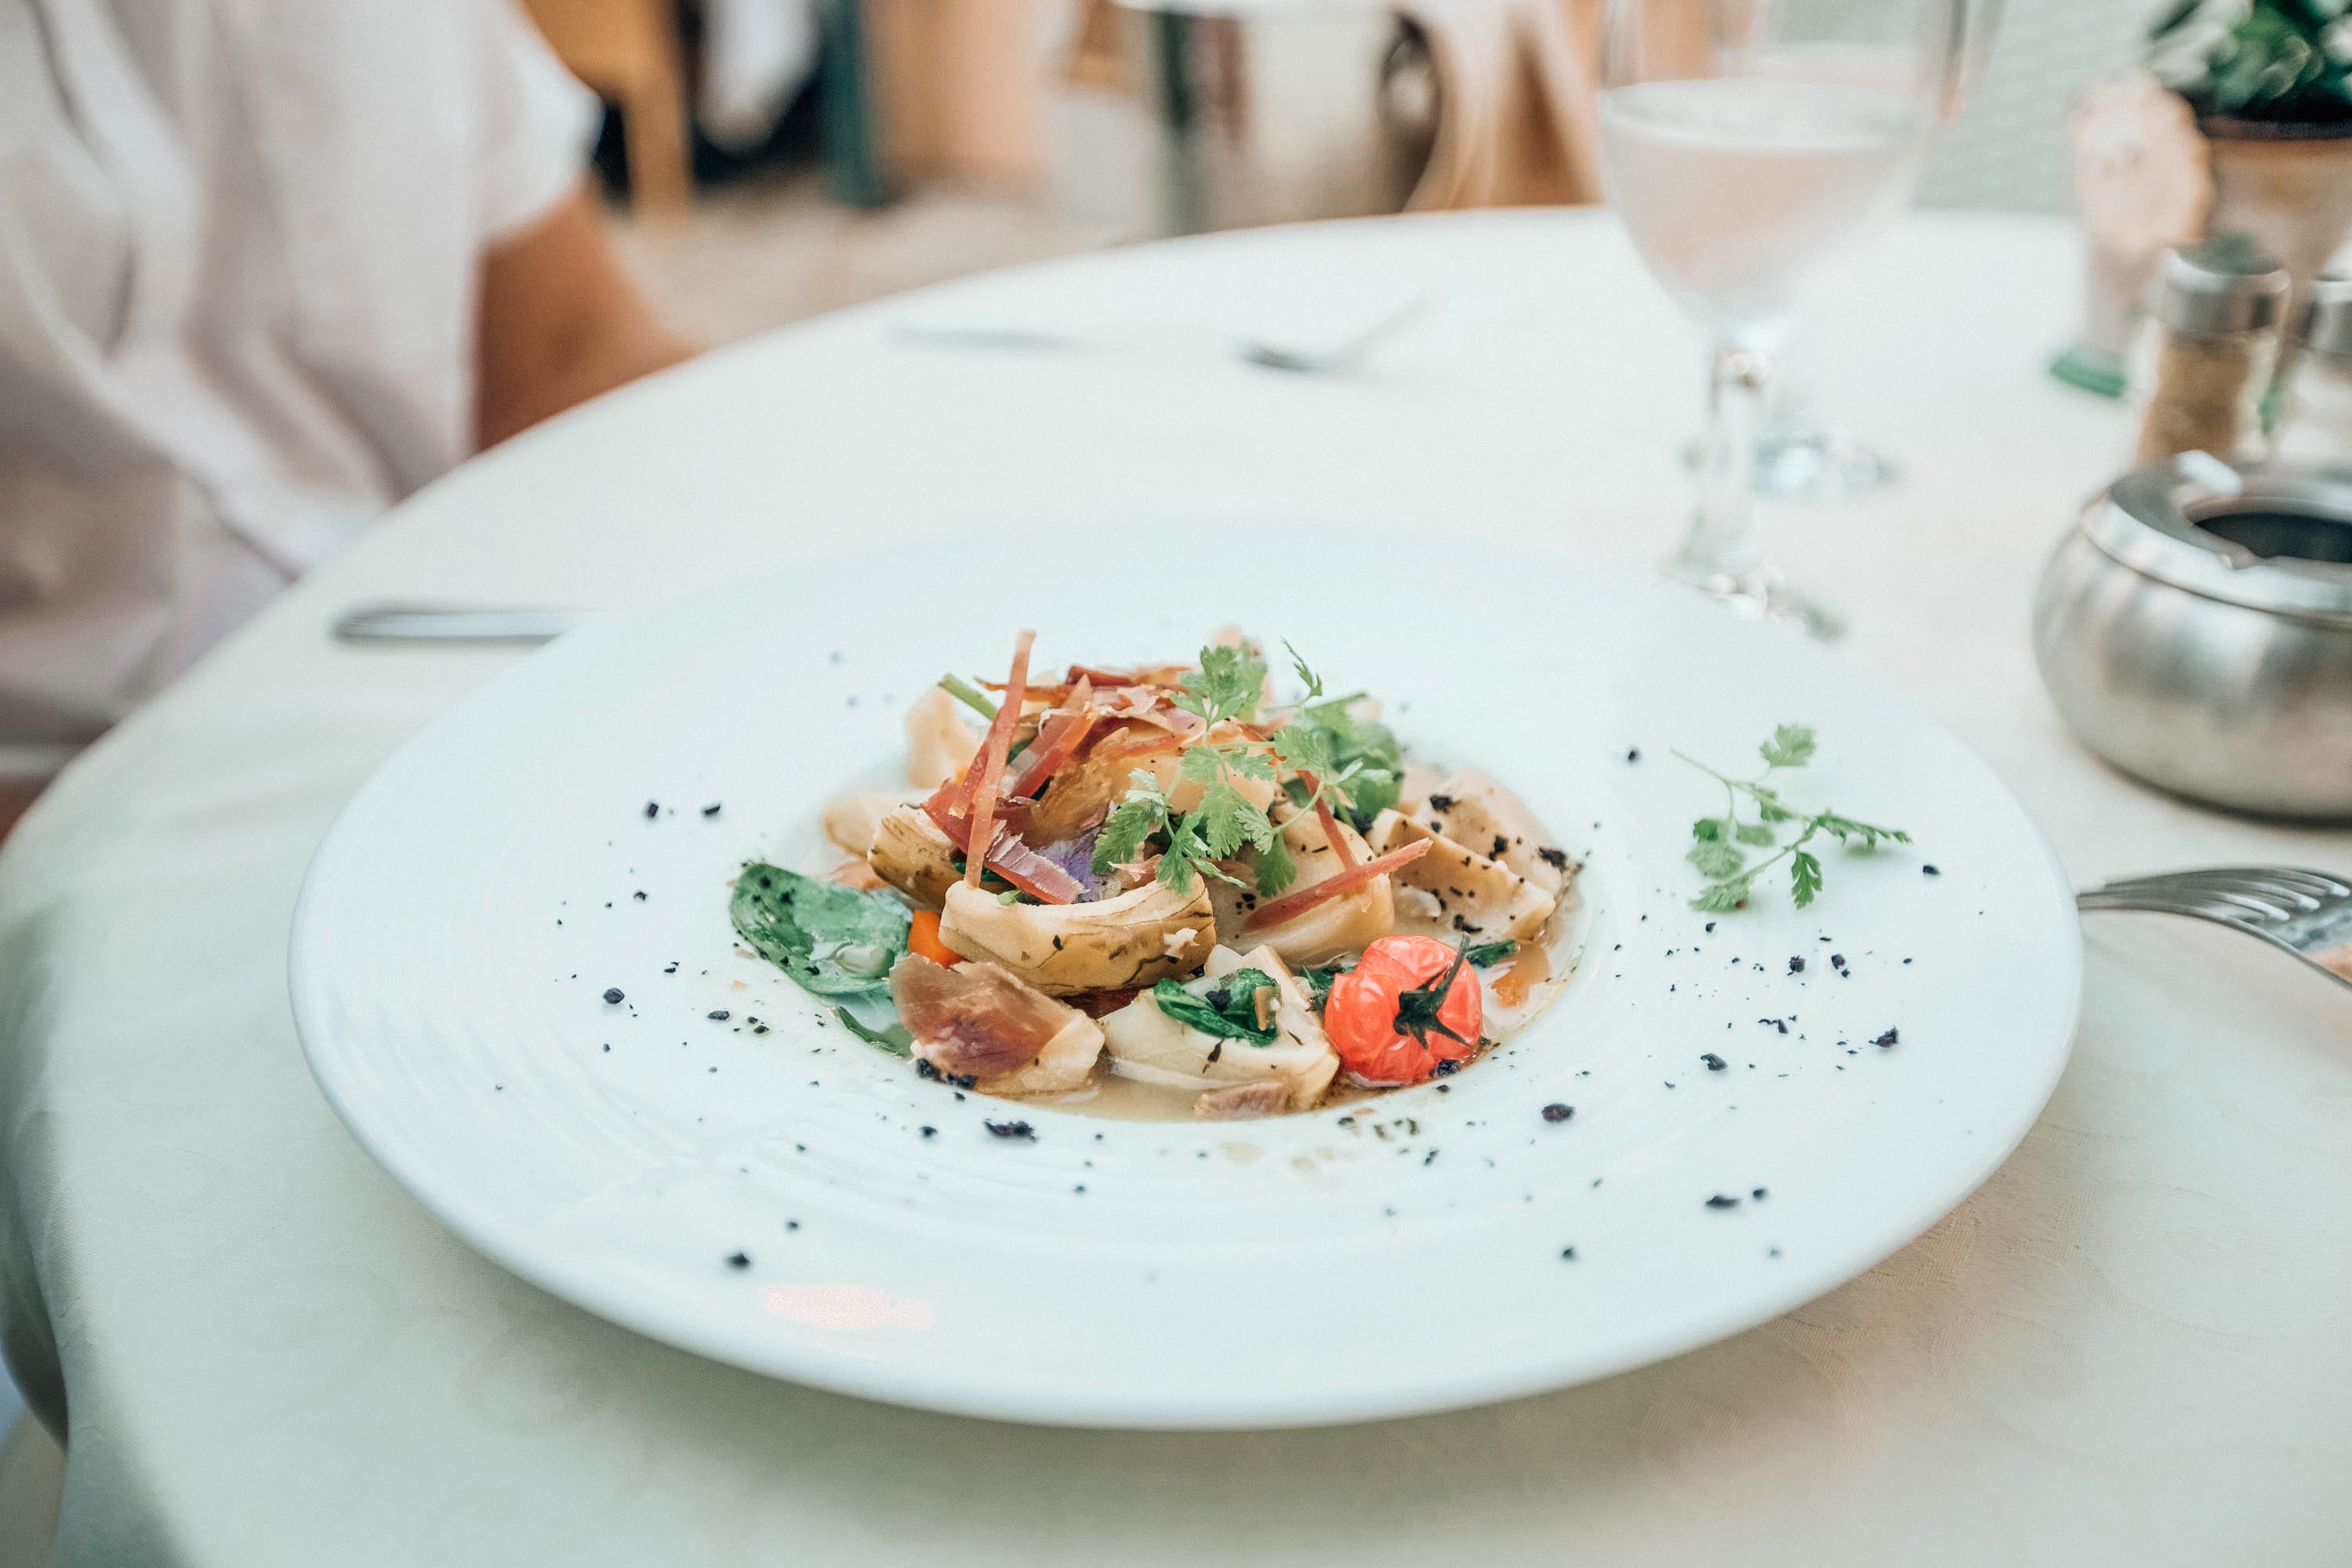
This was one of mine and TJ’s favorite dinners of the week. Delicious food, incredible atmosphere, great service, and great views. Another tip for folks who have not been to Europe before: dinner is an all night affair. In America, we are used to having tables turnover 2 or 3, even 4 times a night. In France (and other parts of Europe) you get your table for the entire evening. This is one reason they especially like that you make a reservation. You could go to 2 or 3 restaurants and not find an open spot. At Le Micocoulier, we split the cutest bottle of rose, which came in 50cl, which is the perfect amount for 2 people to share, and appetizer of steamed artichoke hearts. For our entrees, I got the vegetarian risotto and TJ got the grilled sea bream. All of it was beyond delicious.
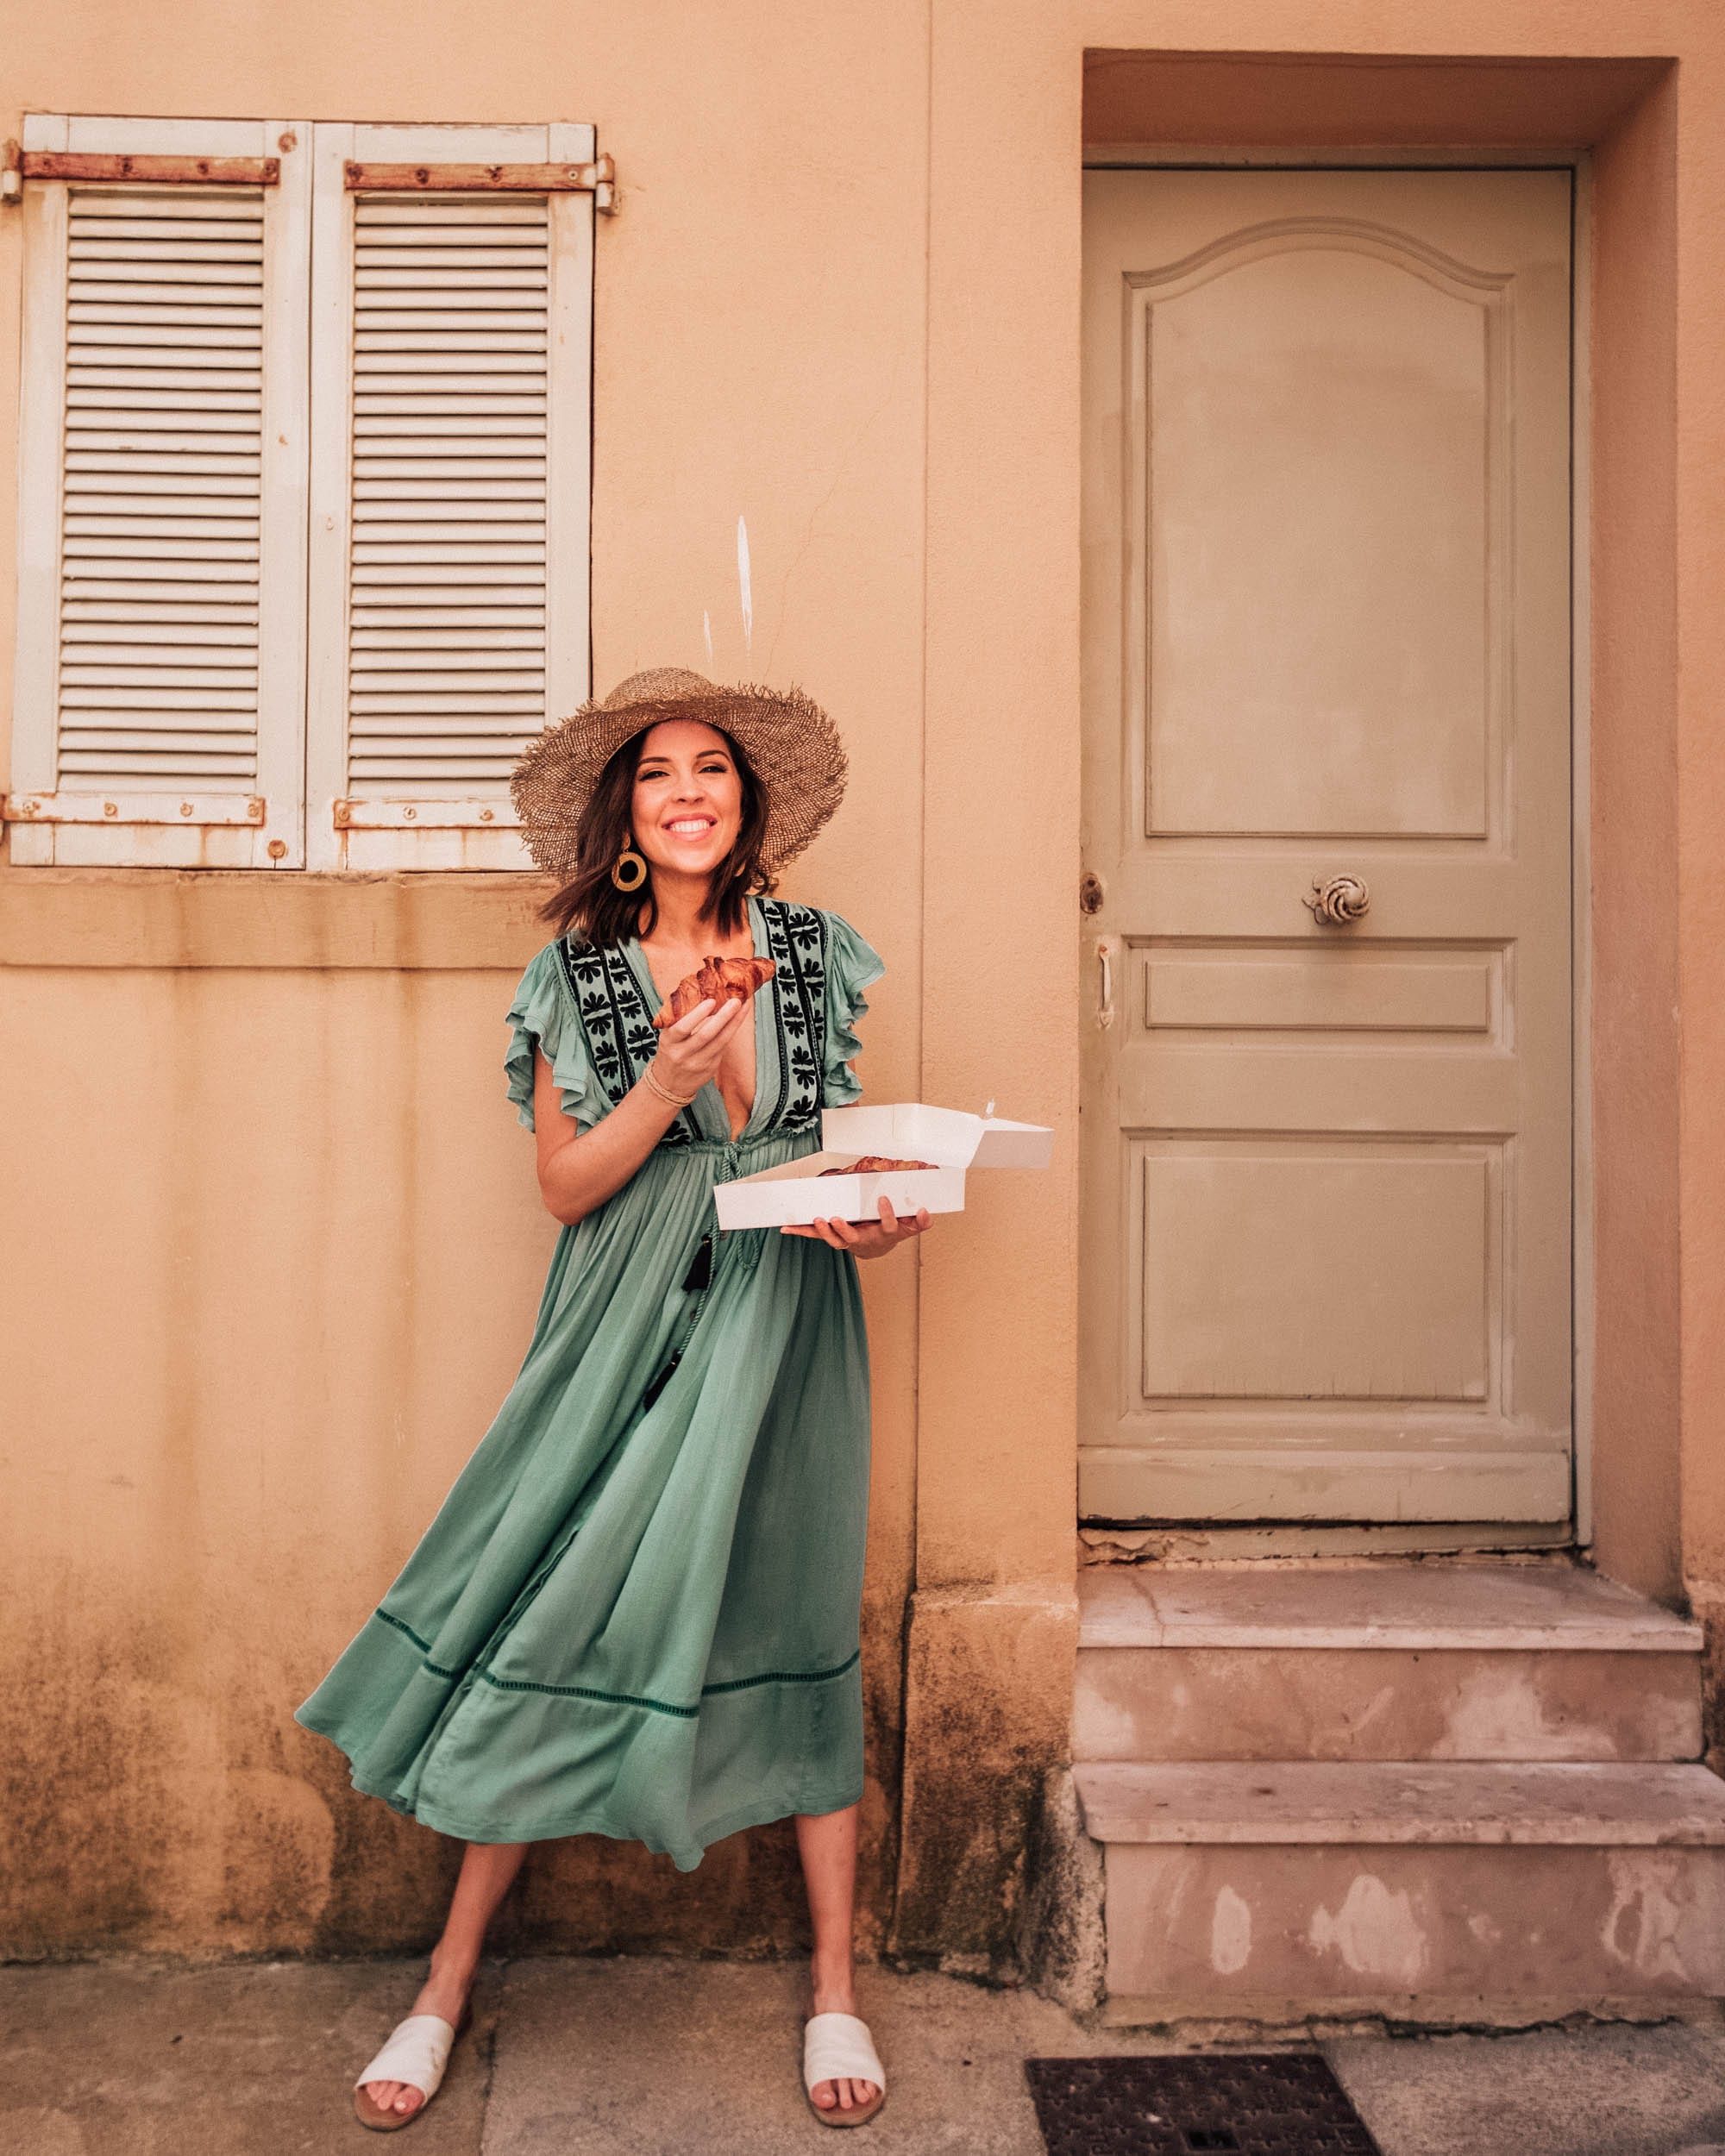
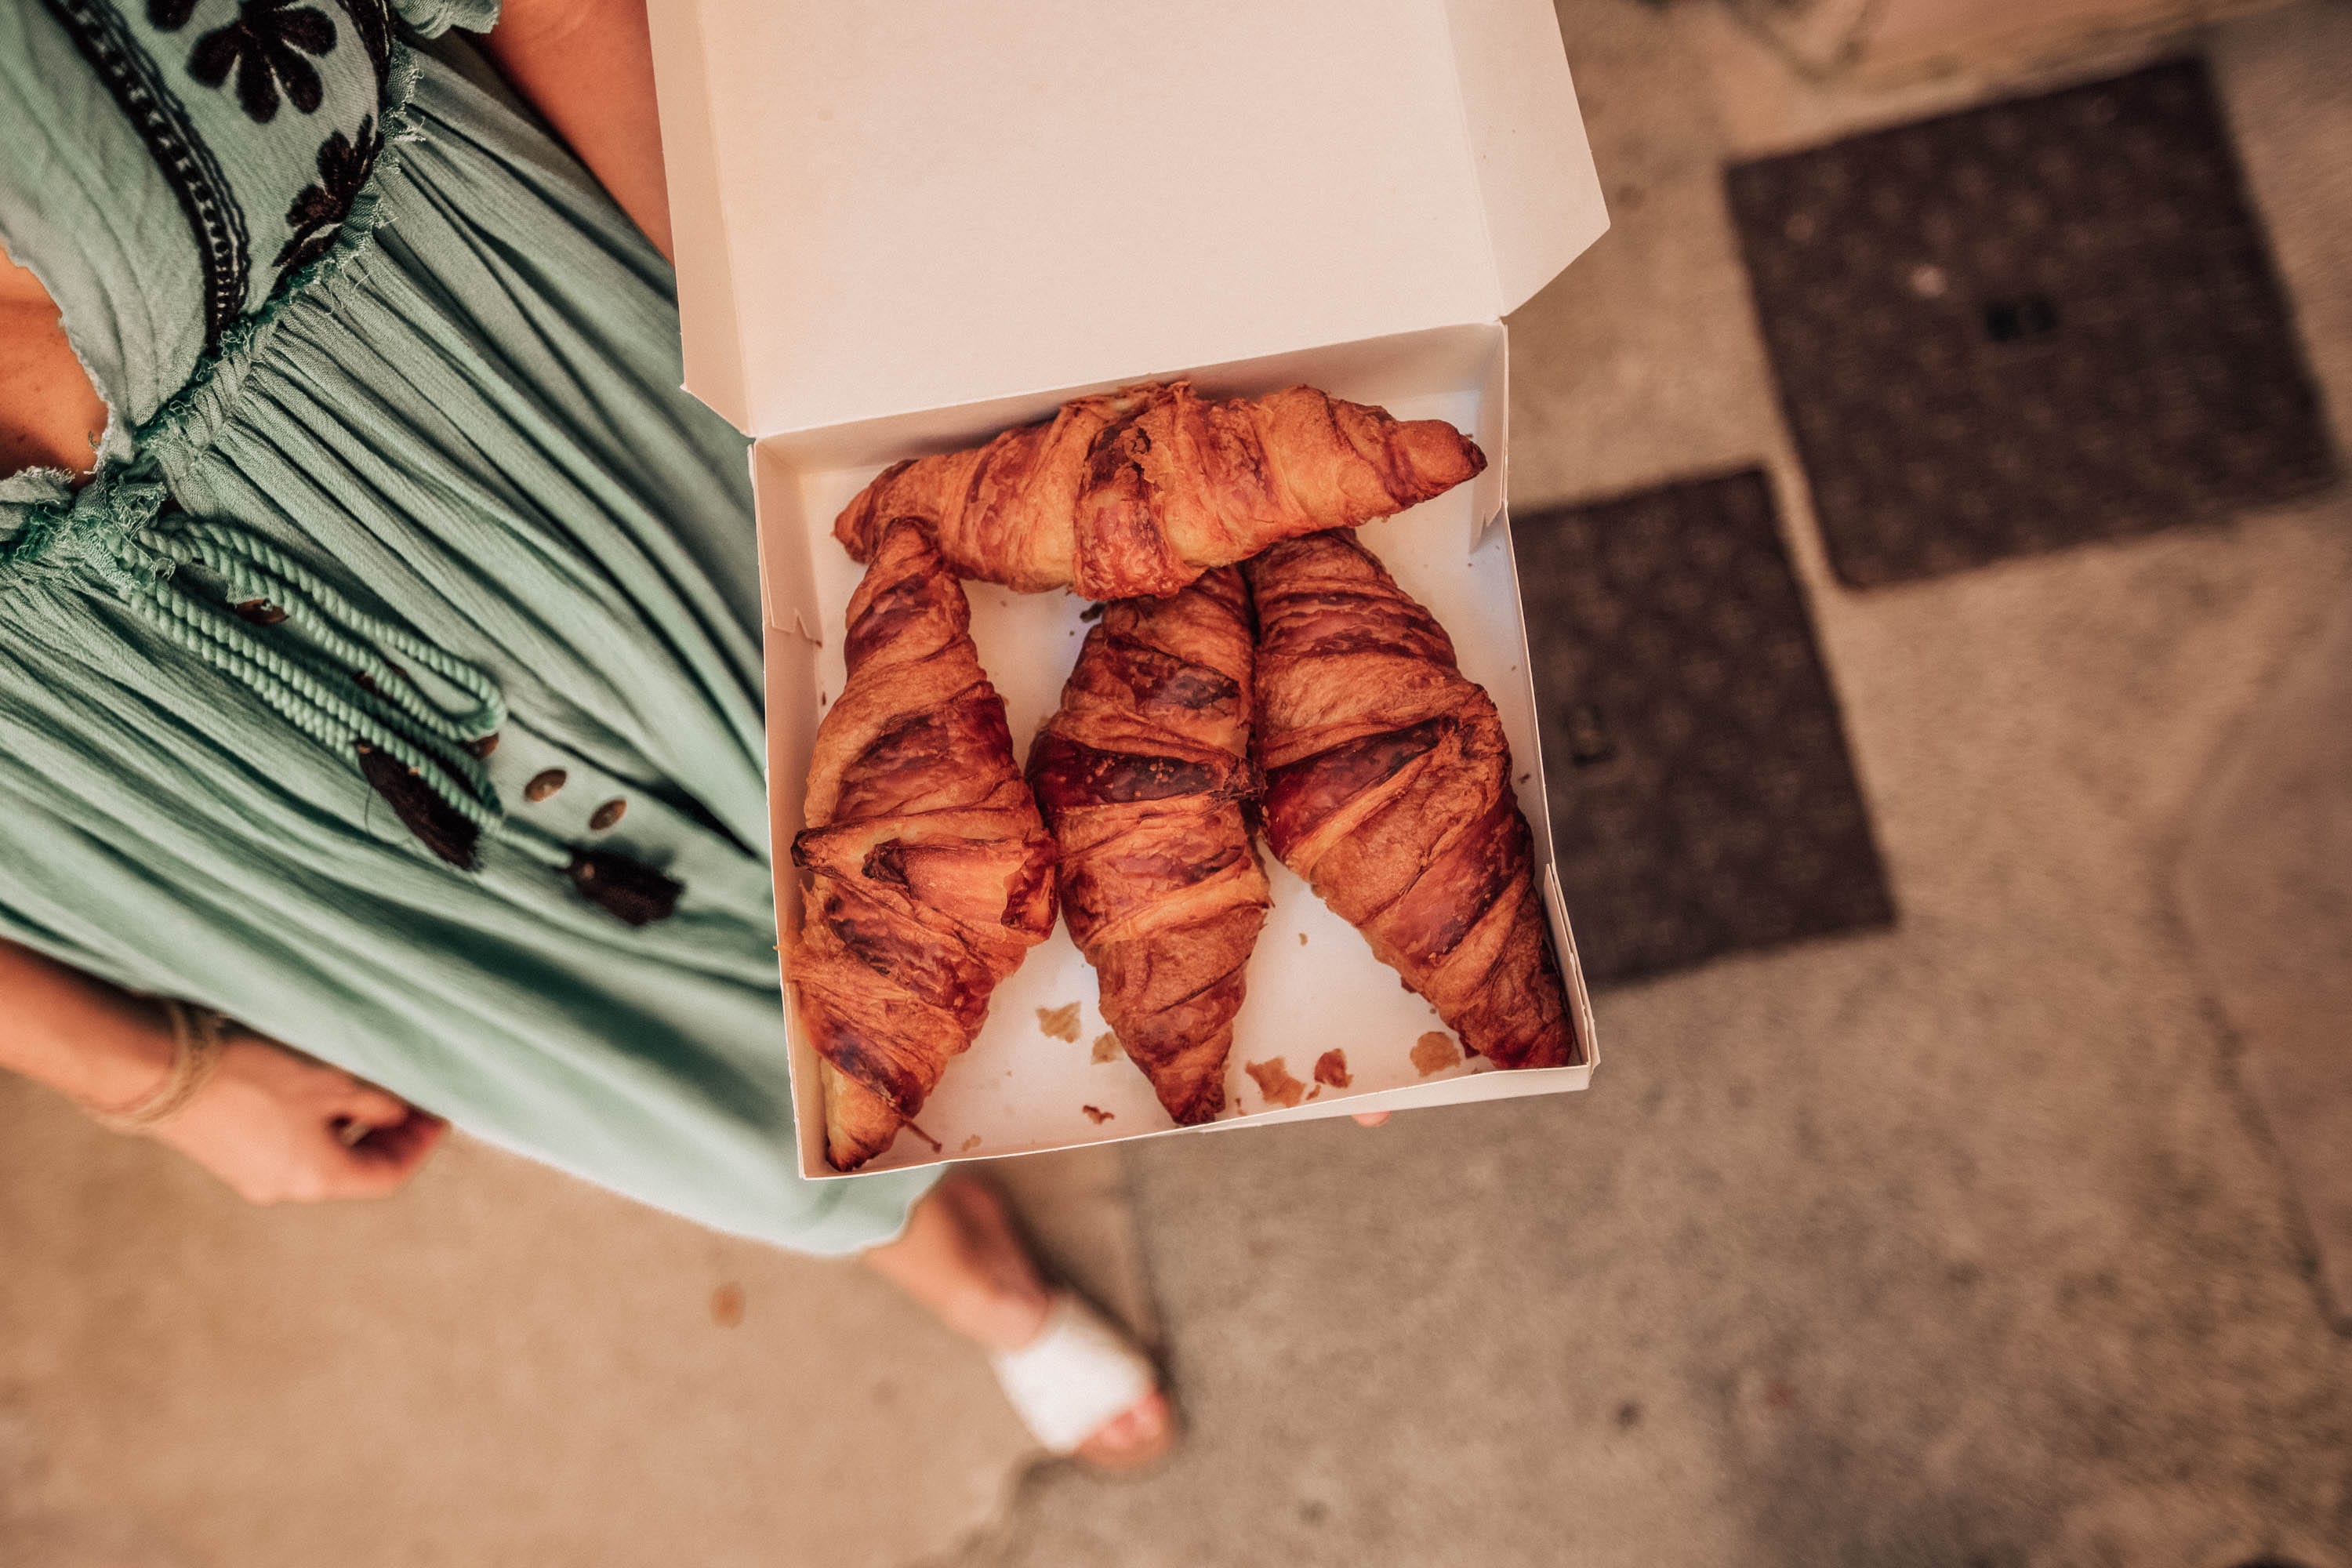
Once our dinner was over, we headed back to the hotel for a late evening by the pool. We had a dessert of fruit and whipped cream as we sat and talked about the day. We prepared for the next leg of trip, which we knew included about 3 hours of driving and headed to bed. The next morning we spent some time by the hotel before checking out and picked up some croissants in St. Tropez for the road!
SHOP ART PRINTS FROM THE TRIP:
[show_shopthepost_widget id="4537961"]What’s In My Beach Bag
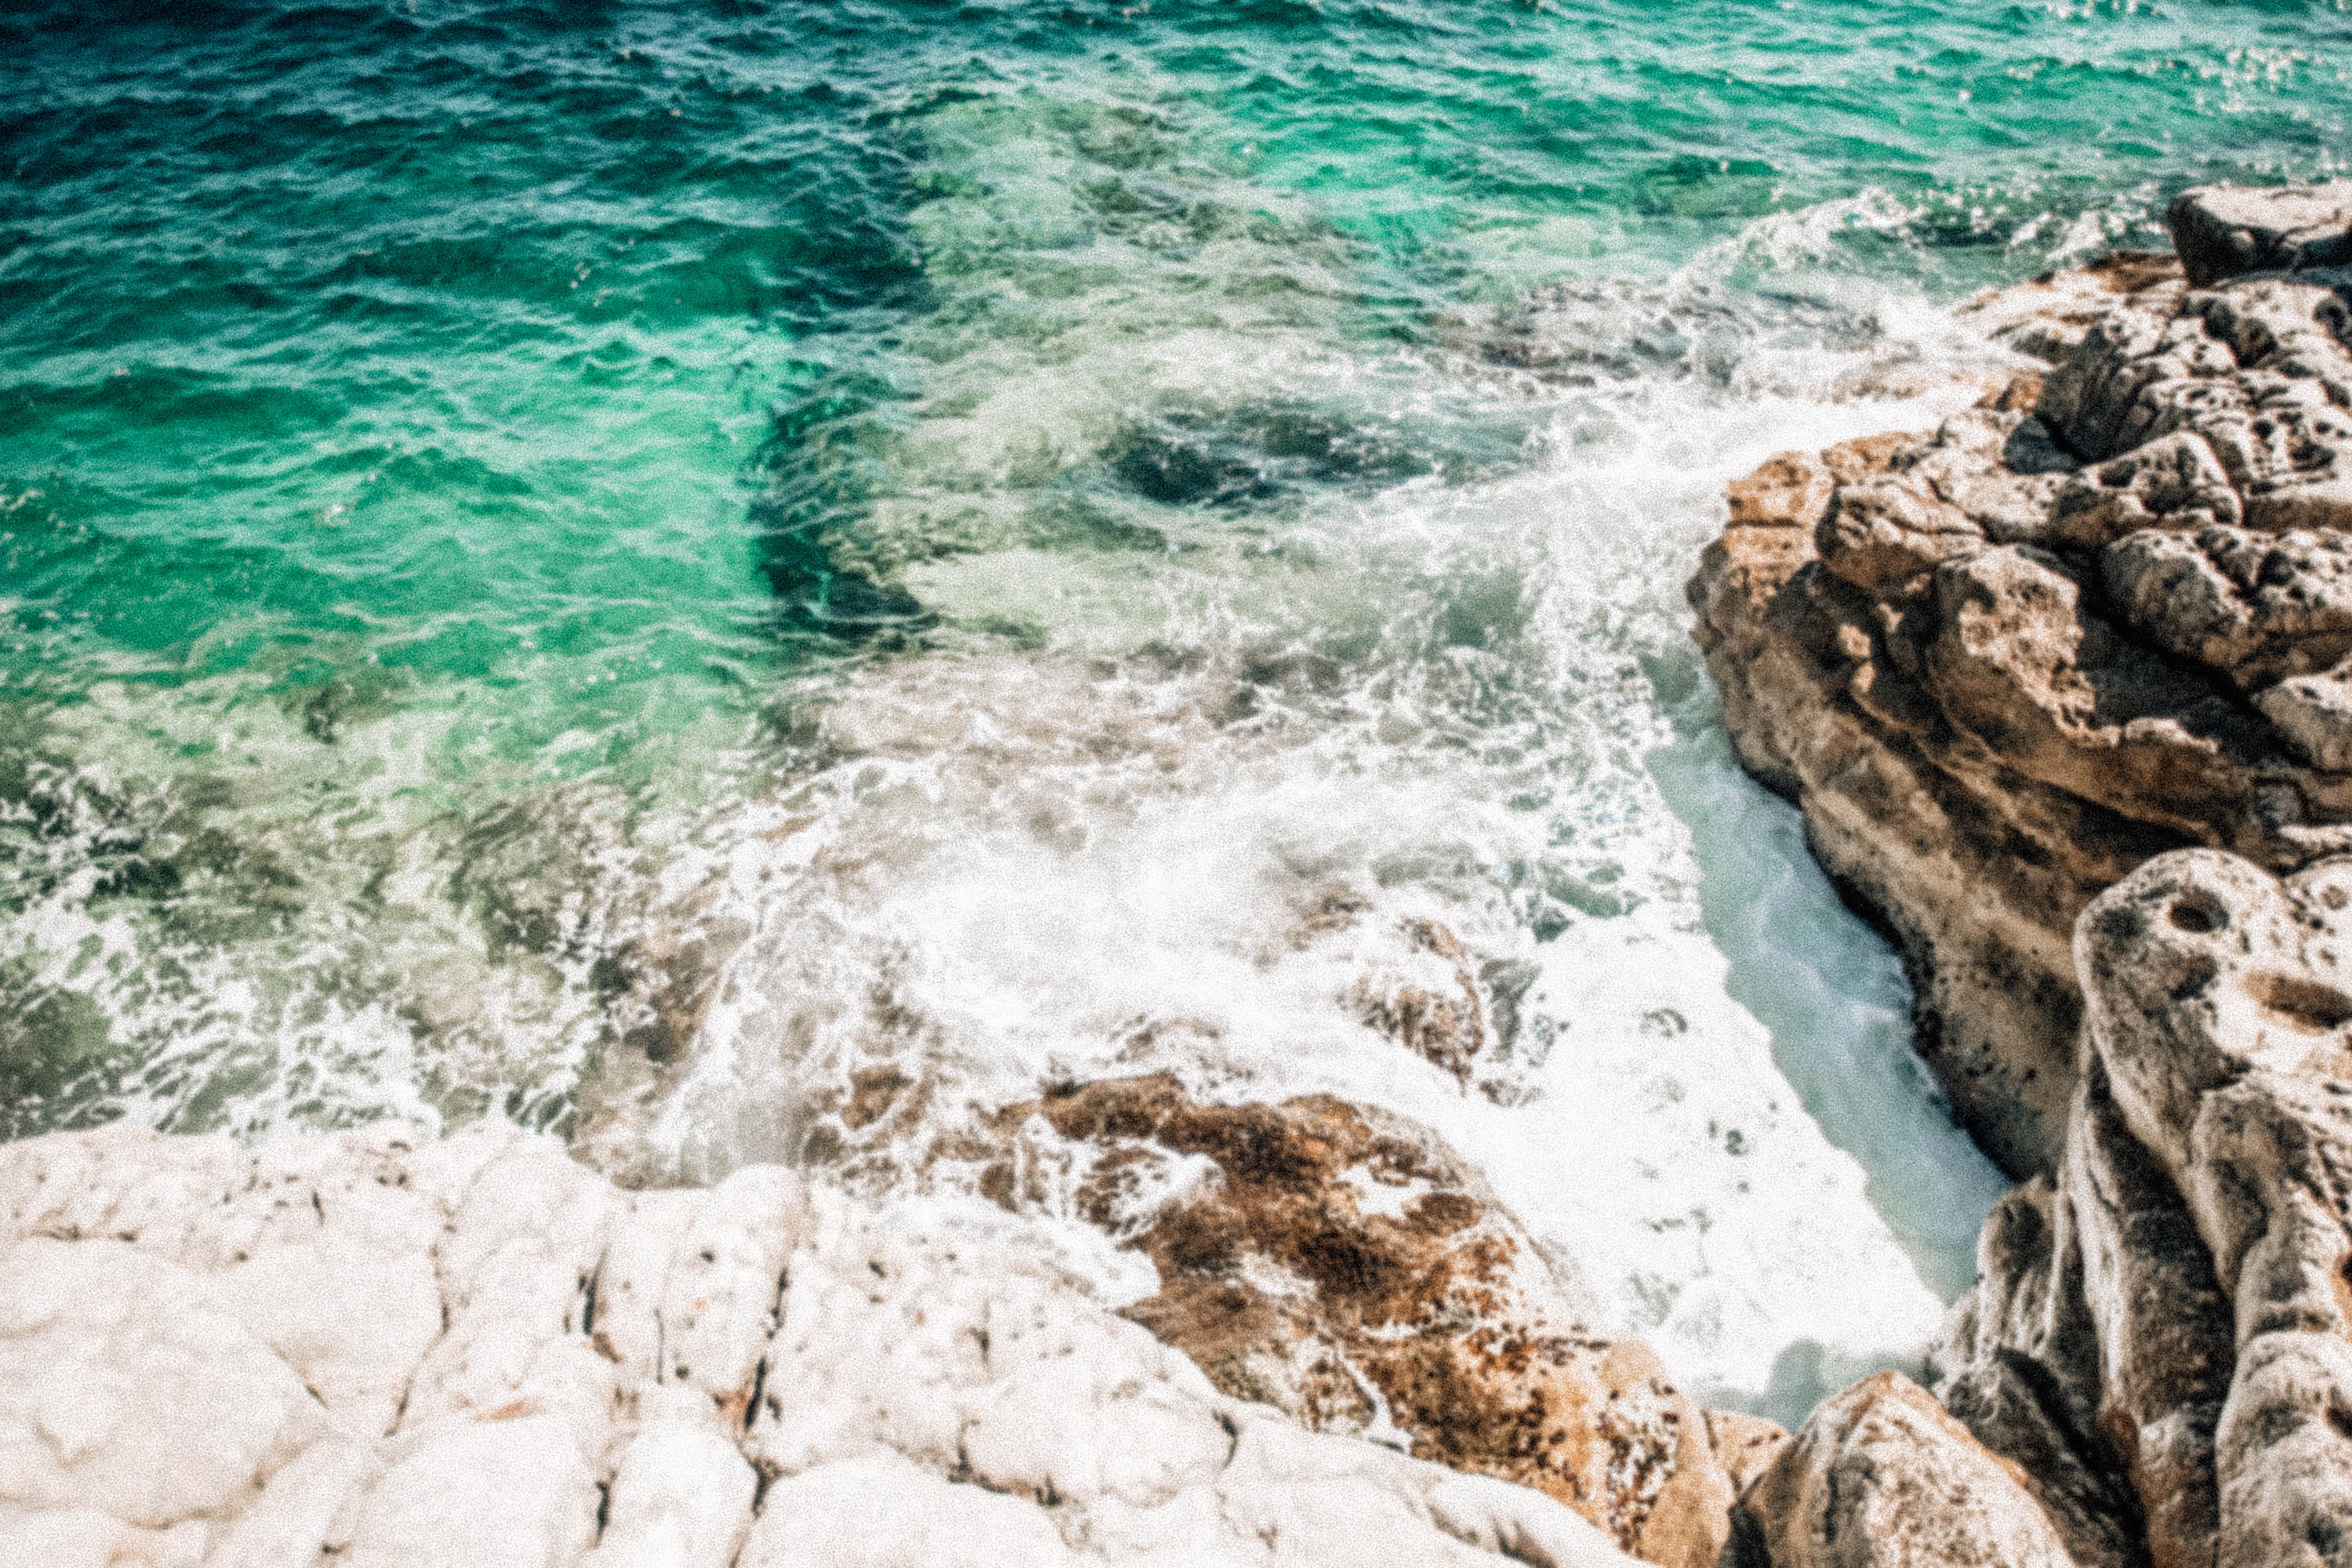
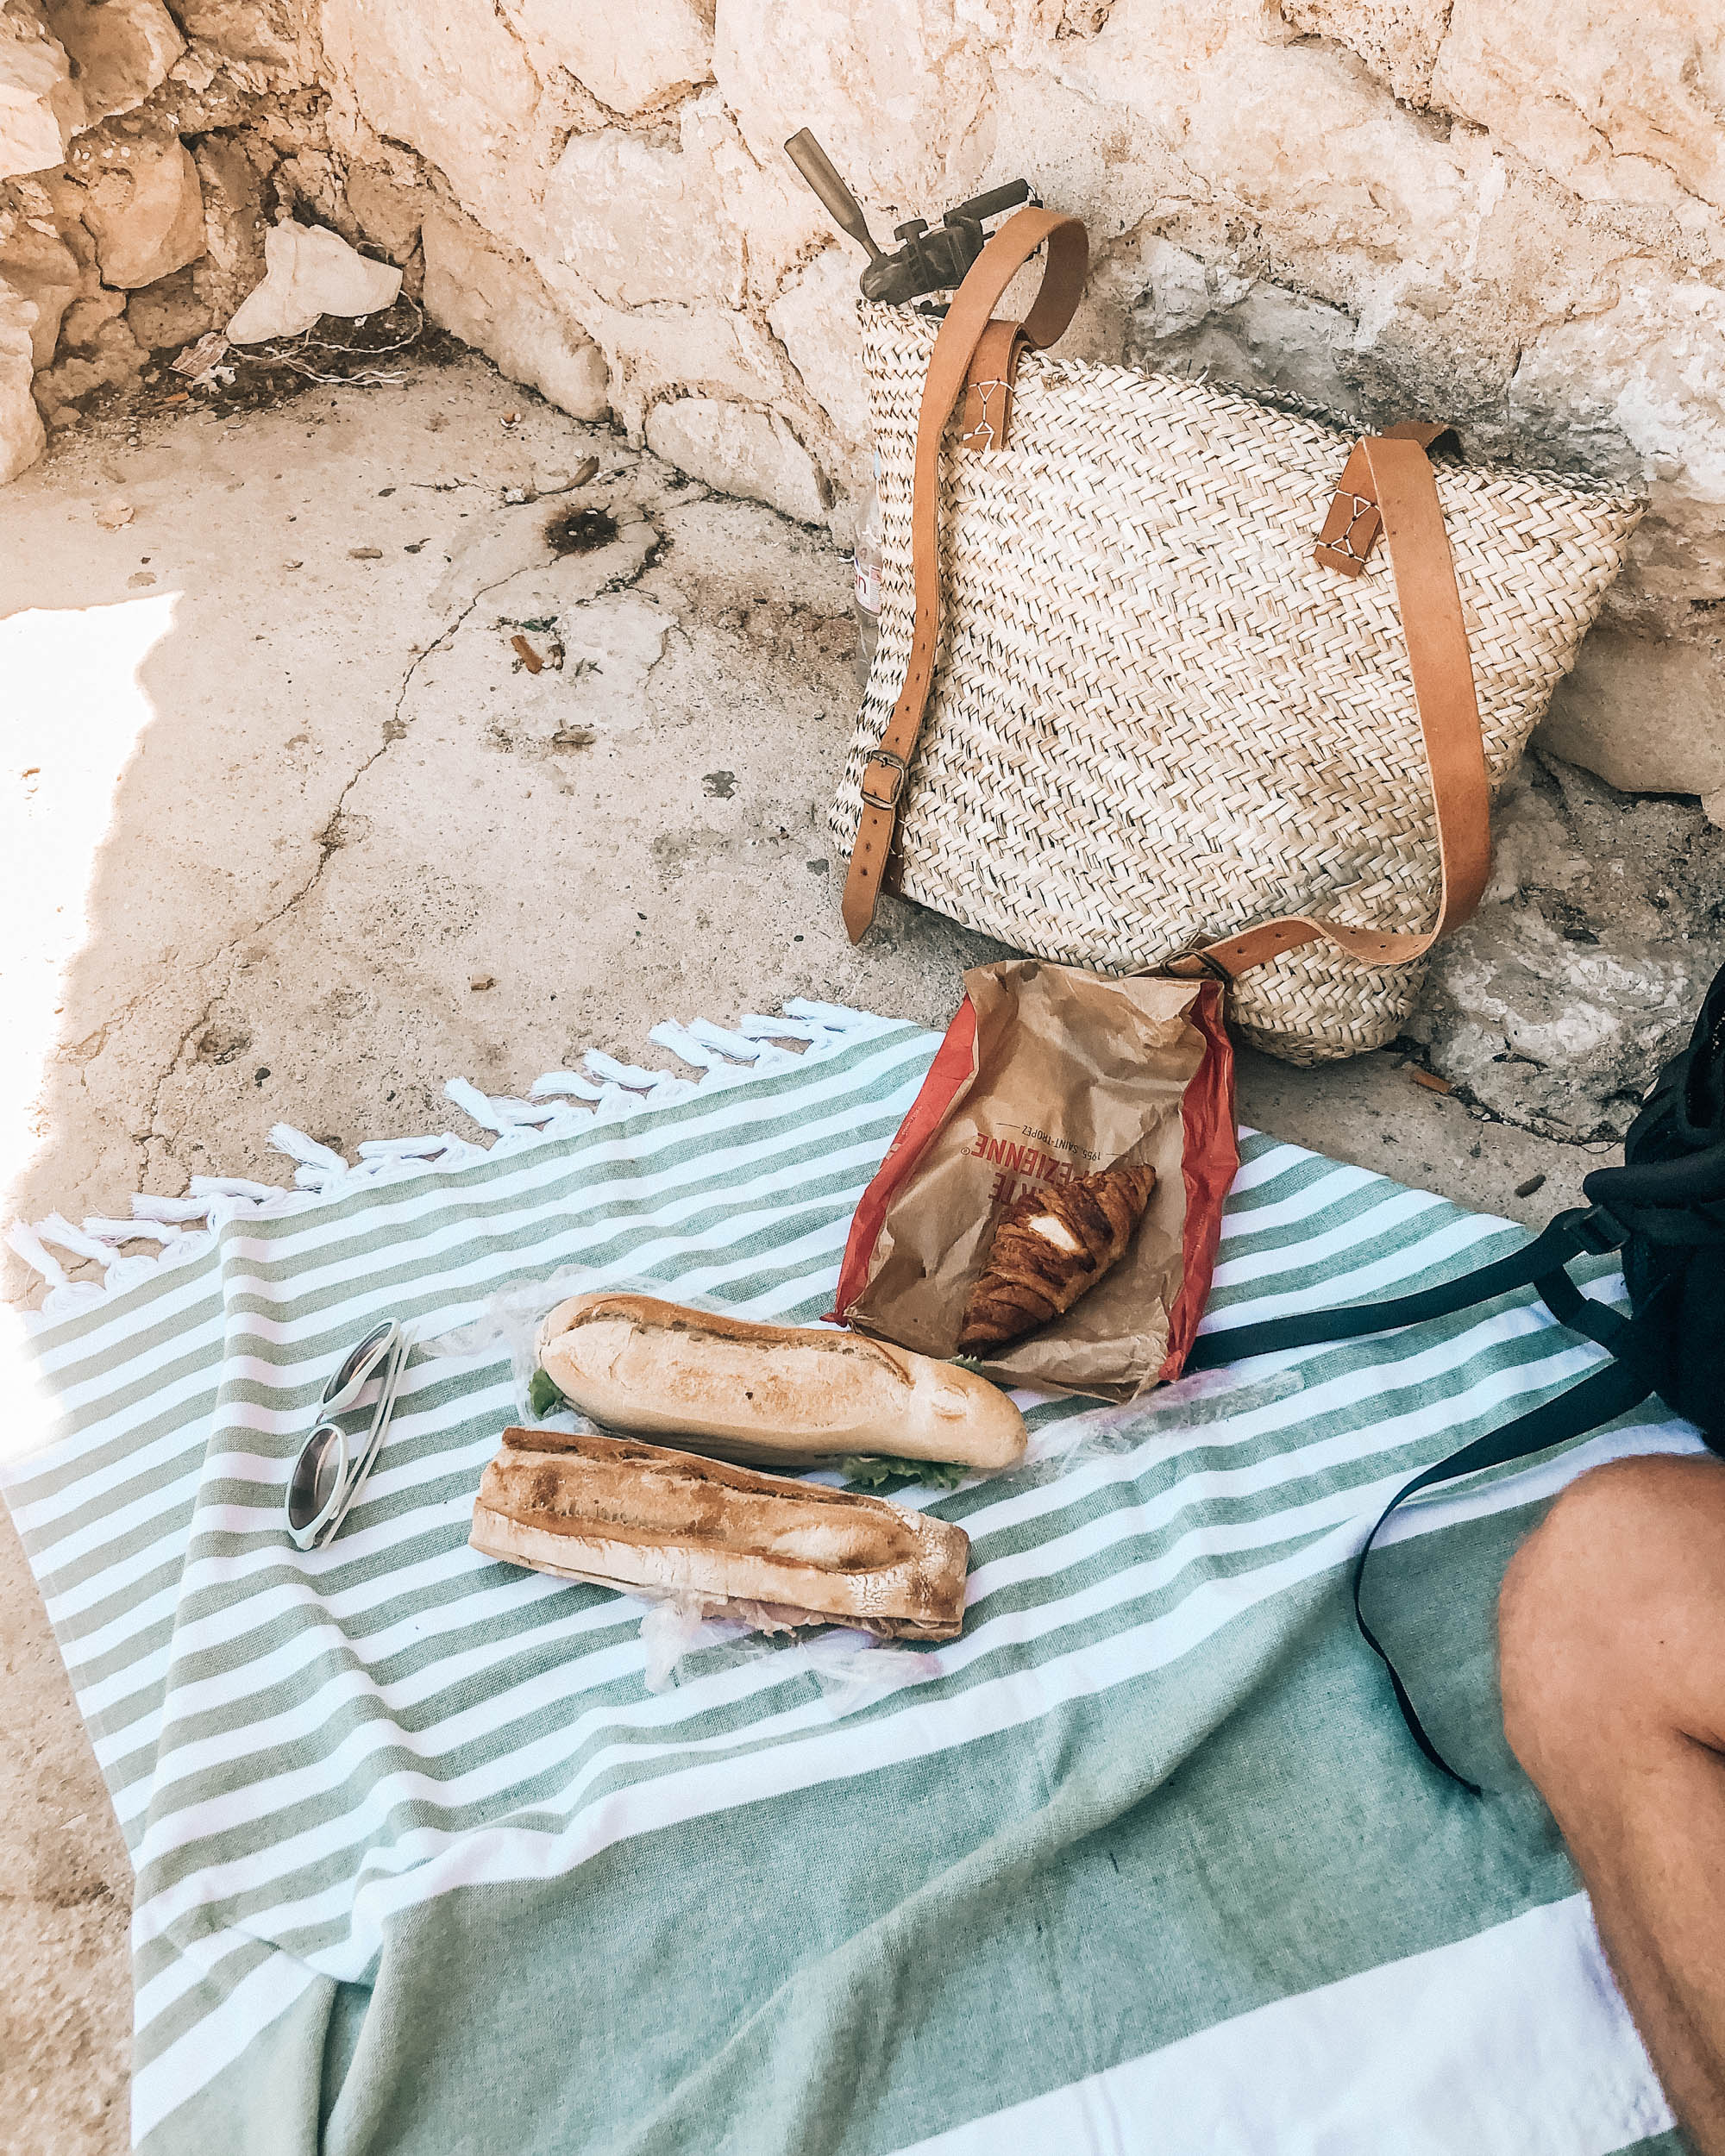
As I was going through photos from last week, it had me thinking of our beach day and how prepared we were for our unplanned day by the water. I had packed up a big straw backpack for our hike (that ended up being closed) and was prepared with everything including all the beach necessities. Our hike was supposed to end up at a small beach anyways but, since it was closed due to fire risks, we ended up finding a giant flat rock area and had a picnic by the water instead!
I felt super prepared with our beach bag packing situation so I wanted to share a few of my favorite items that I love to take with us to the beach in addition to snacks and drinks, of course!
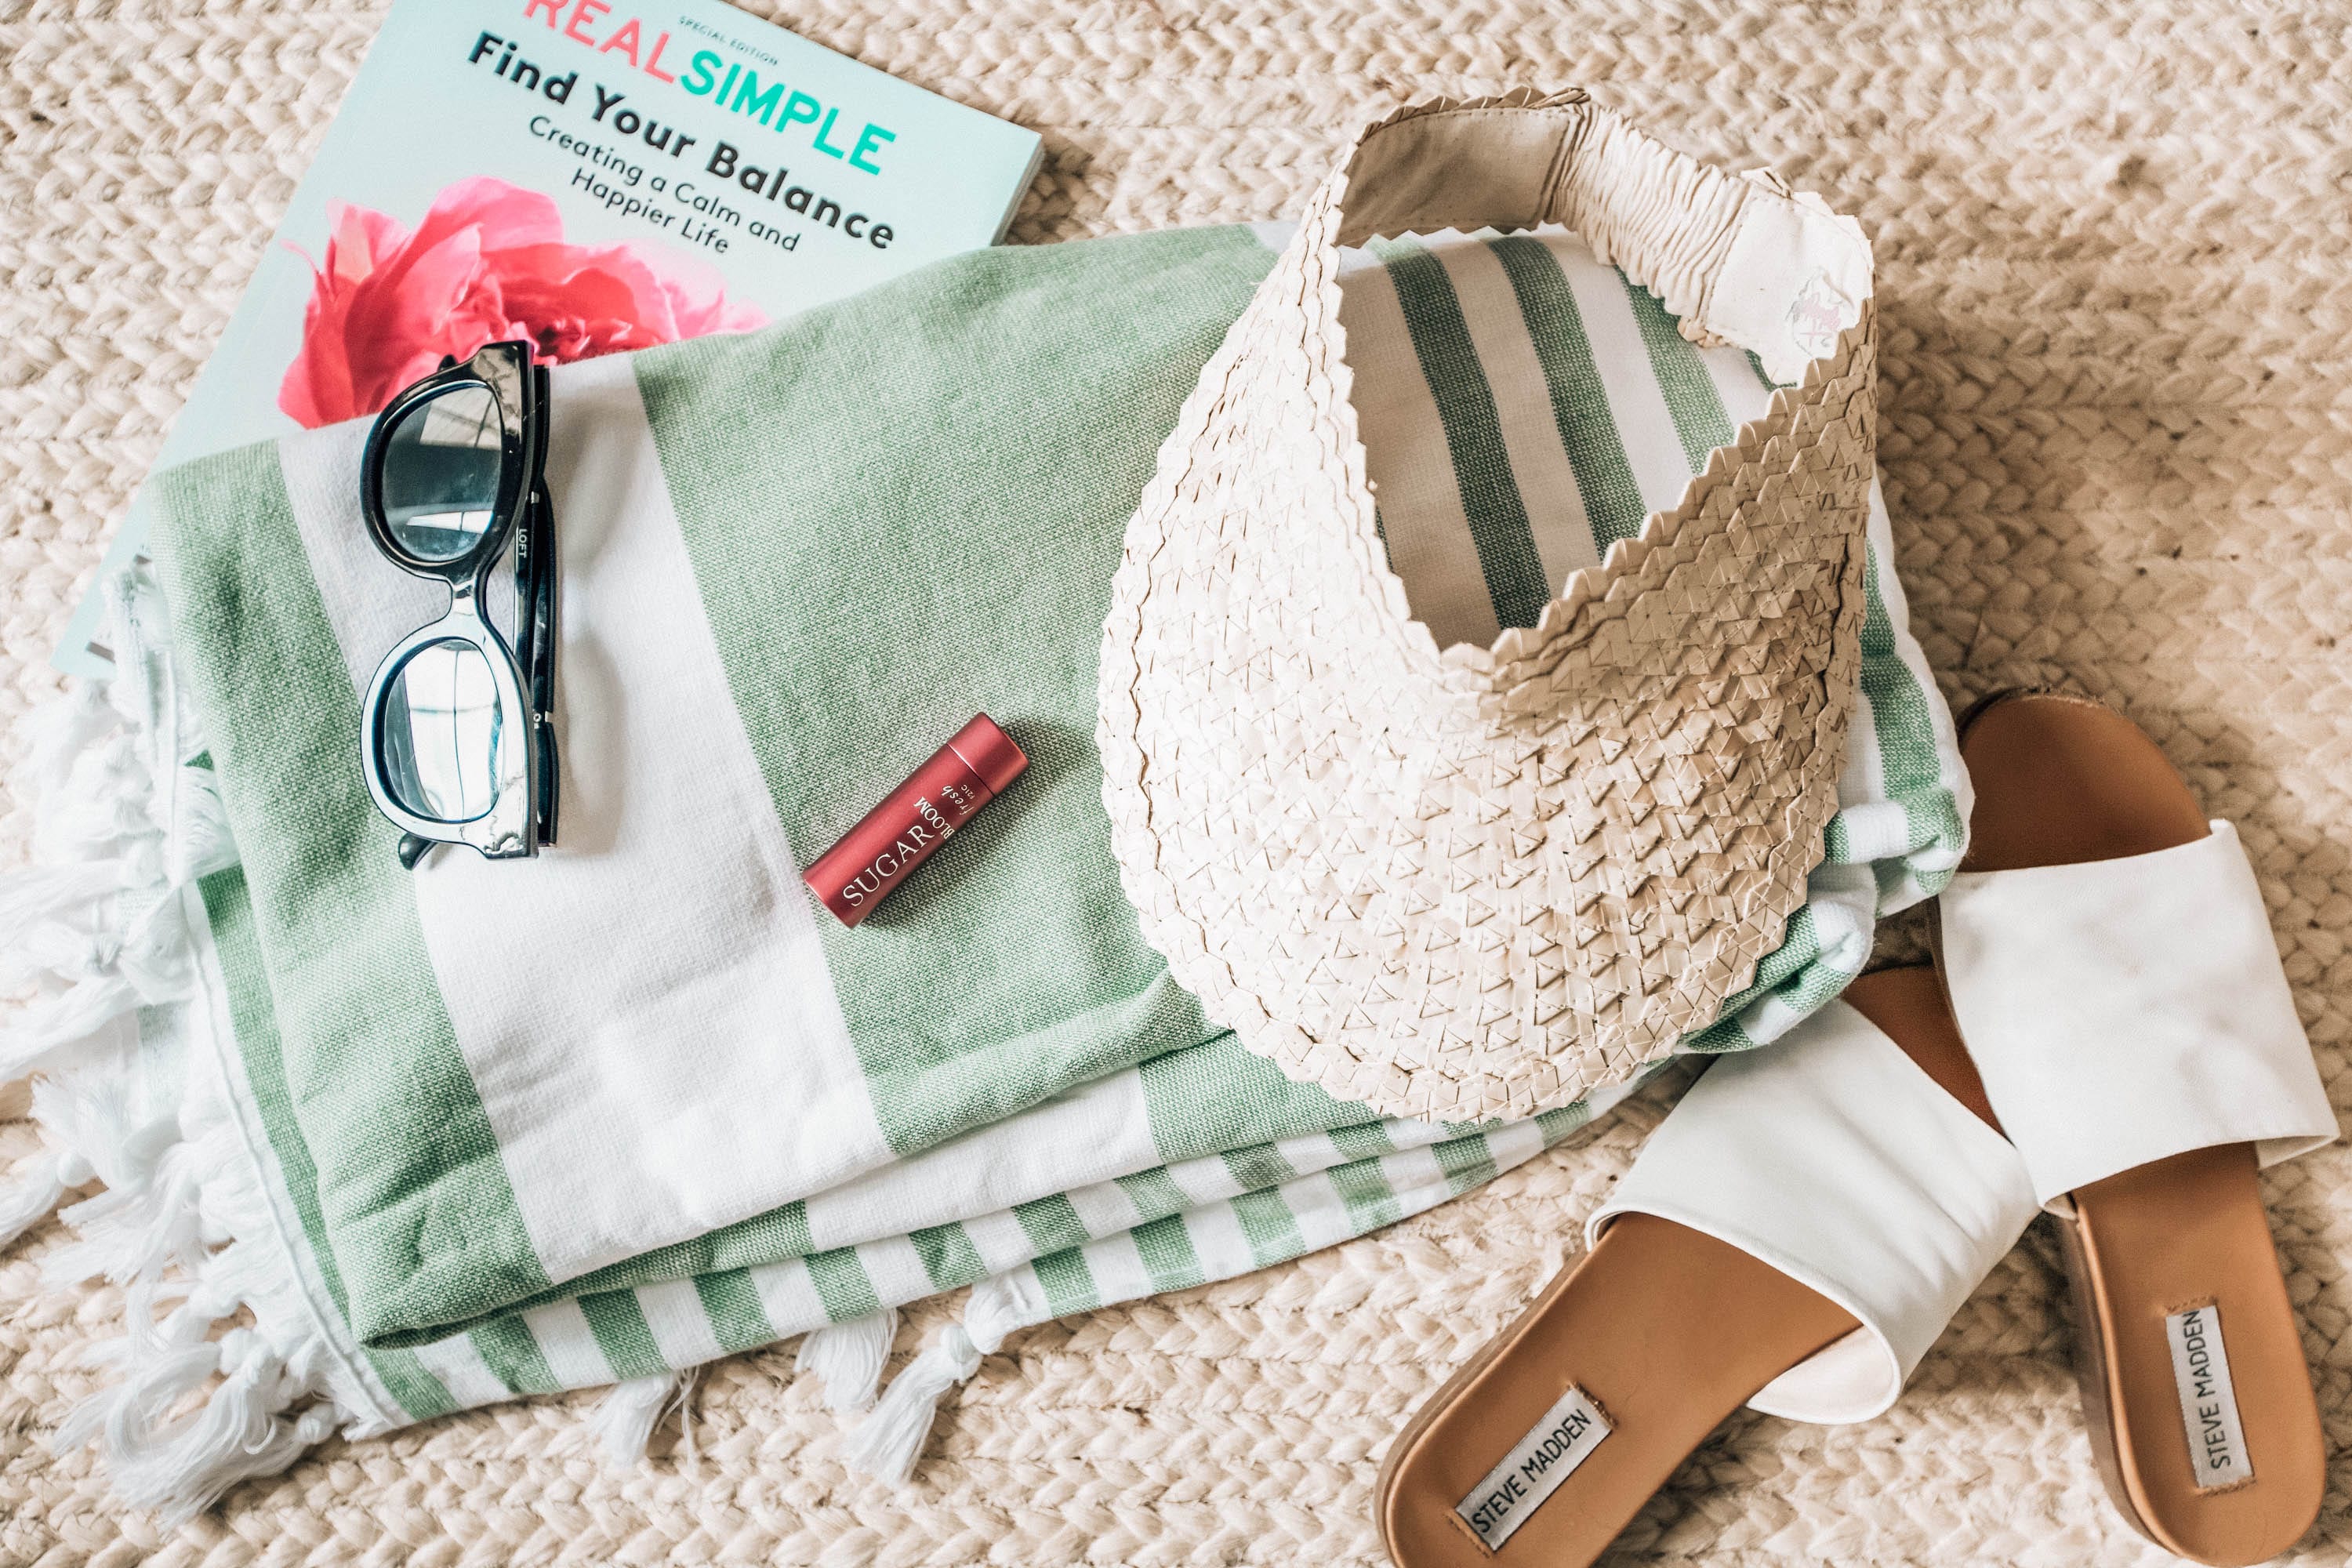
XL BEACH TOWEL
My personal favorite beach towels are these striped Capri Fouta Beach Towels. They’re a little pricier than the average towel you’ll find but this towel ain’t average! It’s huge, soft, beautiful, and the best quality you’ll find! Plus, it comes in so many colors to choose from. I actually ordered a set of 4 and have been so pleased all summer long with them. Every single time we use them, we both mention something about how happy we are with them. They’ll hopefully last for a long, long time and be the only beach towels we need.


SLIDE SANDALS
Now that stores are beginning to stock all their fall arrivals, you’ll find a lot of great summer sandals on sale! The pair I’ve been wearing for the past month or so are these, which match practically everything I own! They’re really comfy and easy to get on and off quickly when you’re trying to not burn your feet on the hot sand.
THE BEST FACE SUNSCREEN AROUND
I’ve talked about this stuff before but THIS is the best sunscreen for the face that I’ve ever used. It feels like pure silk when you rub it in and it rubs in so quickly and easily. It’s a clear-ish gel cream substance so you don’t have to worry about rubbing in until your face isn’t white. I highly recommend and never visit the beach without it! I brought it to the beach for July 4th this year and made my entire family try it – everyone was like “whoa”.
SUNGLASSES
This one is an obvious one but gave me an excuse to share a few of my favorite sunglasses currently! I took this pair on vacation with me and I loved how much chicness the pop of color adds to any outfit.
VISOR or HAT
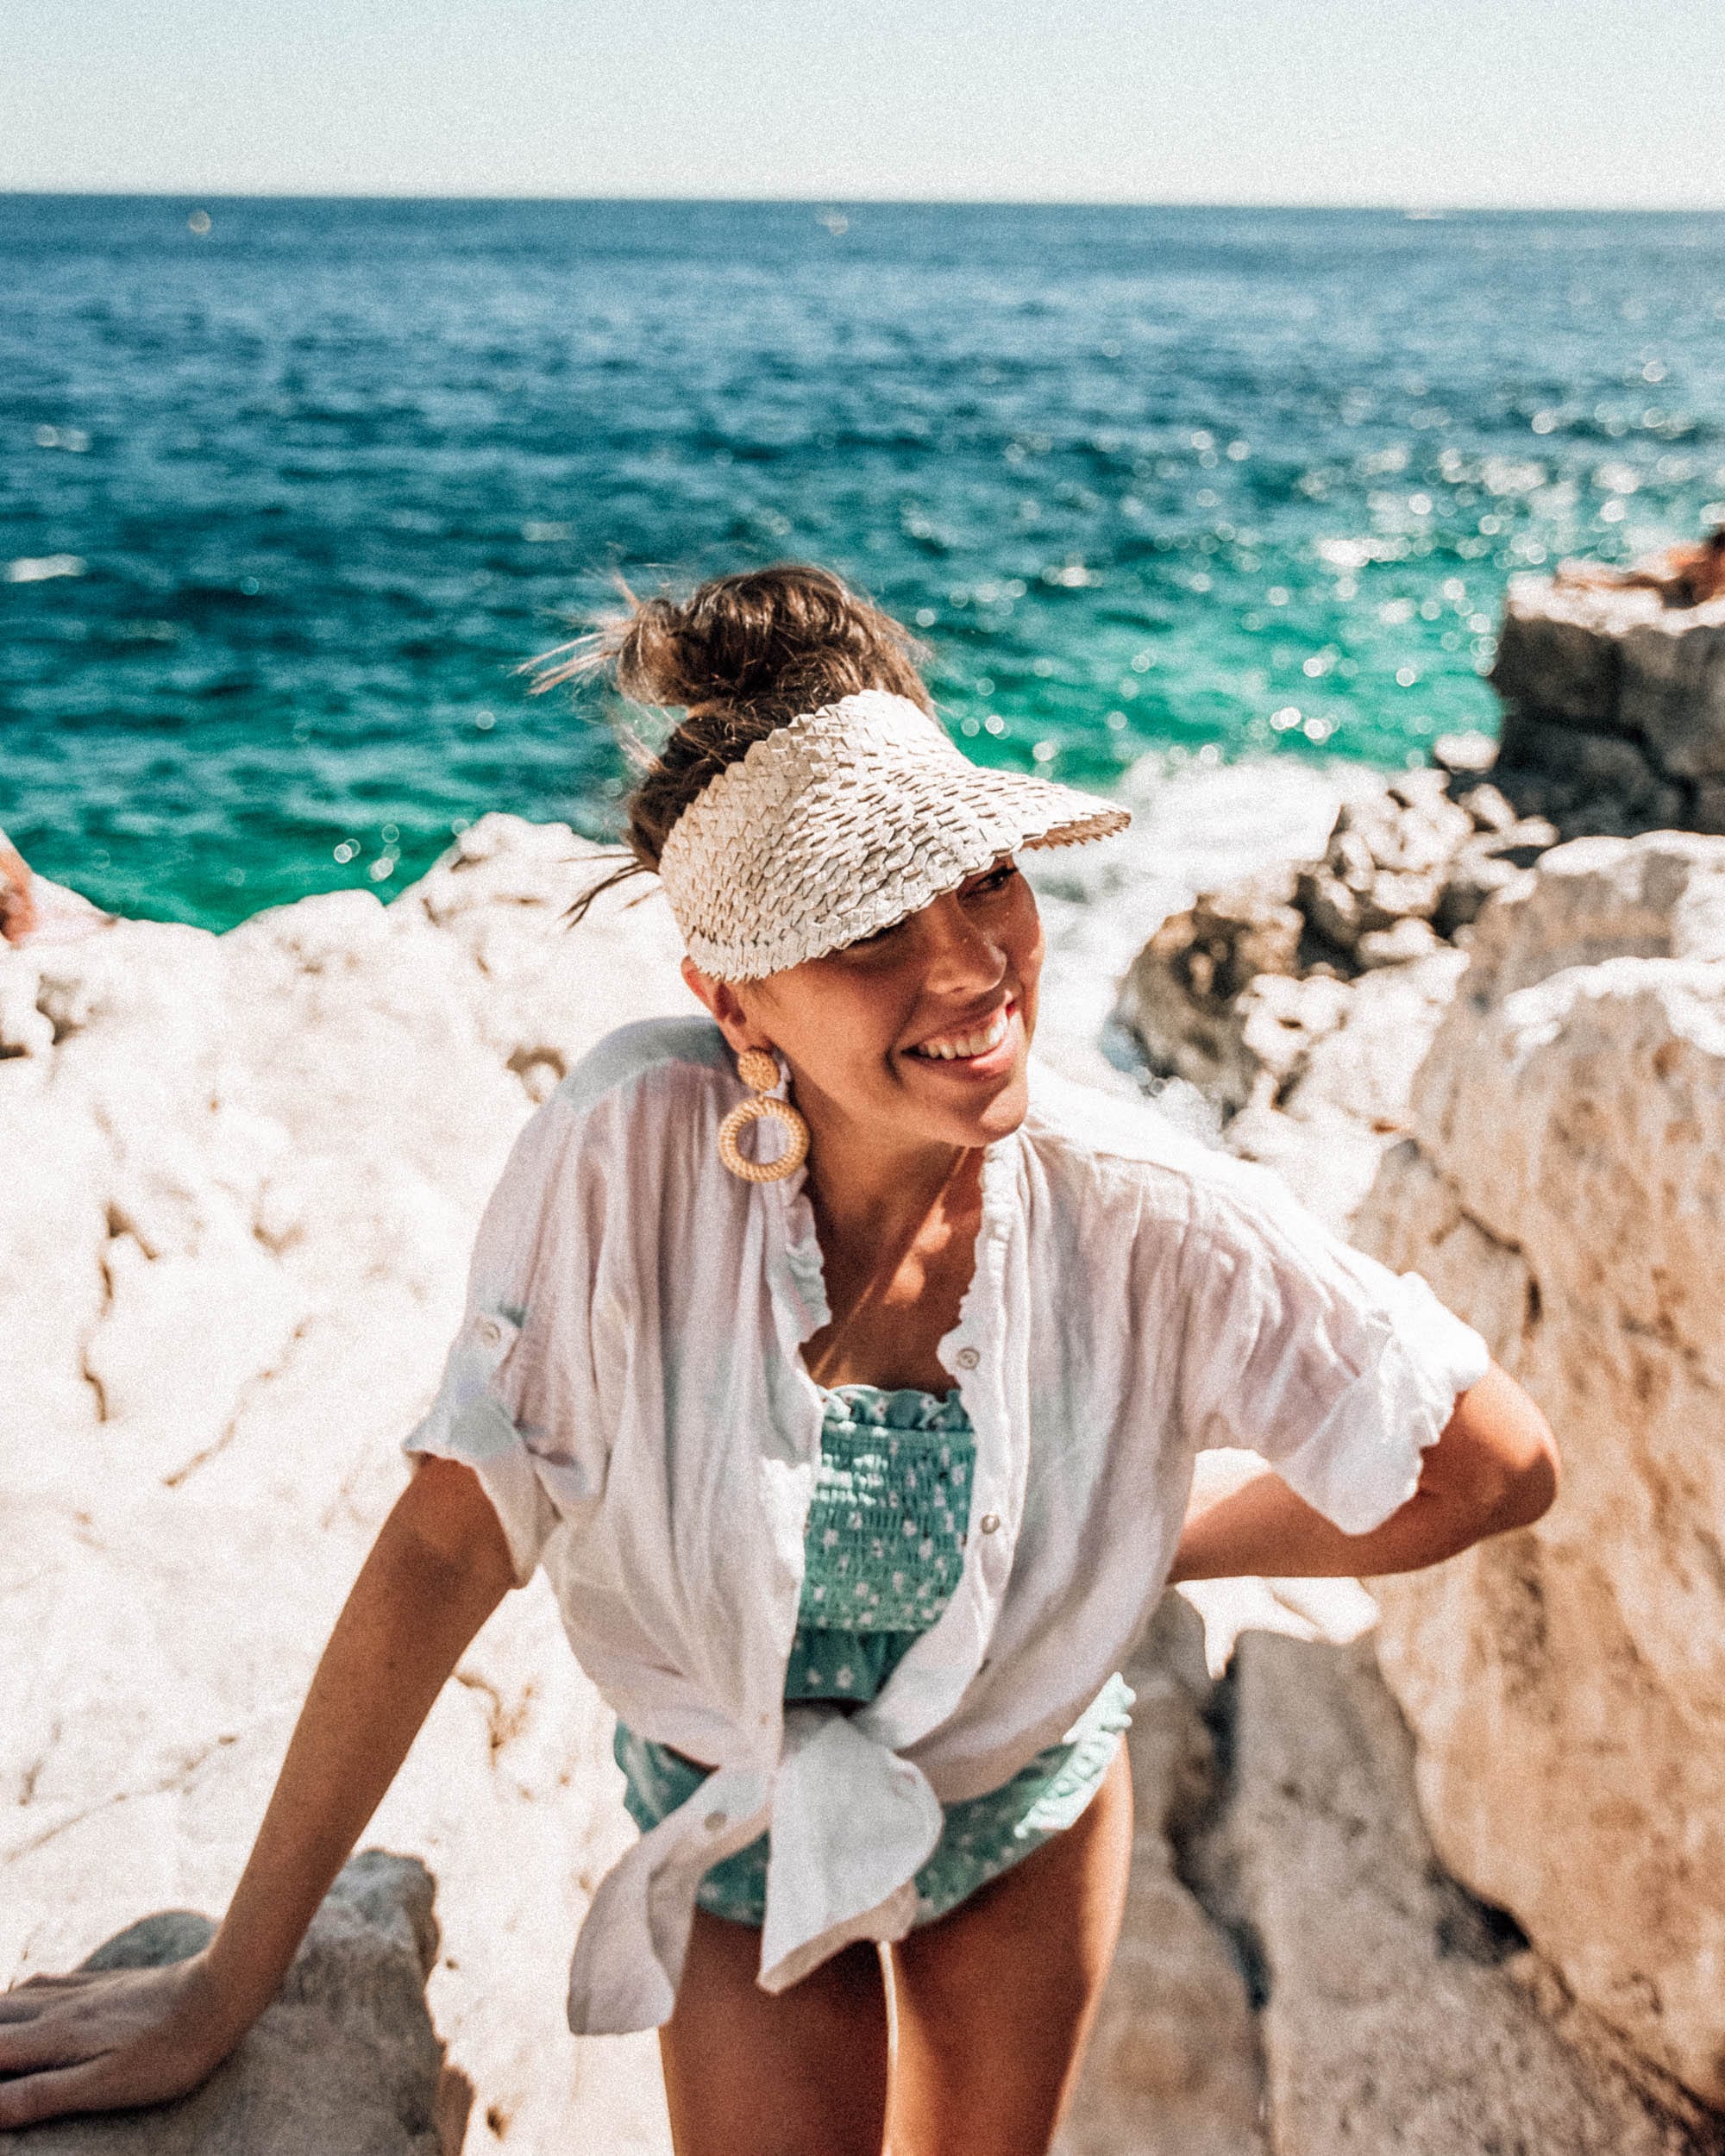
Another obvious but necessary item. I rarely go outside anymore without a hat. Personally, I have a family history of skin cancer, my skin is very fair, and I can’t afford to not protect my face. Plus, hats are just really cute and complete a look while helping prevent wrinkles! I switched things up lately and have been wearing this straw visor but my other favorite is this woven seagrass fedora.
TINTED LIP BALM w/ SPF
People tend to forget about their lips when it comes to the sun! I’ll never forget a time when one of my sisters got a sun spot on her lip (sorry, Kylie) and it forever reminded me to not skip the lips! I absolutely LOVE this specific tinted lip balm with SPF (in the Bloom shimmer finish)! It has over 9k reviews on Sephora’s website if that tells you anything.
COVER-UP
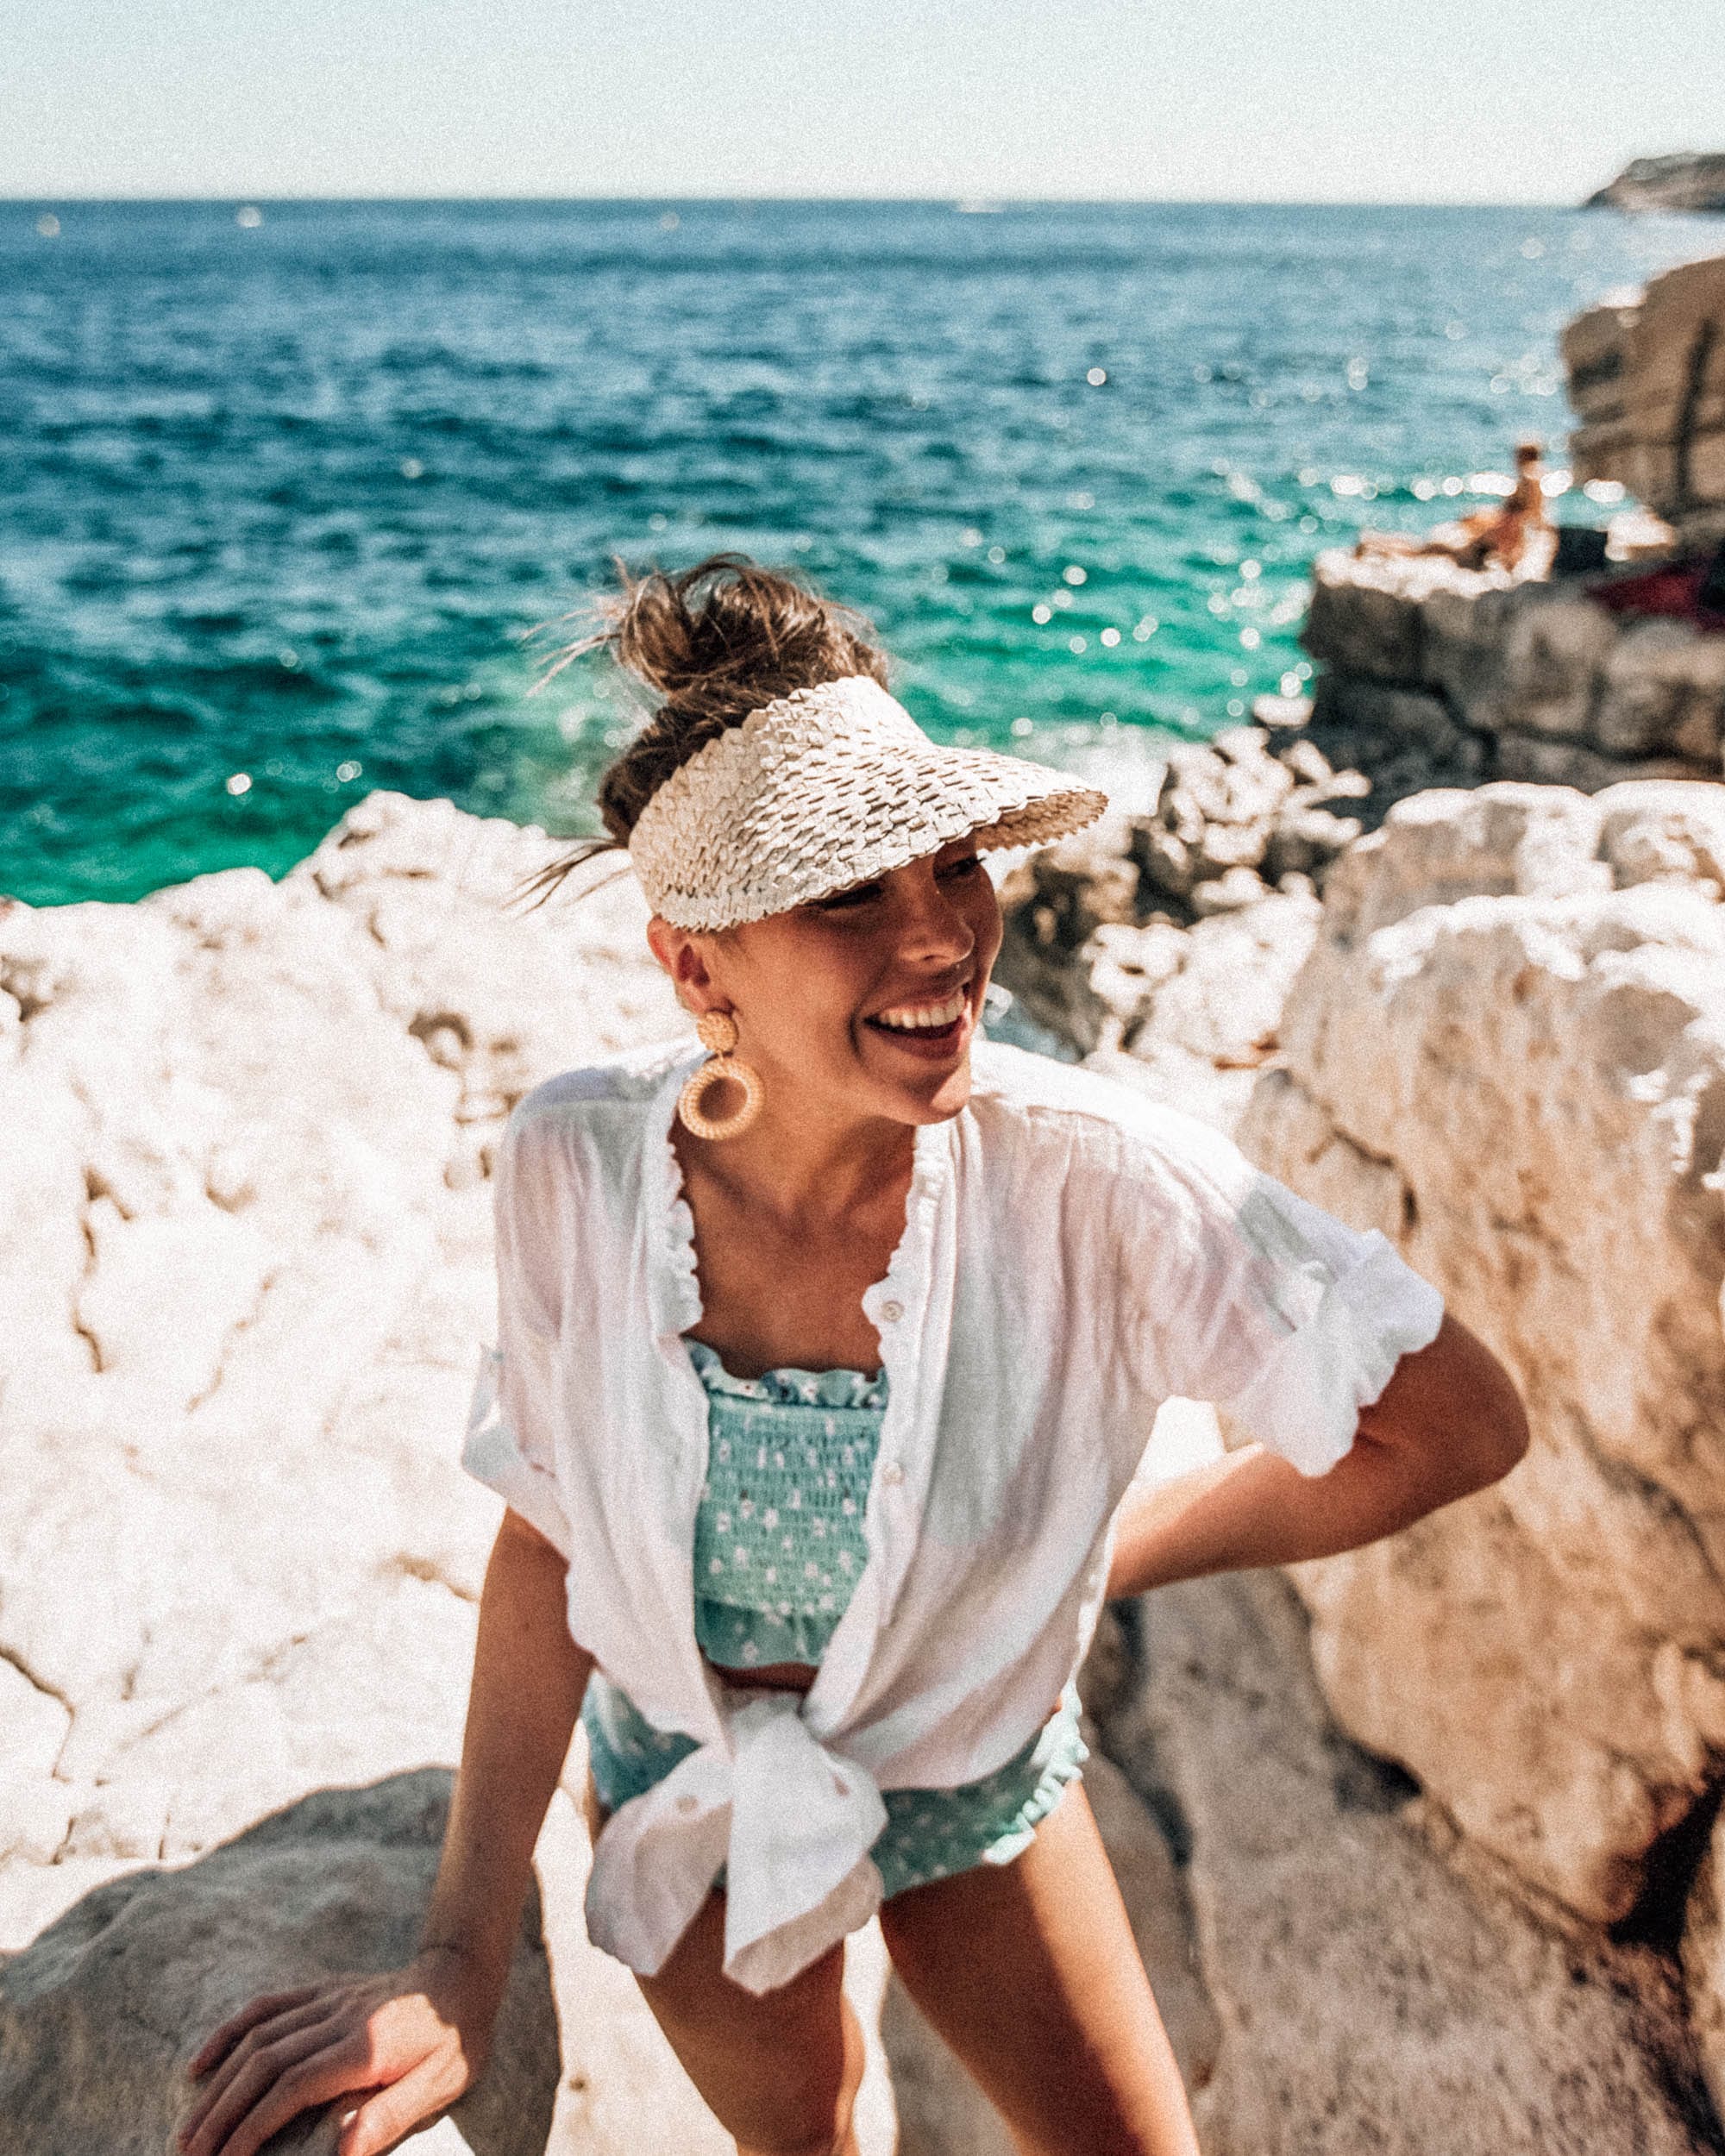
The white linen cover-up shirt I’m wearing in these photos was from a shop in St. Tropez but I rounded up a few of my other favorite cover-ups below. I love anything loose, linen and breathable when it comes to a cover-up.
WATER BOTTLE
Nobody wants a headache after a day at the beach so I always remember to have water with me, even when I’m just at home and inside, but especially out in the sun.
SCRUNCHIE
Getting to the beach and not having a scrunchie with you is the worst. I recently ordered a pack of these quick drying scrunchies to prevent that from ever happening again!
A few other items worth mentioning really quickly: a waterproof portable bluetooth speaker, a good book or magazine, and snacks! I personally love to get the “Simply” individual sized bags of chips.
Hope you all are having a great week! It’s pouring rain all day today but much needed for all our plants so I’m not complaining! Here are a few more photos from the spot we found in Cassis, France!

PS If you’re interested in seeing what else I packed for France, you can find it all here.
What I Packed for France
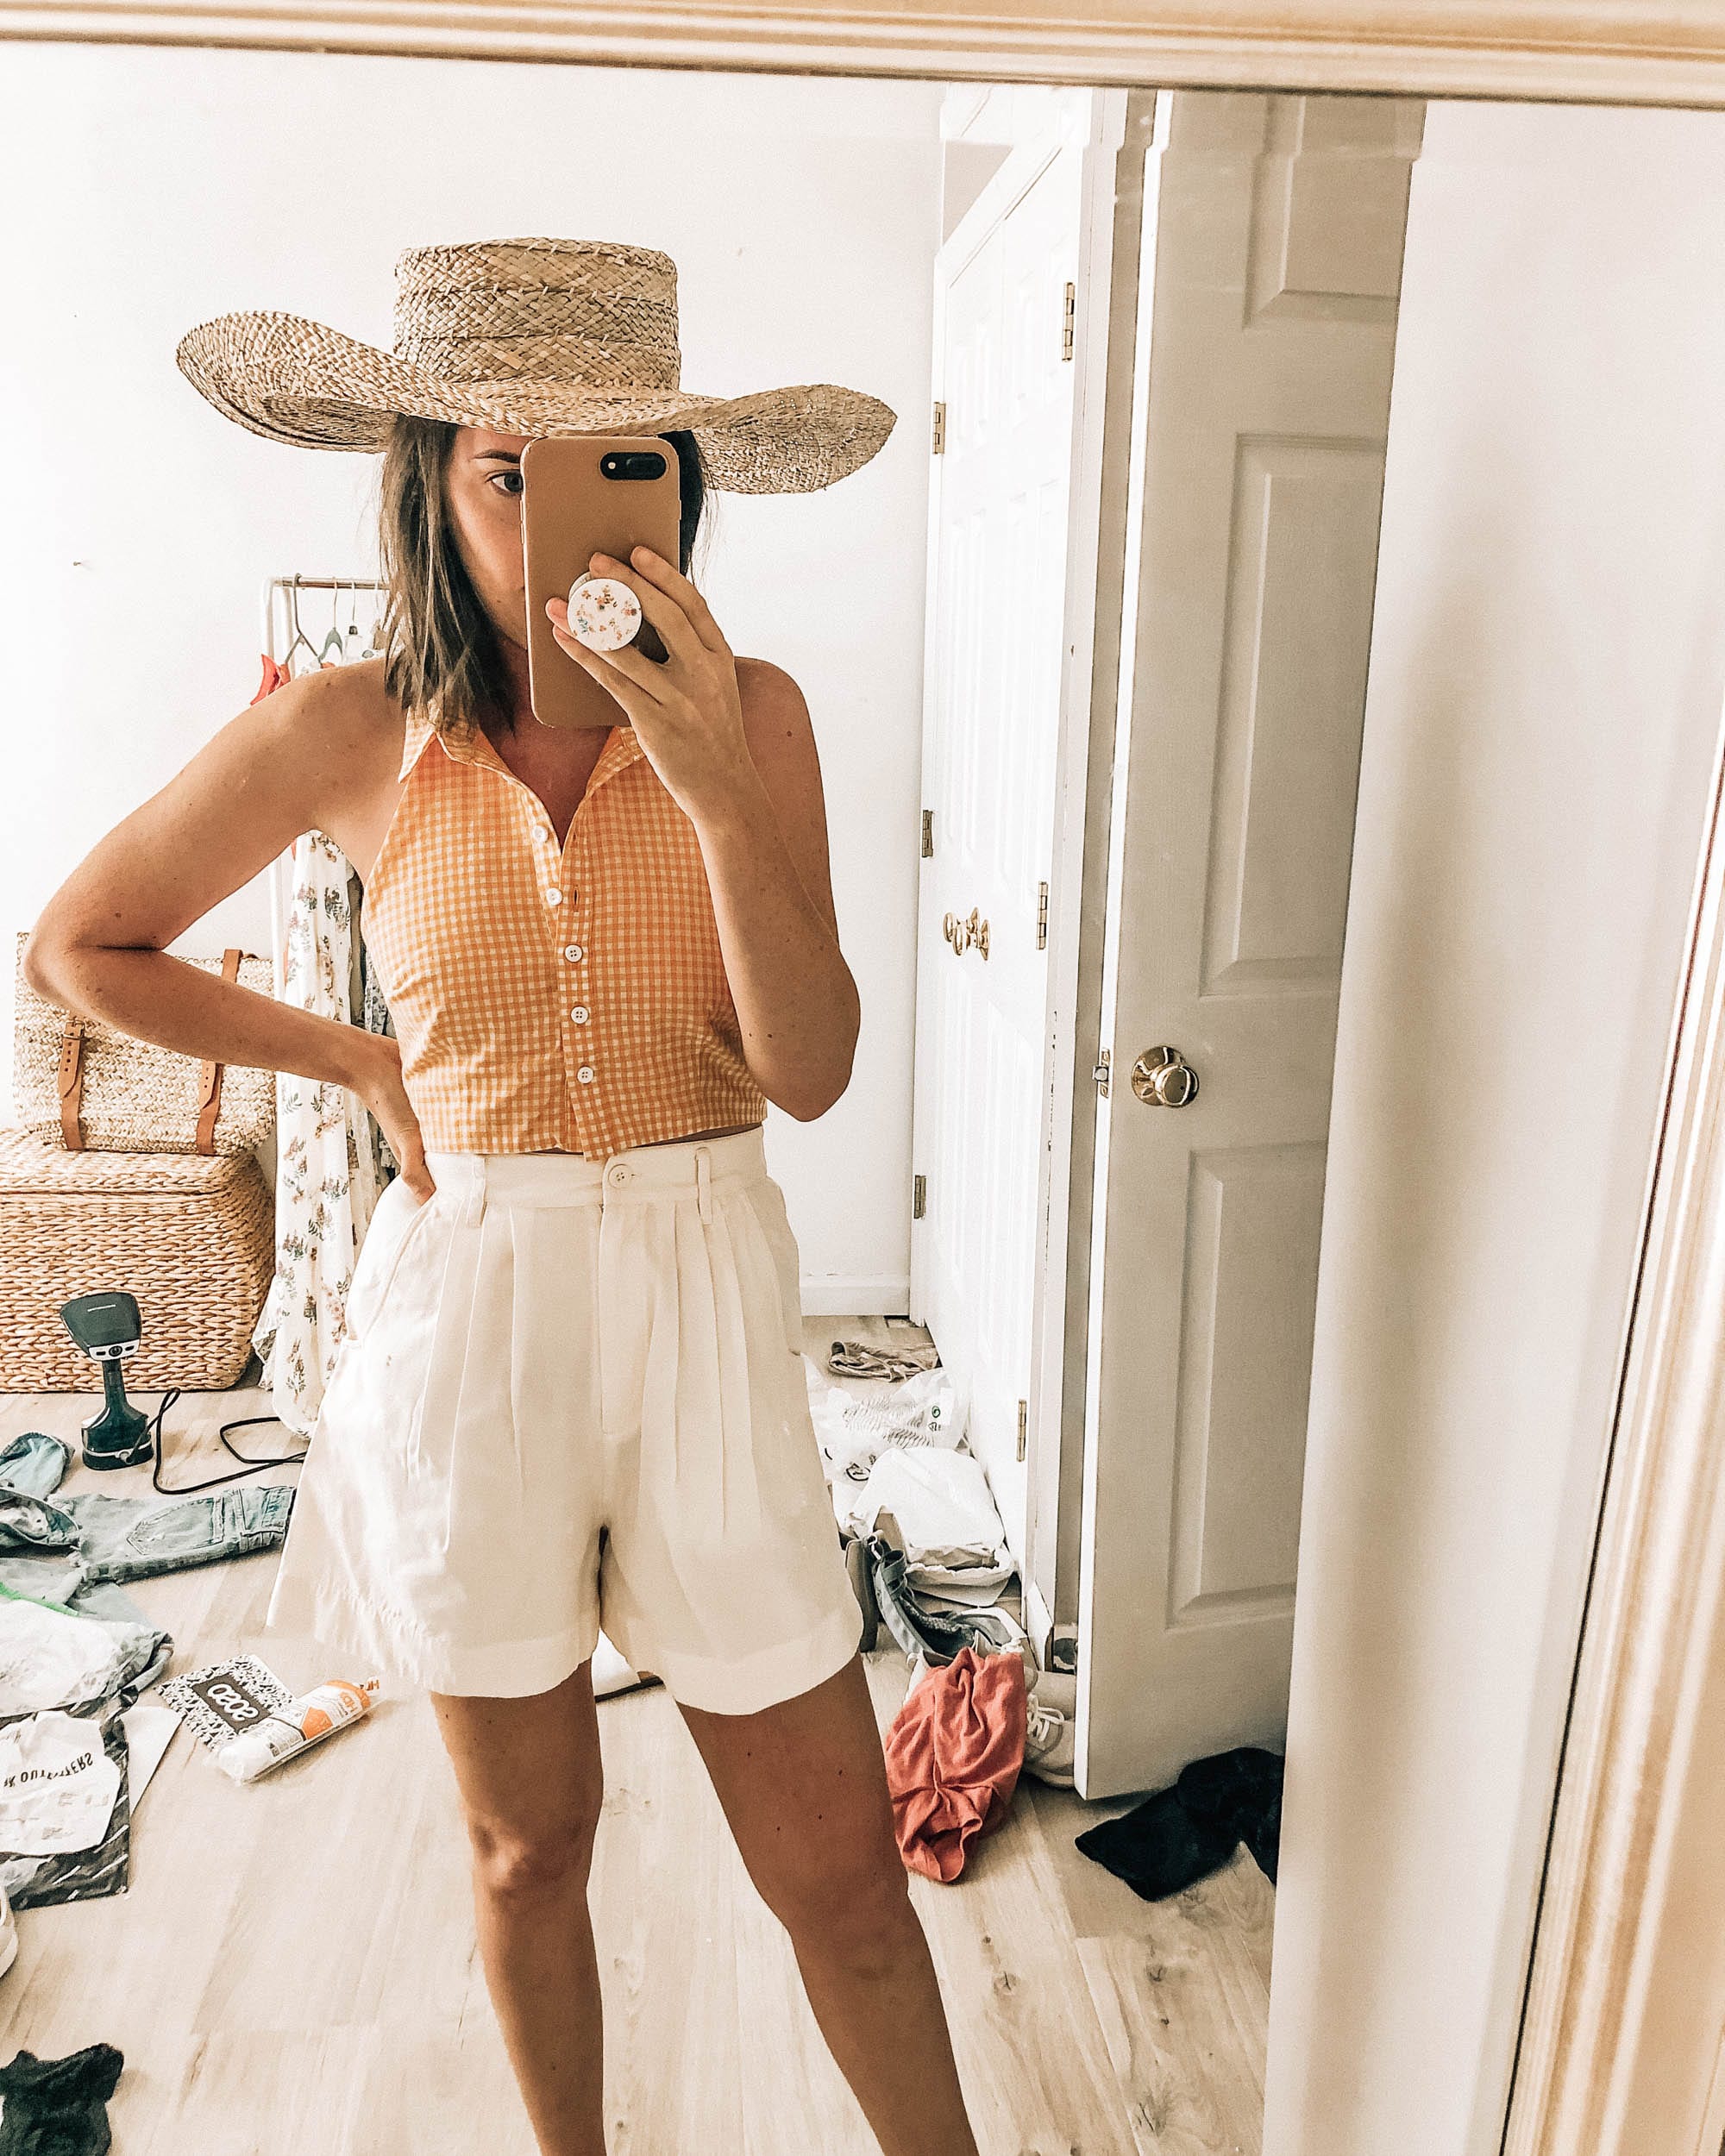
We’re on our way to the South of France and it’ll be our first time ever visiting Europe so we are excited! The last “big” trip we went on was Banff in October of last year so it’s been a while since we’ve explored a completely new area for a week. When packing for this trip, my goal was to mainly pack easy, light dresses and jumpsuits just to simplify getting ready each day along with a couple pairs of neutral shorts that I can mix and match with breezy tops because it can get hot over there in July! In case you’re planning or packing for an upcoming summer vacation somewhere warm, I wanted to share what I packed! Most items are under $100 or on major sale and I love each one of these.
SHOES
DRESSES
JUMPSUITS
SHORTS
TOPS
OTHER
TRAVEL
Our Landscaping Plans
This post was made in collaboration with Chase Freedom Unlimited.
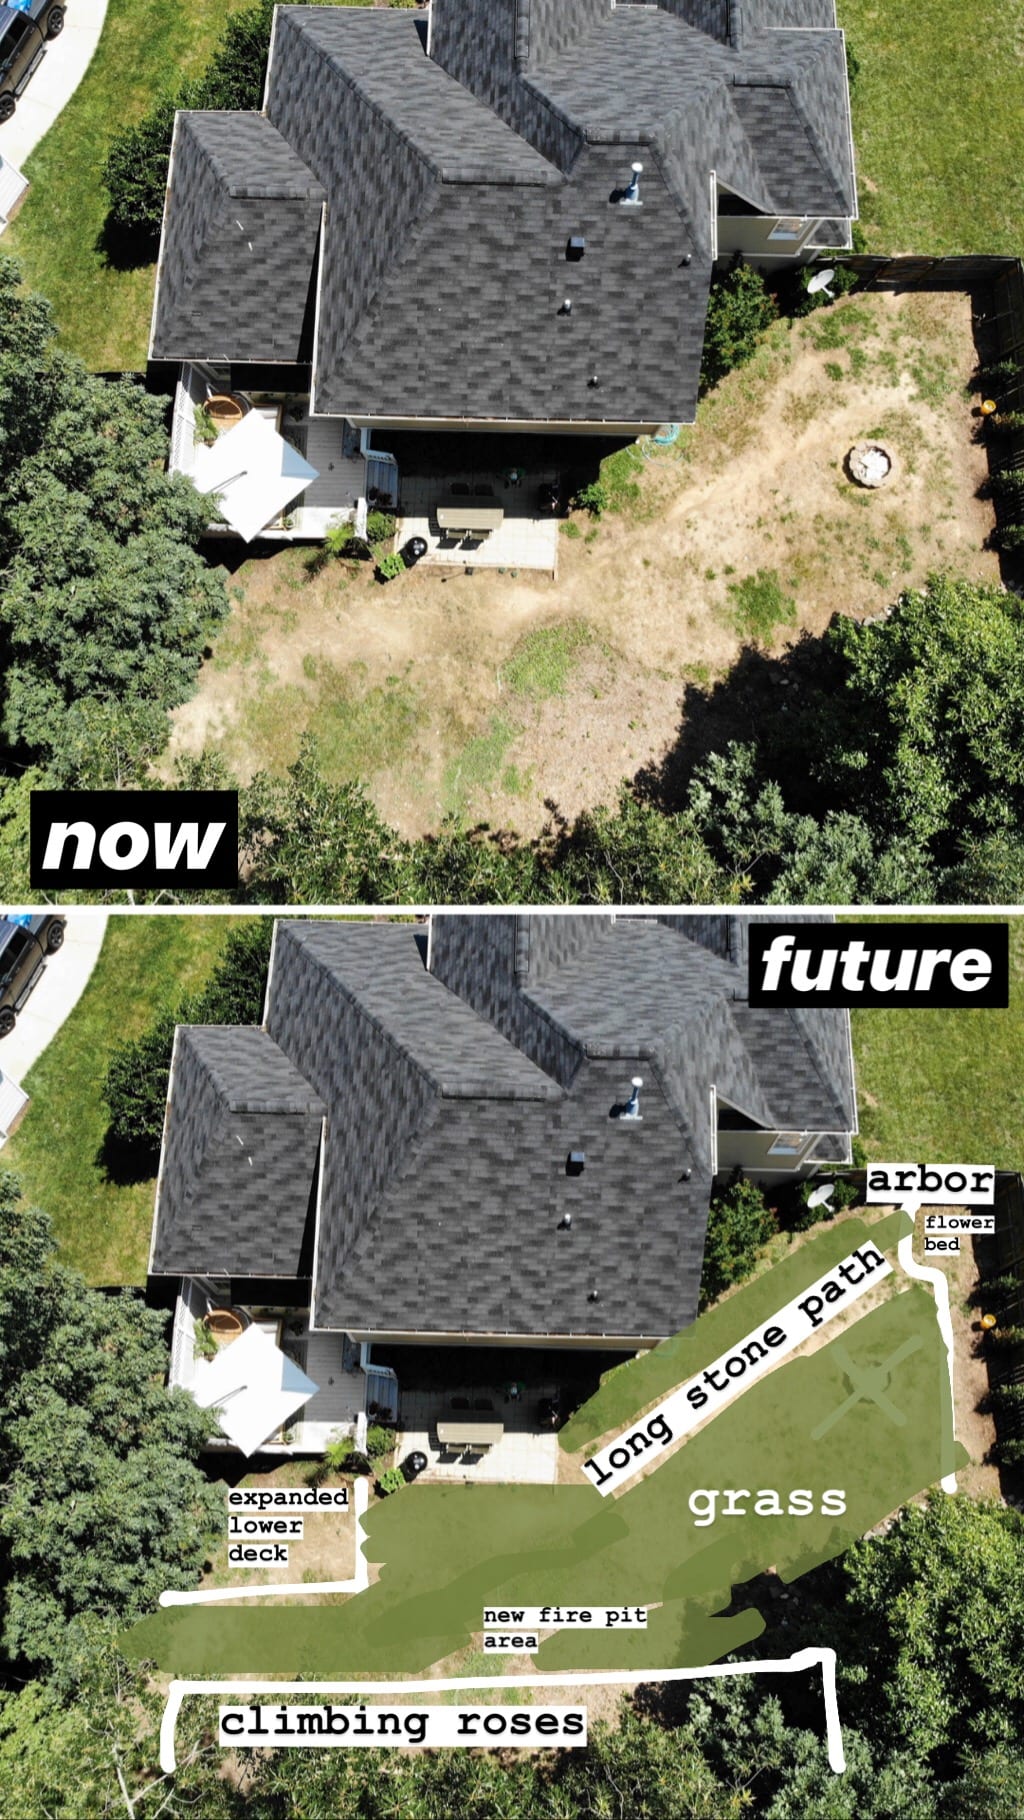
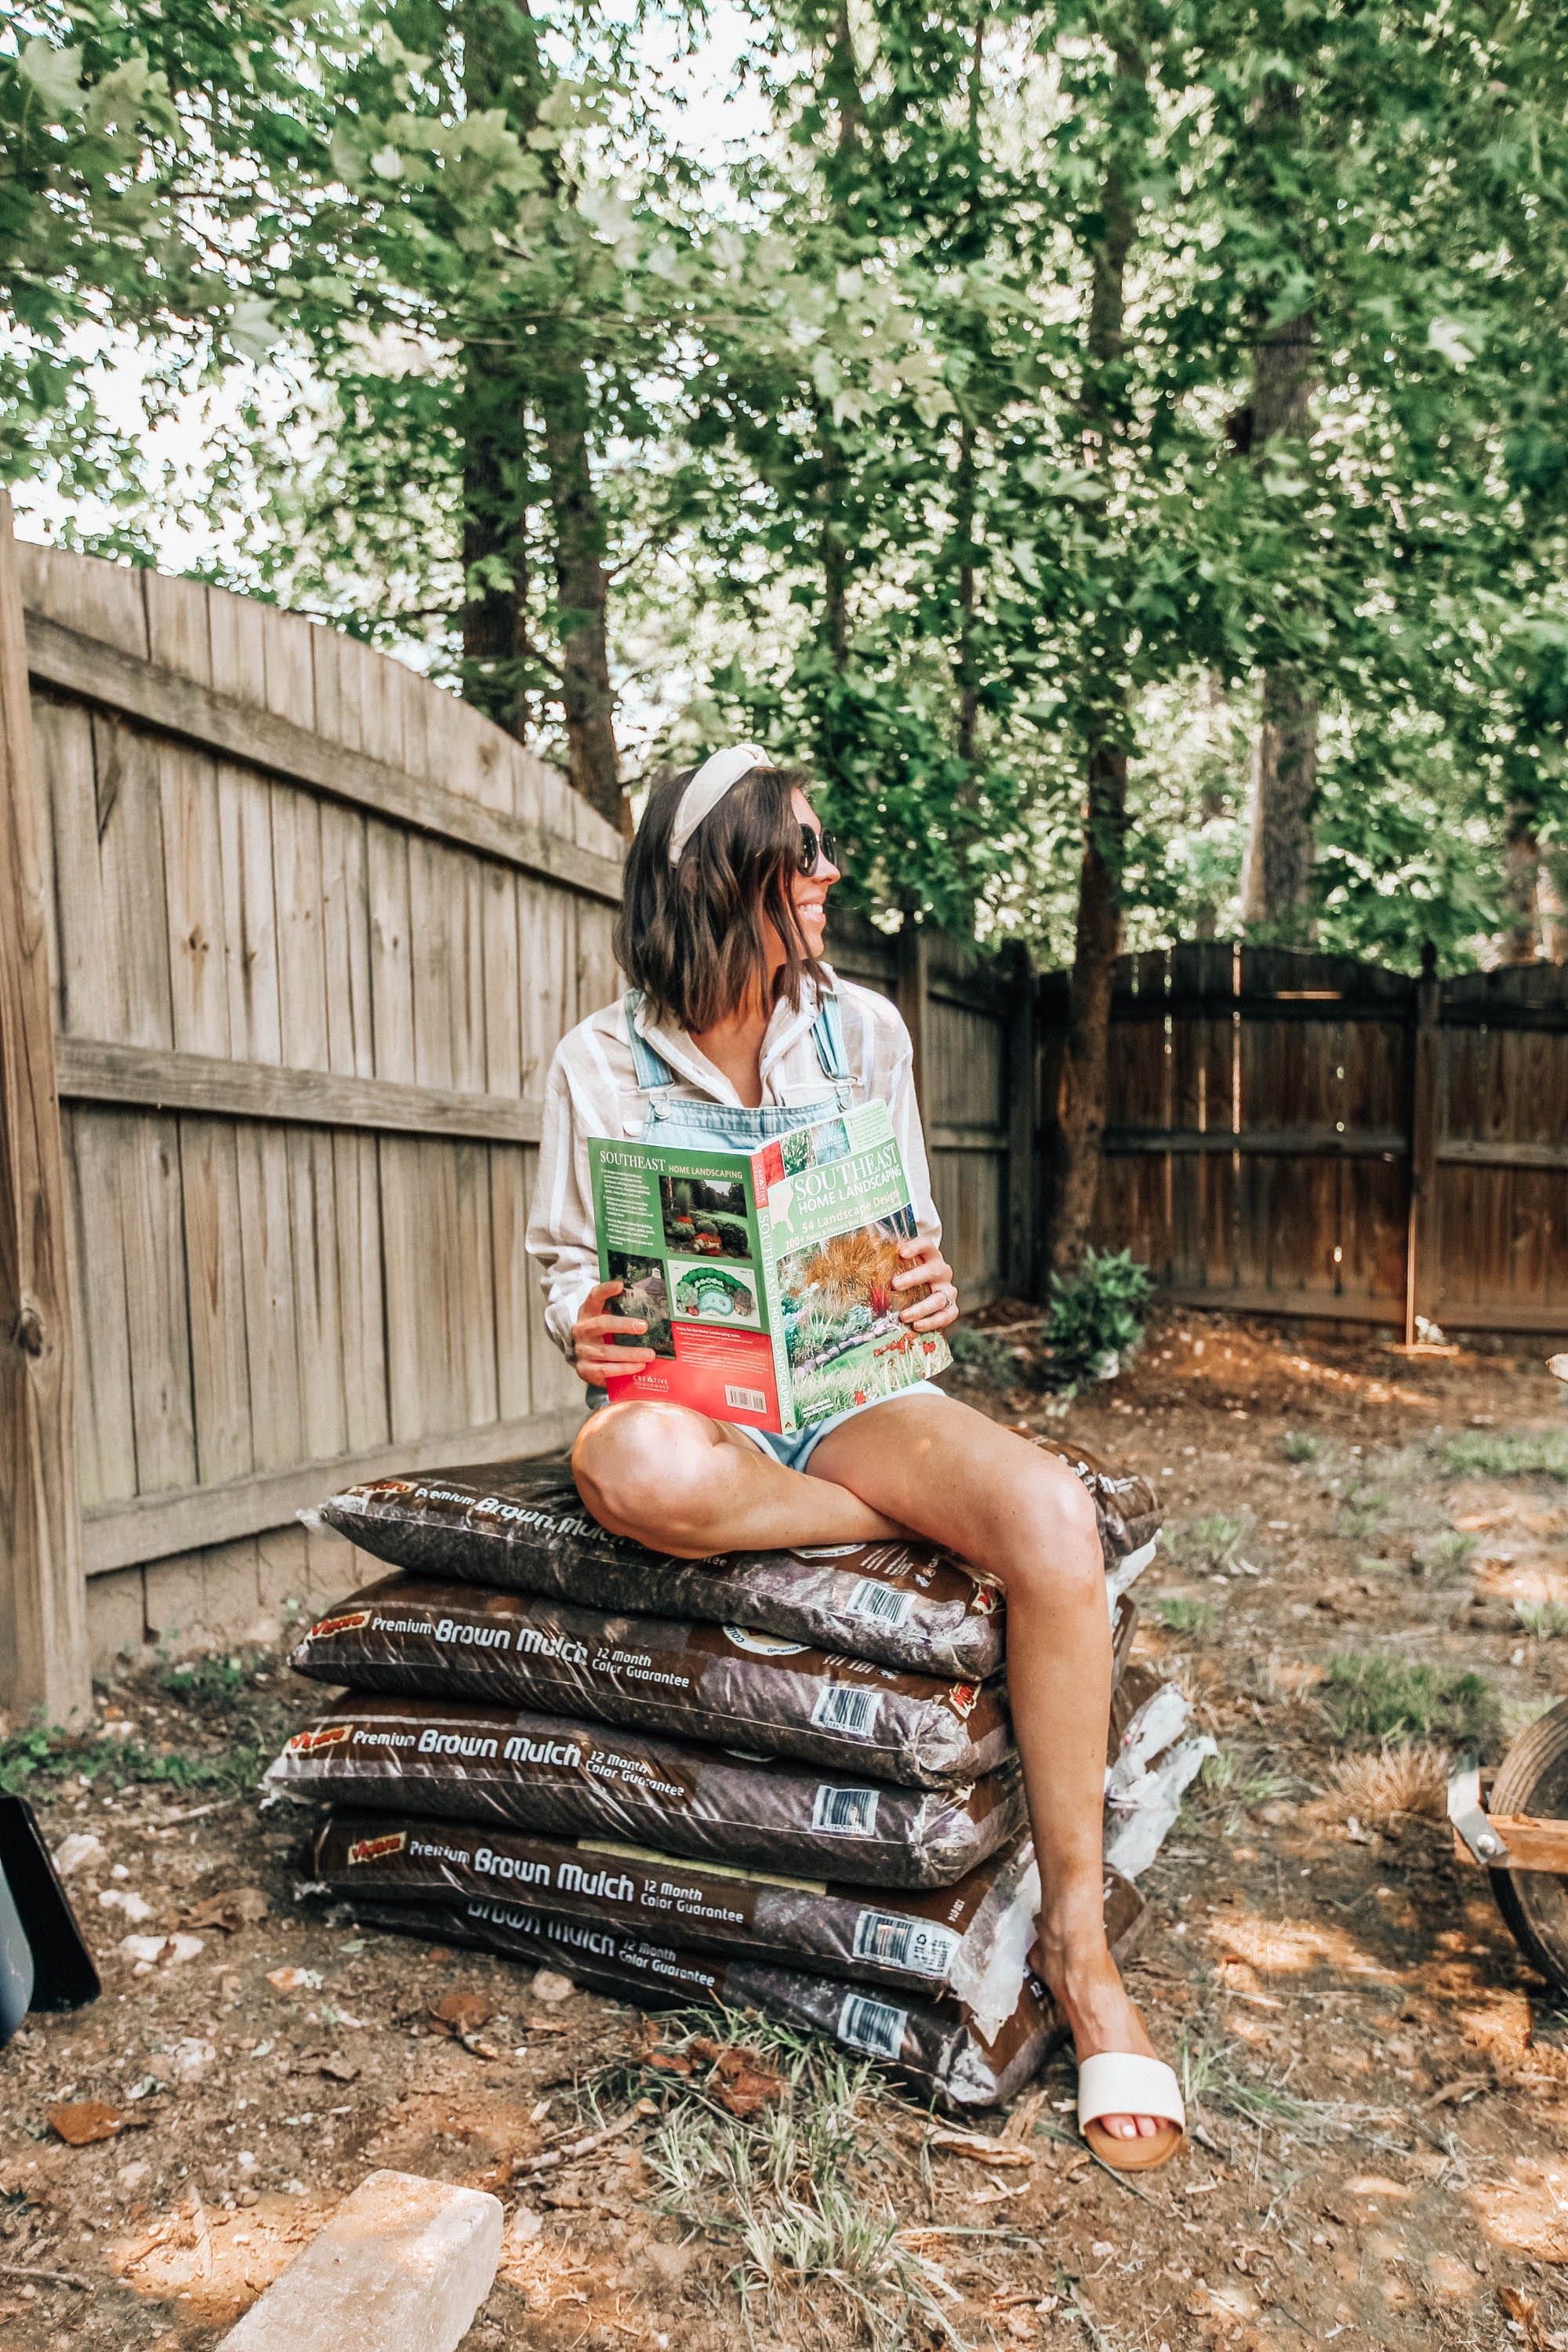
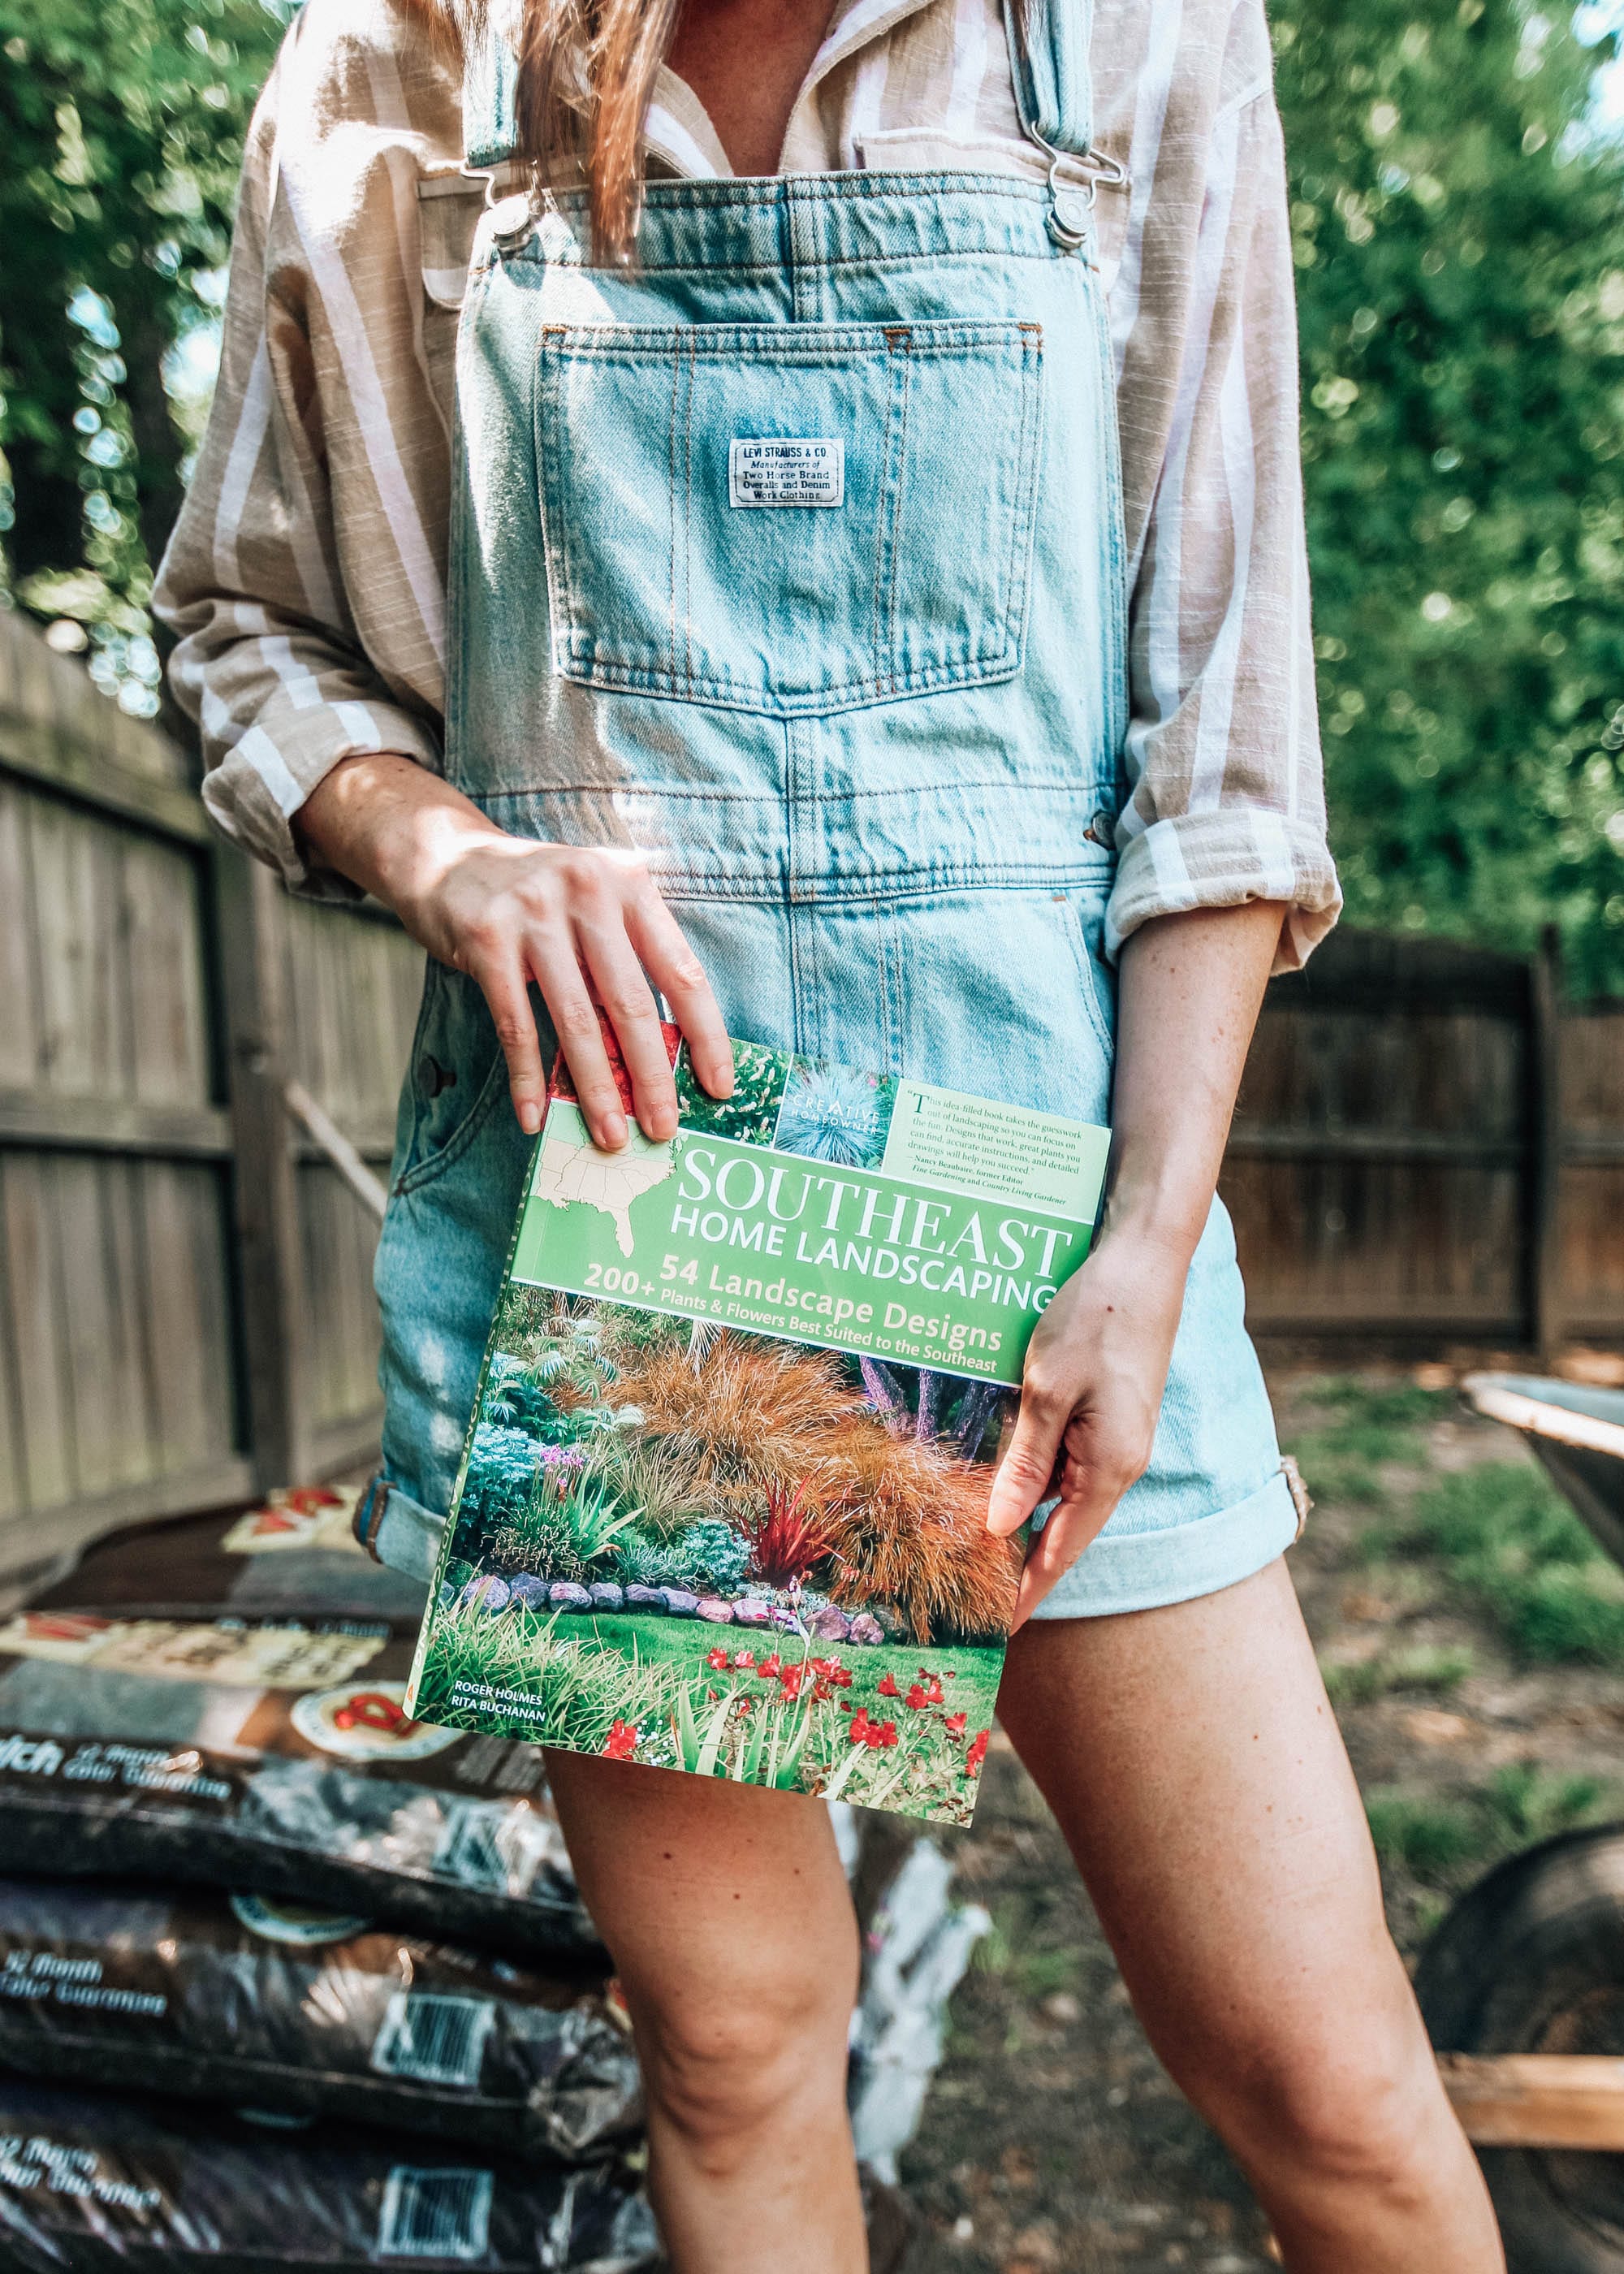
A couple of weeks ago, I talked about how one of our 2019 goals was to learn more about landscaping and gardening. We’ve put in a lot of work with our patio and deck area, but our backyard is in major need of some landscape design! I mentioned that we were working with Chase Freedom Unlimited to share our learning experience and the resources we use to improve our skills and knowledge of this topic and achieve our goal. If you’re unfamiliar with Chase Freedom Unlimited rewards, it is a cash back credit card currently offering new cardmembers 3% cash back on all purchases for the first year, up to $20,000. In honor of that special offer, I’m dedicating 3% of my day towards reaching this goal of mine, reading up on the best plants and flowers for our area along with all of the options for landscape design. 3% is technically only 43 minutes of each day and I’ve ordered a book called Southeast Home Landscaping as a starting point. I’ve been spending time out on the front porch swing diving into this book and learning as much as I can while we have been making plans for our backyard. Here is an aerial shot of our backyard (our grass situation is tragic, I know), along with some features we plan to add. We’ll also be adding in a vegetable garden in between the deck and back fence.
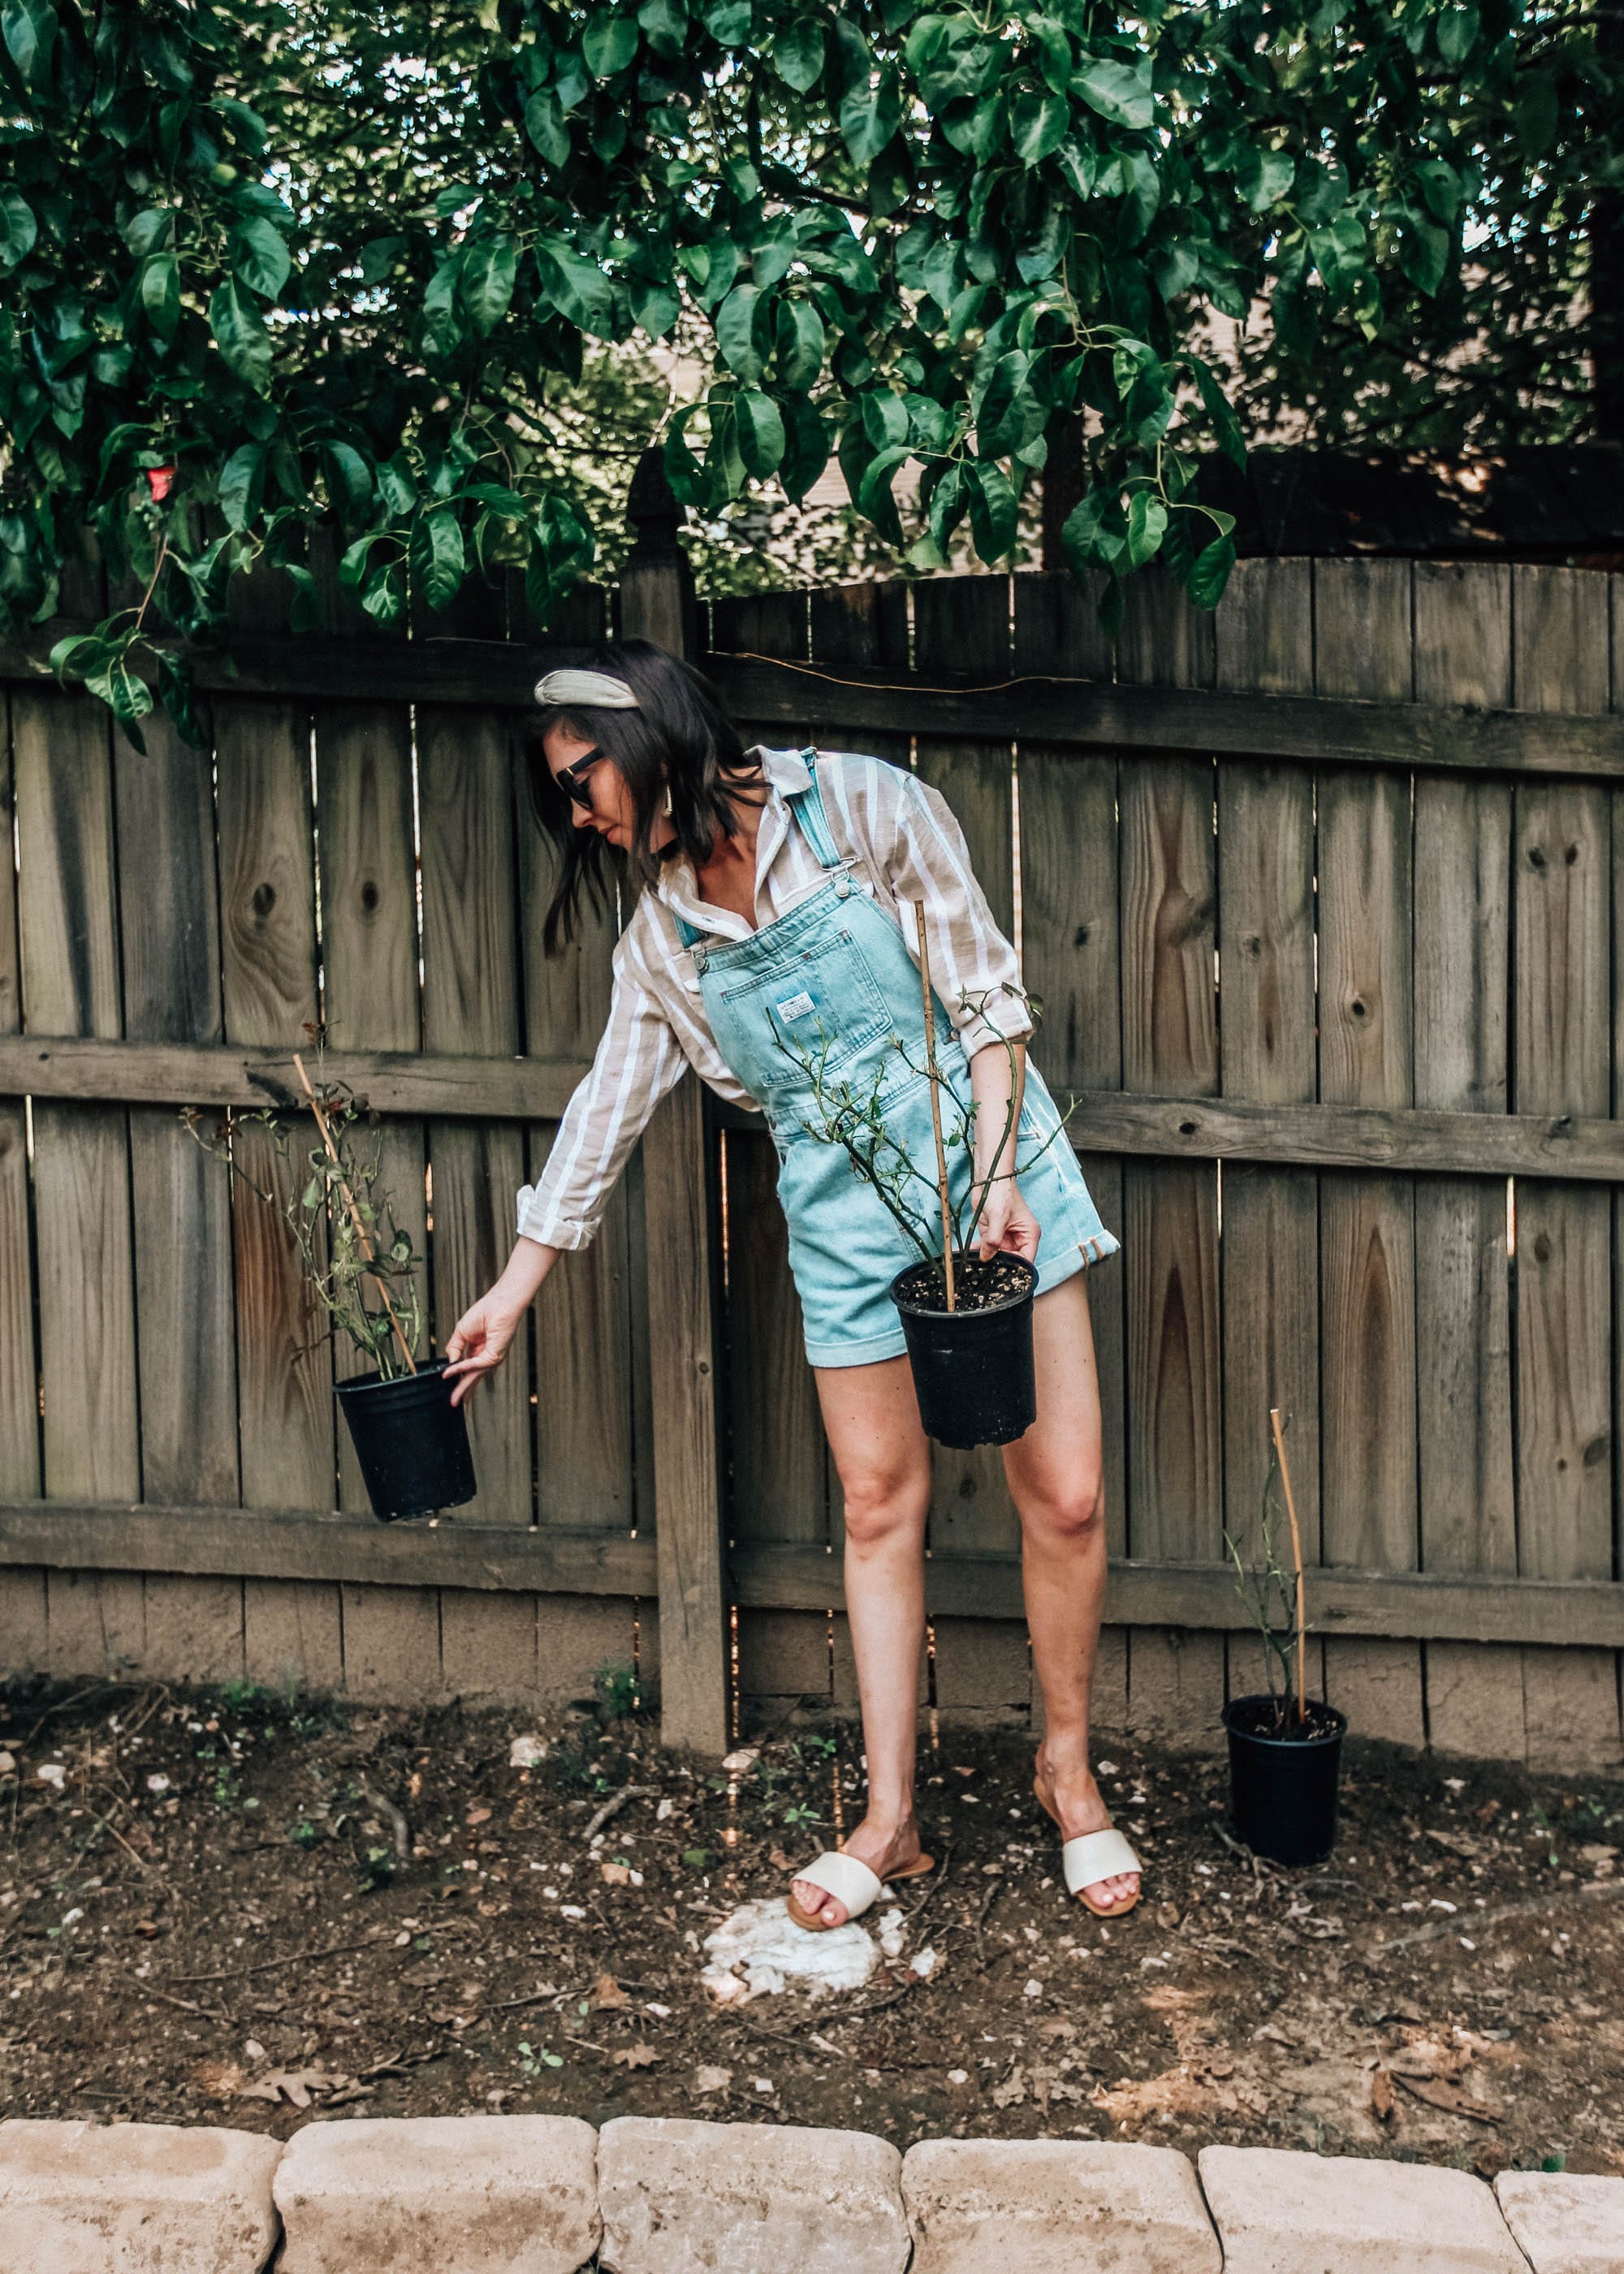
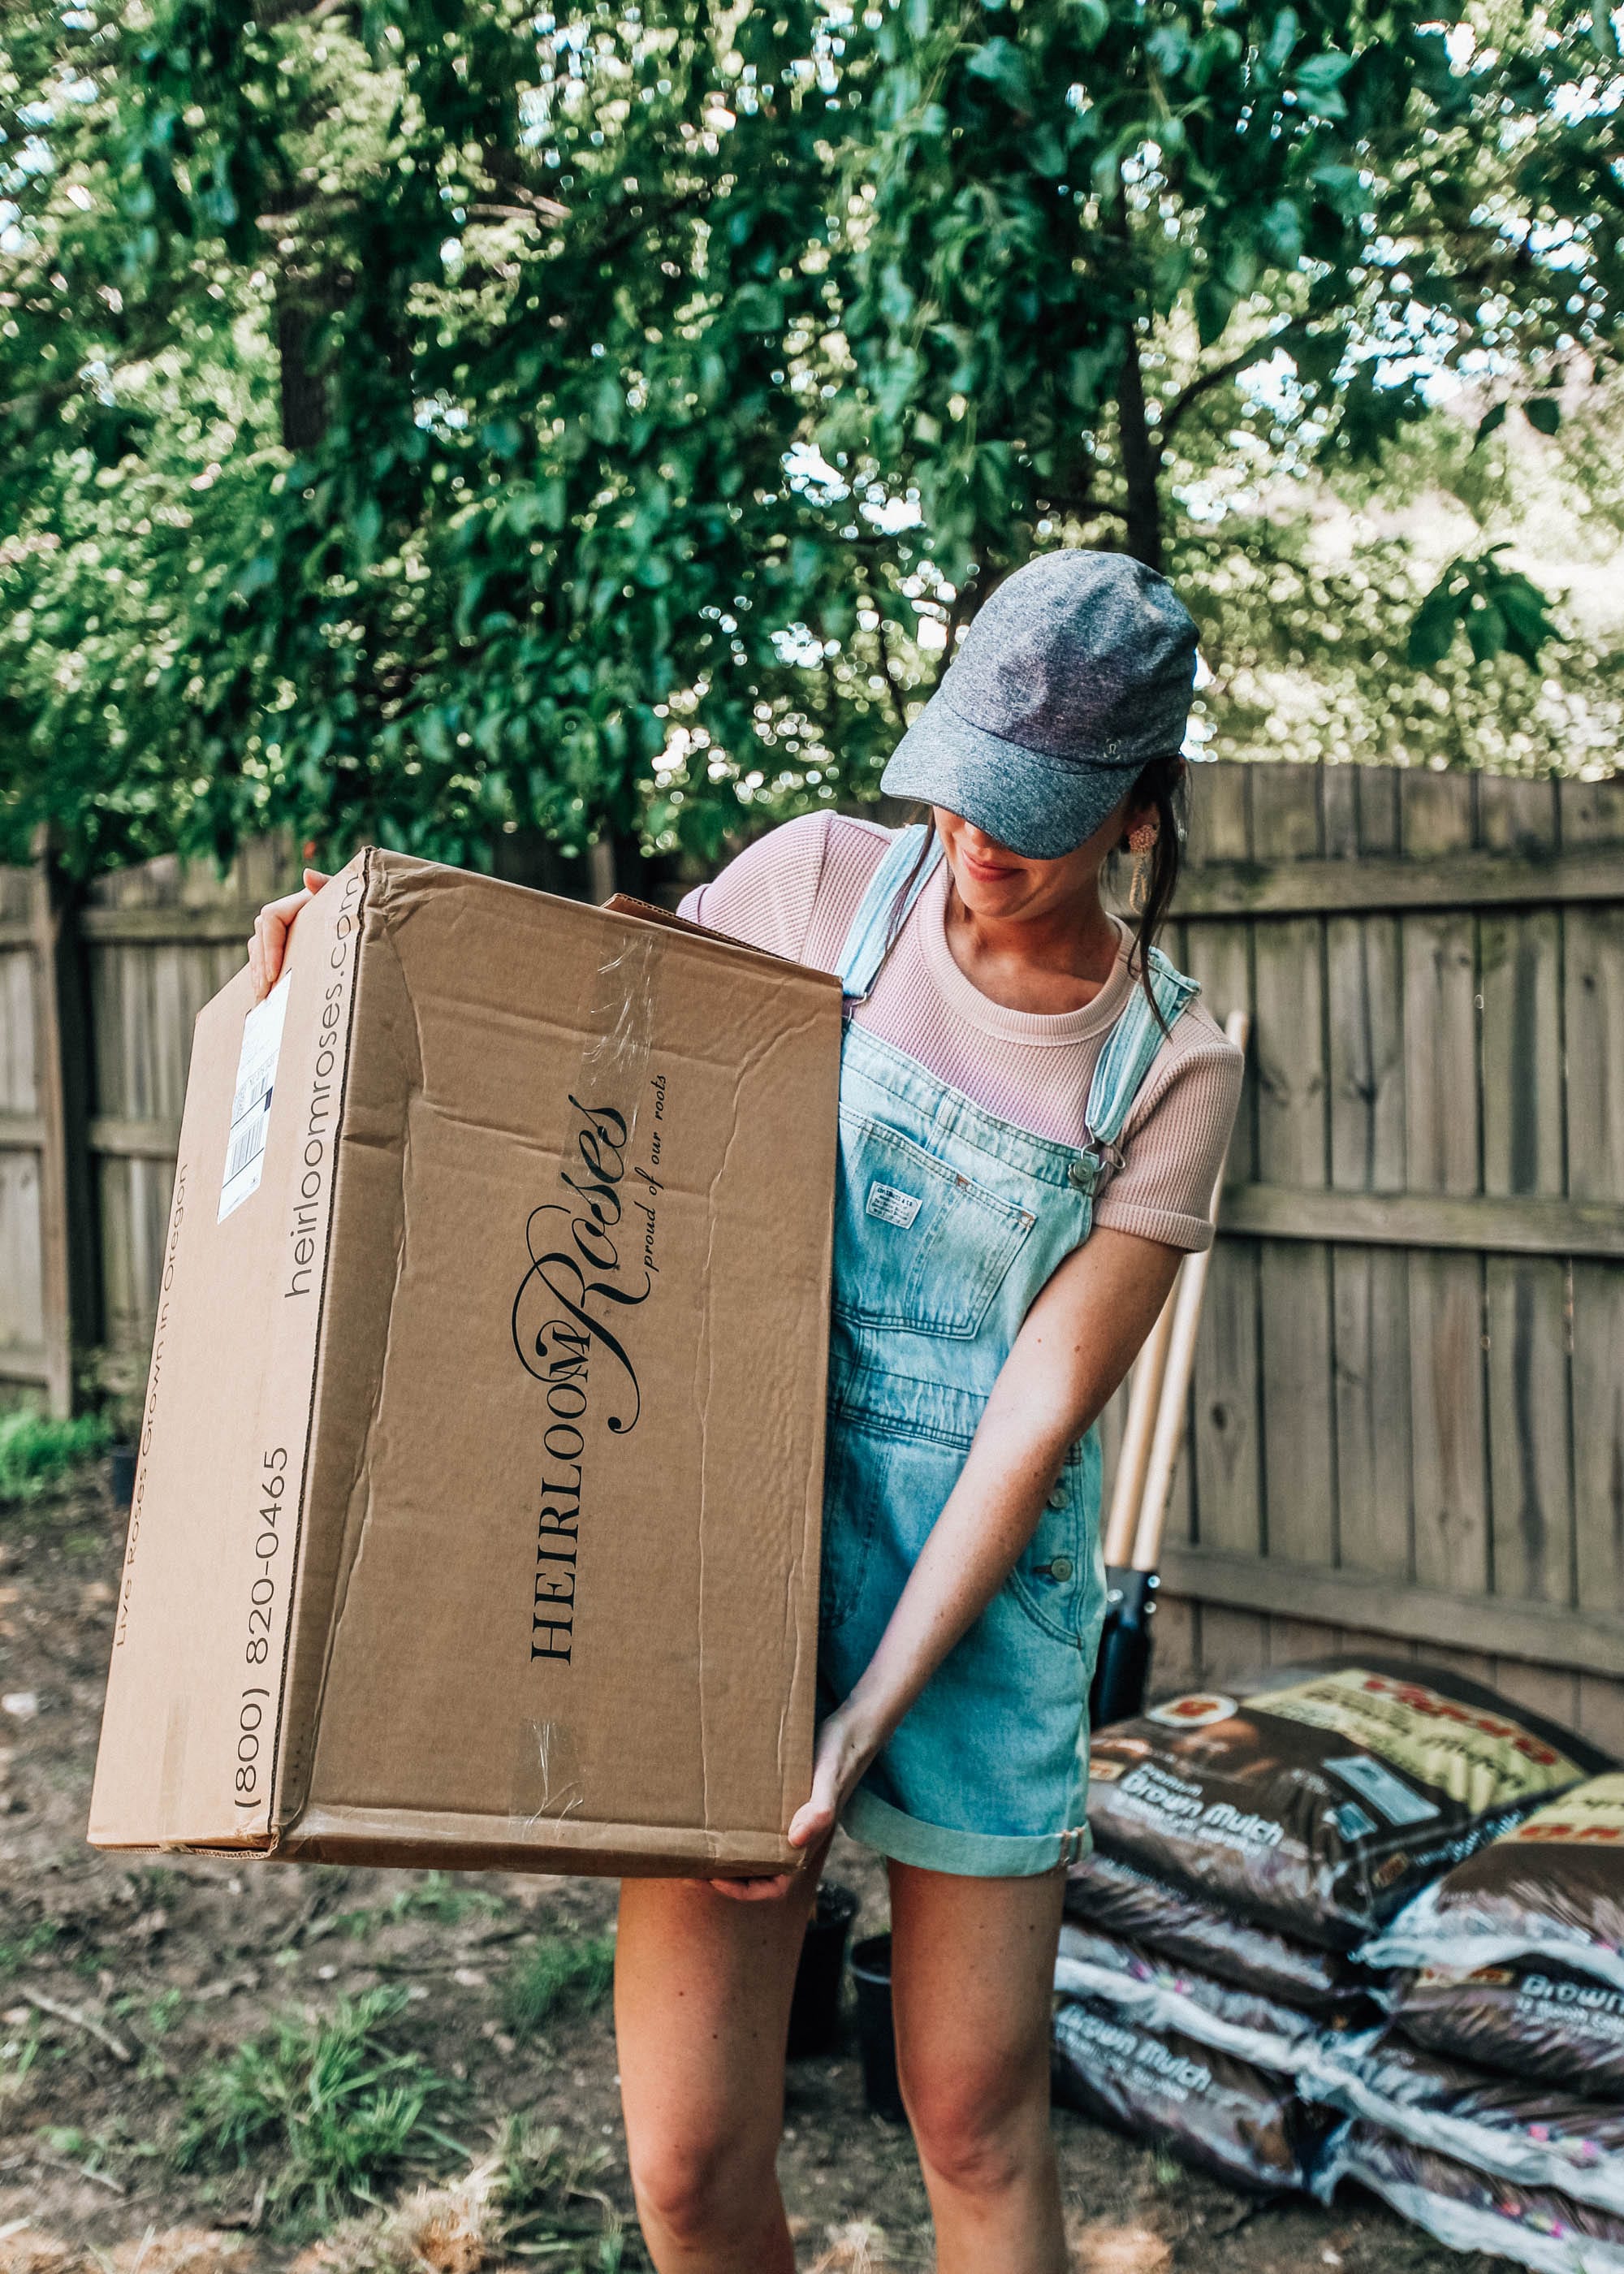
Another recent purchase I’ve made was pink climbing roses! They’re pretty small right now but one day, my hope is for them to climb along our back fence. The next step of our backyard landscaping project is creating a border around the area where all of the roses will be planted.
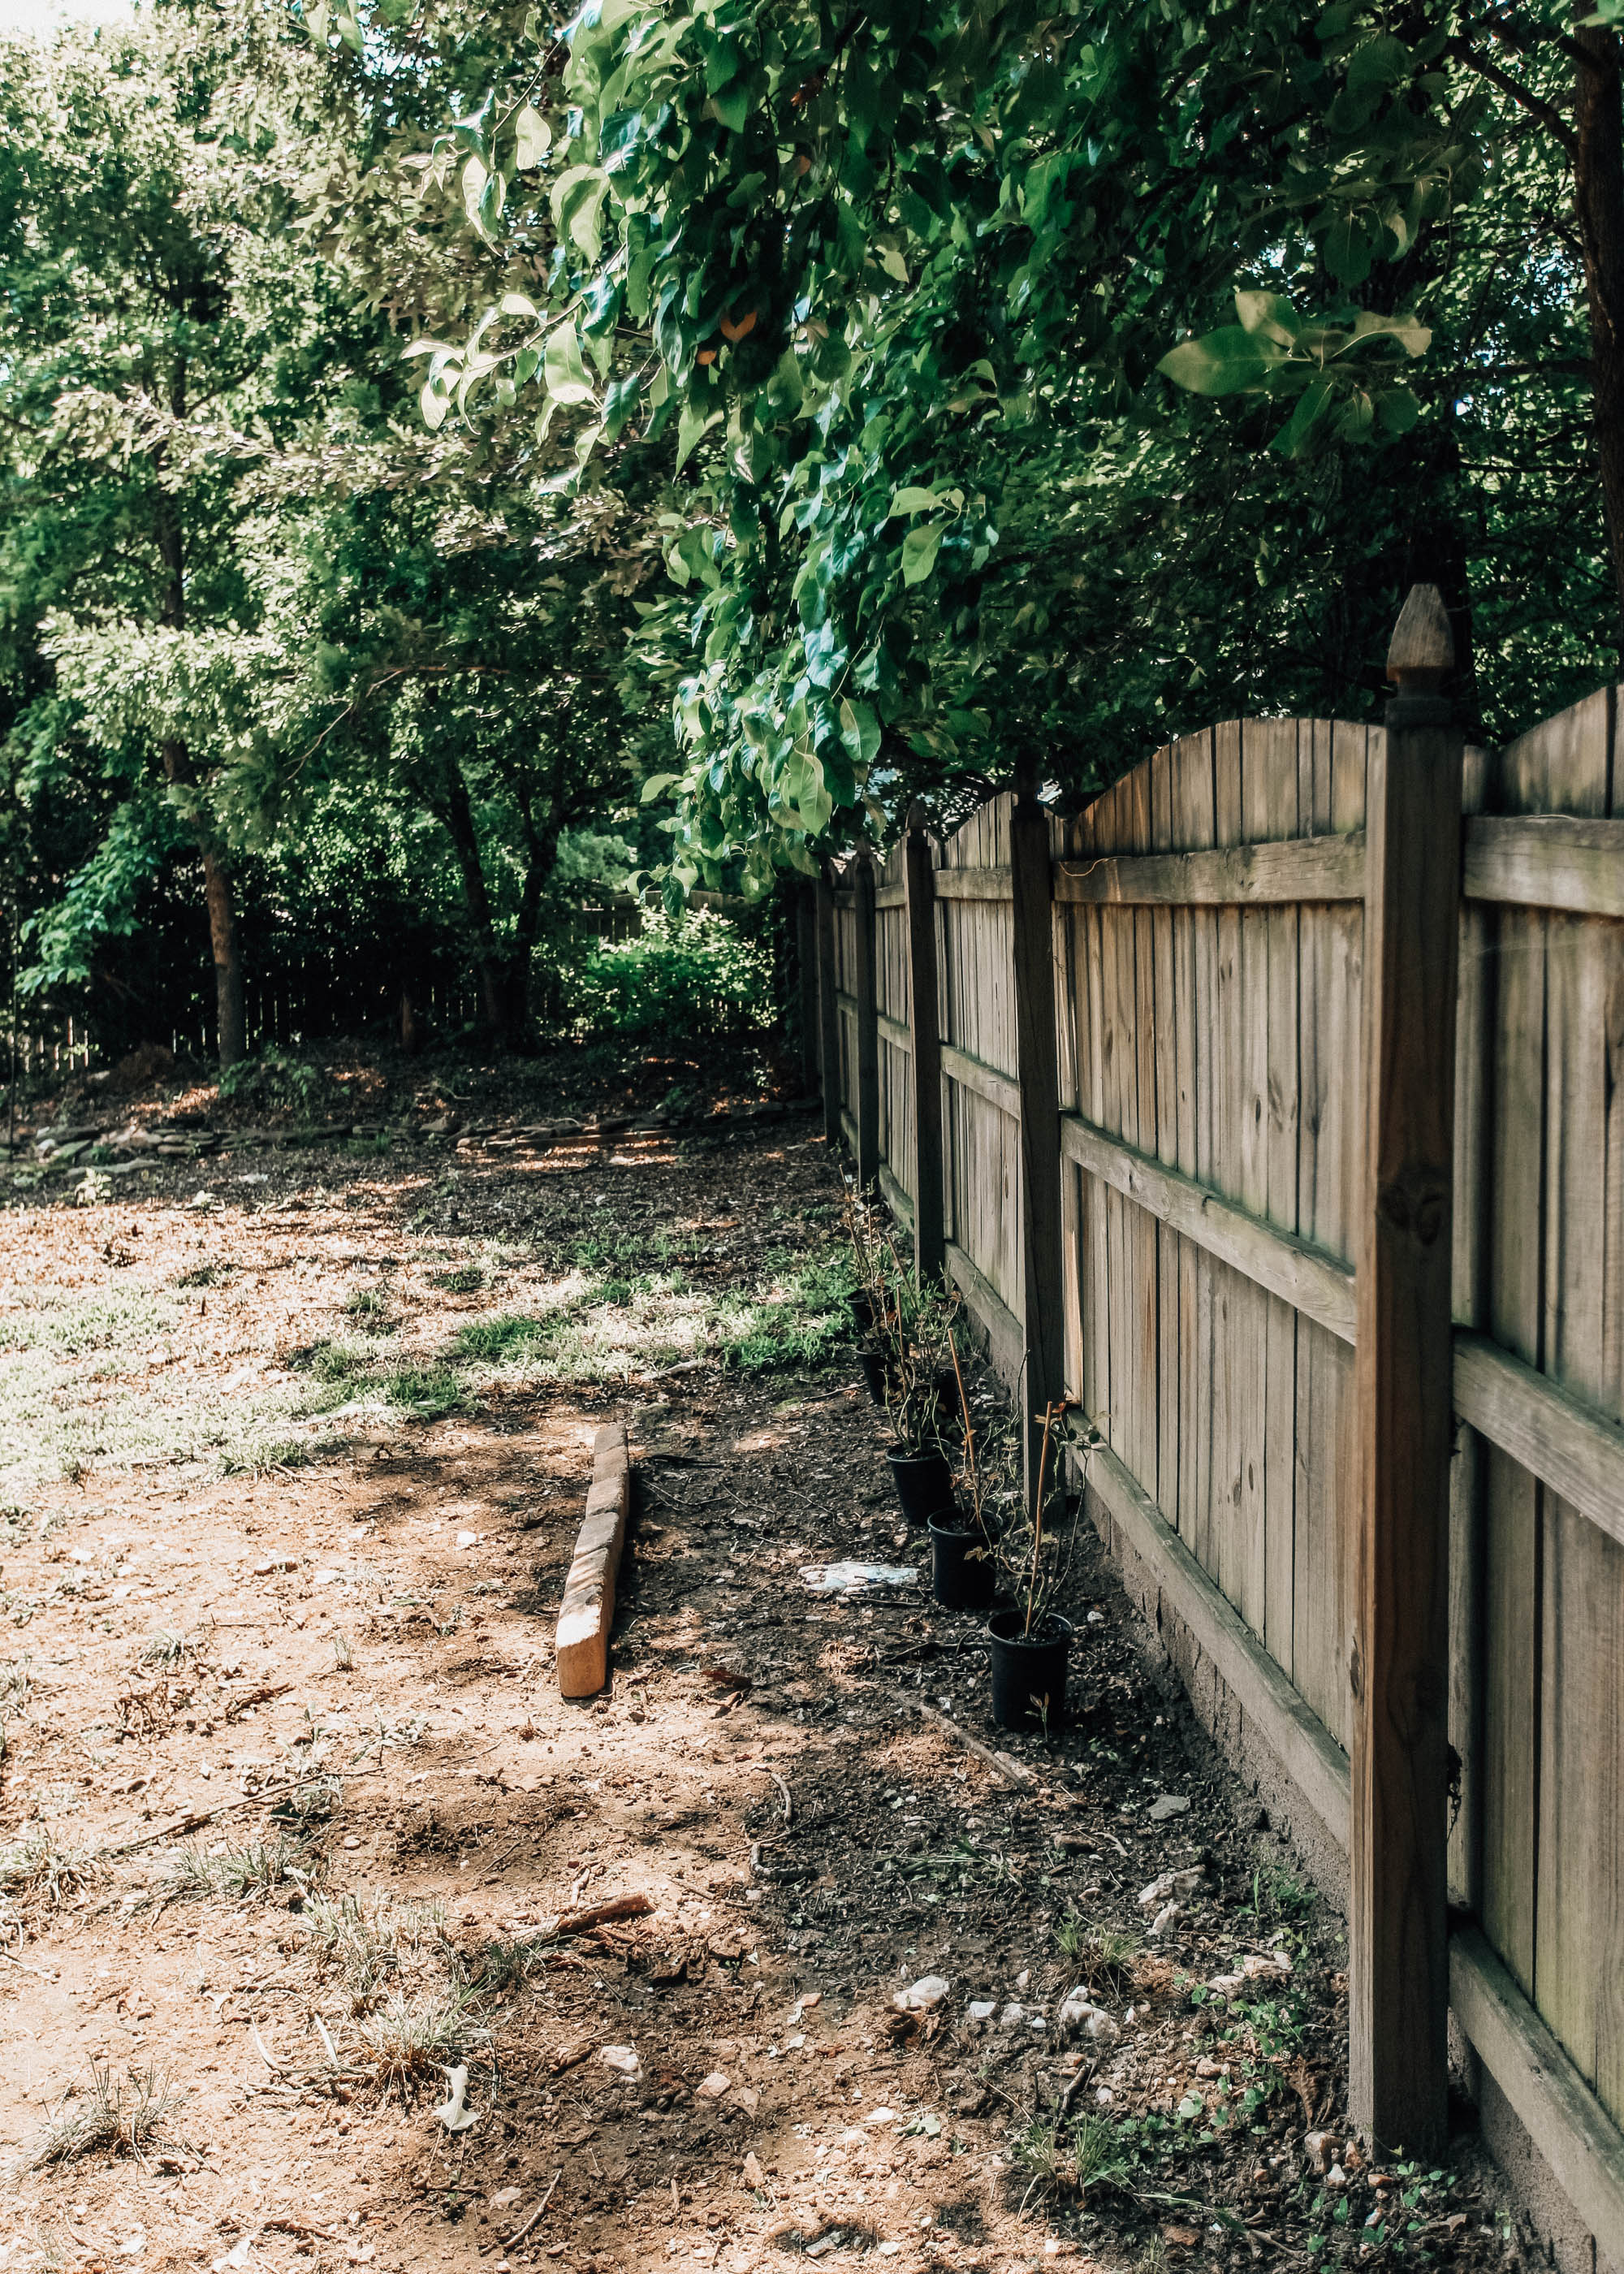
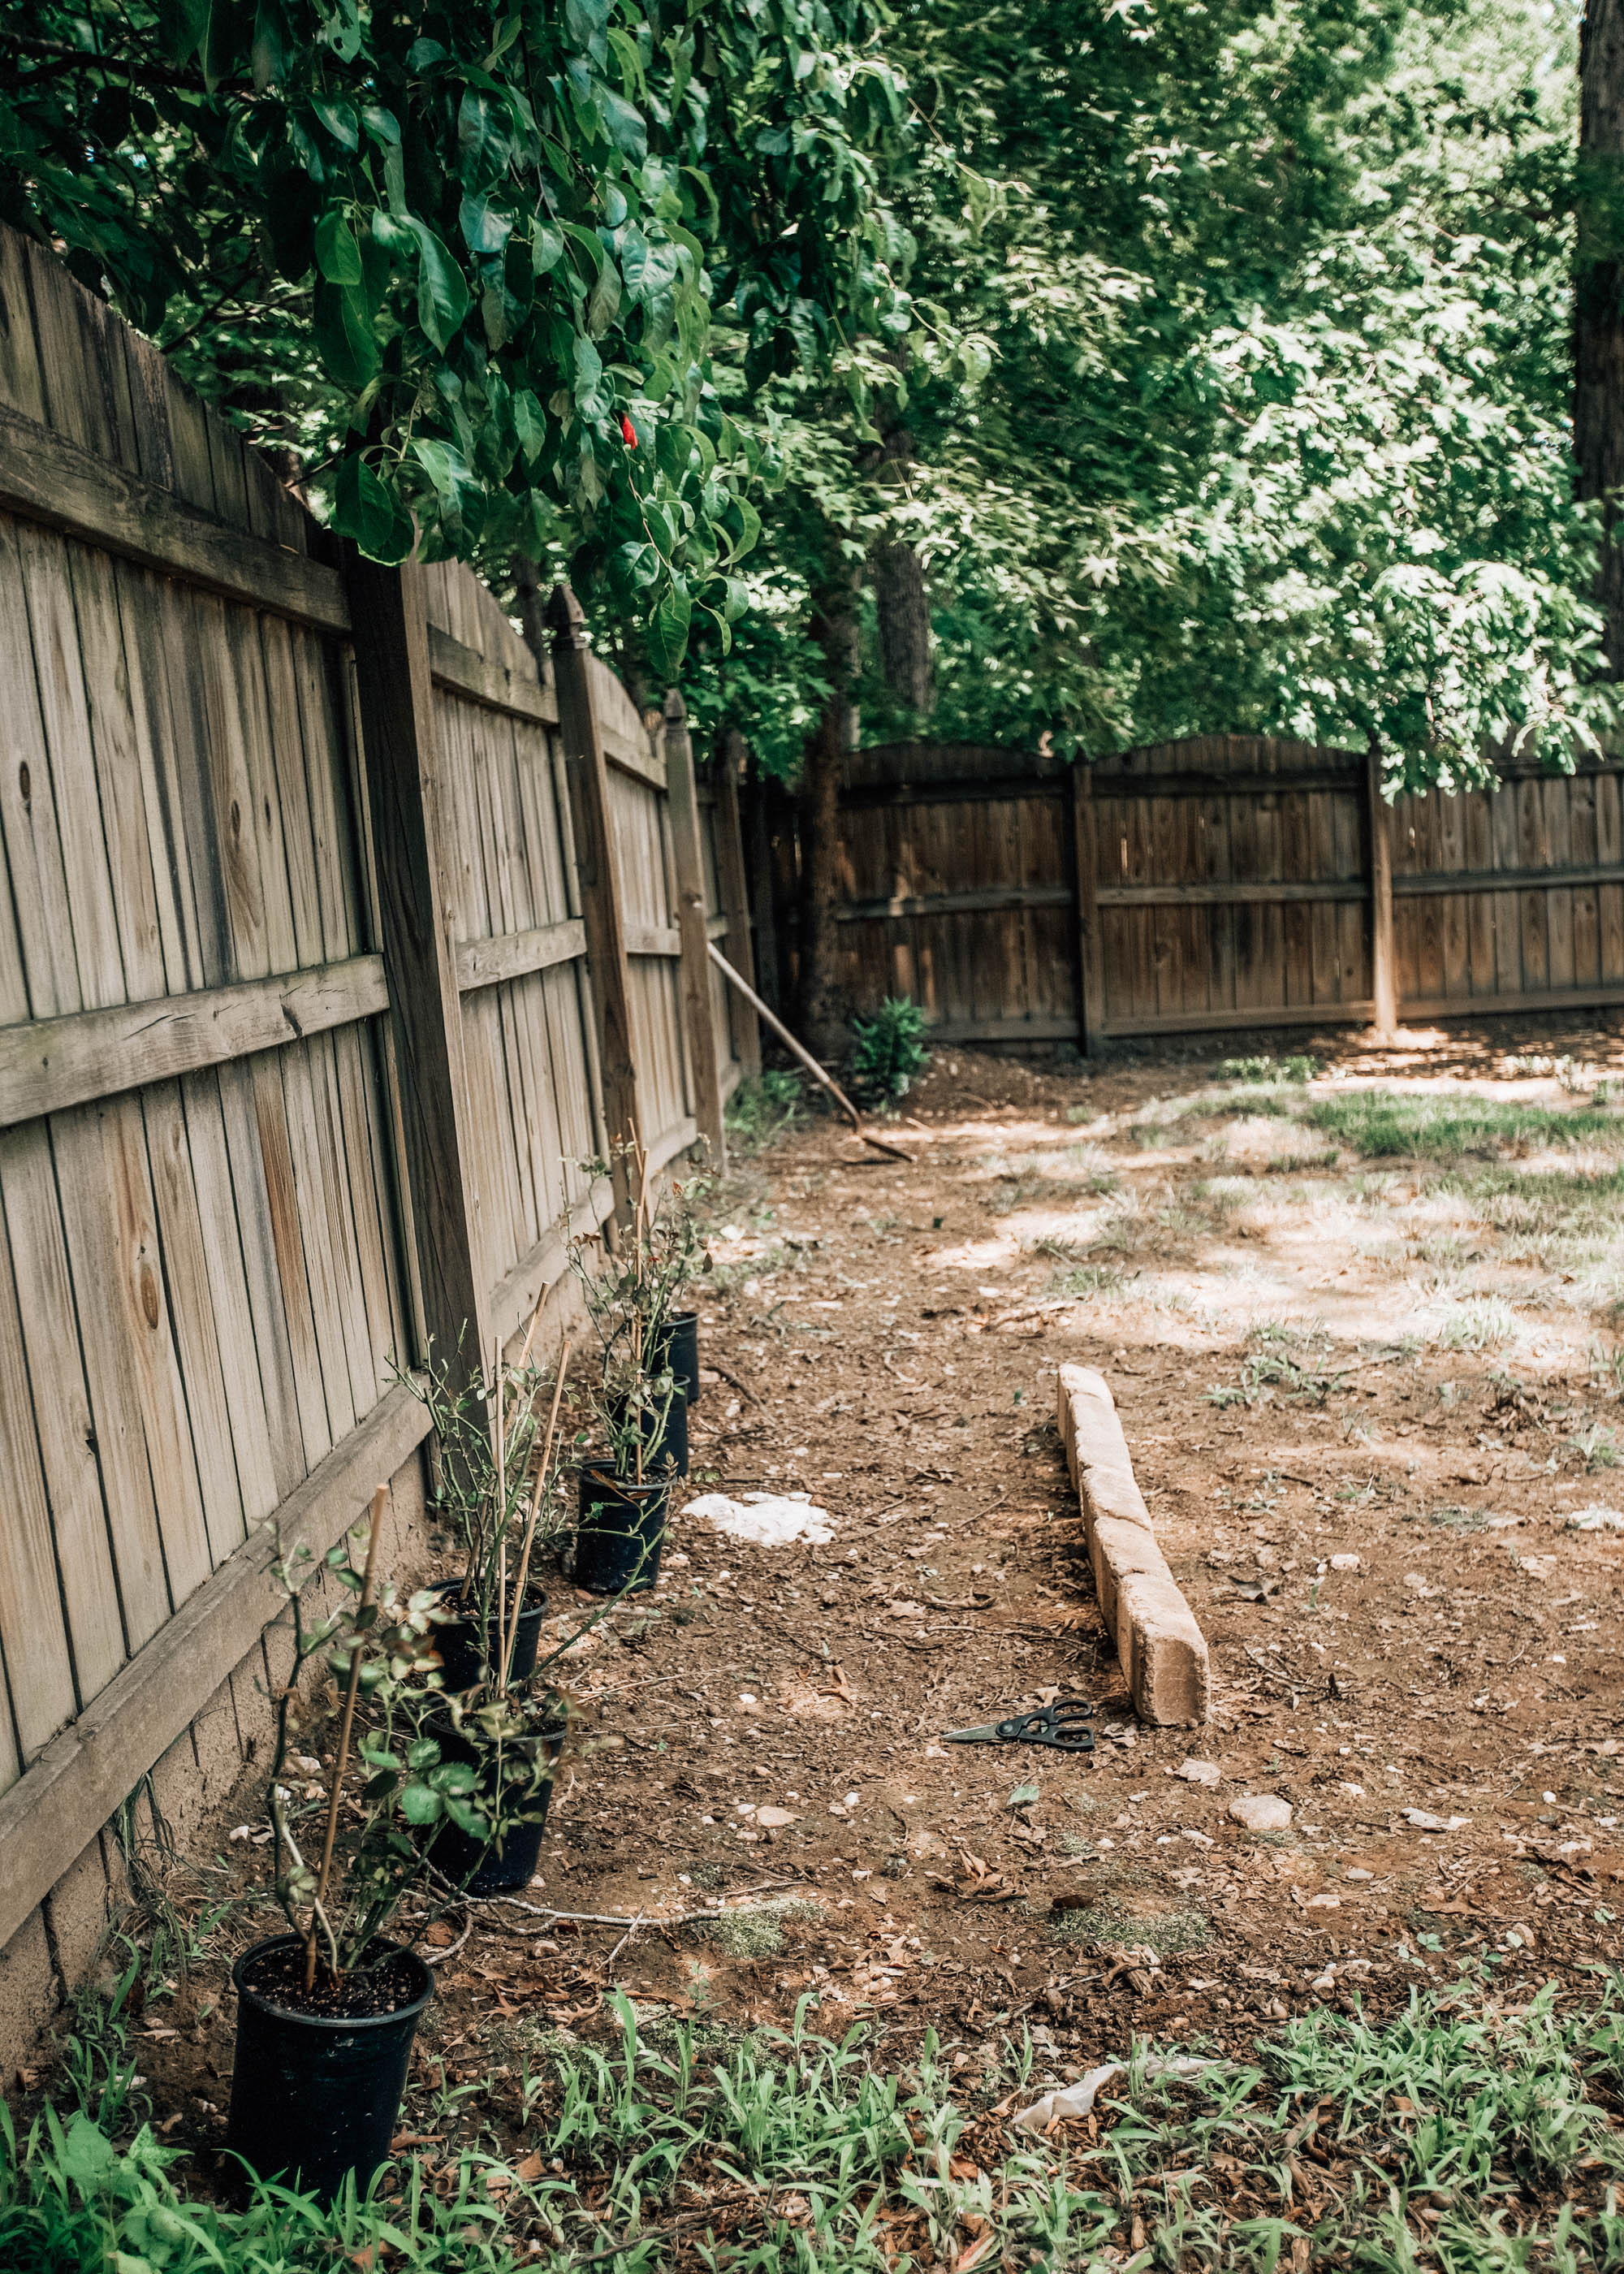
Here is the fence area where the roses will be planted. This entire fence will be lined with a mulch area bordered with stone and we’ll be planting another type of plant in front of the roses. I’m currently doing research to figure out the best option for the sun/shade in this area.
The best part about using Chase Freedom Unlimited is that you are truly unlimited in how you can get cash back… so no matter the purchase, you’re always earning whether it’s a book from the bookstore, roses, or mulch.
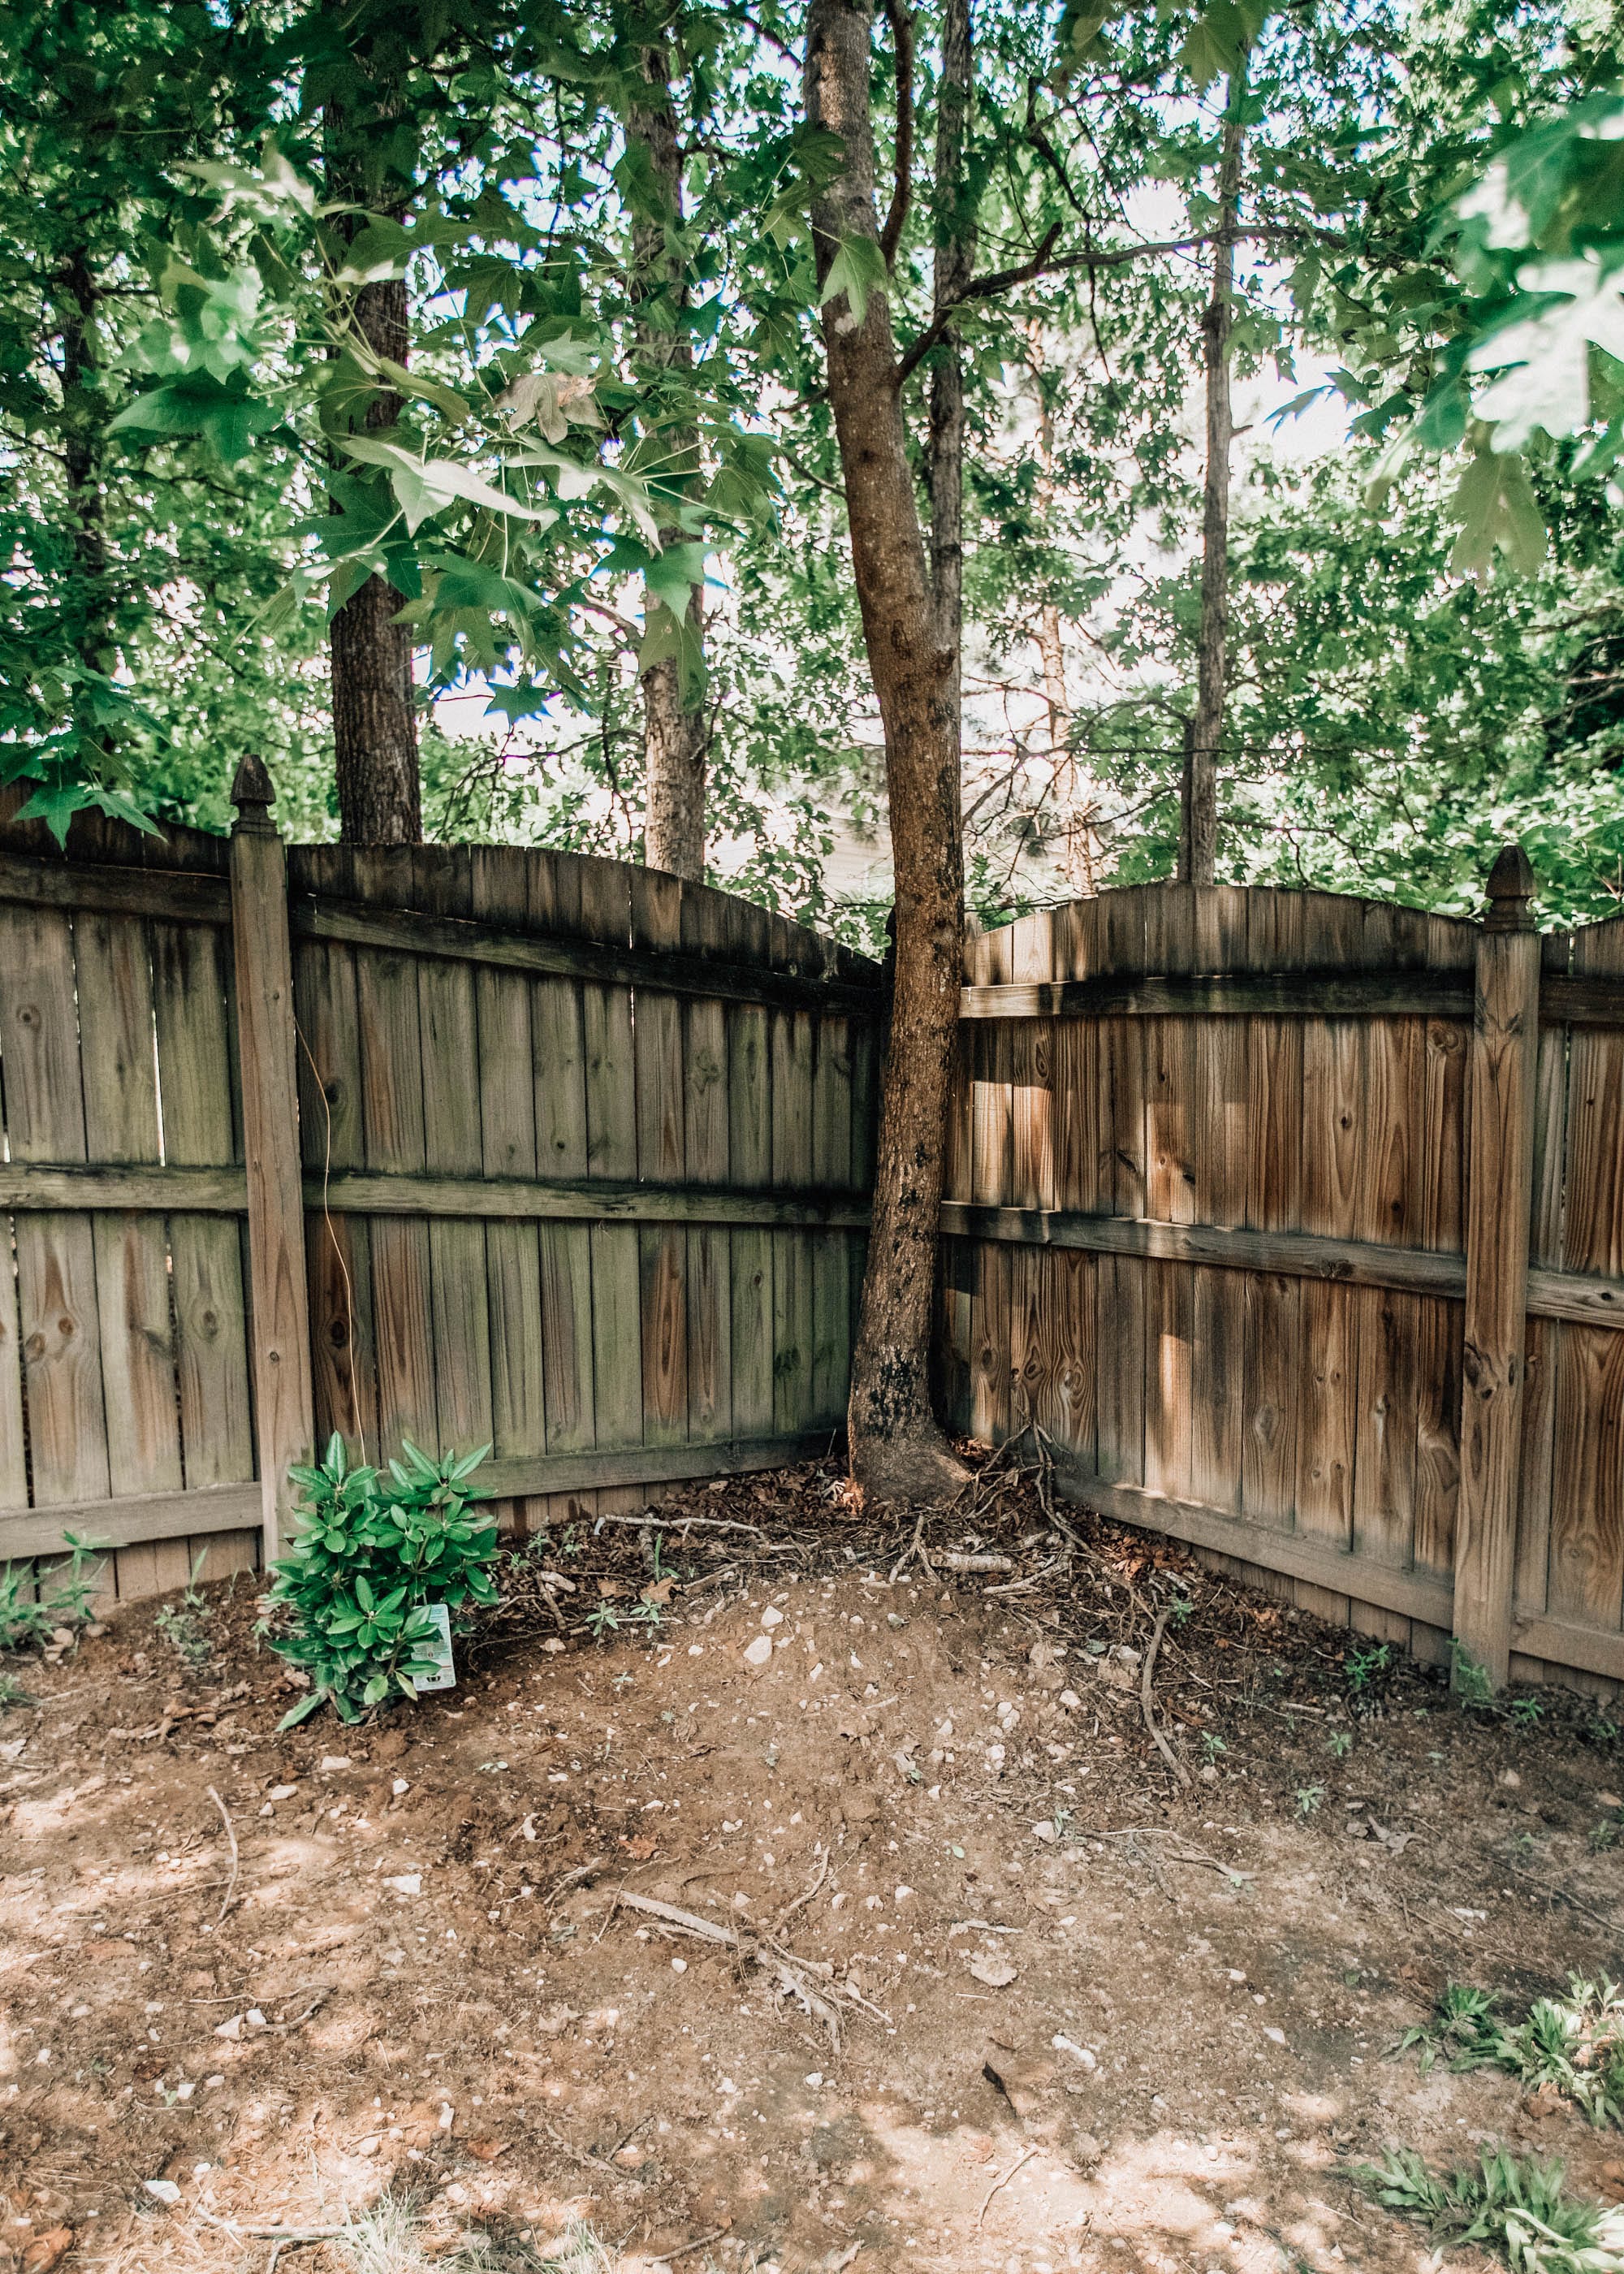
This corner will be filled with flowering bushes and mulch, along with a stone border. Stay tuned to my Instagram stories to see which bushes we end up finding for this spot!
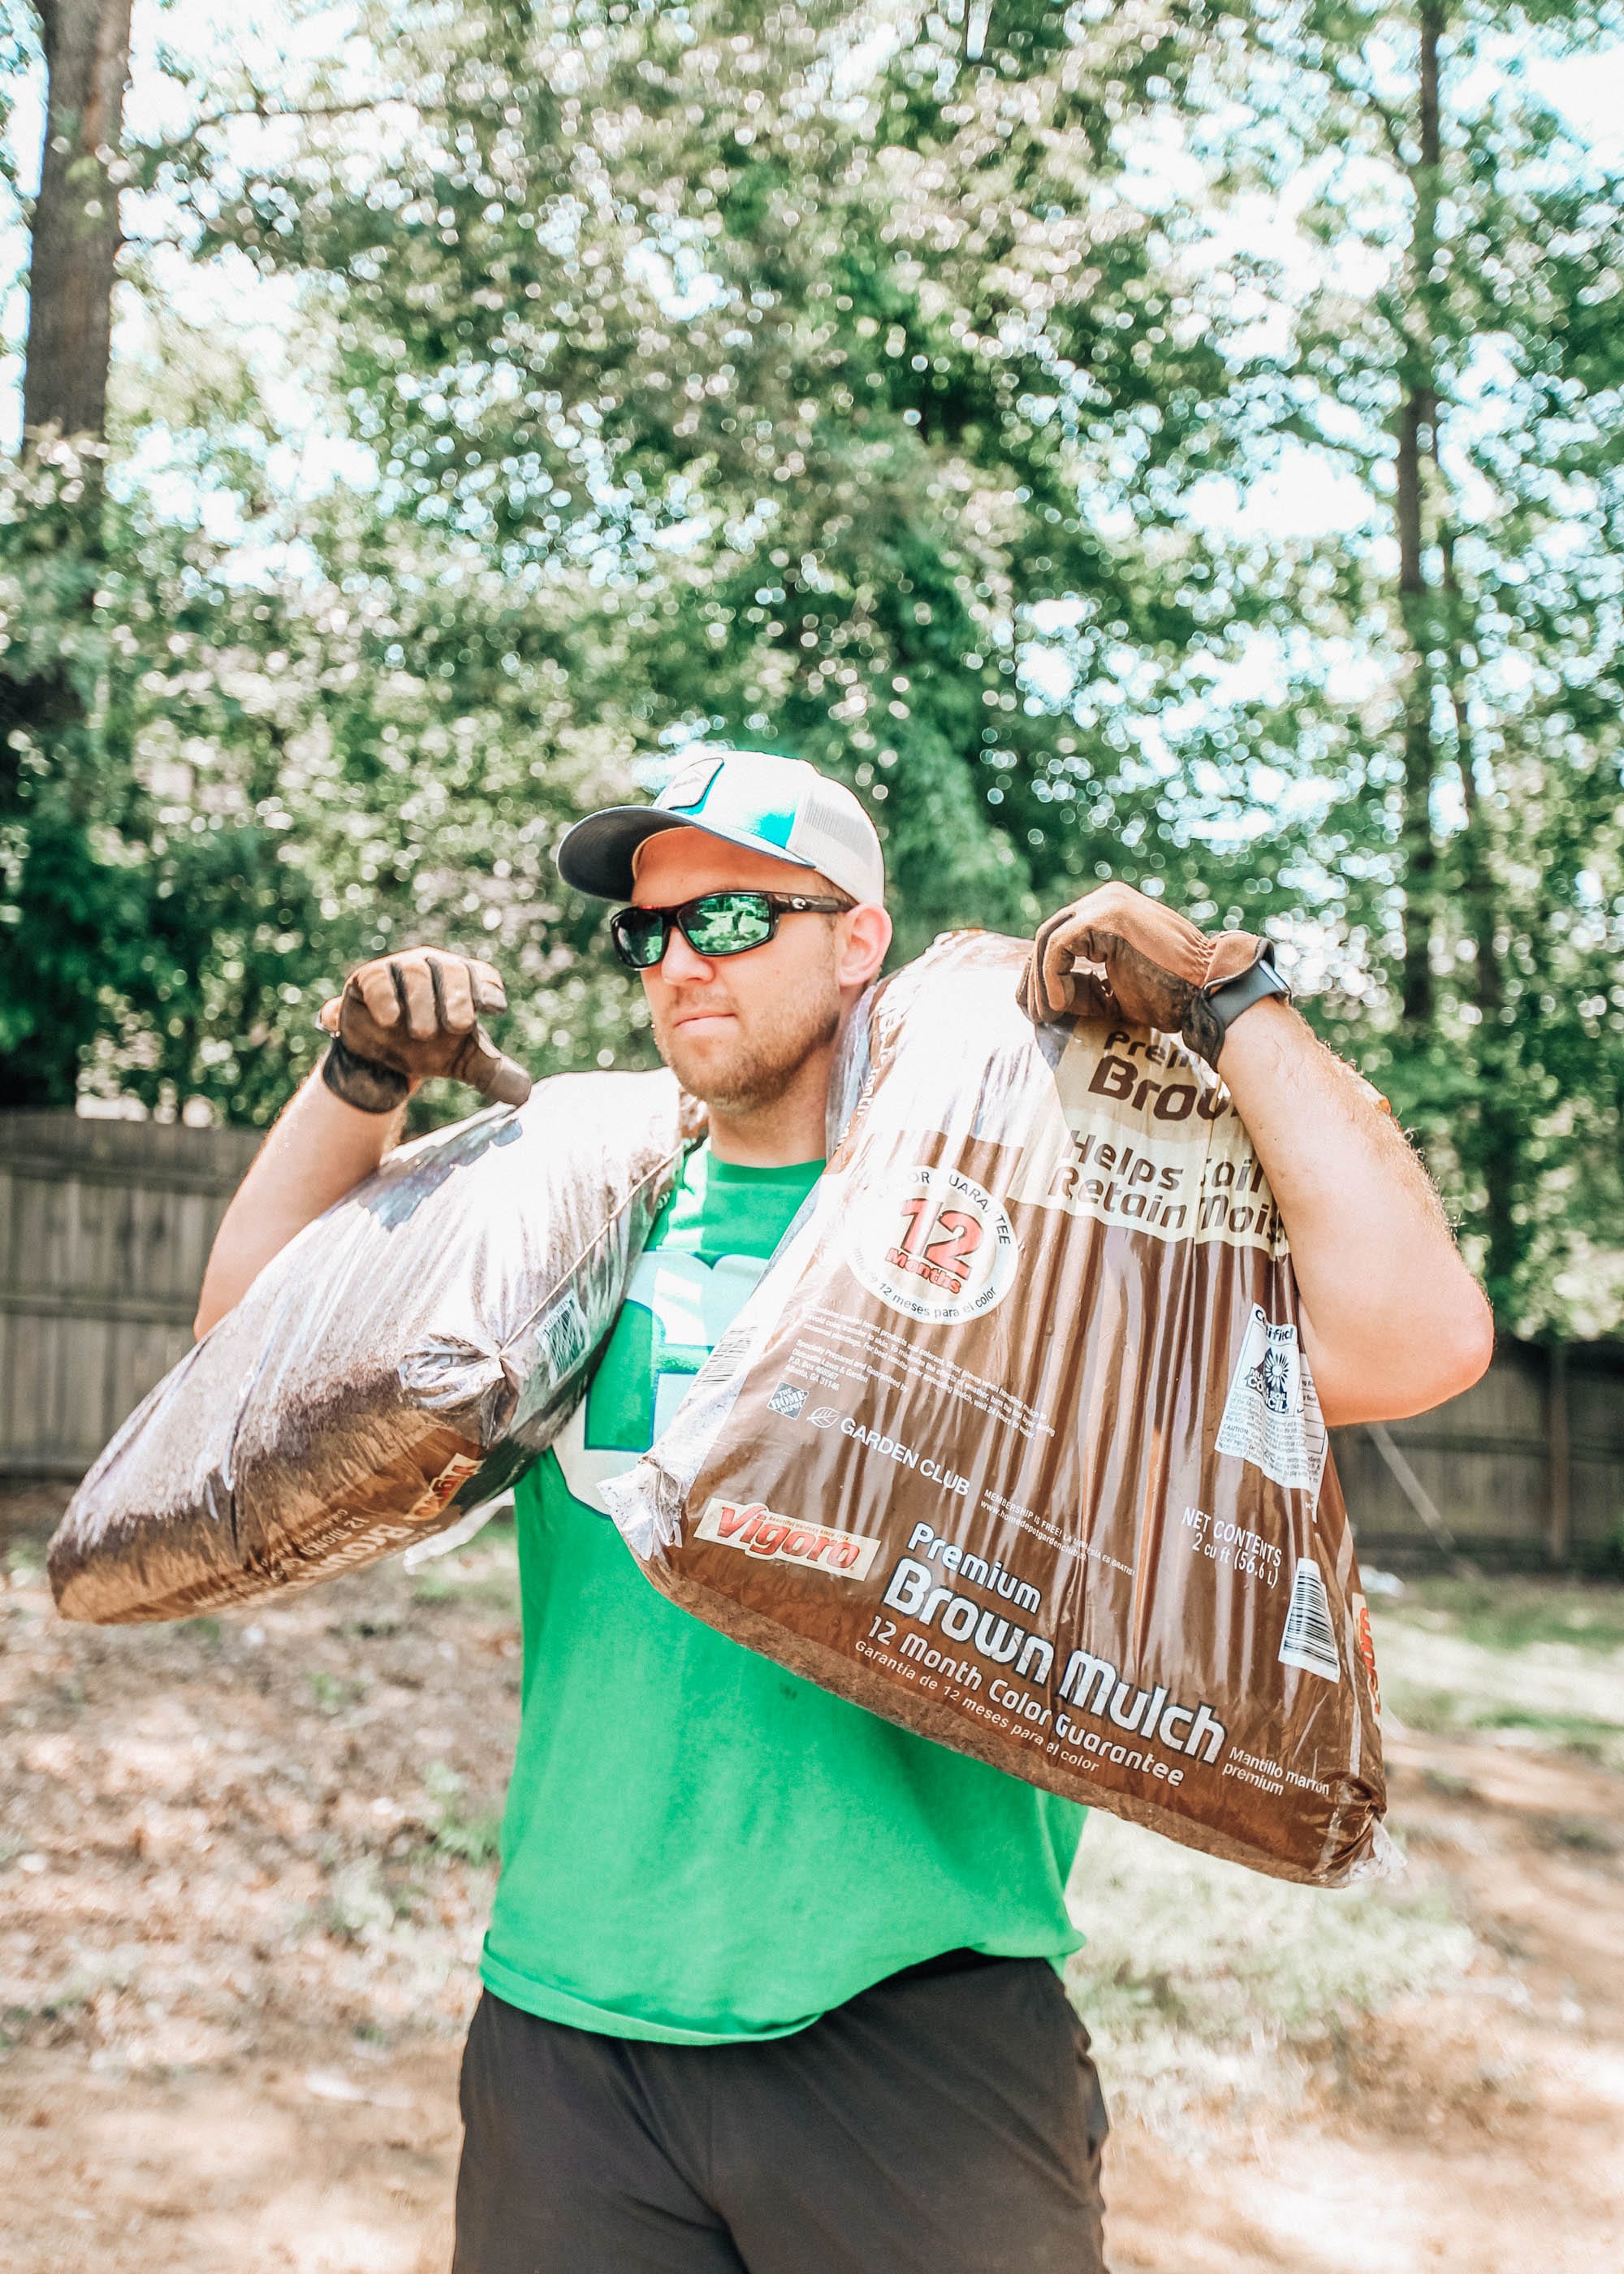
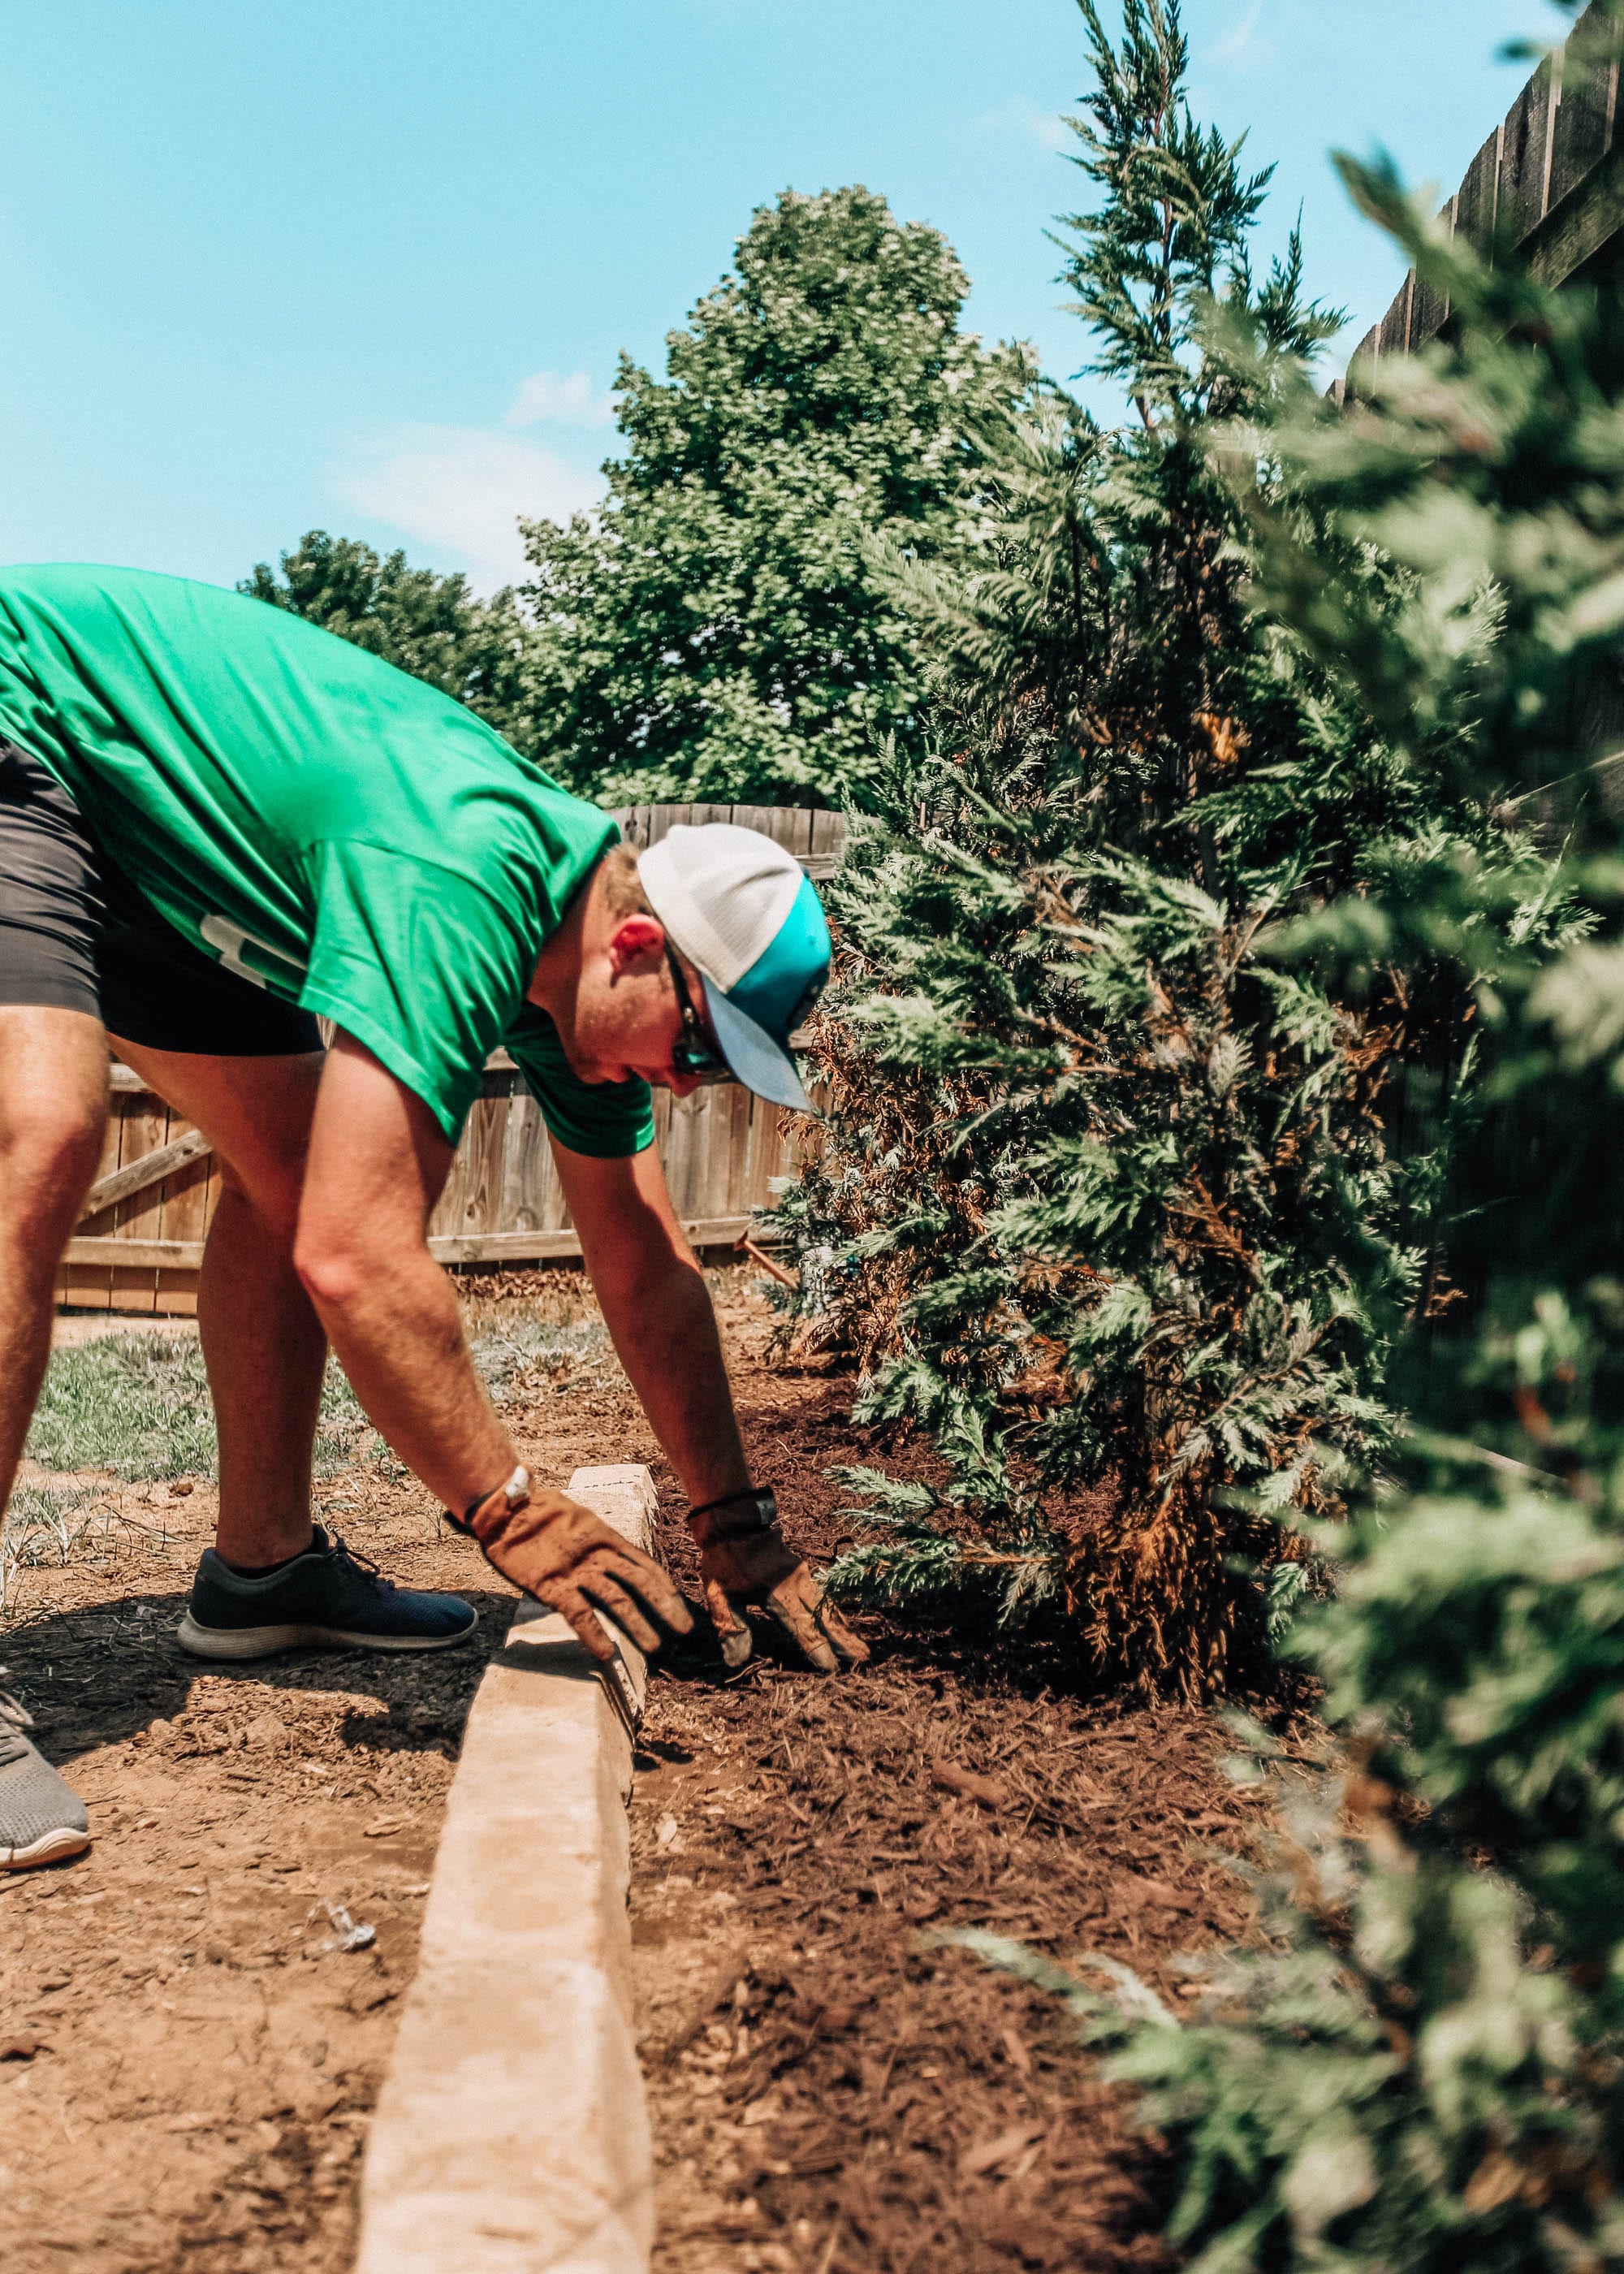
Overall, I’ve learned a lot just from reading and researching over the past month, but I still have so much more to learn. I’ve learned a lot of basic information about our zone 7, along with a lot of general design ideas. My knowledge of different types of Southeastern plants and flowers has also improved so much, yet there are still so many to familiarize myself with. I’ll keep you updated next month on what our backyard is looking like and what bushes we decided to go with!
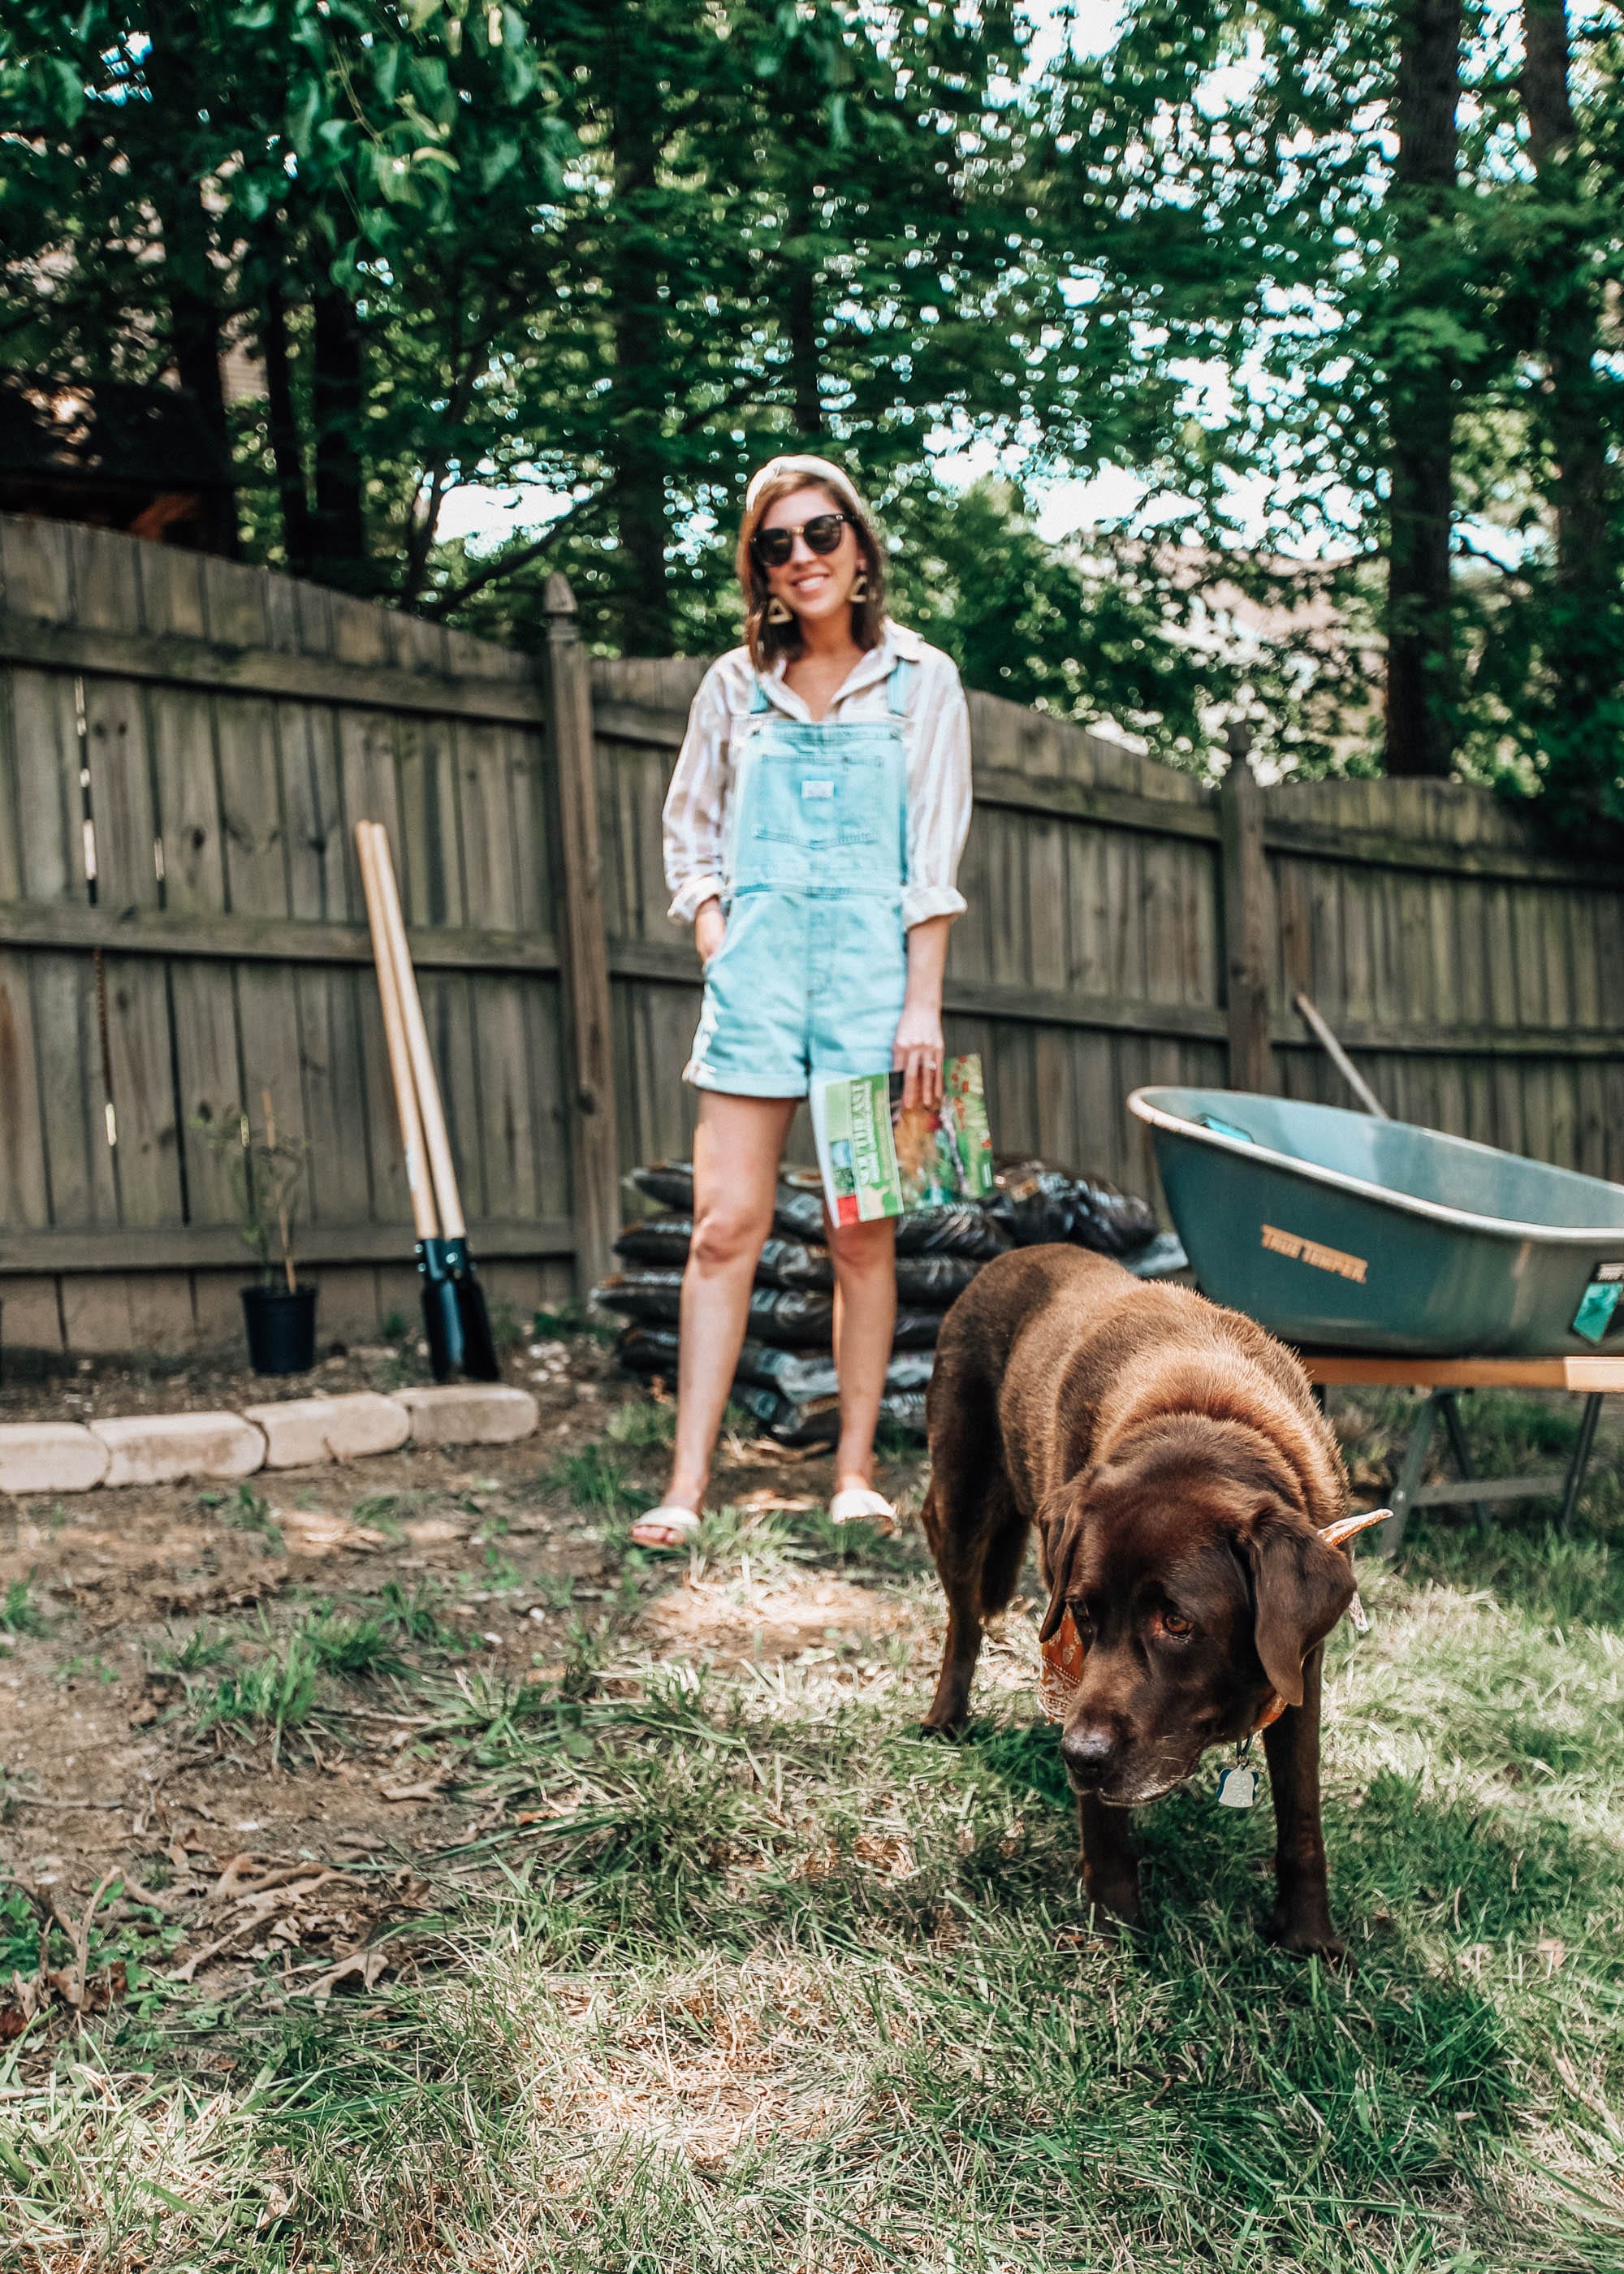
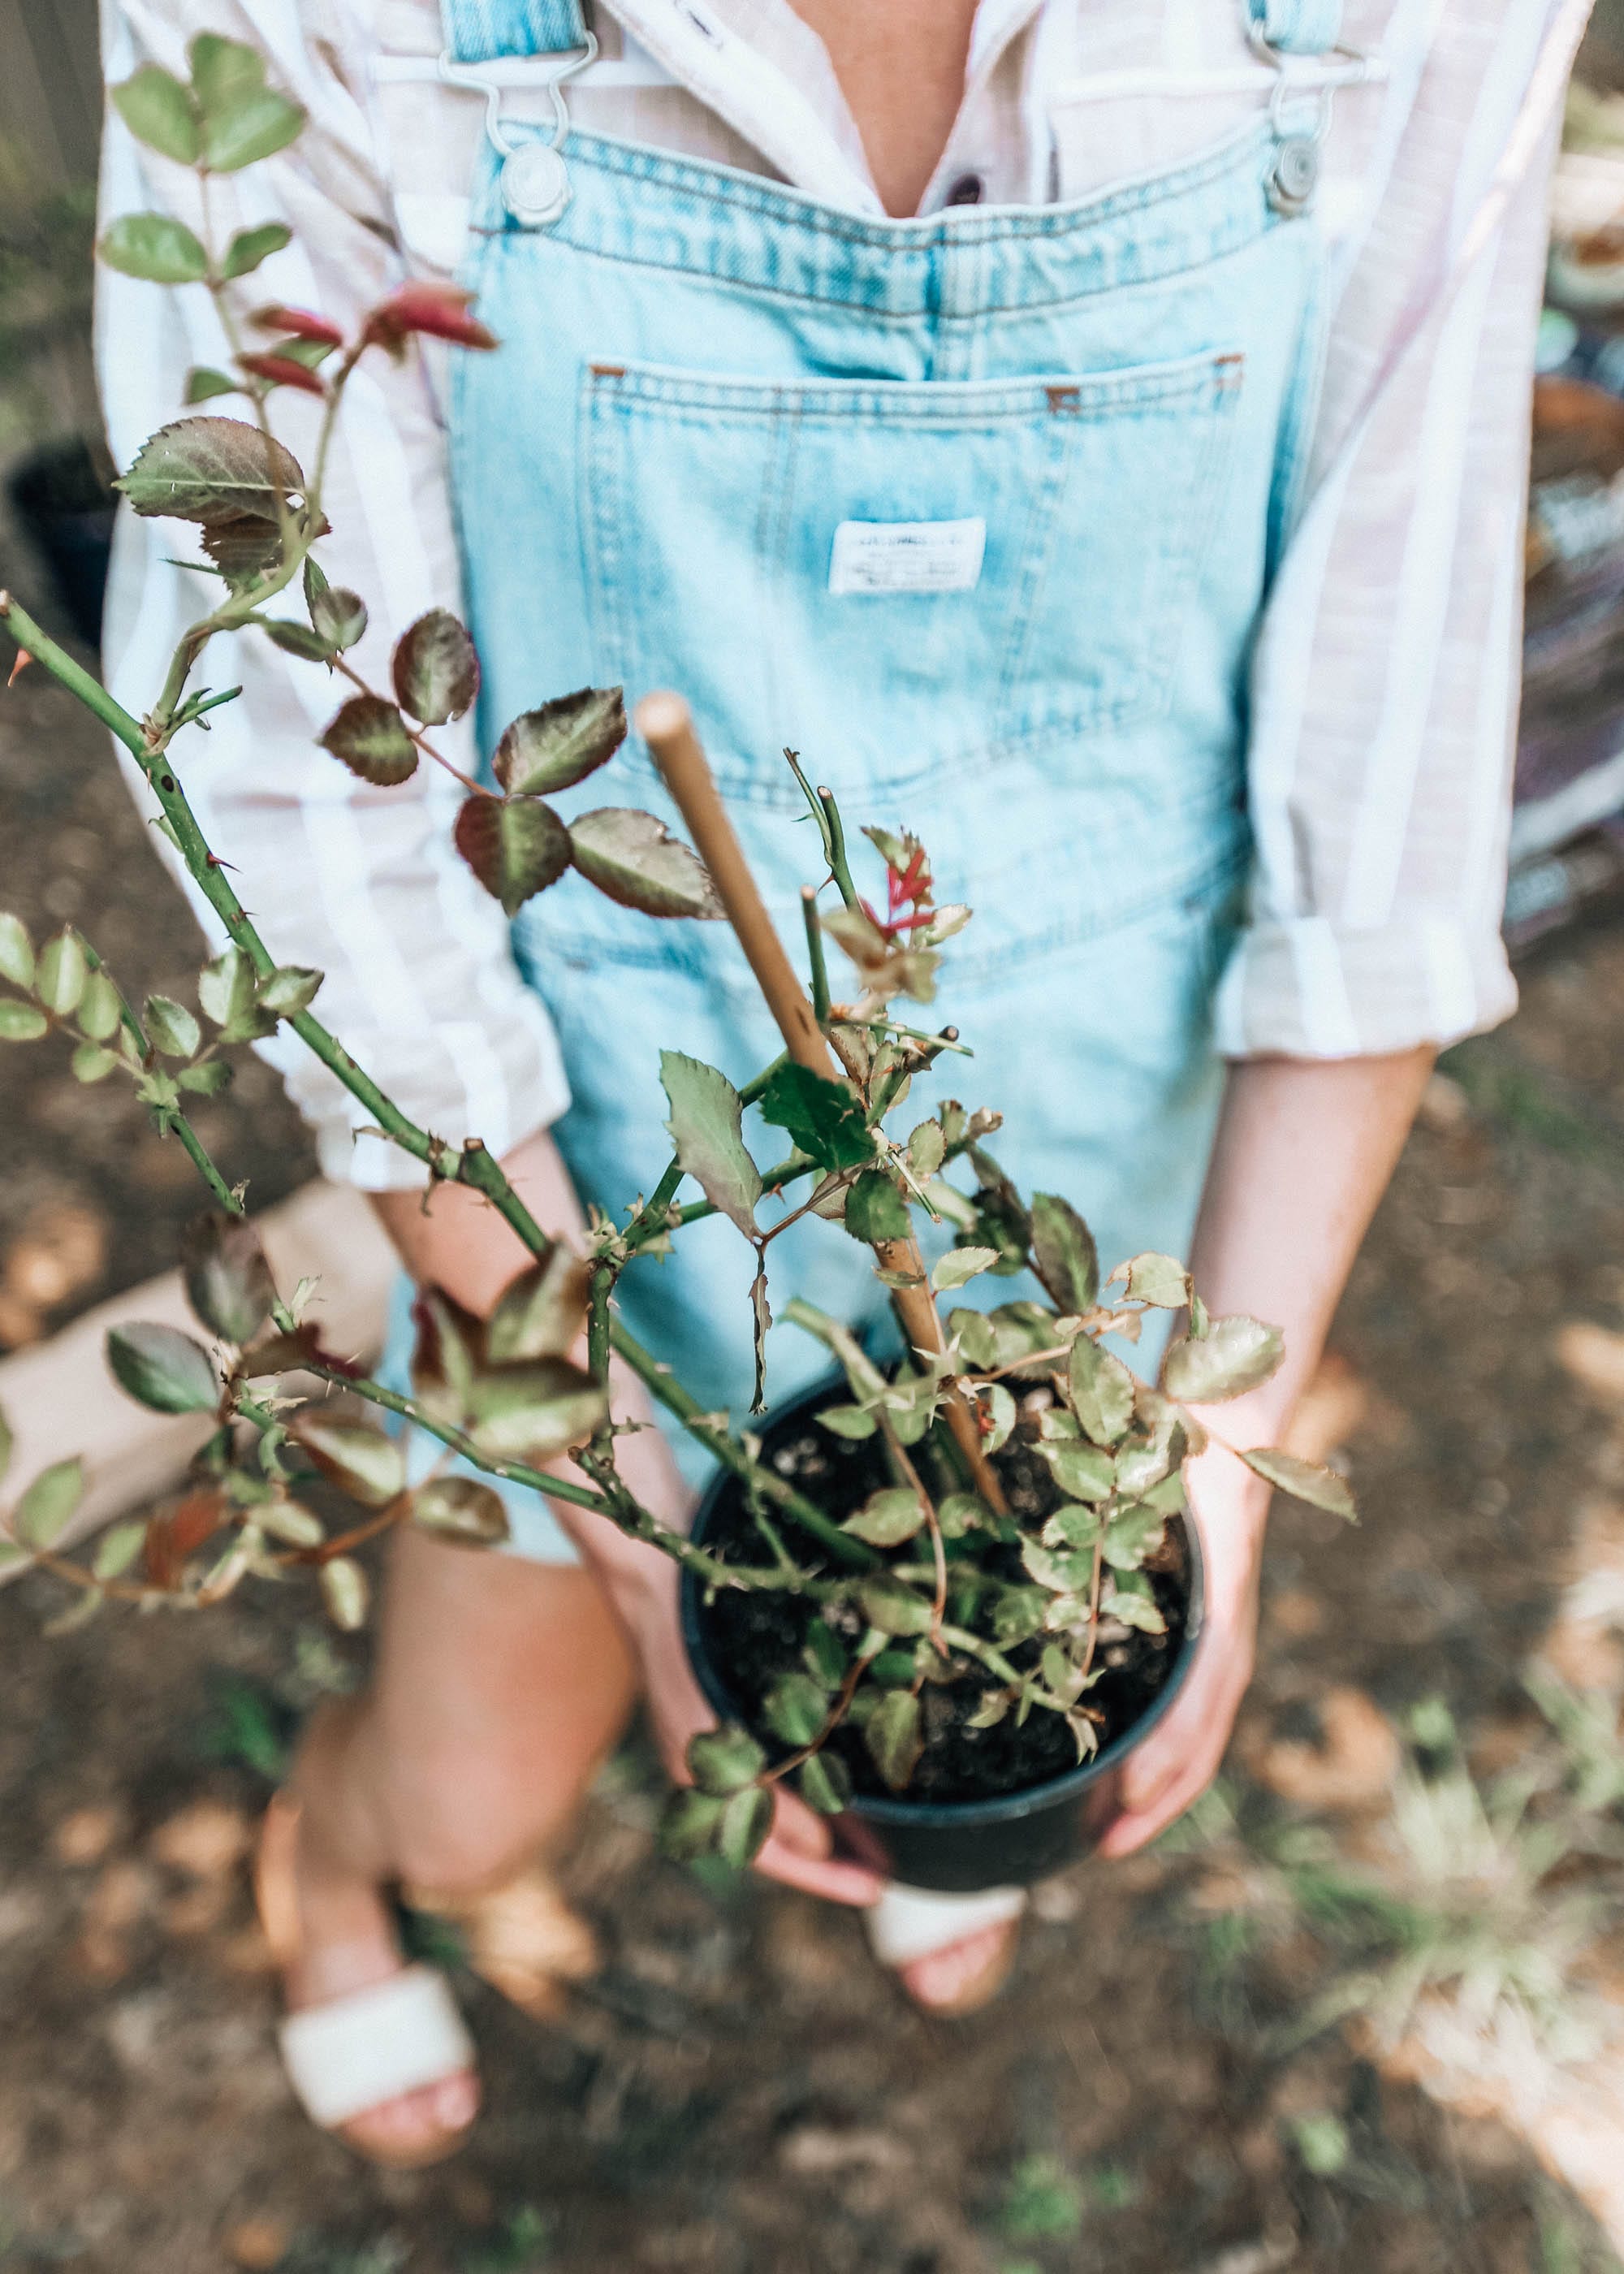
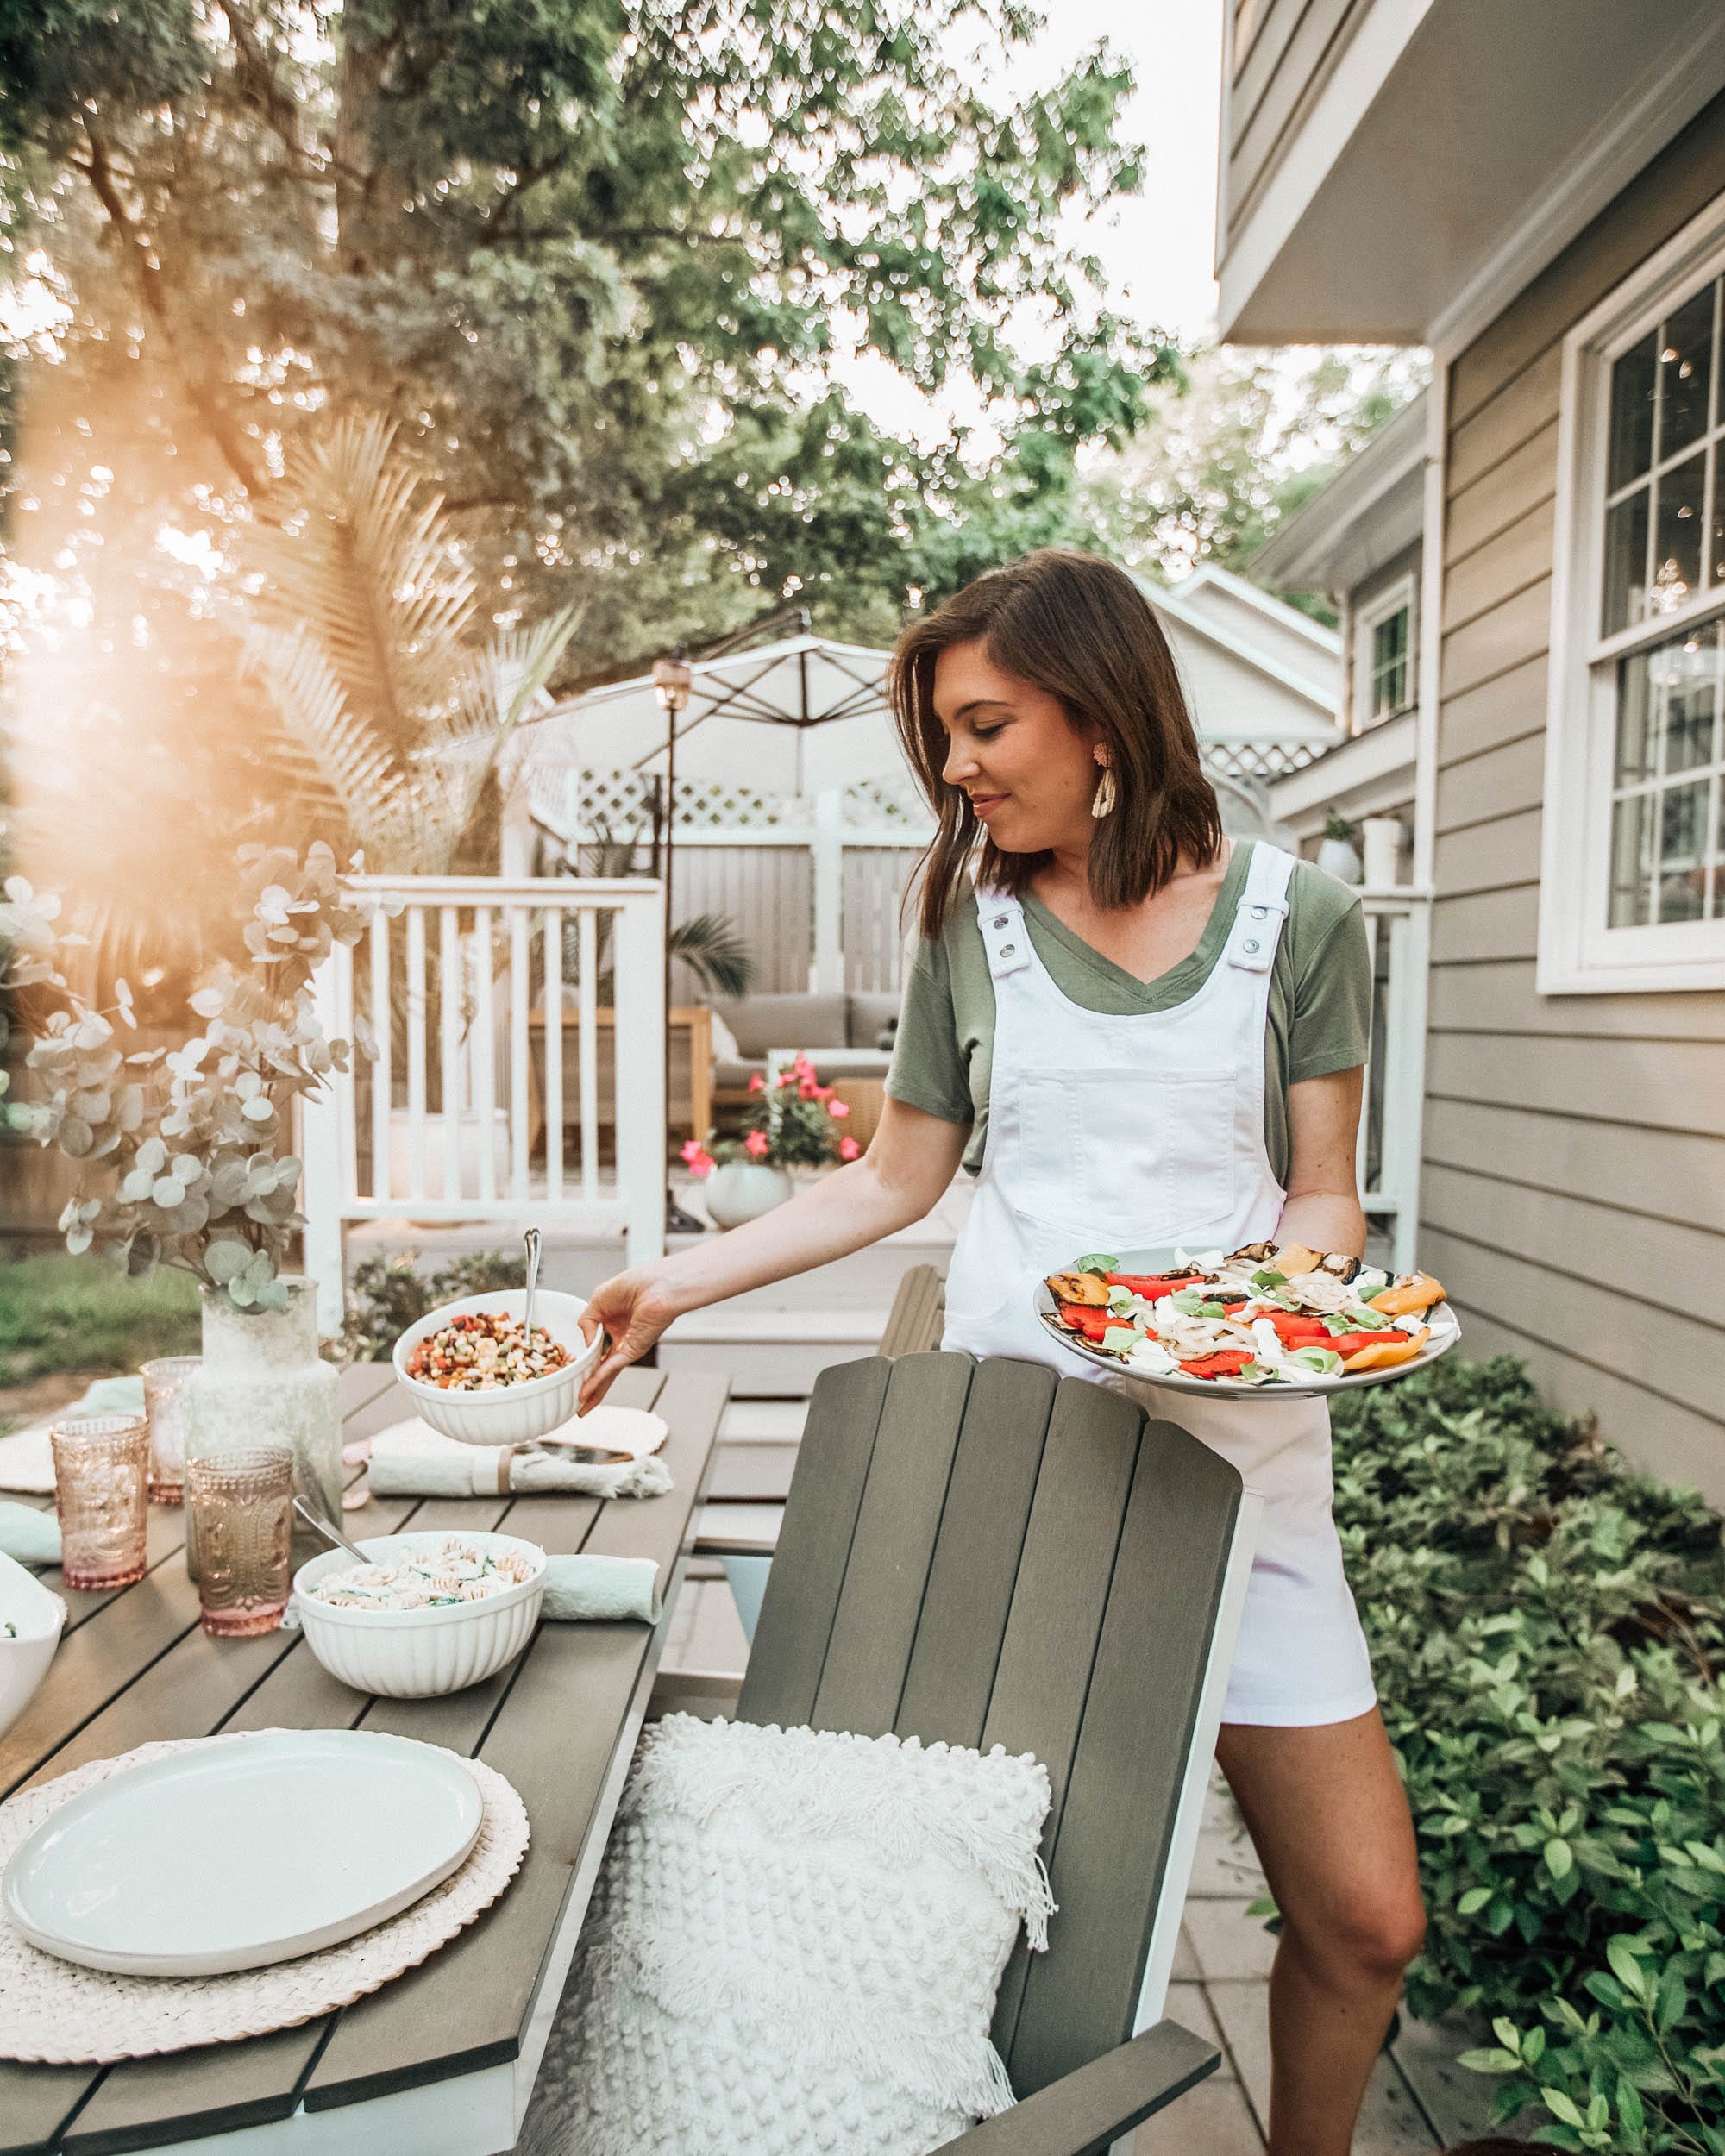
5 Refreshing & Easy Summer Salads
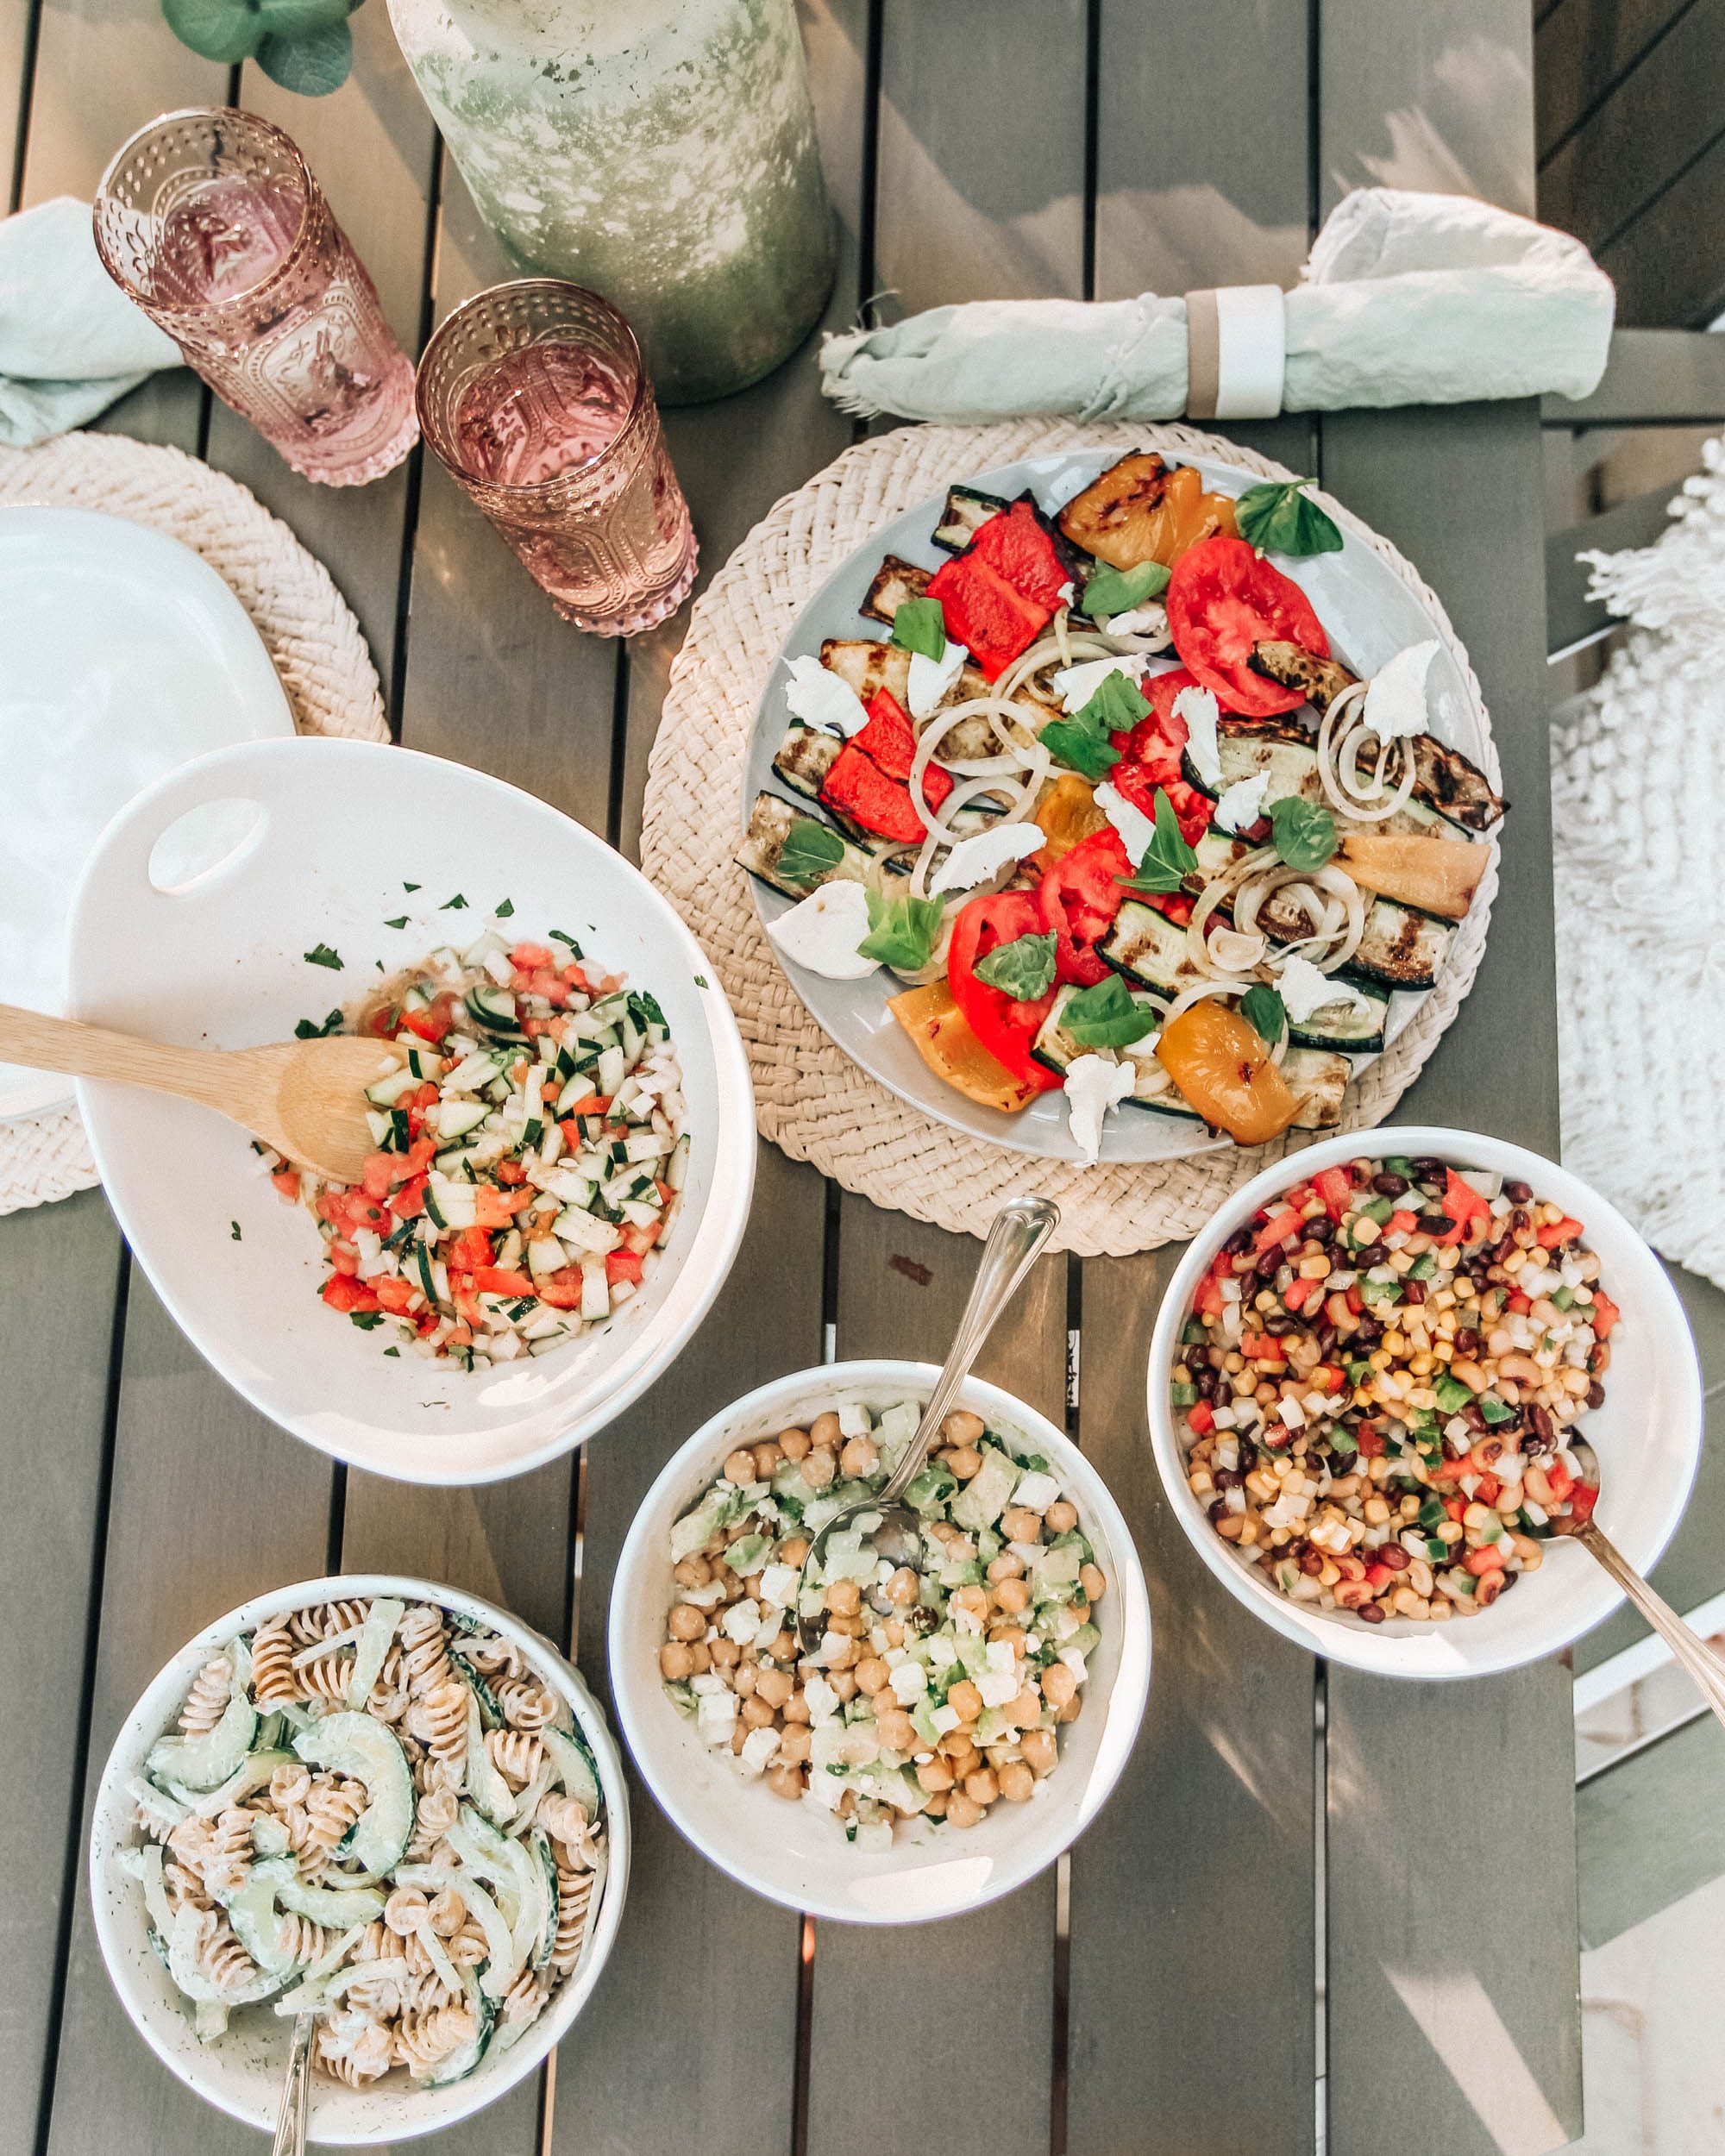
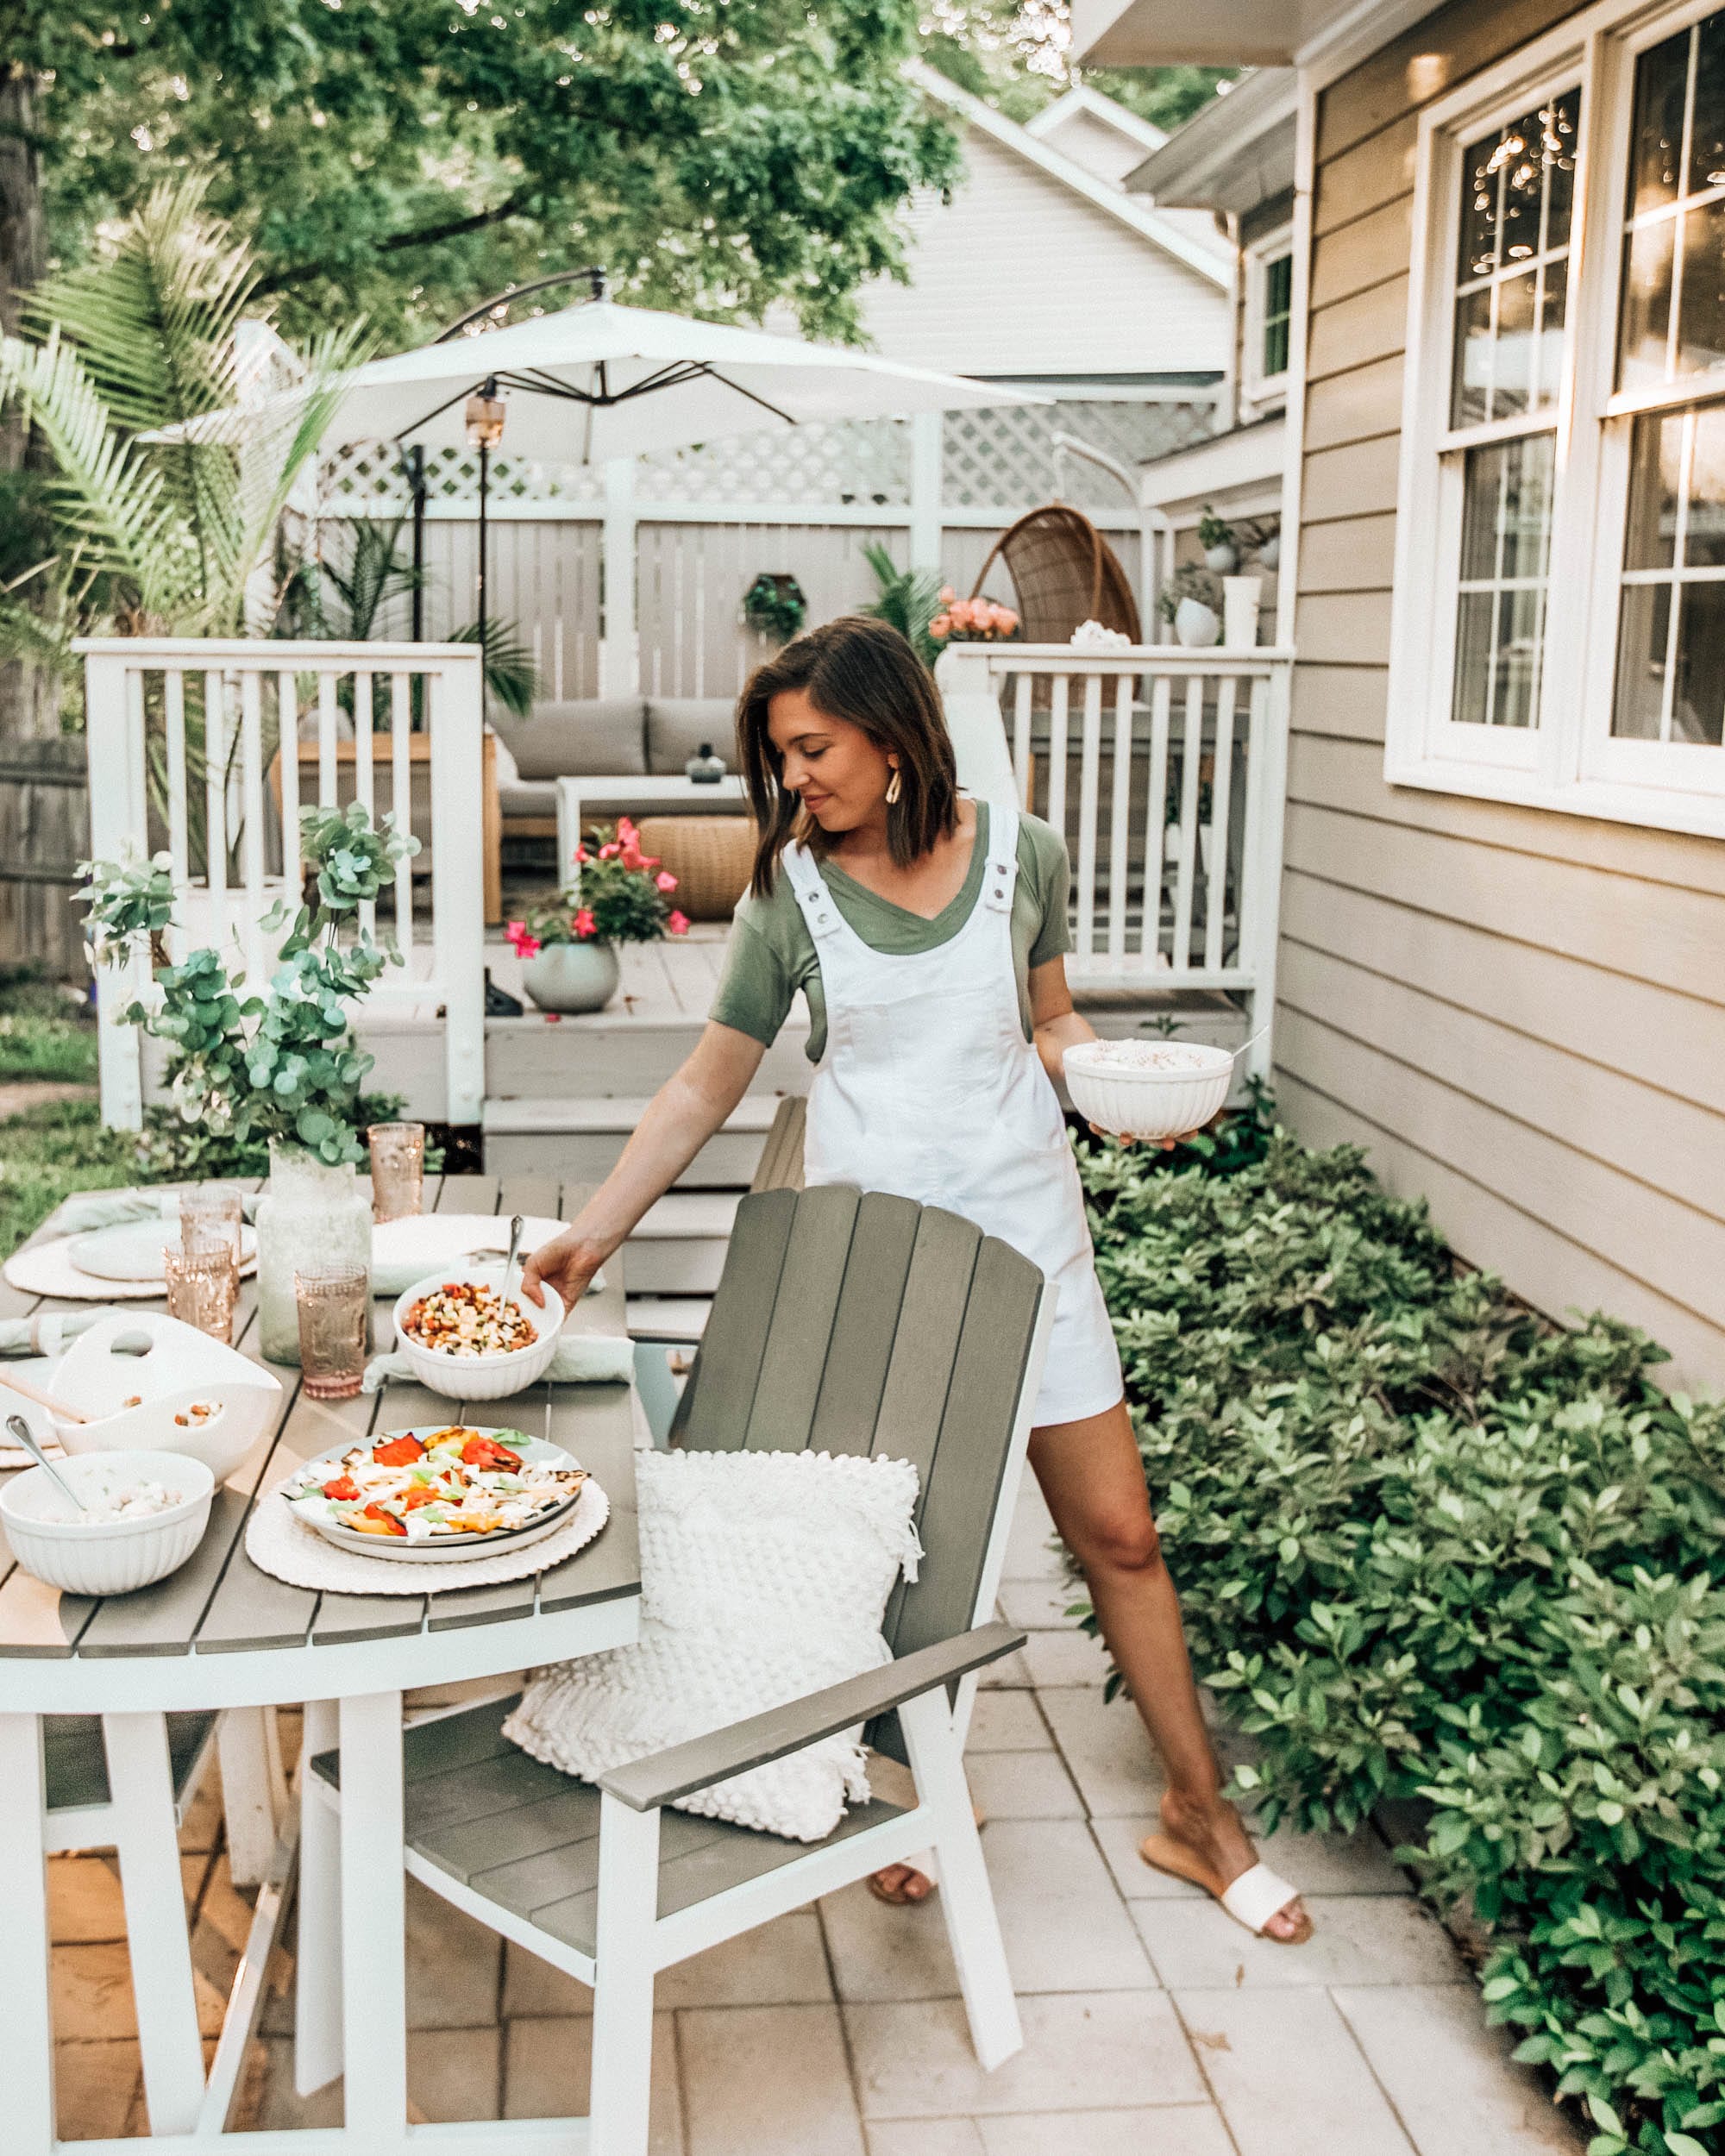
Cool and refreshing salads are one of the things I look forward to most about the summer months. Some of the best fruits and vegetables are in season and side dishes are where it’s at! When I was younger, I was on my neighborhood’s swim team and honestly my most memorable part of it was this mom’s pasta salad she would bring every Saturday for the team… wow, it was delicious and I still regret not asking for that recipe or finding out who’s mom it was. When it’s almost 100 degrees outside, I normally crave juicy tomatoes, cucumbers, onions, and any cold pasta salad you can think of.
I’m excited to share a few delicious salad recipes we tried out the other day! One similarity they all share is that they all use one special ingredient: a Vidalia onion! Vidalia onions are such a great addition to just about any summer recipe; they’re inexpensive and delicious but they have a pretty short season (April to August) due to their specific ideal growing conditions in southern Georgia.
While these are all delicious by themselves, some definitely go well with toasted bread or tortilla chips.
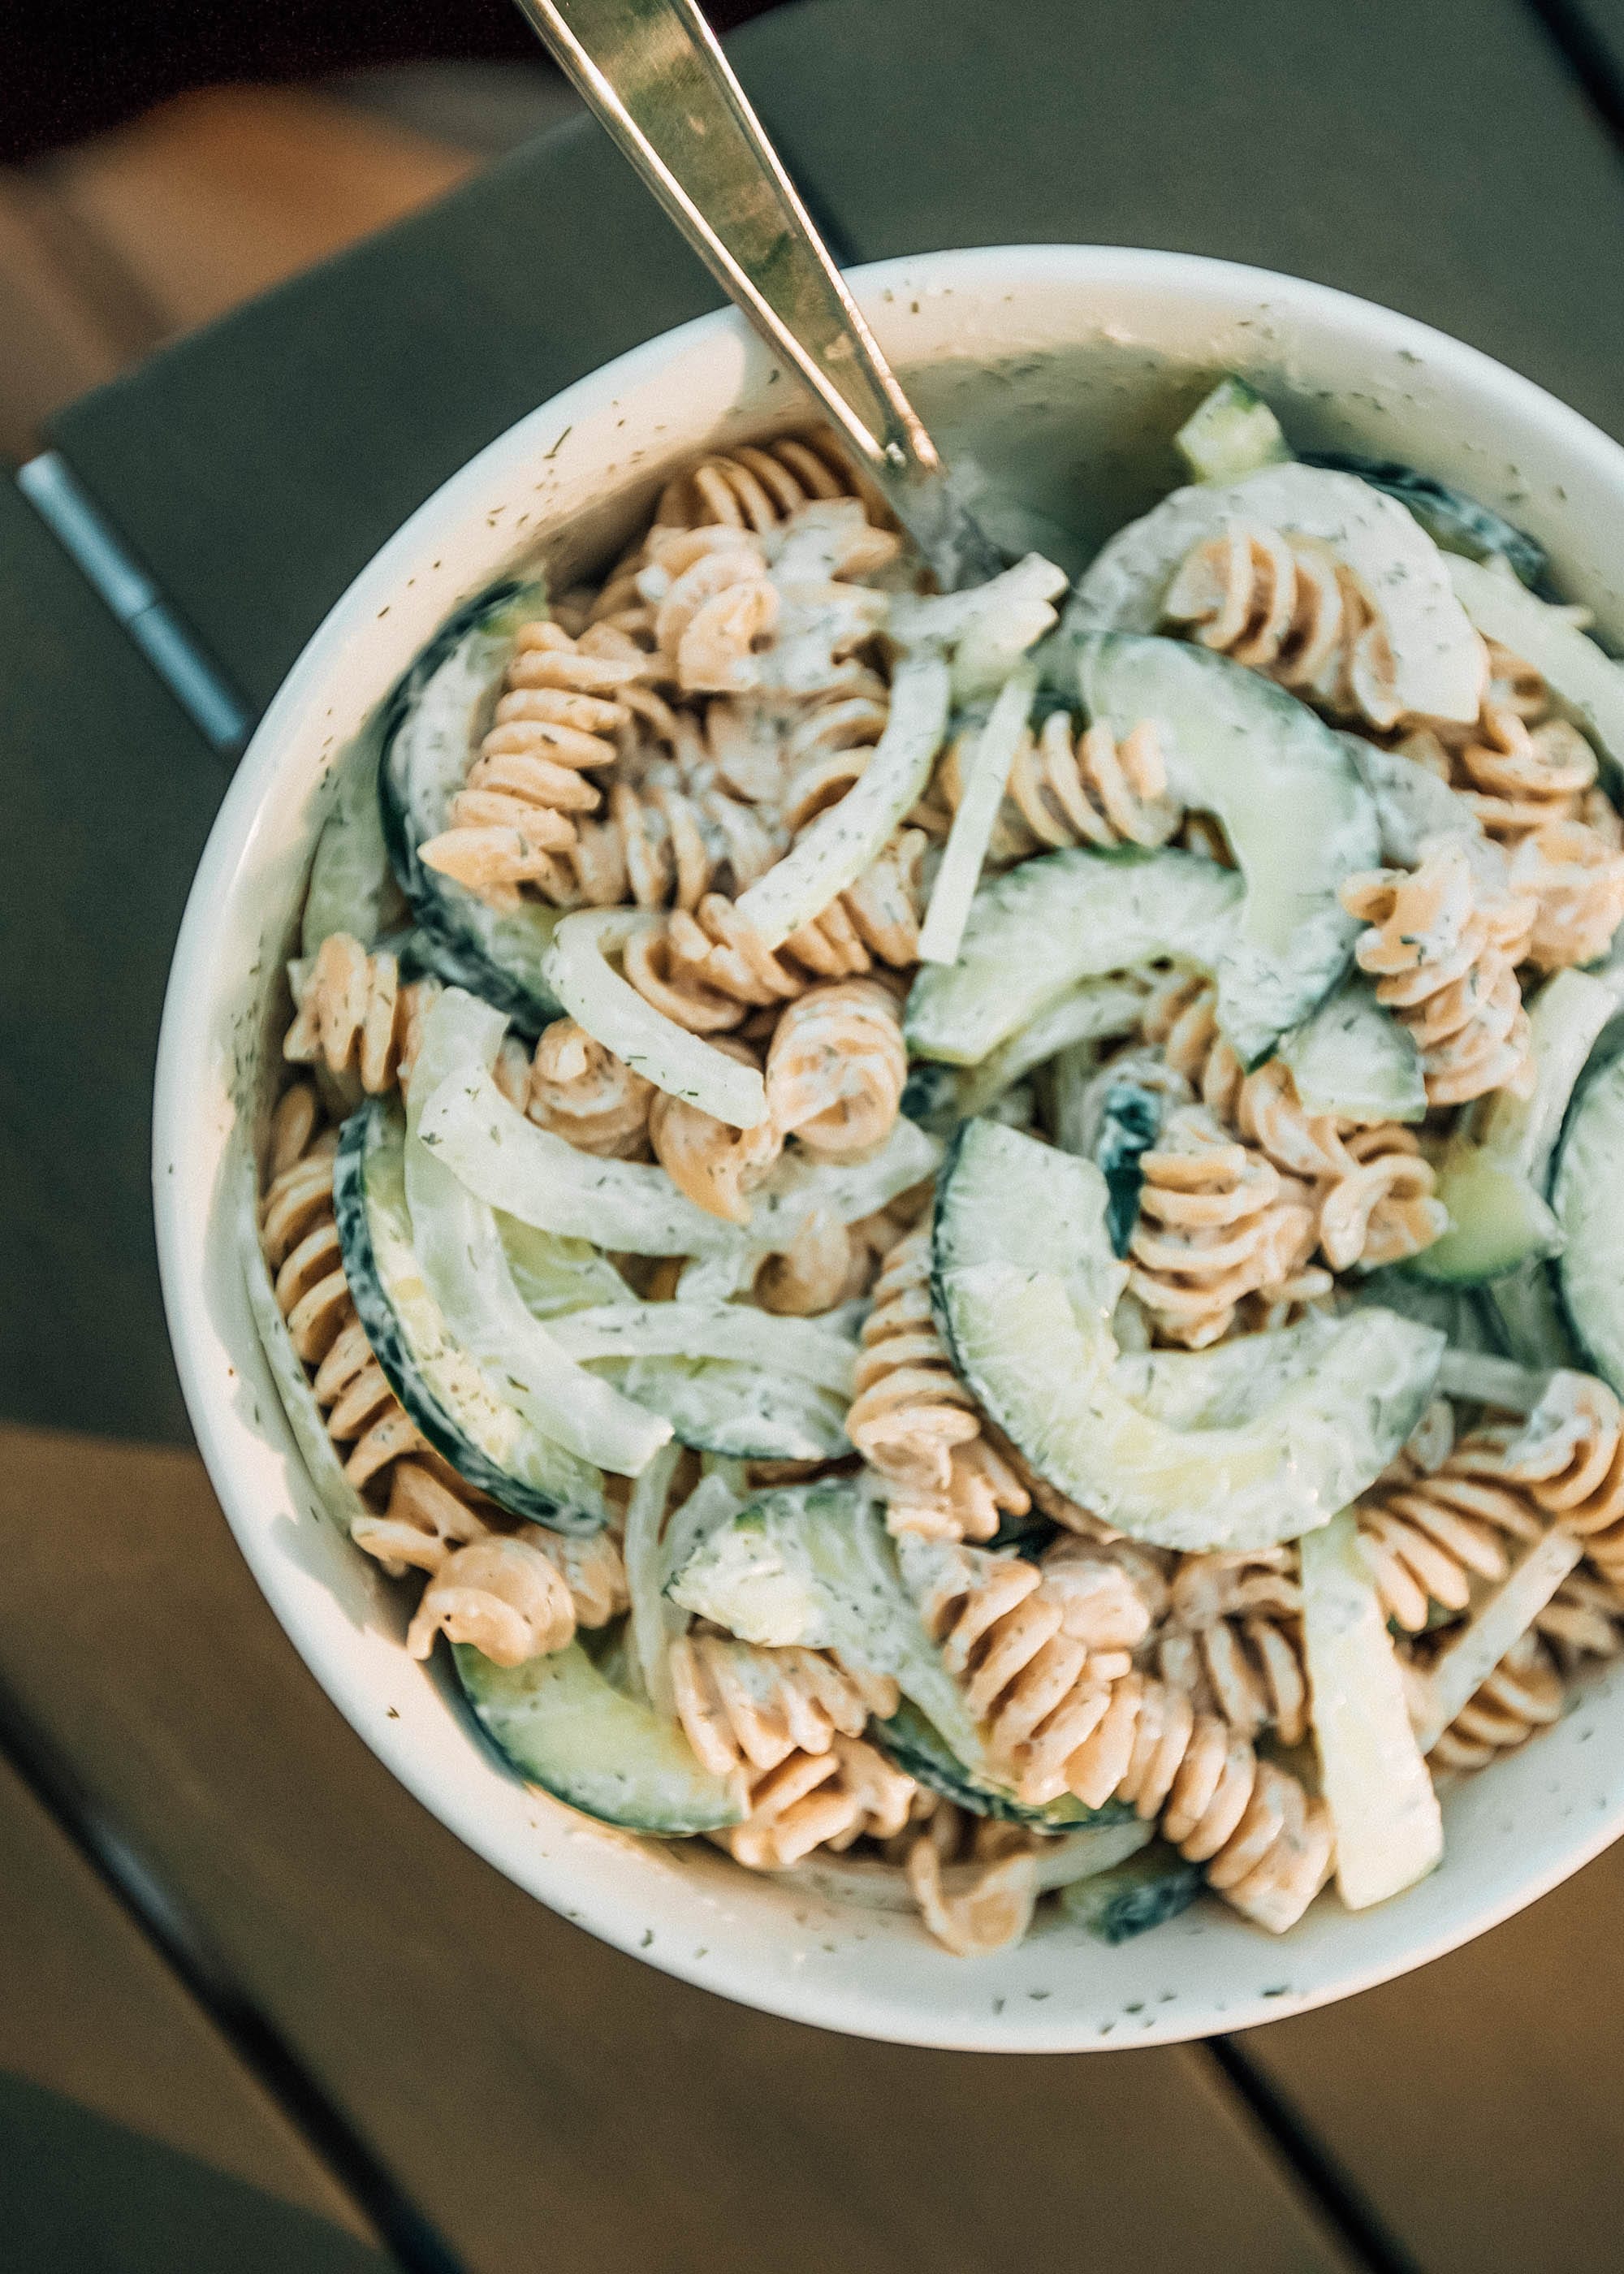
Creamy Cucumber Pasta Salad
This recipe is one of the easiest with the dressing taking up most of the prep work: ½ cup sour cream, ½ cup mayonnaise, 1 teaspoon sugar, 2 tablespoons of white vinegar, 1 teaspoon sugar, ½ teaspoon salt, and 2 tablespoons of fresh dill! Once this dressing is made, all you do is add to the pasta, chopped cucumbers, and chopped sweet white onions. Add pepper to taste. While I mix the dressing with the pasta, I just put in a little dressing at a time and mix so that I know I’m not adding too much, depending on the pasta amount.
Once everything is mixed together, let it chill in the fridge for 30ish minutes and then it’s good to go! This one is probably my favorite.
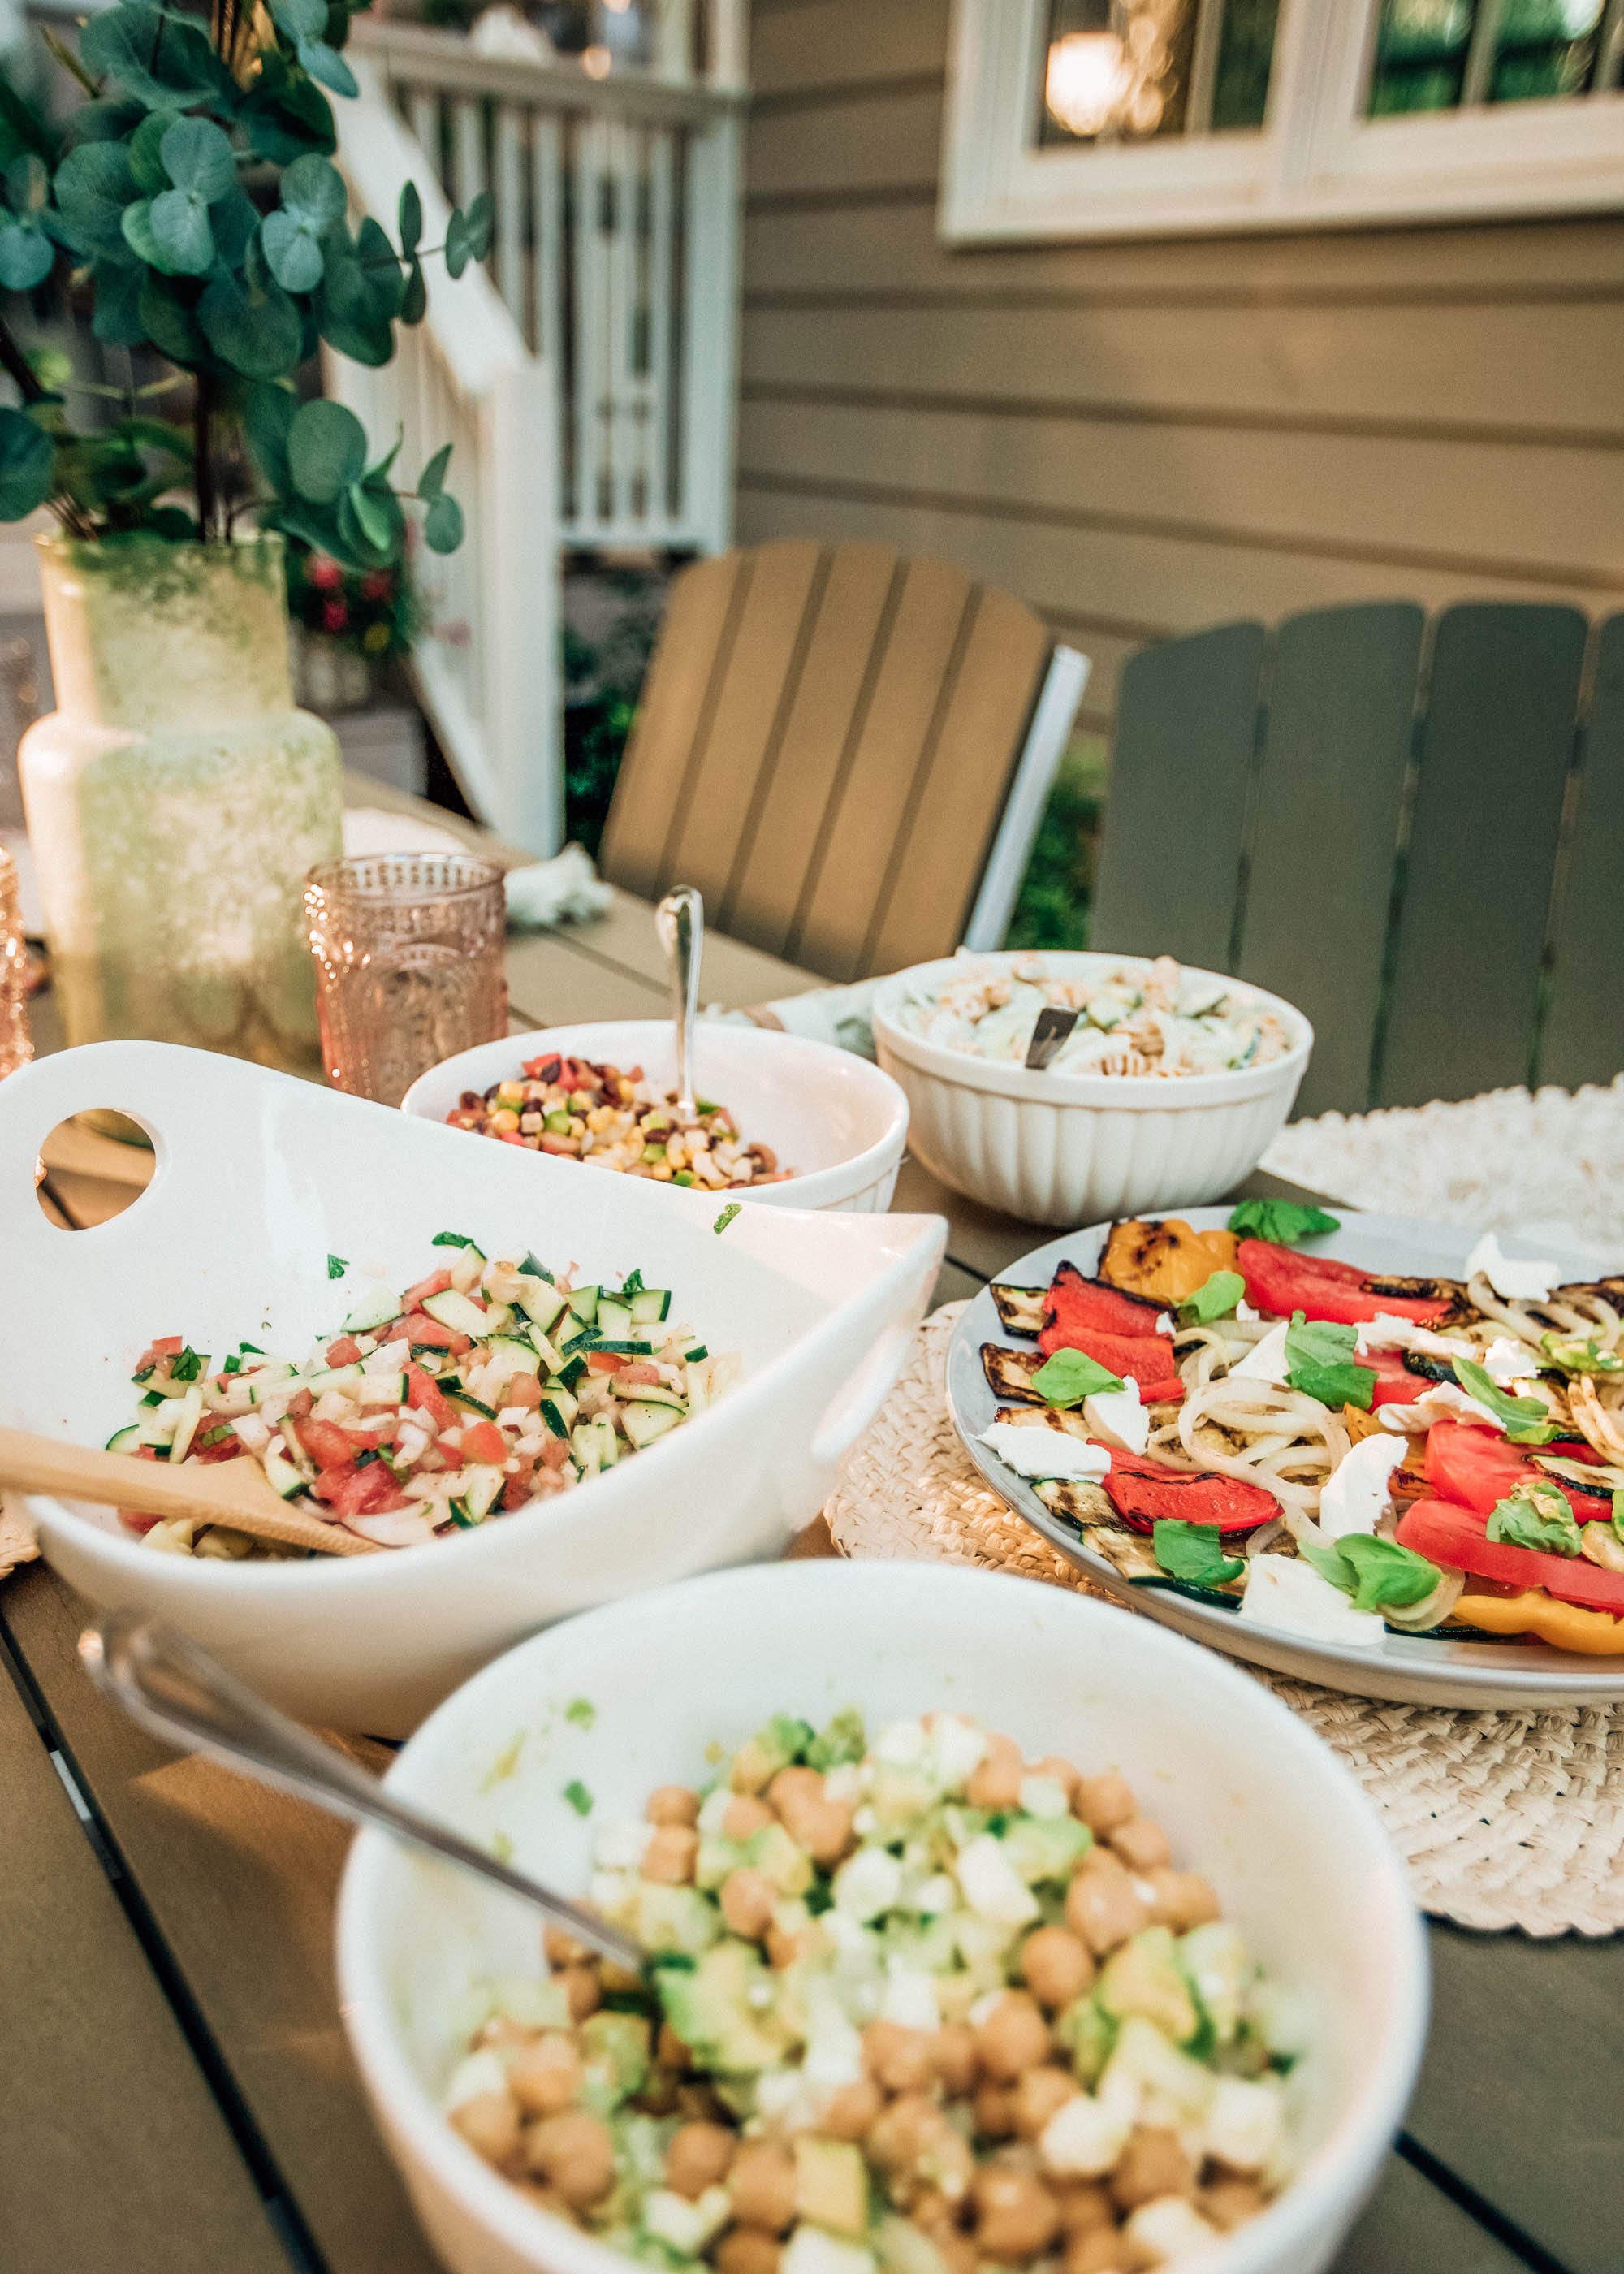
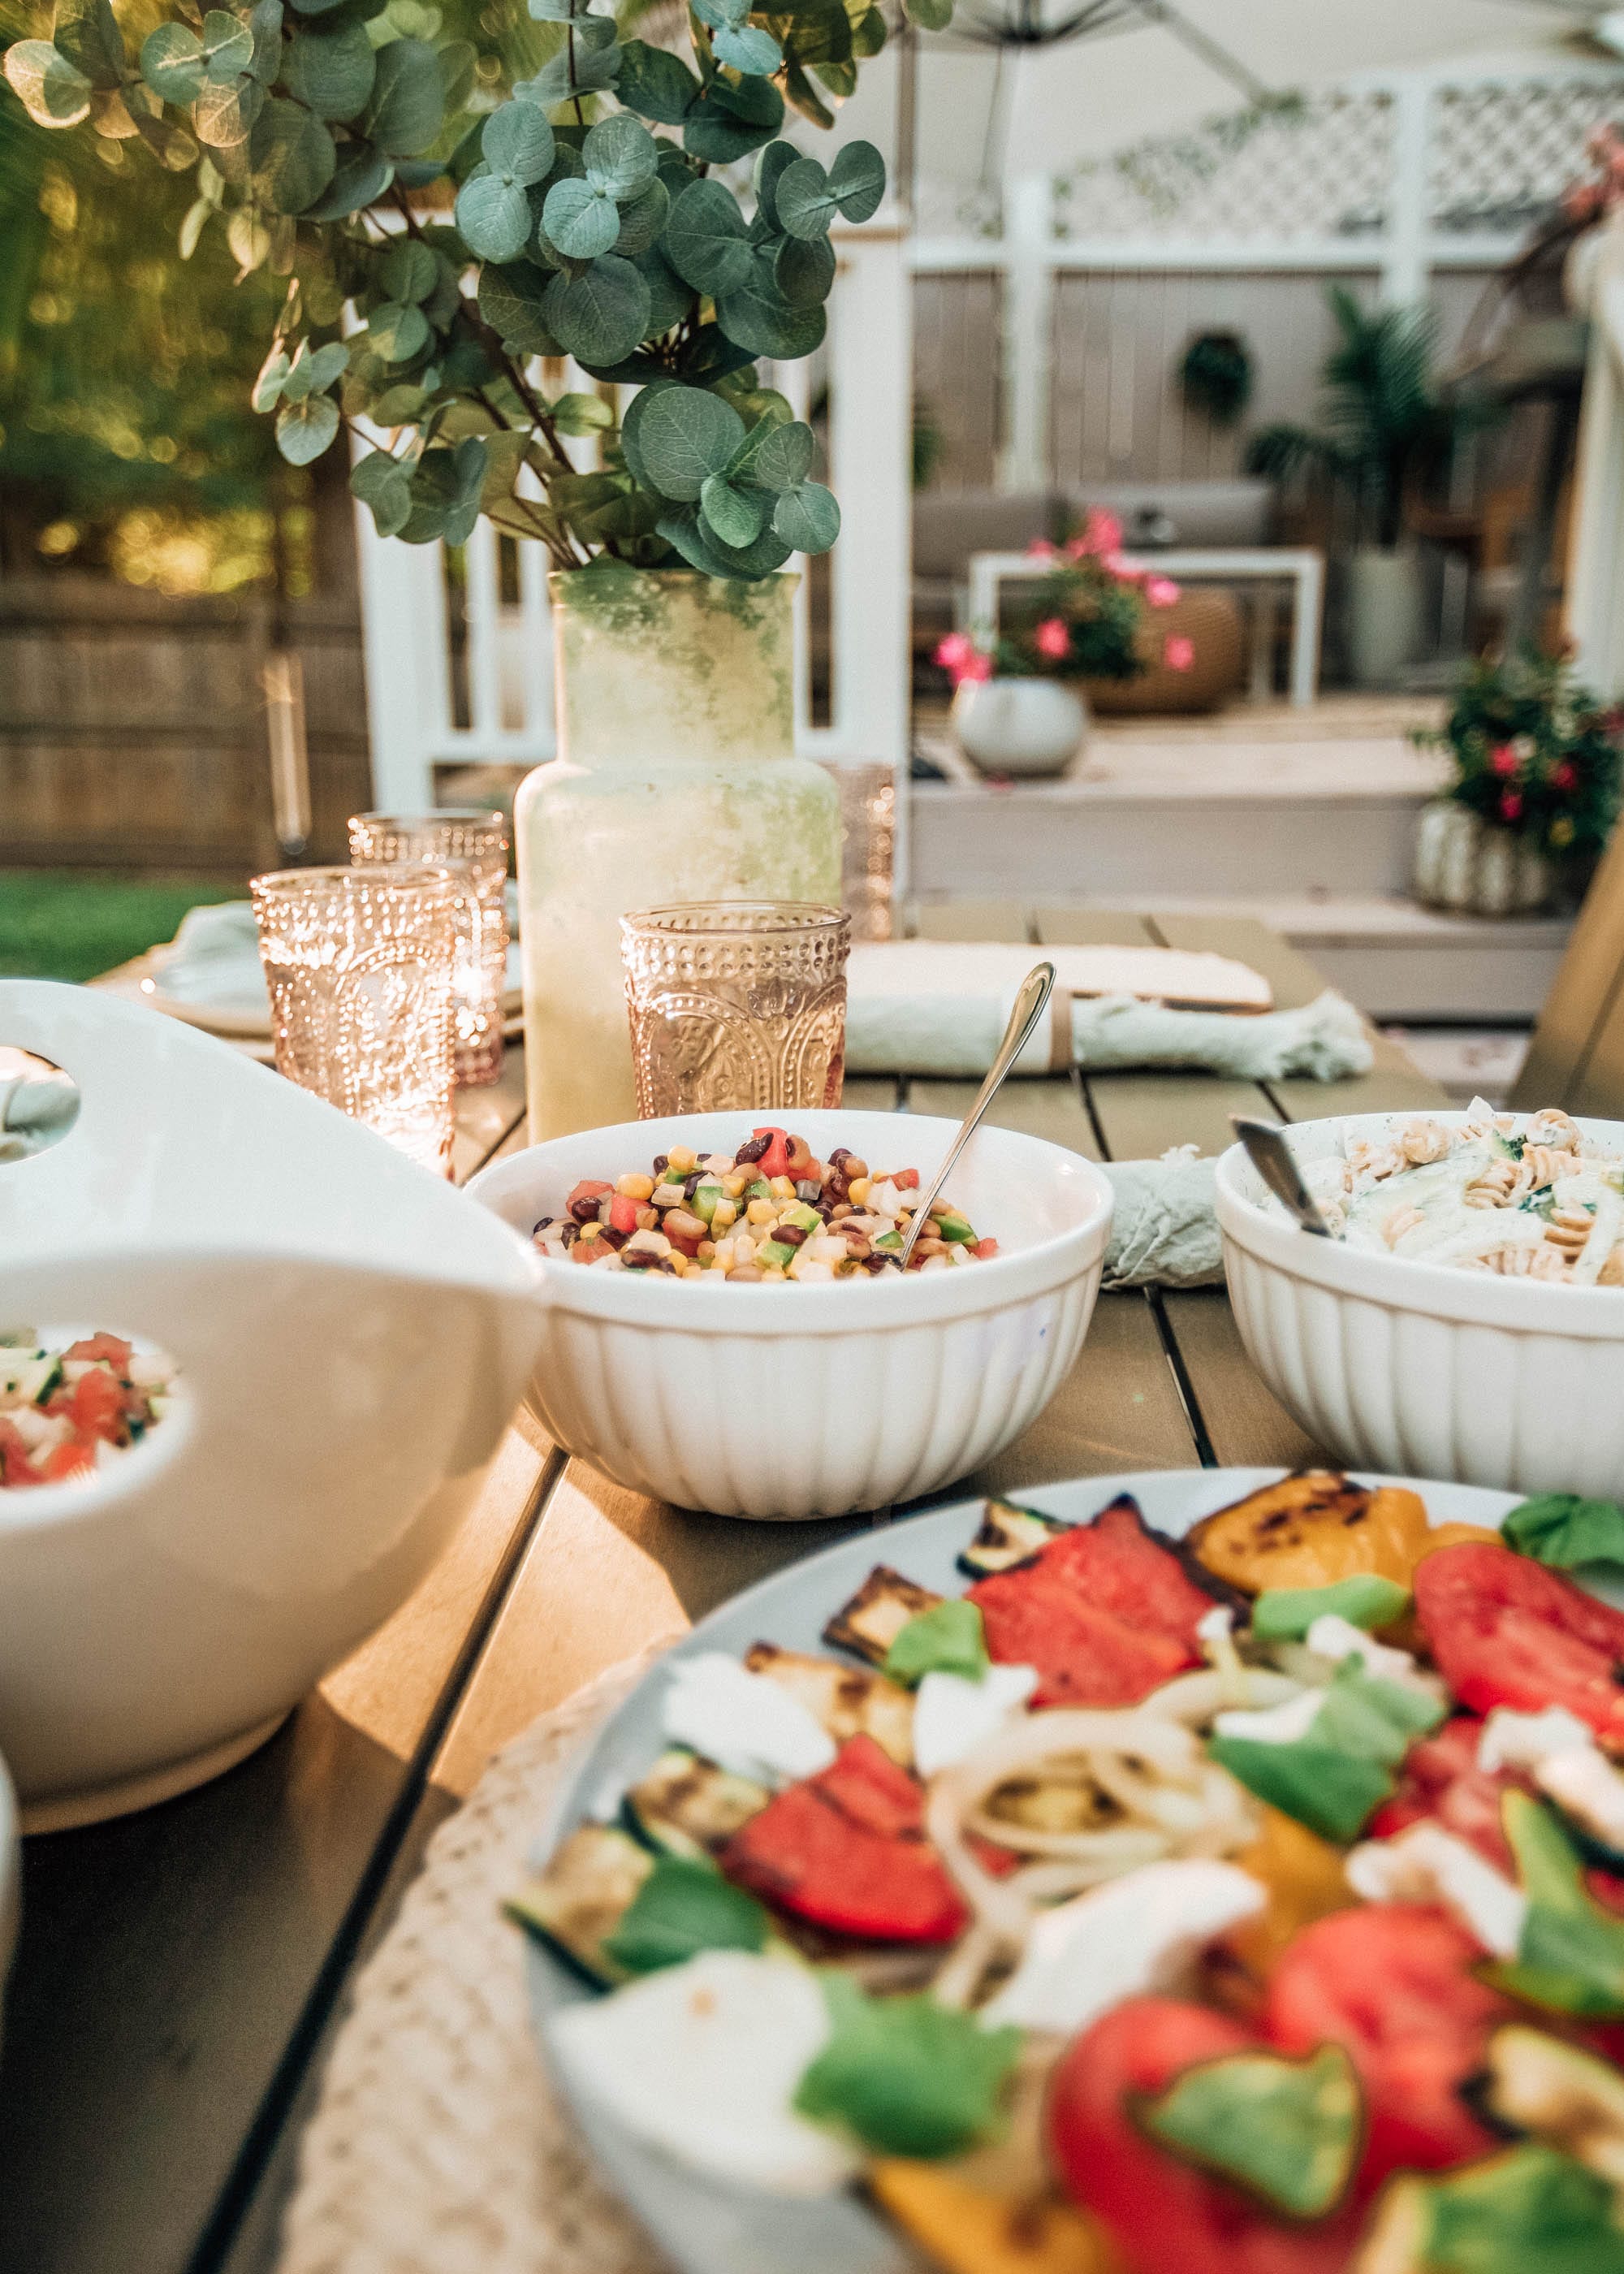
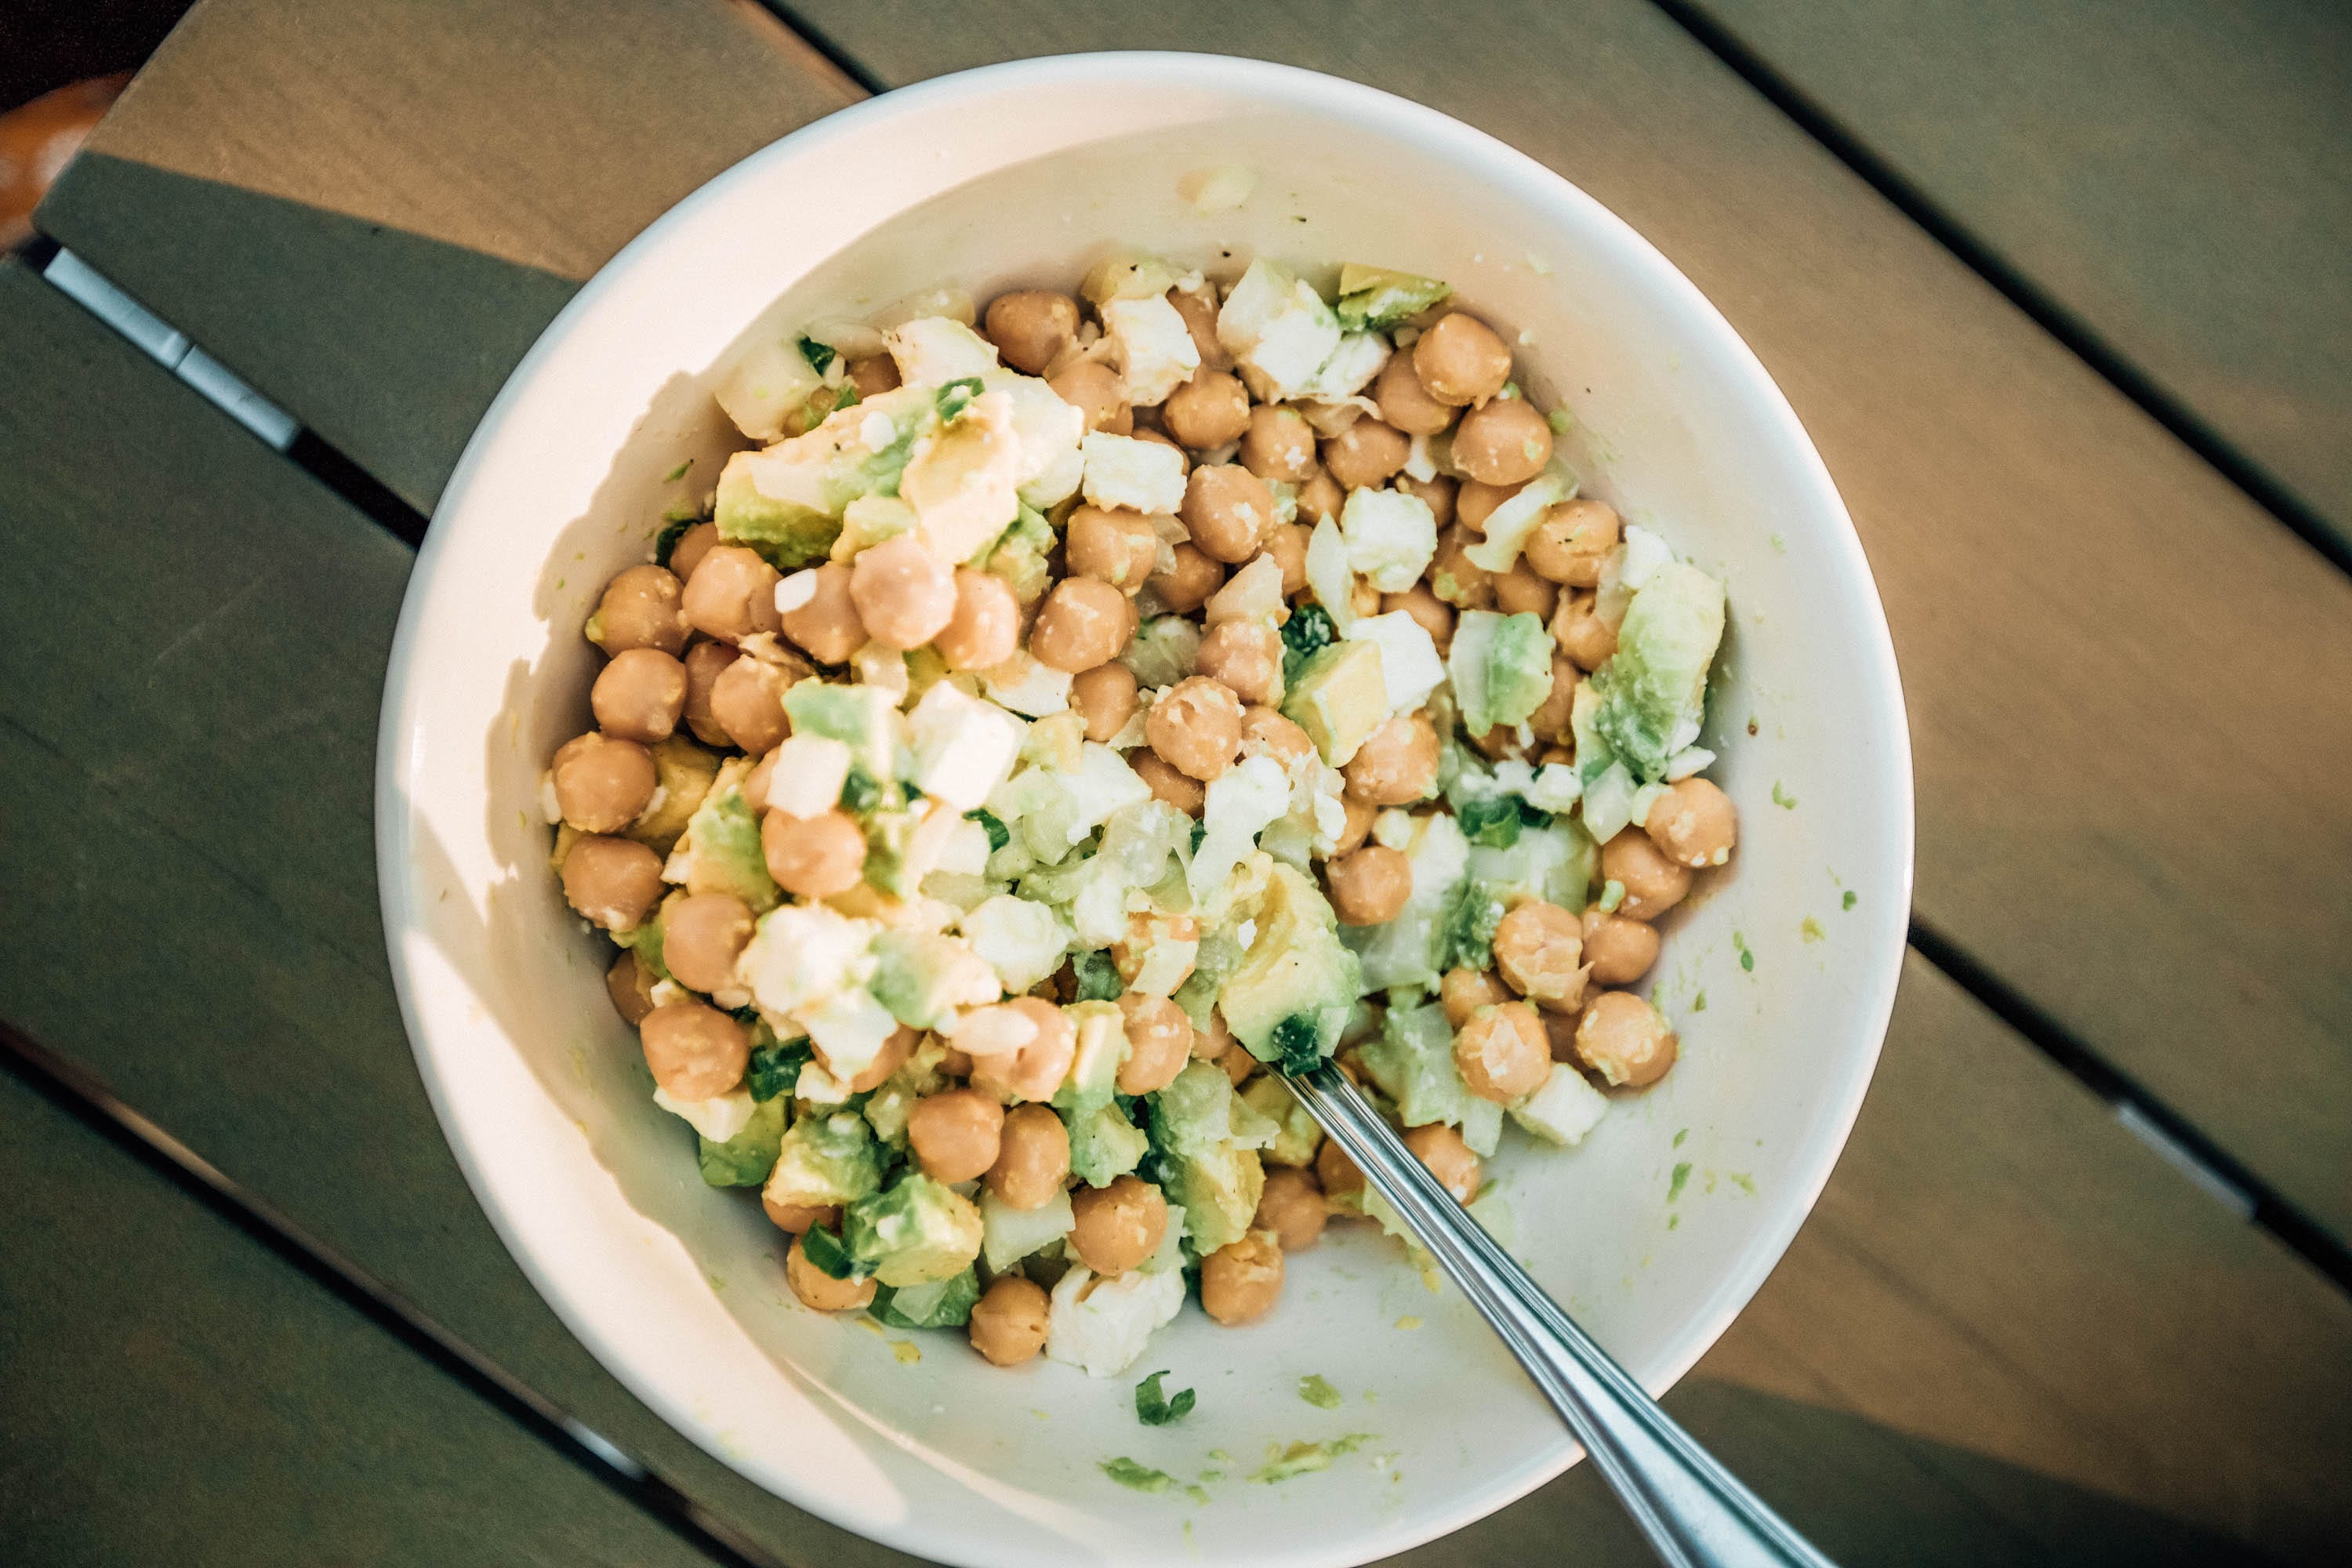
Avocado & Chickpea Salad
This one is another super quick one. You basically just get the following ingredients and combine in a bowl: 1 can of drained chickpeas, 2 avocados chopped, ⅓ cup of cilantro, lime juice, ⅓ cup feta cheese, 2 tablespoons of green onion, and chopped sweet white onion. Just stir all of the ingredients together and then add salt and pepper as needed.
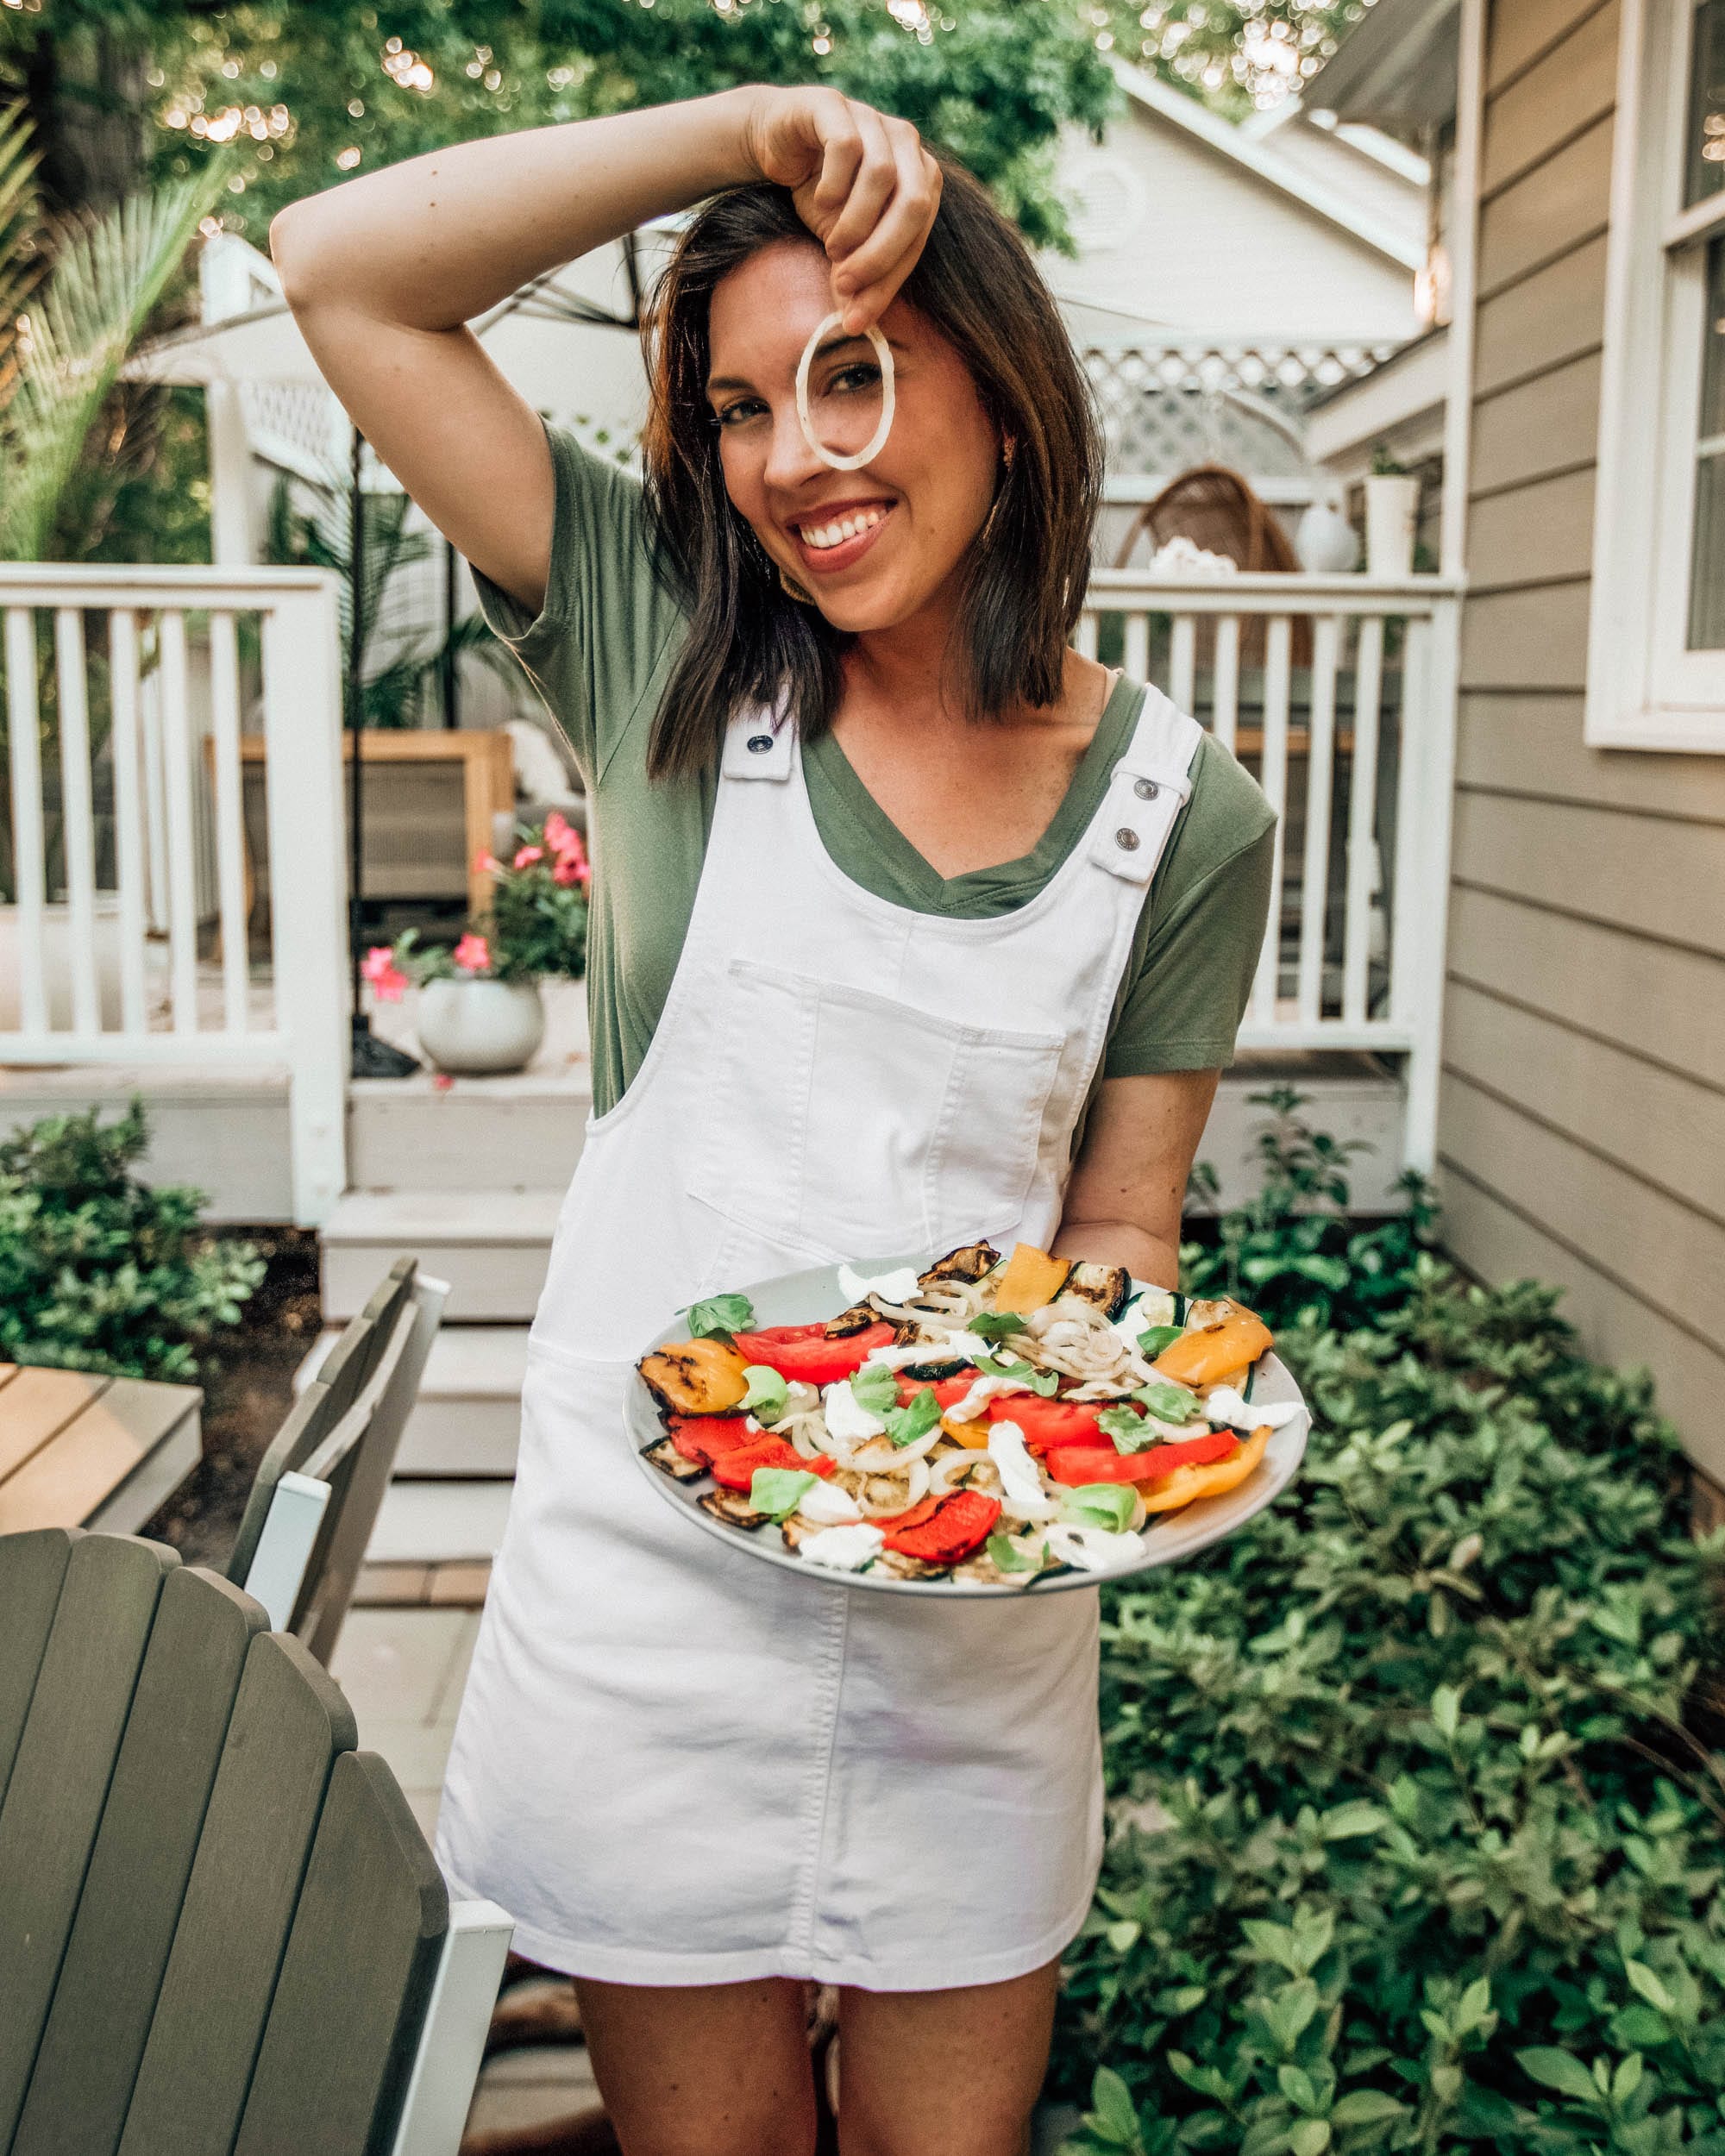
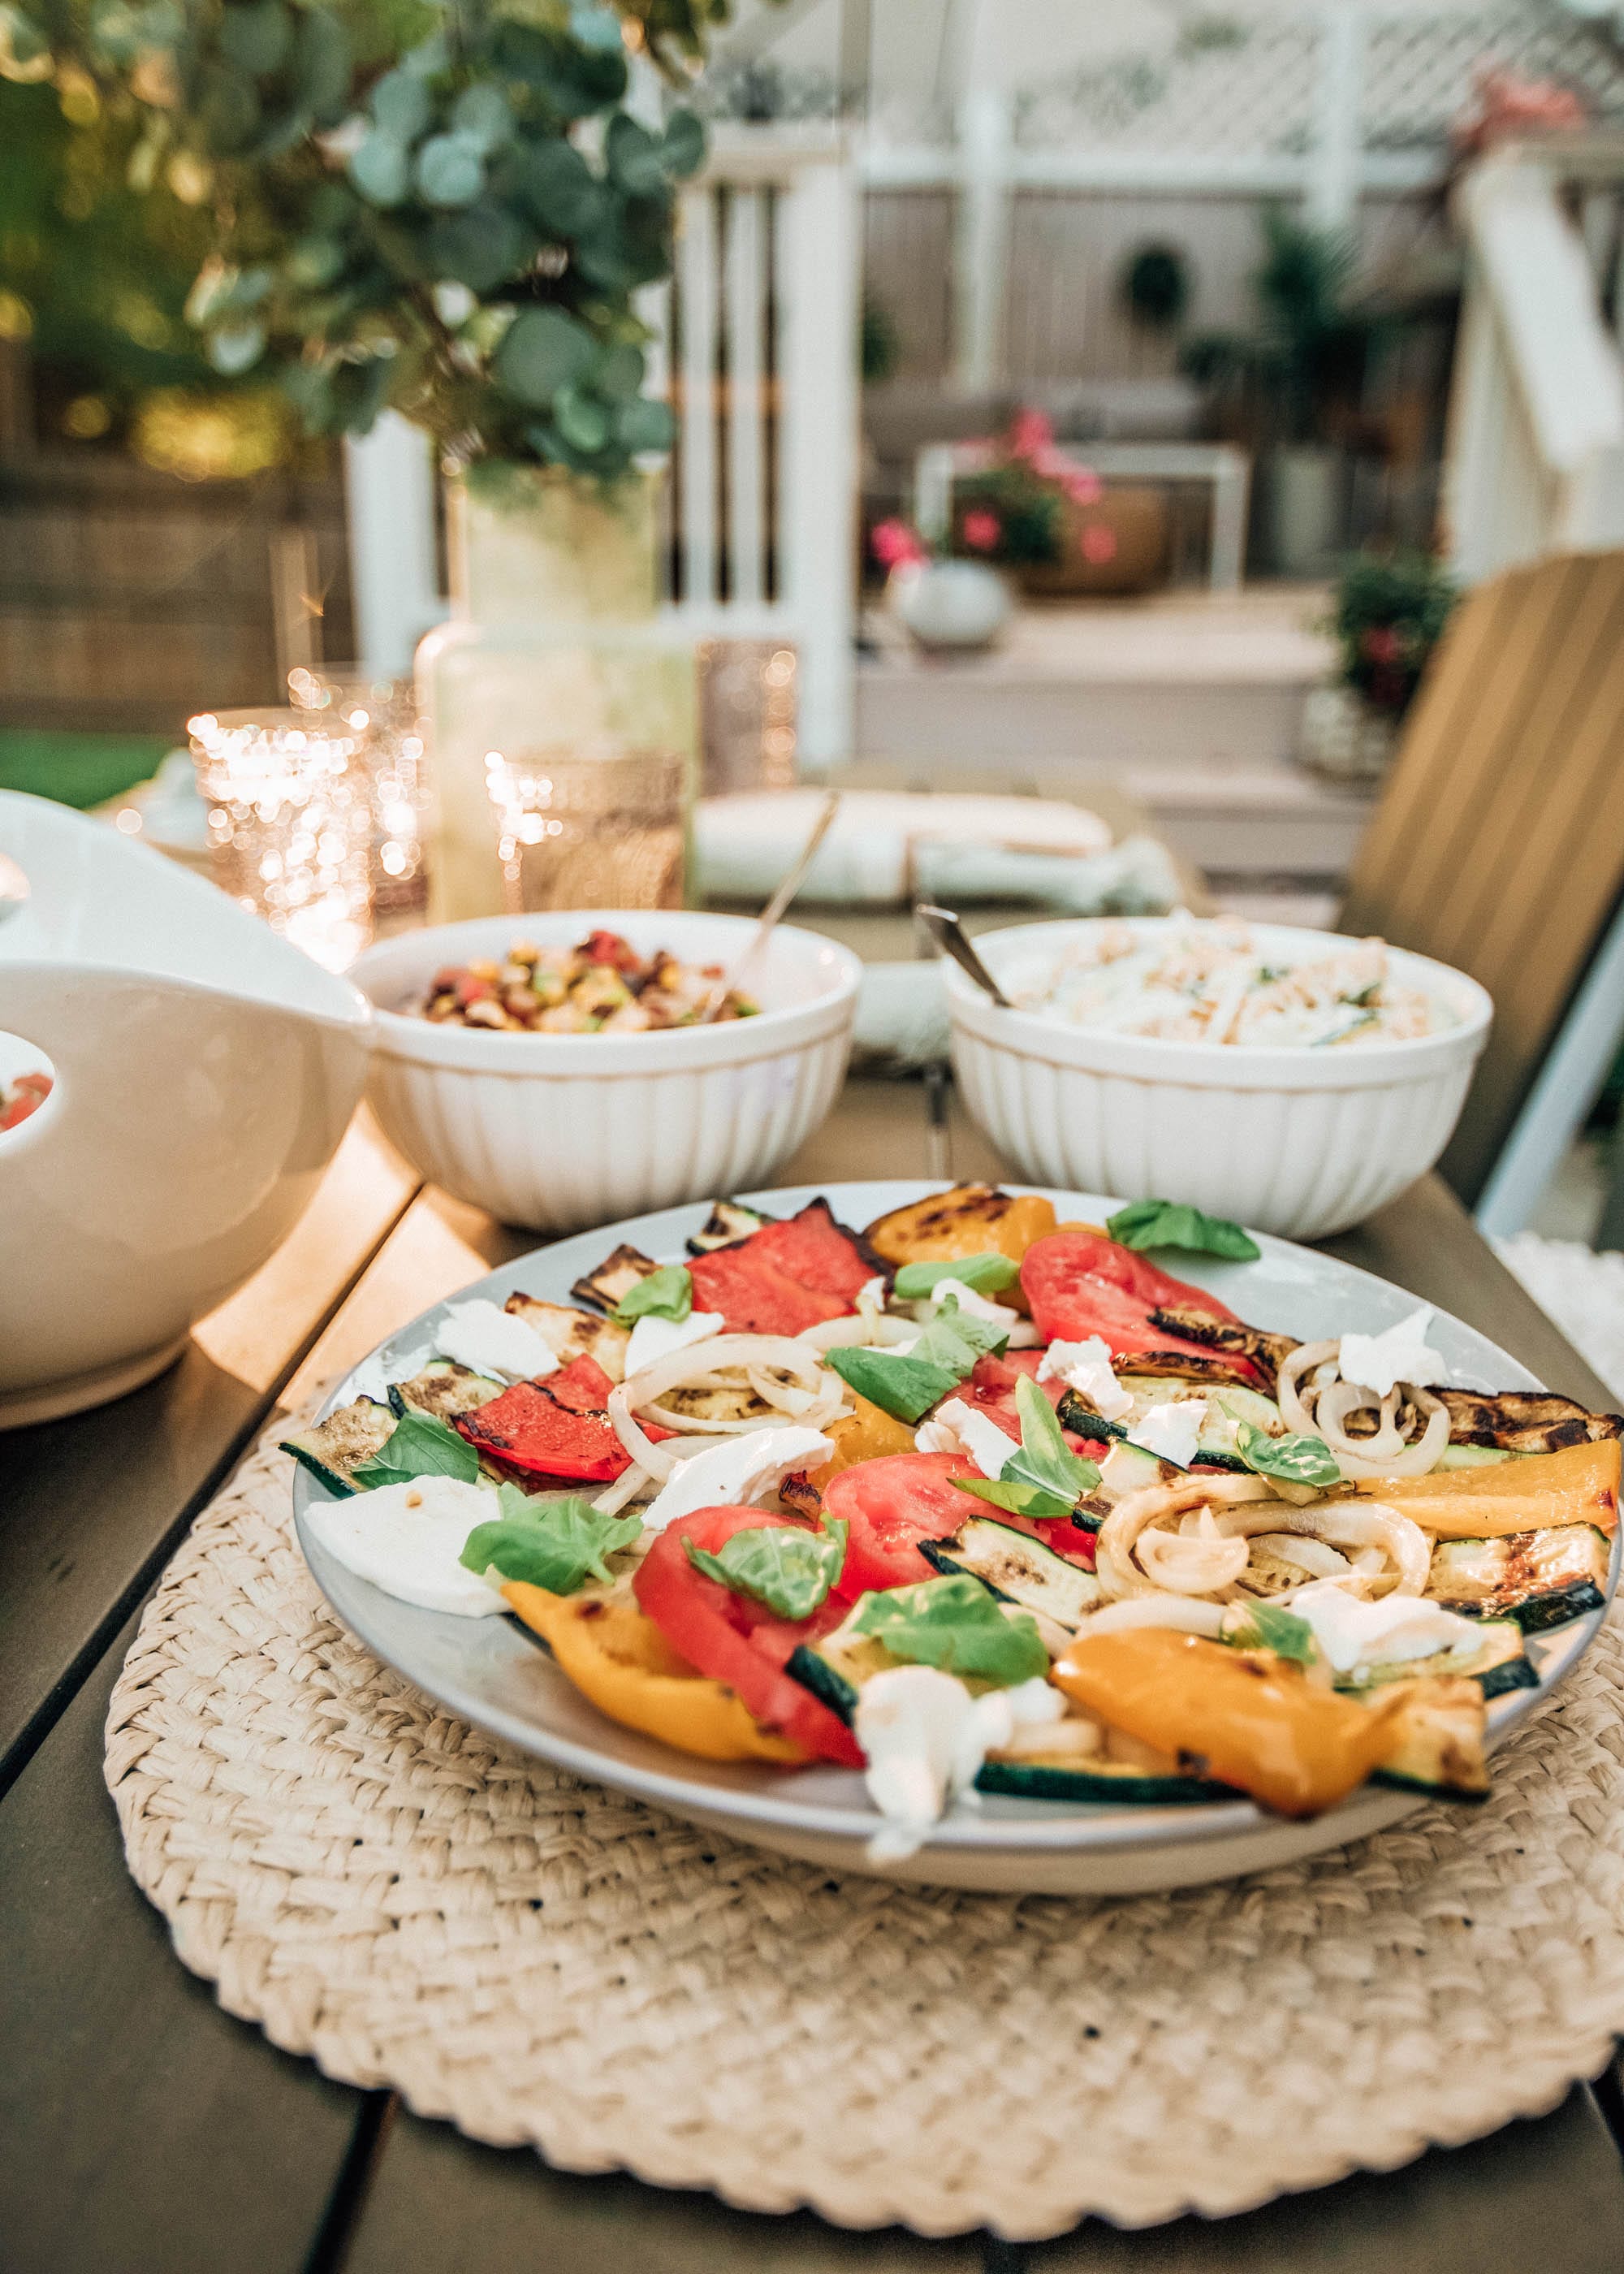
Grilled Vegetable Caprese Salad
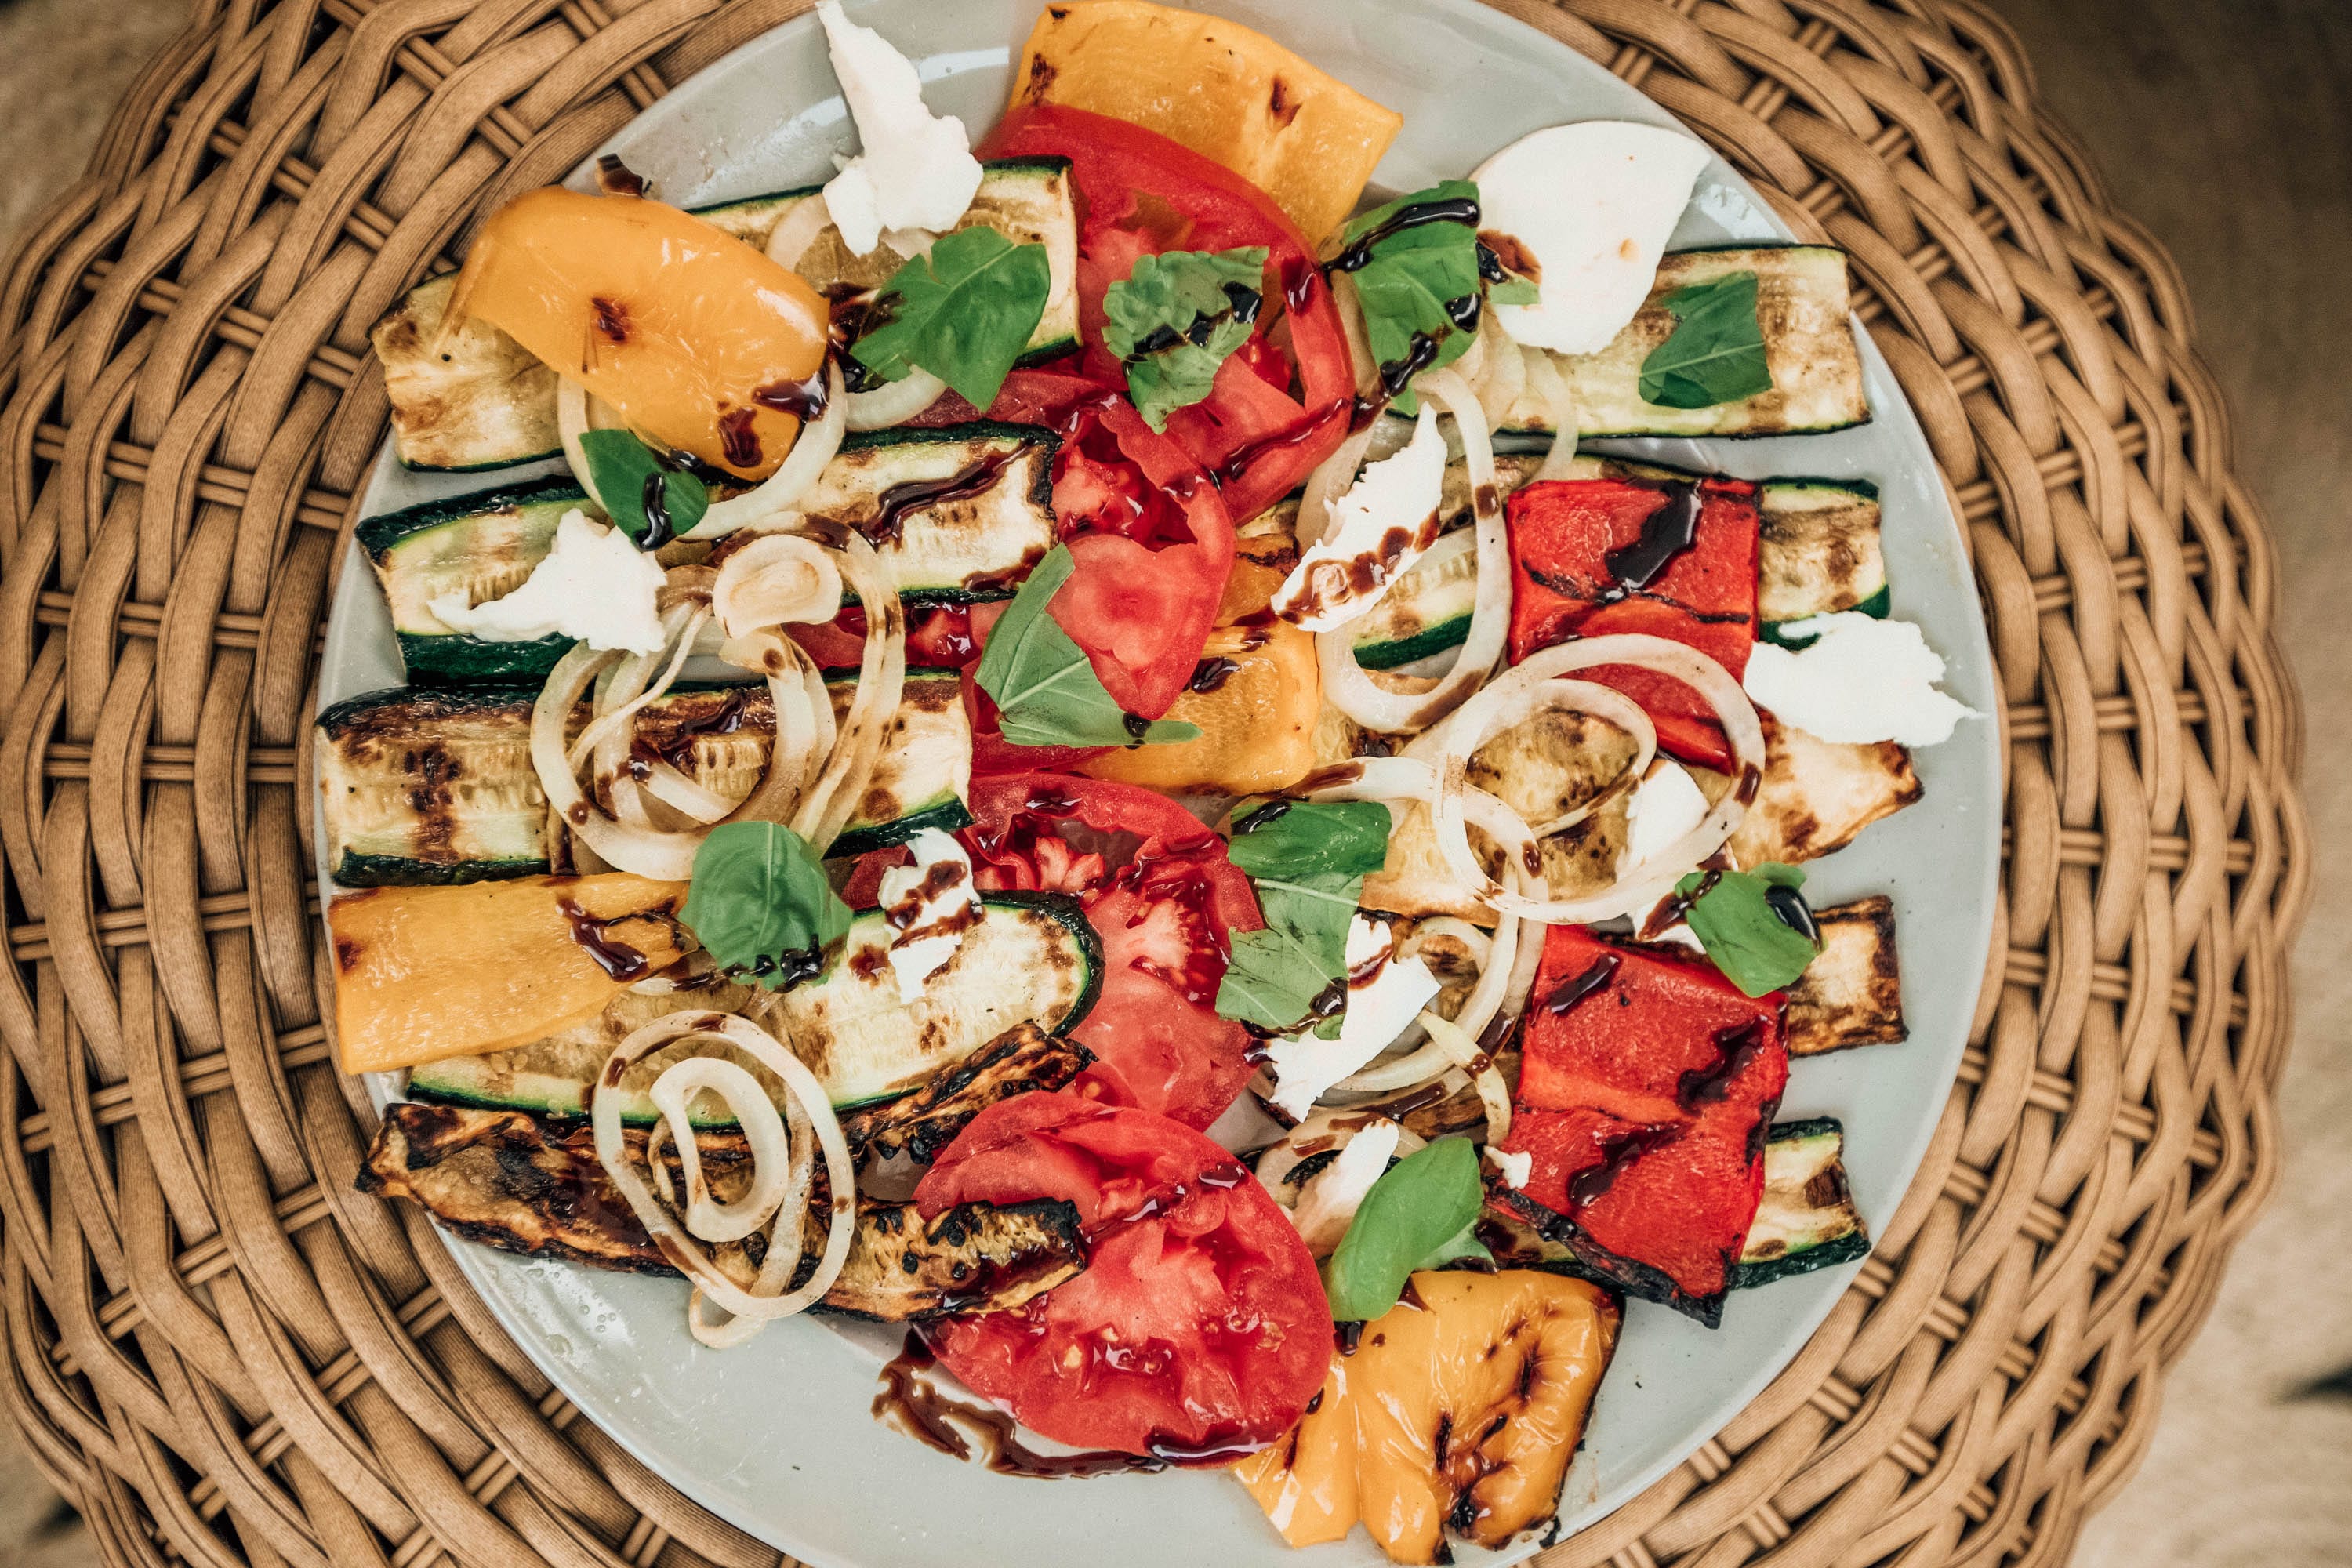
If you’re craving some grilled veggies, this one is for you!
Ingredients:
2 medium zucchini and 2 medium squash (slices into ¼ in. long rectangles)
1 or 2 vidalia onions (I love these so I like more)
2 sweet bell peppers
1 large tomato cut into slices
1 large ball of mozzarella cheese
2 tablespoons olive oil
5ish leaves of fresh basil
2 tablespoons of balsamic vinegar or glaze (I used glaze)
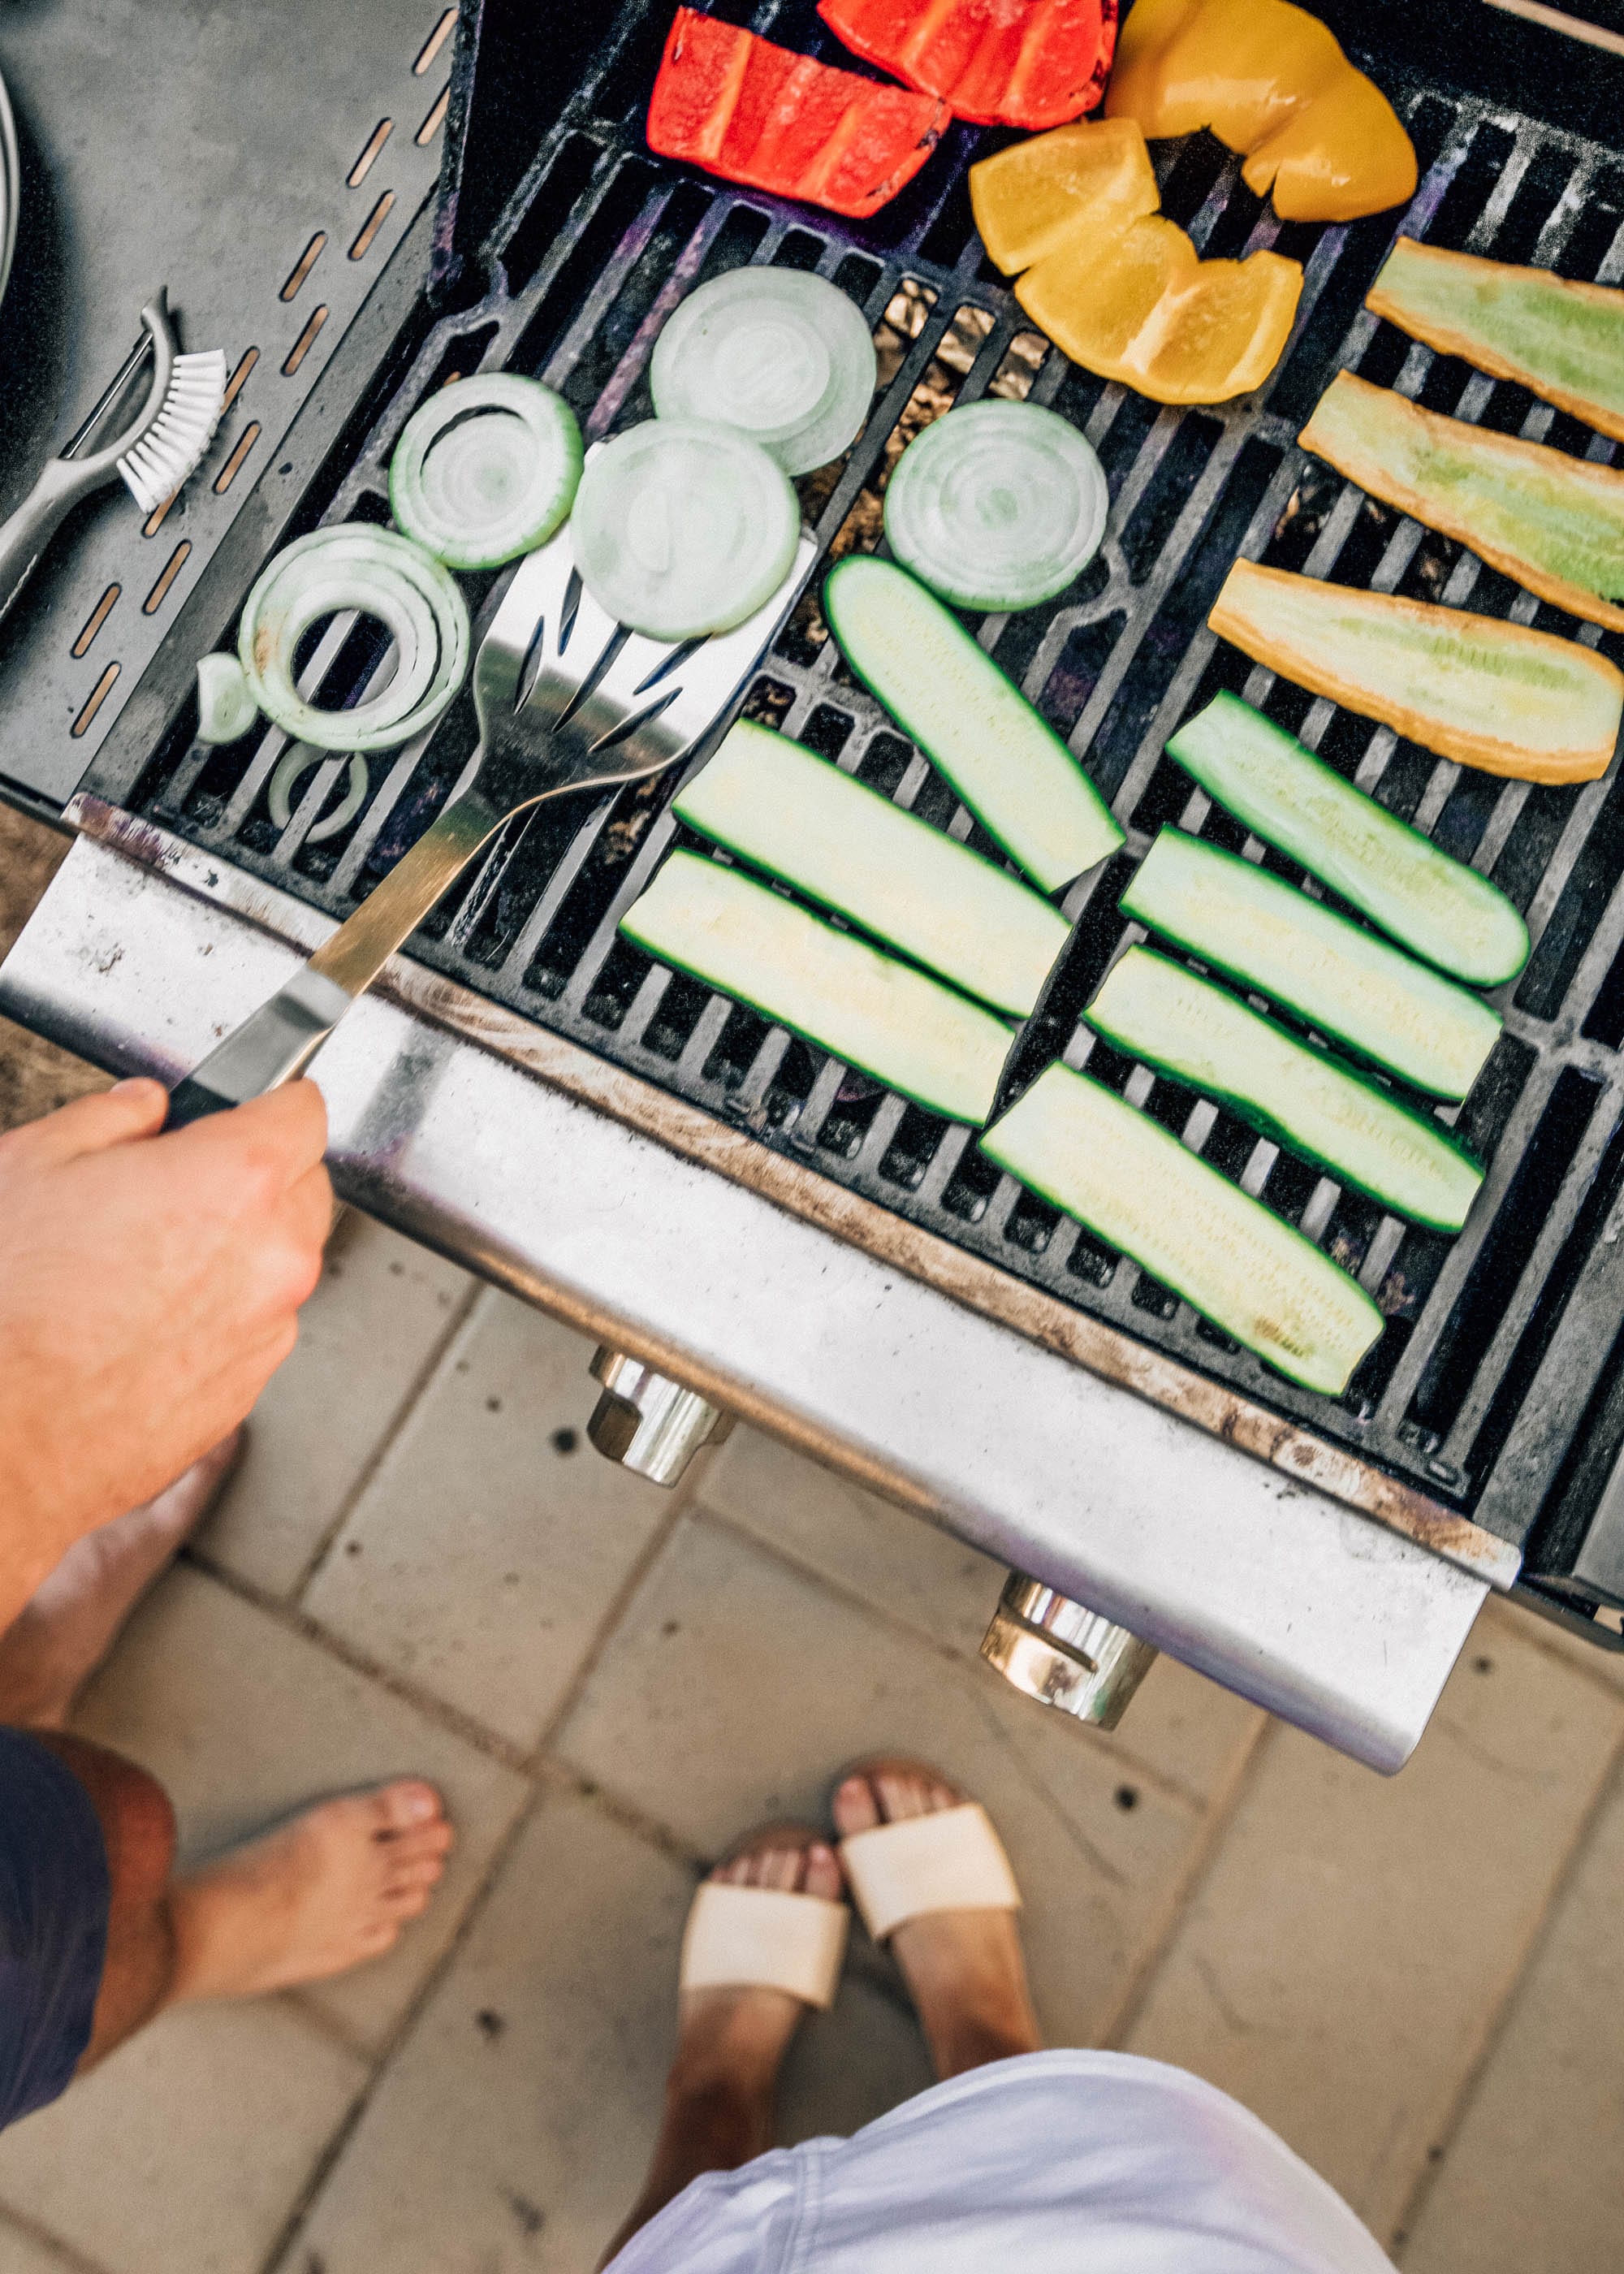
Heat up the grill (about 425) and brush all of the veggies with olive oil! Place them on the grill once it’s heated up and cook each slide for about 3 minutes each. After their cooked, transfer them to a sheet pan. This is when you’ll slice the mozzarella into rounds, place everything on a platter, stack the basil, and drizzle the balsamic!
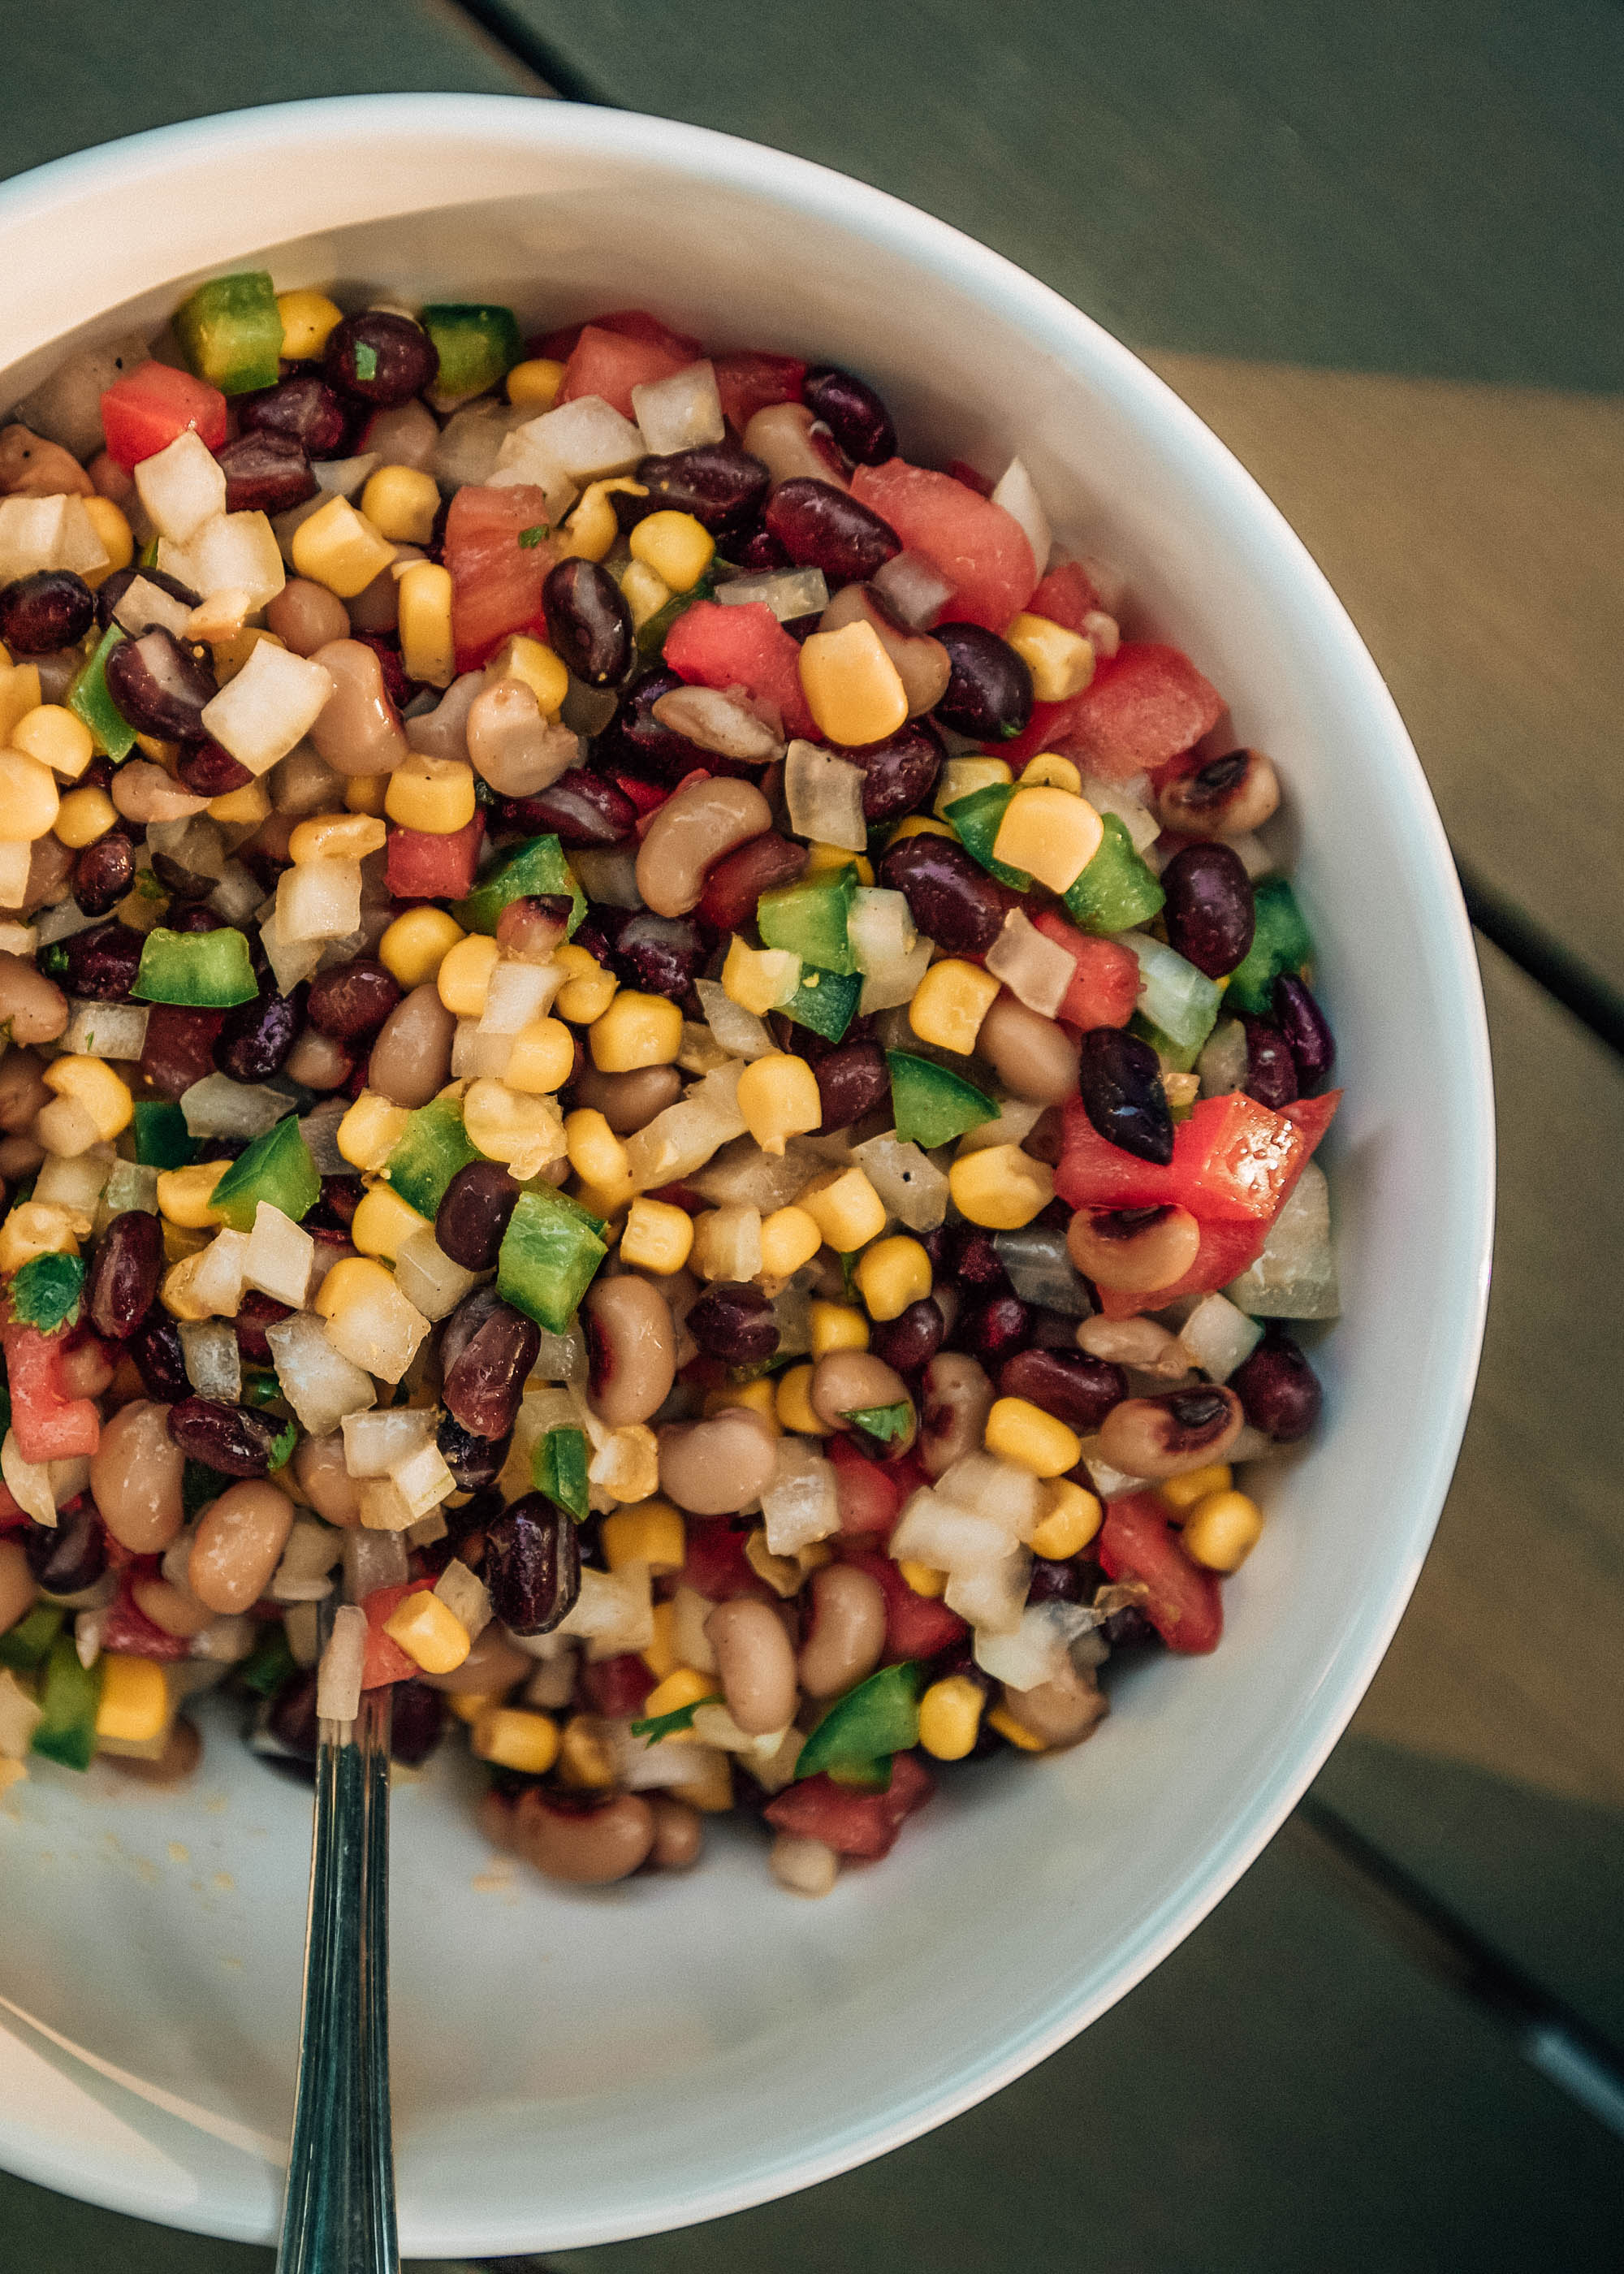
Cowboy Caviar
This recipe uses a long of ingredients but the instructions are simple: combine in a bowl. You can use this as a salsa with chips, top over chicken or fish, or use with tacos/quesadillas!
Ingredients:
1 can Black Beans
1 can Blackeye Peas
1 can Corn
1 bell pepper diced
1 large white onion diced
1 Heirloom tomato diced
1 cup cilantro chopped
1/3 cup olive oil
1/4 cup apple cider vinegar
2 tablespoons honey or agave
2 tablespoons lime juice
1 teaspoon kosher salt
1/2 teaspoon ground black pepper
1 teaspoon garlic powder
1 teaspoon chili powder
1/2 teaspoon ground cumin

Chopped Tomato, Onion, and Cucumber Salad
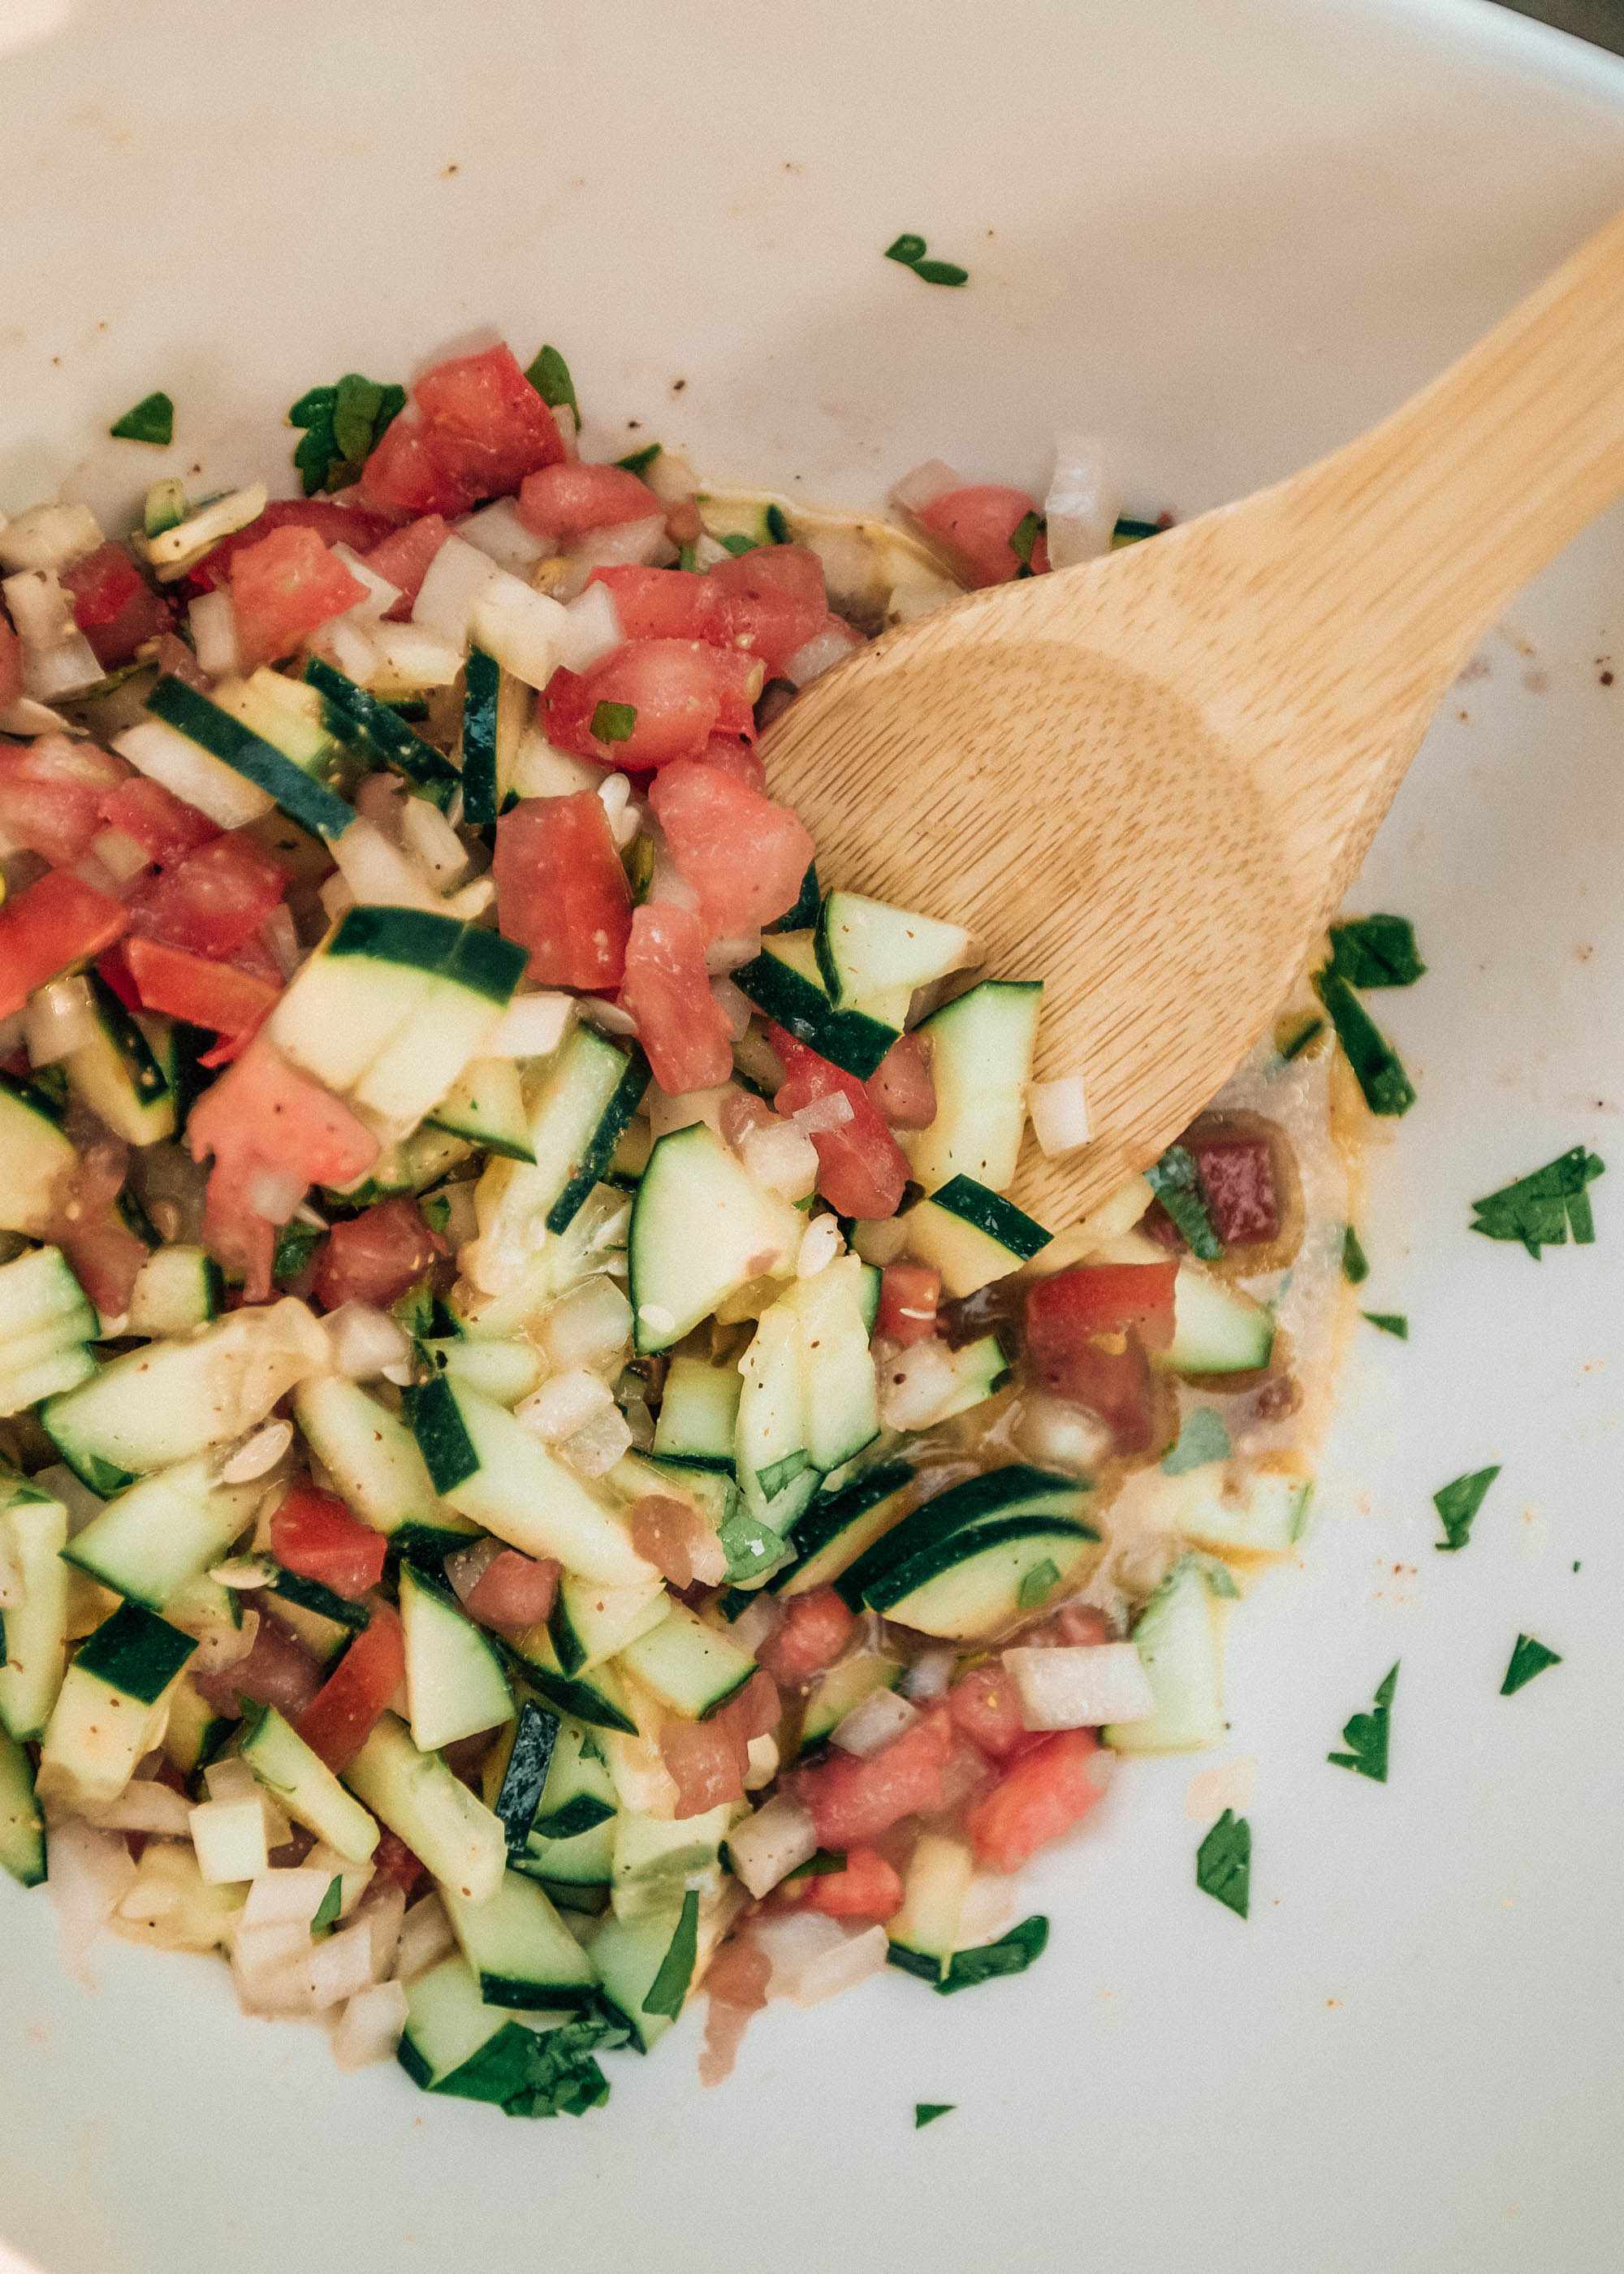
Another very easy recipe. Chop 1 large heirloom tomato, 1 large sweet Vidalia onion, and English cucumber and combine. Sprinkle 1 cup of freshly chopped parsley on top of veggies and set aside. The dressing on this salad is where it’s at! Whisk together lemon juice/vinegar (who used lemon juice for ours), olive oil, mustard, and honey in a medium sized bowl until well blended. Season with salt and pepper to taste and serve immediately. It will keep for up to 3 days, but is much better freshly made.
Ingredients:
1 long English cucumber or 3 Persian cucumbers, chopped small
1 pound tomatoes, chopped small
1/4 large sweet onion, chopped small (1 cup chopped)
1 cup fresh parsley leaves, chopped
2 tablespoons vinegar, lemon juice or a combination
2 tablespoons extra-virgin olive oil
1 teaspoon Dijon mustard
1/4 teaspoon honey, optional
Salt and fresh ground black pepper
Another very easy recipe. Chop 1 large heirloom tomato, 1 large sweet Vidalia onion, and English cucumber and combine. Sprinkle 1 cup of freshly chopped parsley on top of veggies and set aside. The dressing on this salad is where it’s at! Whisk together lemon juice/vinegar (who used lemon juice for ours), olive oil, mustard, and honey in a medium sized bowl until well blended. Season with salt and pepper to taste and serve immediately. It will keep for up to 3 days, but is much better freshly made.


