Uncategorized

6 Ways To Take Advantage of Spring Weekends

There are certain things that get me extra excited each year but one of those at the very top of the list is… spring! Specifically, spring weekends, when you can actually enjoy the weather all day. Last weekend, the weather was beautiful and it got me thinking of how I hope to take full advantage of our weekends this spring because they always fly by way too quickly. This past winter, we spent a lot of our weekend time working on our house inside but now that we’re taking a bit of a home-project break and have our outdoor area to hang out in, we look forward to spending as much time as possible outside enjoying the weather! 

Here are a few ways to get the most out of your weekends this spring and not let them go to waste…

Find a new summer recipe and host a BFD (best friends dinner).

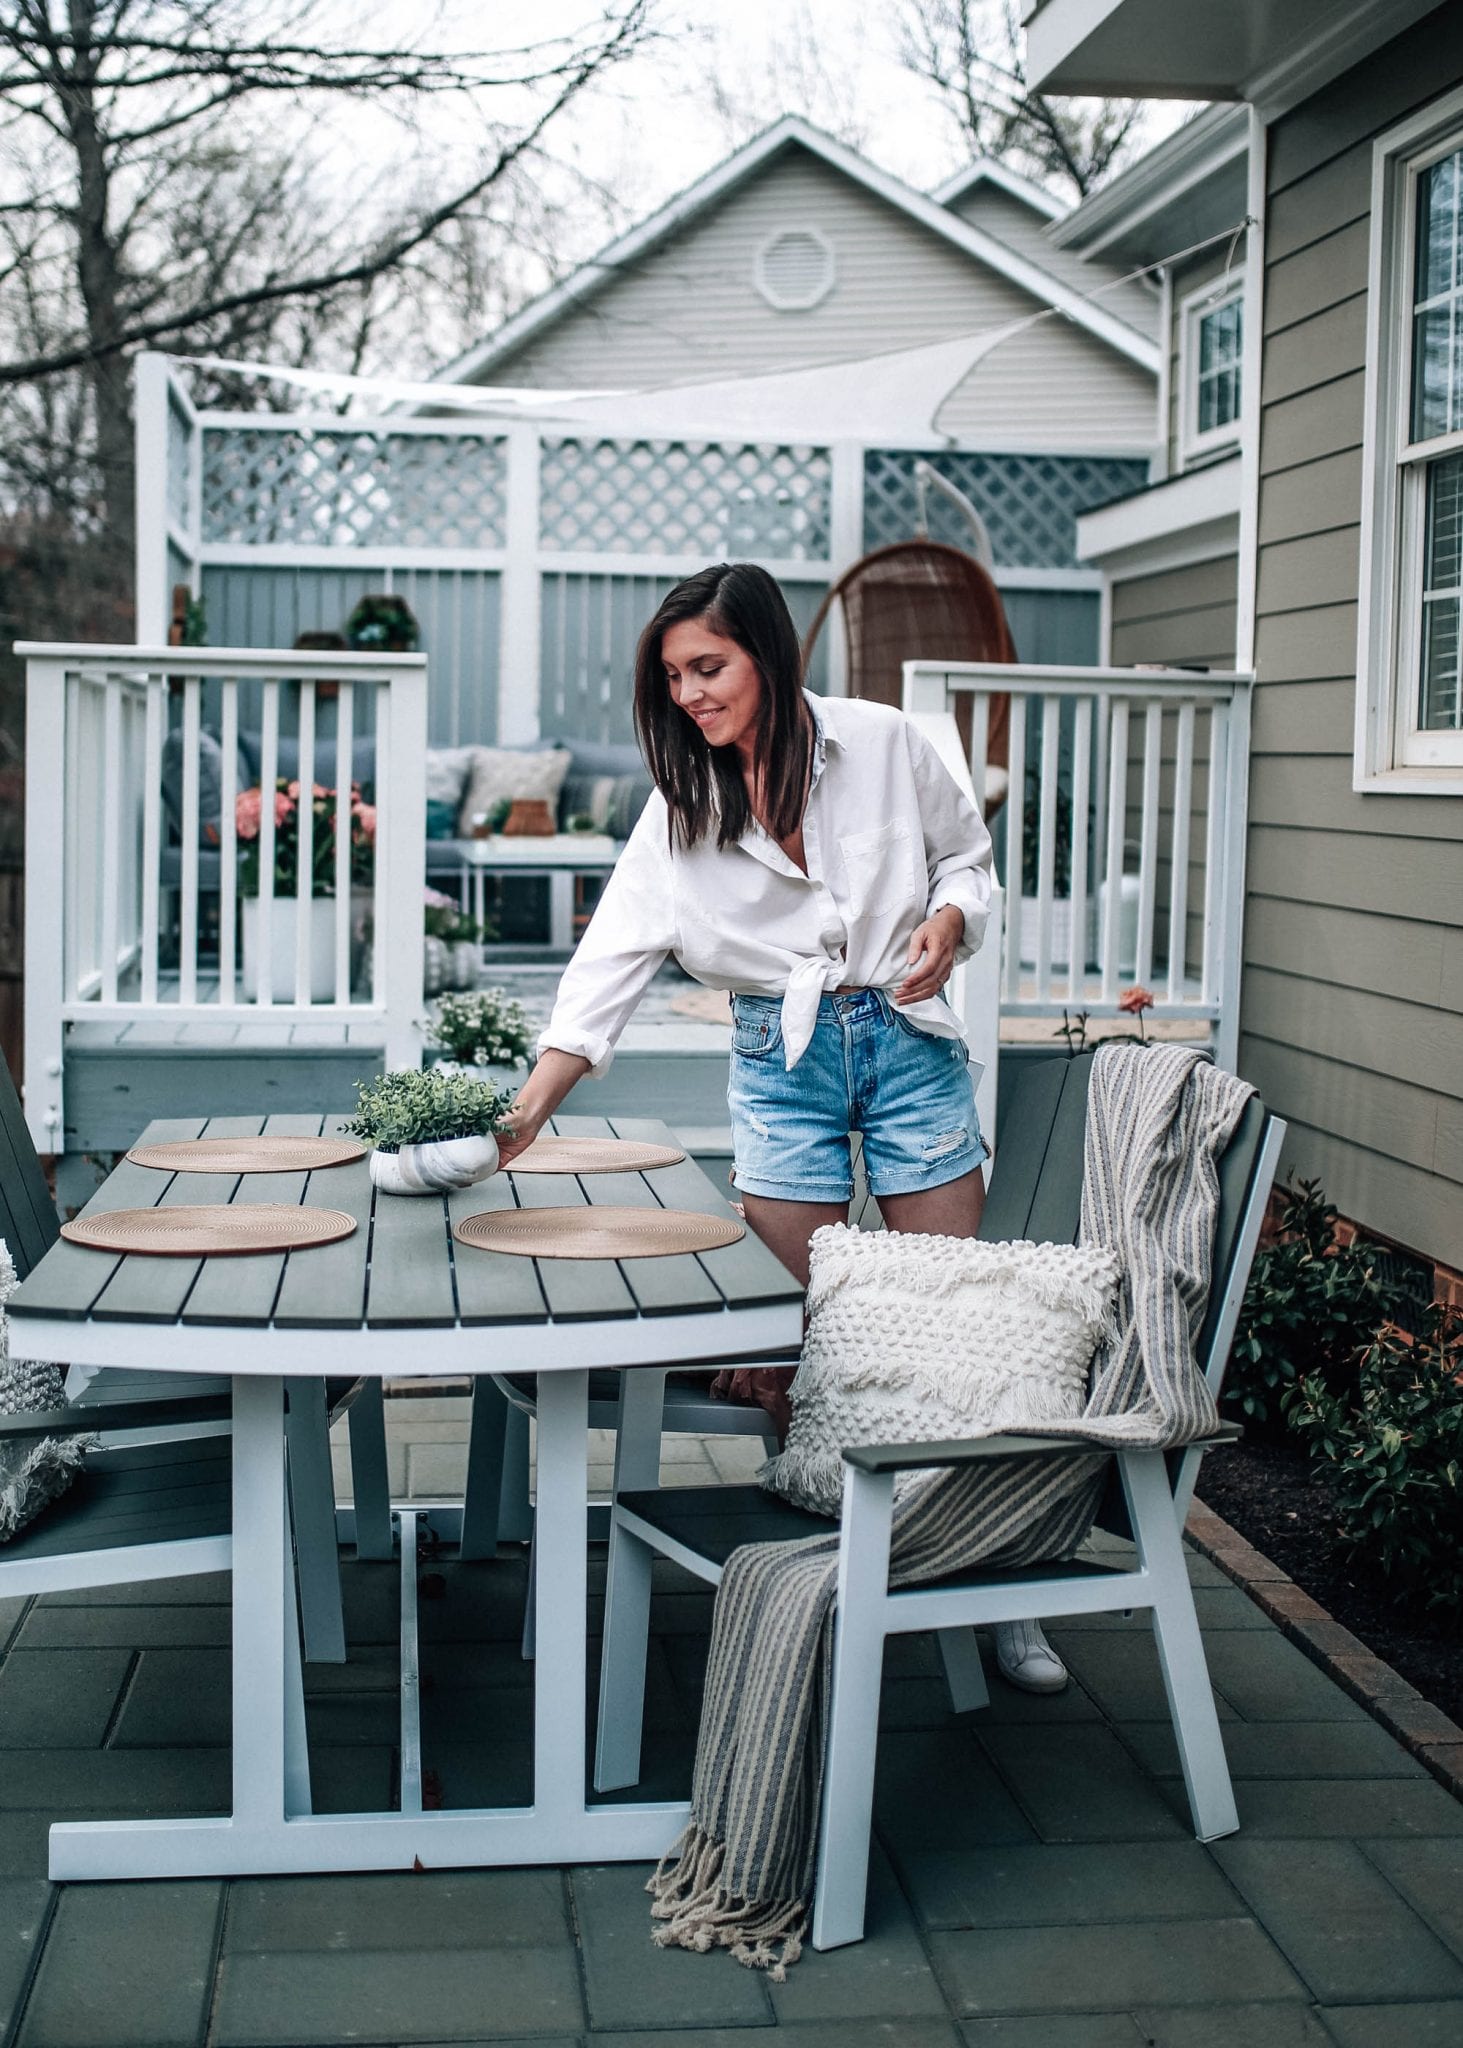
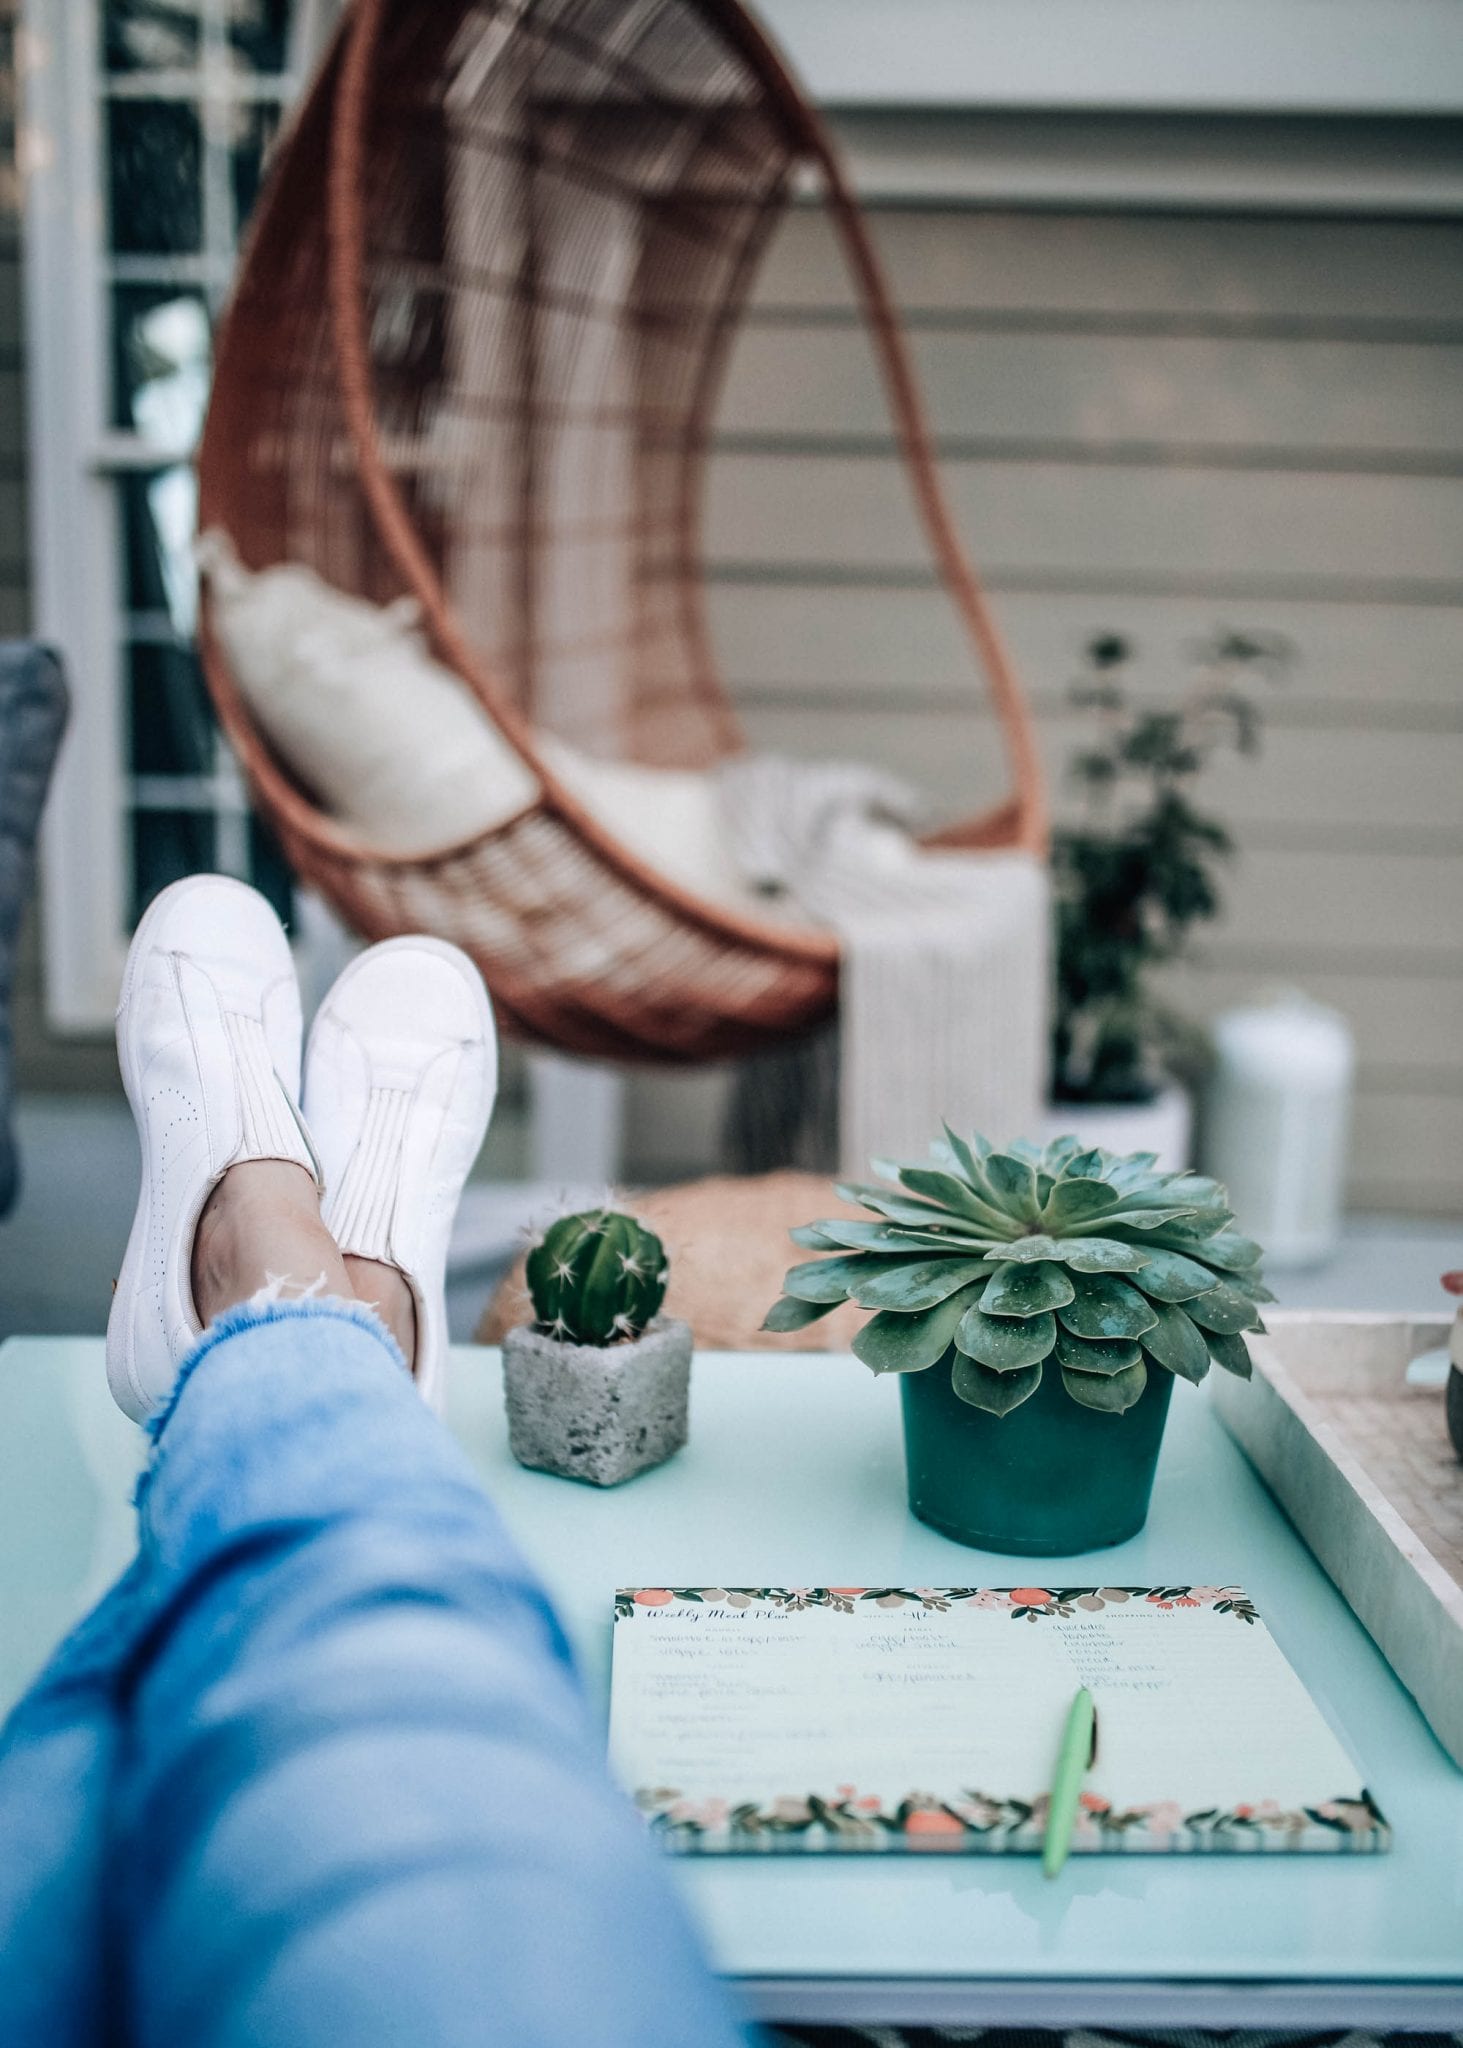
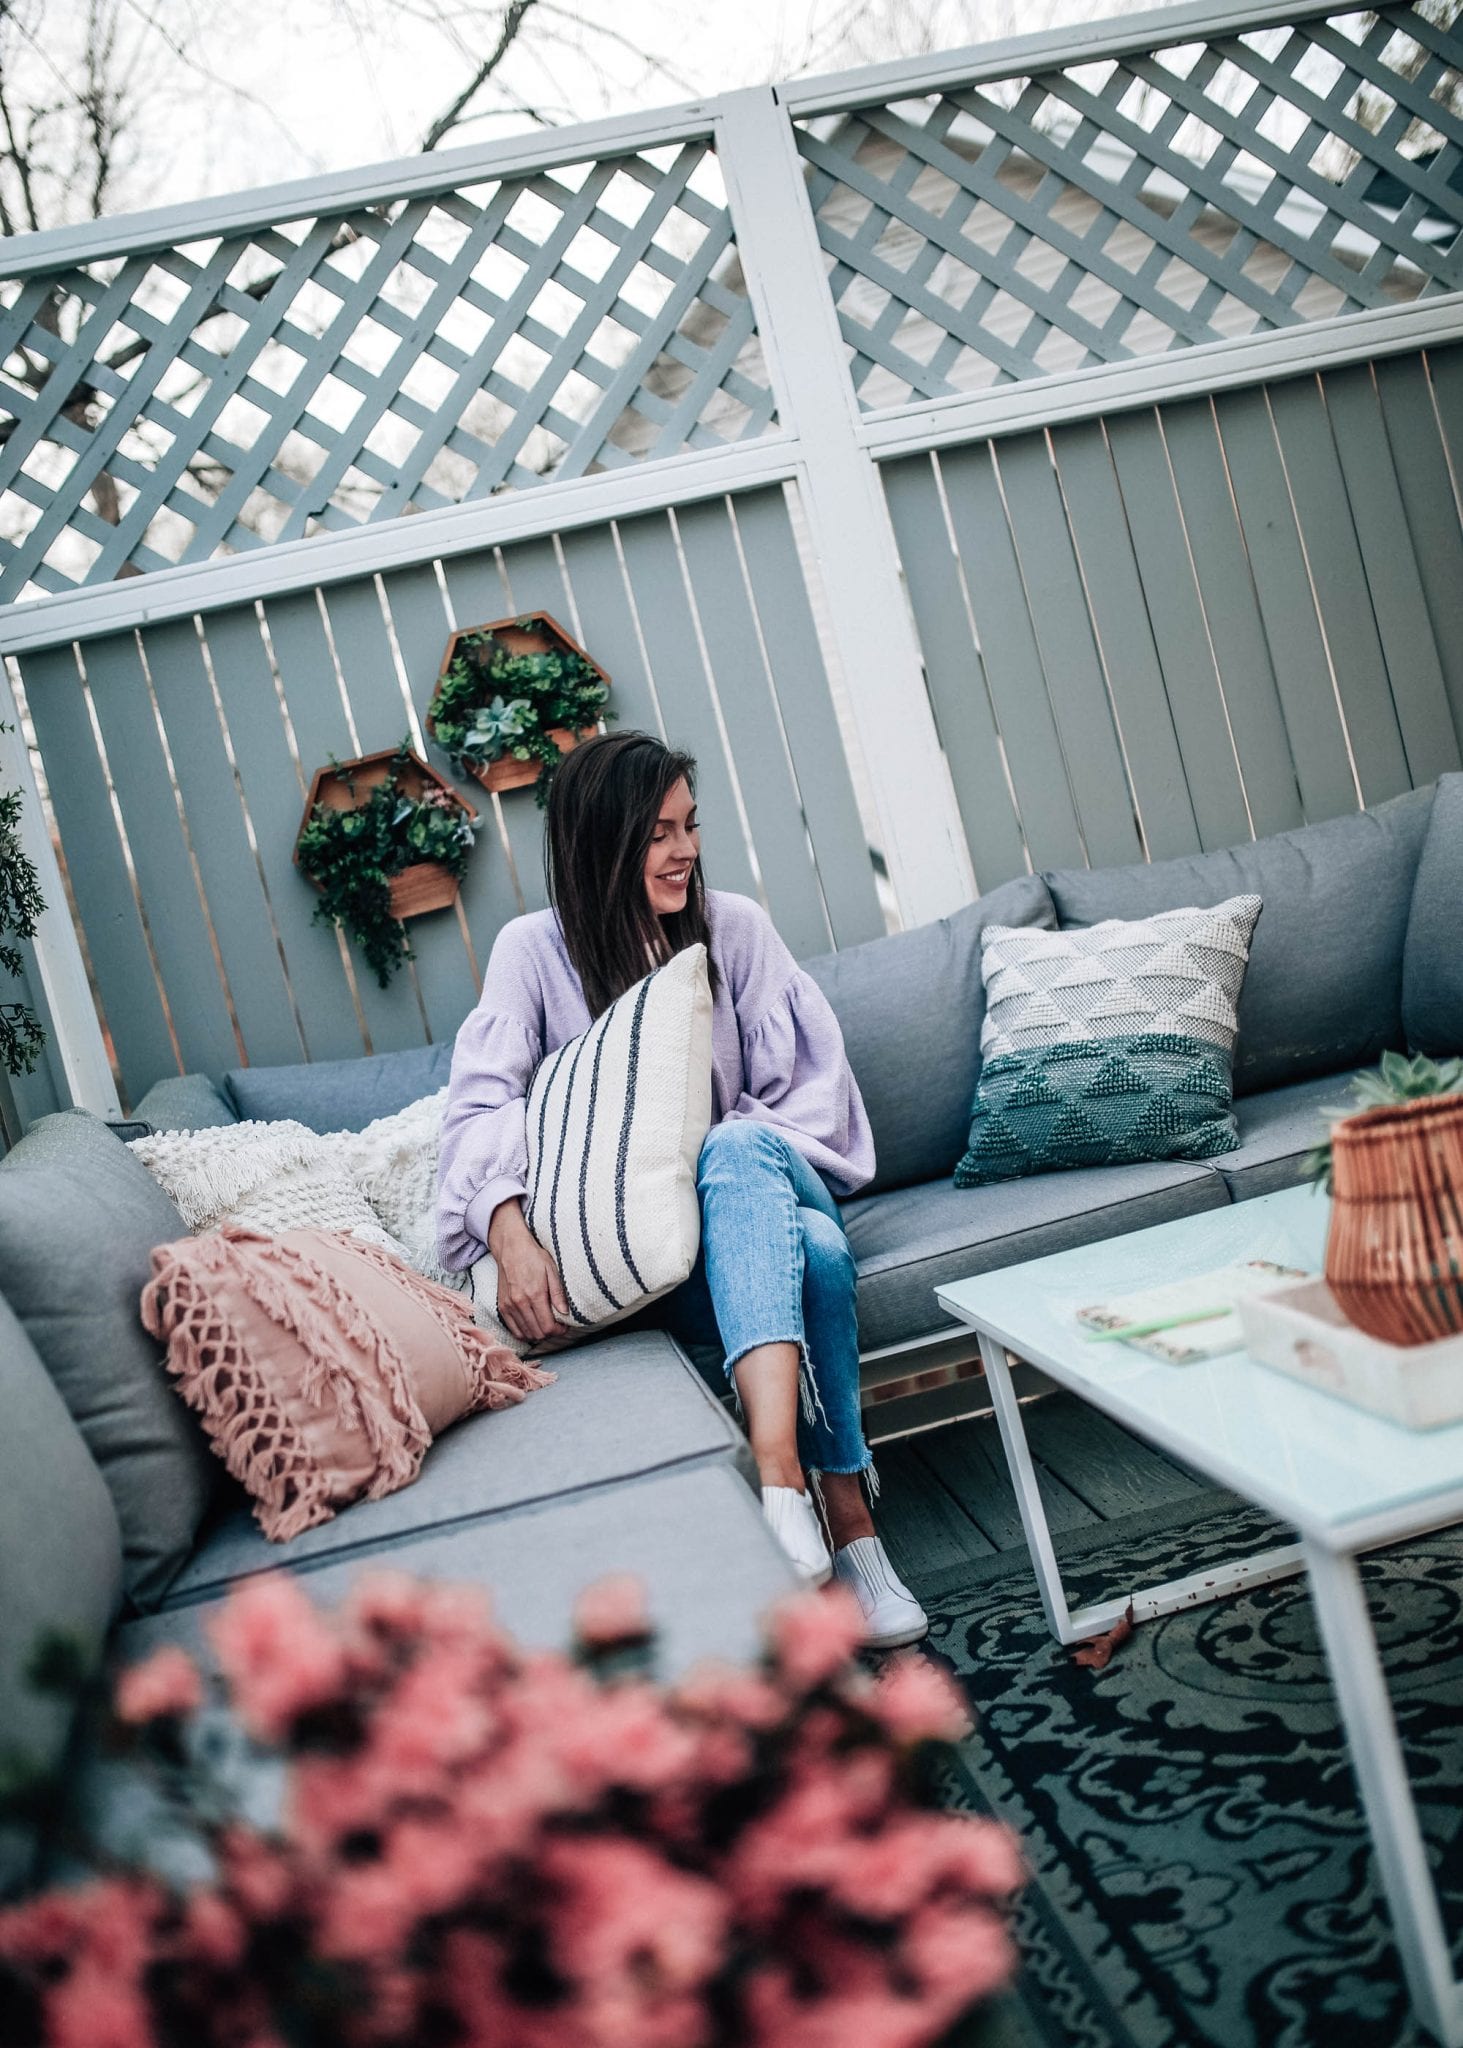
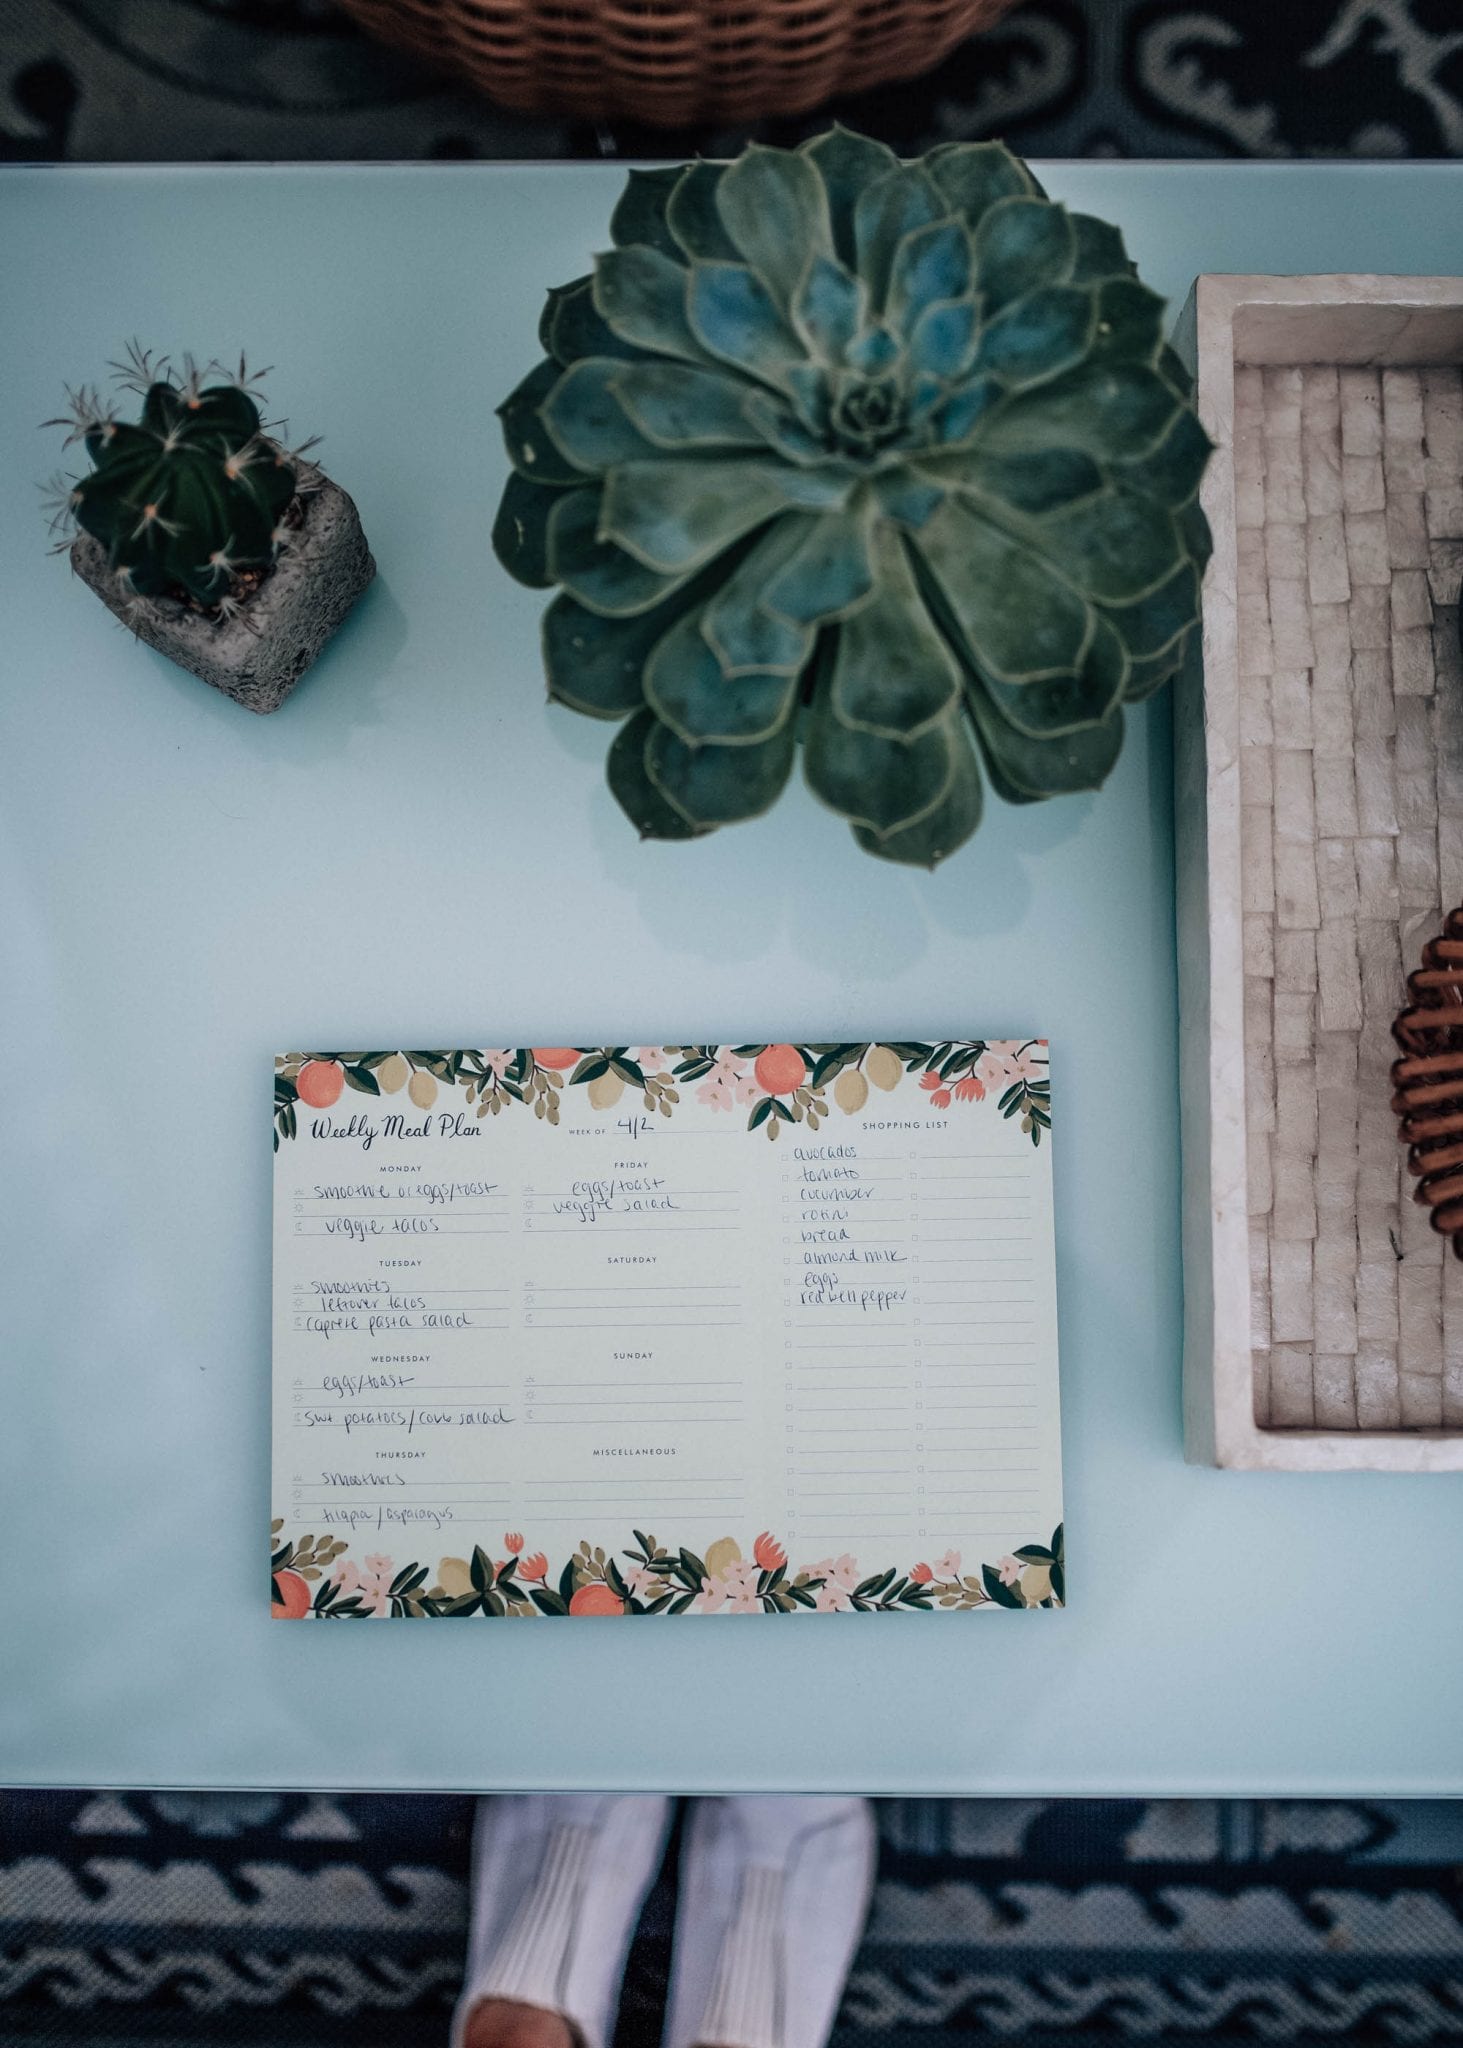
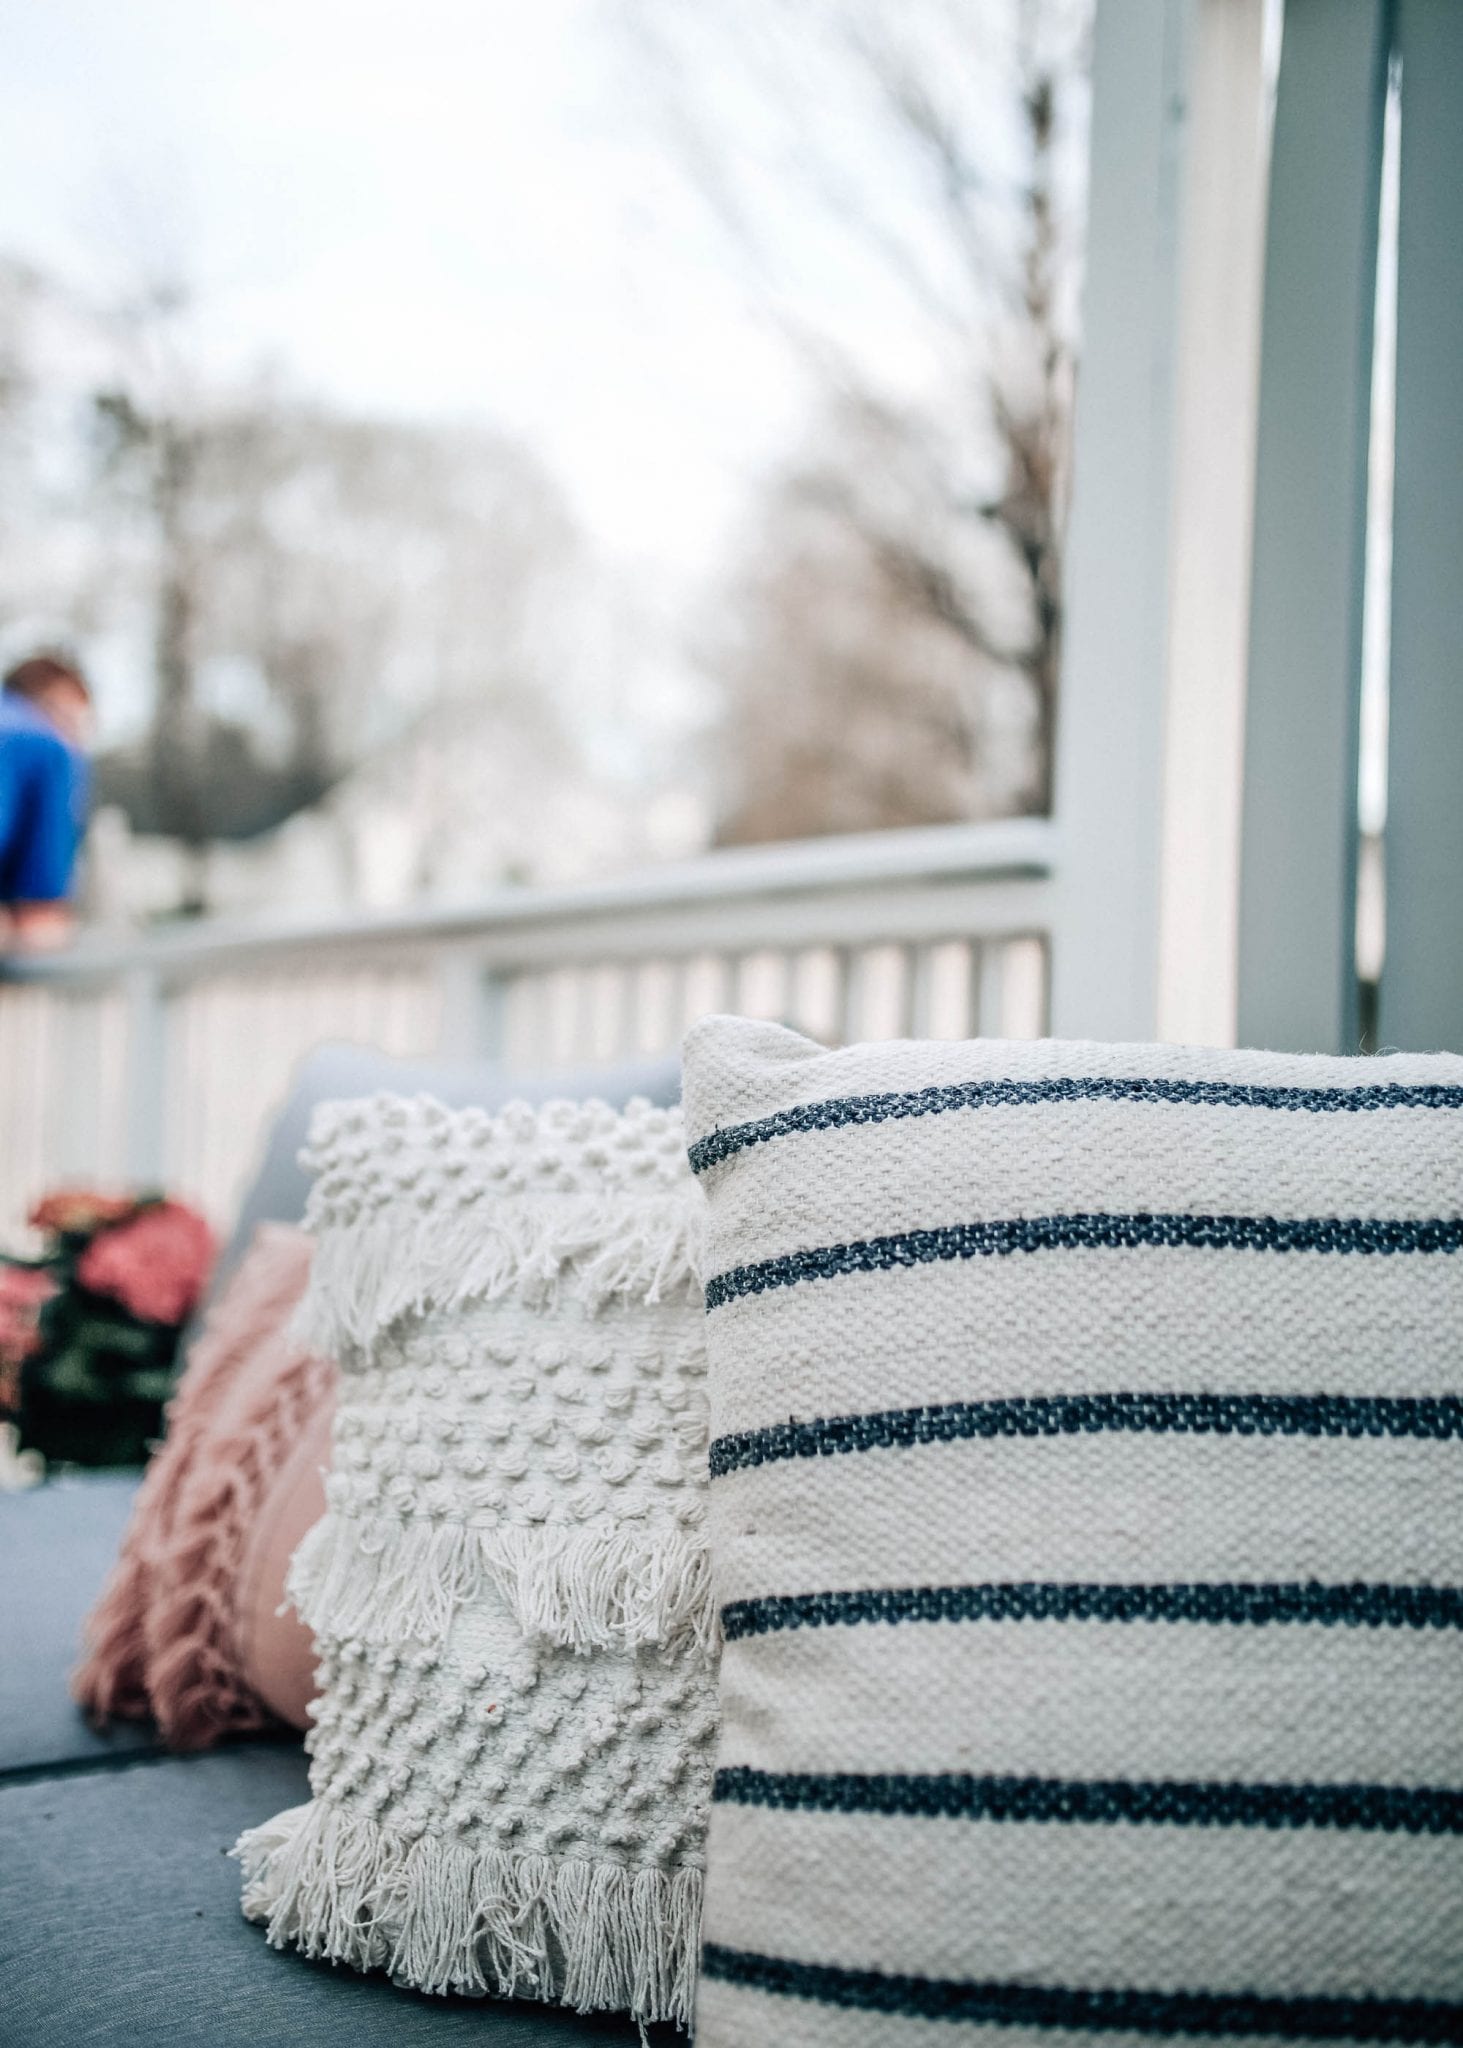
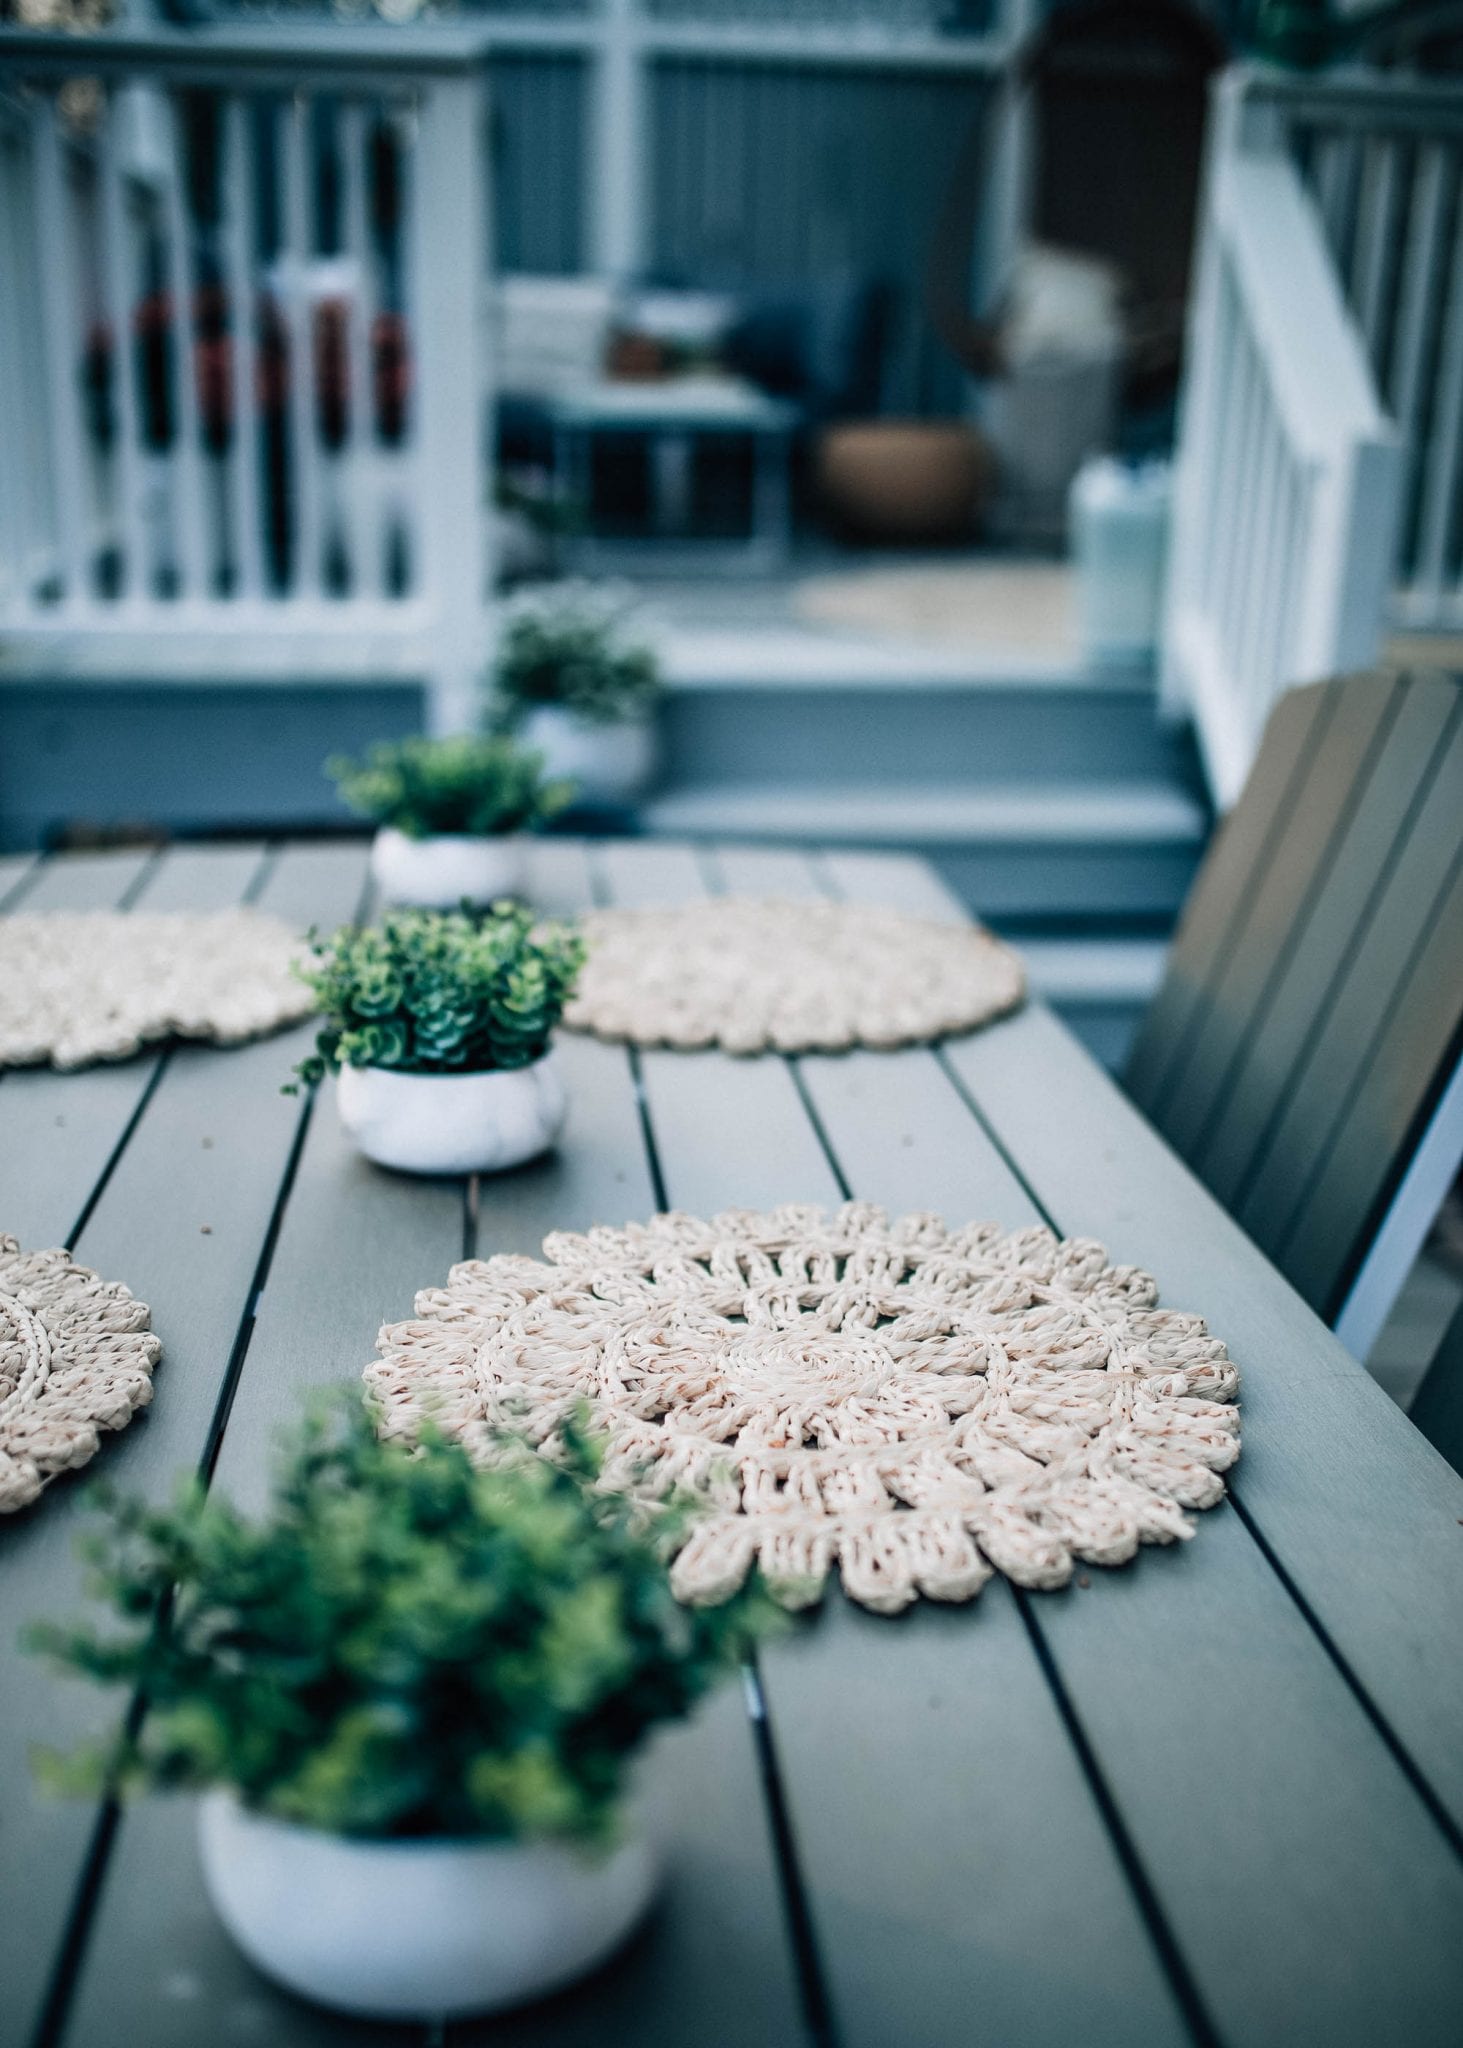
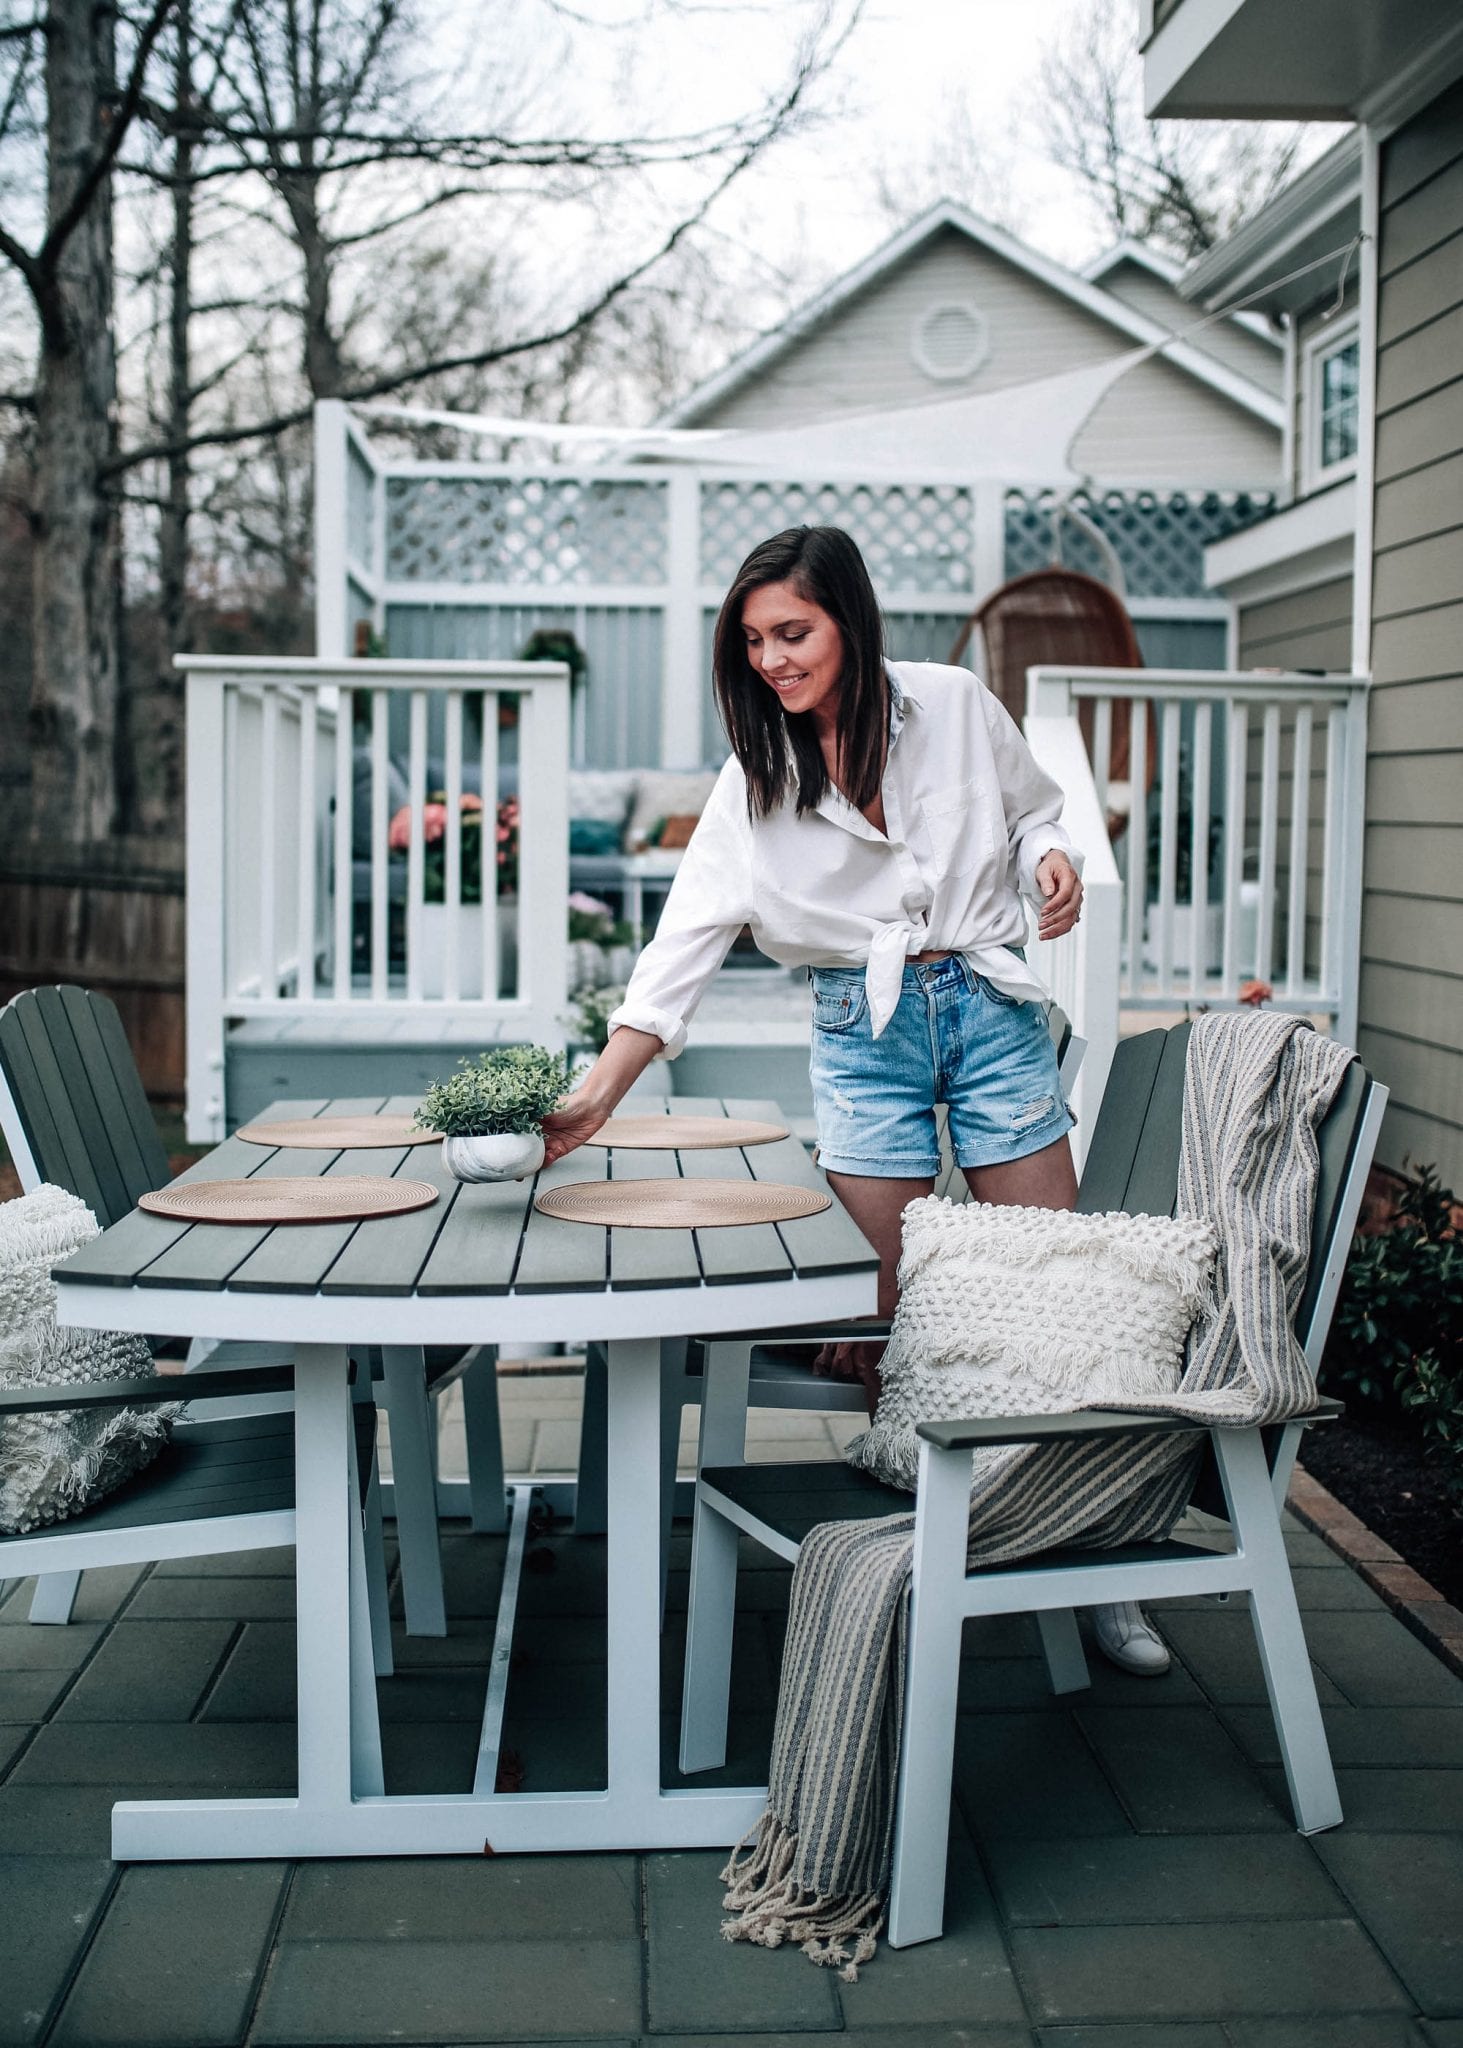
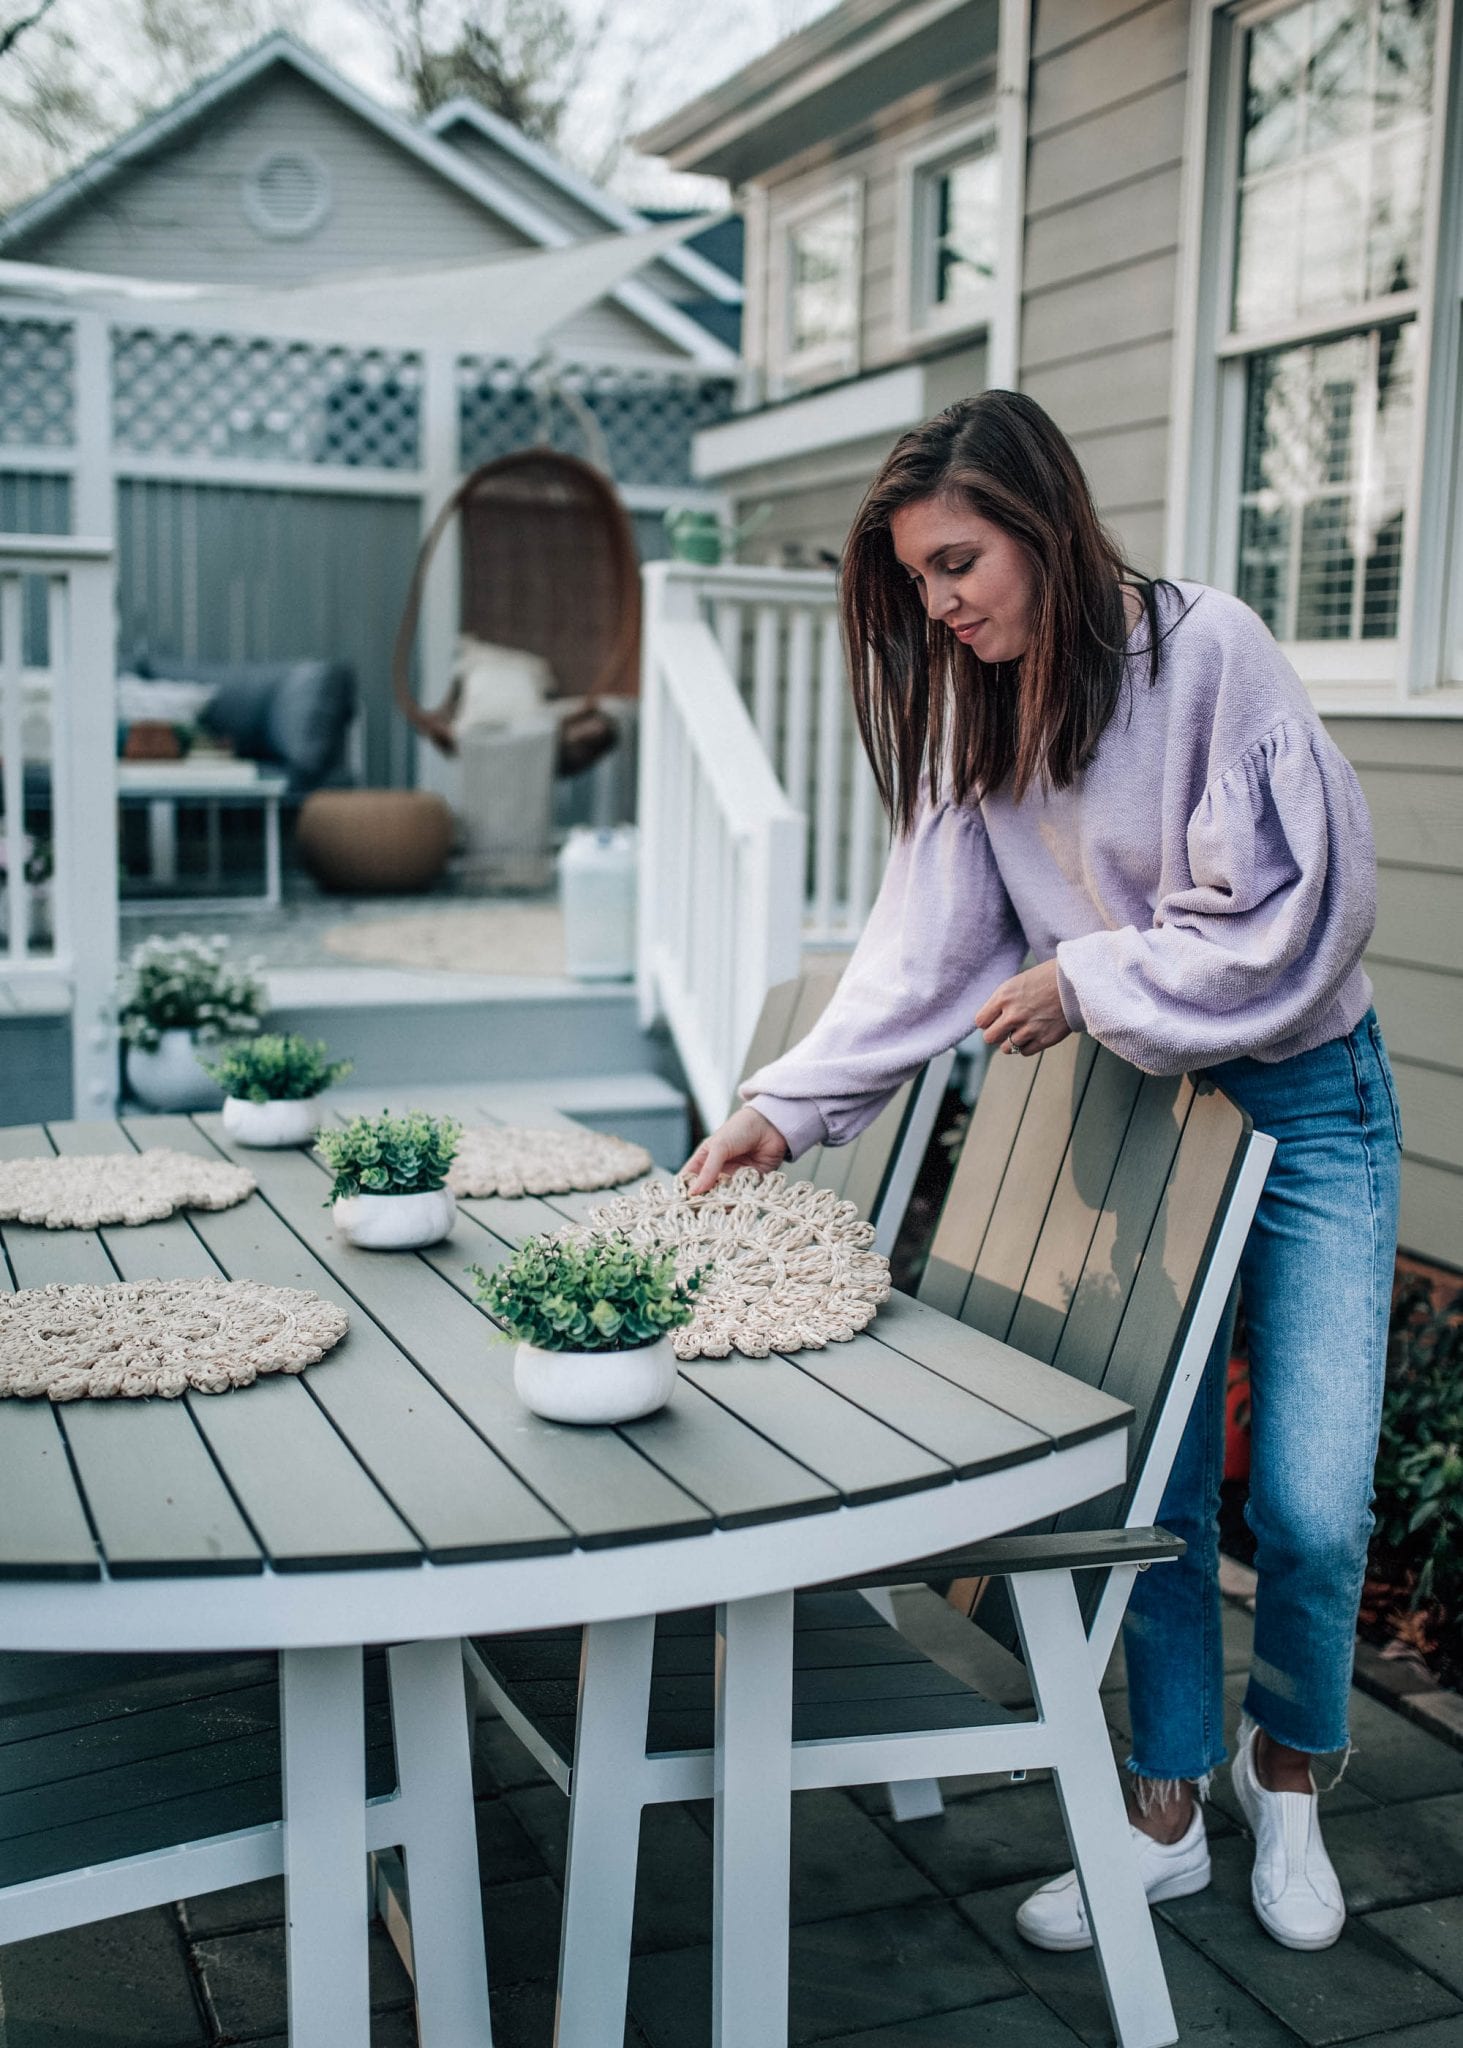
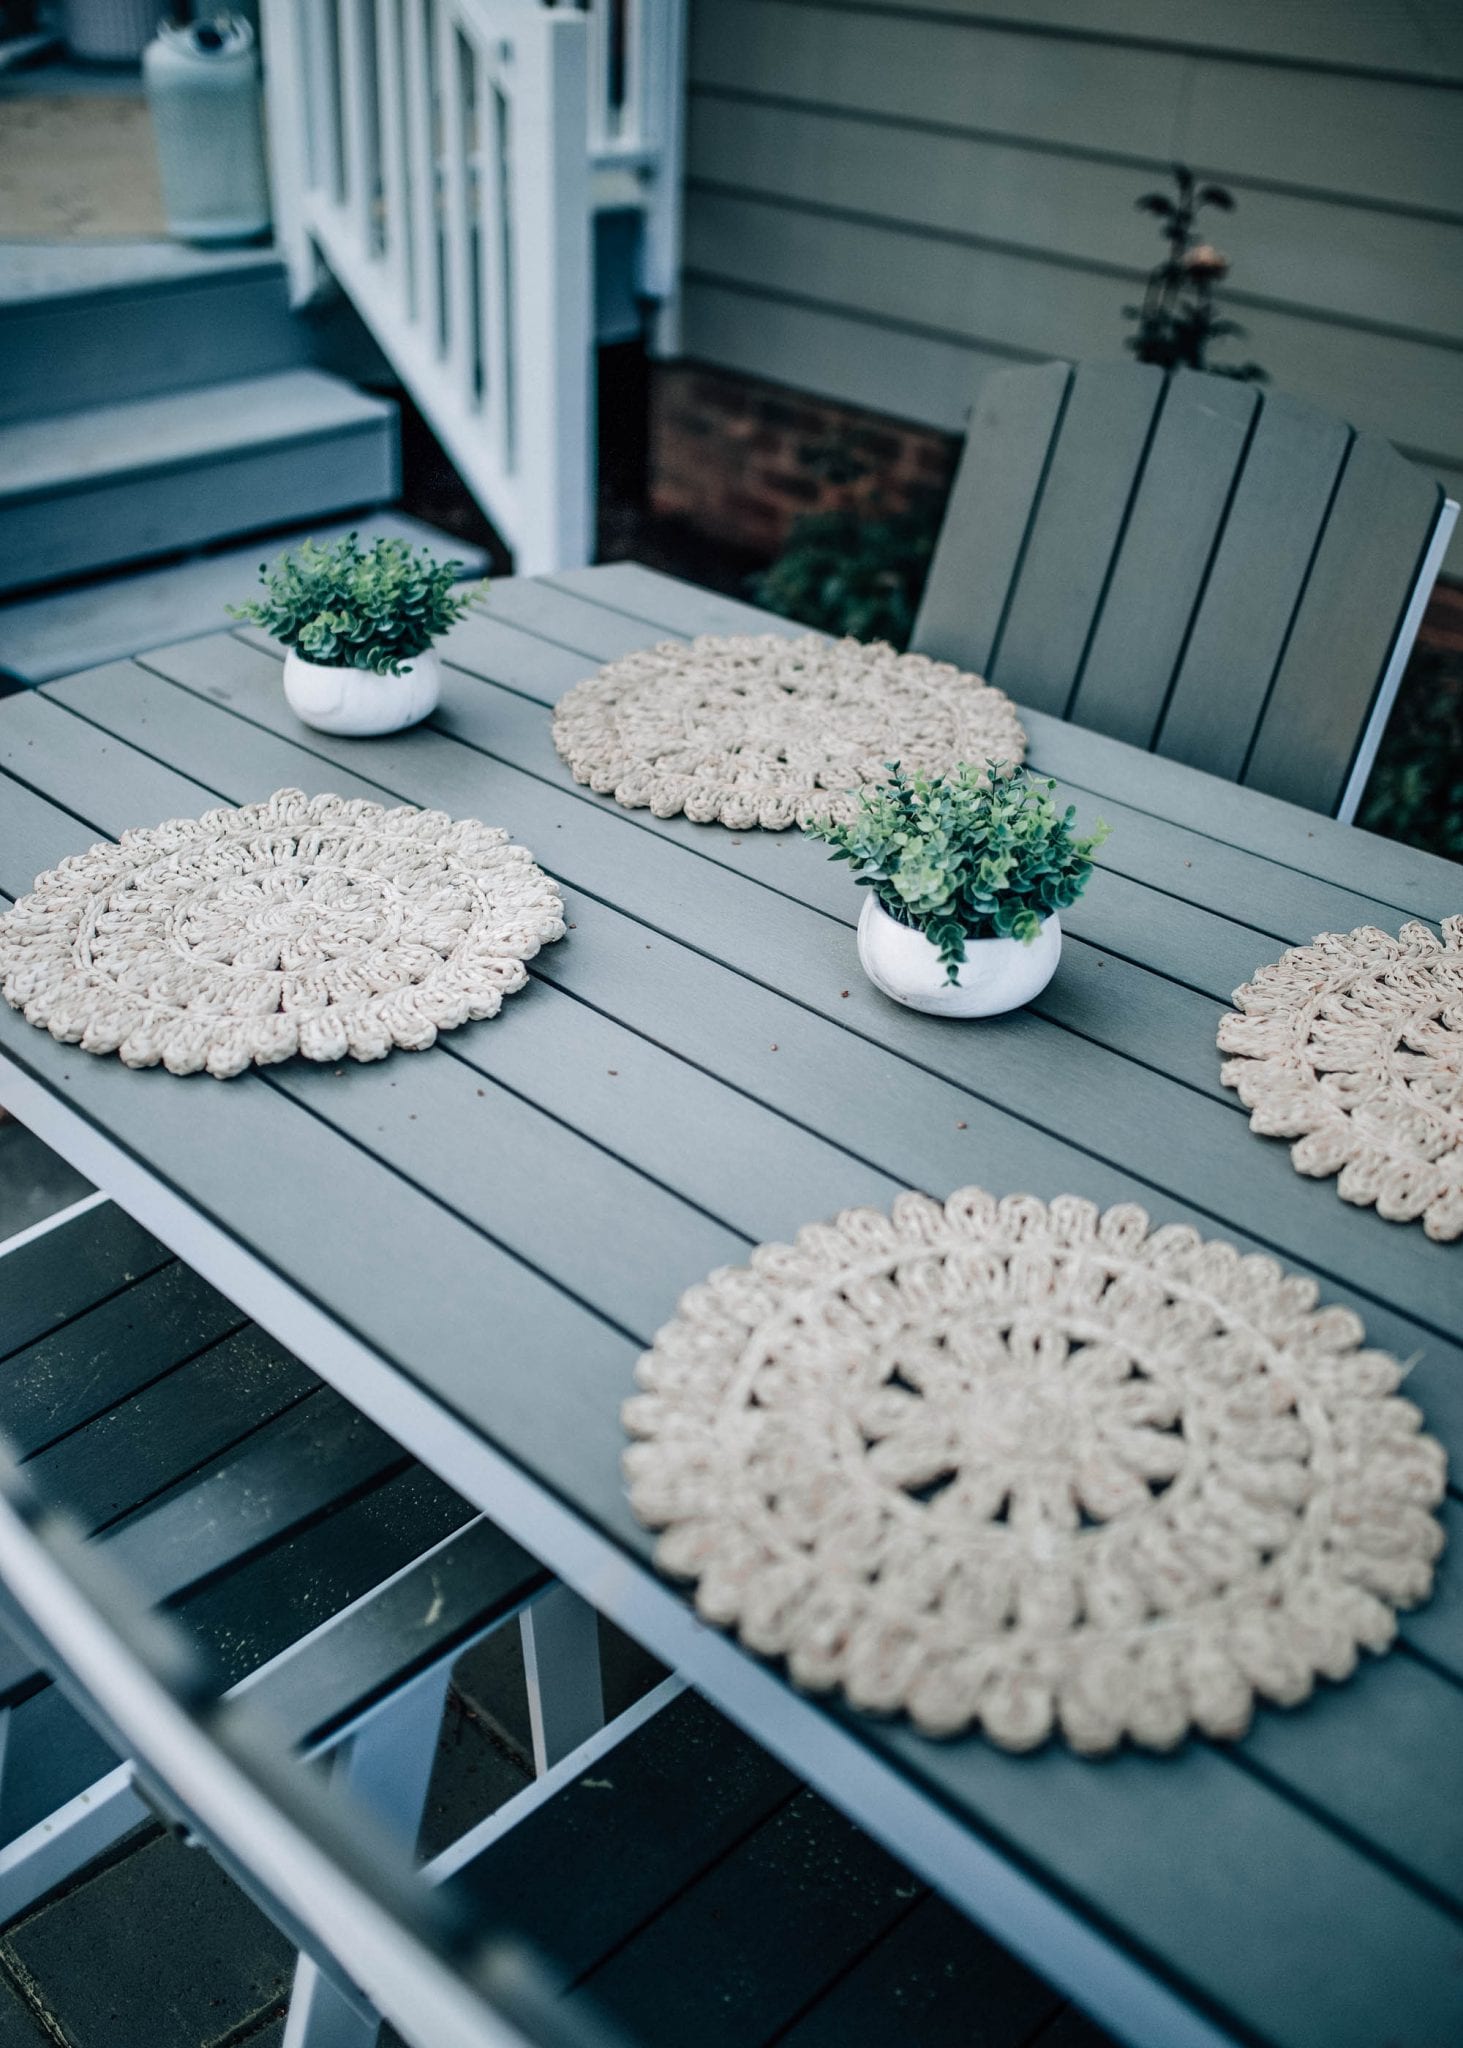
There is nothing like a good meal outside on the patio with your favorite people. I’ve been pinning summer salad recipes non-stop to my Pinterest board and have a long list of new ones to try. If your outside space needs some sprucing up, one of my latest favorite local shops to visit is The Local Squirrel, where you can find a huge assortment of decor, books, kitchen/drinkware, jewelry and more. I recently found a set of 4 woven placemats to use on our outdoor dining table and a striped pillow for the deck and they couldn’t be more perfect. I fell in love with their pillow selection and gardening/home/entertaining section. I even found a cute little meal planning/grocery shopping notepad that I’ve been using each weekend by Rifle Paper Co. This adorable shop is located in Cameron Village if you’re local and they always have something new, especially if you’re hosting a dinner get-together! You can also browse their online shop here. If you’d rather go out to eat, eat on a patio anywhere in Cameron Village! There are so many great options for outdoor dining in that area.

Plant a garden or spend some time in your yard!

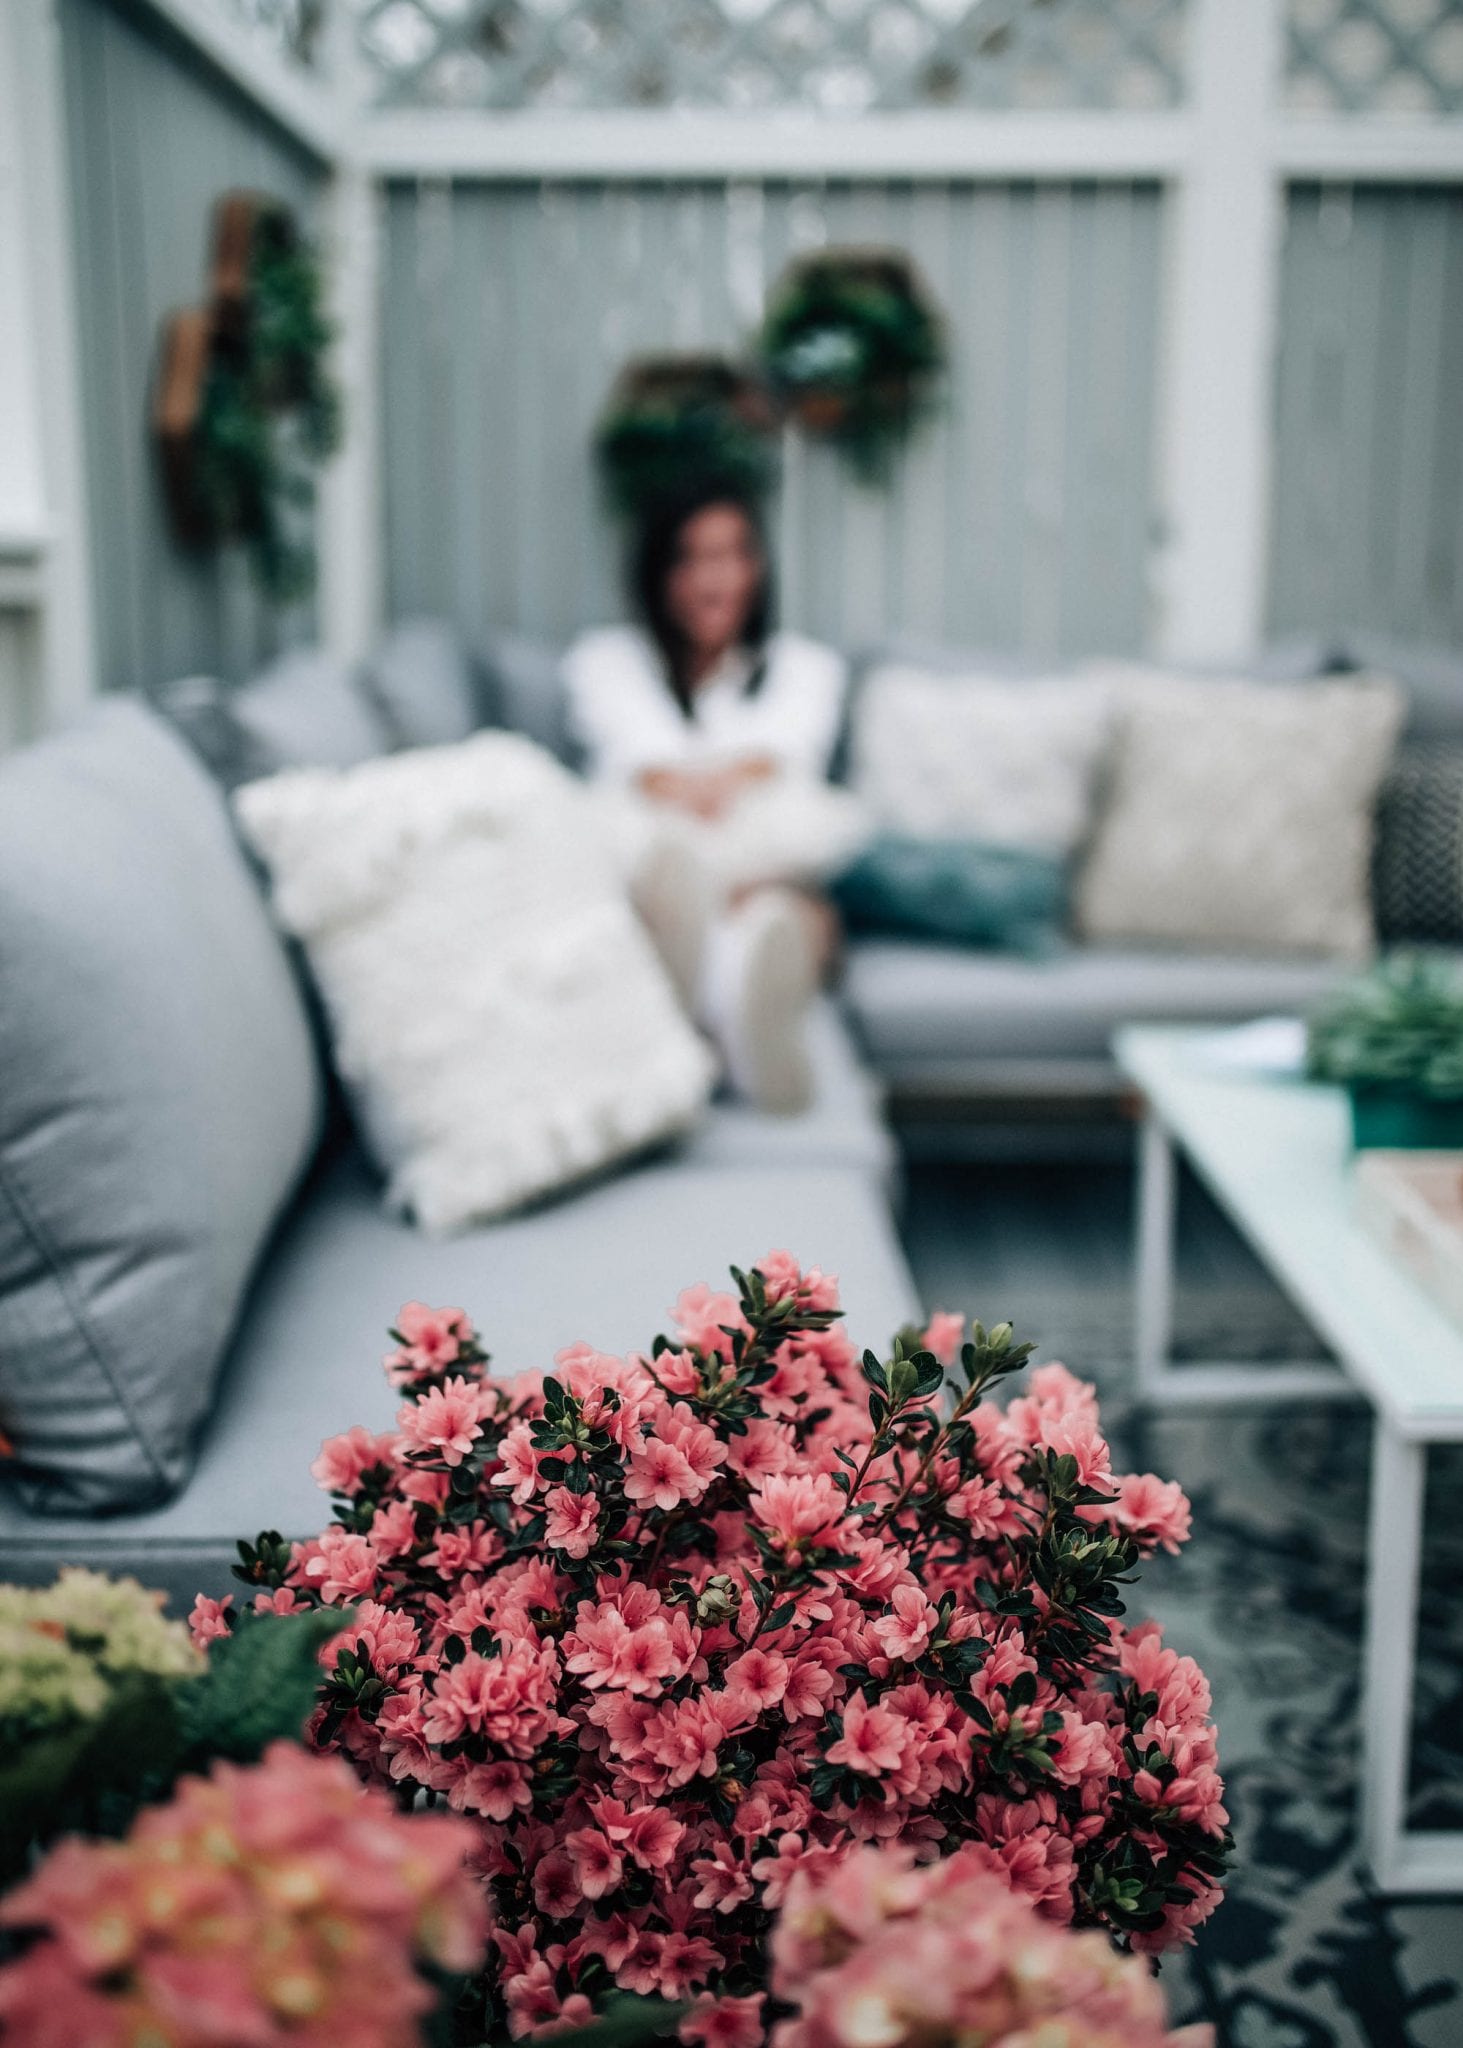
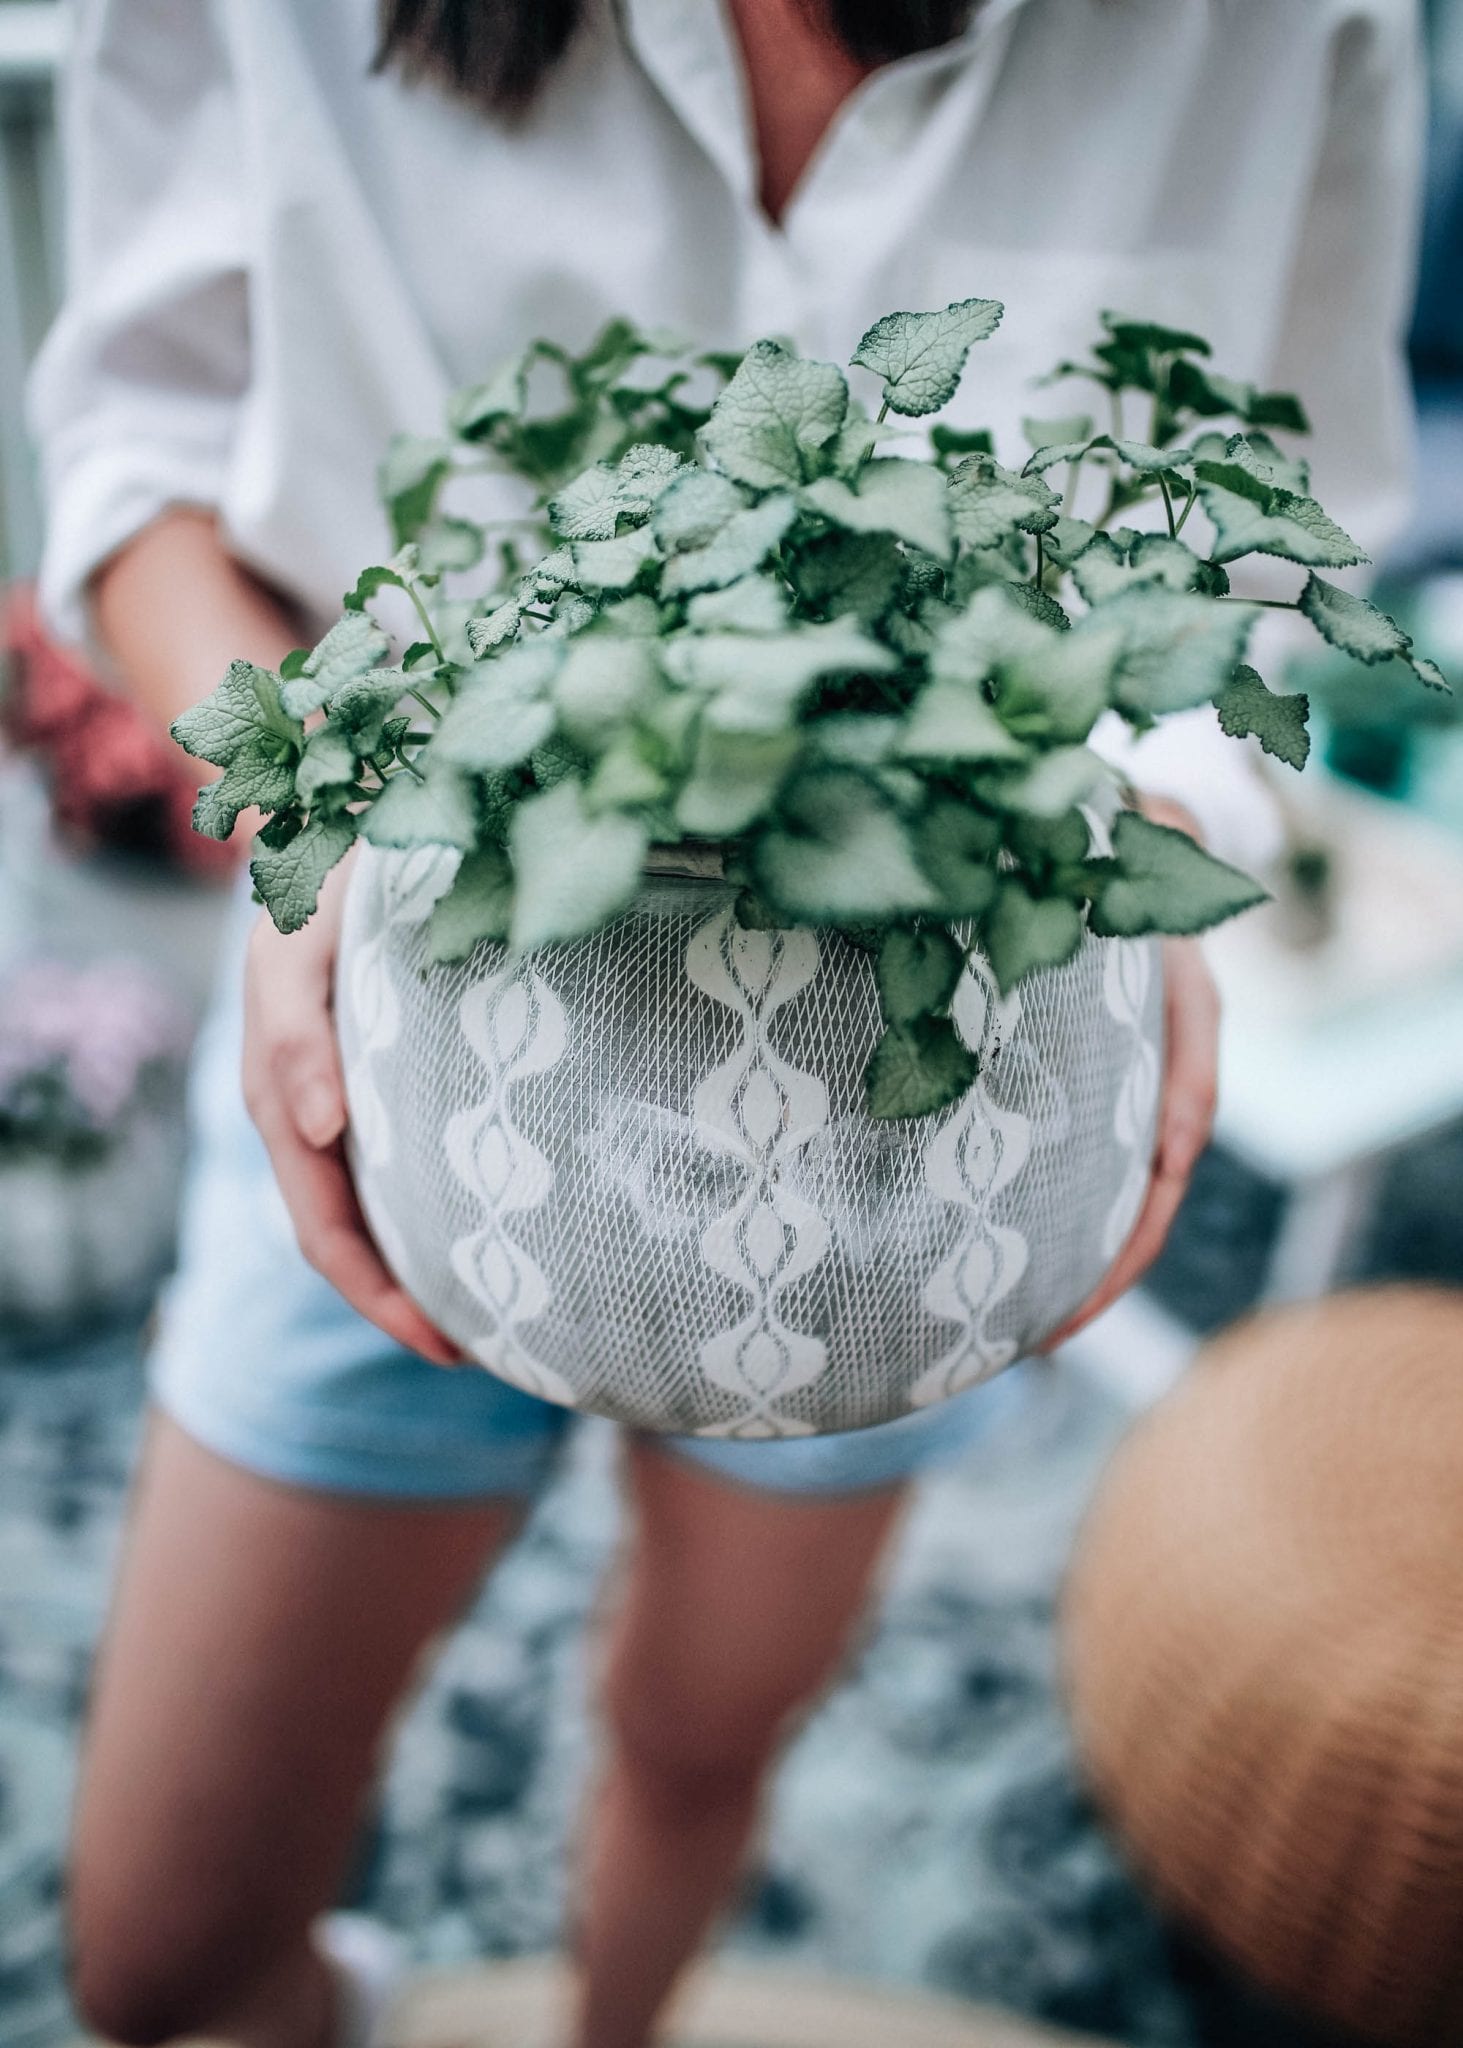
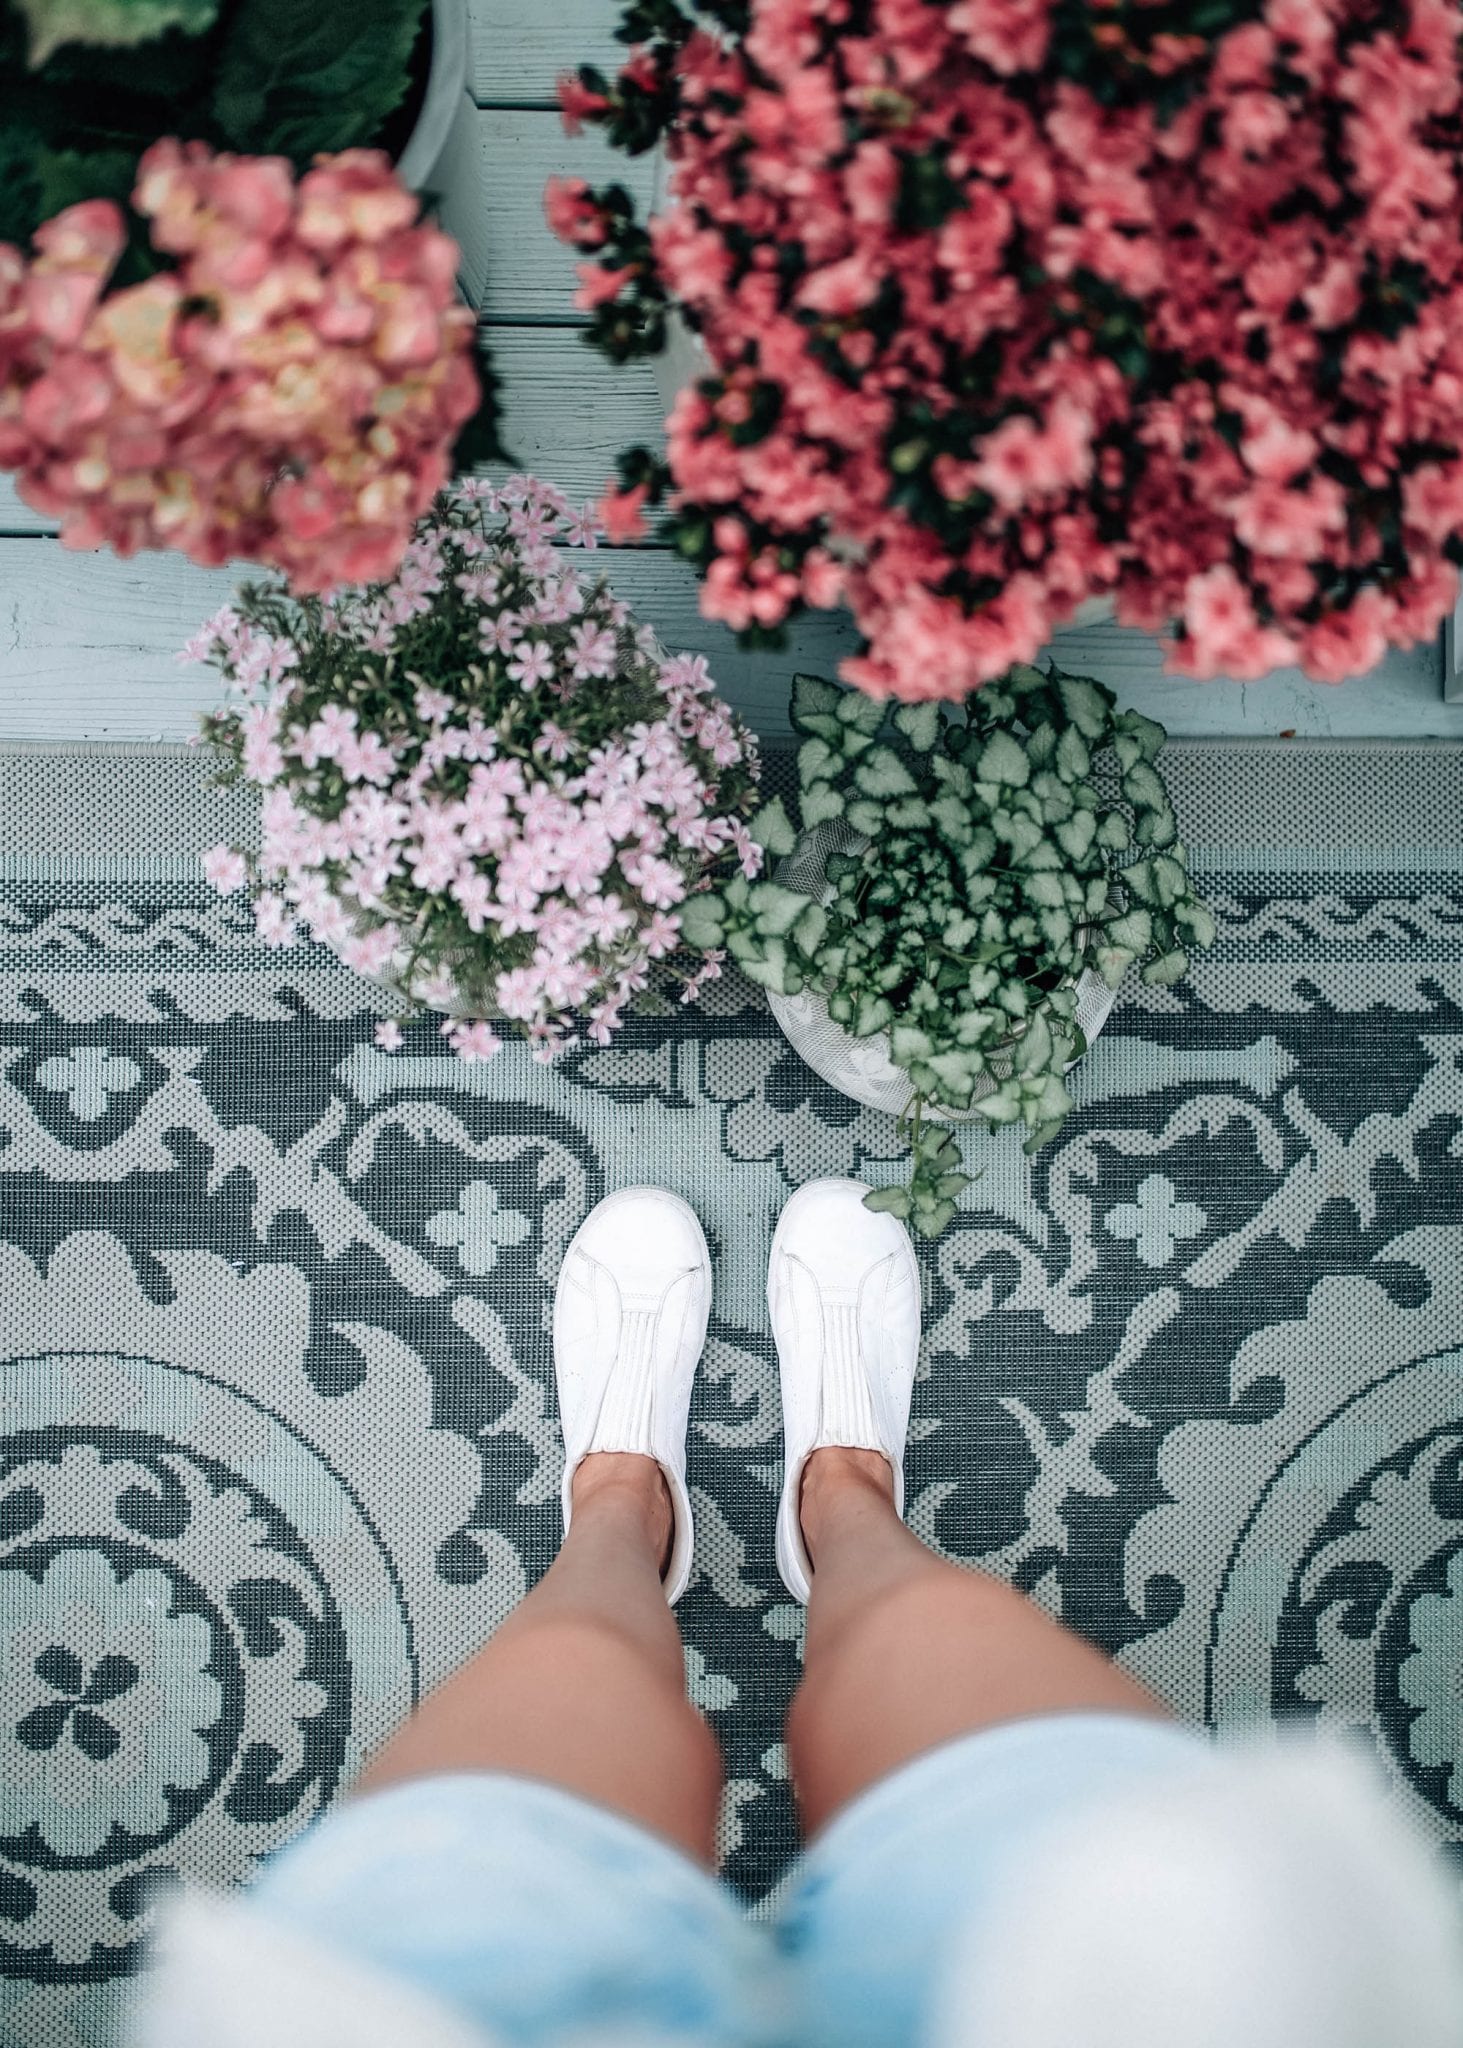
There is something so fun about going to a nursery in the spring time once you have a yard. I’m never not in the mood to drive down to our local nursery, Fairview Garden Center, and add a few new plants to the fam. Most recently, we planted some pink azalea bushes to go alongside the back of our house and beside the patio. We also planted a blueberry bush! So far, they’re still going strong. By the way, one of my friends Taylor Rae just started a gardening series on her blog so you should definitely check it out if you’re a beginner!

Take a drive (windows down) to a local park/trail to go for a long walk.

Last weekend, TJ and I, partnered with Land Rover/Jaguar of Cary and got to drive a brand new Range Rover for the weekend. I think our neighbors think we’re cooler than we really are. At the end of the weekend, I didn’t want to return the car, as you probably can imagine. The inside was truly beautiful and had every extra feature you can think of. Our dog, Colbie, got to ride around in it to and we drove to a nearby trail that goes around Bass Lake to get some outdoor exercise in, before stopping by the garden center. We opened up the sun-roof, turned on some music, and were in full spring mode. Last fall, we drove the Land Rover Discovery Sport (you can find that here), and fell in love with Land Rover in general. I keep telling TJ that one day I’ll have my own Discovery!

Try out a new outdoor hobby.

If you’ve ever thought about wanting to learn tennis, golf, bike-riding, running or anything else outdoors, now is the best time before it gets too unbearably hot around mid to late June. TJ loves playing tennis so we’re hoping to hit the tennis courts over the next couple of months. I can’t wait to get our bikes out of the garage either!

Plan a weekend trip somewhere near the coast before busy season.

TJ and I both love to take a long weekend trip down to Hilton Head or Charleston during the spring. The water isn’t quite warm enough to swim in but the smaller-crowds and beautiful blooms make it so worth the trip.

Attend an outdoor festival. 

A few you might be interested if you live near Raleigh/Durham:

Apr. 21st: NC ‘Cue Grass Festival in Raleigh
Apr. 21st: Raleigh Raw 2nd Annual Anniversary Block Party in Raleigh
Apr. 21st: Wanderlust 108 Raleigh 2018
Apr. 28th: Spring Daze Arts & Crafts Festival in Cary
Apr. 28th: Headbands of Hope Birthday Workout at Raleigh Beer Garden
May 5th: Great Grapes Wine and Food Festival in Cary

This week has flown by and, while the temperatures aren’t supposed to be quite as warm, I’m still looking forward to the weekend! Our deck is covered in pollen now anyways. I’ve still got a ton of cleaning I want to get done in our house too so this might be a good weekend to start that while it rains. One of my weekend goals is to post some of my older clothing items on my Poshmark page so you can find that here!

XO, Shelby

Thank you to Cameron Village and Land Rover Cary for sponsoring this post.

Uncategorized

A Budget-Friendly Activewear Brand I’m Loving

Incase you missed it last week, I shared details on my latest workout routine I’ve been doing at home. If you were to see me on a normal day, you’d most often find me wearing work-out wear. Over time, I’ve grown quite the legging collection and have discovered which brands I absolutely love and are worth the splurge and which ones I could live without. You really can’t beat the comfort and quality of Beyond Yoga leggings but I have found a new brand that I absolutely love and the best part is it is actually very affordable, especially if you don’t want to spend more than $30 on workout leggings.

Let me introduce you to… Target. You might have heard of it before. Honestly, the latest collections/brands that Target has been adding to their clothing sections have been really impressive. Universal Thread, A New Day, Who What Wear, and a specific activewear brand, Joy Lab. I was there last night and couldn’t say no this this adorable spring top and this little blue dress (both under $28). Anyways, since I’ve mainly shared my splurge-worthy activewear in the past, I thought that I’d share some more budget-friendly options today… ones that are both affordable and great quality, because nobody likes leggings that sag at the butt.

Outfit Details:

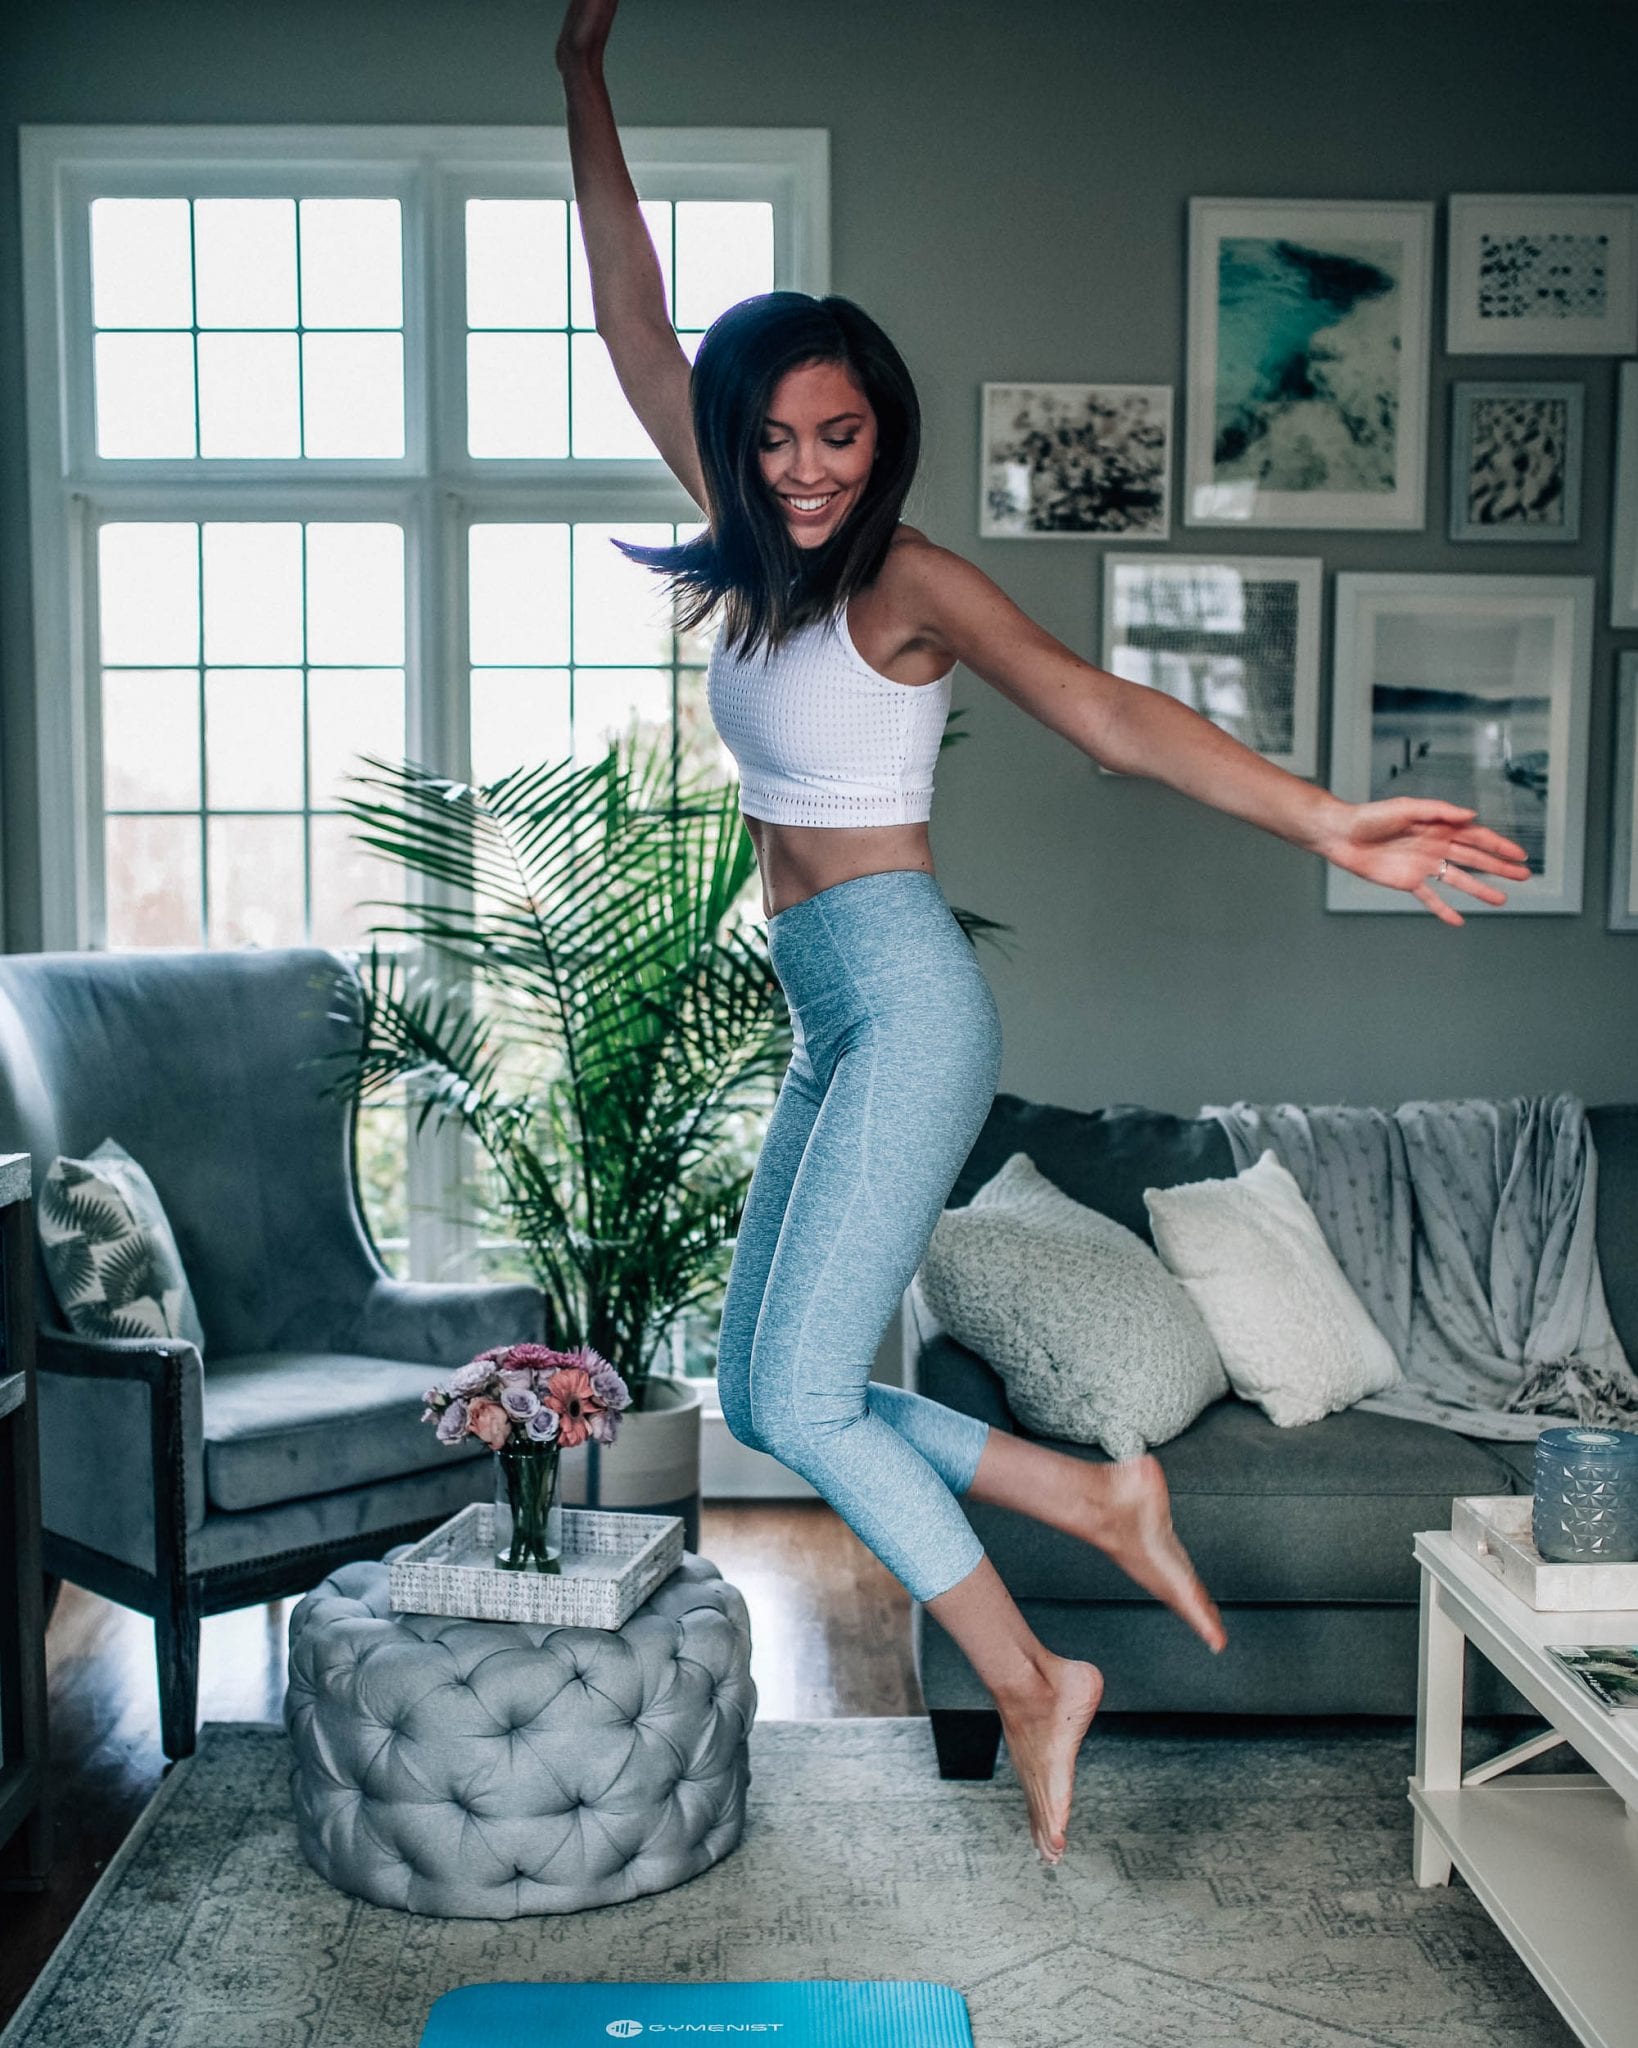
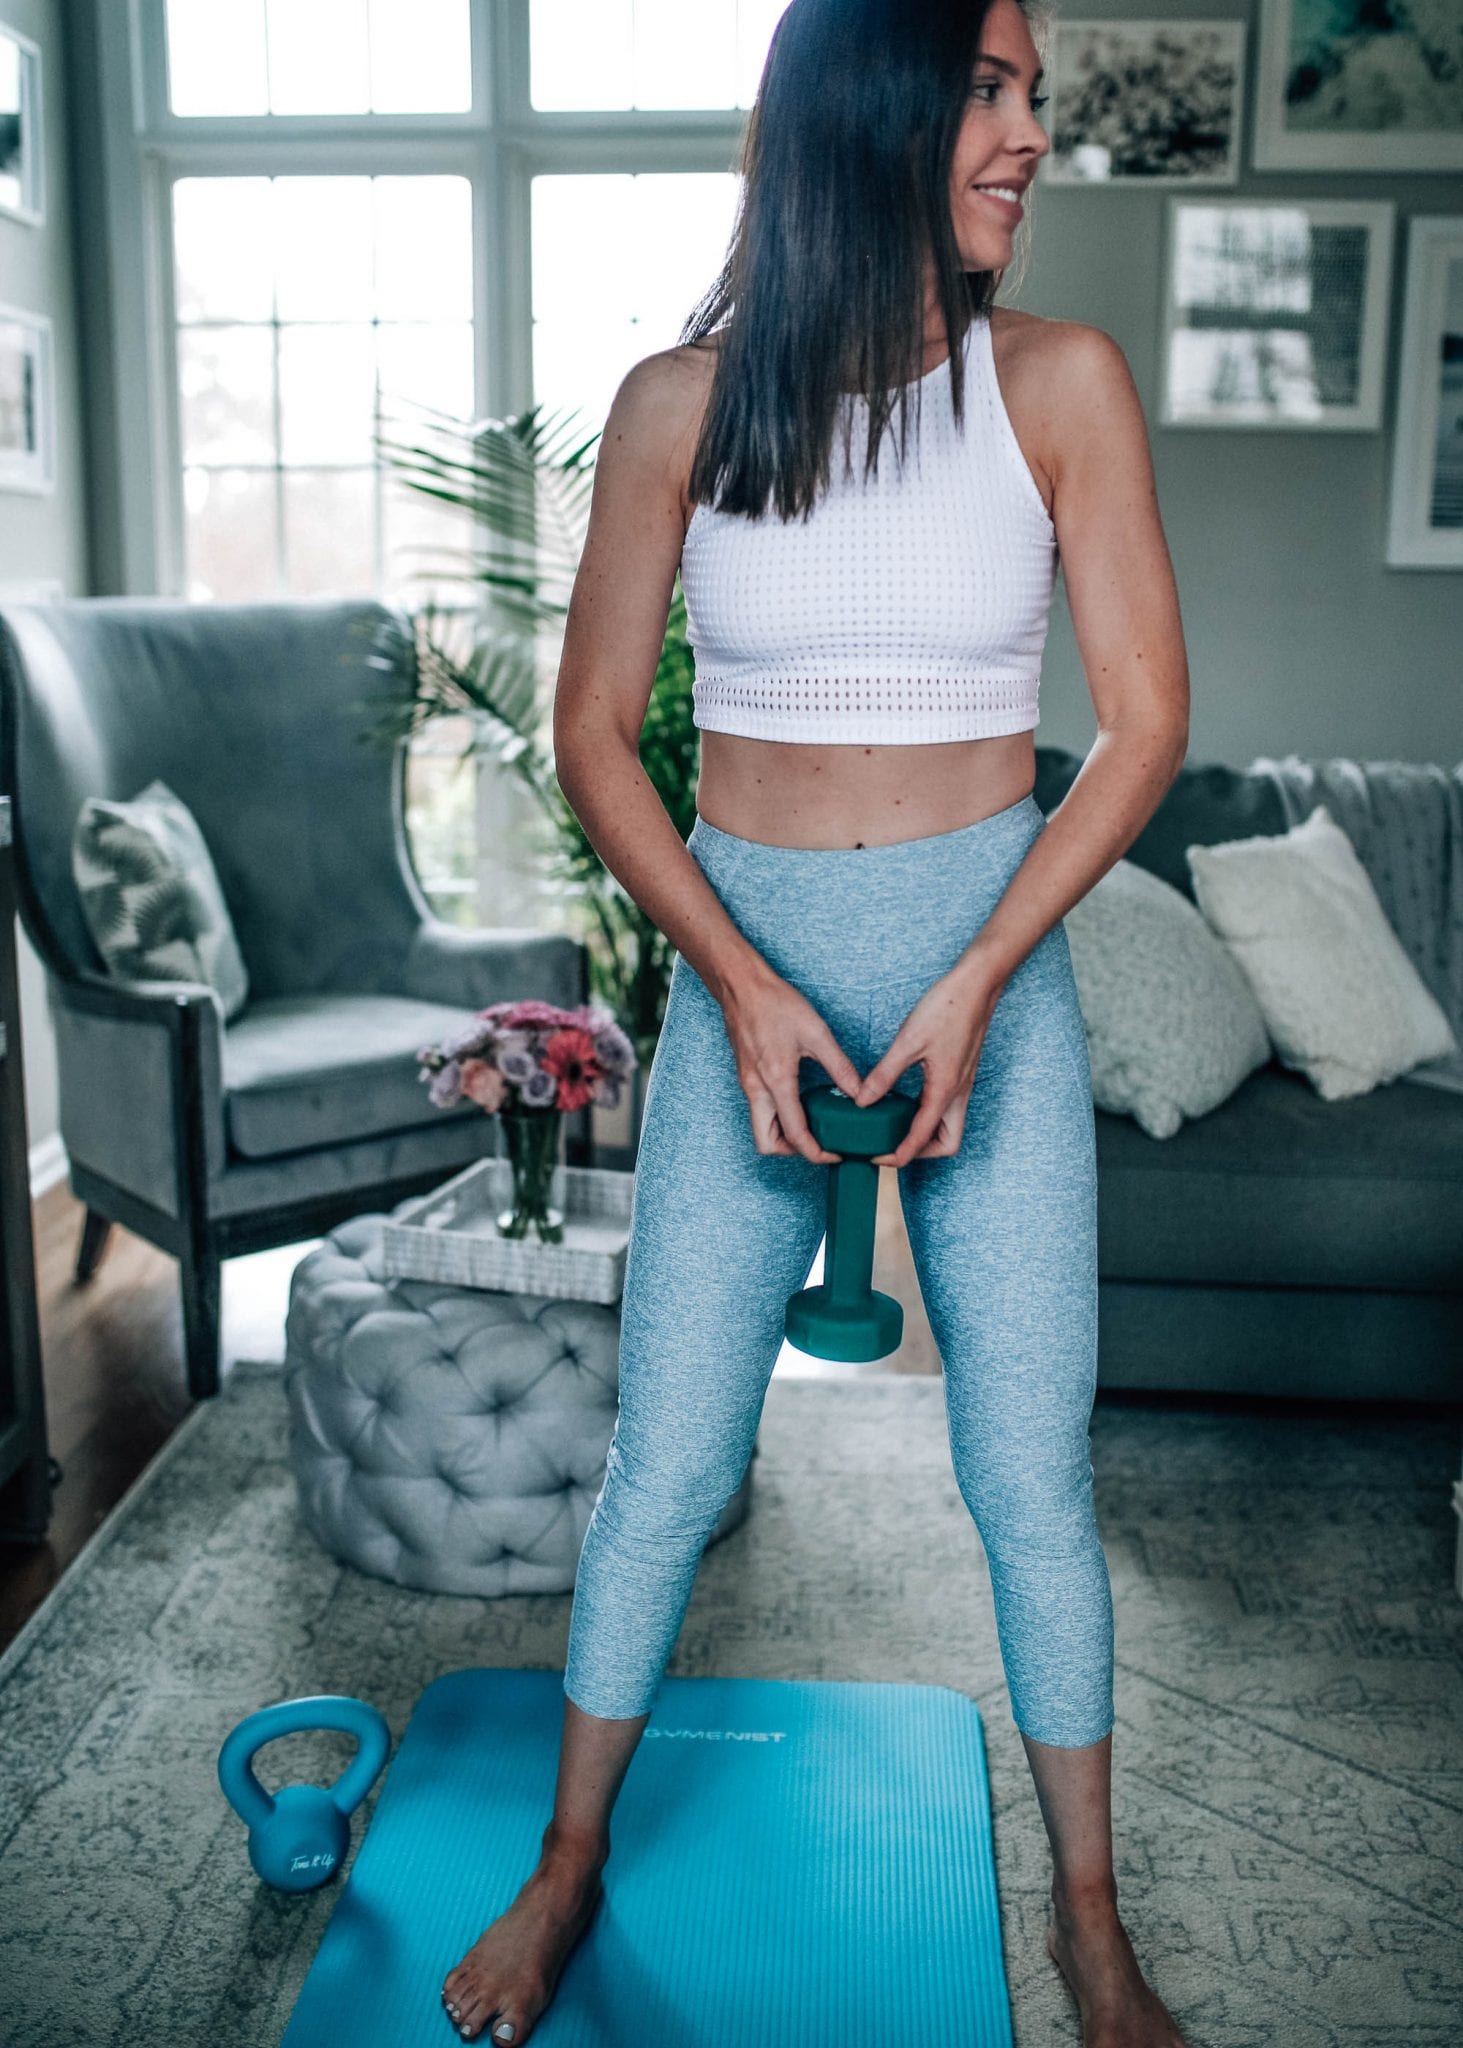
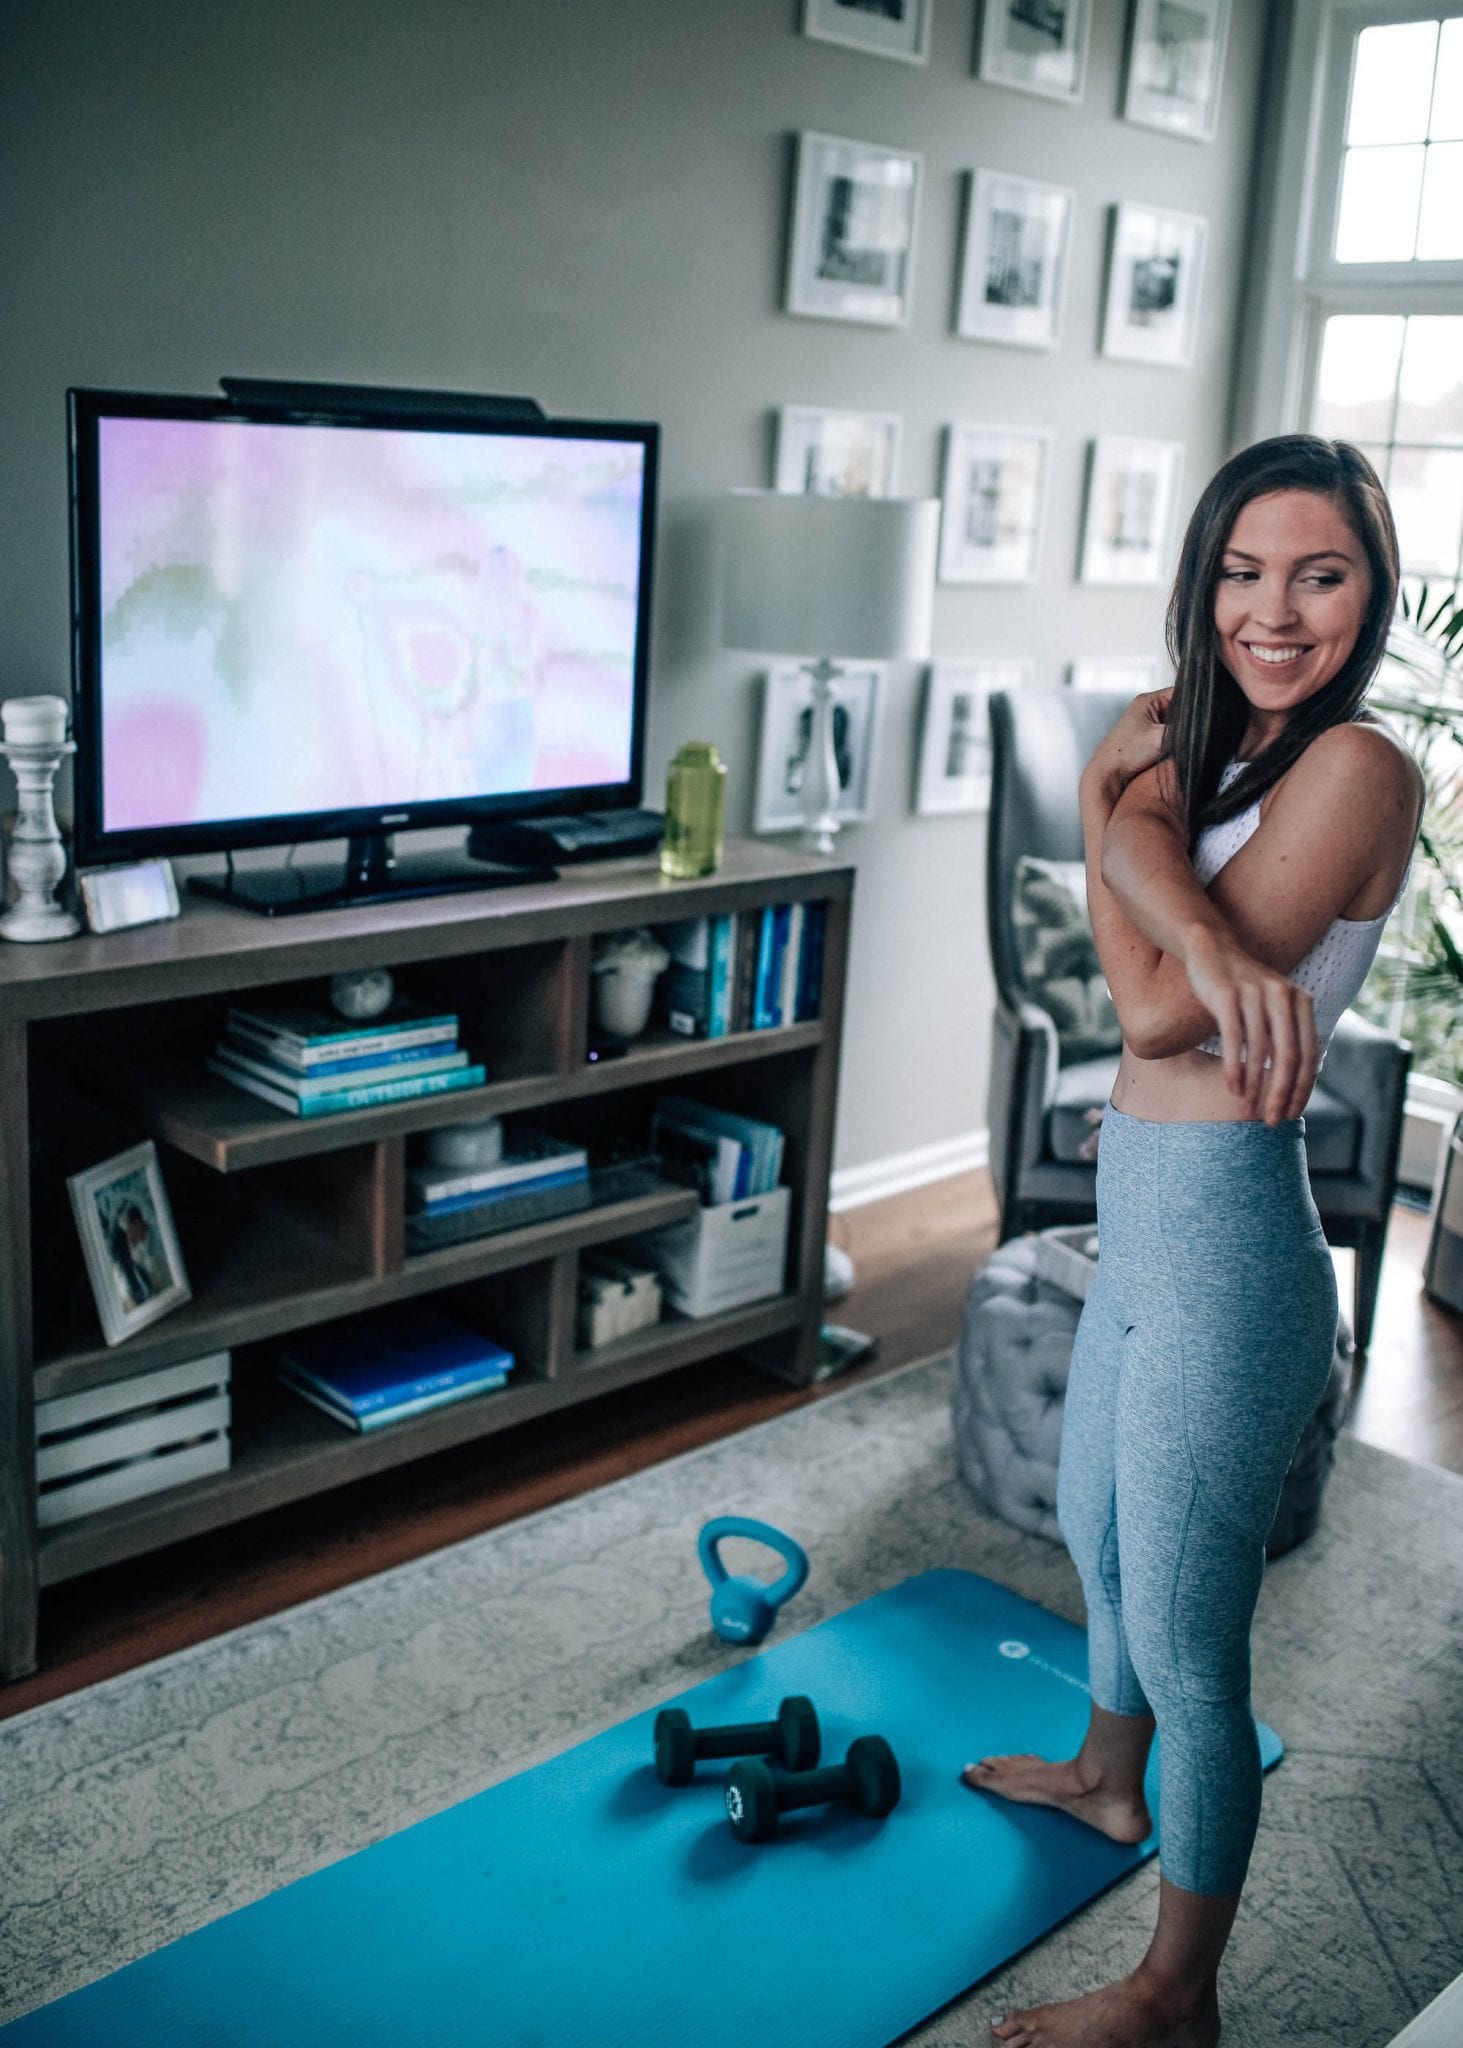
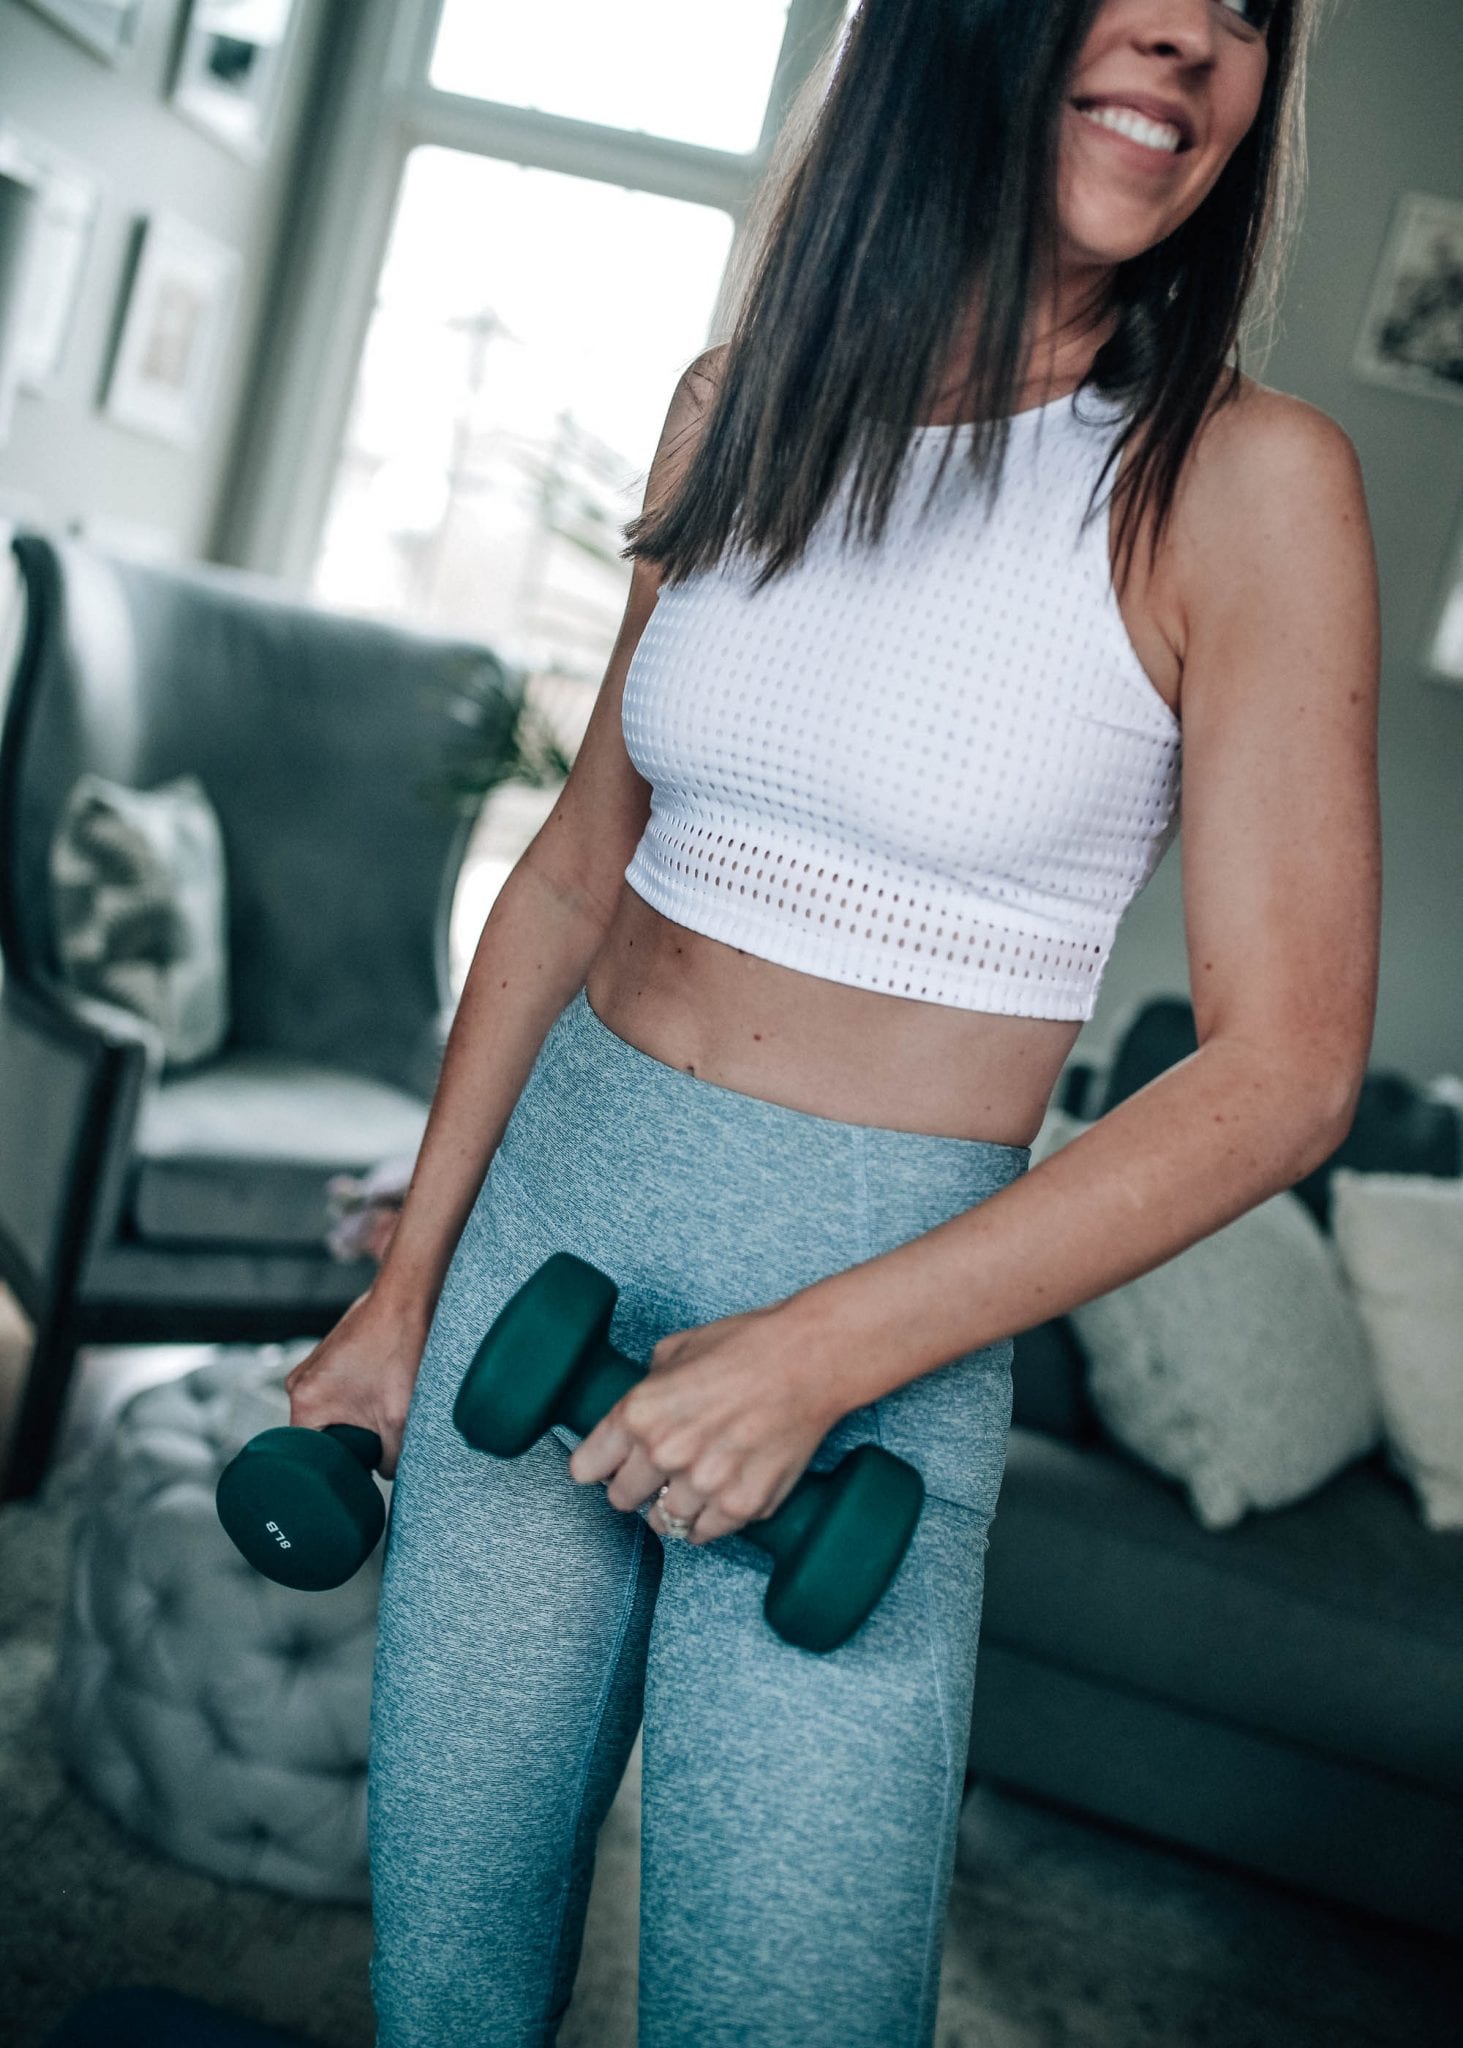
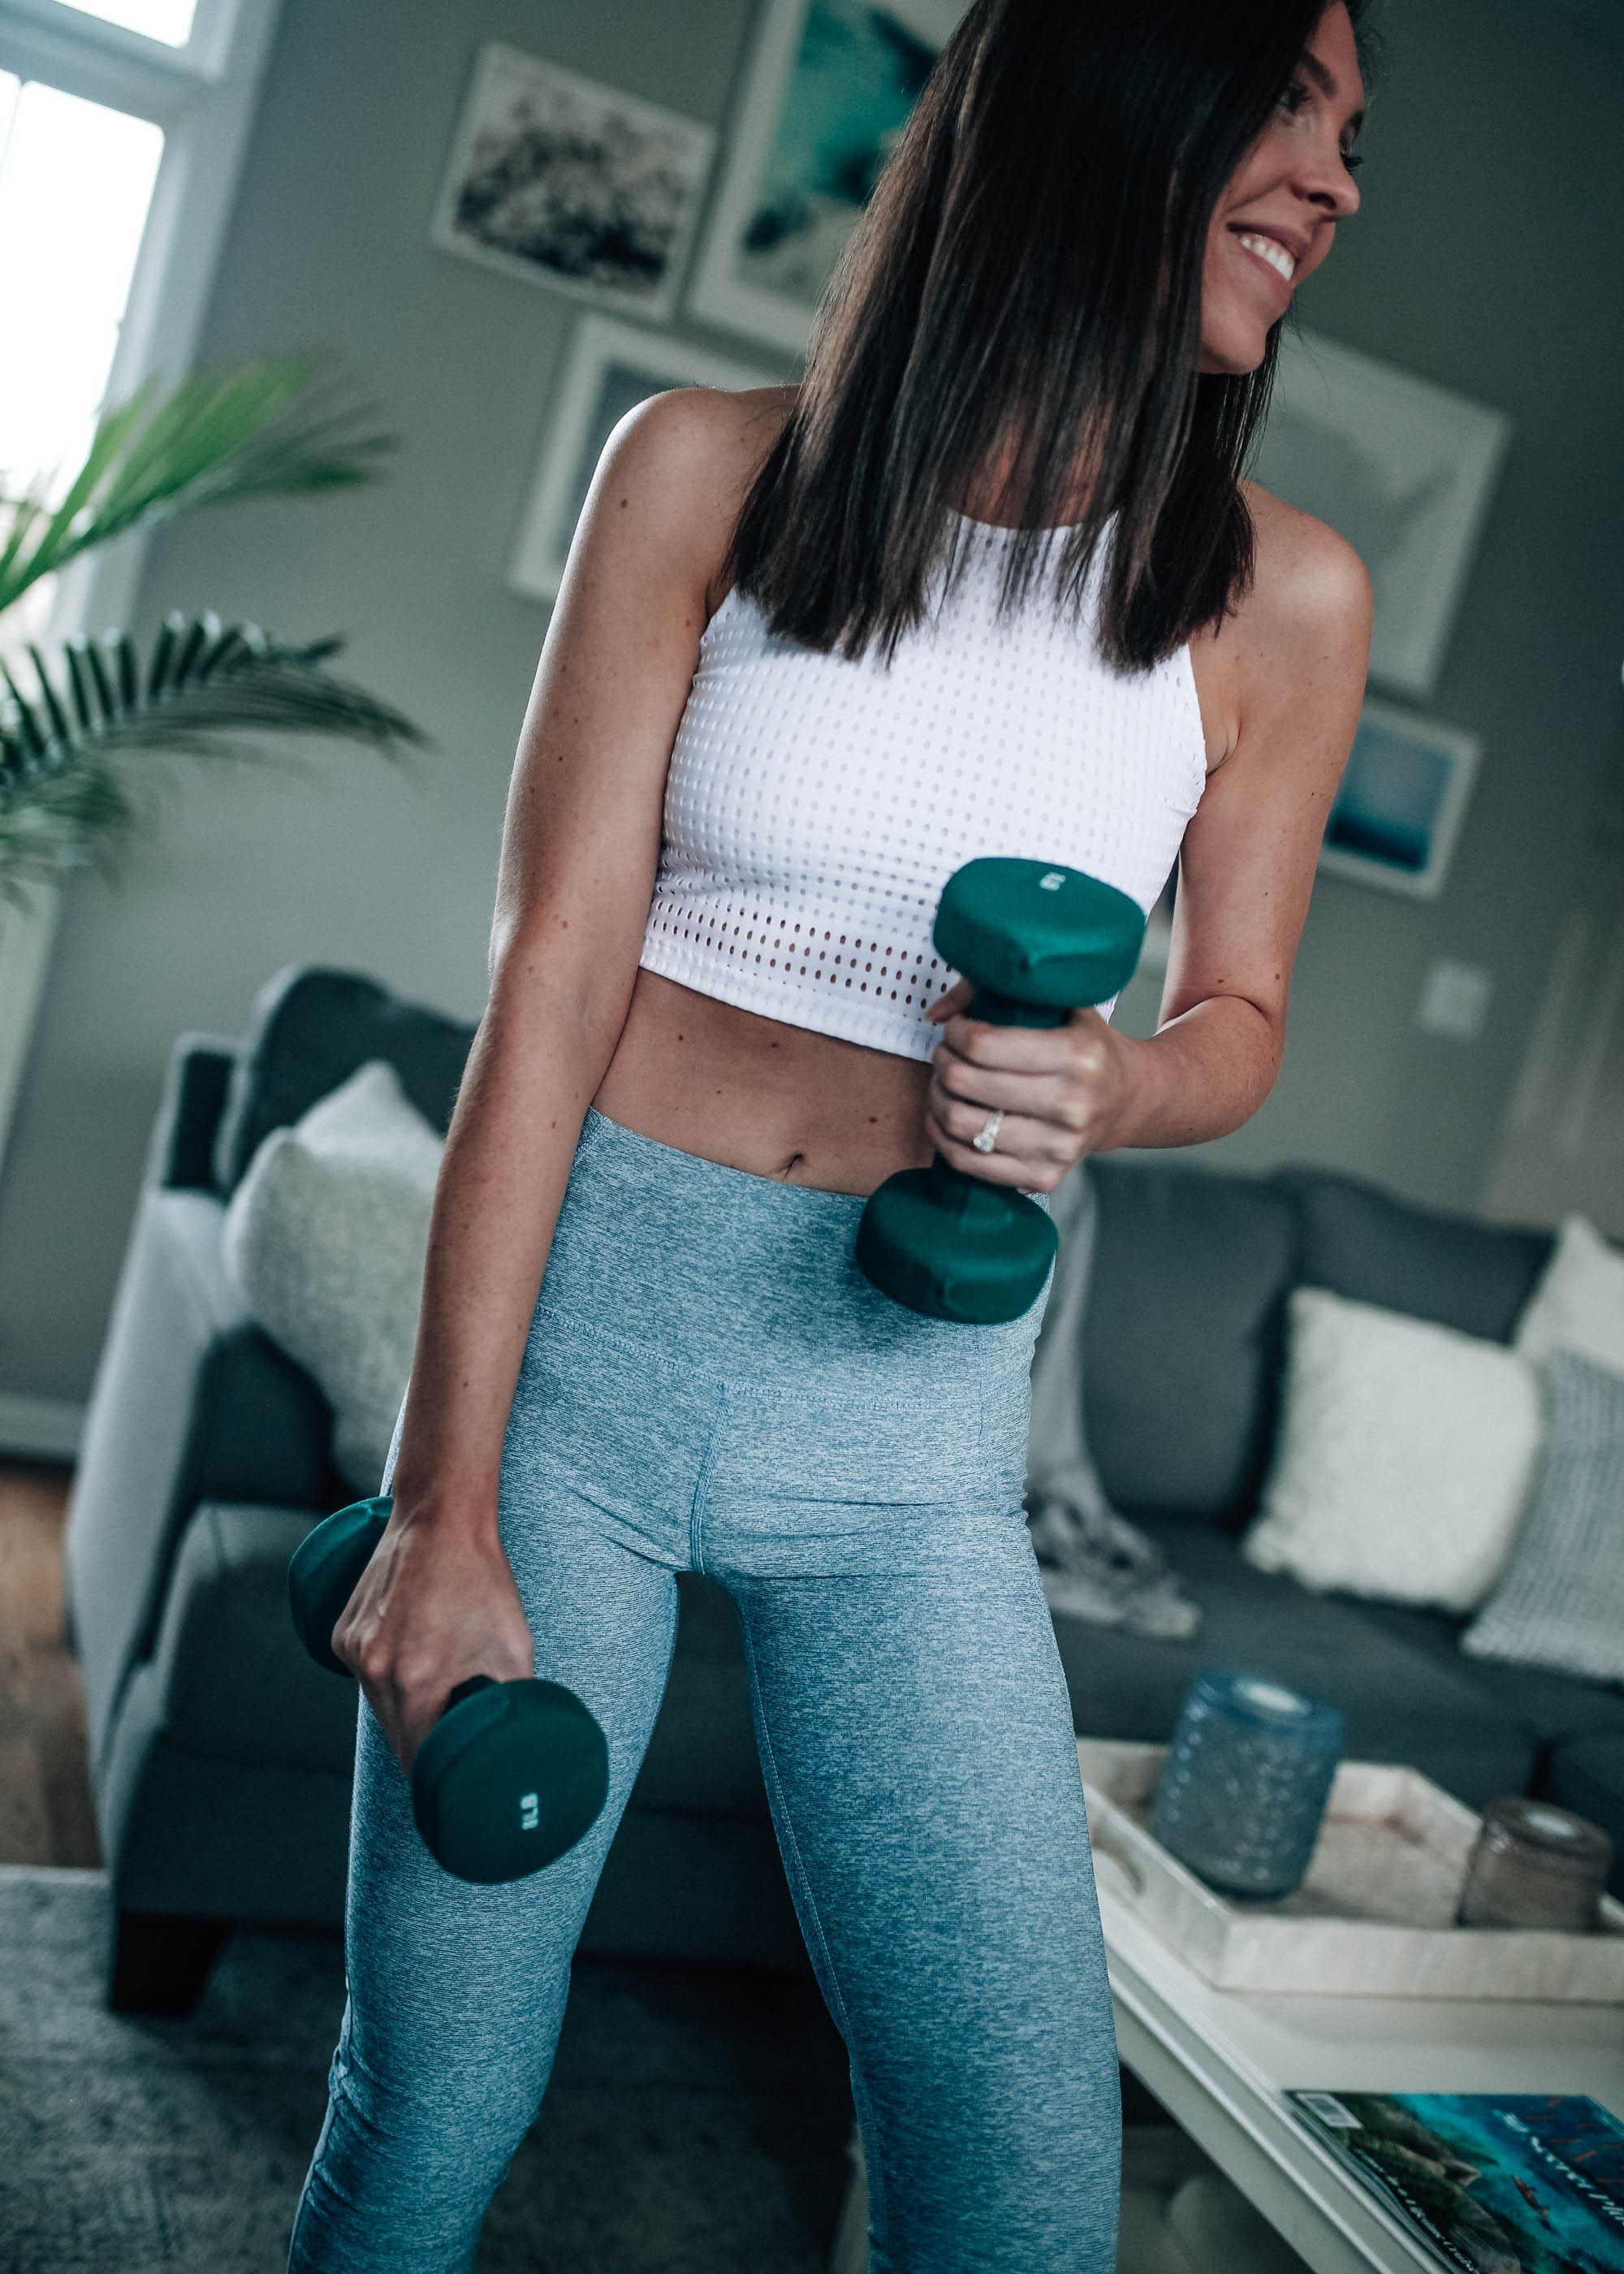
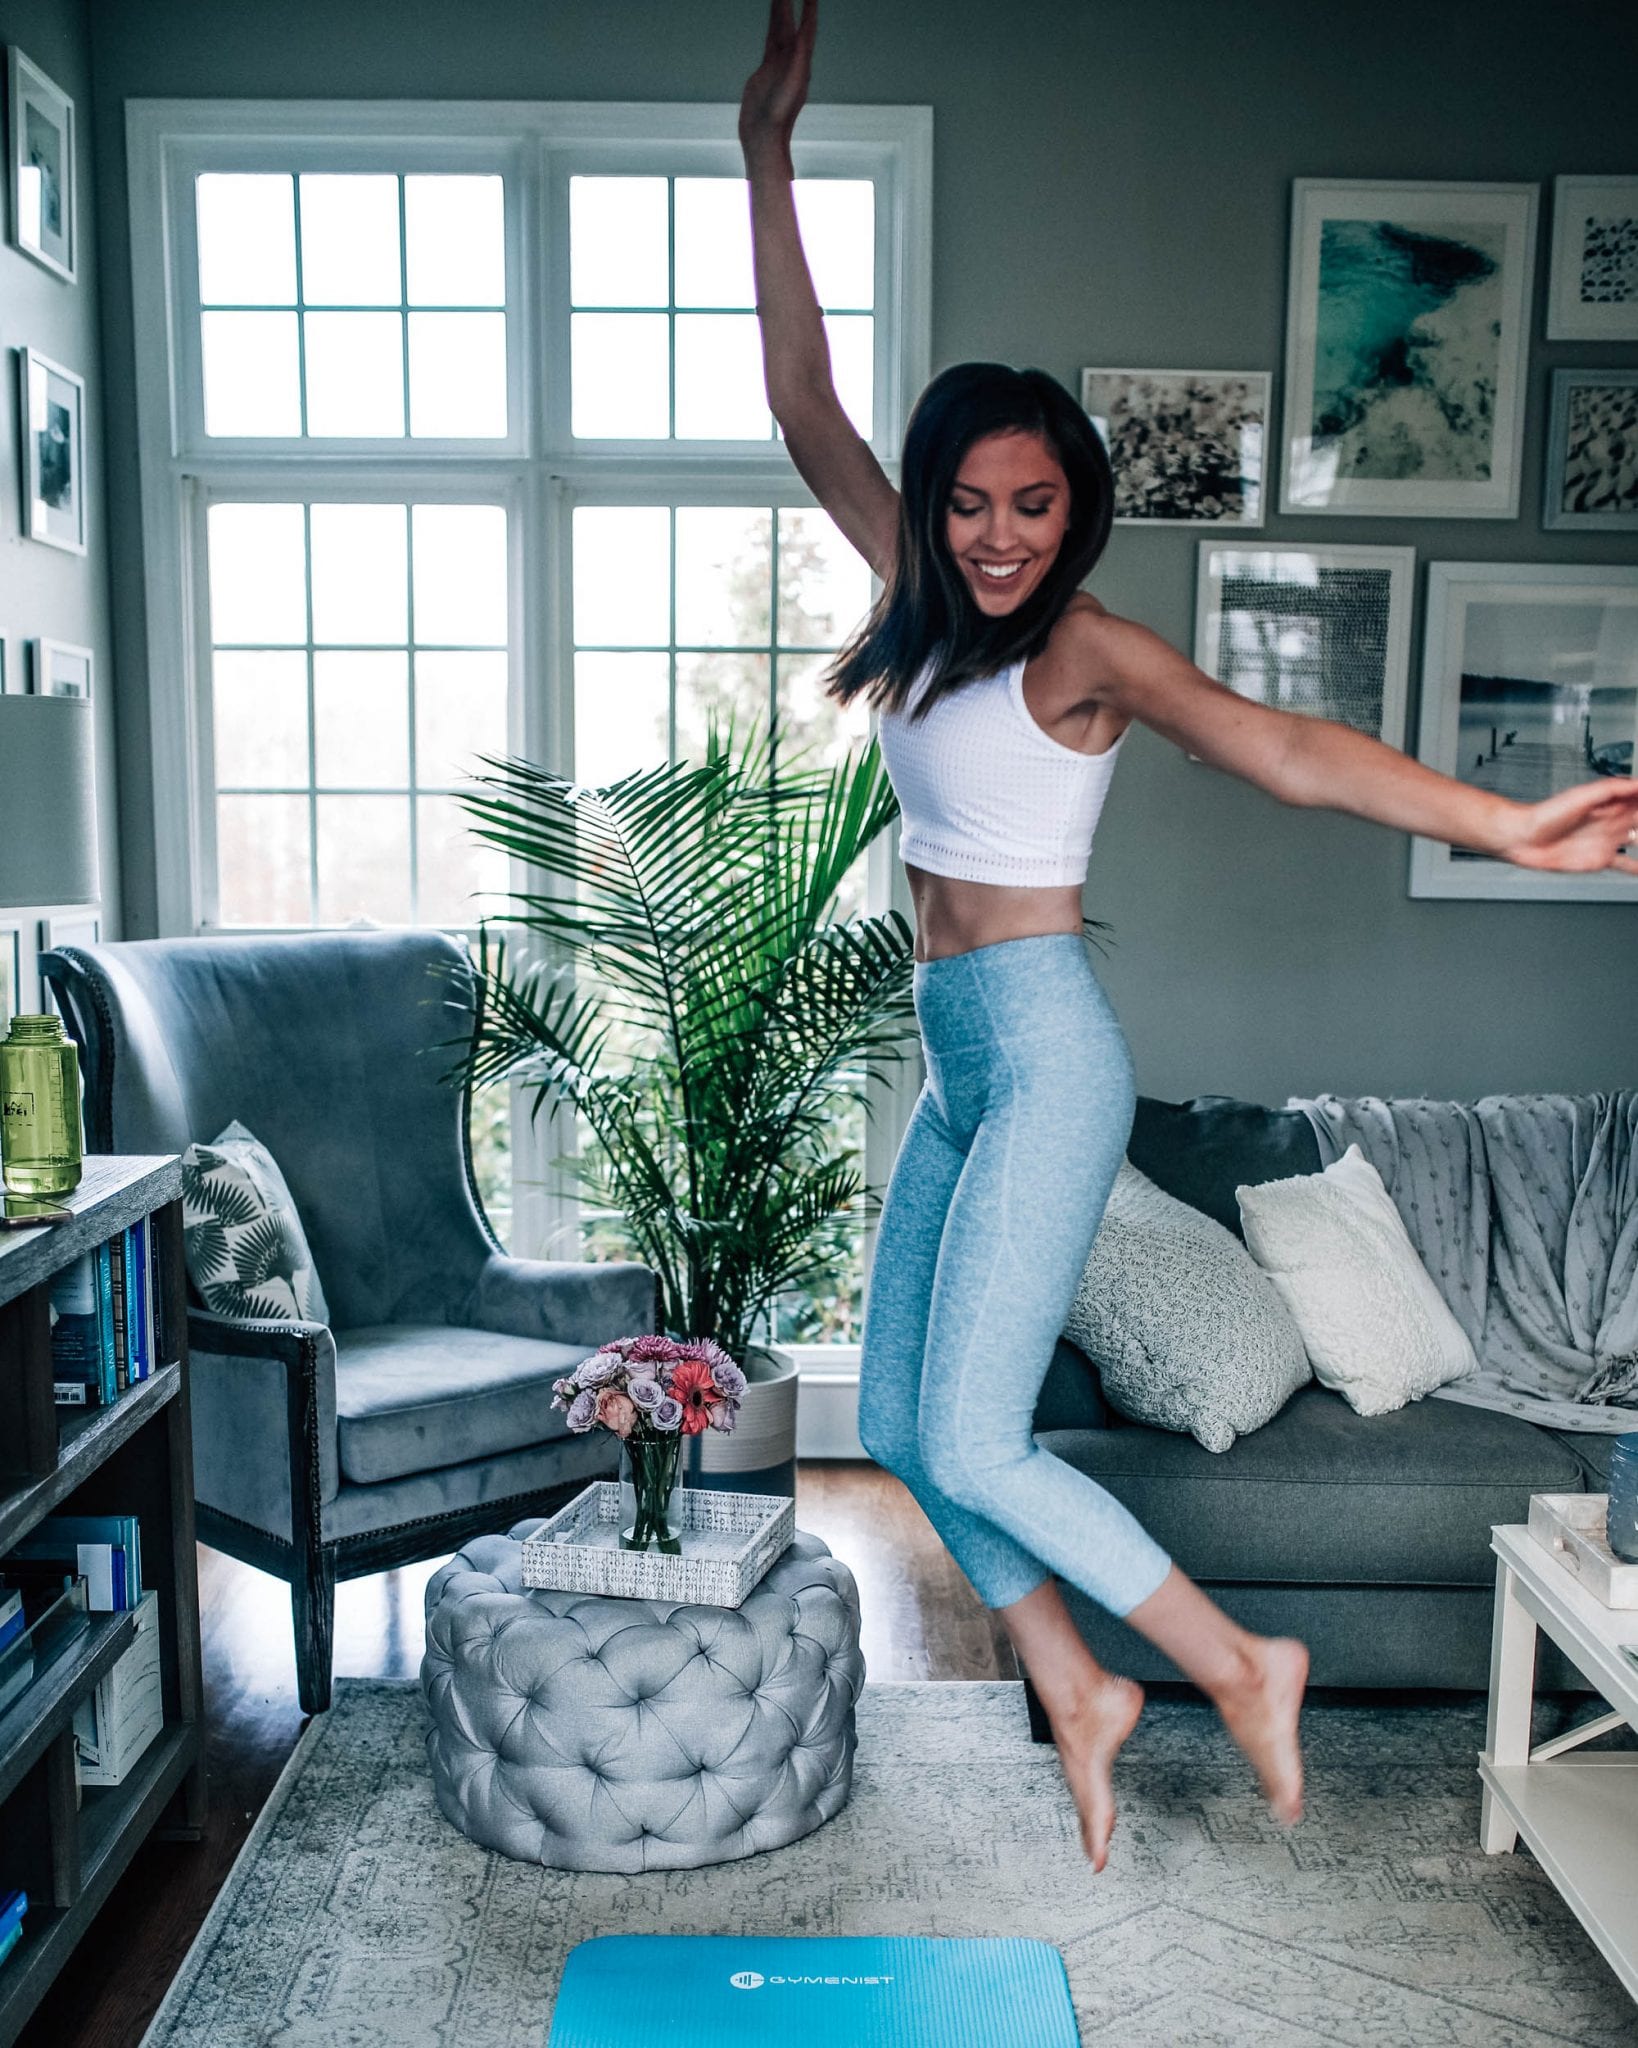
When looking through Joy Lab’s collection, I stumbled upon these cropped high-waist leggings. To treat myself (and because I am in serious need of new sports bras), I added this matching sports bra to my cart. I was really excited to feel them, test out the quality, and see if it was worth the $30. The verdict? They’re SO good! I’m wearing the size S in the pants and they’re a tiny bit large around the waist but nothing too noticeable (for size reference, I vary between XS and S). This brand also has plus sizes available which is always a plus when a brand is inclusive. In these photos, I’m also wearing a zip-up jacket by Champion, another brand I can always rely on from Target. 

The pros? Affordable first and foremost, great quality for the price, lots of options depending on your style and color preferences!

The cons? You can’t really count on a huge selection in being available in stores, but, you’ll find so much to choose from online! I’ve rounded up a few of my favorites here including this gorgeous scalloped pair.

More Affordable Activewear:

<center>
</center>
DIY Projects

Decorating Our Outdoor Space: Part I

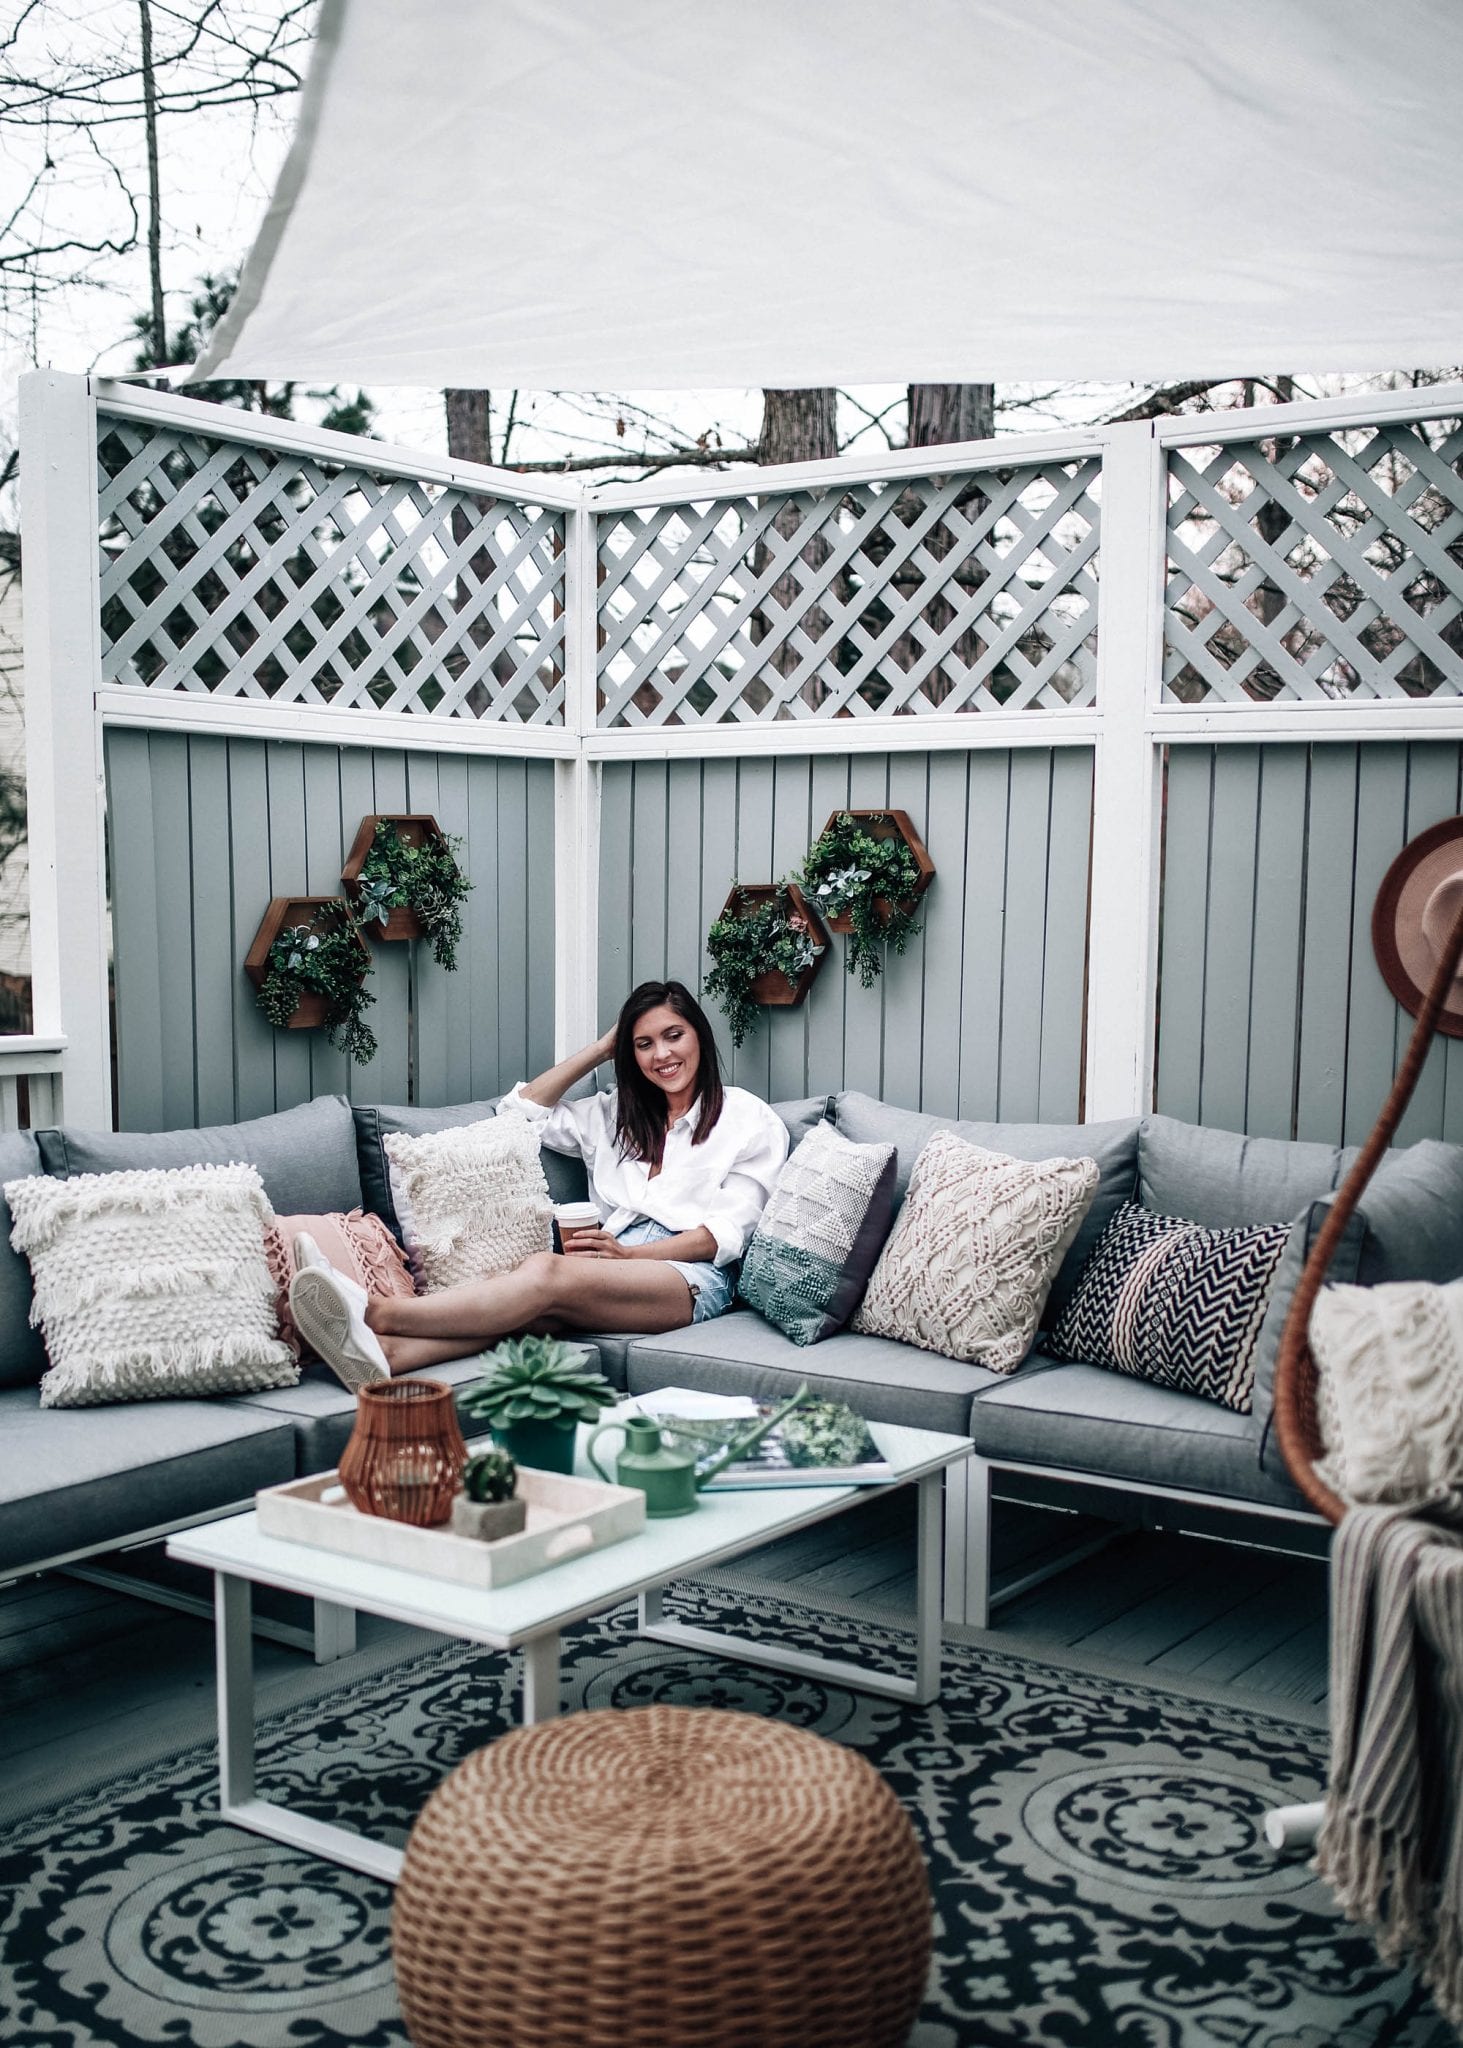
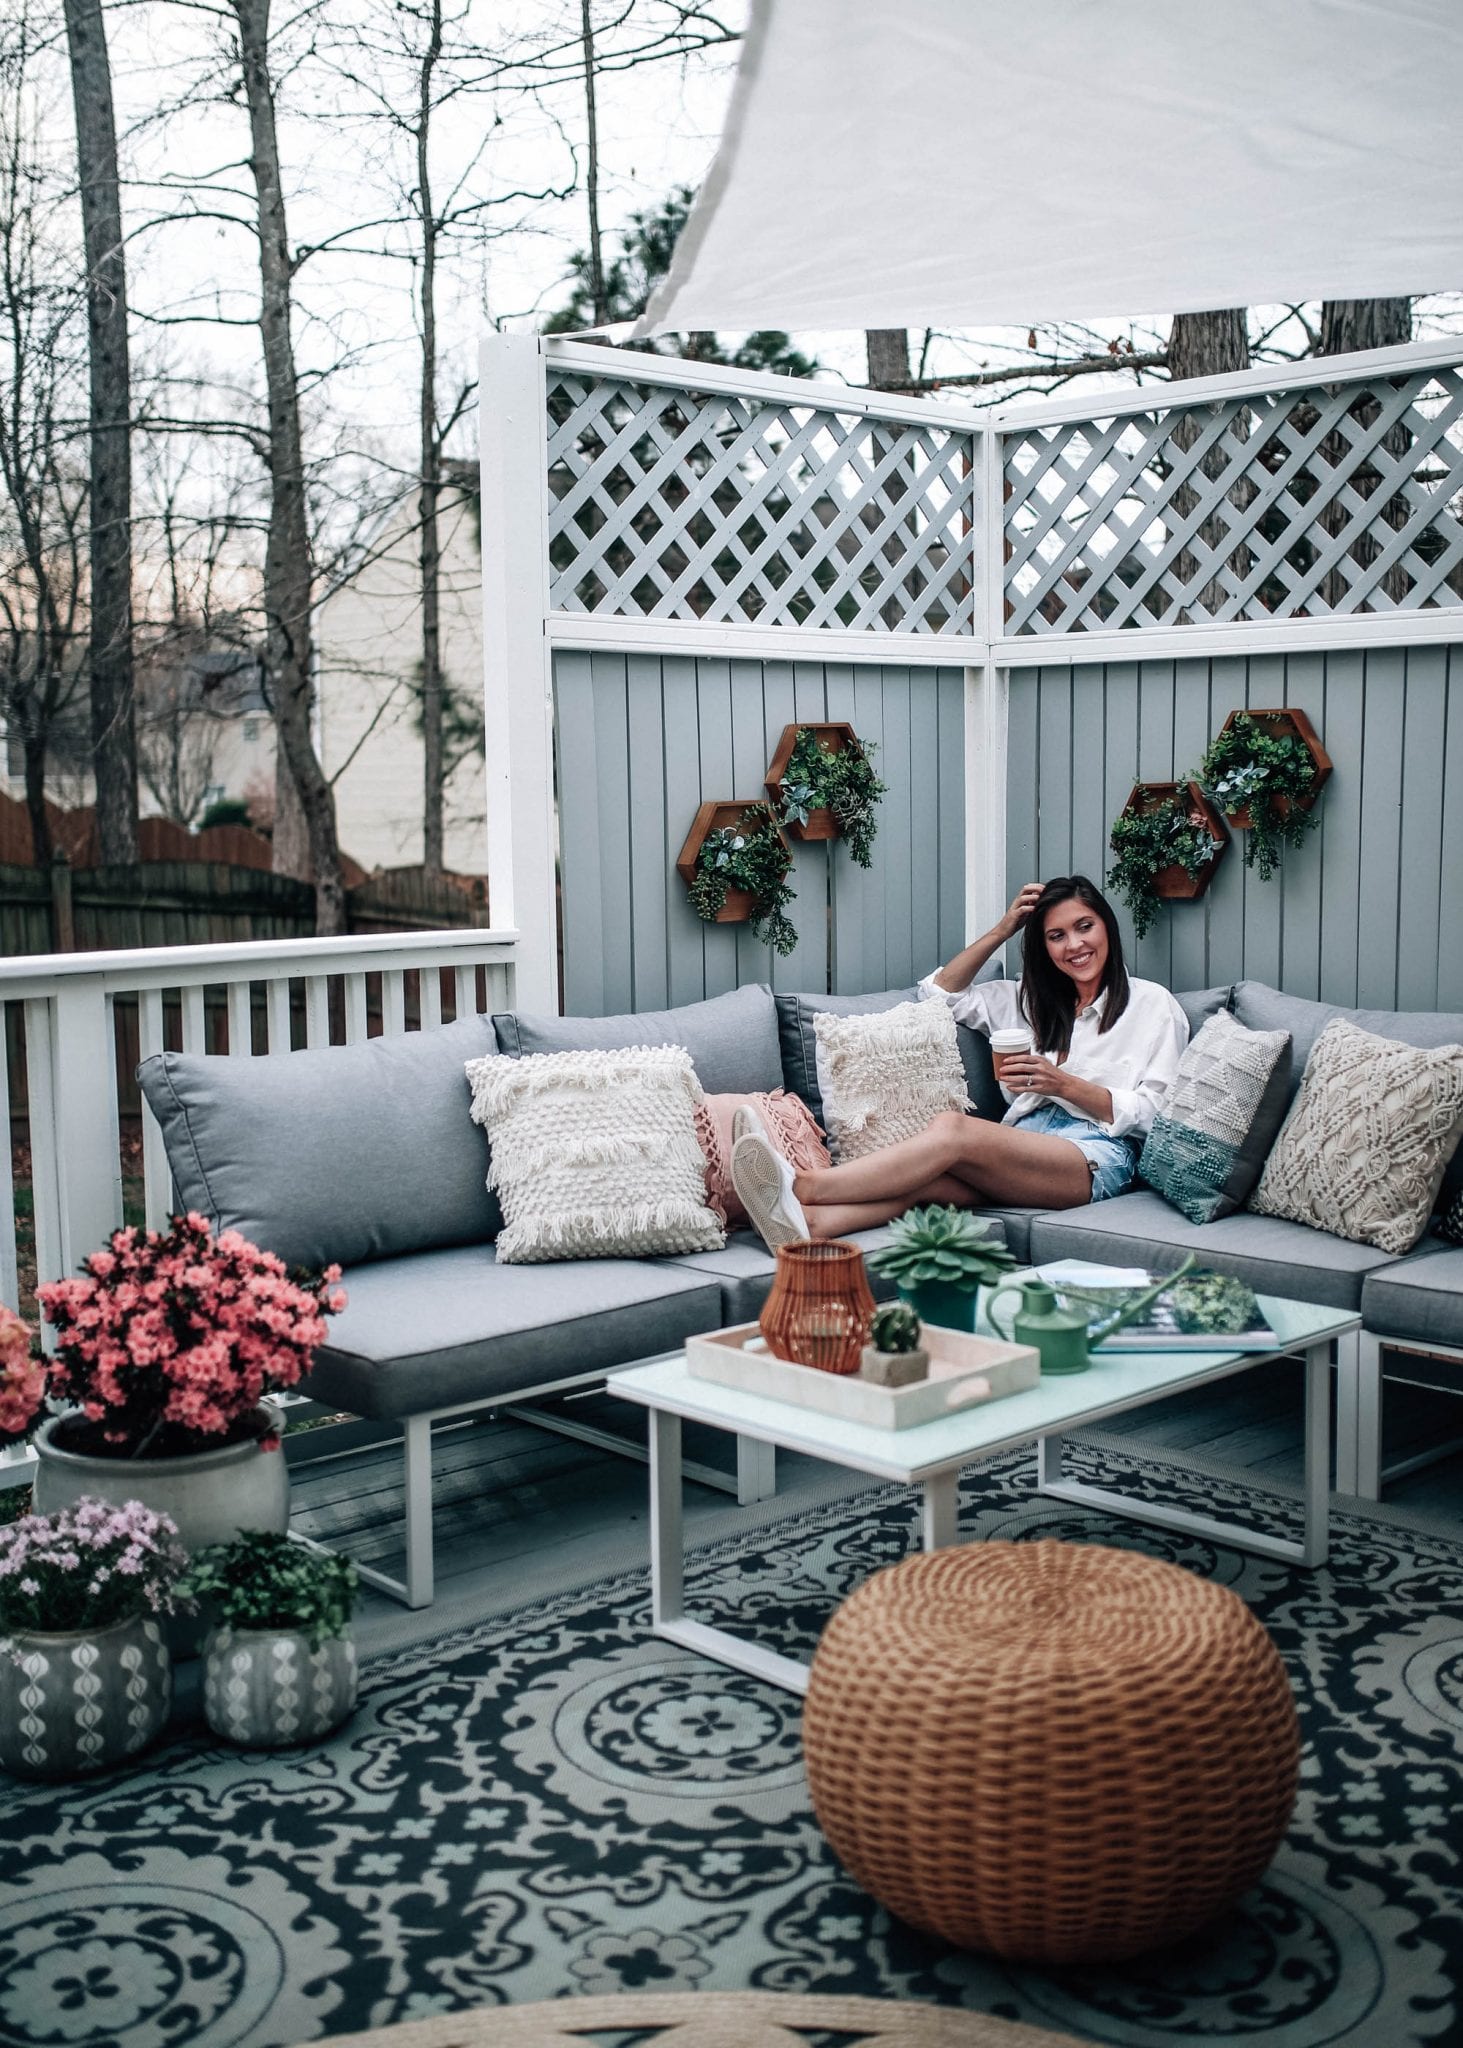
It’s finally feeling like springtime outside so today’s topic seems extra appropriate! This post is actually going to be broken into two parts… one focused on decorating and one focused around the building/staining/designing process. Decorating is always the fun part though so we’ll start with that! We were excited to find a few great quality outdoor decor furniture pieces at Bed Bath & Beyond and partner with them to help create a new favorite place to hang out at our home!

For as long as I can remember, outdoor spaces have always been the common area for my family. Whenever I visit my parents, we are normally grilling and eating outside, spending hours sitting on the patio listening to music until the sun goes down. If you were to see my parent’s yard, it’s pretty incredible and, although mine is nowhere even close to that, TJ and I are thrilled to finally have a space where we can go outside and feel like we’re sort of on a little vacation!

When thinking about the design direction to take, I knew I wanted to keep my normal go-to’s… grey and white. I truly think I can never go wrong with those two and I’ll (hopefully) never tire of them. I also always lean toward more coastal vibes for some reason. I think eventually I’m just going to have to live at a beach. For this specific project, I wanted it to feel like a vacation spot we can visit each day after work. When looking through outdoor spaces on Pinterest (which, if you’re not following this board on Pinterest, it’s my favorite), I found myself leaning toward more bohemian decor and then realized that I wanted this space to be a little bit different than our indoor spaces!

Have you ever thought of what the ‘beyond’ in Bed Bath & Beyond was? I’m convinced it’s all of the outdoor furniture they offer online and in stores! I was excited to see they have a huge selection of outdoor dining tables, conversation sets (the technical term for outdoor sofas/coffee tables), outdoor rugs, planters, and so much more. I made sure to sign up for their new Beyond+ program where you pay a $29 yearly fee but then can get 20% off all of your purchases and free standard shipping. That’s the way to go! If you’re shopping in stores, just open up the Bed Bath & Beyond app and show them your Beyond+ coupon! I wish I had that when I was buying all of my friends’ wedding gifts.

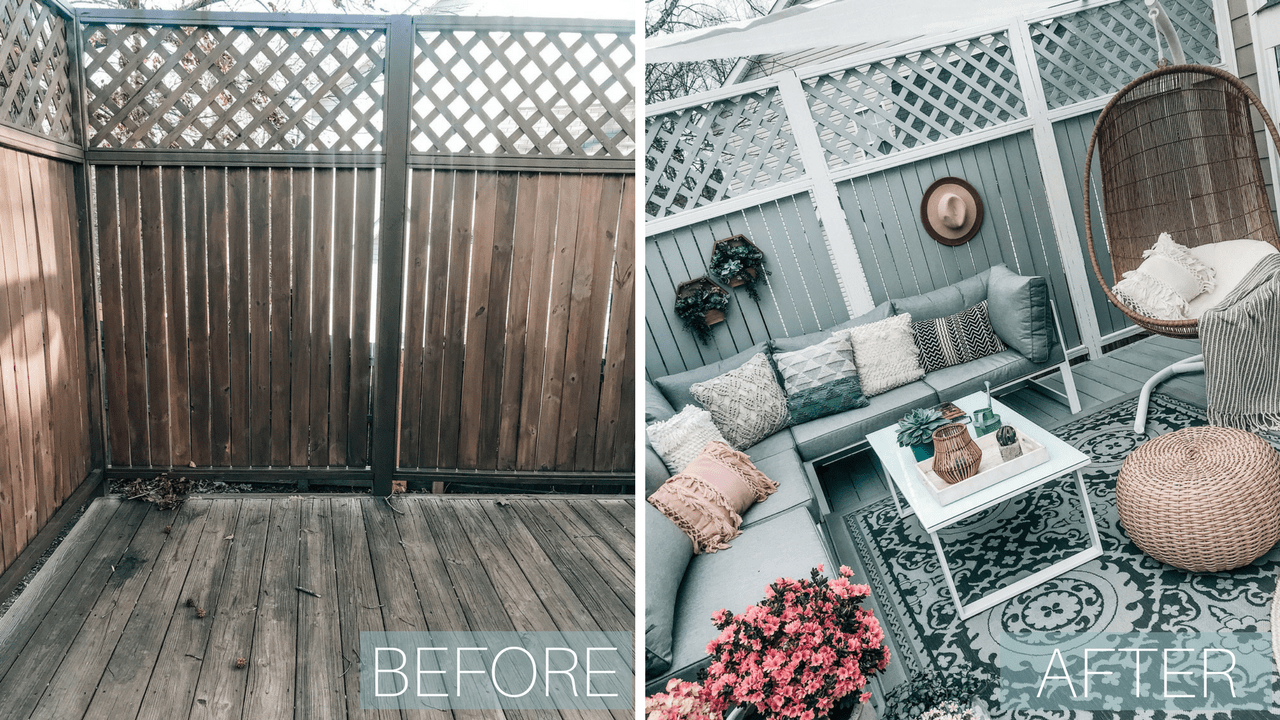
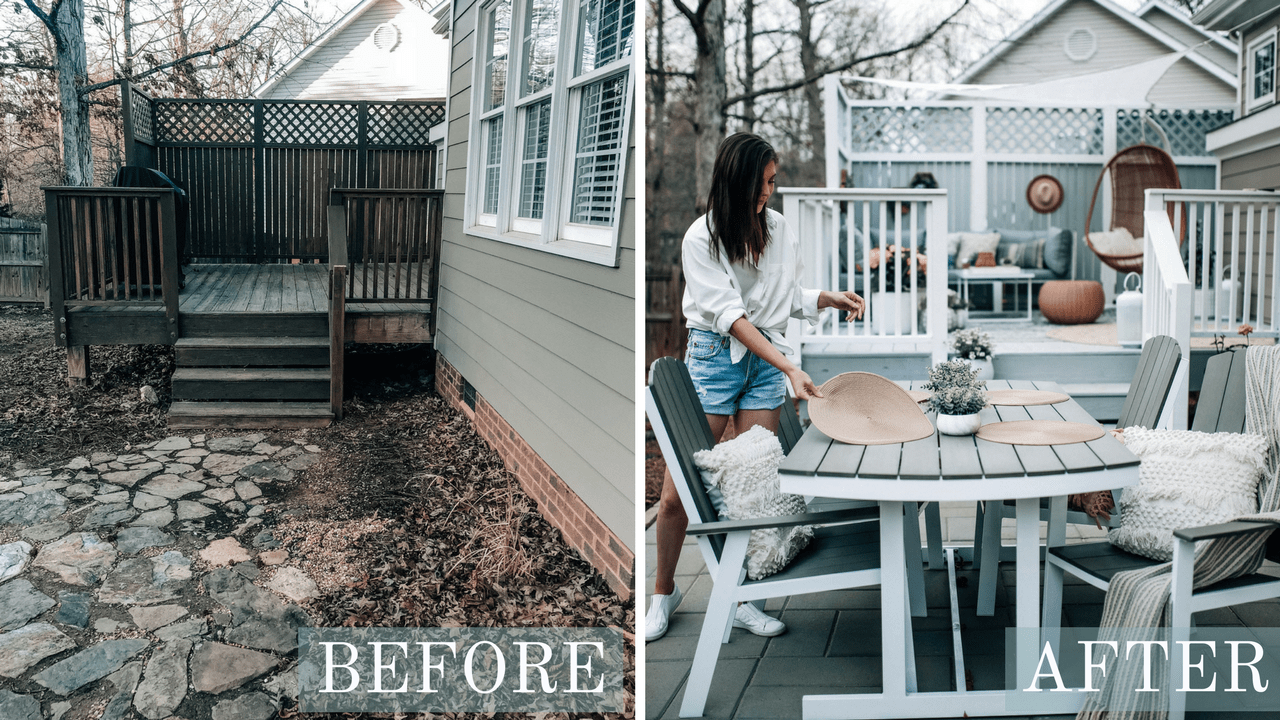
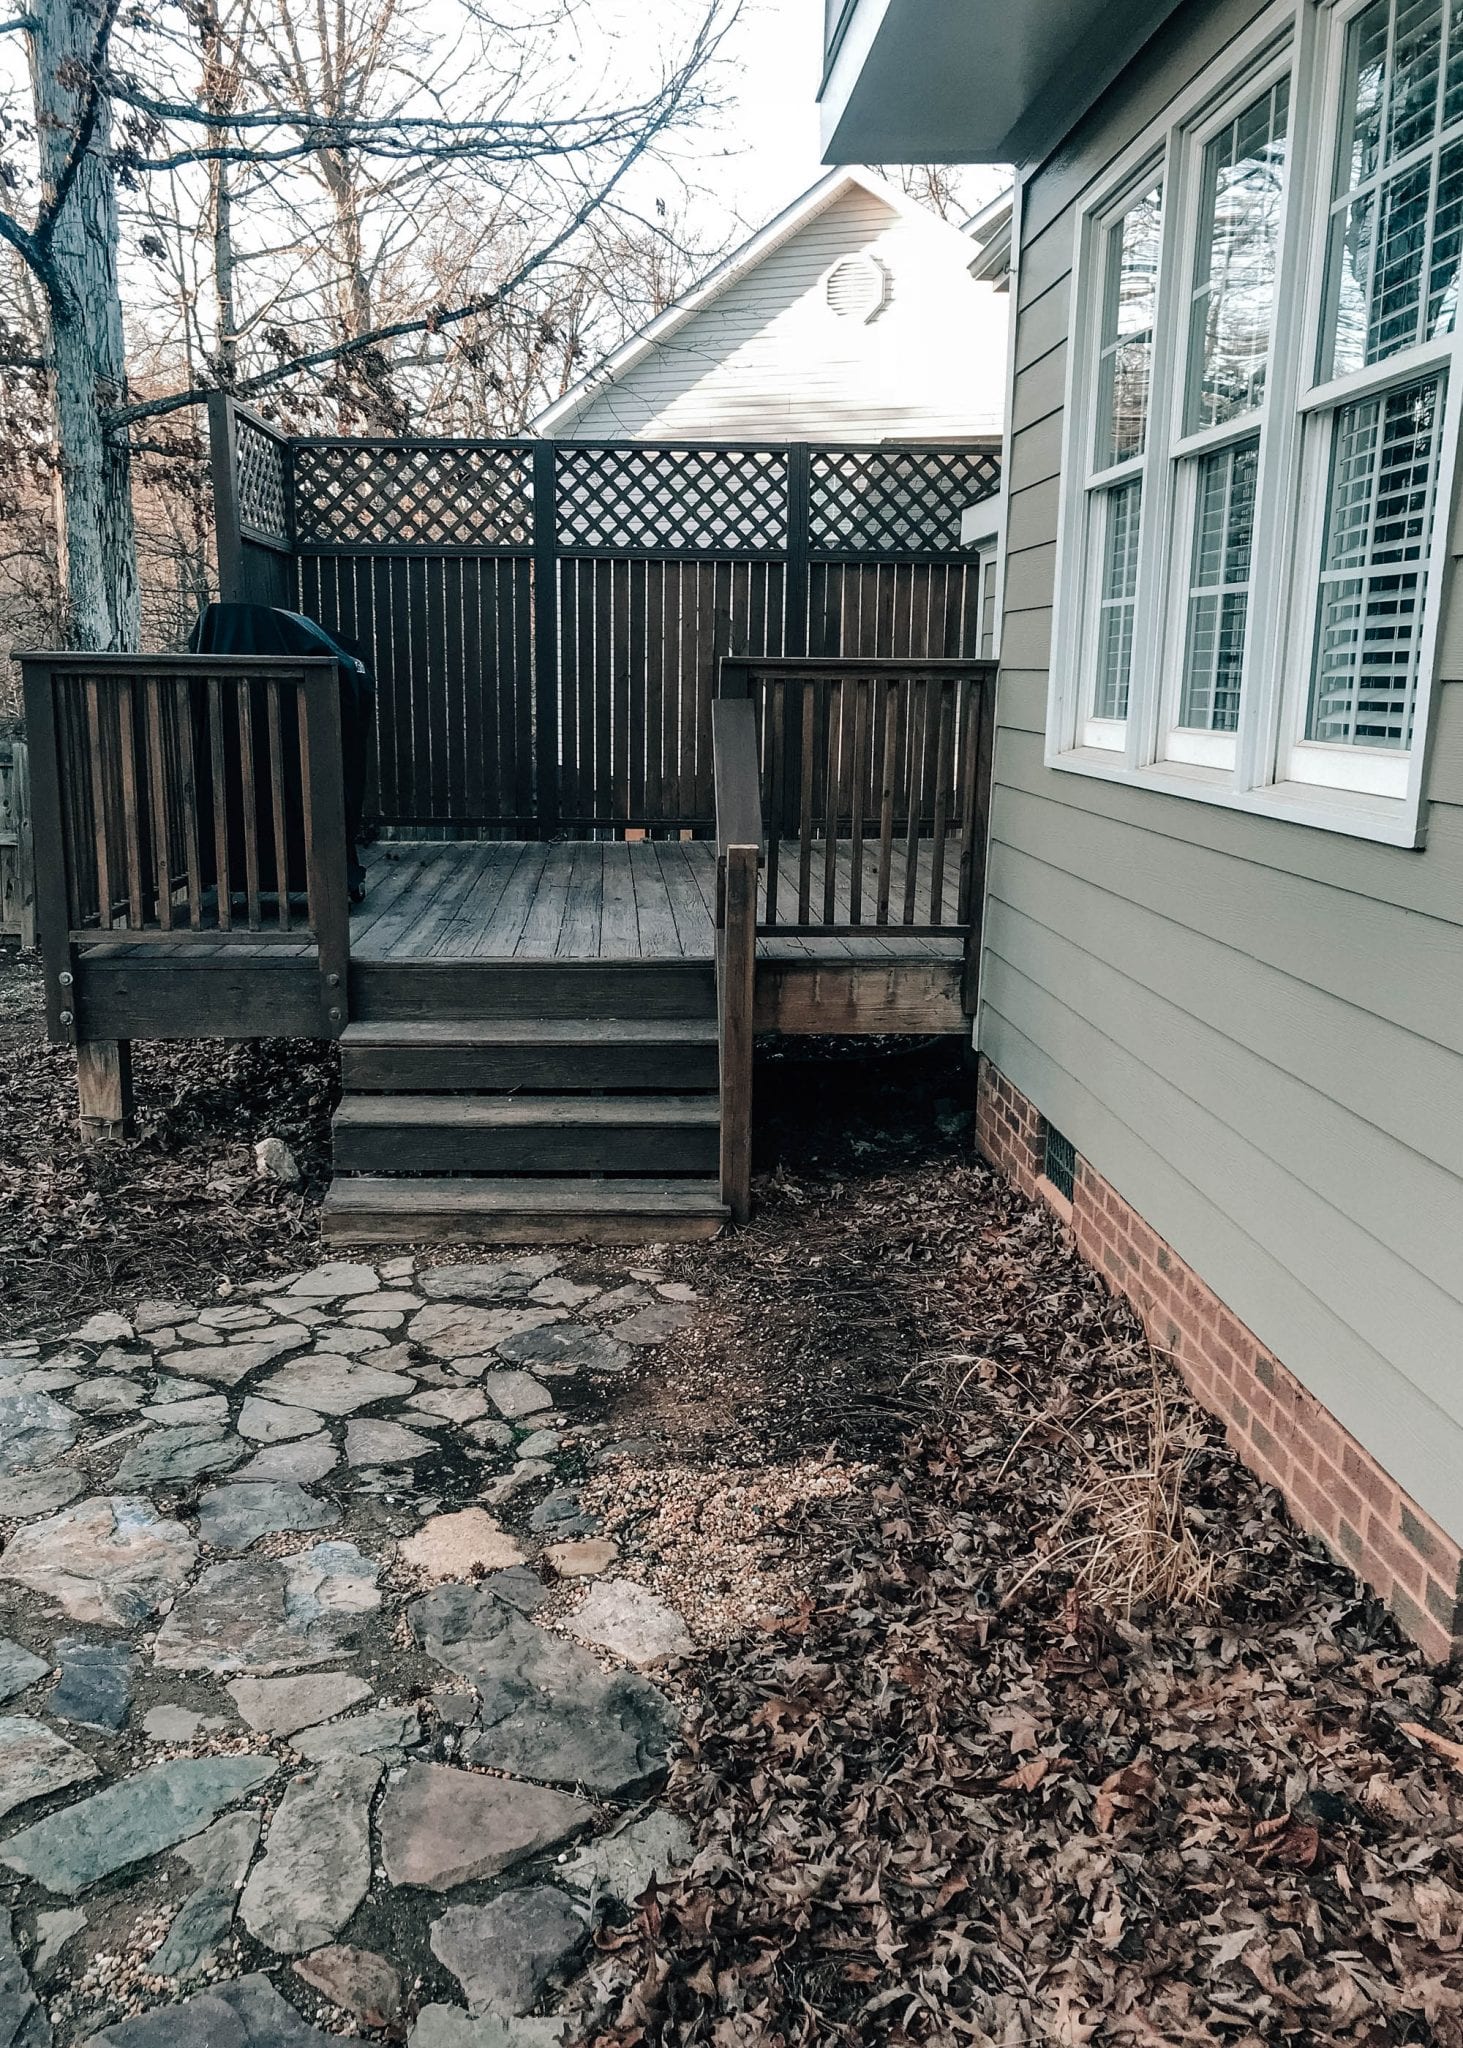
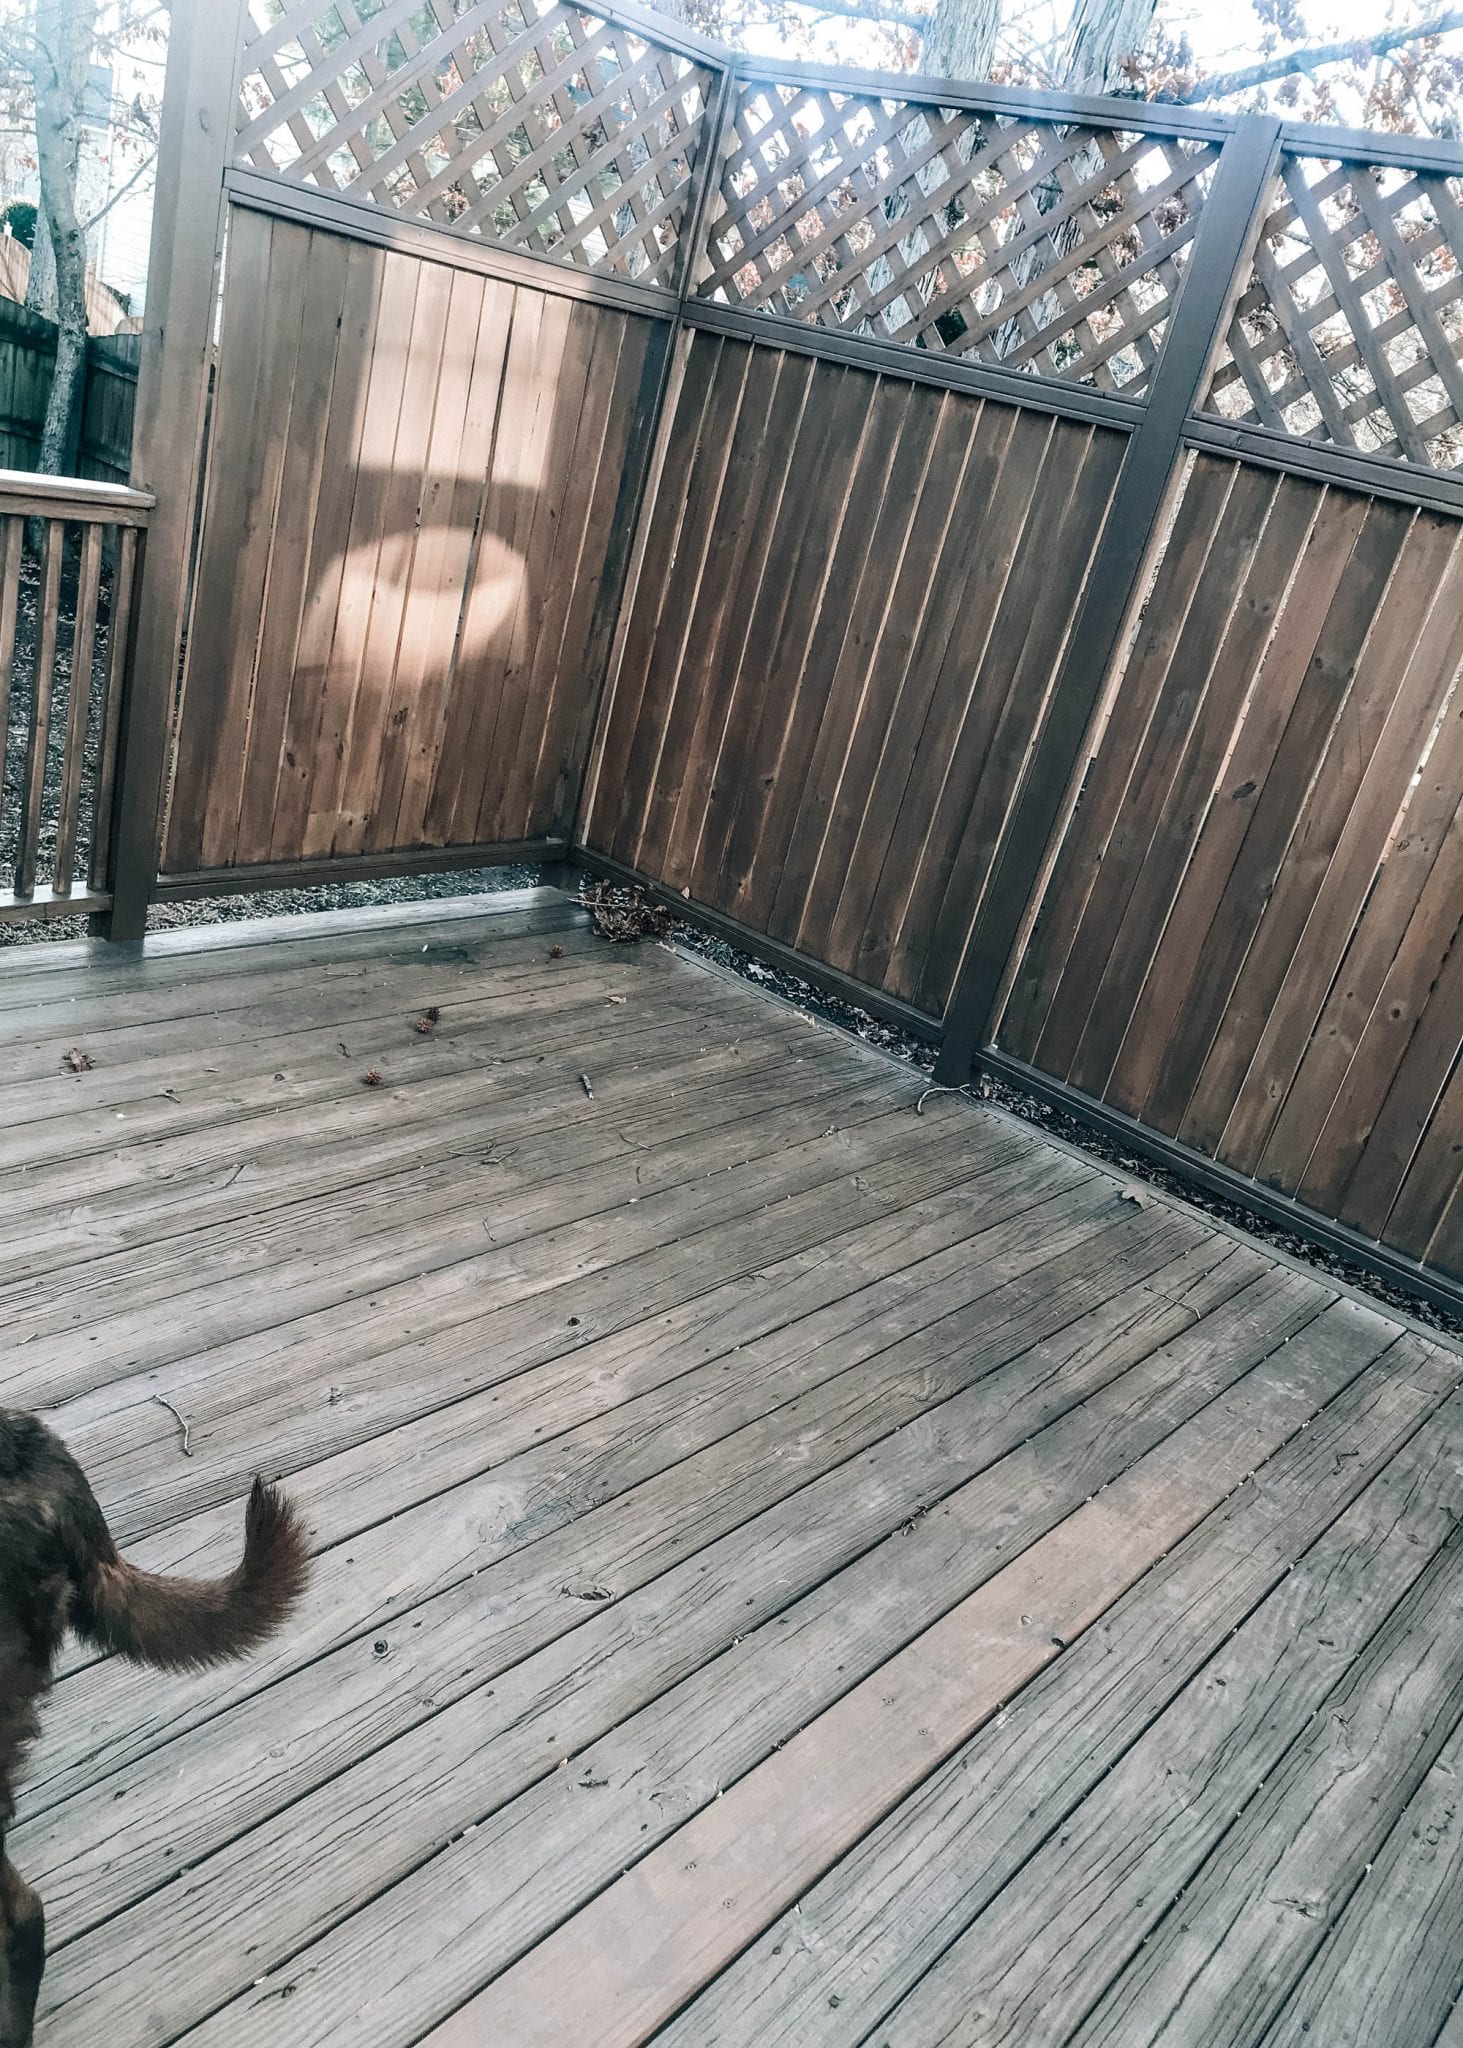
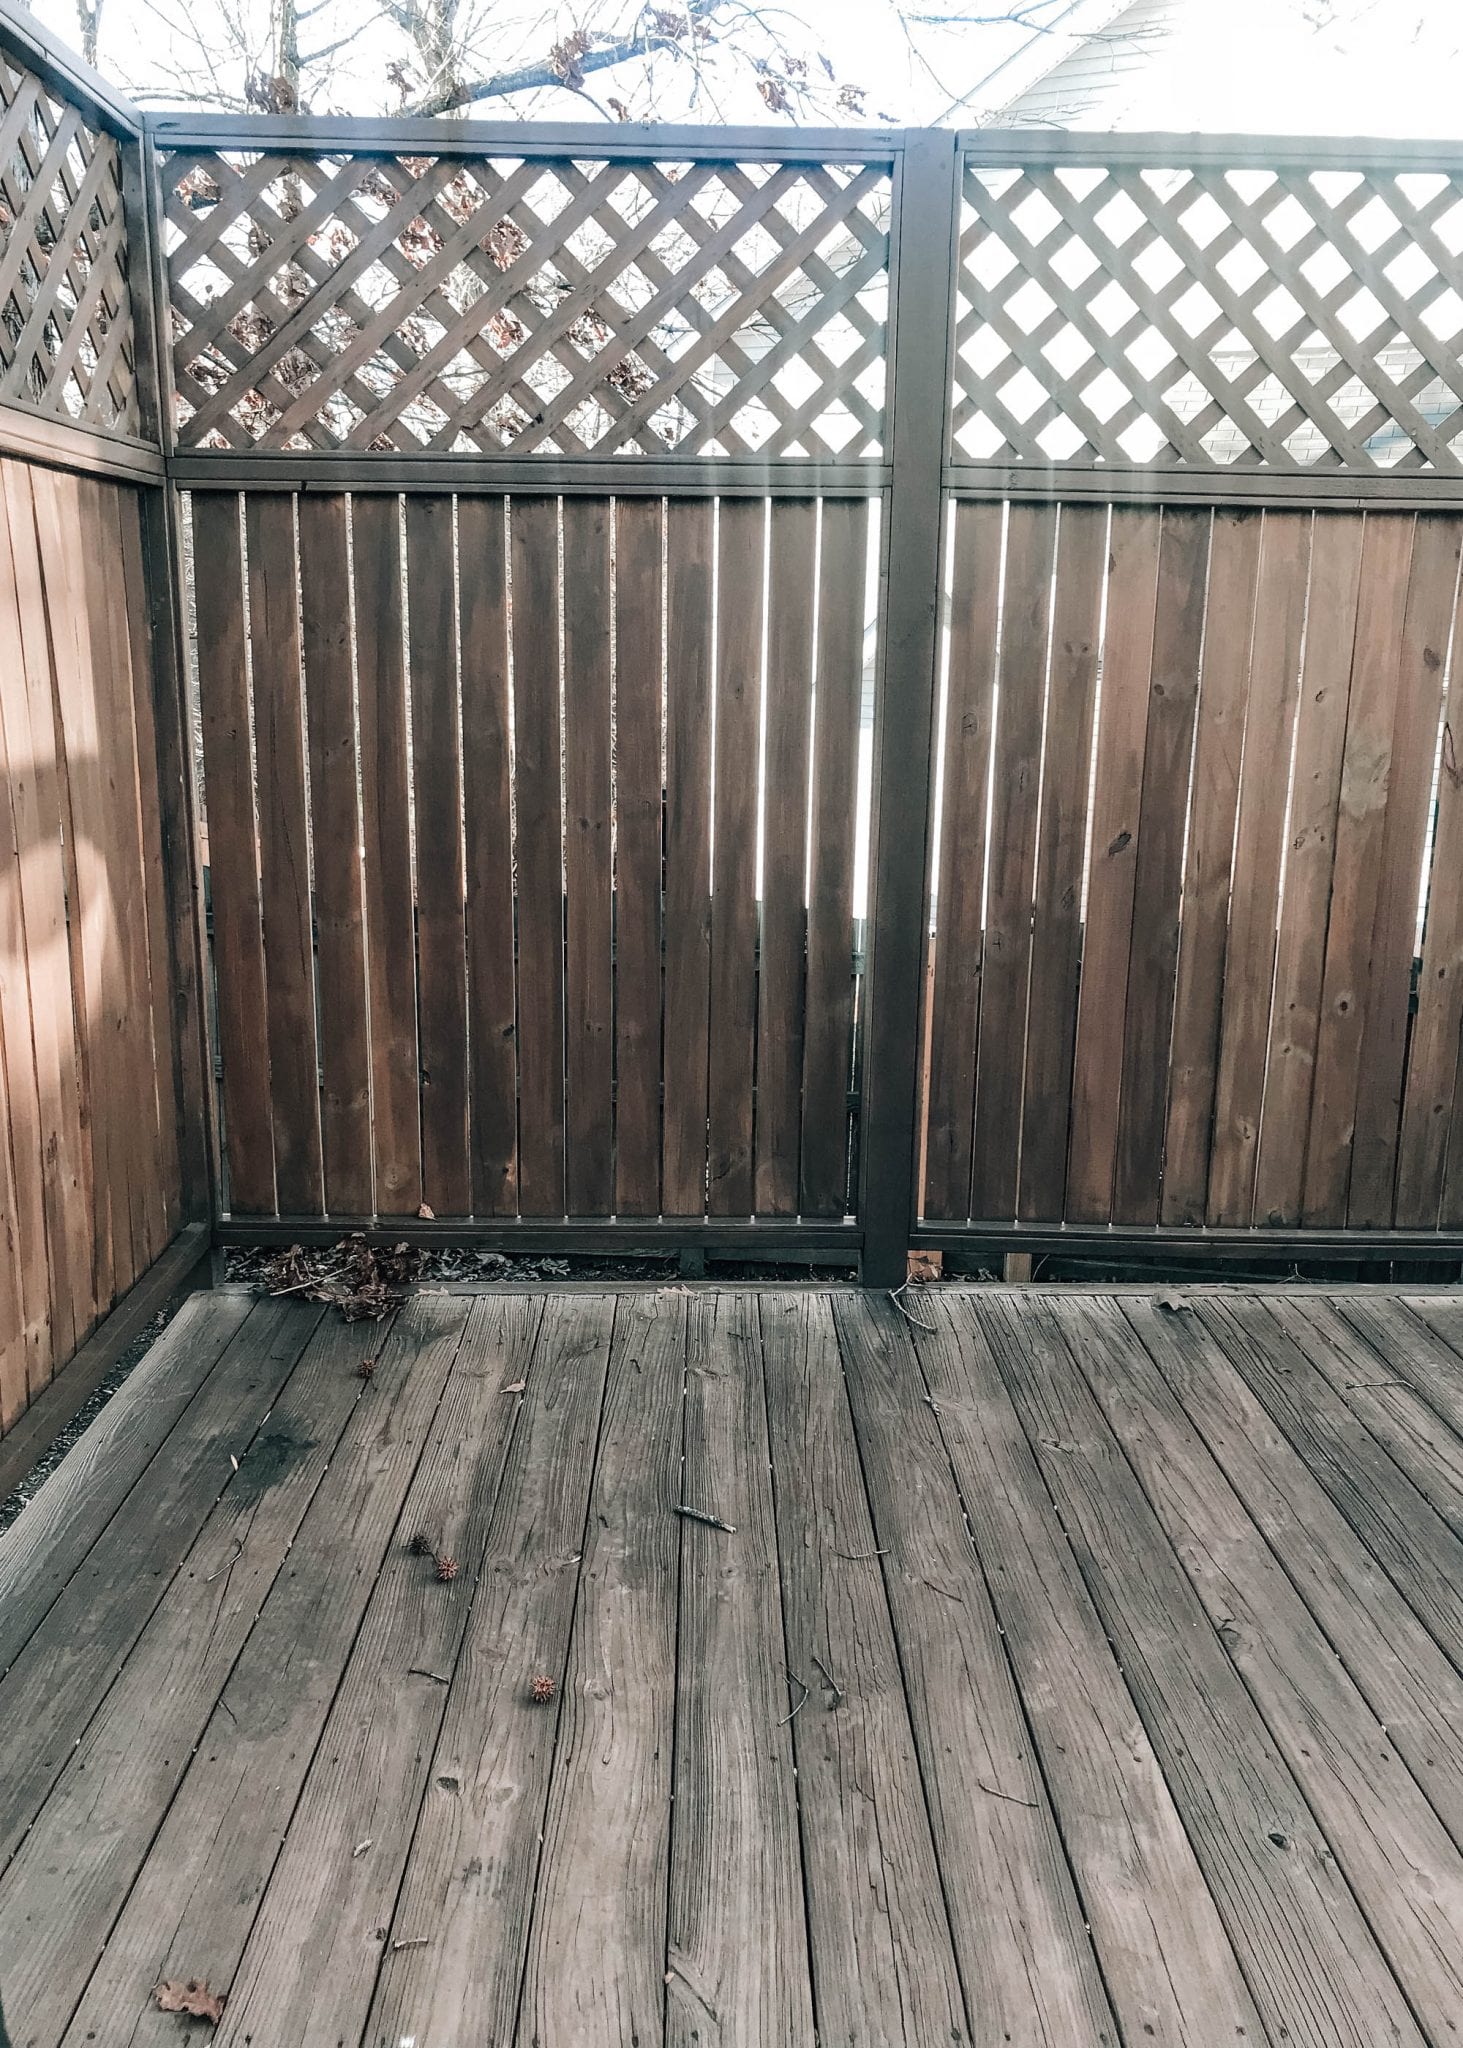
Anyways, let’s start with the before photos.

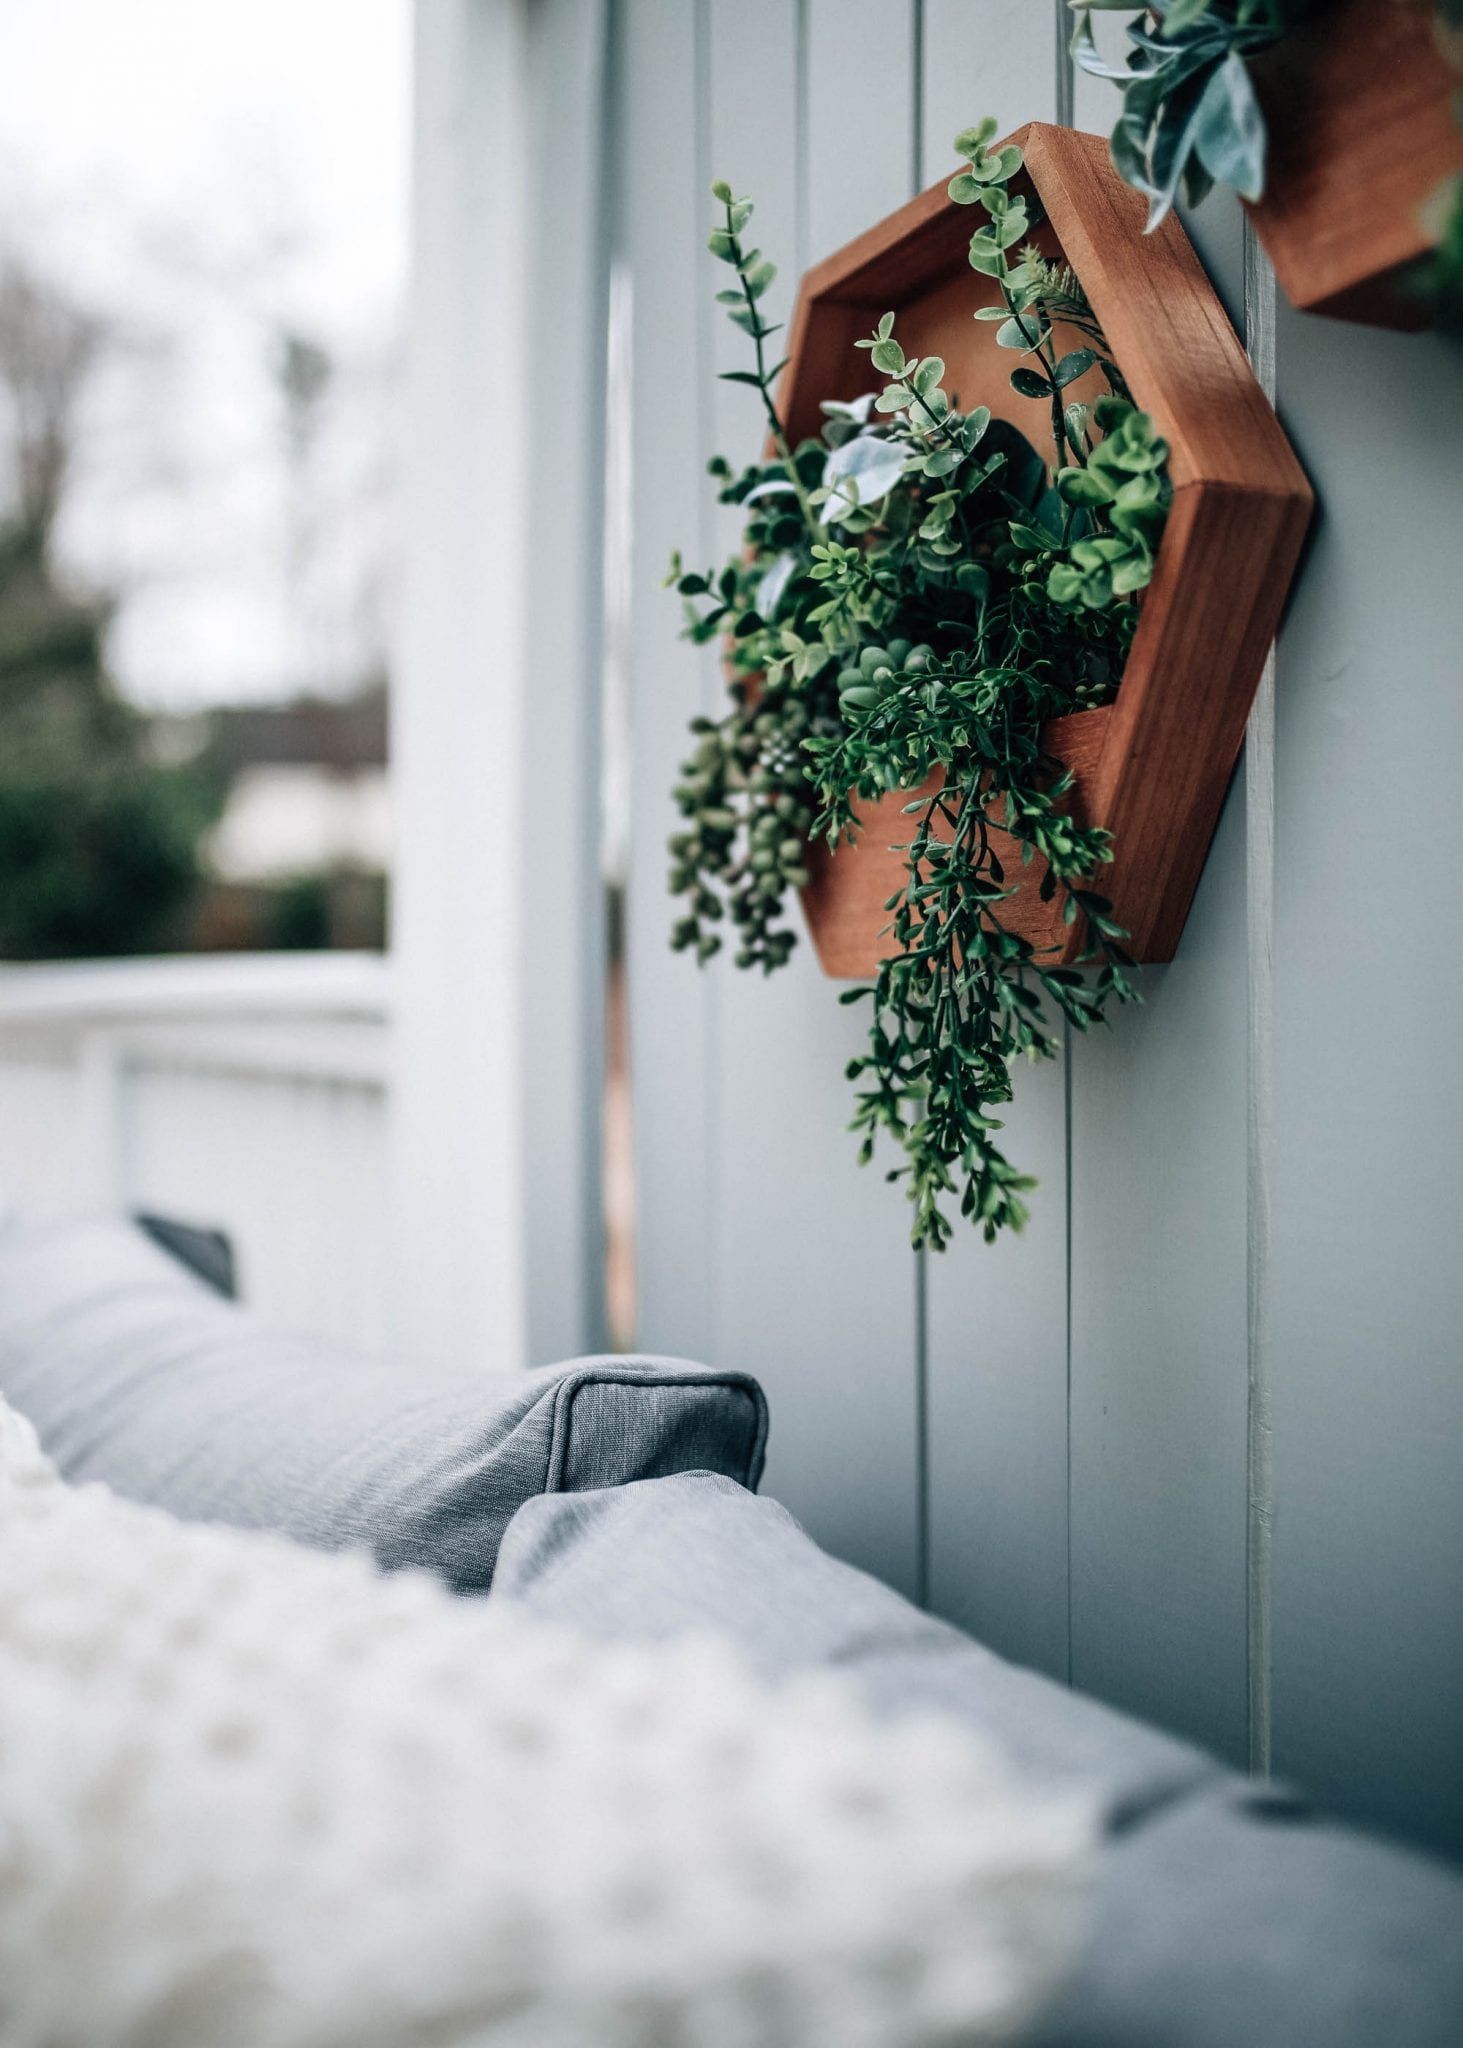
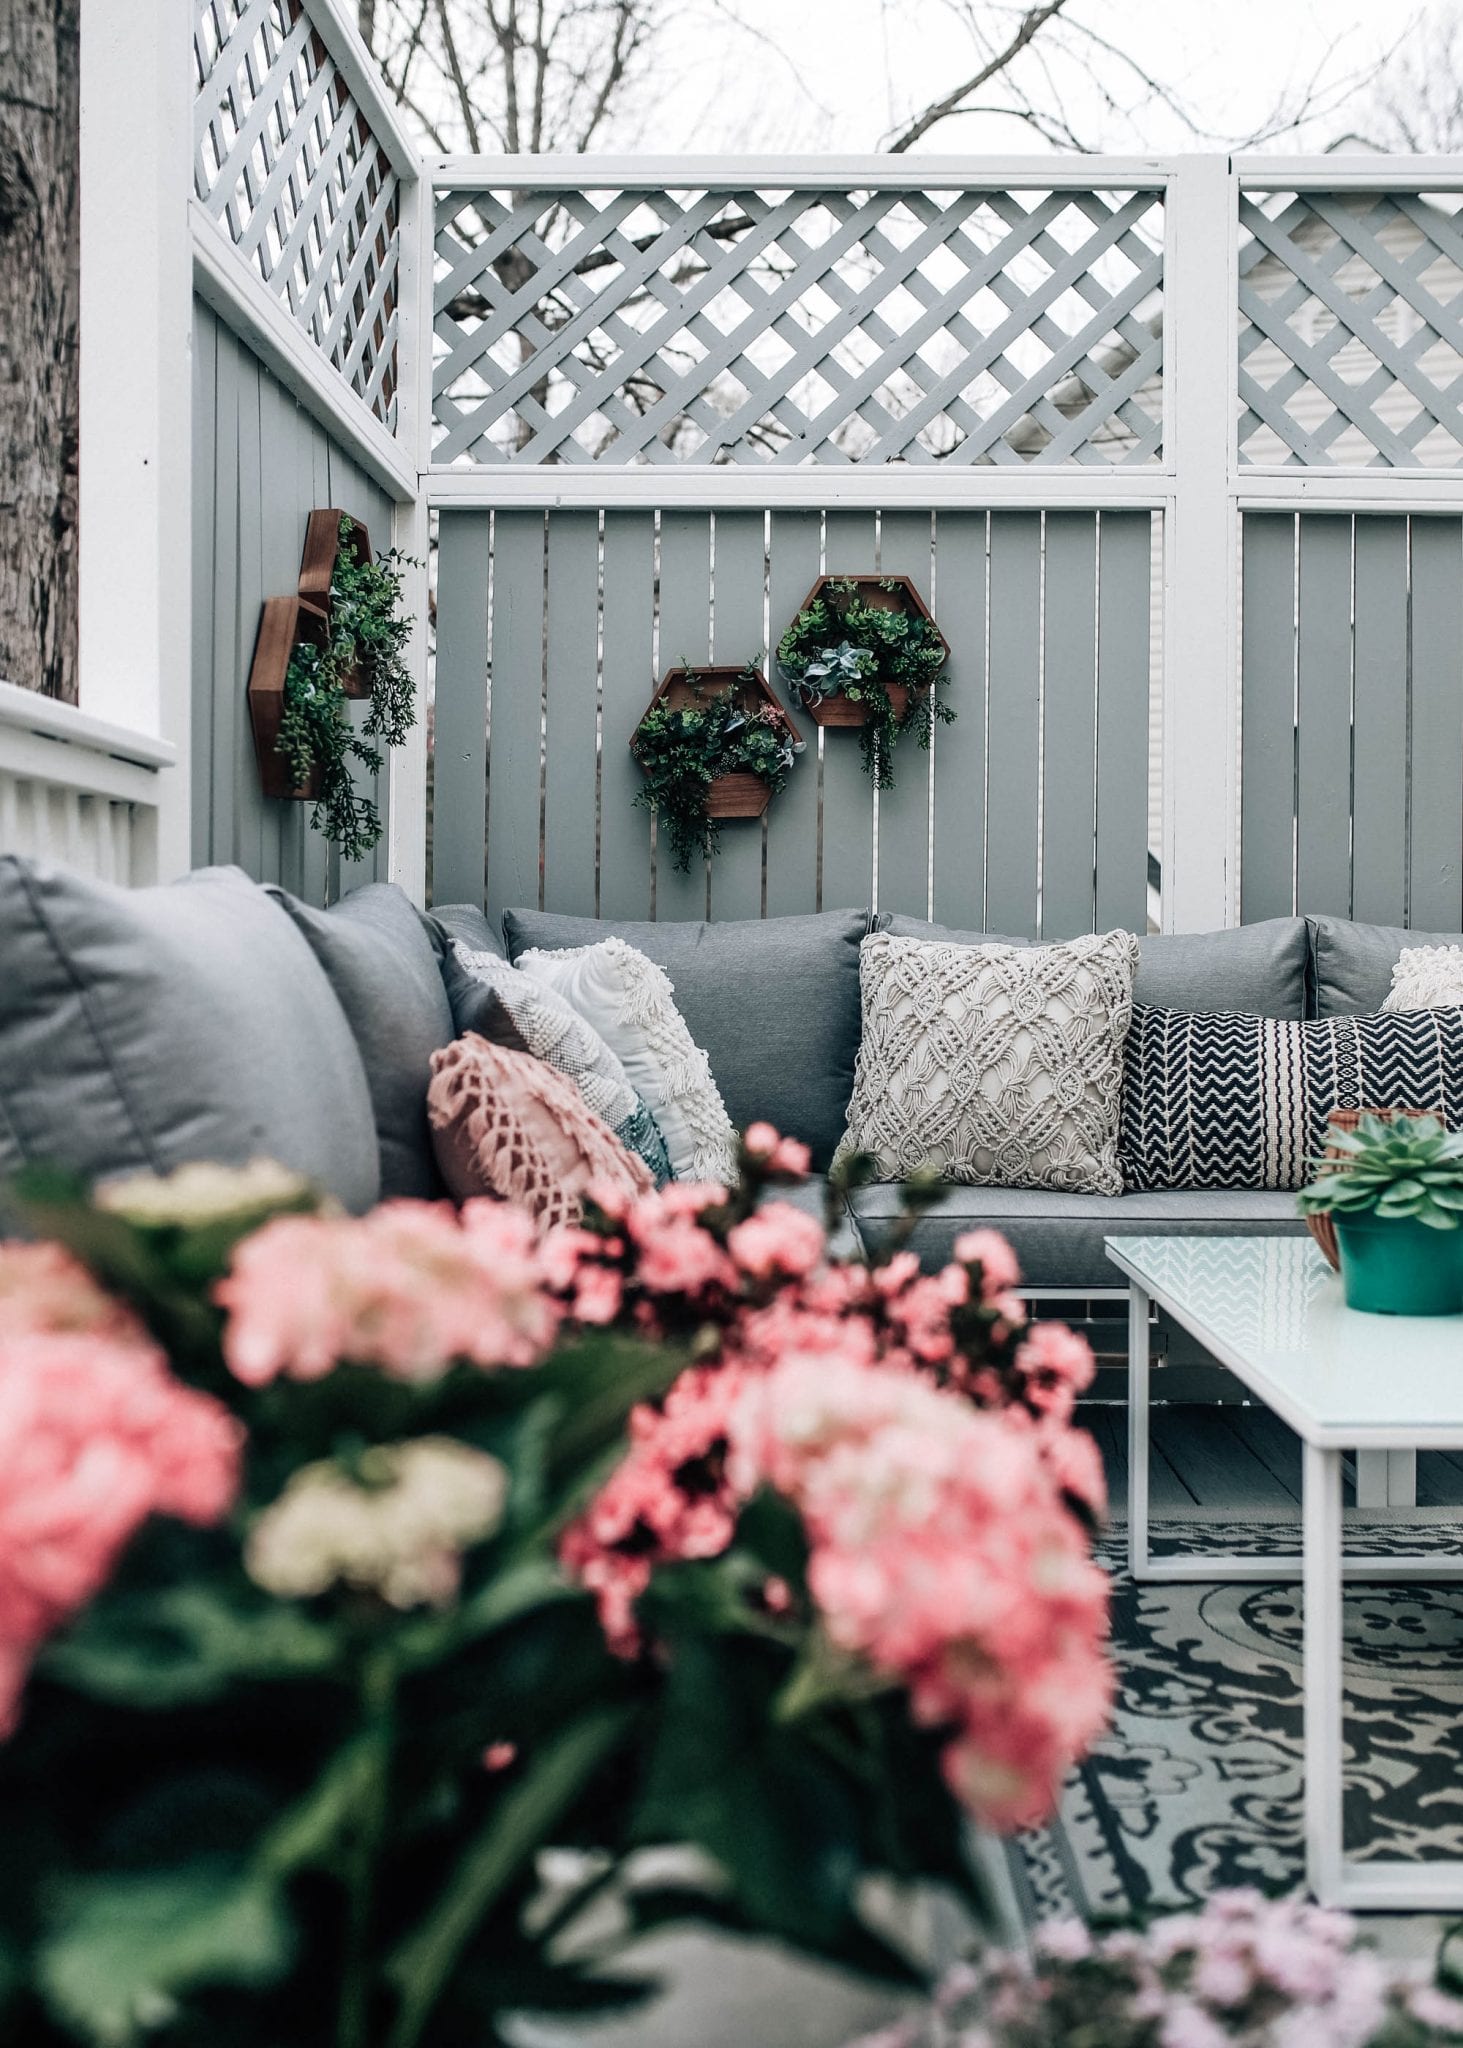
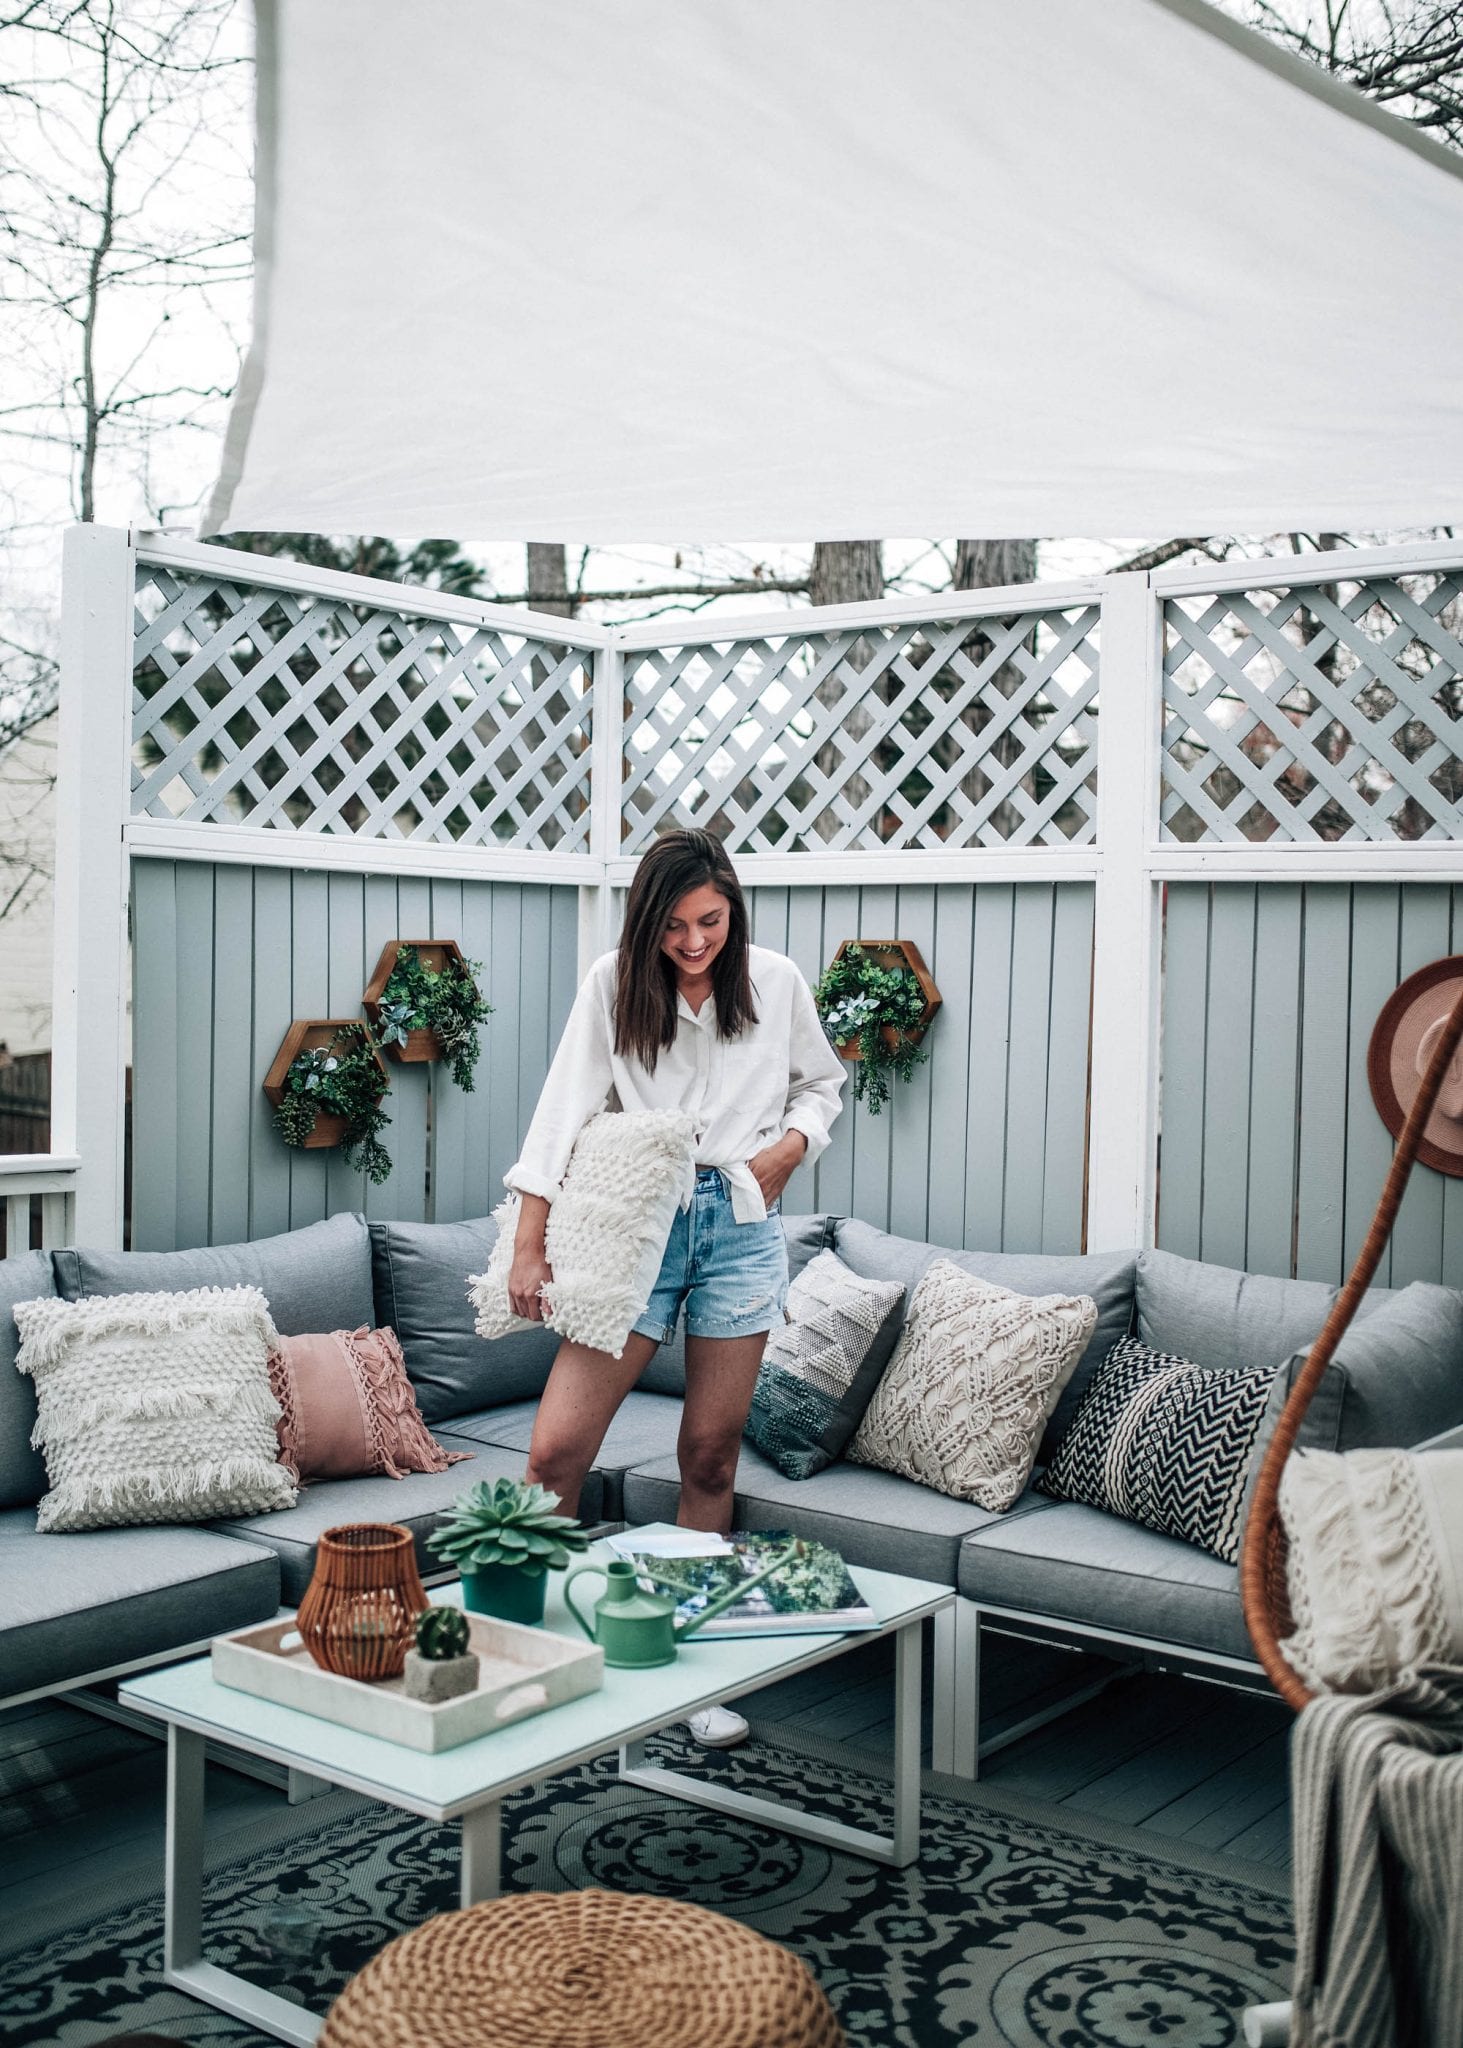
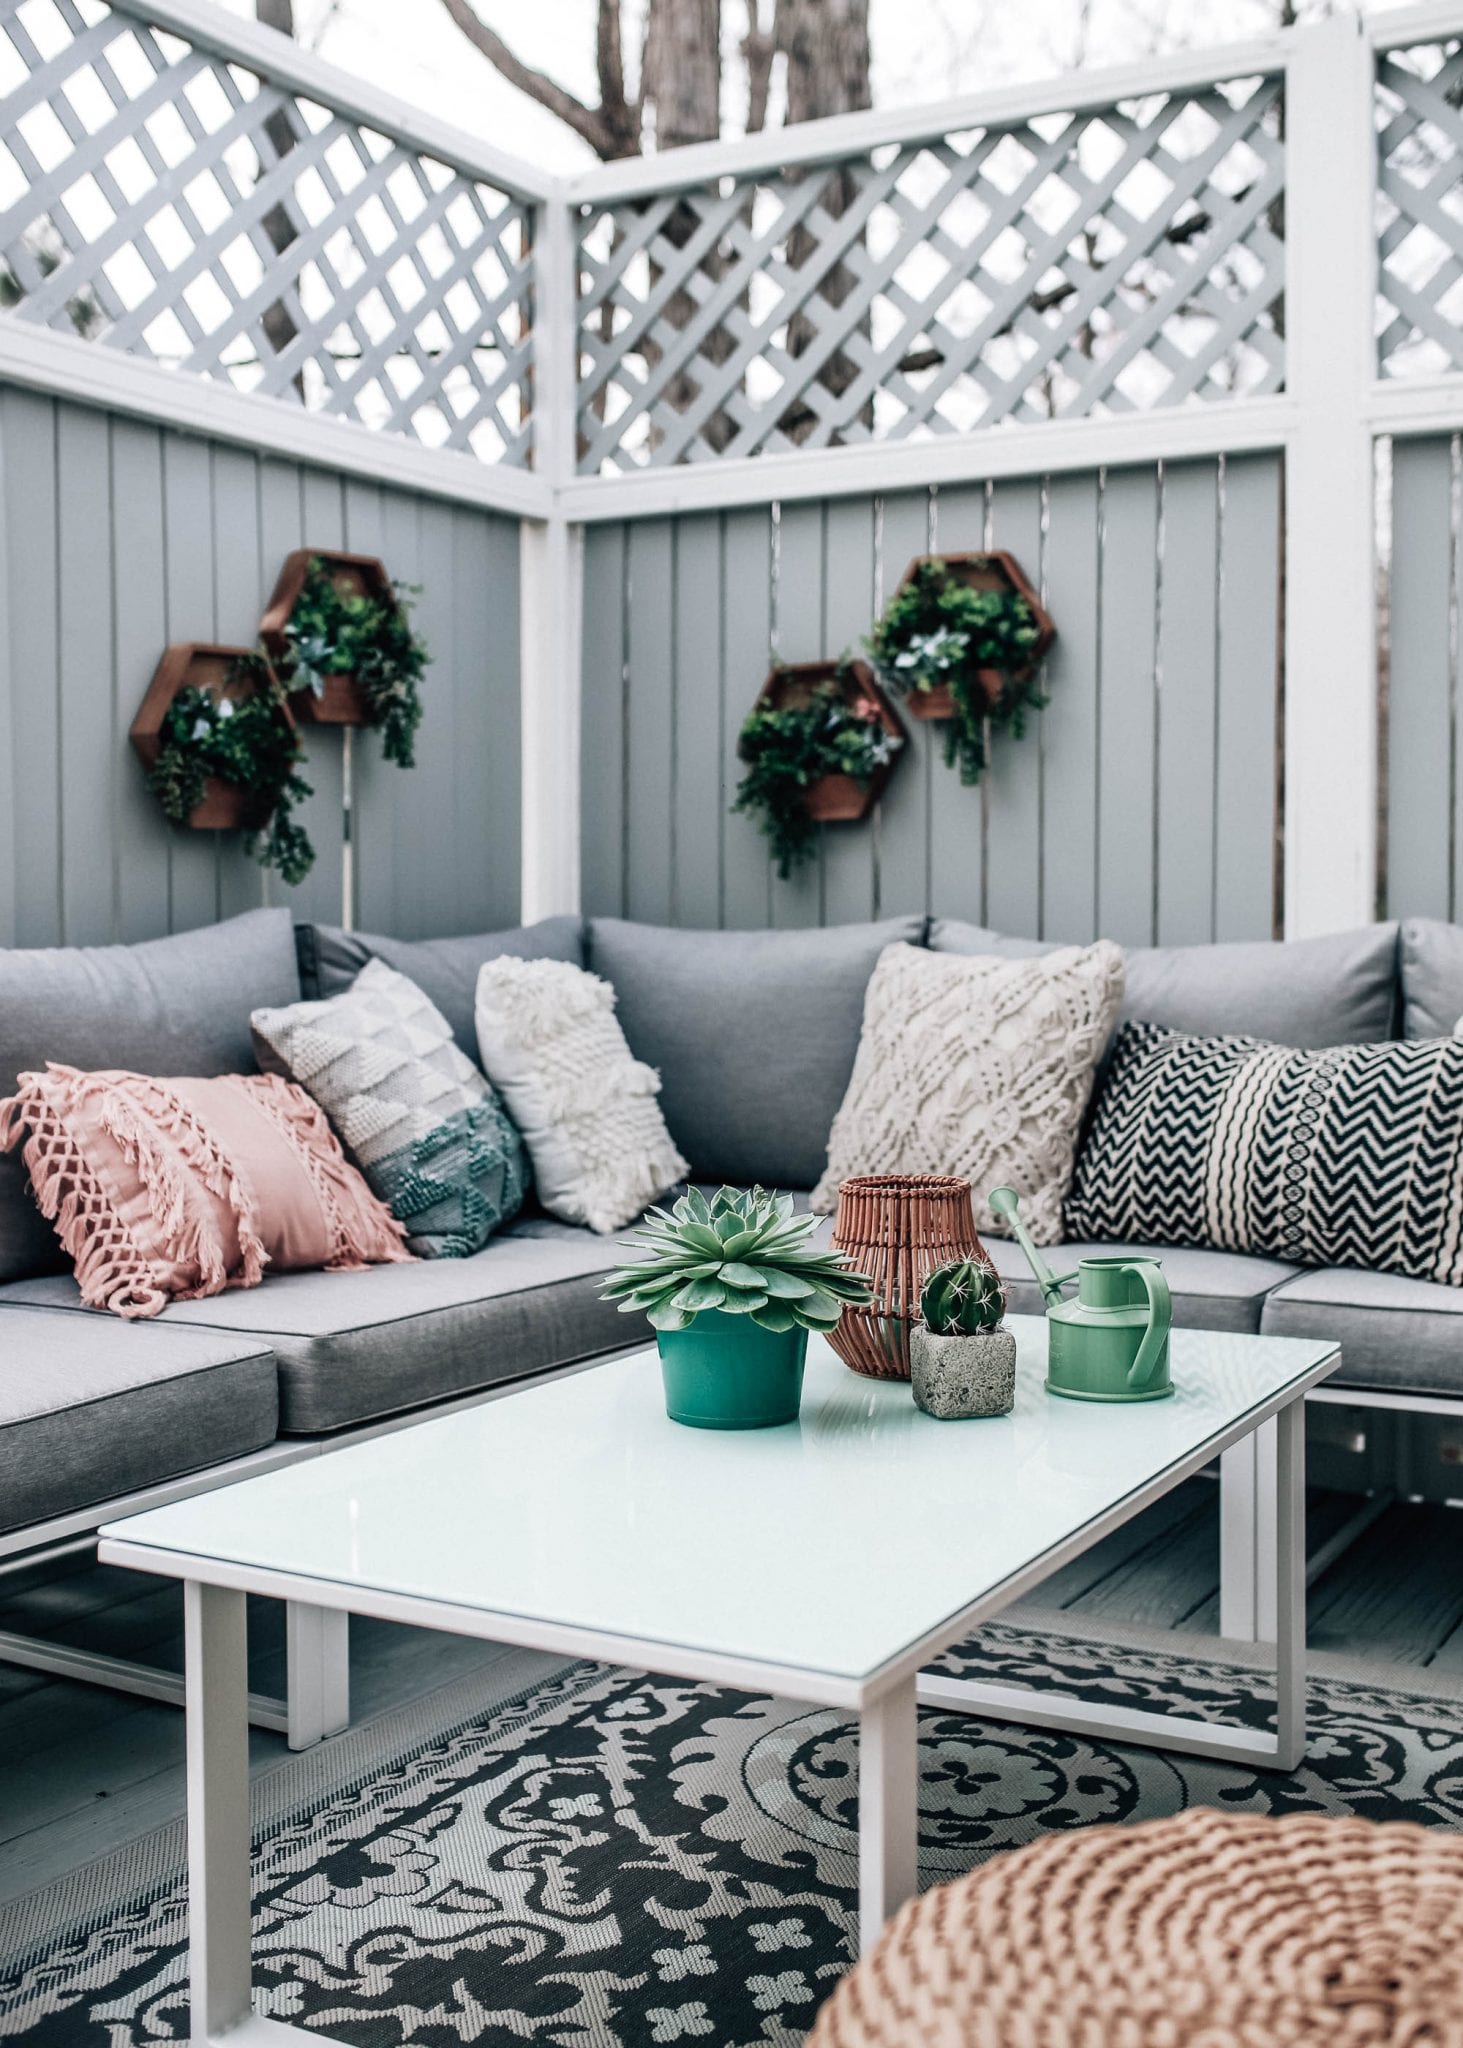
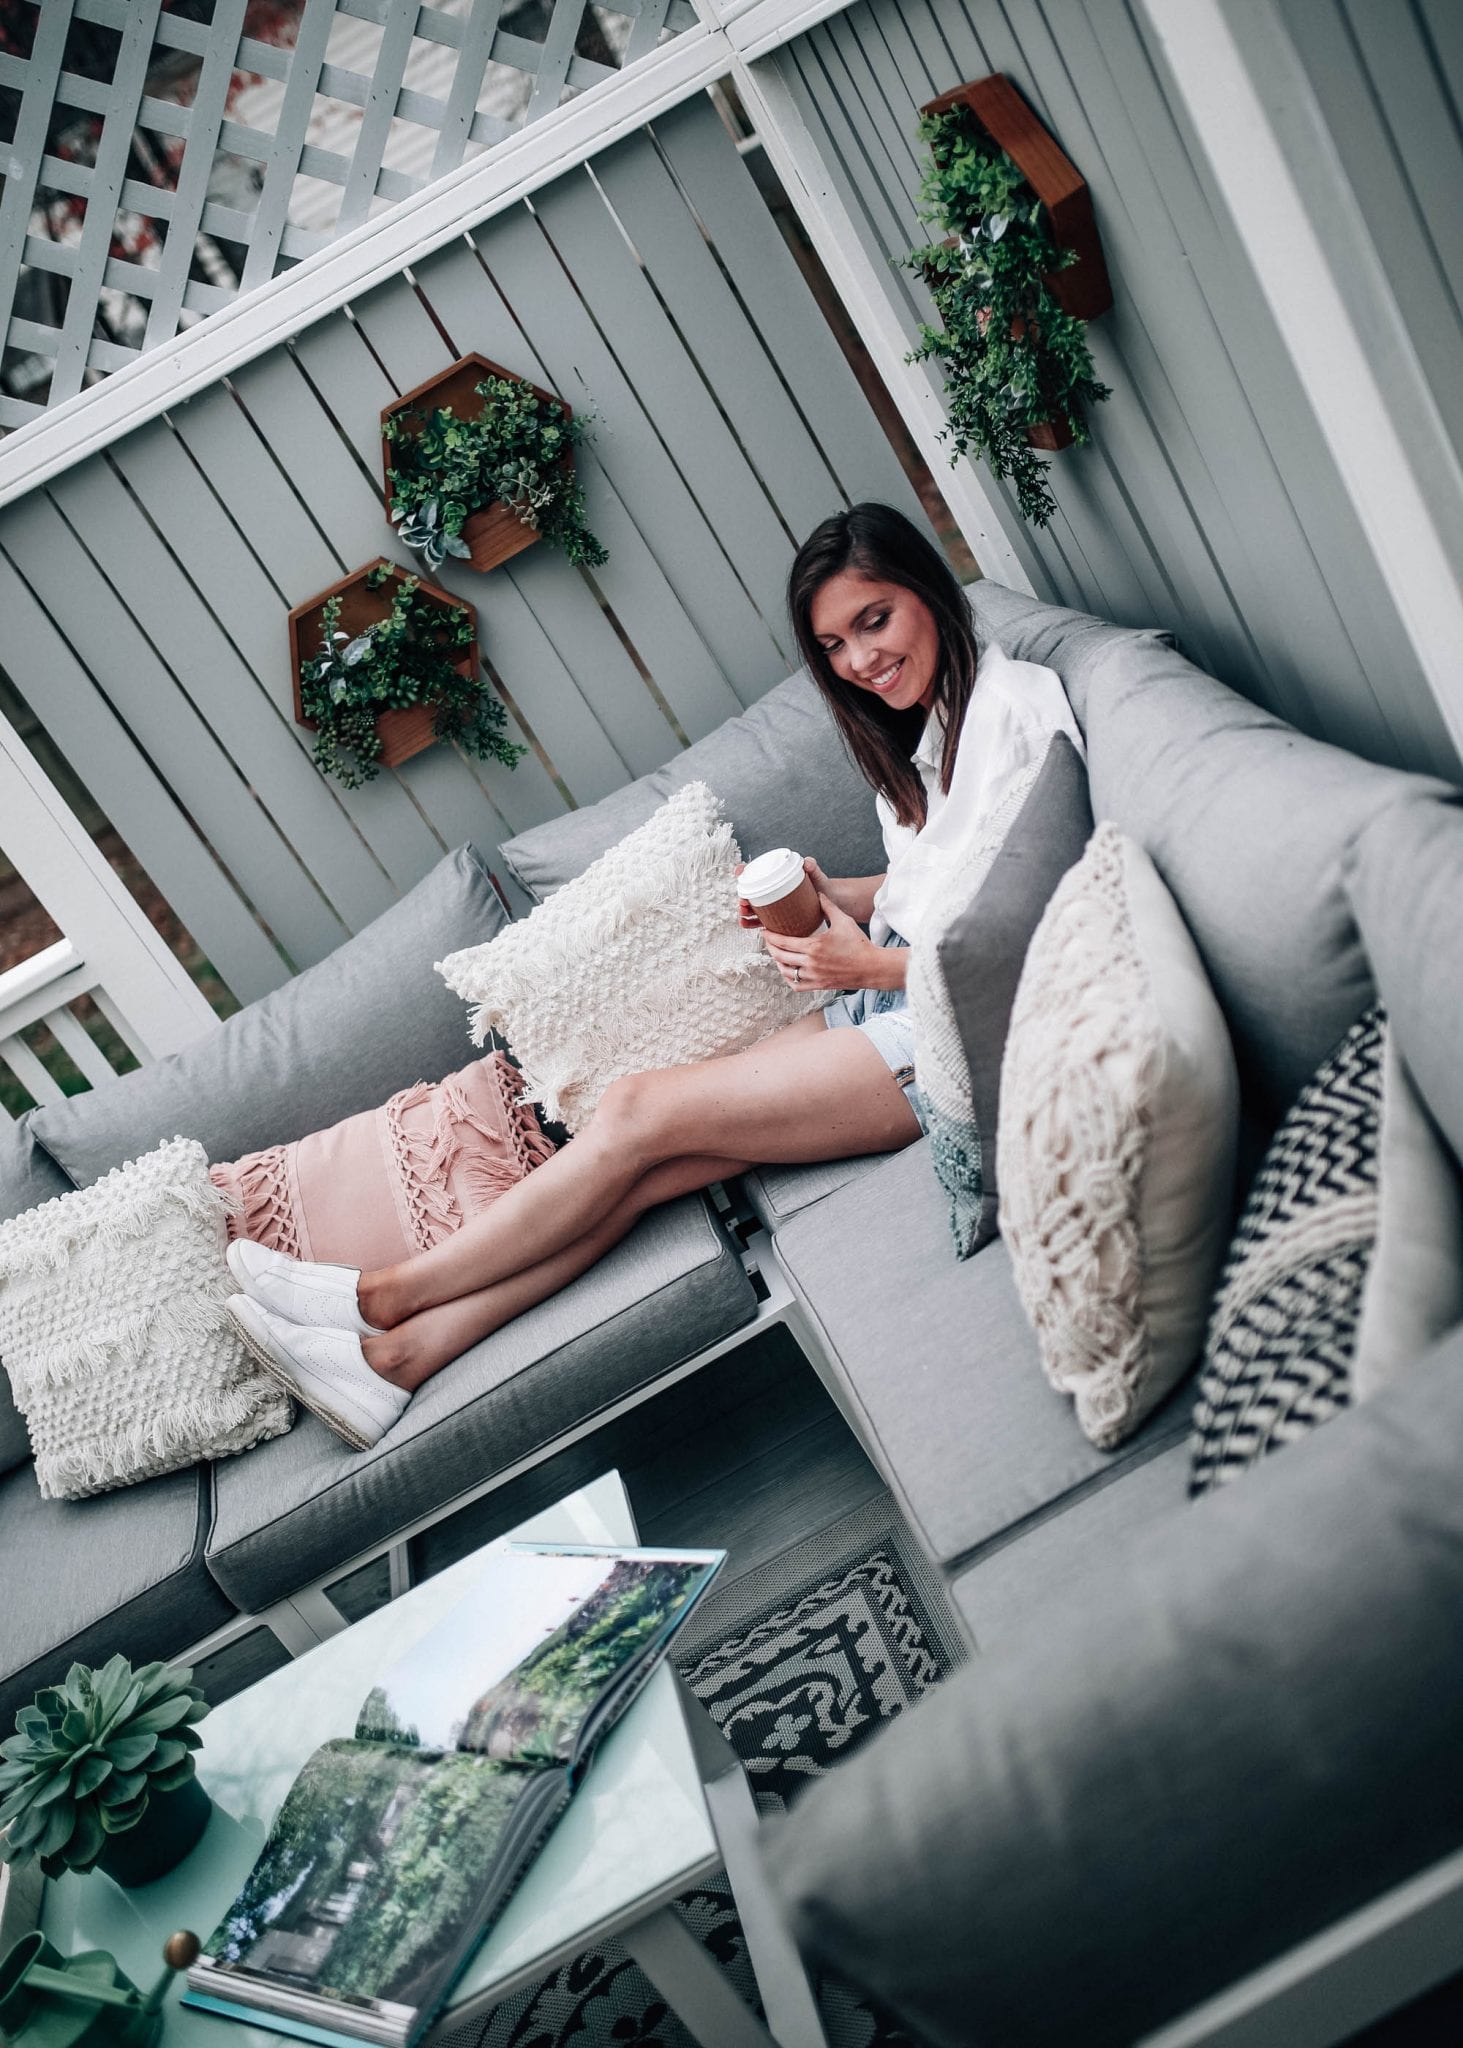
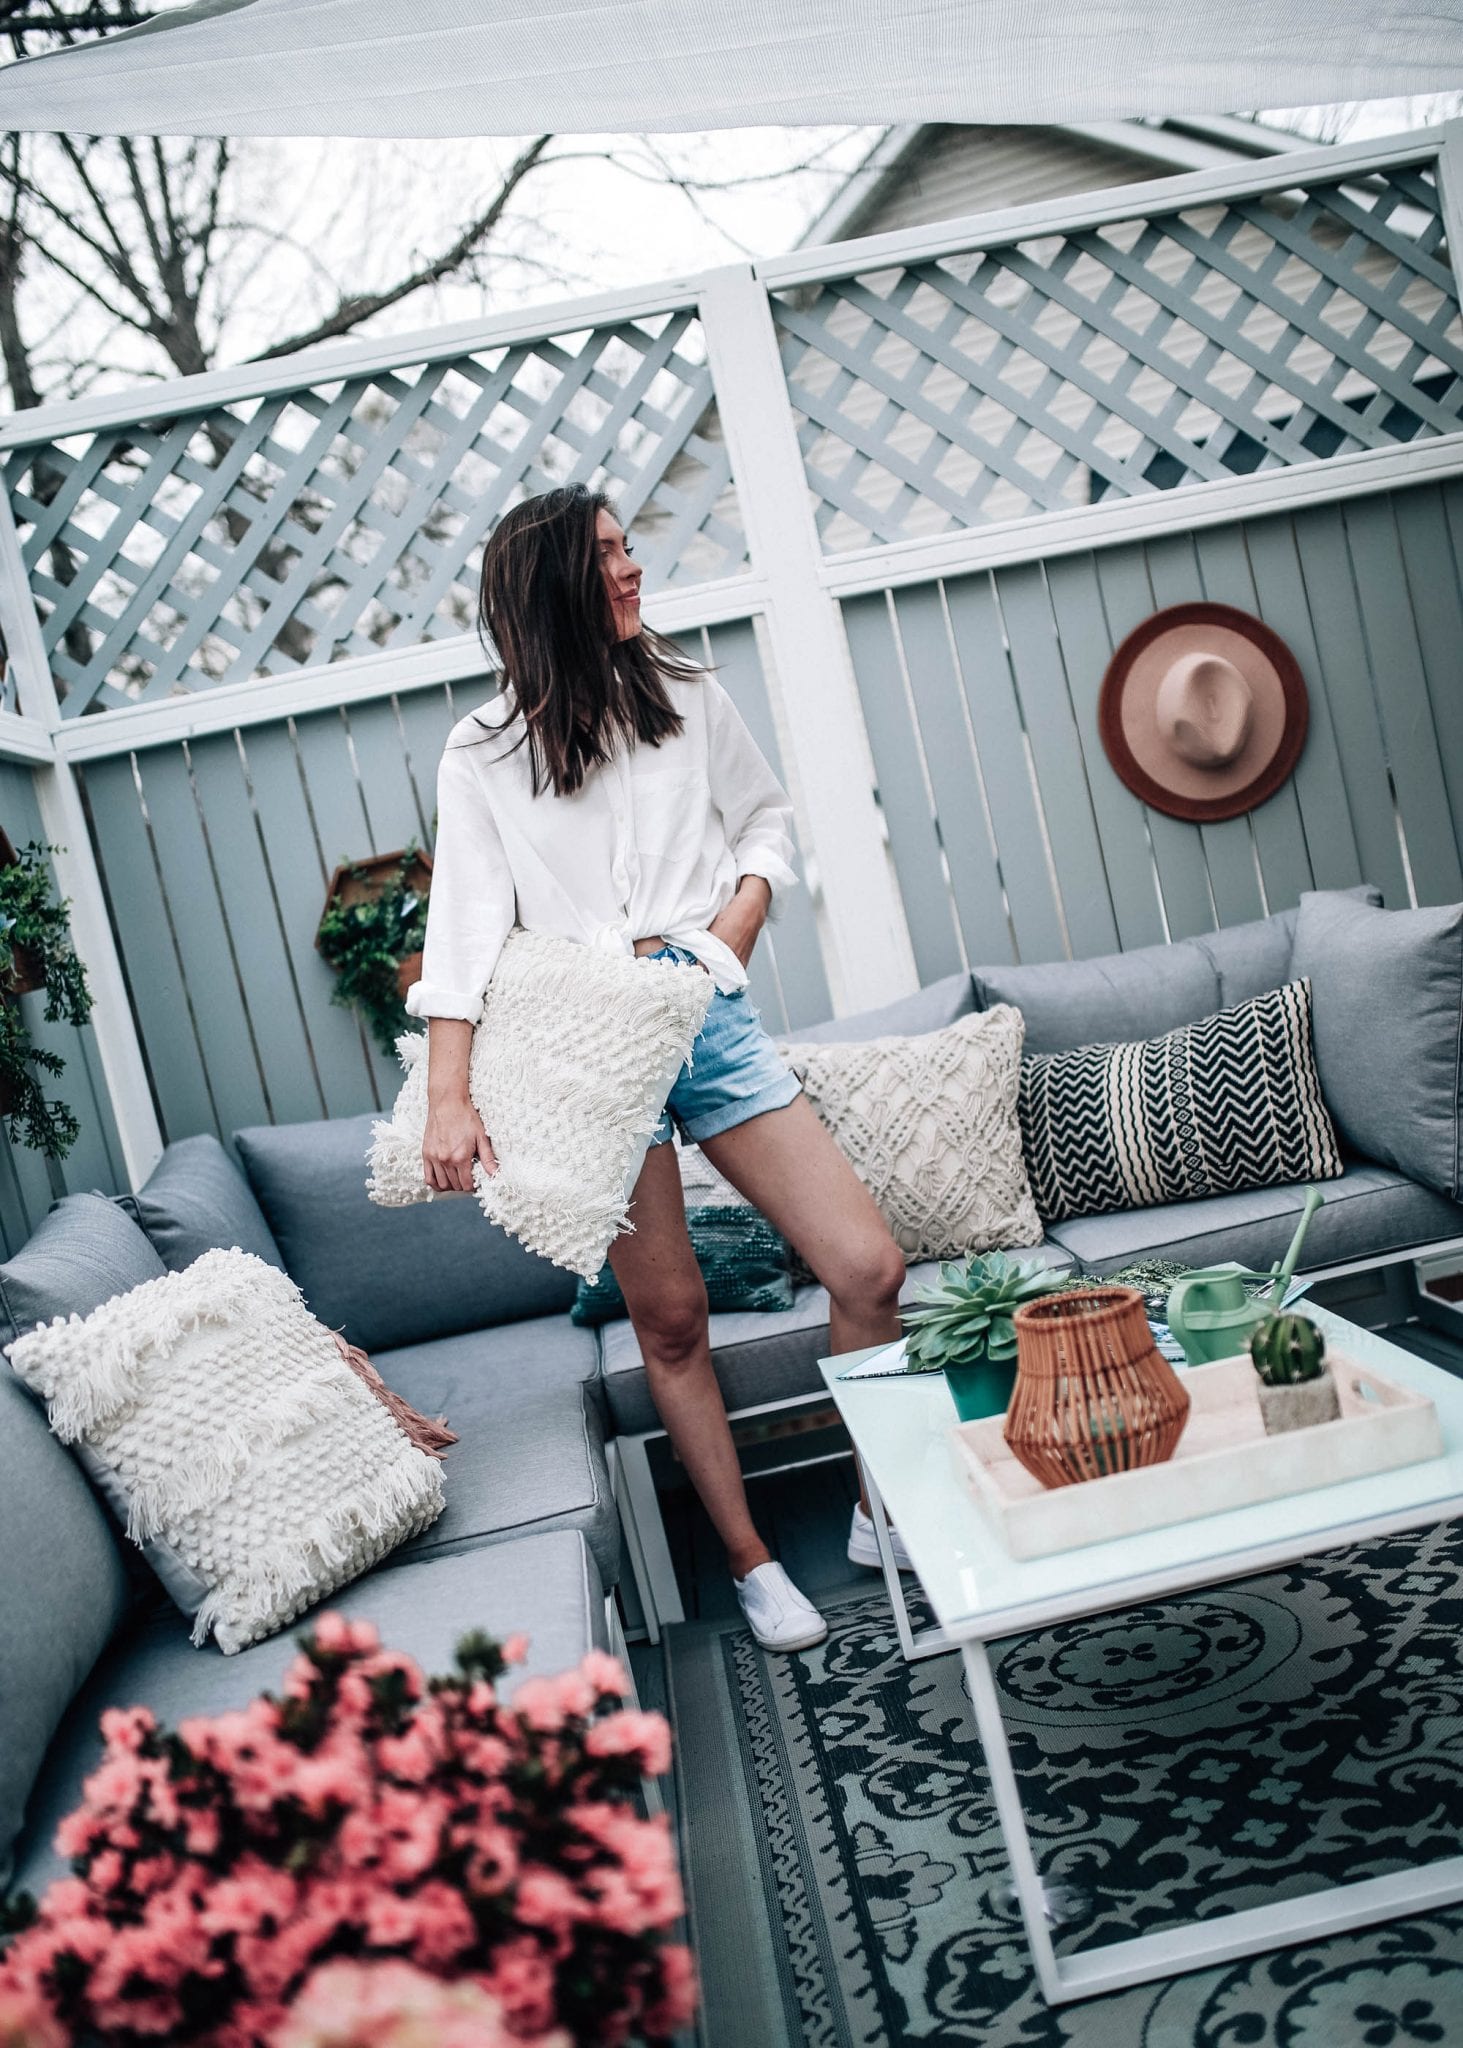
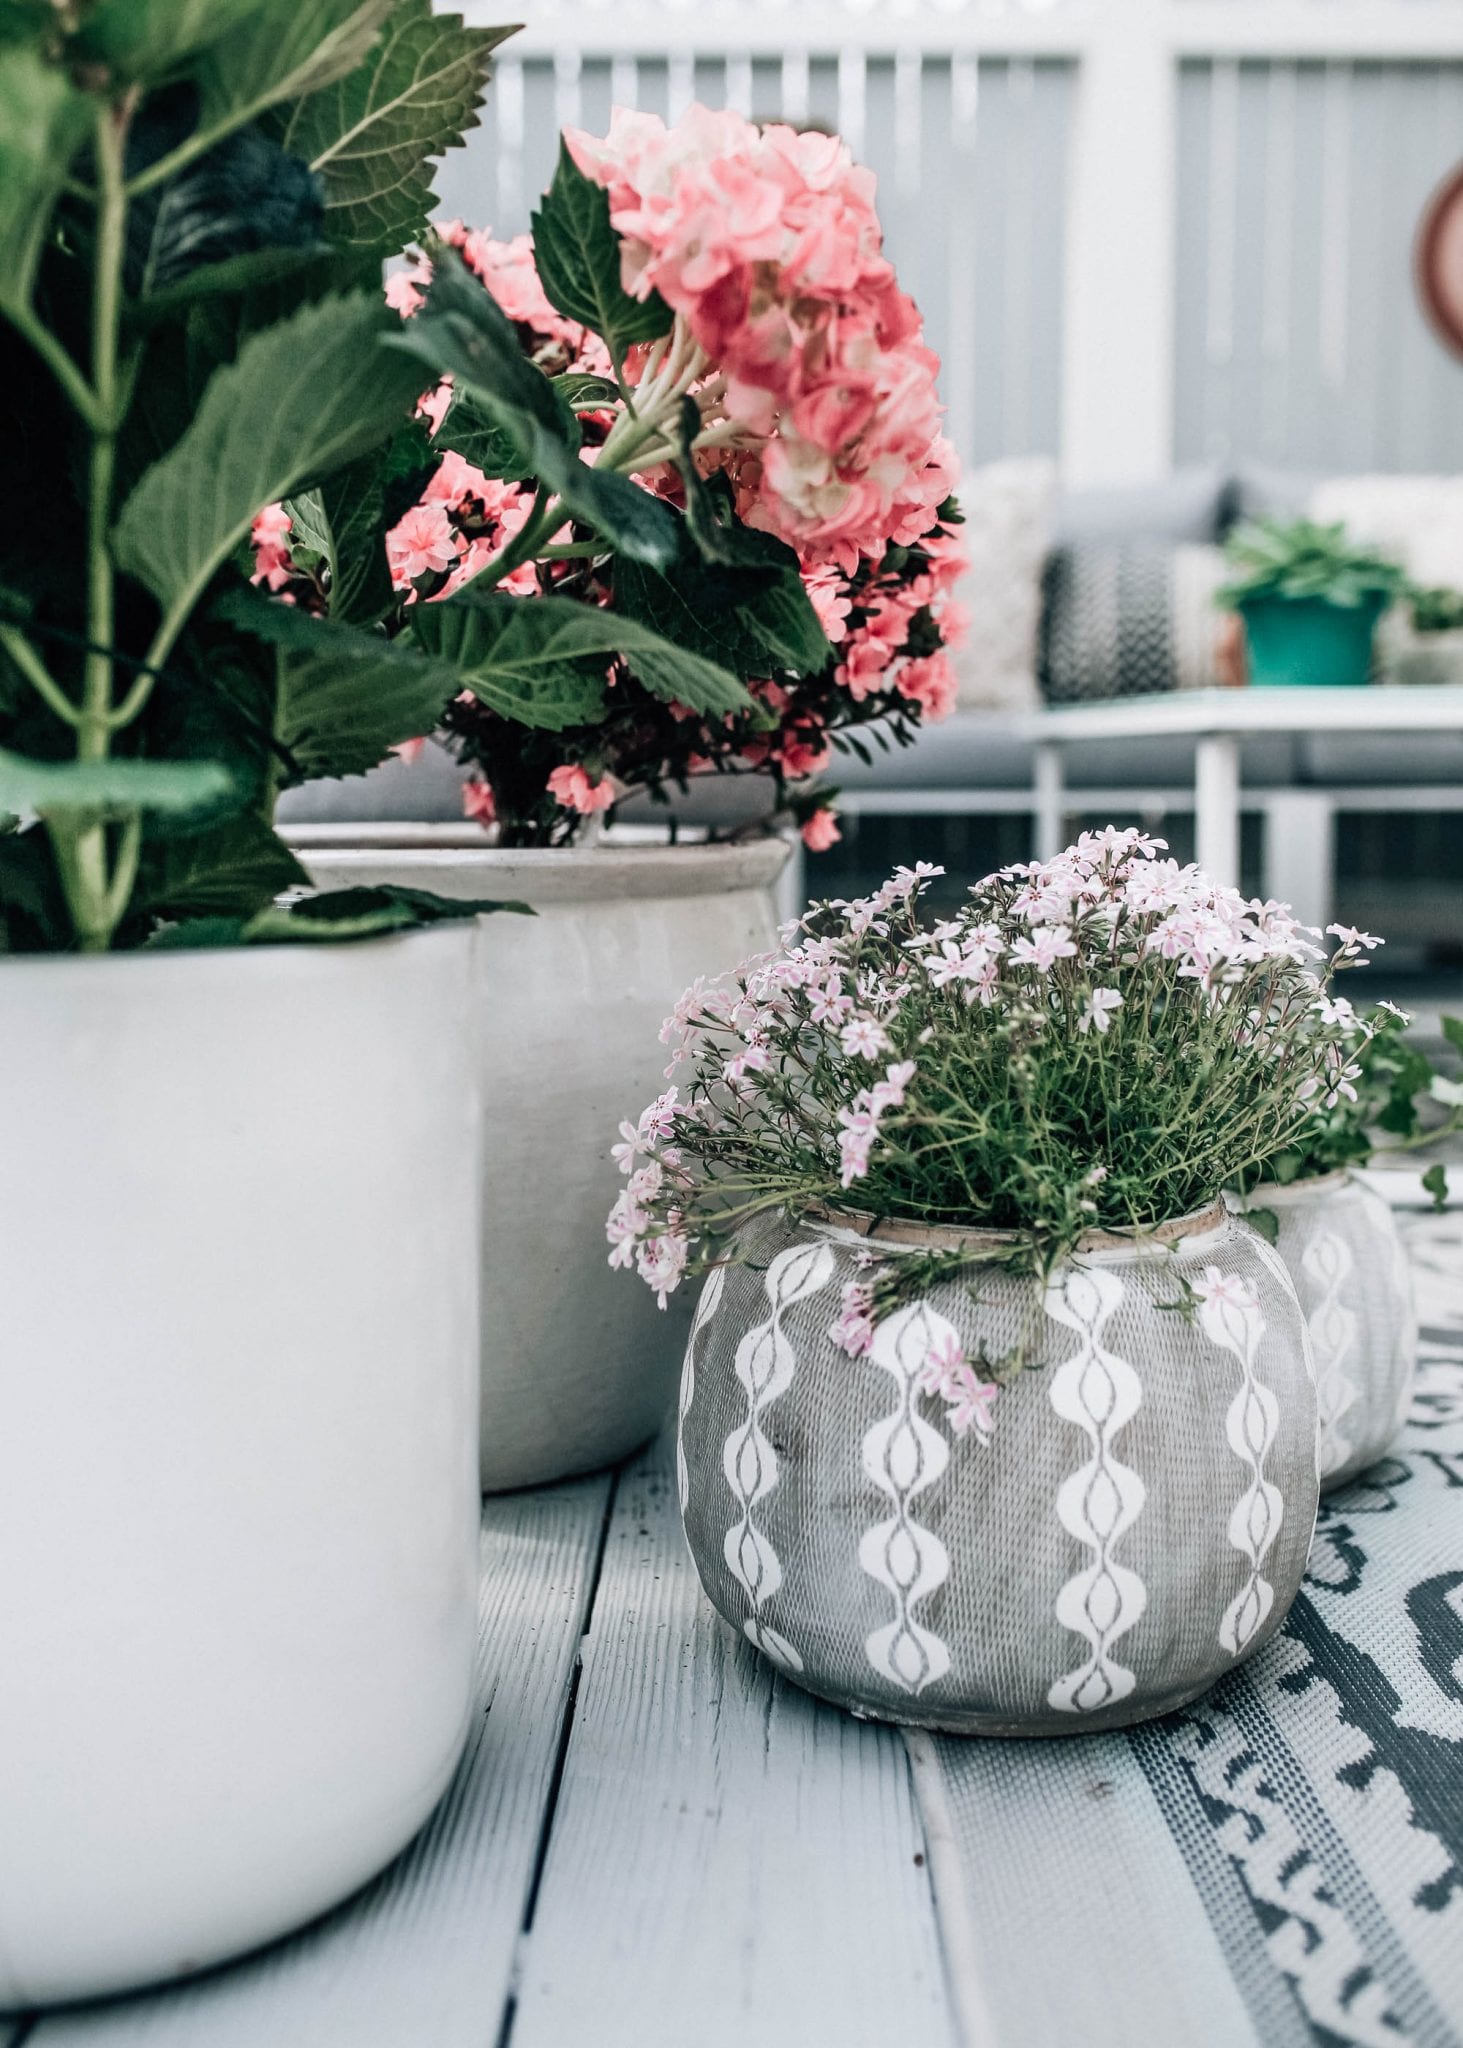
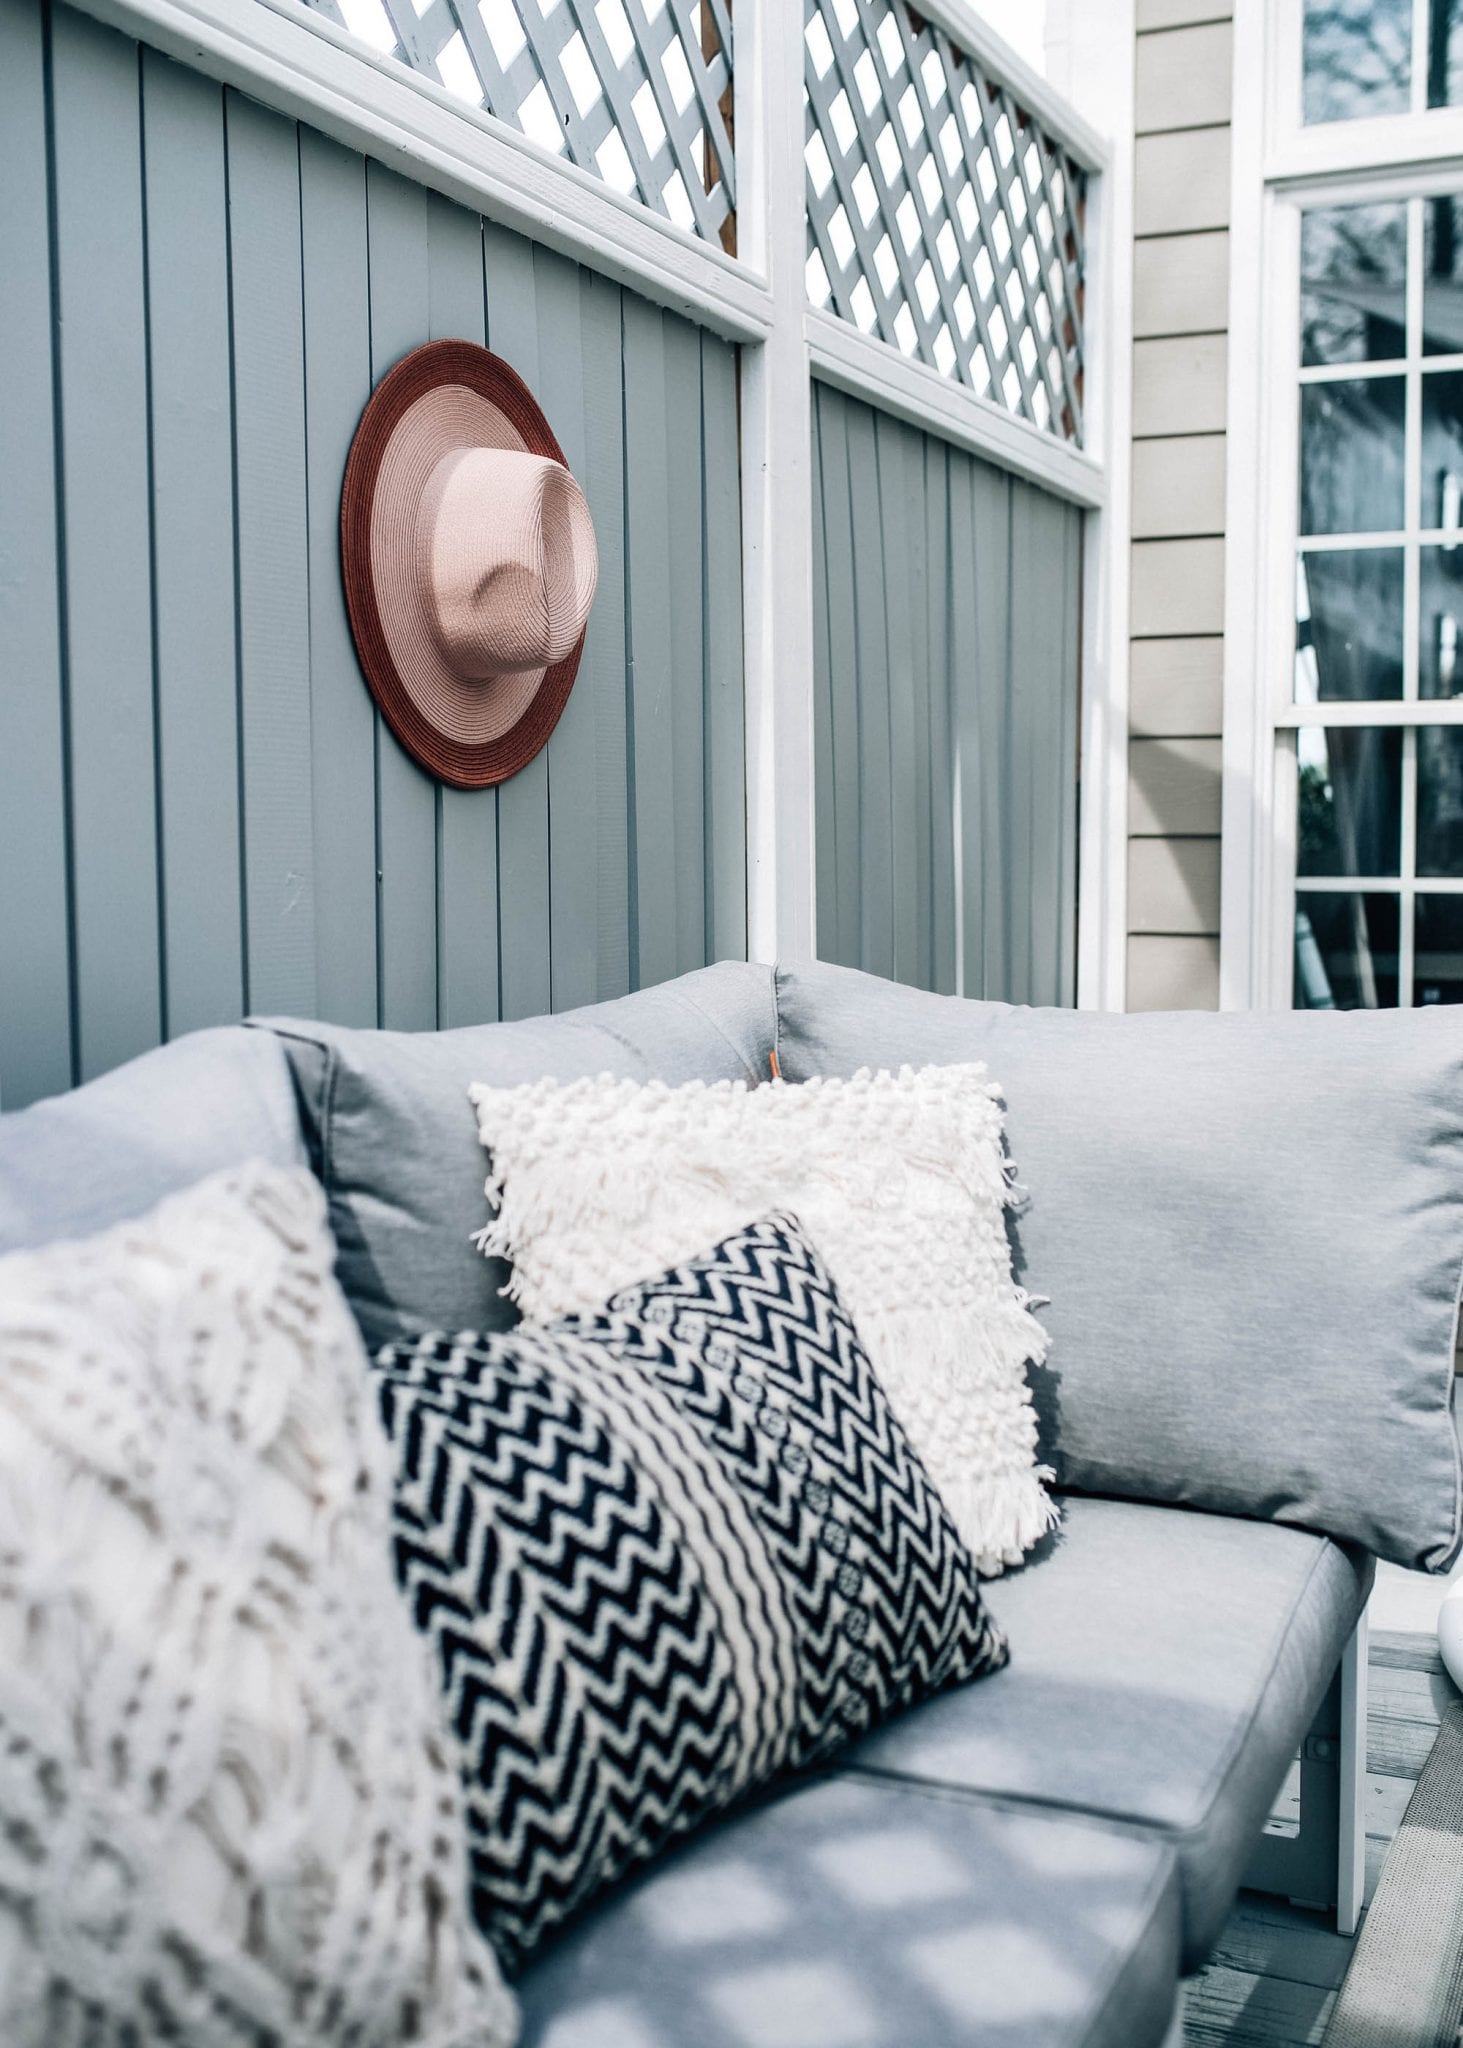
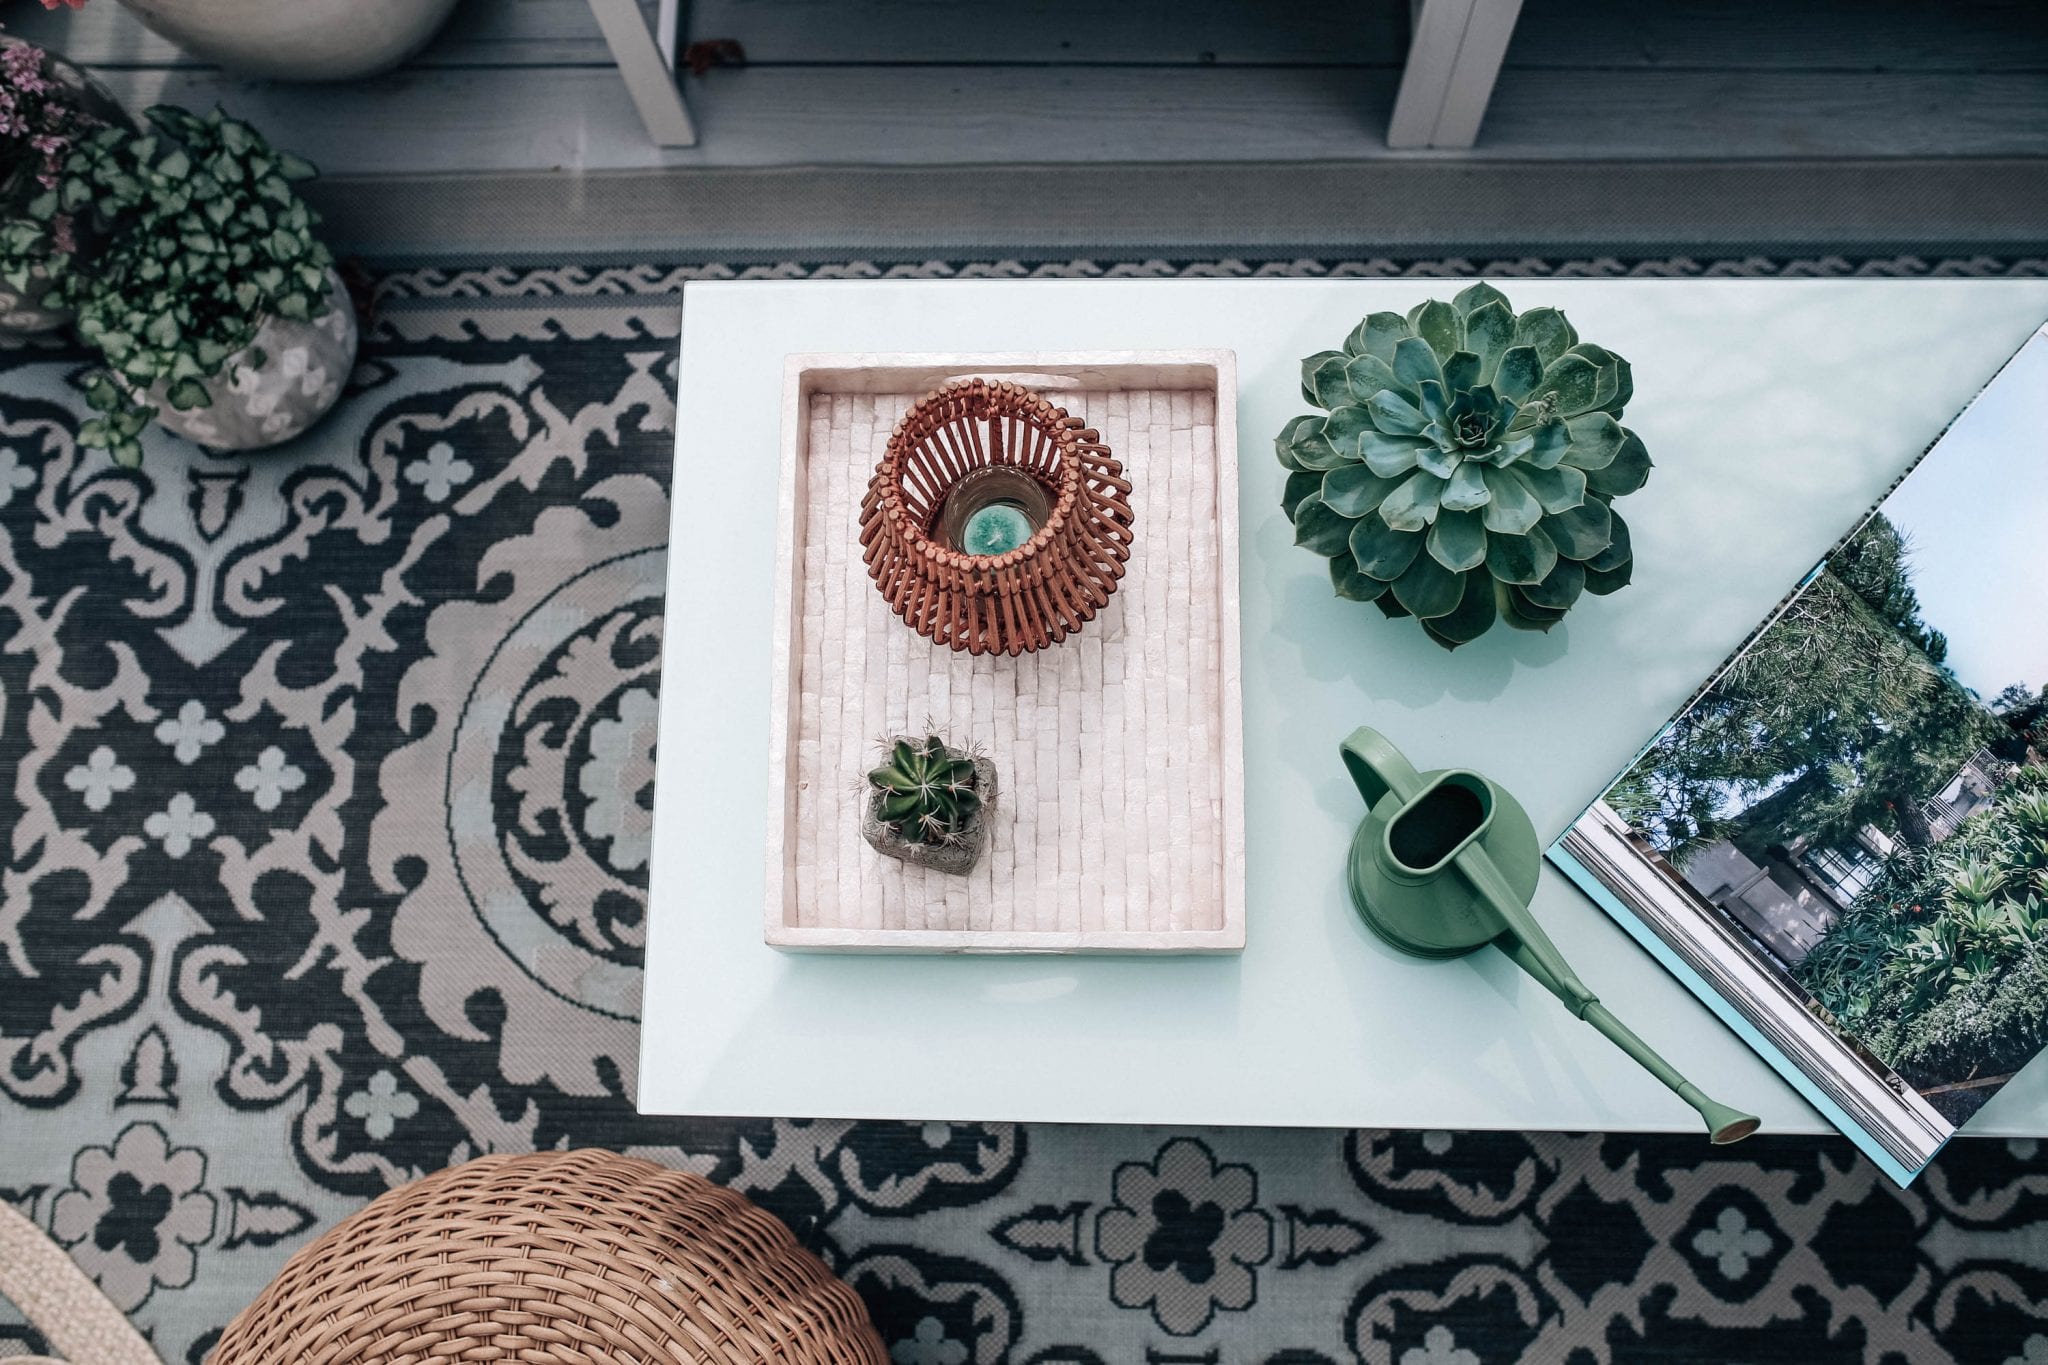
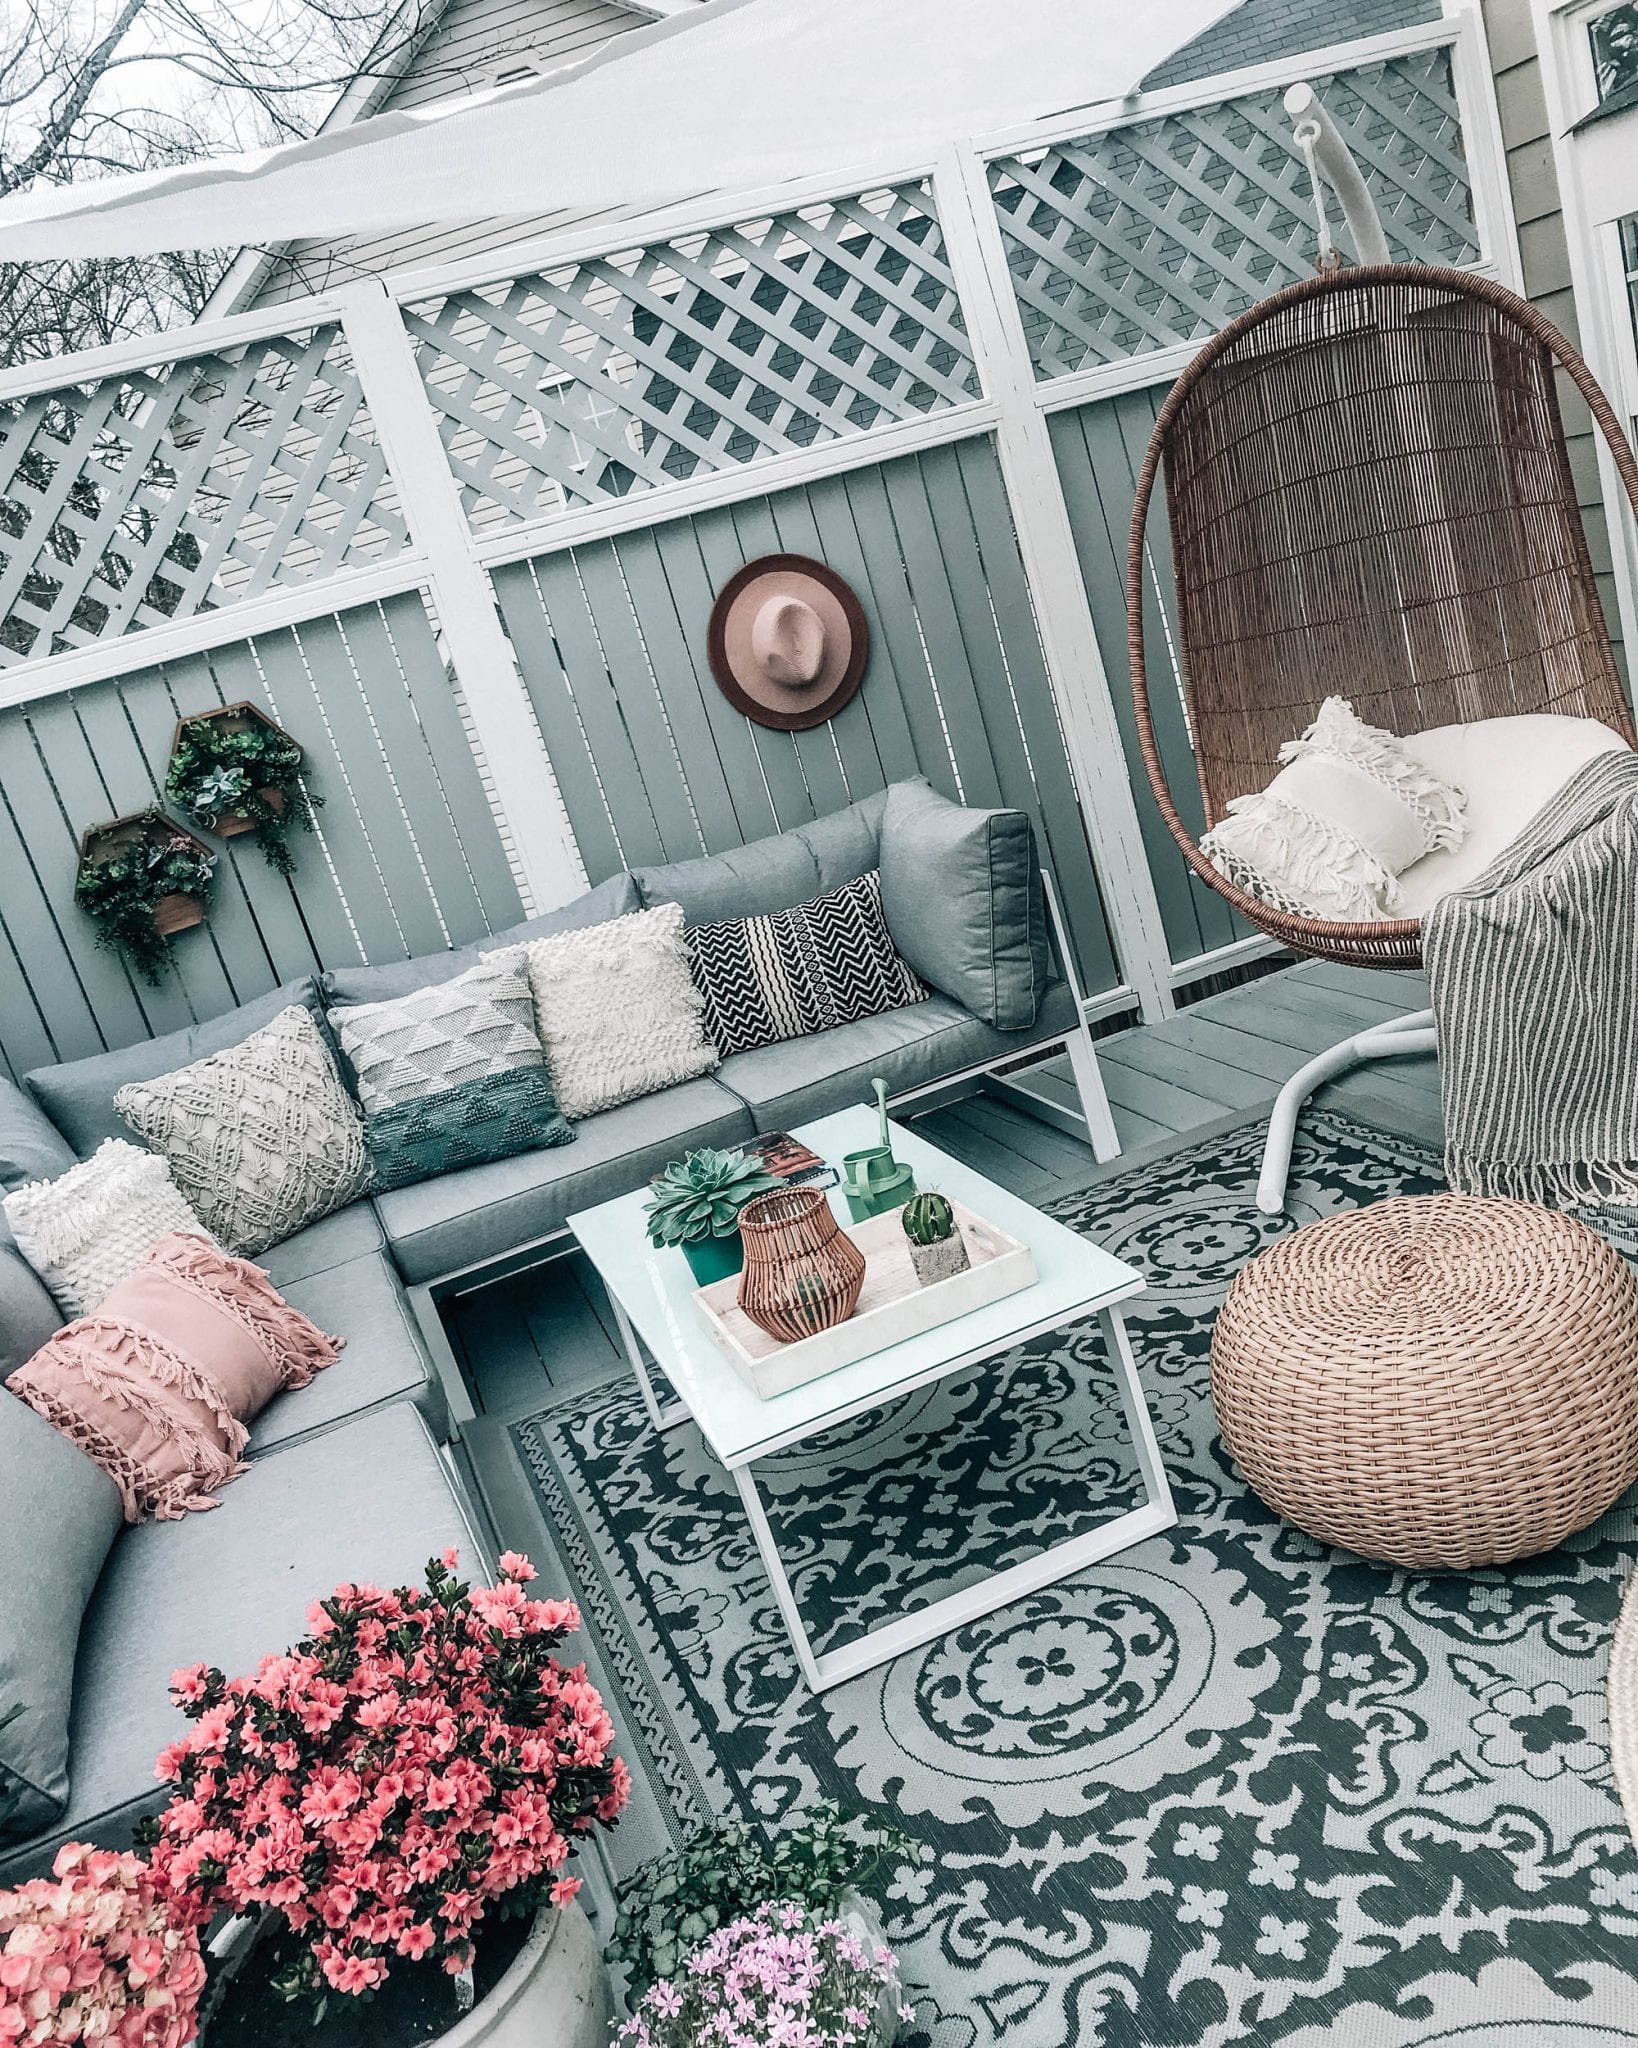
I’ll wait until later to get into all of the stain color/patio paver details. We decided that the deck would be more of a lounge area while the patio would be used for dining. For the deck, since we already had a privacy wall on two sides, it provided the perfect spot for a sectional sofa. Once I saw this outdoor sectional, I knew it would be something I’d love for a long, long time. I love how versatile it can be depending on your style. I also found these fringe pillows at my local Bed Bath & Beyond which instantly gave it that boho feel. I also fell in love with these pots to plant flowers in (comes in small, medium, and large) and thought they complimented the decor perfectly. I found this Safavieh outdoor rug and thought the pattern would add some excitement to the corner without being too bold.

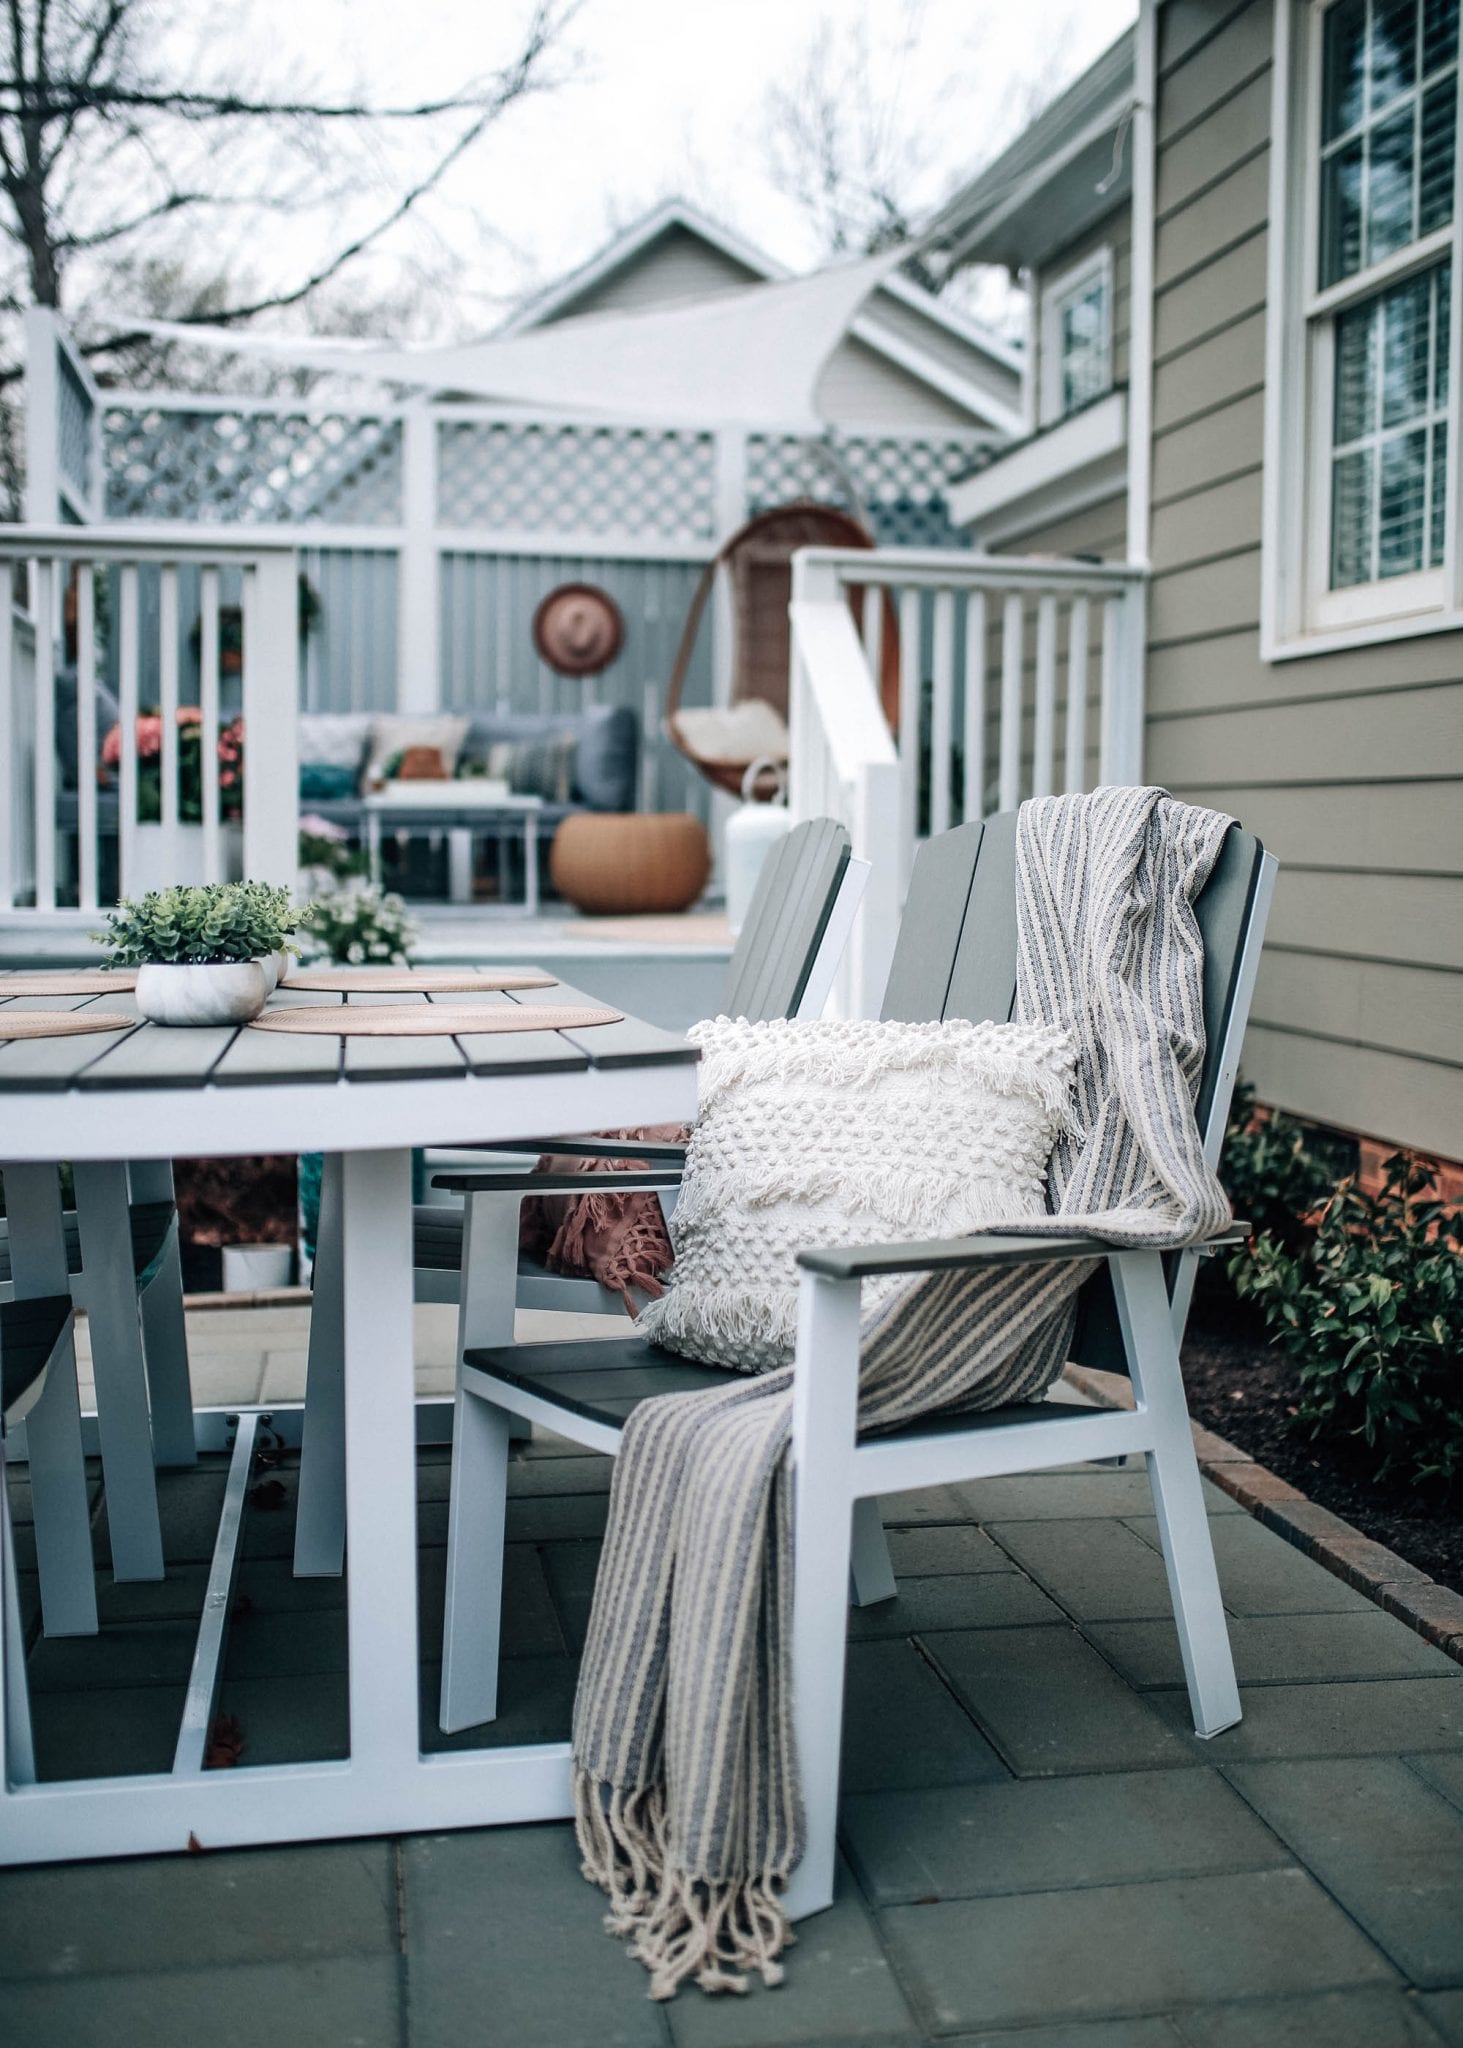
For the dining area, my favorite dining table was this coastal grey and white dining set. I thought about going with a table with benches but ultimately decided we’d get more use out of a set that came with comfortable chairs since, if needed, we could move those up to the deck.

We’re really excited to have an outdoor space that feels so relaxing and welcoming and can’t wait to spend time out there throughout the spring and summer! If you have any questions about where anything else is from, don’t hesitate to email me! For the second part of this post, I’ll be going into depth about how we built our patio and the colors we stained the deck but if you come across any other questions, let me know!

Happy spring!

Xo, Shelby

Thank you to Bed Bath & Beyond for sponsoring this post. All opinions are my own.

Wellness

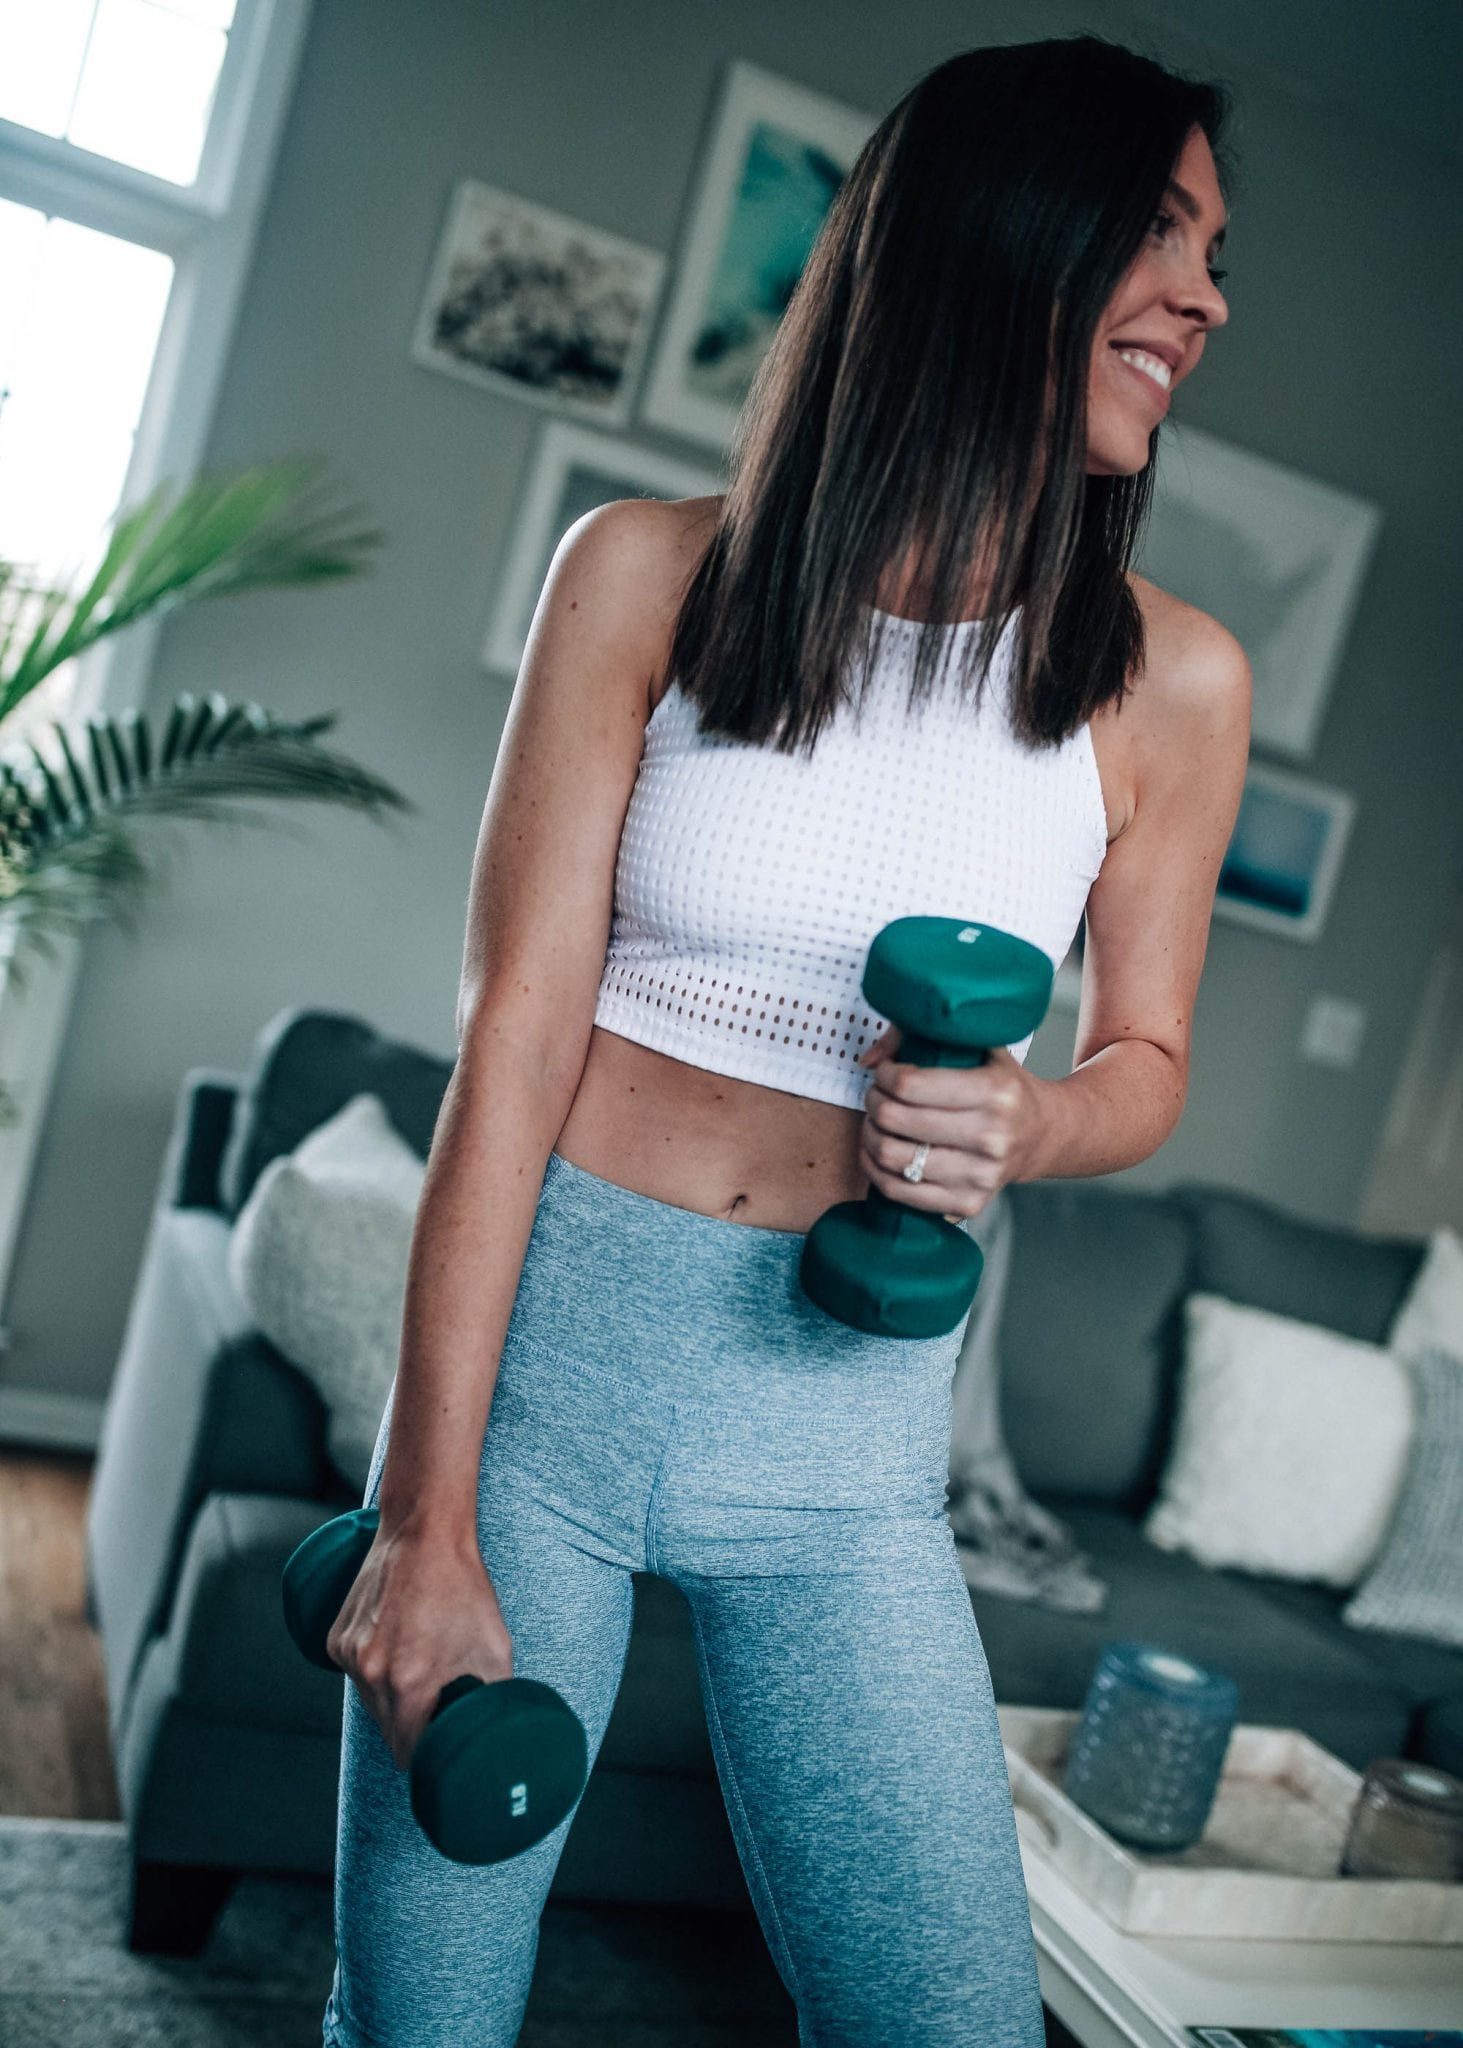
Tone It Up and What I Think

I remember living in my first apartment after college and watching this tv show on Bravo called “Toned Up”.  It was a tv show showing the behind the scenes of the new business of Katrina and Karena, the creators of Tone it Up, a fitness program and community based in CA.  Back then, I purchased their nutrition guide and fitness videos, but, a few years passed and my interests in fitness programs changed a bit.  I started taking classes in a local studio and, once I moved from that apartment, I became more of a work-out-at-the-apartment-gym-by-myself type of person and that’s what I did for the next year or so!

Workout Essentials

<center>
</center>

Since January 1st this year, I’ve been pretty good about putting my health at the top of my list most days. I’ve gone through phases of going to the gym in the mornings, taking classes, going on daily long walks, trying to stick to BBG, and more,  although I haven’t stuck with any of those (except walks in our neighborhood!) for the full three months into the year. I felt like something was lacking or if I did one type of workout, I was missing out on something else, or I was sacrificing more of my time doing one or the other. I know driving to the gym 15 minutes down the road doesn’t take too much time but it started to add up (our gym is near Marshall’s… enough said) and I felt like I could get a similar workout in at home. I also have tried the BBG workouts over and over again and I can never seem to get through the full 12-week program because it just wasn’t fun for me.

Anyways, about a month ago, I decided to re-download the Tone it Up app and see what those girls have been up to lately. The program has come a LONG way in the past few years and I’ve absolutely loved starting my mornings with these workouts. I know there are so many fitness options out there and so many factors that come in to choosing the best one for you so I wanted to put together a Q&A style post to answer questions all about Tone it Up and what I think of it.

Tone it Up Q&A

Q: Why did you change from BBG?

A: BBG (or Bikini Body Guide created by Kayla Itsines) is an incredible workout program. The workouts are so challenging but they get to be somewhat repetitive, in my opinion. They work! But, for me, it was very hard to stick with something solely because of how good it makes your body look. It wasn’t the most fun thing for me to do. You also have to be incredibly dedicated and disciplined because, with BBG, it’s you, the workout moves, and your willpower to keep going. With the Tone it Up workouts, it feels like I am actually with the trainers. I see them, hear them encouraging me throughout each move, and it just feels more community-focused. If I had some big event coming up where I wanted to look really fit in a short amount of time, BBG is a great resource for that. If you are extremely disciplined, BBG is an amazing workout plan. If all you need is music and all you want is a rocking bod, go with BBG. With where I am in my life right now, I needed something more for my mind AND body, something I could see myself incorporating into my lifestyle for a very long time, not just for 12 intense weeks. I might even go back to using the SWEAT/BBG app in the future but, for now, I’m loving the change. 

Q: Do the TIU workouts require a lot of equipment?

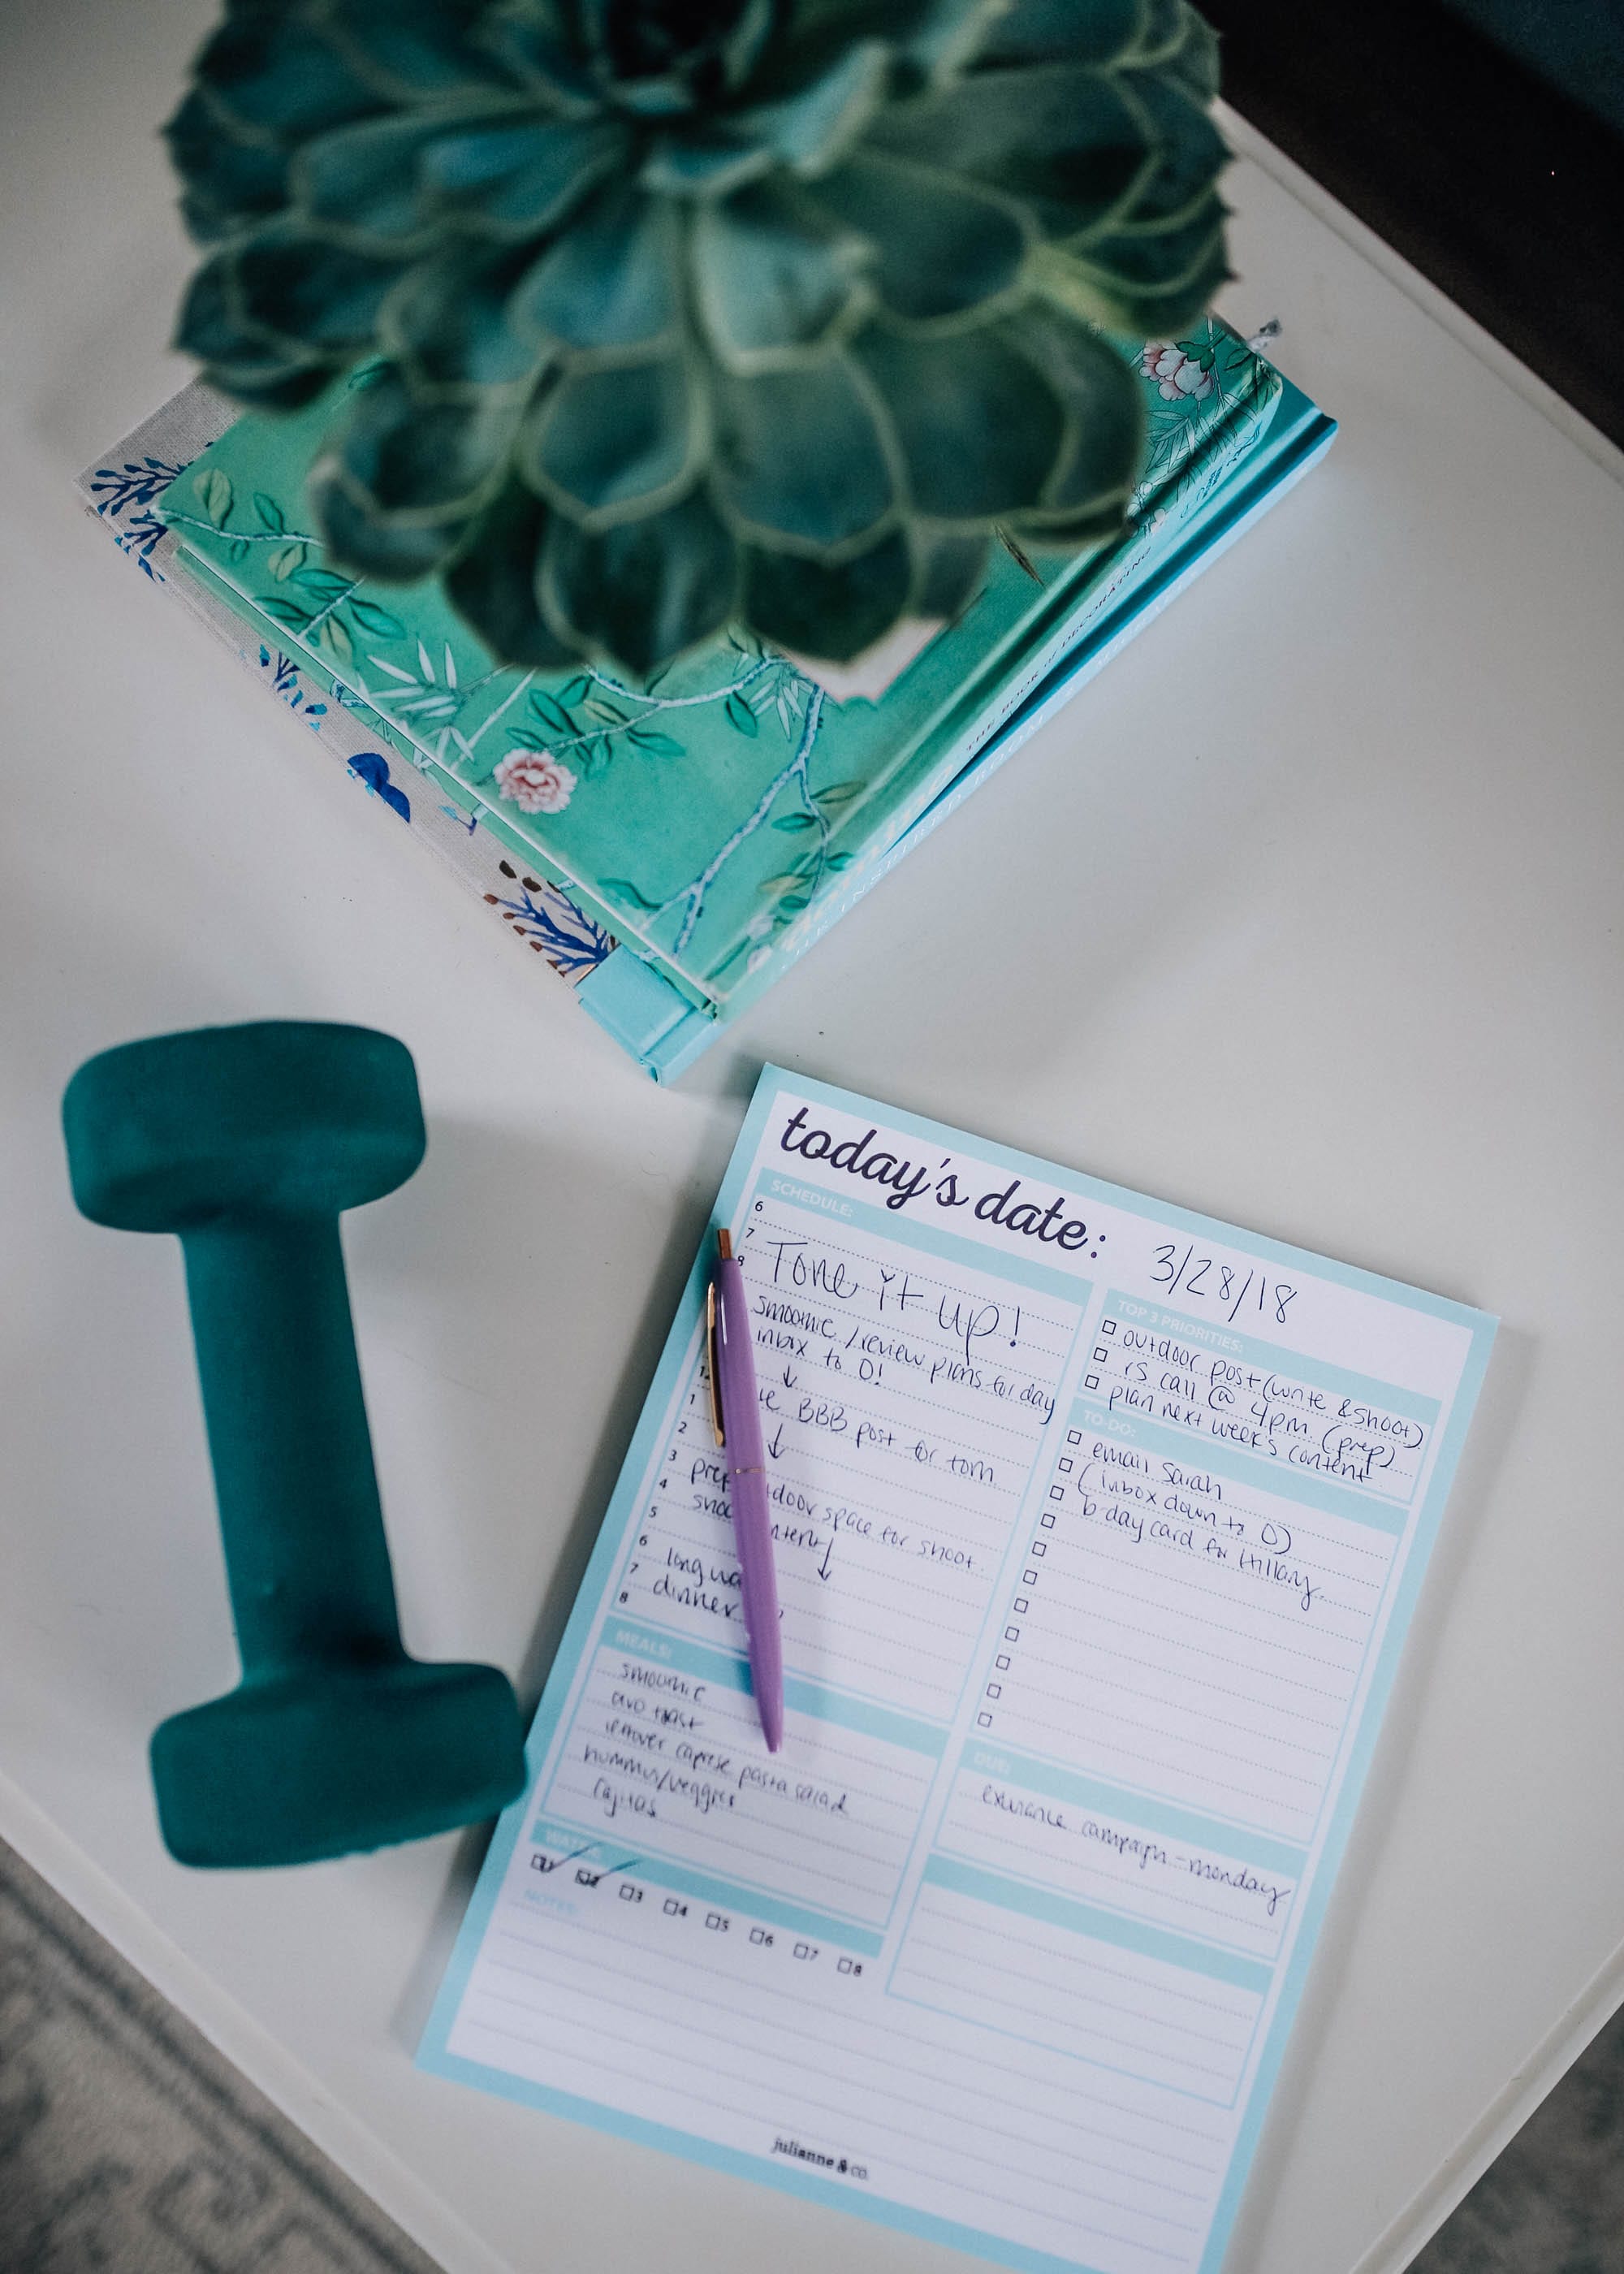
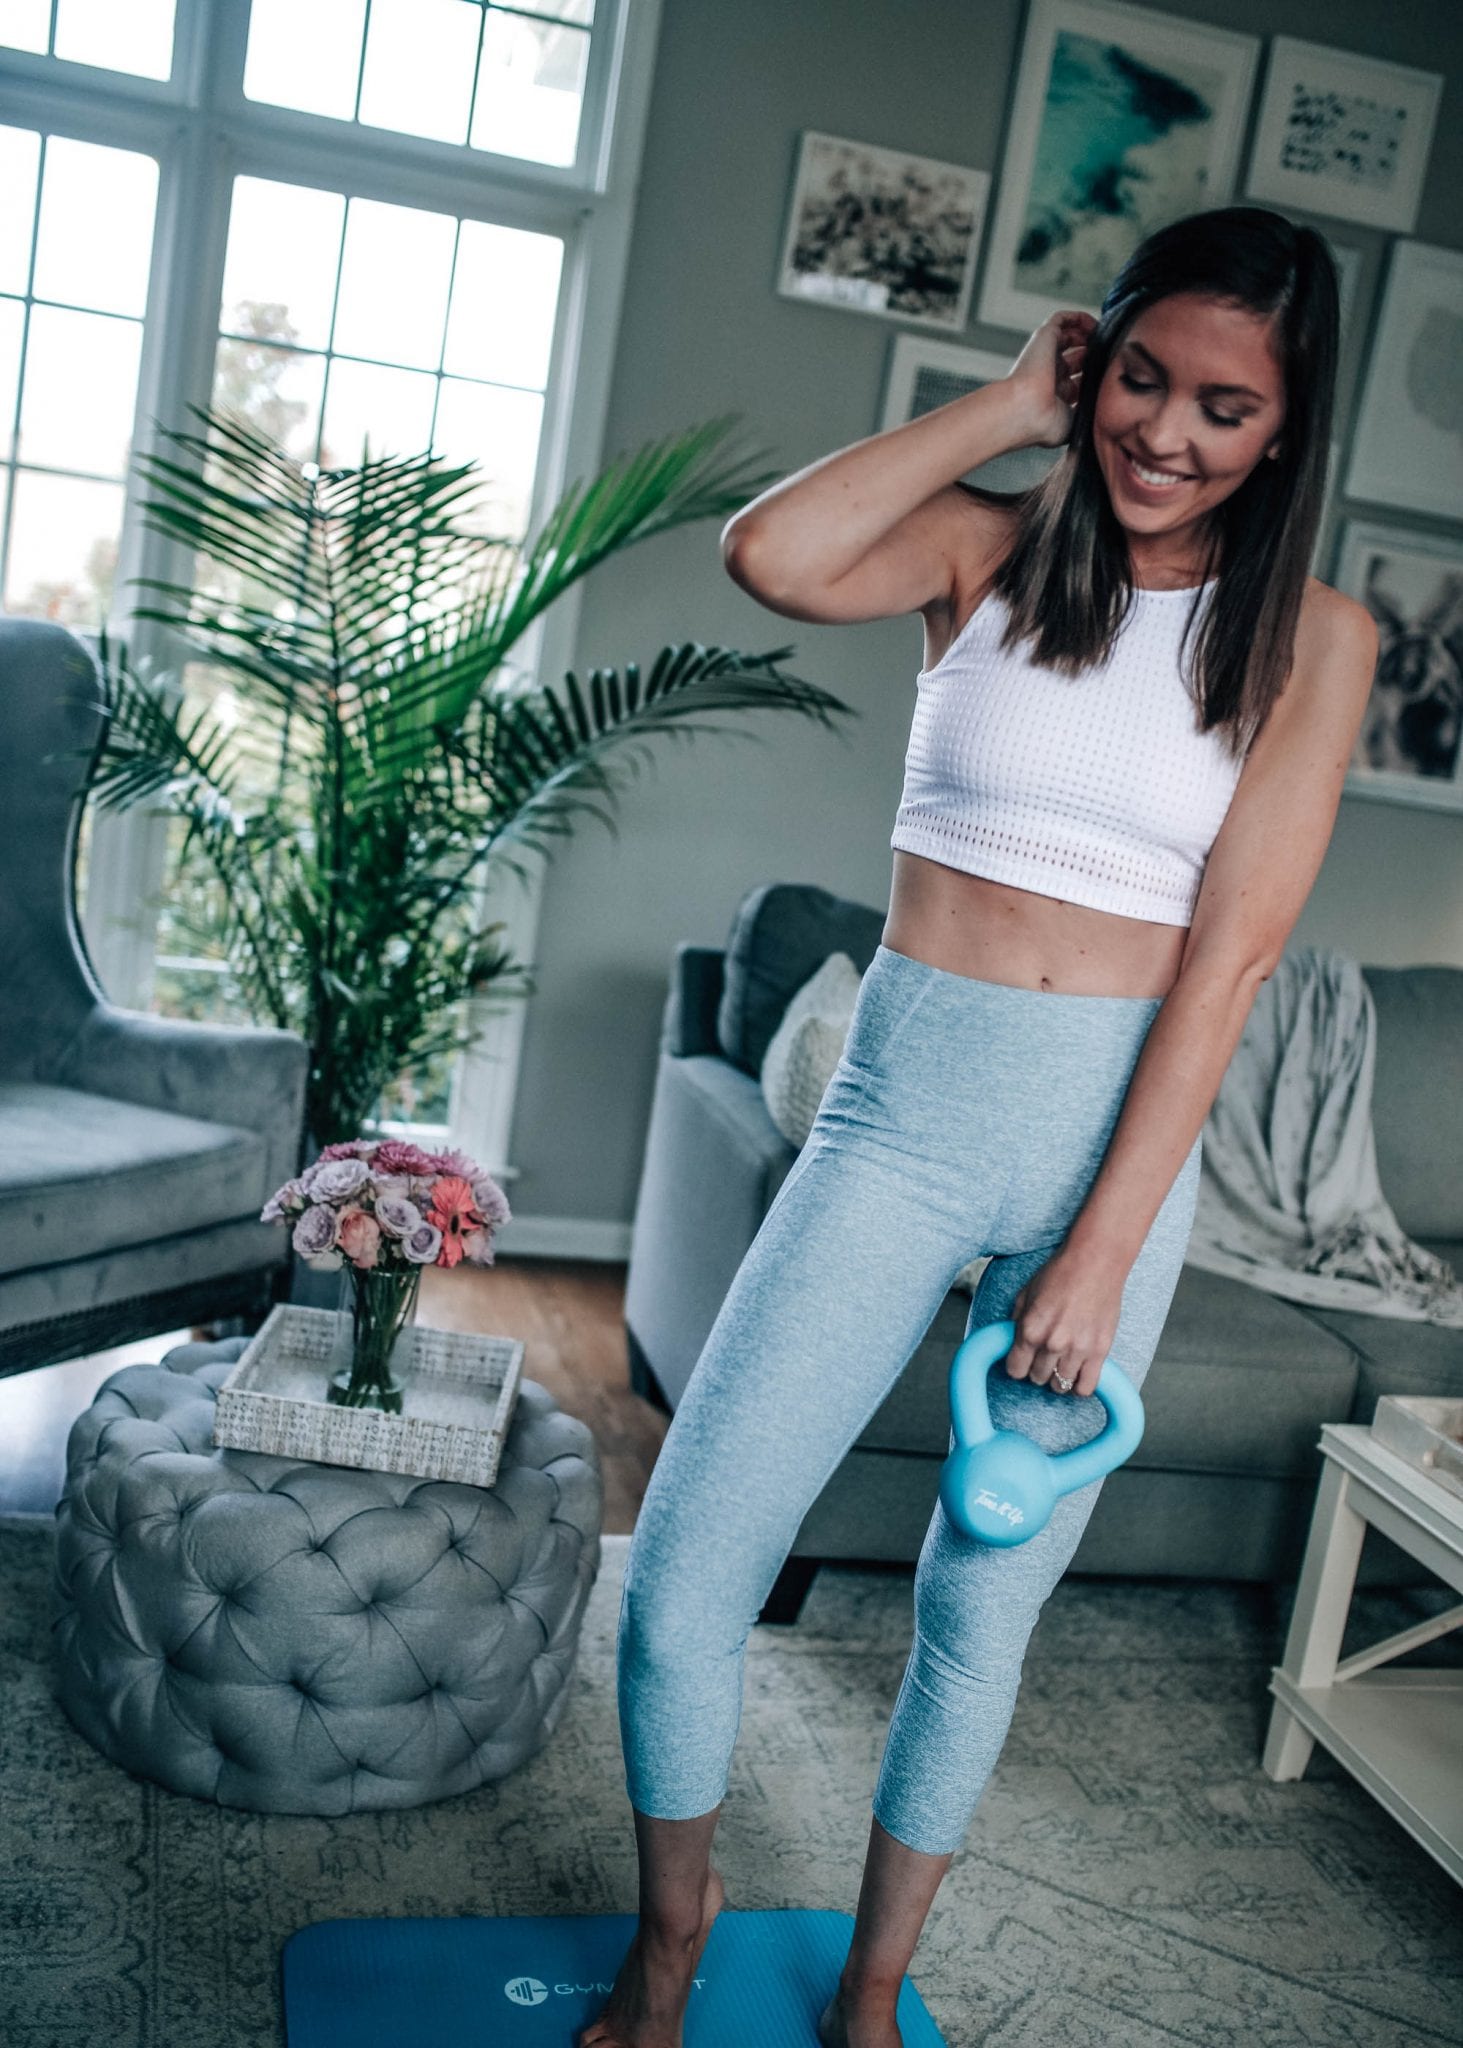
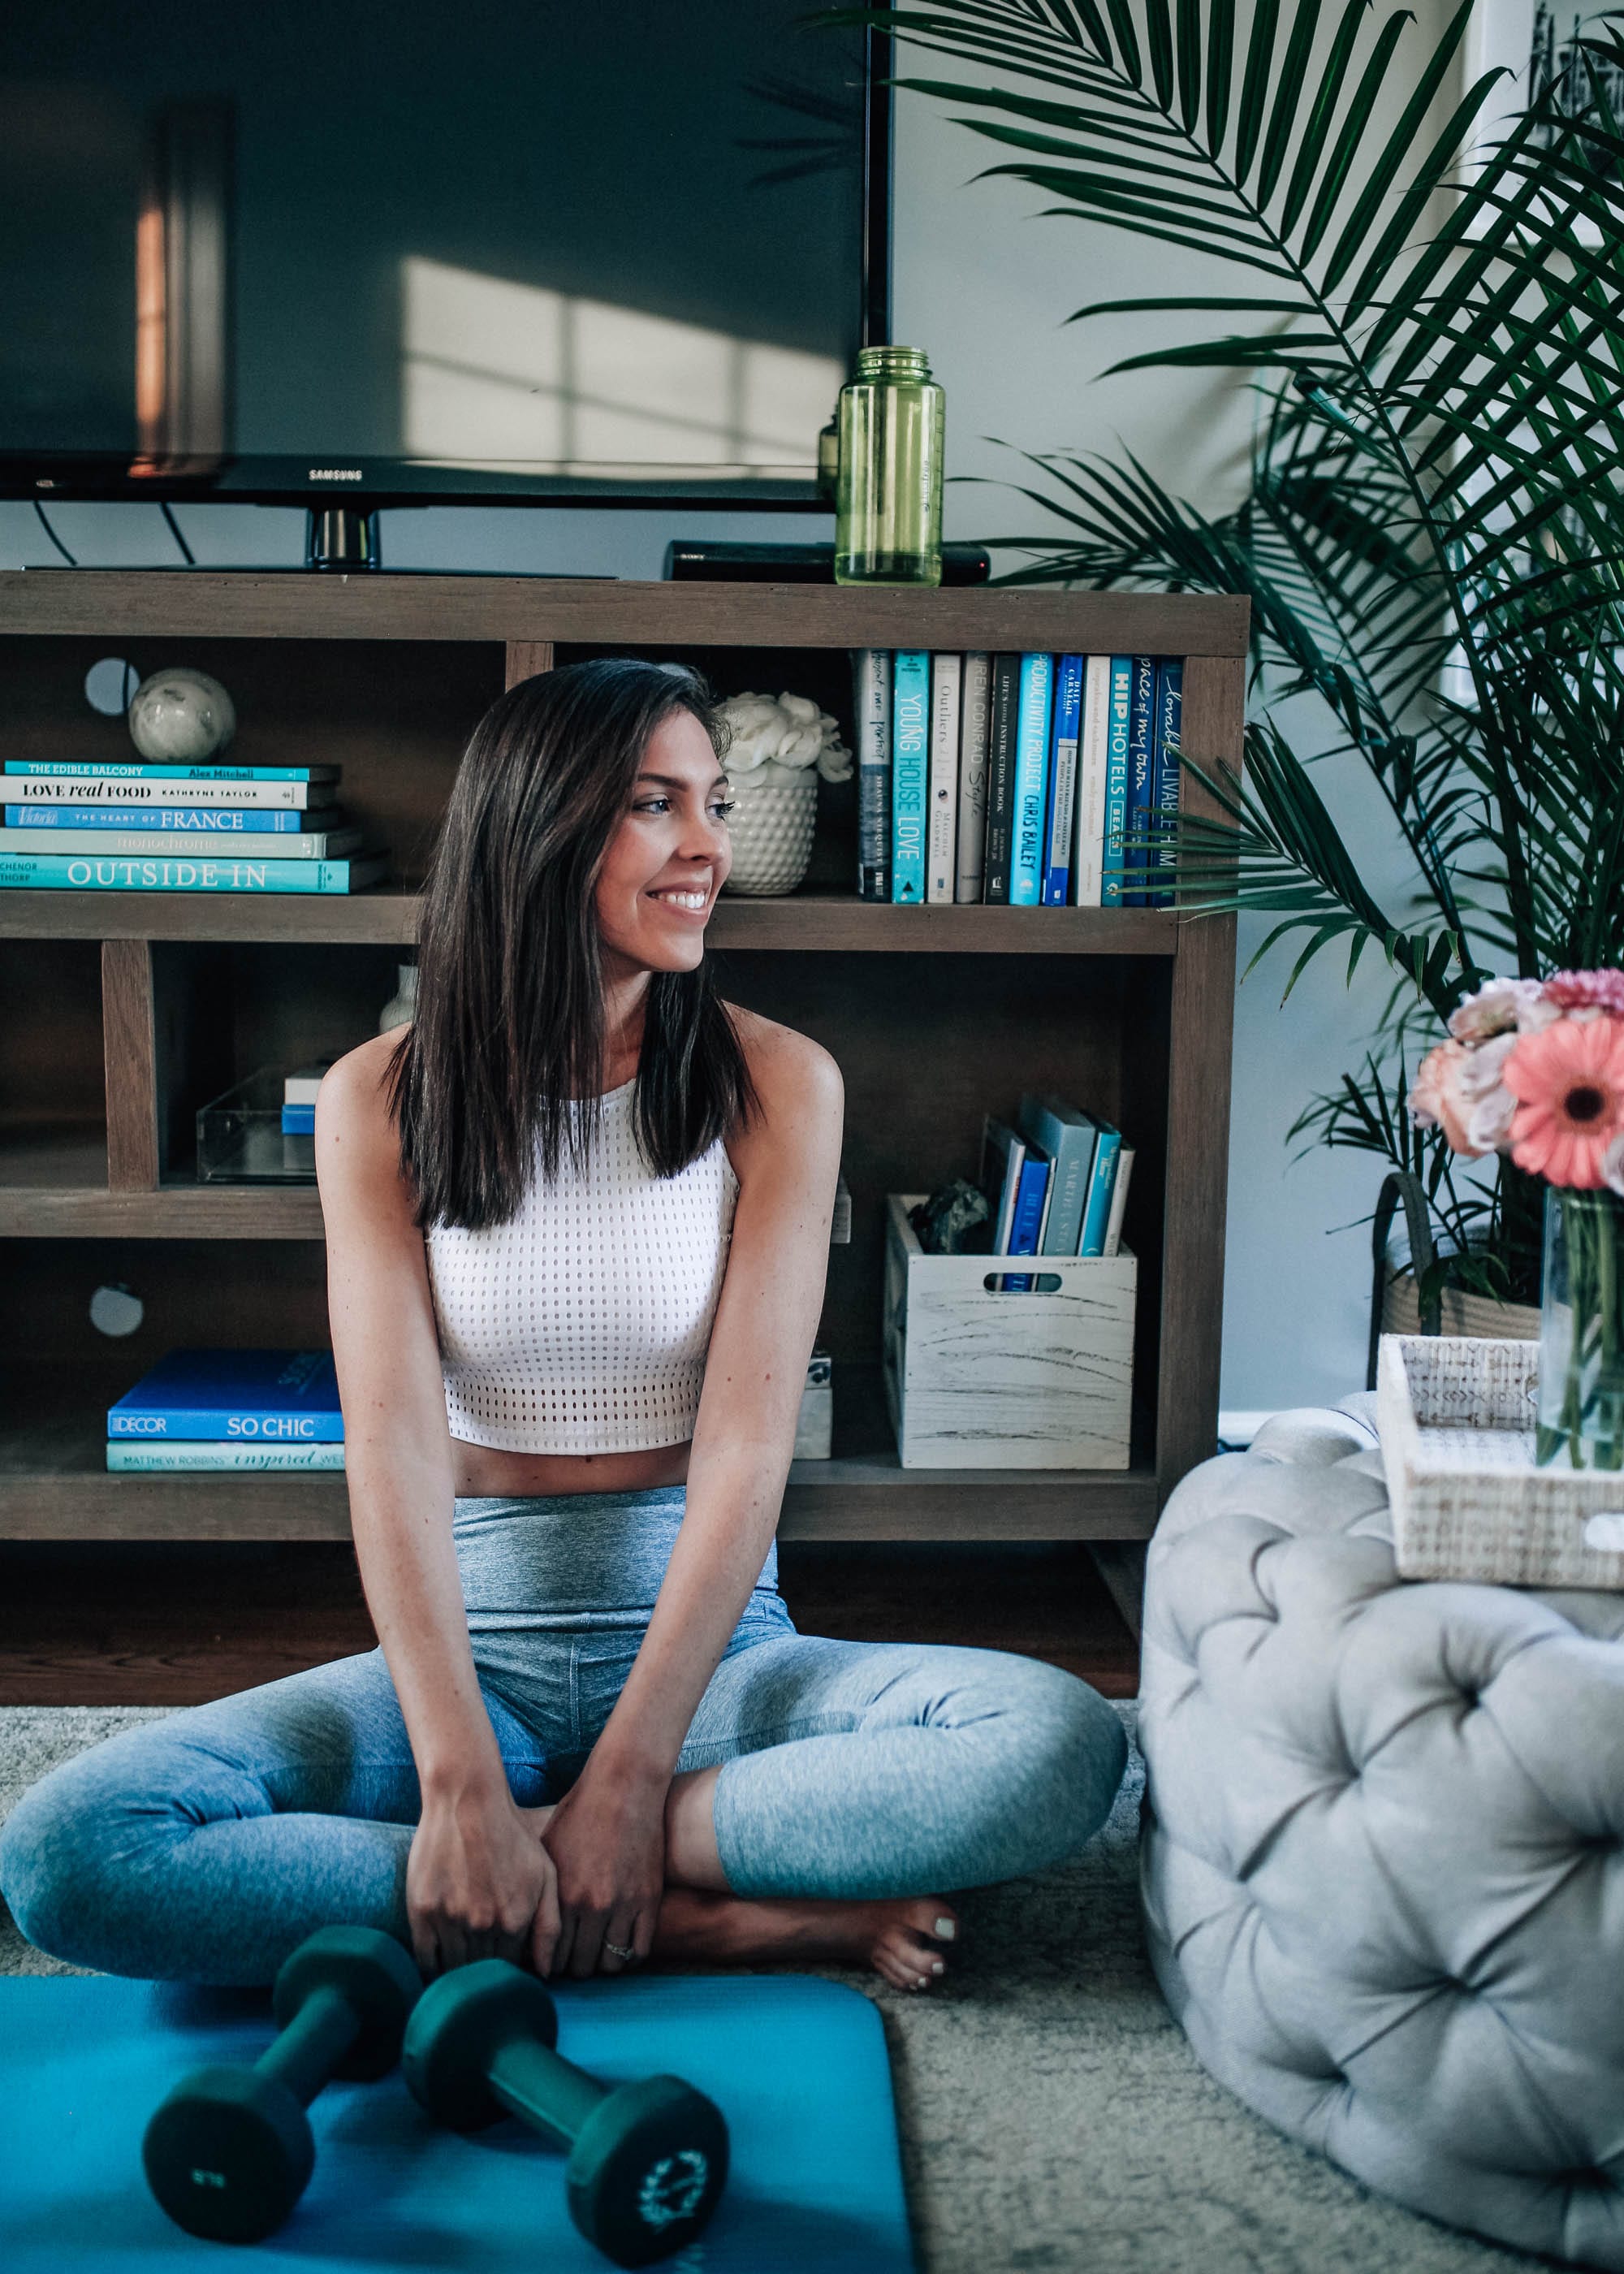
A: No! I was a little hesitant about not having enough equipment but, for the most part, you only need dumbbells and a mat. I recently ordered this mat and these dumbbells. I’ve been using the 8lb ones but sometimes I wish I also had a 3lb or 5lb pair.  Just be prepared that some moves are tougher than others! There have been a few workouts where the trainers recommended a resistance band and there are also workouts with a foam roller and ab ball. However, 90% of the workouts need only a mat and dumbbells. I also use my coffee table for tricep dips sometimes. When I’m doing the Tone it Up Studio classes and it’s a class involving a foam roller or ab ball (I don’t have those at the moment), I just switch to one of the on-demand classes or do the TIU daily moves.

Equipment I Use

<center>
</center>

Q: How much does it cost?

A: There are parts of Tone it Up that are completely free but there are also premium features that cost 12.99/month through itunes! The free features are the Daily Toning Moves (really great workouts) and the premium features are the Daily Toning Moves, Studio Tone it Up classes, and On-Demand workouts. You can also try out the 12.99 USD plan for a trial period if you want to see the difference.

Q: How exactly does Tone it Up work?

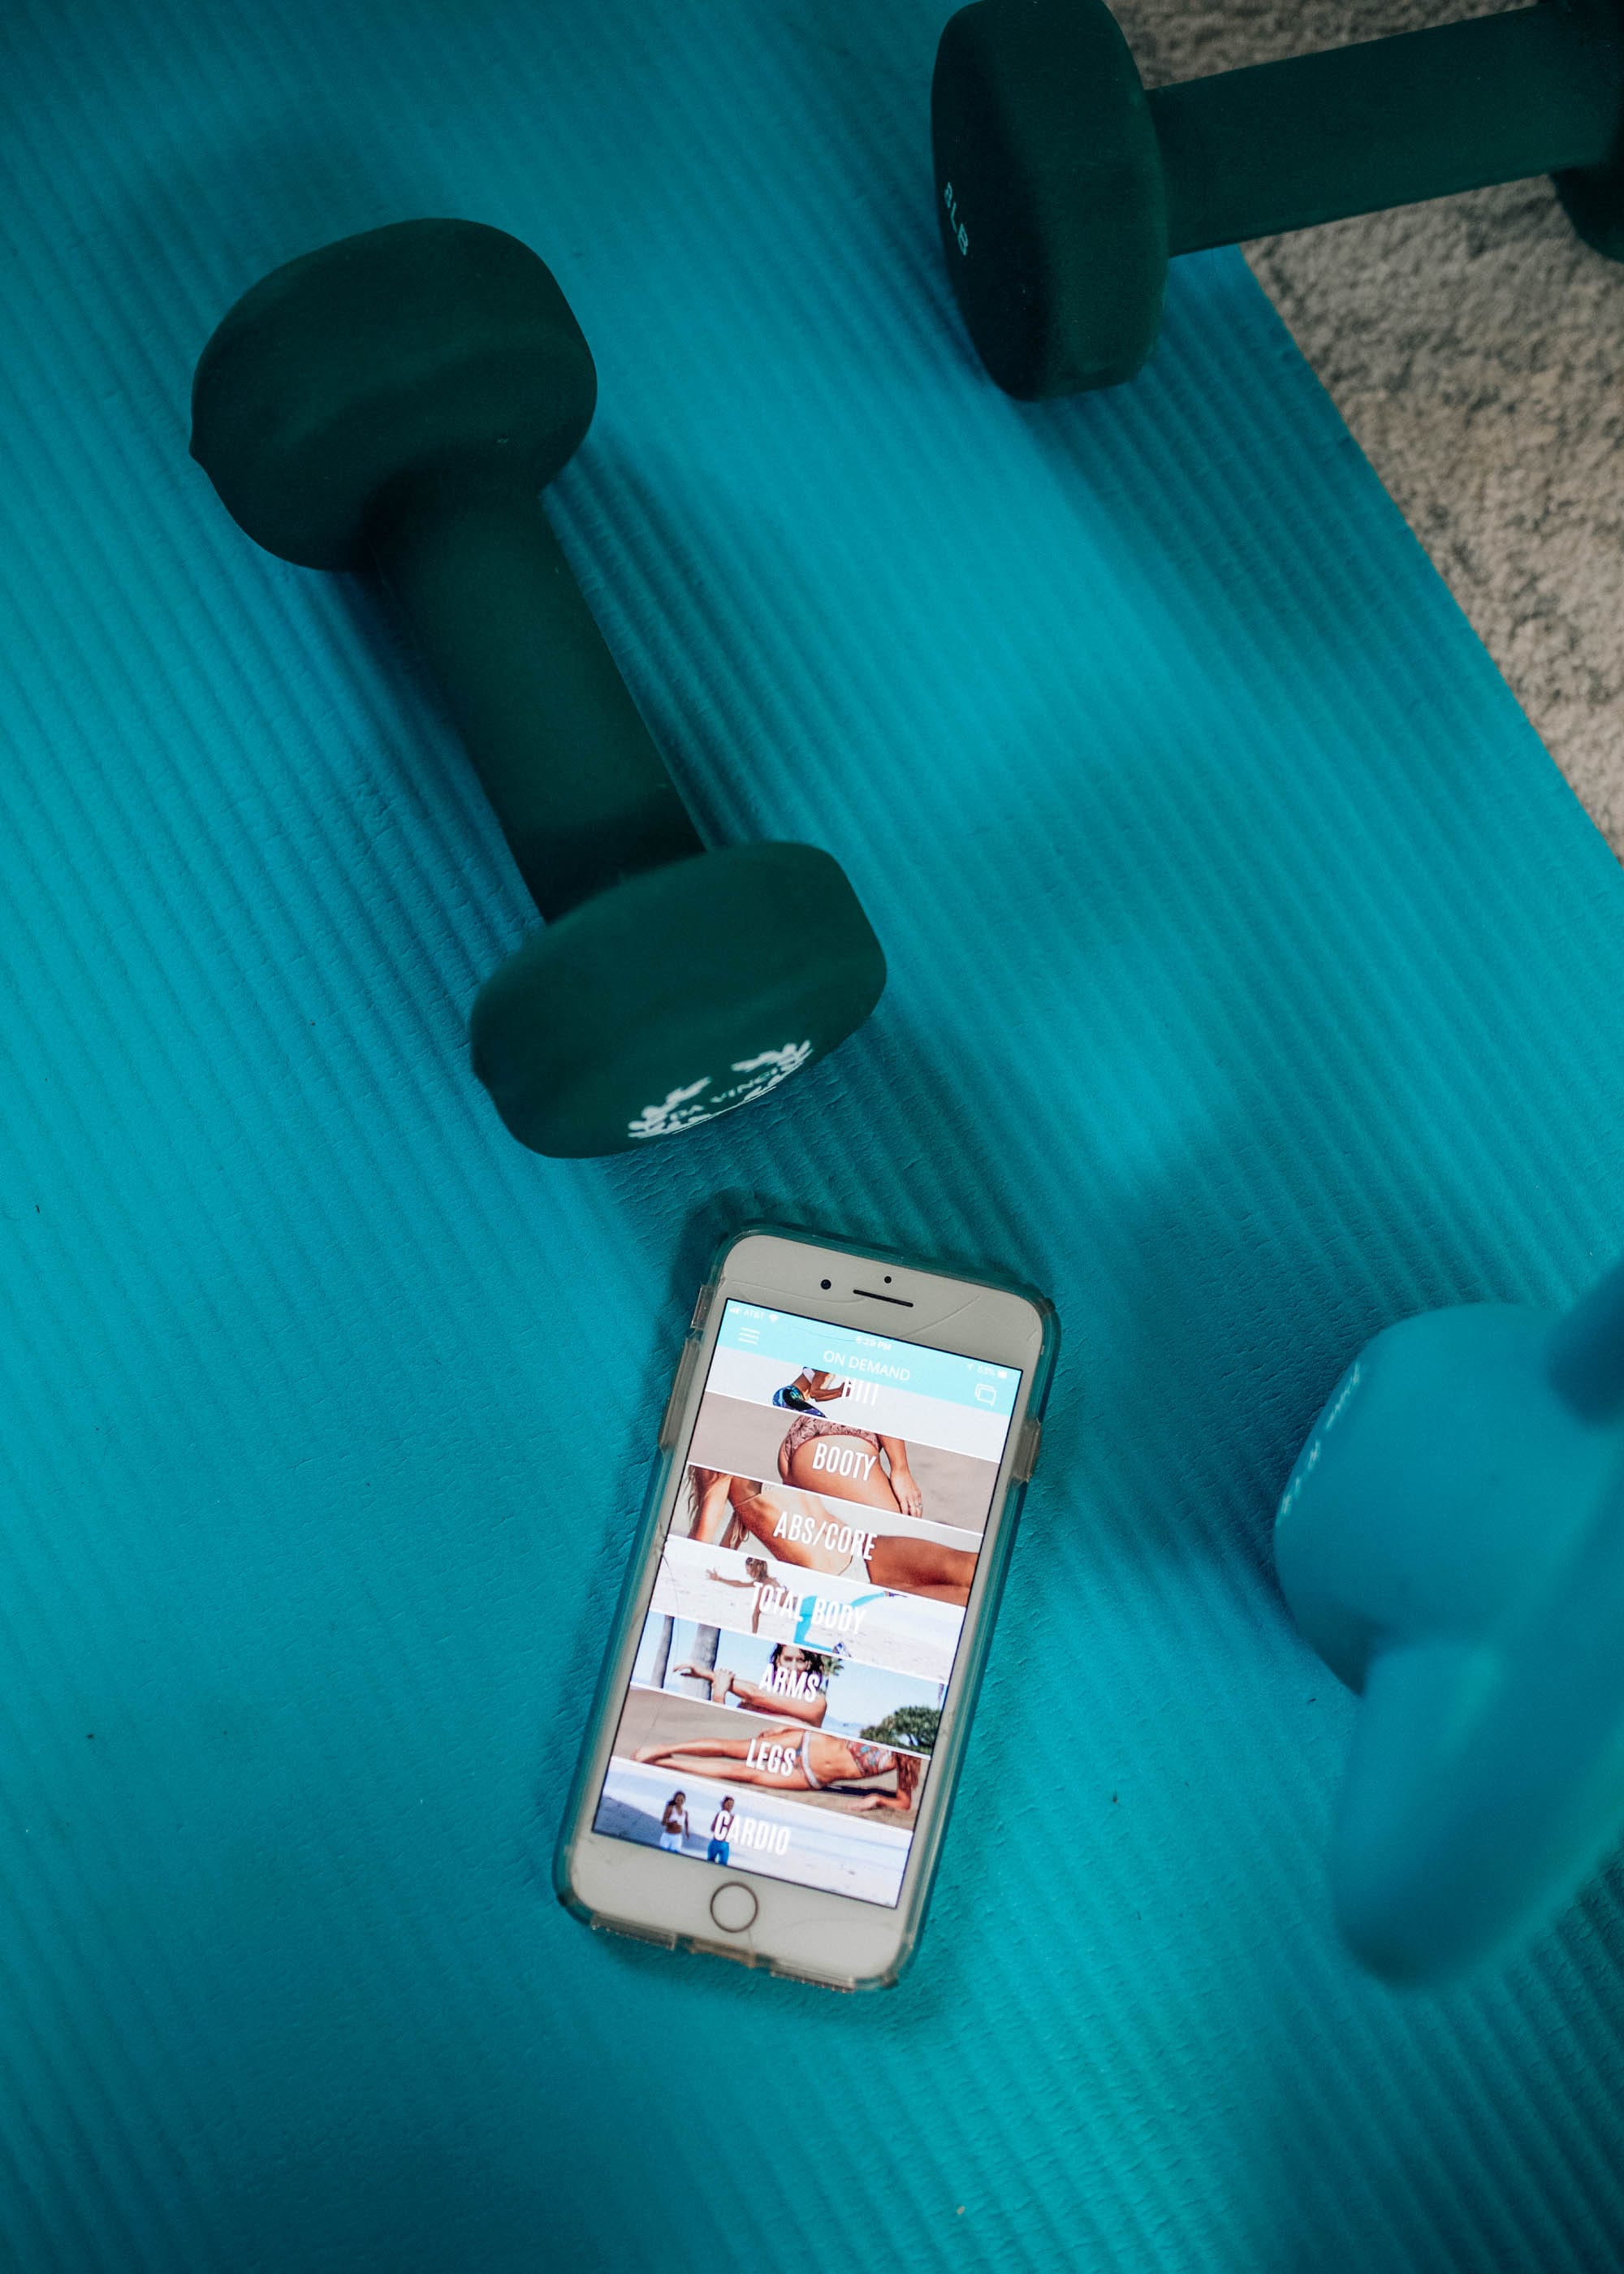
A: There are many different directions you can take with TIU but, in my experience so far, I’ve sign up for a Studio Class (they run about every half hour) each morning, and that has been a good enough workout for me. If you wanted to work-out for closer to an hour v. 30 minutes, I’d add the ‘Daily Moves’ on top of the studio class. Each studio class usually lasts about 30 minutes. The on-demand library of classes is also amazing, categorized into HIIT, Booty, Abs, Yoga, Total Body, Arms, Legs, and so much more. You can also set up your profile depending on how many workouts each week you aim to complete, your tracked activity, interests, etc. You can really customize the workouts to fit your specific needs with all of the options they offer!

Q: What do you like most about it?

A: I like that each day is totally different and because you can see and hear the trainers, it’s extremely encouraging and easy to come back to each day! Last week I worked out 5 days in a row and that has never happened for me before. I genuinely look forward to going downstairs to my living room, pulling out my mat, and showing up to the workouts each day. I also love all of the yoga moves that are incorporated into a majority of the workouts. I was never a huge yoga person until recently and I love how it helps add clarity before I start my day. I also LOVE the fact that you can attend these “classes” and do the workouts from anywhere. It helps me save time each day rather than driving to a gym and you get a great workout in with little to no equipment. One other thing I love is with the studio classes, while they can be done at home and at convenient times, once you  join the class, you can’t pause it… the class goes on! That was one thing that always got me about at-home workouts, the ability to pause and stop, but with these studio classes, it’s really like you are in a class full of other people!

Q: What does TIU have that other programs did not have?

A: The encouragement and community-feel along with the convenience factor is a combination that can be hard to find. I feel like I get the best of both worlds with this app and you can make it as hard as you want to. If you feel like the daily moves aren’t enough for you, you can add an on-demand class for whichever area you want to tone. A lot of girls create a specific Instagram account for Tone it Up which adds to the ever-growing #TIUteam community too. And, if all of that is not enough, try visiting their website for a daily blog posts full of smoothie recipes, fitness tips, nutrition plans, and more! I really sound like I’m being paid to say all of this and I’m definitely not, I just really love that I found a program that feels such a good fit for me!

Q: What has been your overall experience so far?

A: My overall experience so far has been really refreshing and hopeful. I actually look forward to working out every single day (well, M-F) and it never seems like something I “have” to do but more of something that I genuinely want to do to get my mind in the right place while also toning my entire body. I love how it saves me time because I don’t have to leave my house but if I wanted to, it can easily be done at the gym too. I also love how each day is totally different and I feel like I’m being surprised with a fun and encouraging workout each day. Also, if you haven’t tried their plant-based protein powder, I am seriously addicted to the vanilla flavor!

That’s all the questions I received so far! If you still have any questions, feel free to email or leave a comment here. Hopefully this helps answer most of the questions you had about TIU and, if you’ve been in a workout rut, hopefully this encourages you to try it out! If you try it out and feel like it isn’t hard enough, I’d recommend trying a few more, increasing your weights, or pick and choose from the on-demand gallery. It took me a few days to really start feeling the difference and sometimes I do feel like I need to add the ‘daily moves’ on top of everything, just FYI. Everyone’s body is totally different and sometimes you just have to figure out what works best for yours!

Happy Wednesday! We’re finally out of the 30 degree temps here in NC so I think spring is officially here! Visit back here tomorrow to get a glimpse of our outdoor space makeover!

xo, Shelby

Leggings I’m Loving

<center>
</center>
Uncategorized

Currently Loving: Paperbag Shorts

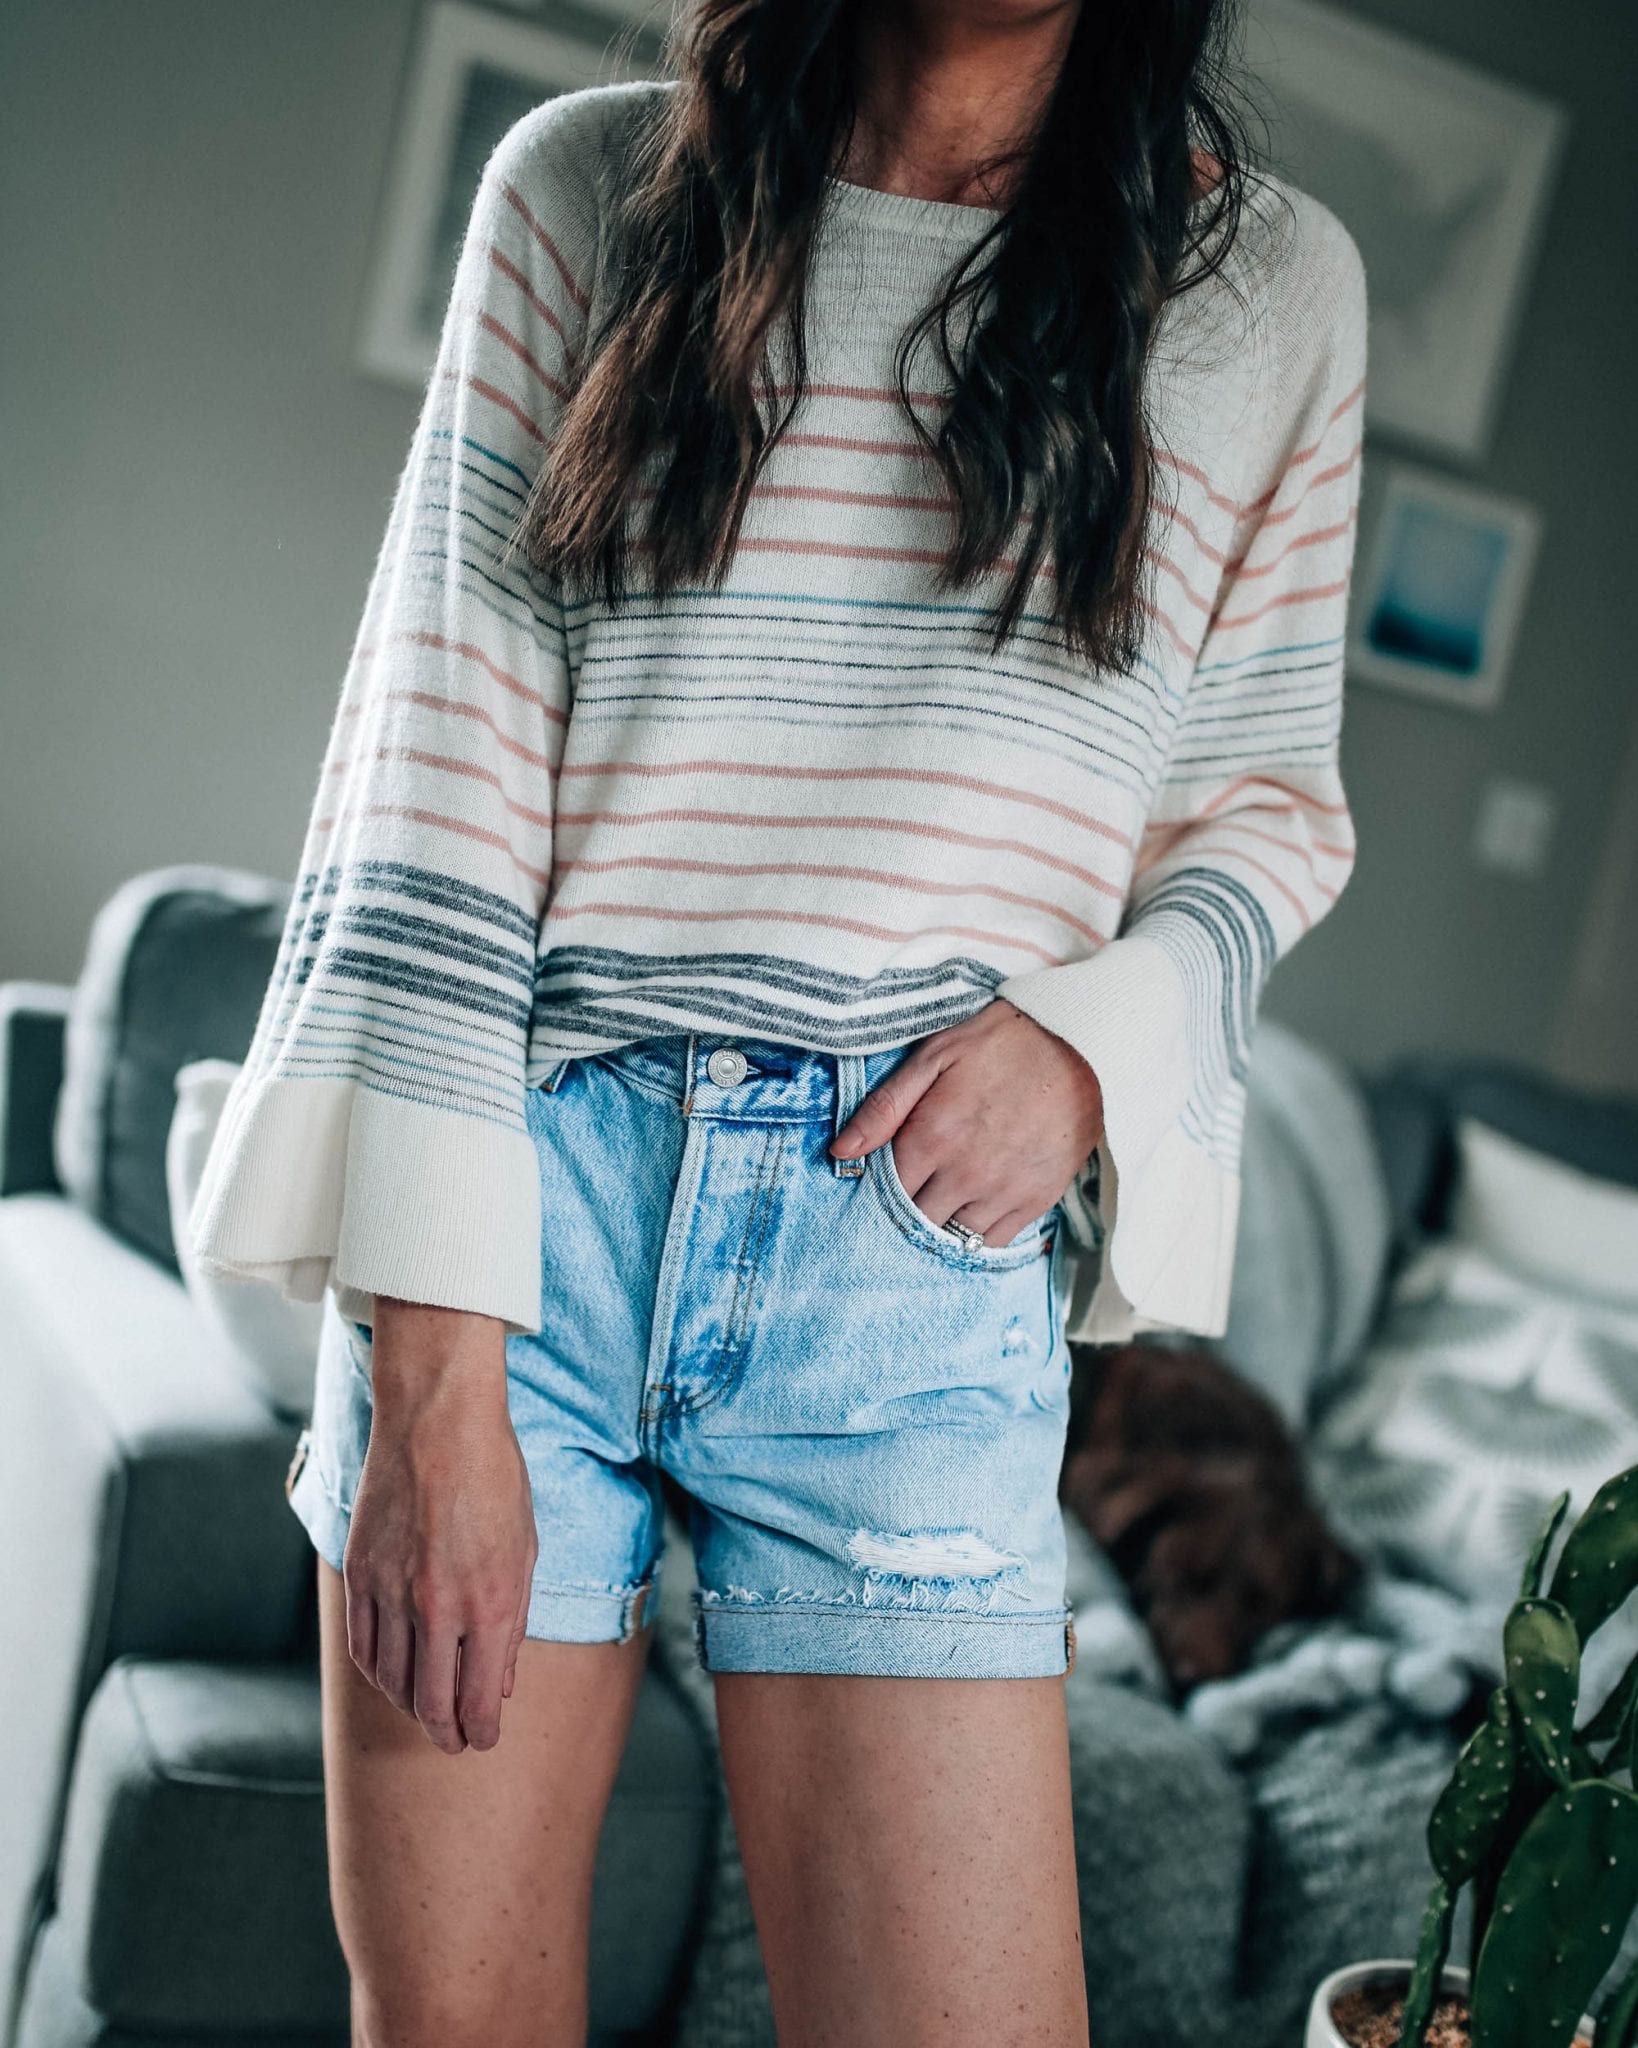
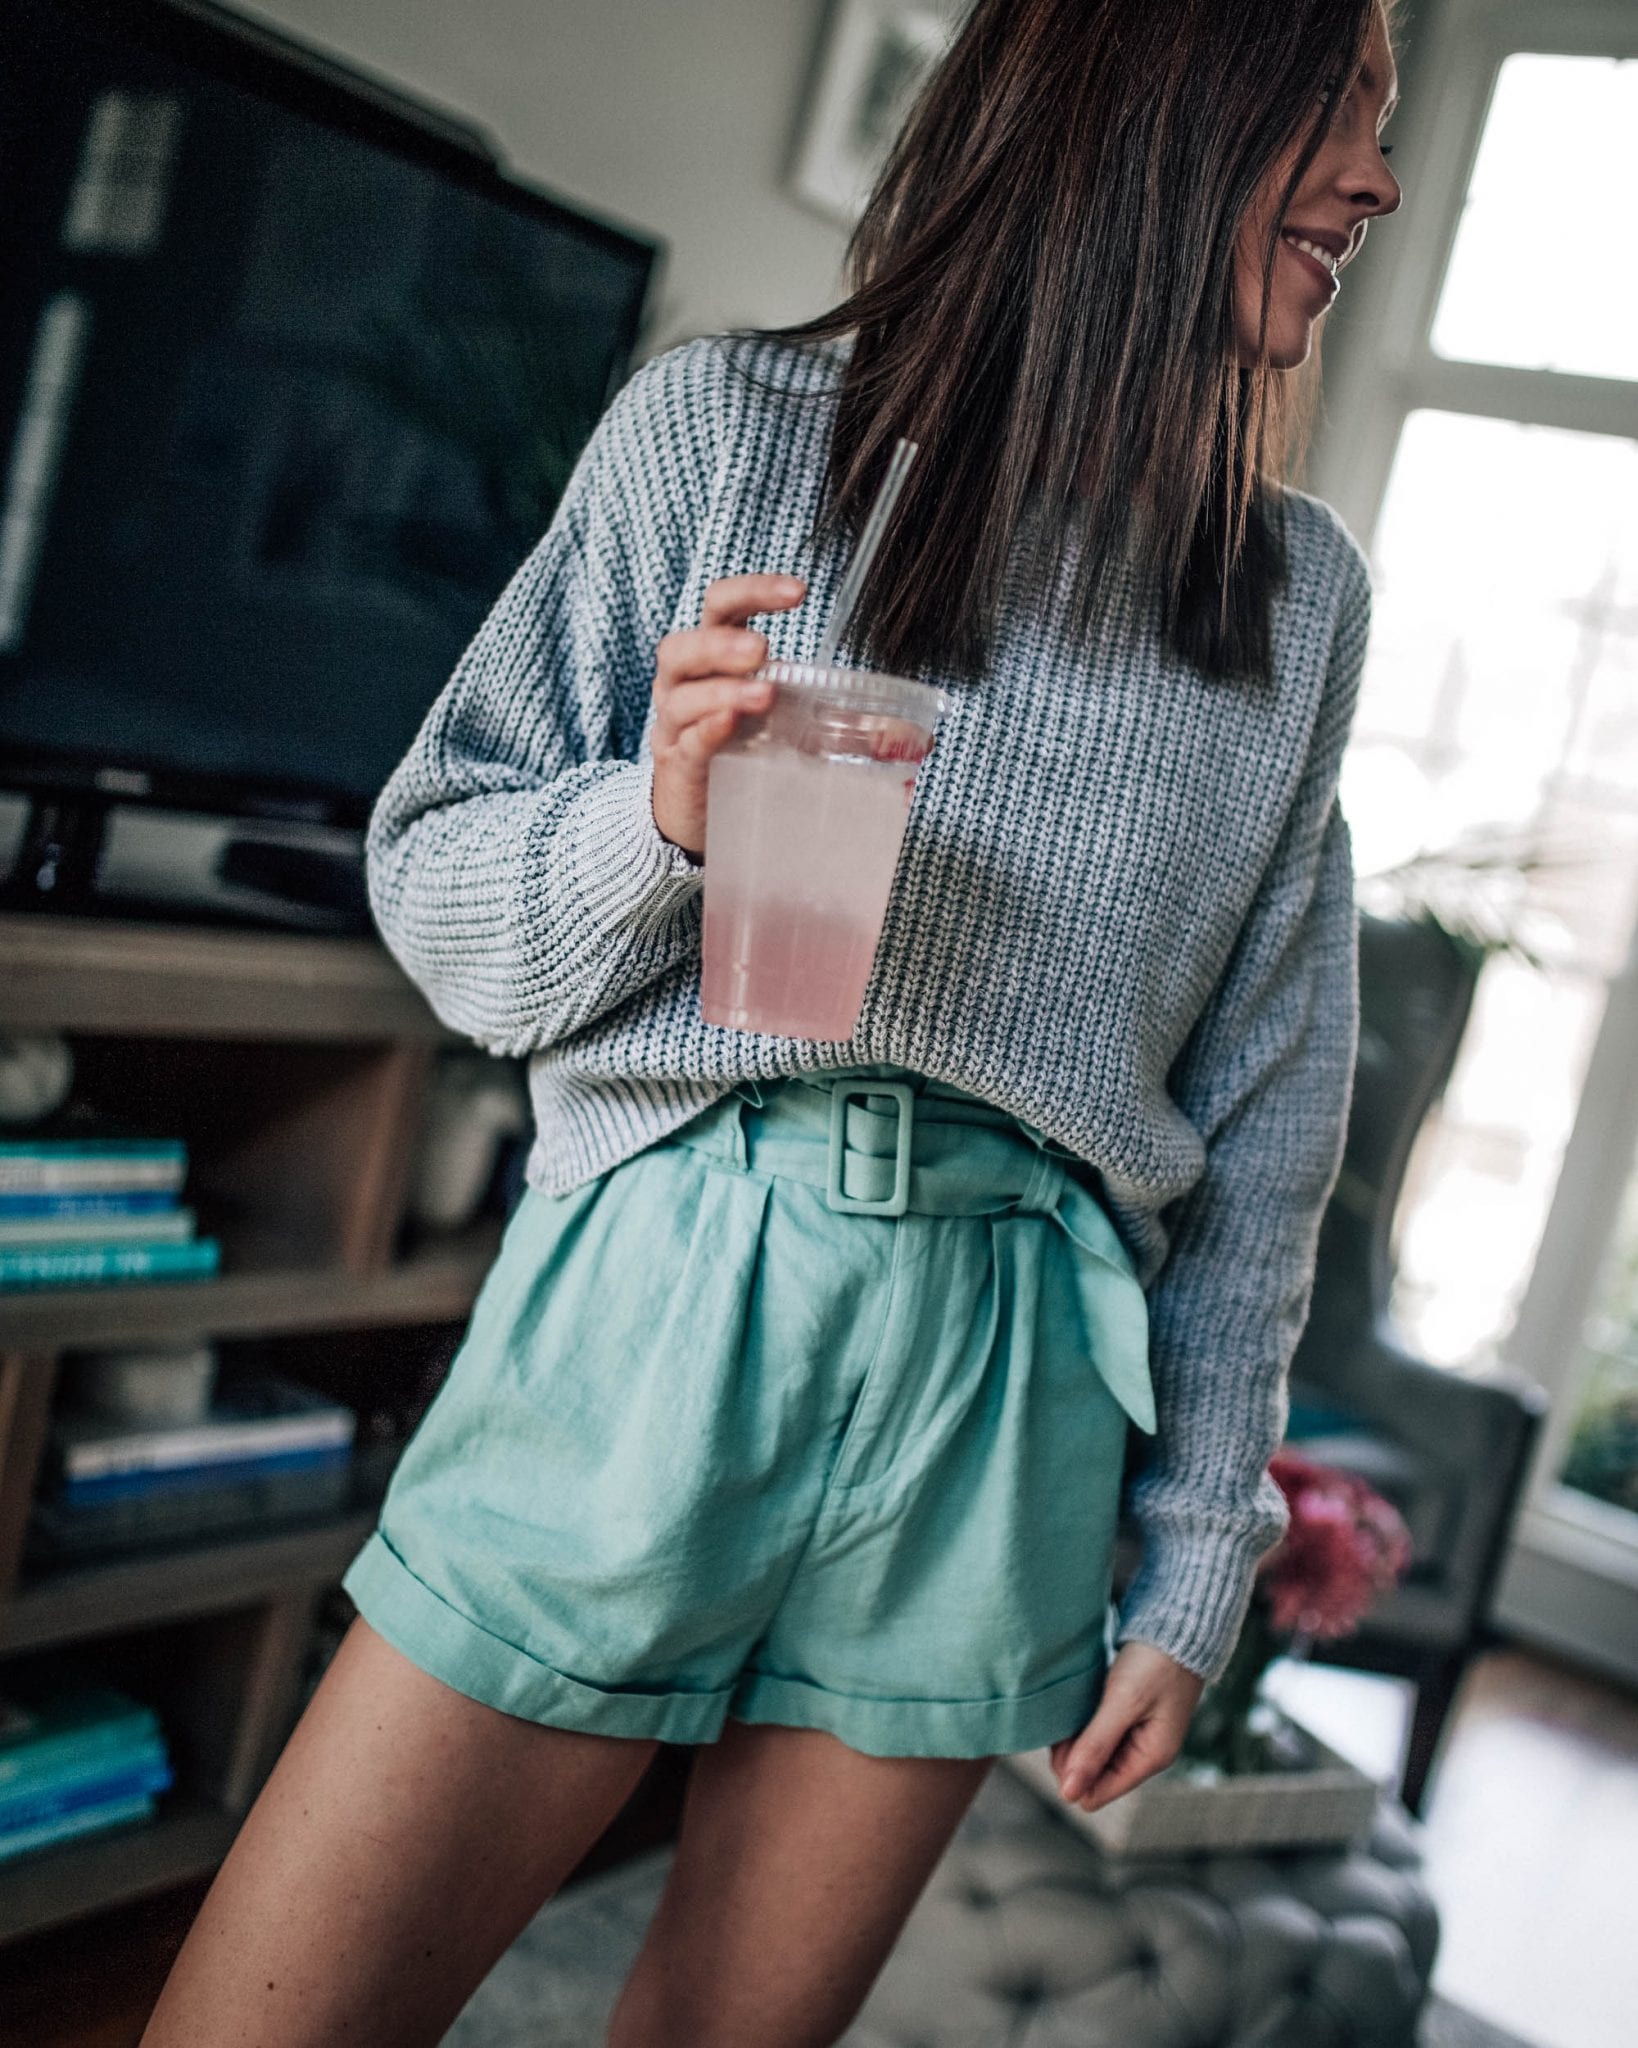
I’ve always loved shorts that have a high-waisted fit and some sort of tie at the waist so it’s no wonder why I am currently crushing on paperbag shorts. There’s something about the style that makes your outfit look extra chic and sophisticated while still being casual. I found this teal-colored pair a while ago but it’s been too cold to wear them out and about (excited to see that’s finally going to change this week!). I wore them around the house last weekend and had to get some shots to show you why I’m loving them so much. The paper bag style is flattering on many body types due to how it normally has a wide and baggier leg but cinches at the waist. Plus, they’re super comfy!

The Details:

<center>
</center>

You can wear them with a looser cropped top half-tucked in the front like the grey sweater shown above or you can really show off the waist detail with a bodysuit or fitted top like the button-down thermal shown below.  Speaking of that grey sweater, this is a really great winter-to-spring transition piece that looks cute layered over dresses and other outfits as the chilly temperatures warm up slowly but surely. 

Scroll through this lookbook for the best paperbag shorts/pants on the internet!

<center>
</center>

Thank you to Urban Outfitters for sponsoring this post.

Uncategorized

Simple, Chic, and Spring Ready

There’s no better time than this week to talk about spring outfits. The weather this week is just too good. It’s been a really busy week and I have a feeling it’ll be that way until next Wednesday or so. We’re simultaneously working on two home improvement projects and I’m going to be out of town this weekend so I’m taking advantage of this nice weather to work on our yard.

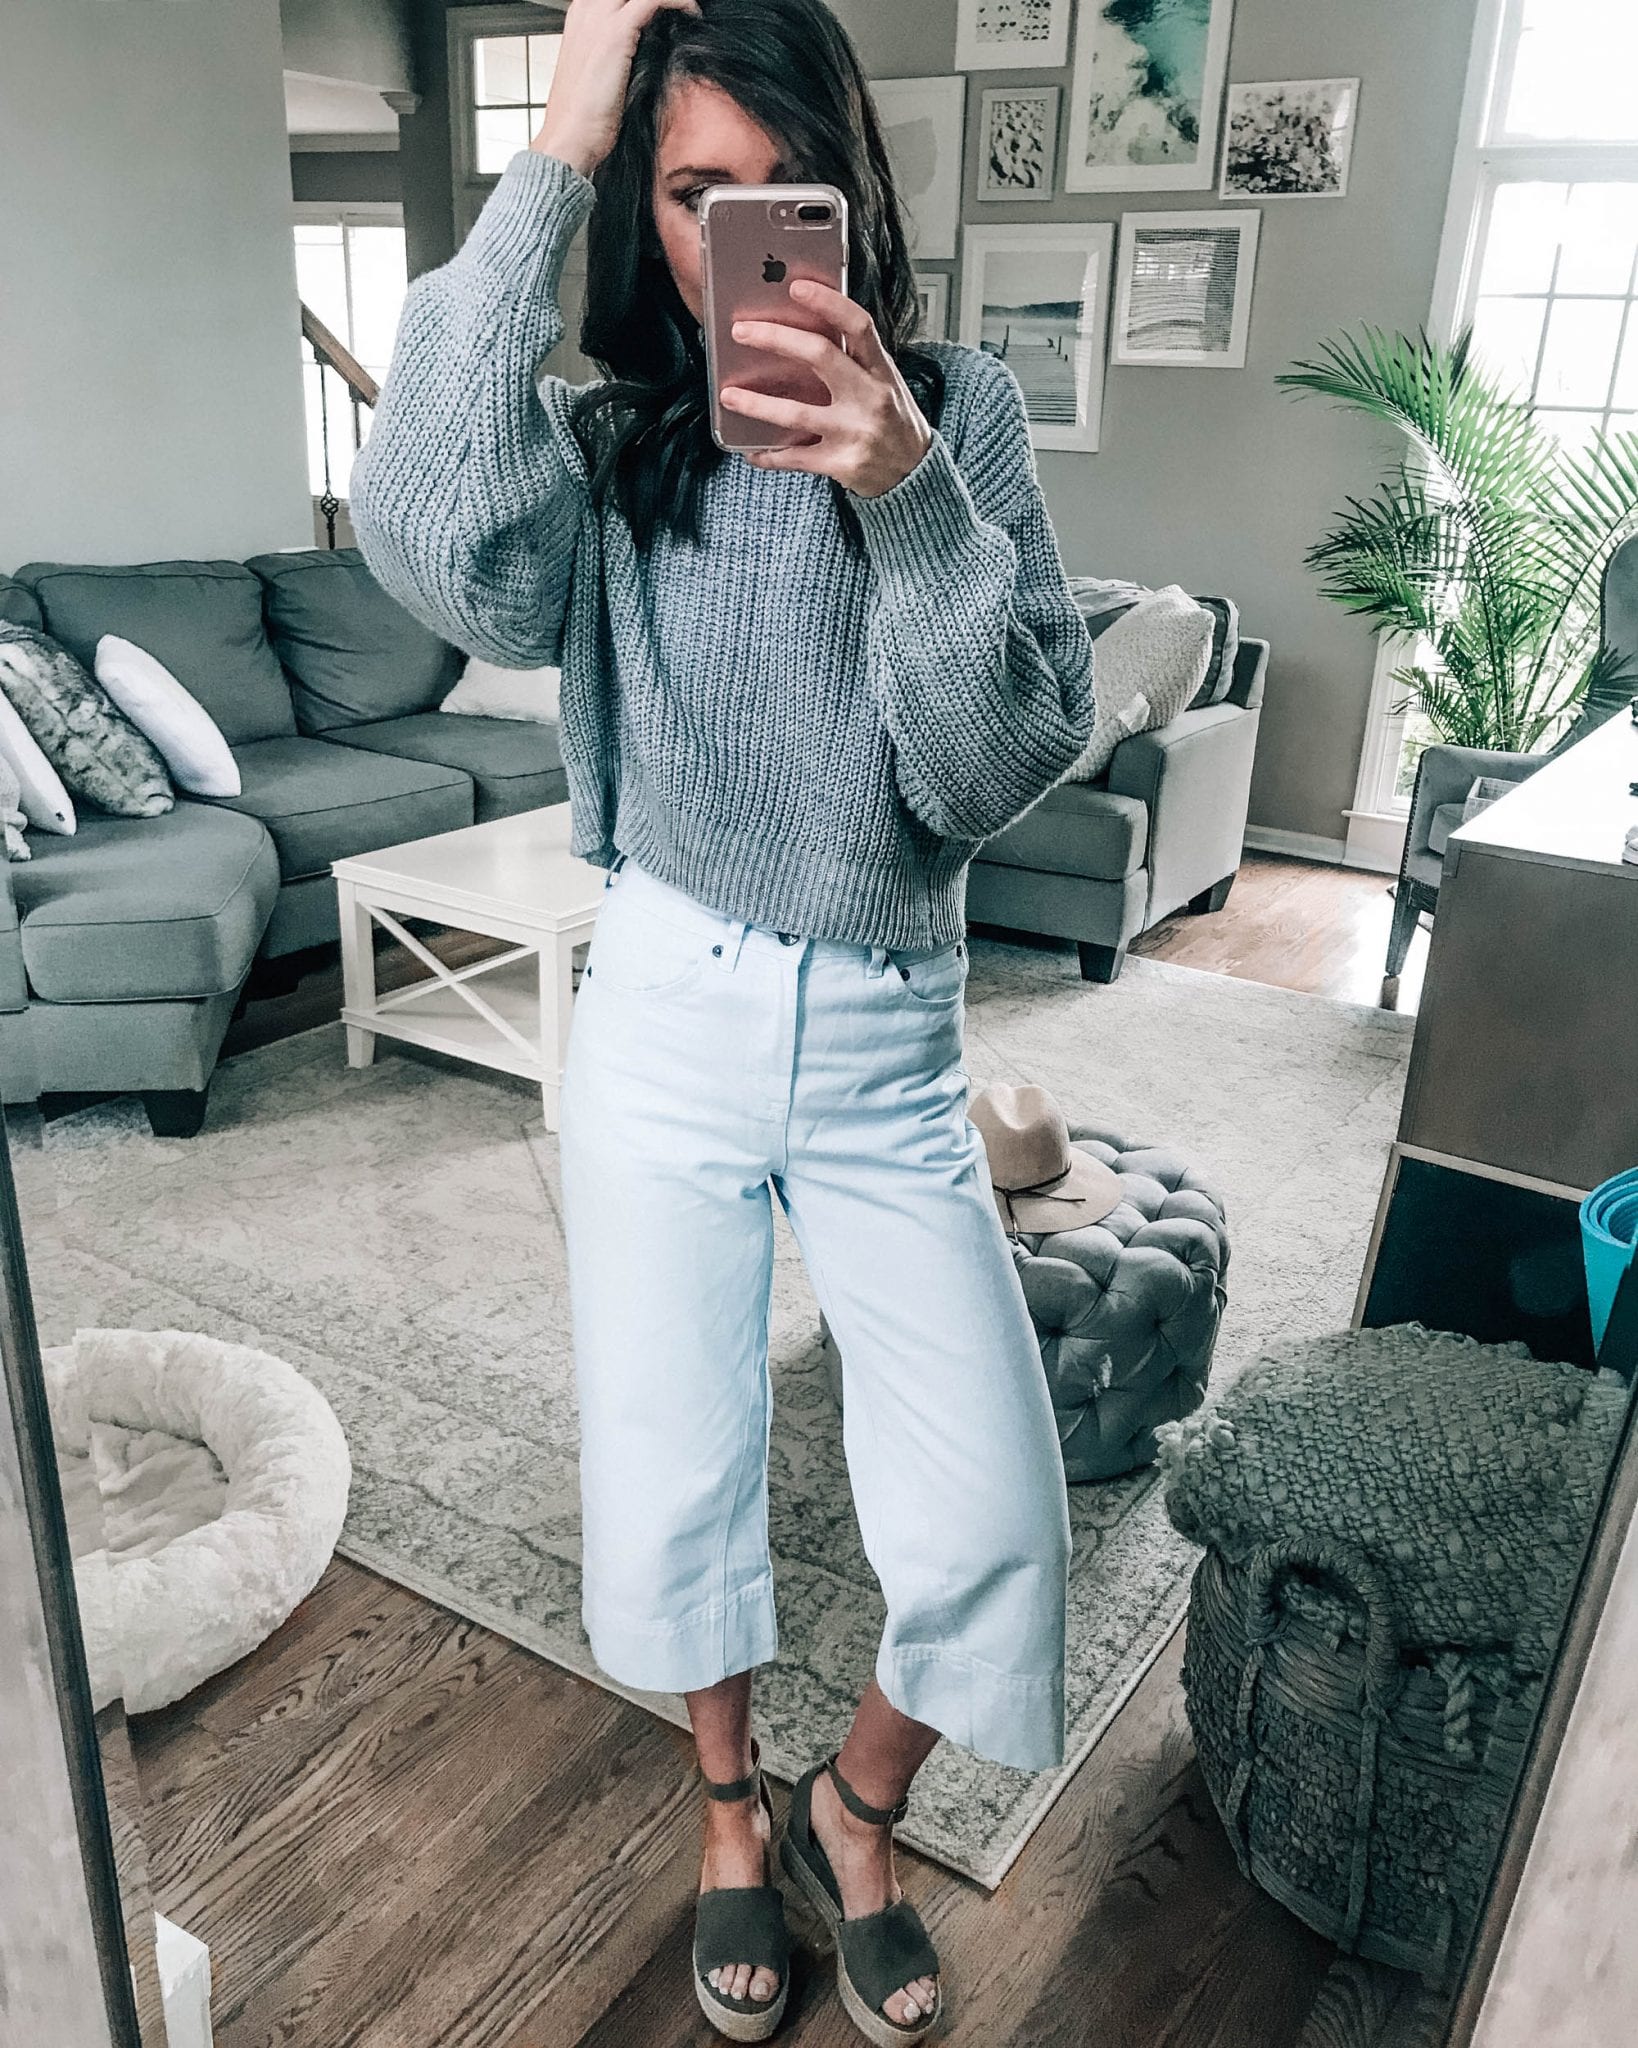
Anyways, let’s talk about one of the most simple outfits that can never do any wrong. A soft, crisp white button-down and a pair of (my favorite) medium wash skinny jeans. These are the mile-high skinny jeans I rave about but I’ve never shared any photos of this color. I added some DIY raw hem detail at the bottom which, by the way, makes them even more comfortable! I added some simple white slip-on sneakers to complete the look and that’s it. I ordered this white button-down before our trip to St. Lucia last year to be more of a swim cover-up but I knotted it here for a more fitted look. This season they brought it back in an already knotted version!

As far as accessories go, this panama hat and this mini crossbody have been my go-to’s lately. If you can’t tell, I’m beyond ready for spring and these pink trees look like they are too!

xo, Shelby

<center>
</center>

SHOP:

<center>
</center>
Travel

A Girls Trip to Charlottesville, VA

Last week a couple of my friends (Zelle and Taylor Rae) and I had the opportunity to leave town for a few days and explore the city of Charlottesville, VA right before Valentine’s Day. We had all three visited this city a little less than a year ago for my bachelorette weekend but we were really excited to get the chance to see even more of what it had to offer! This trip was all about quality time with galentines, spa treatments, winery tours, and the best food!

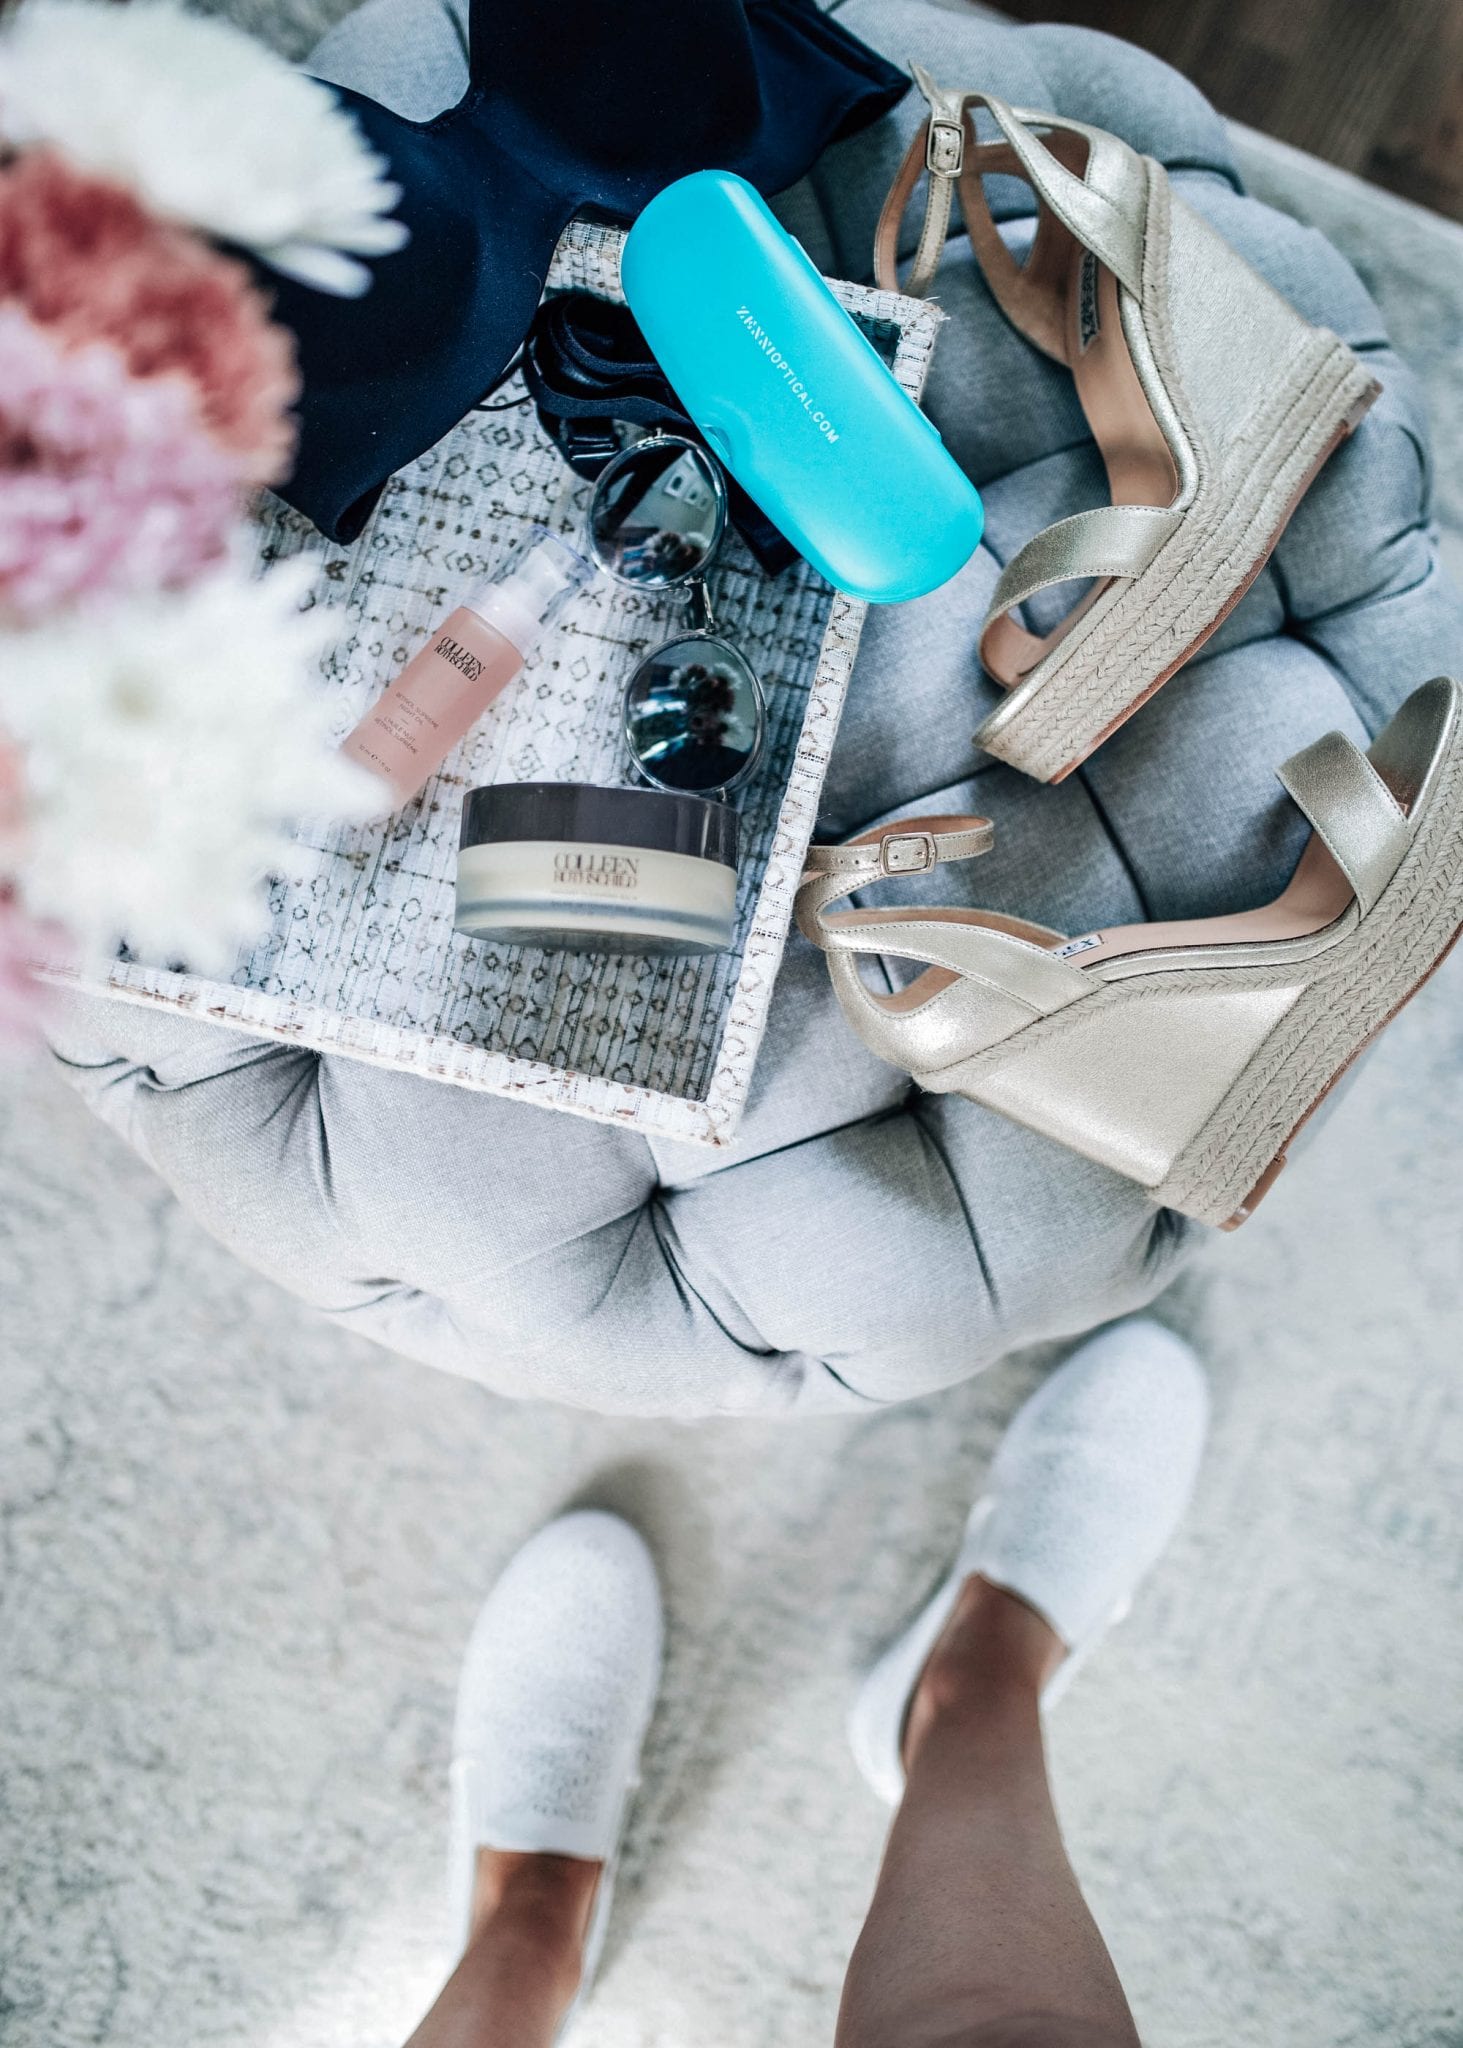
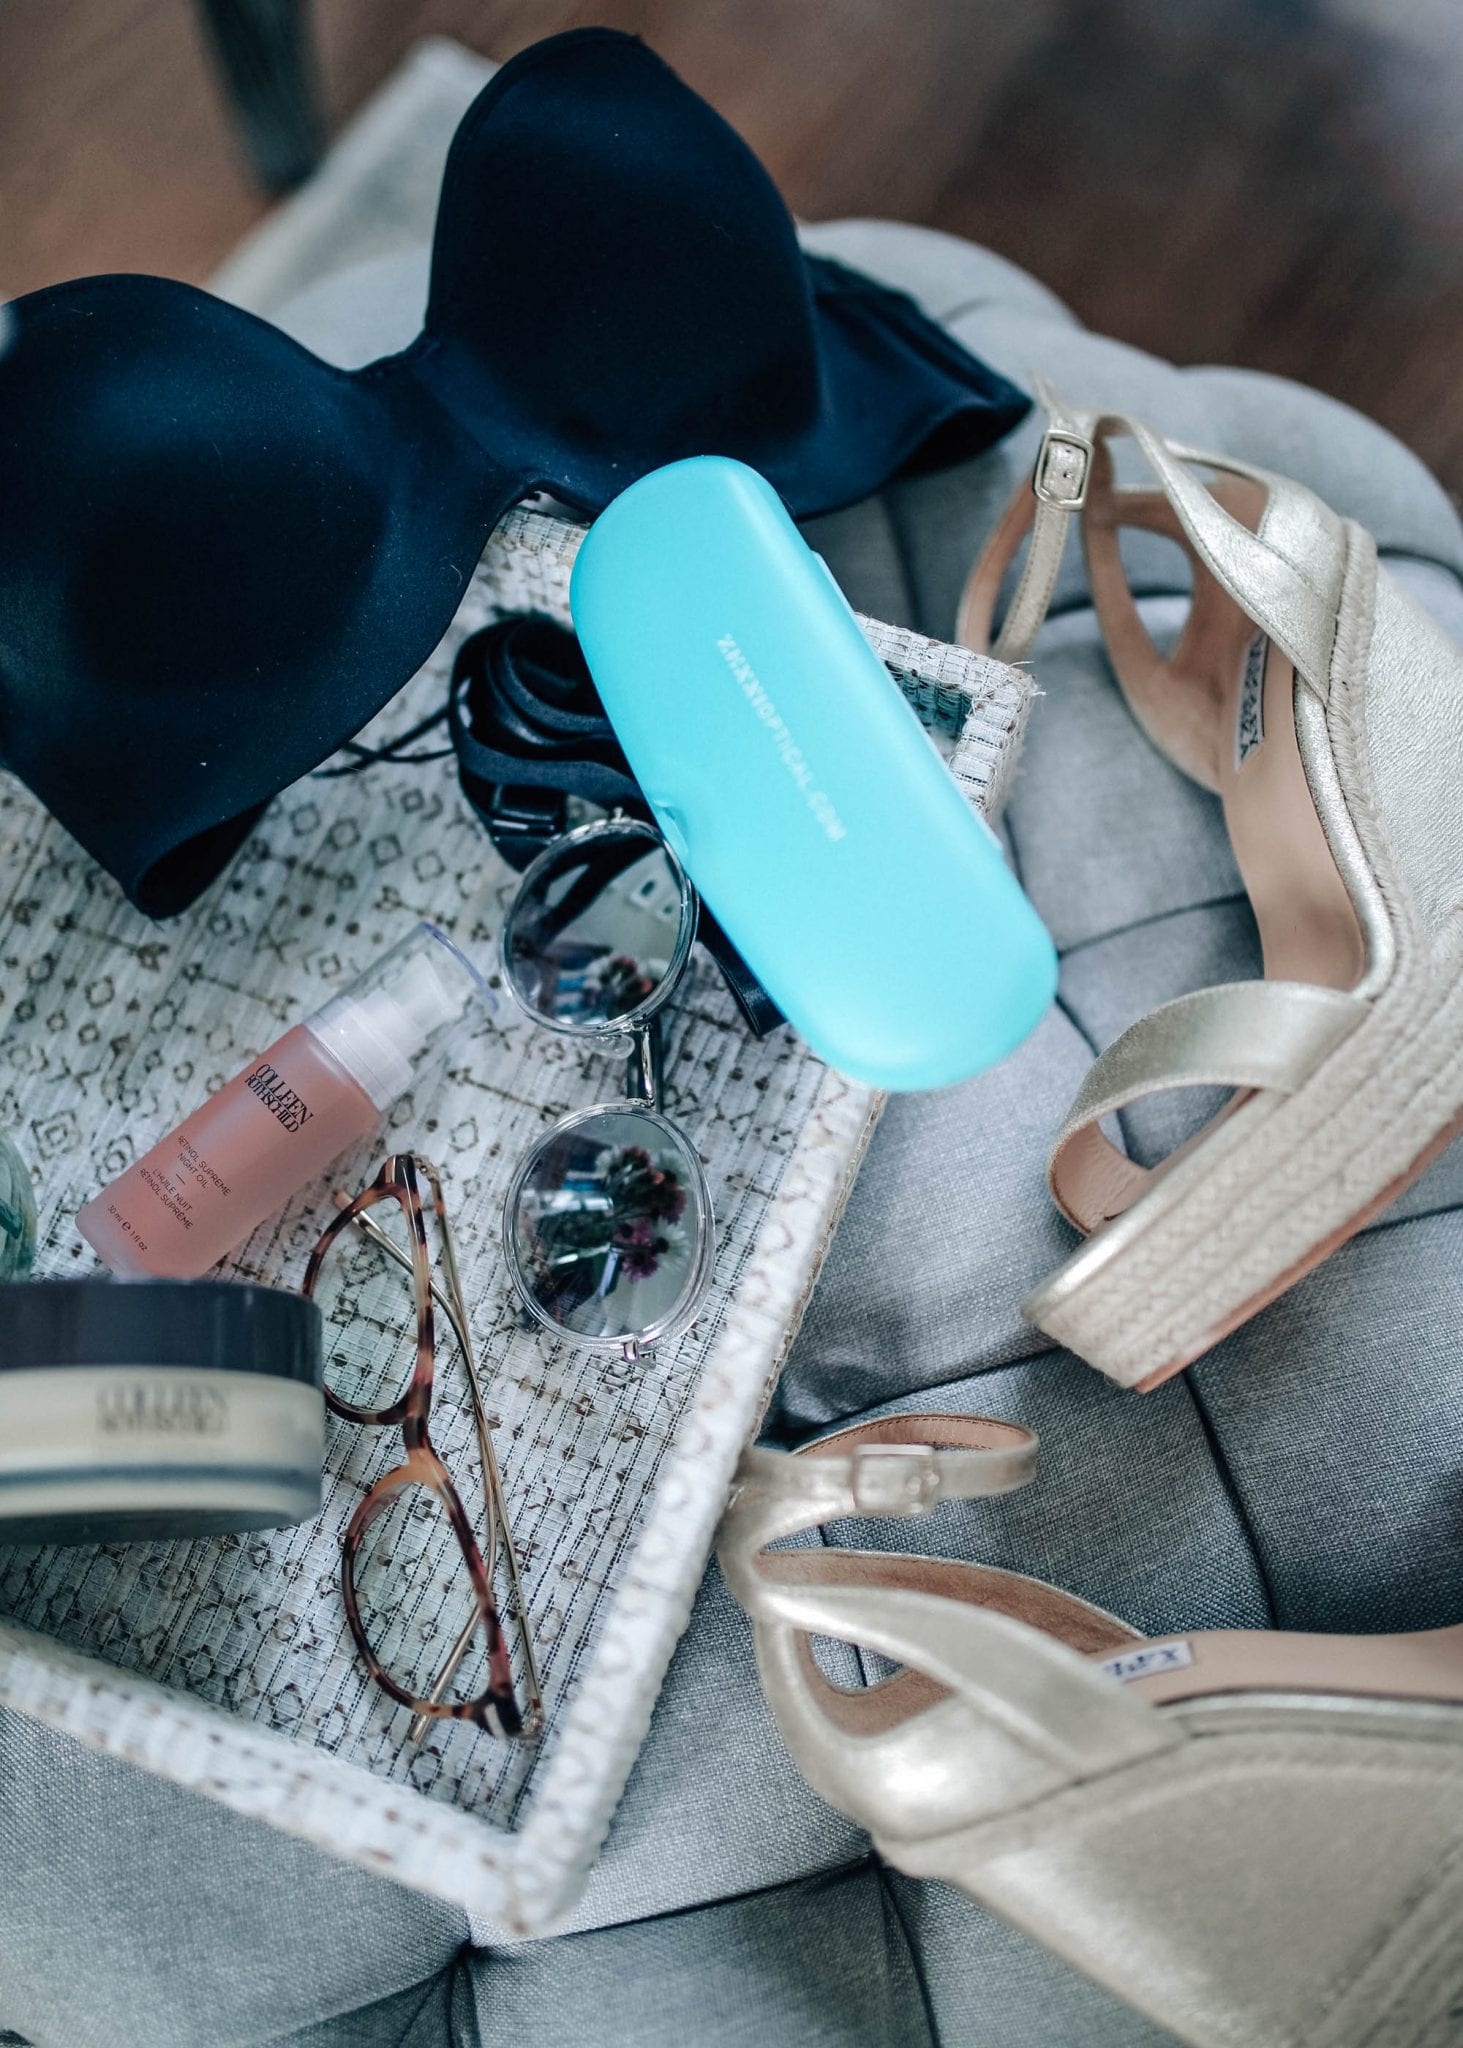
What I Packed:

To give you a quick overview of our itinerary, here is what it looked like…

Day 1:
10:00am – Leave Raleigh
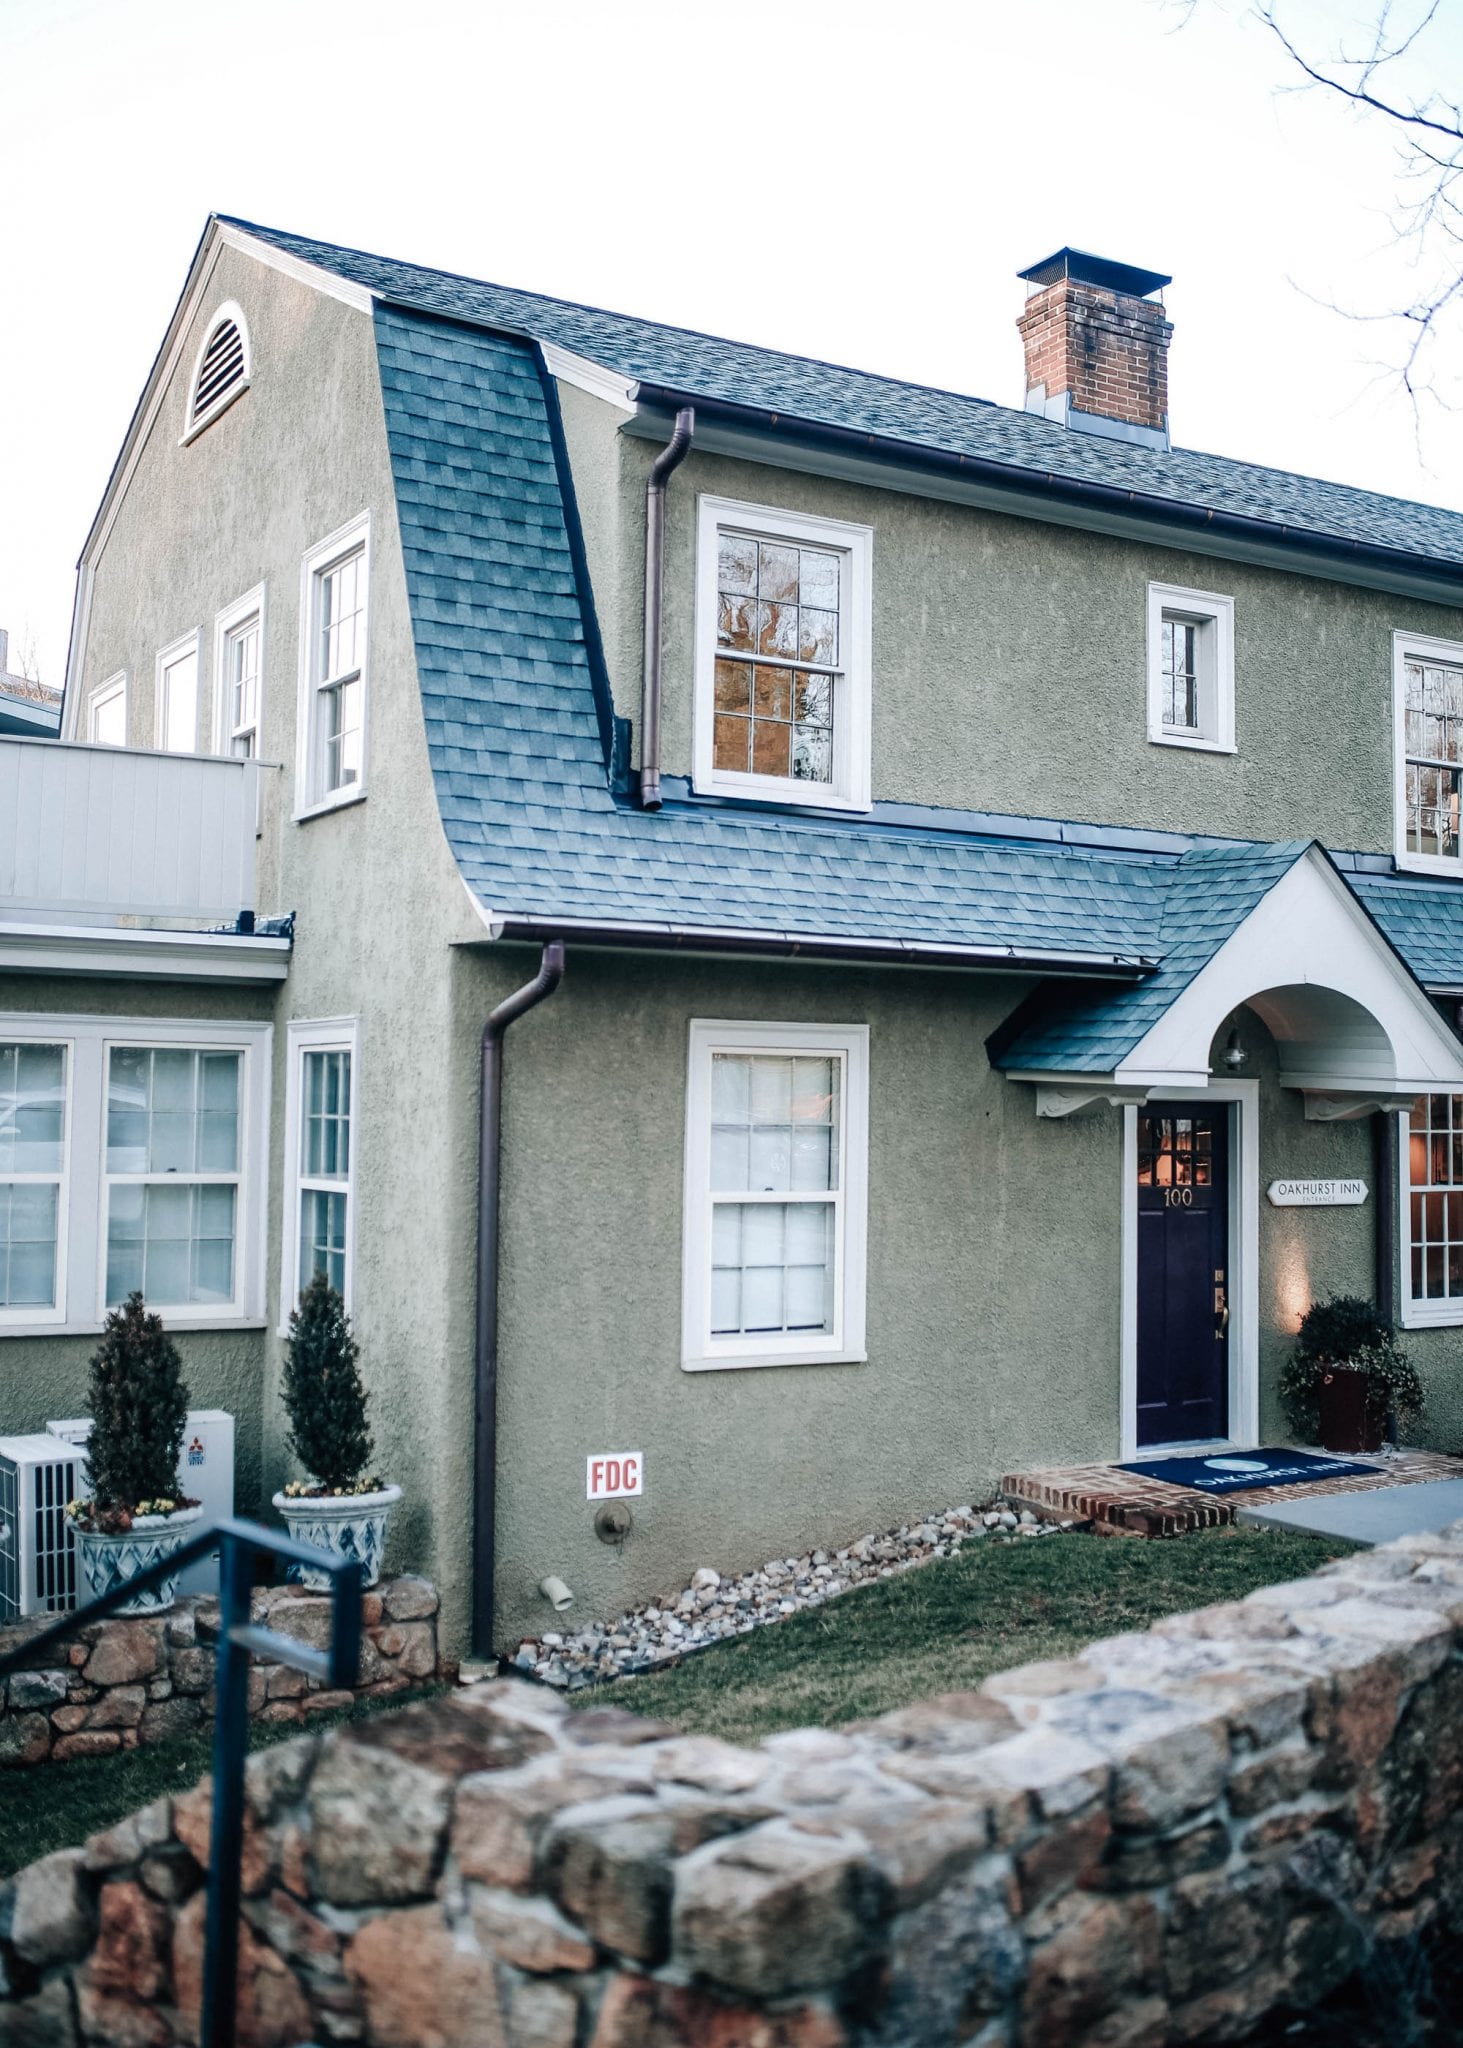
2:00pm – Arrive to Charlottesville and Check In to Oakhurst Inn
3:00pmNeroli Spa & Beauty Lounge
7:00pm –  Dinner at Brasserie Saison

Day 2:
9:30am: Breakfast at Oakhurst Inn Cafe
10:45am: Picked up by Monticello Wine Tour
11:00am: Pick up lunch for afternoon picnic on winery tour (Keevil & Keevil)
12:00-1pm: Wine Tasting at Blenheim Vineyards
1:15-3:15pm: Wine Tasting and Picnic Lunch at King Family Vineyards
3:30-4:30pm: Antique Shopping and Exploring Downtown Mall
7:00pm: Dinner at Red Pump Kitchen

Day 3:
8:30am: Breakfast at Oakhurst Inn Cafe
10:00am: Tour of Monticello
11:30am: Head back to NC

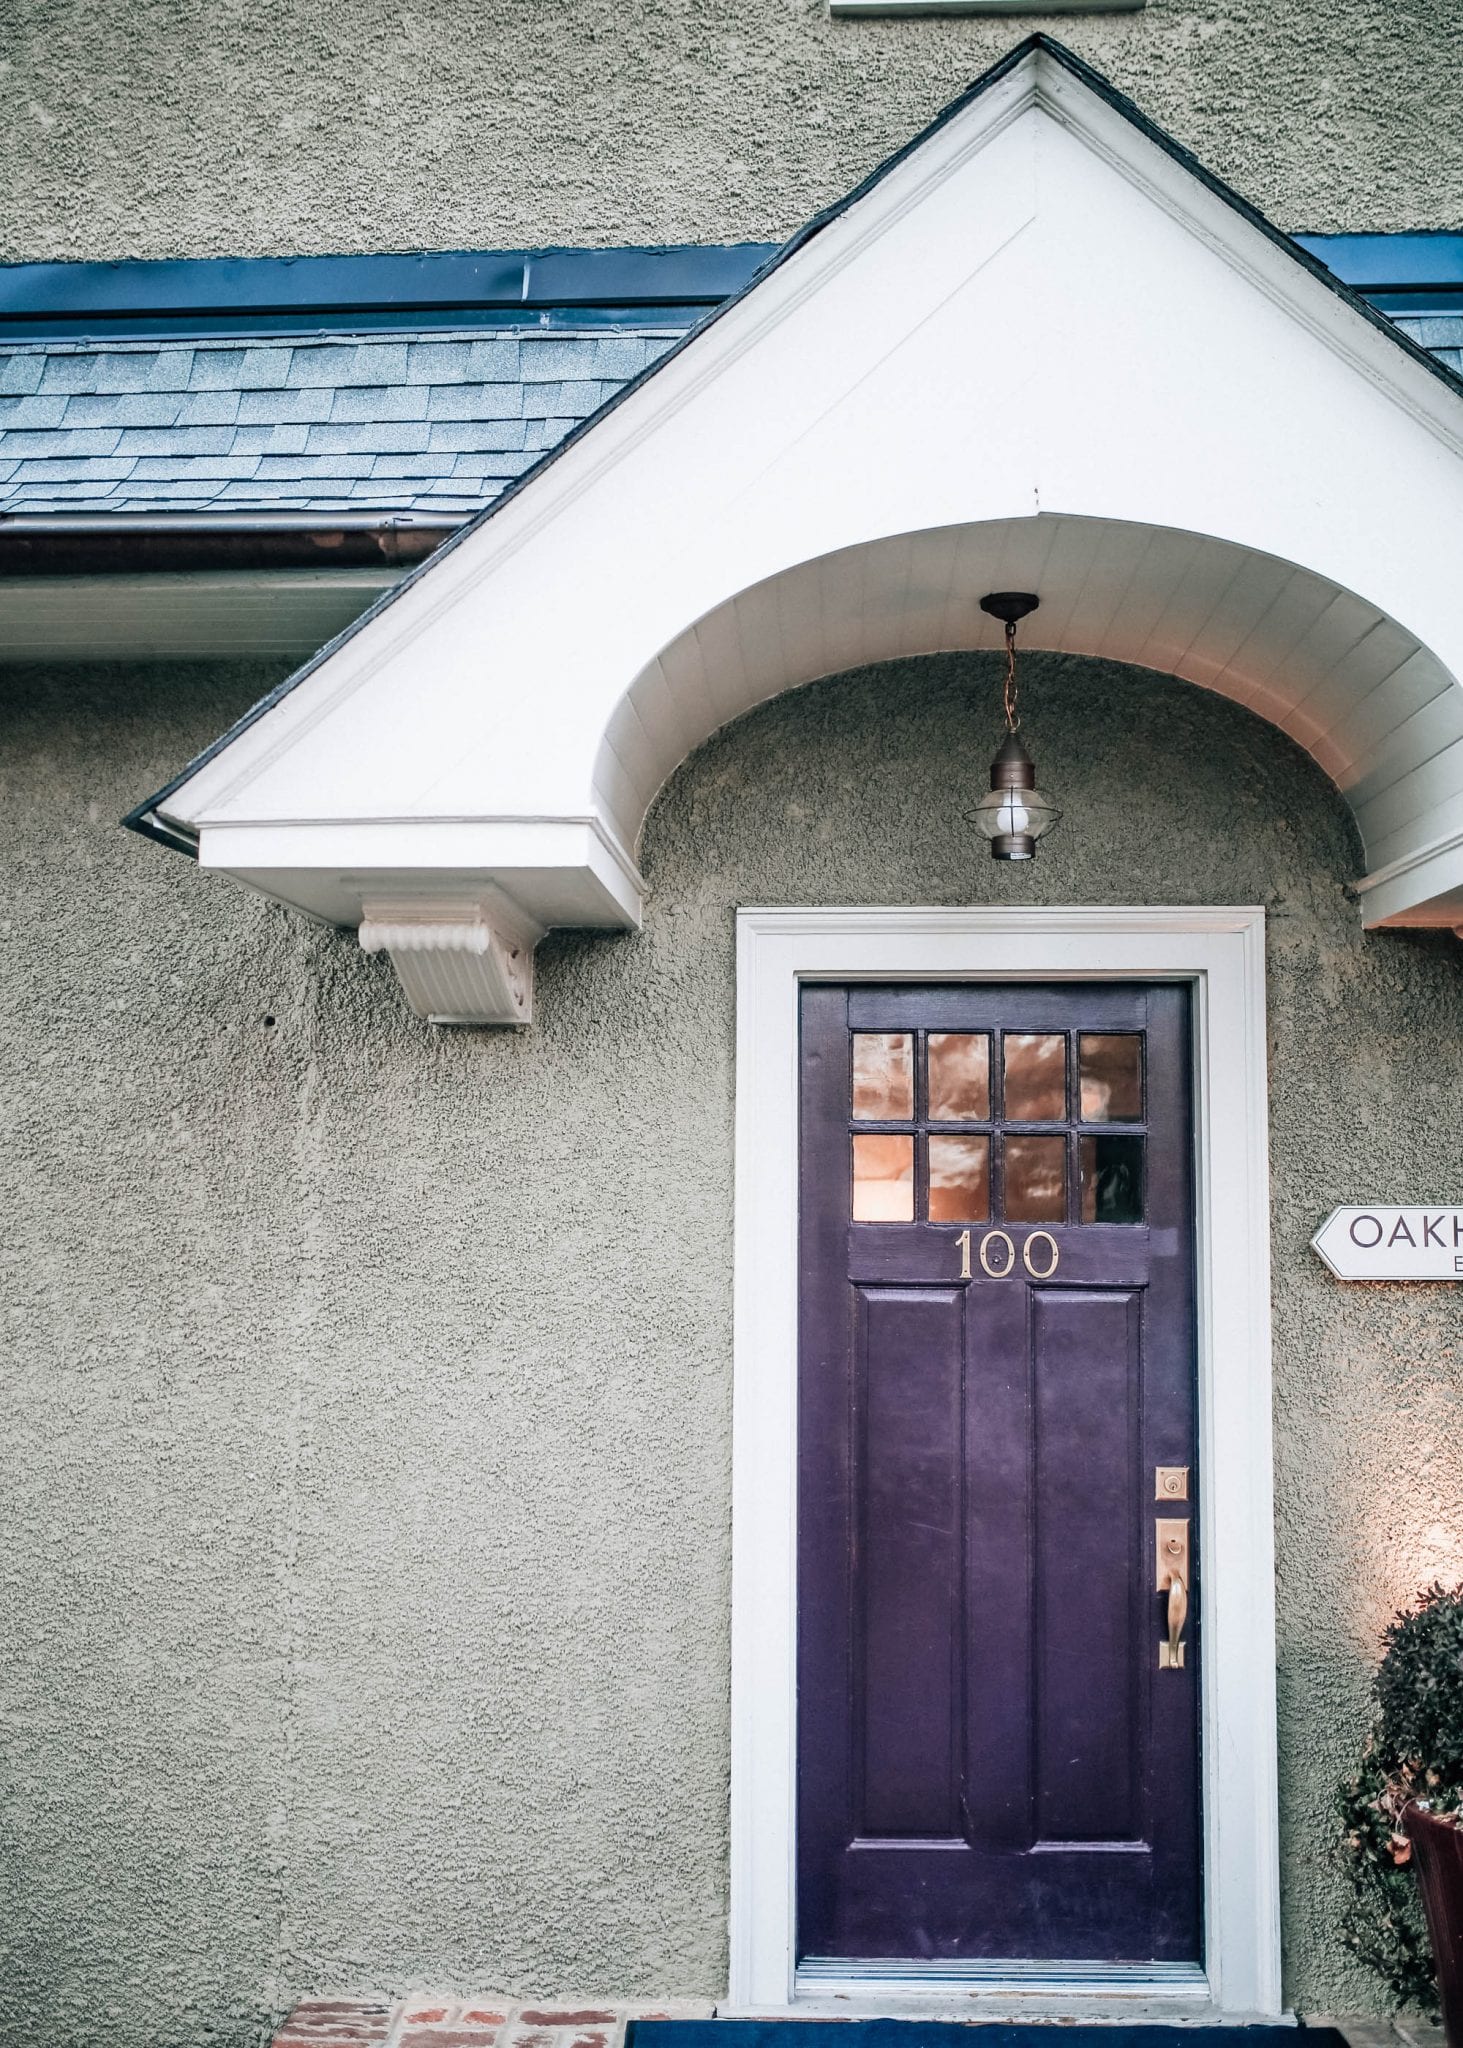
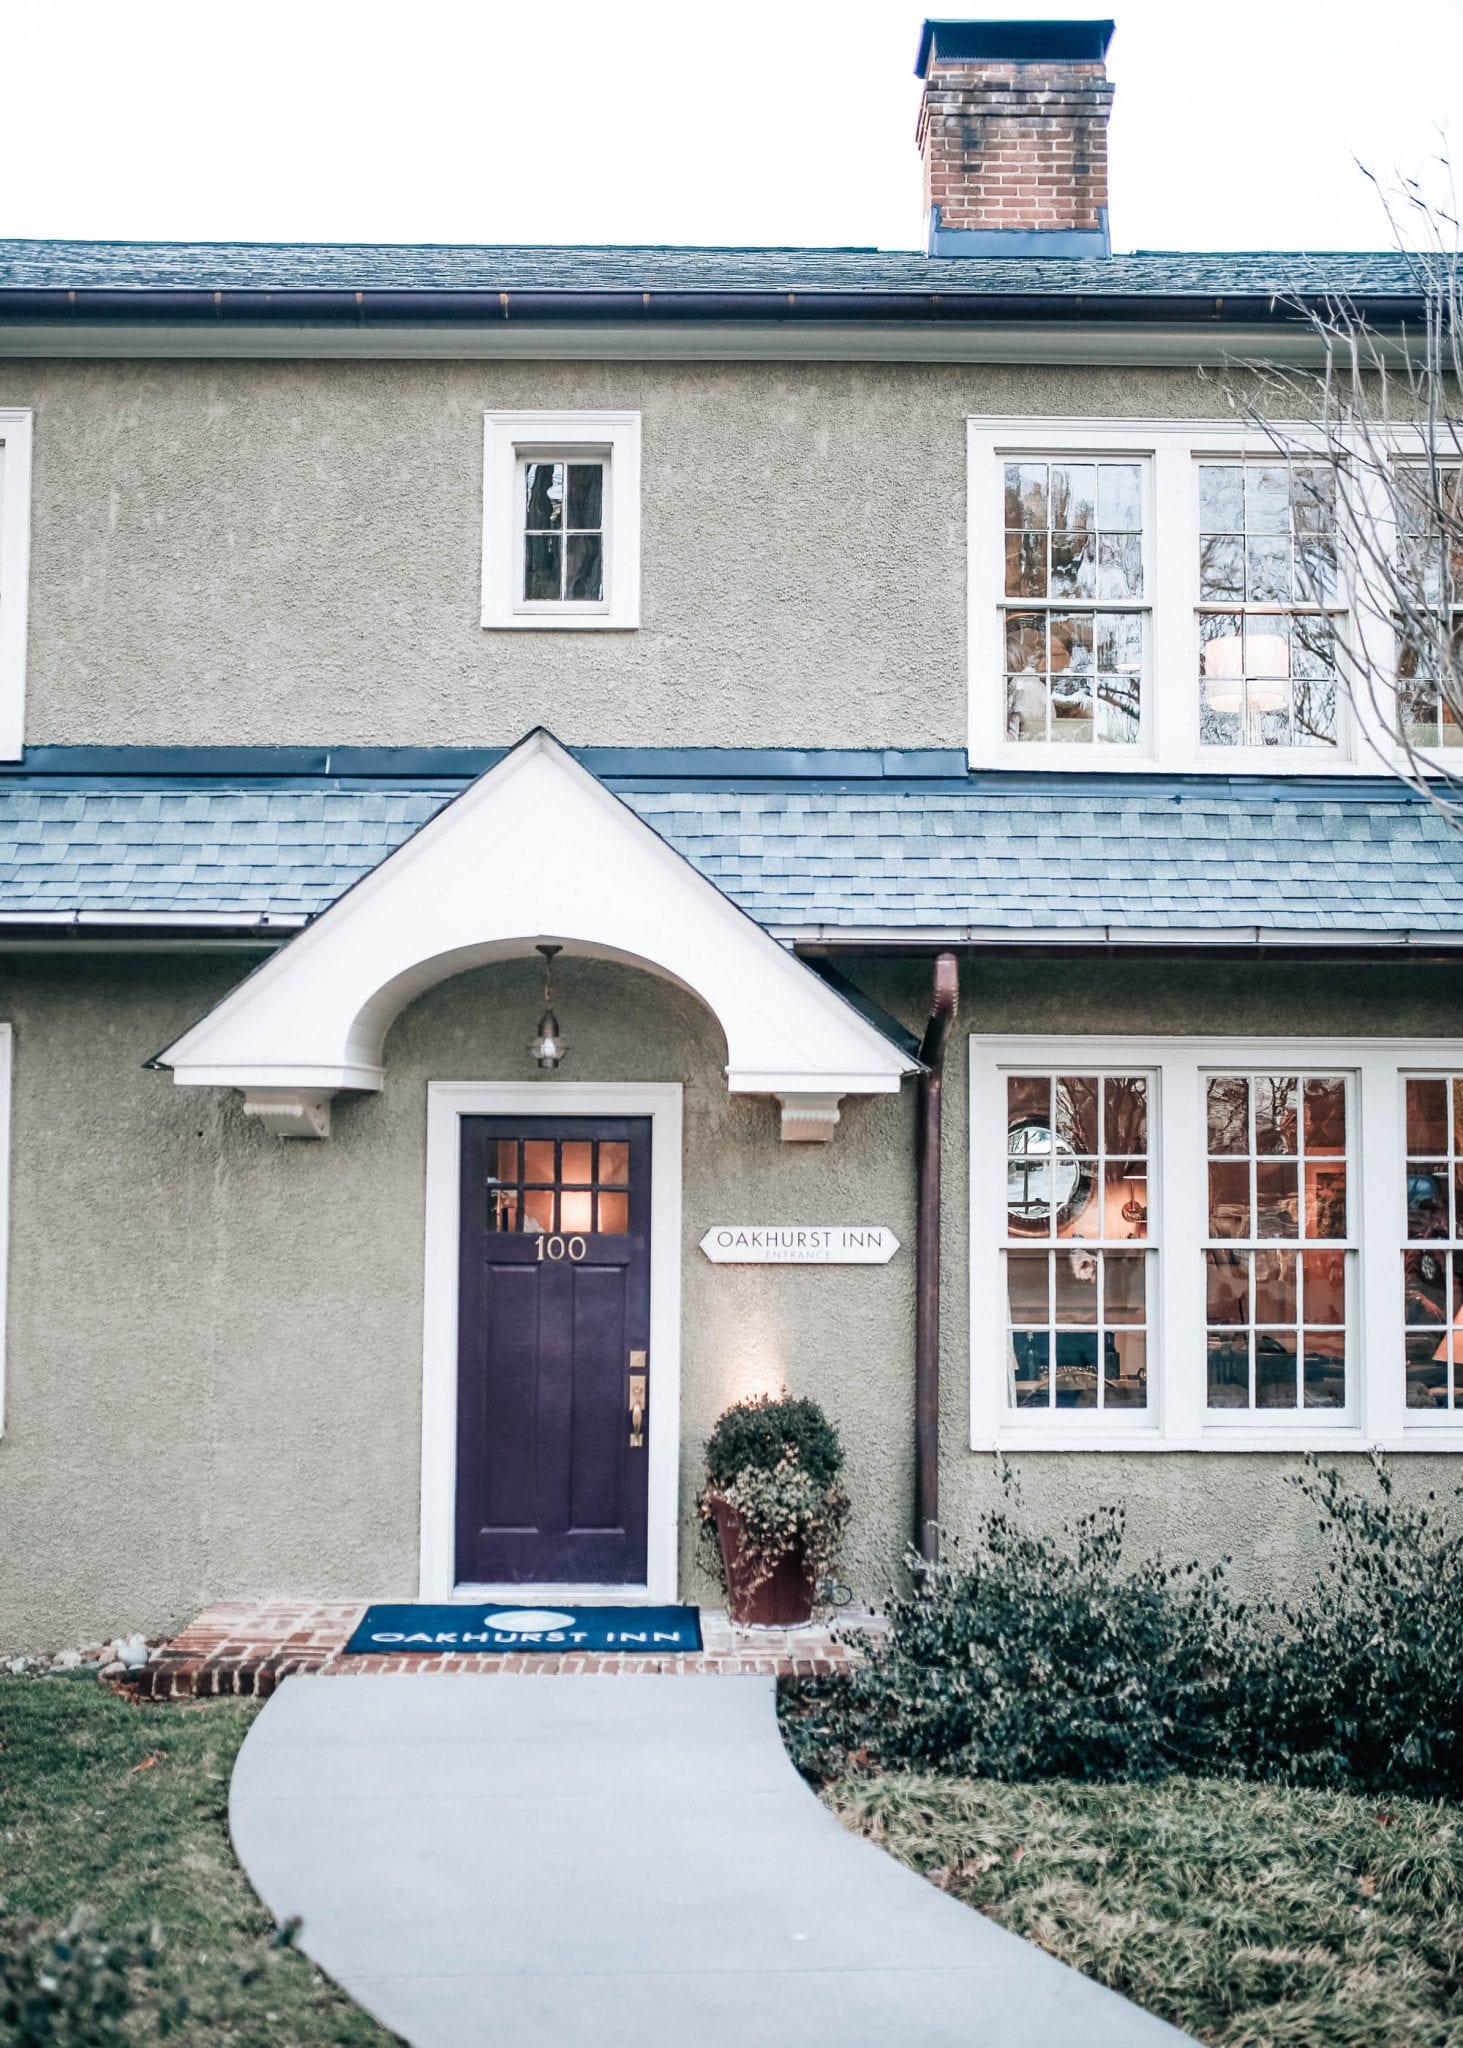
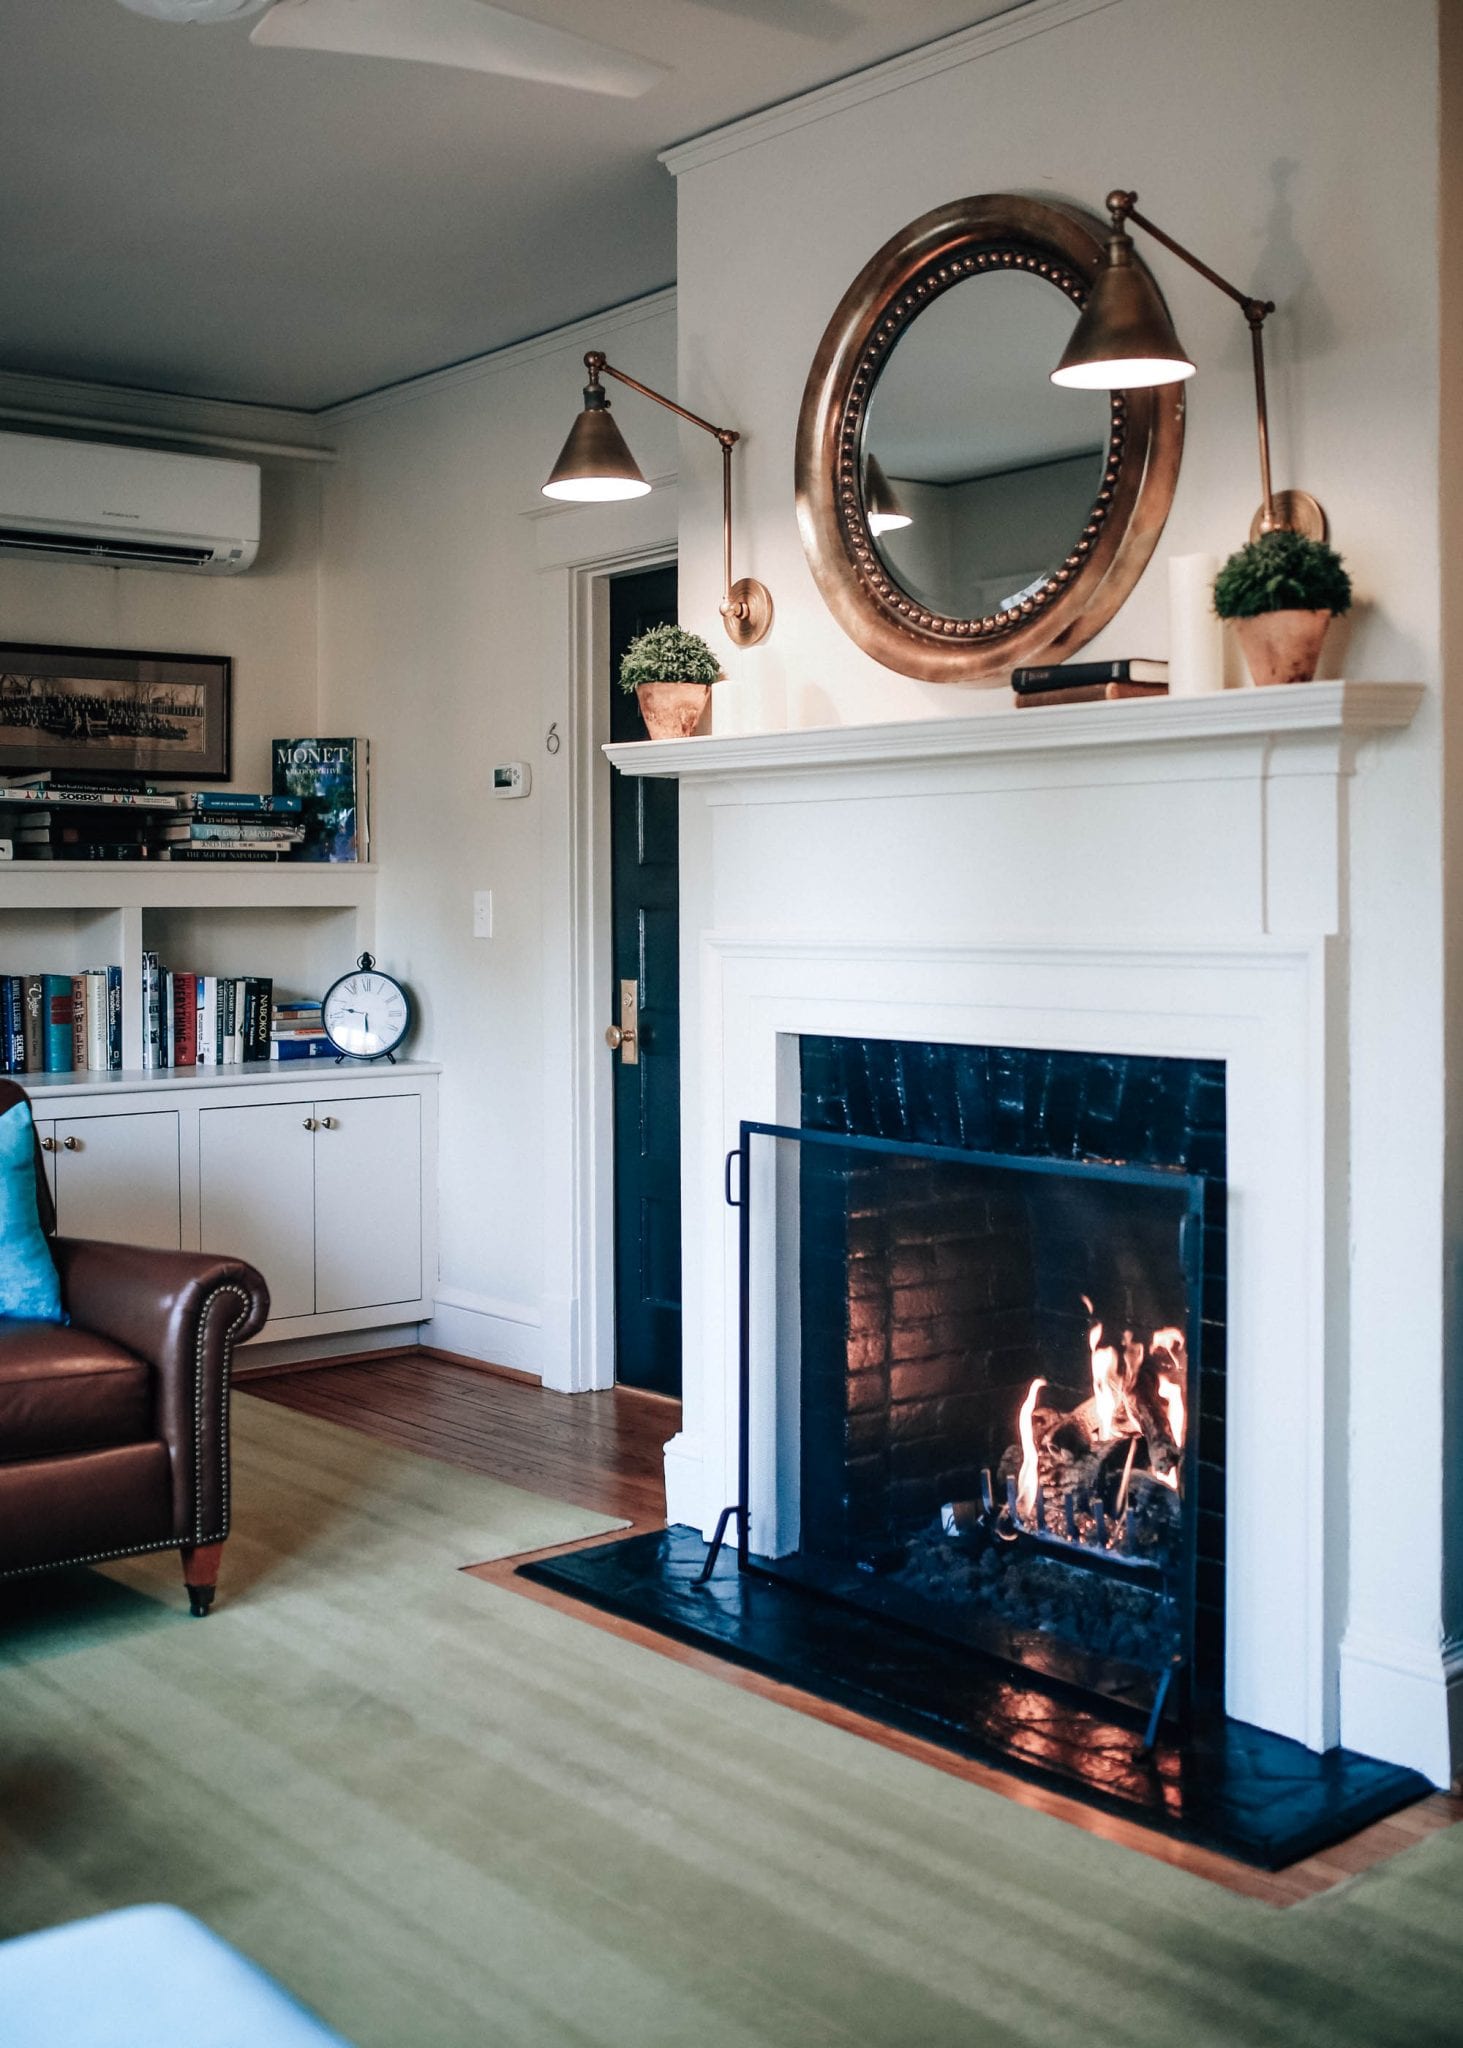
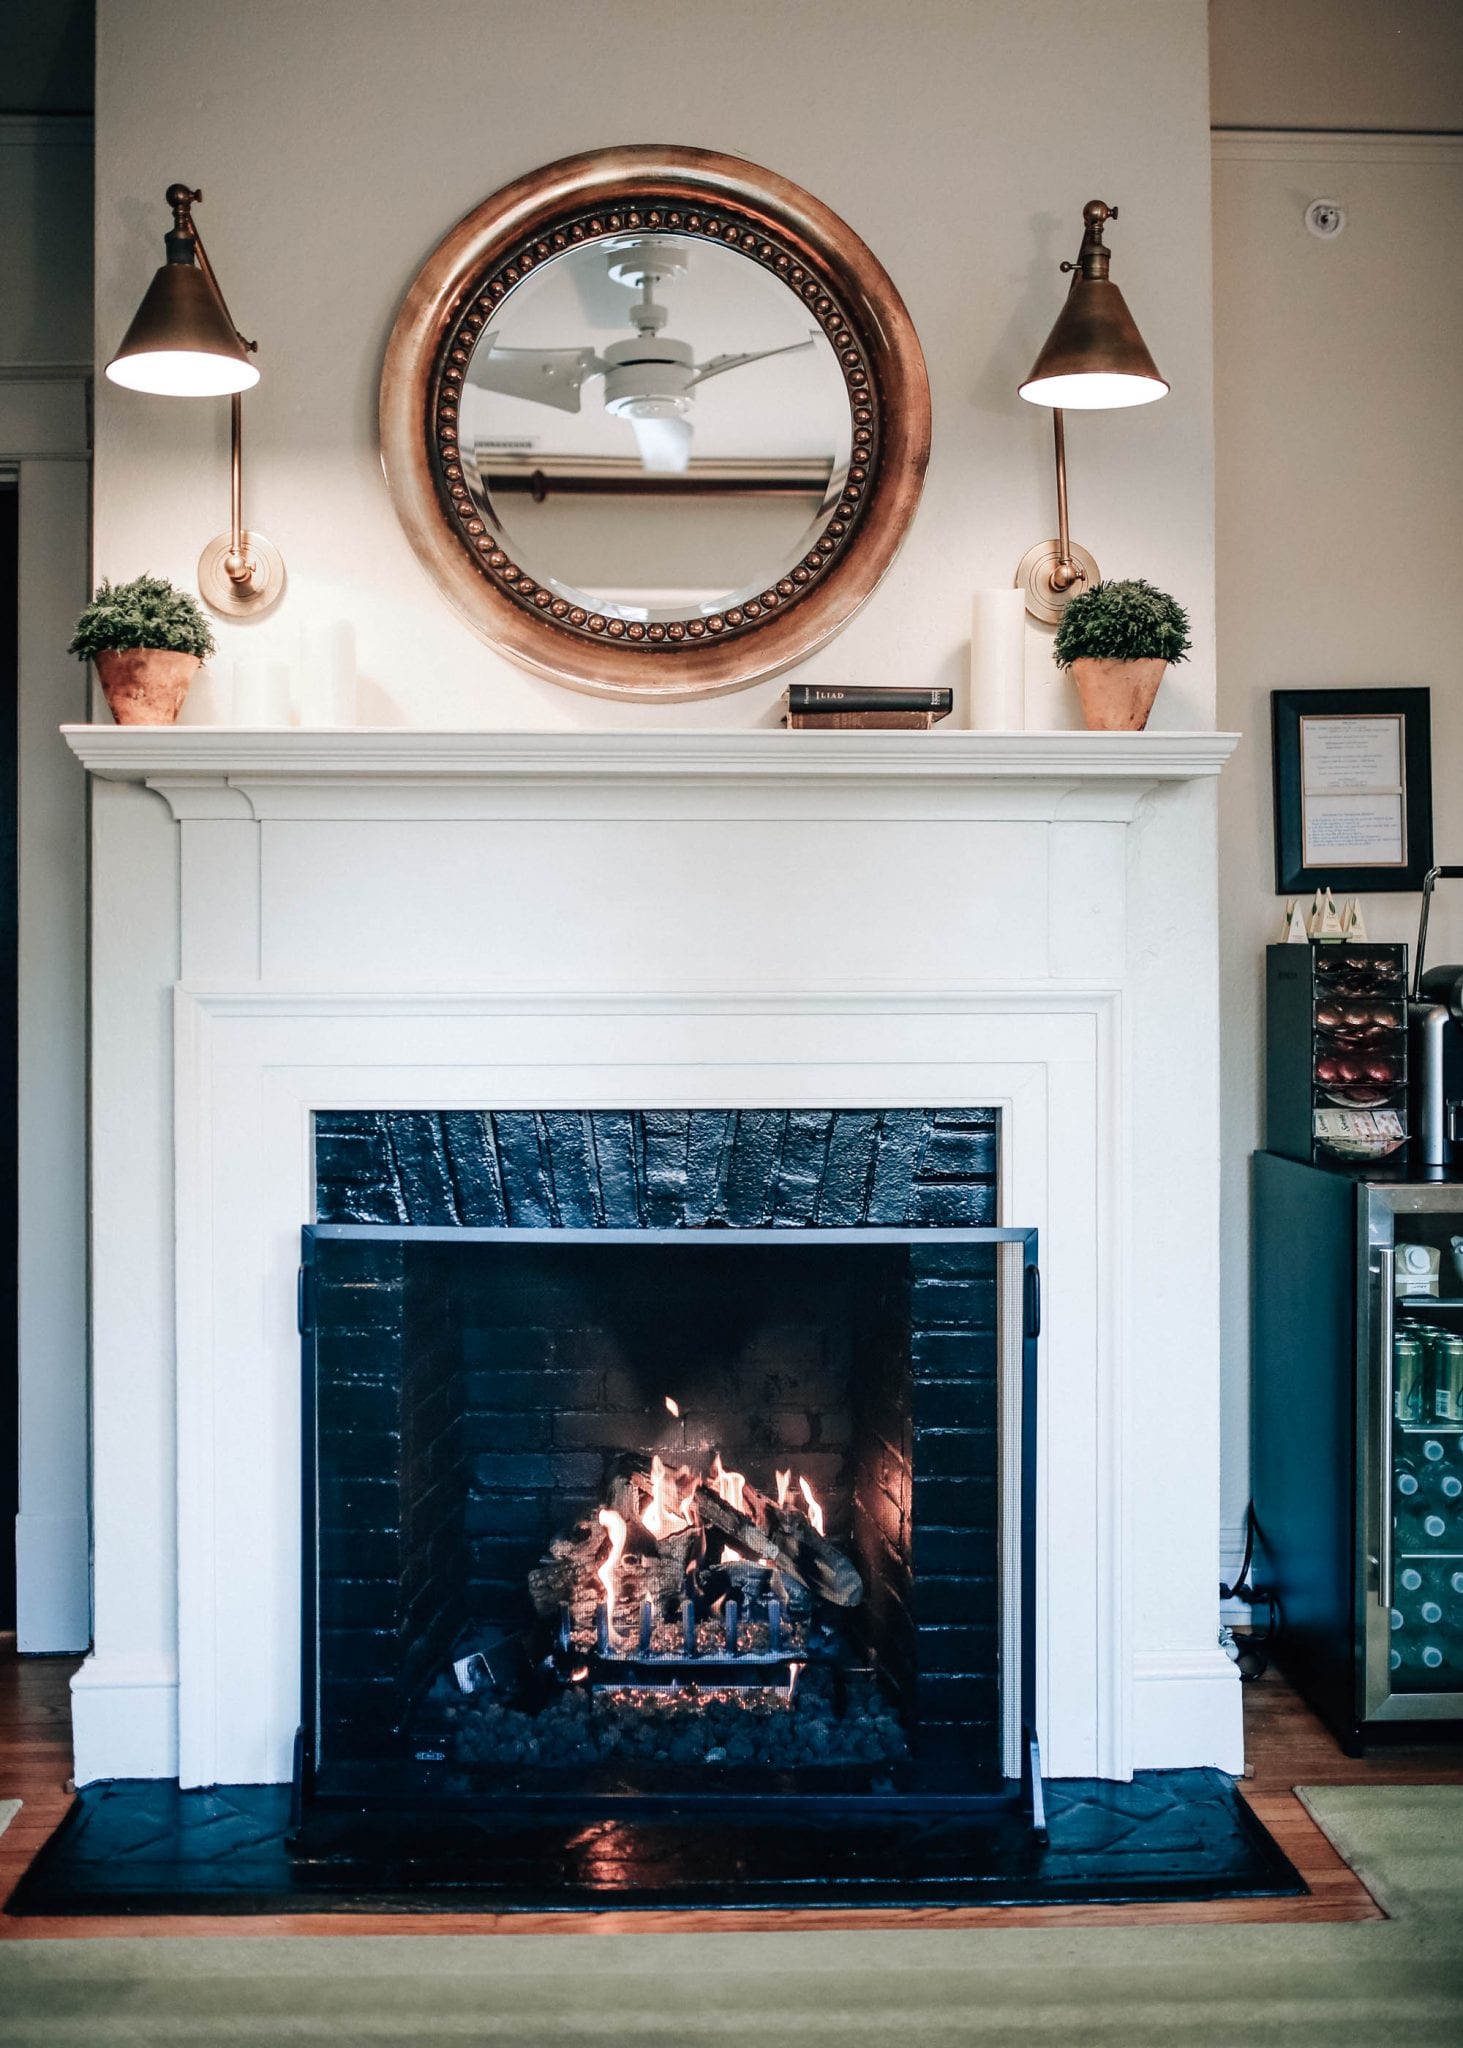
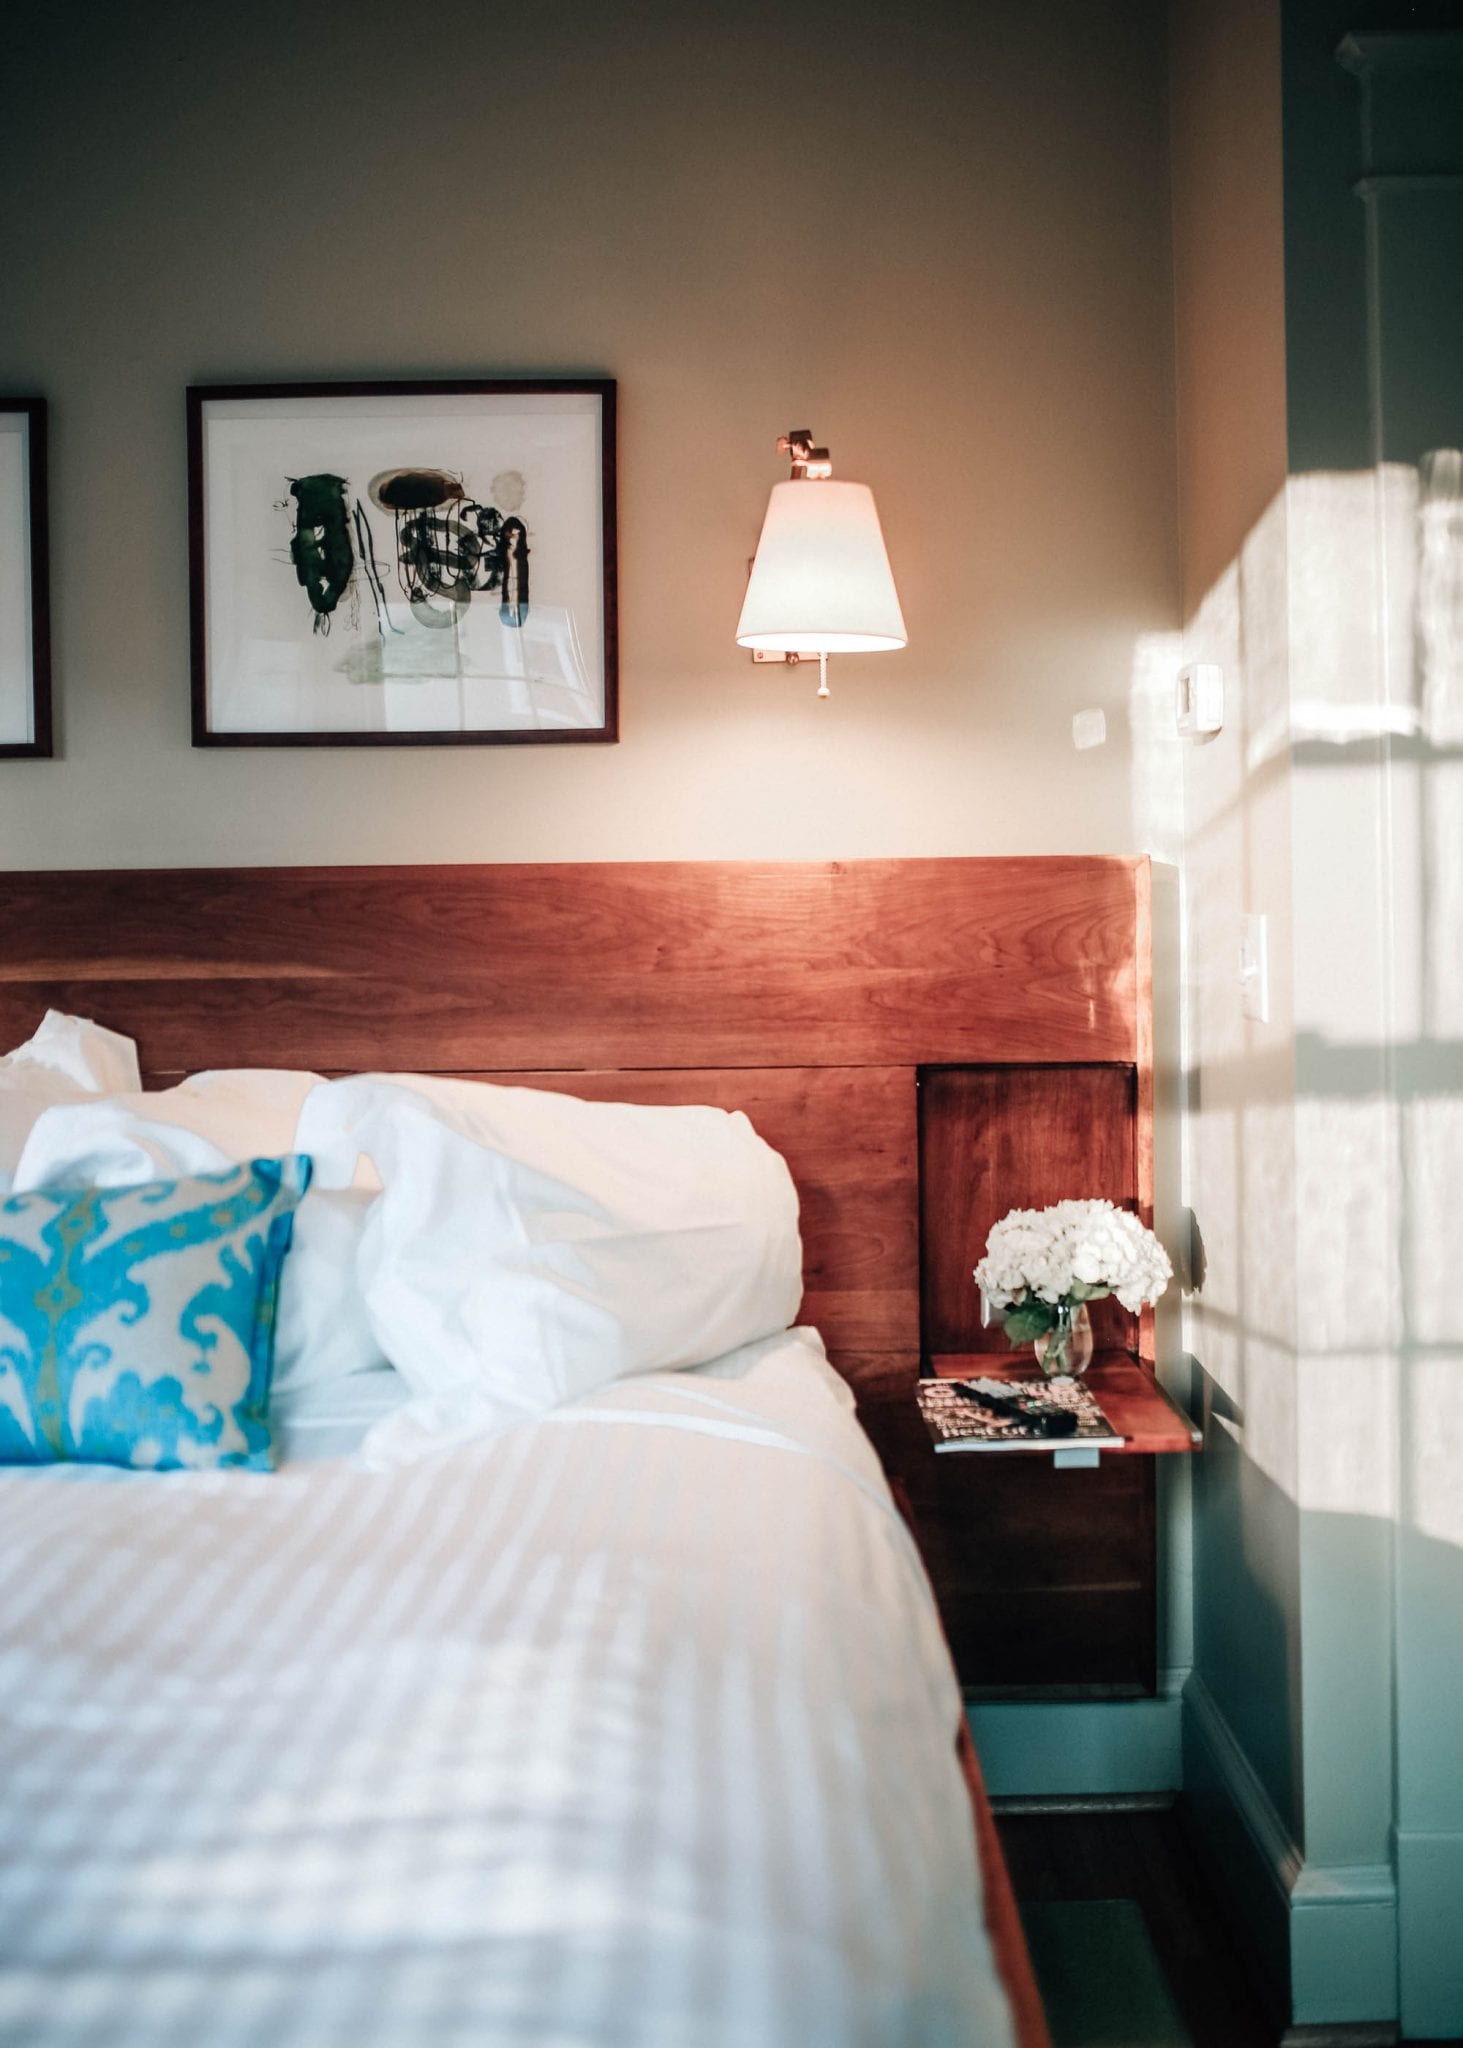
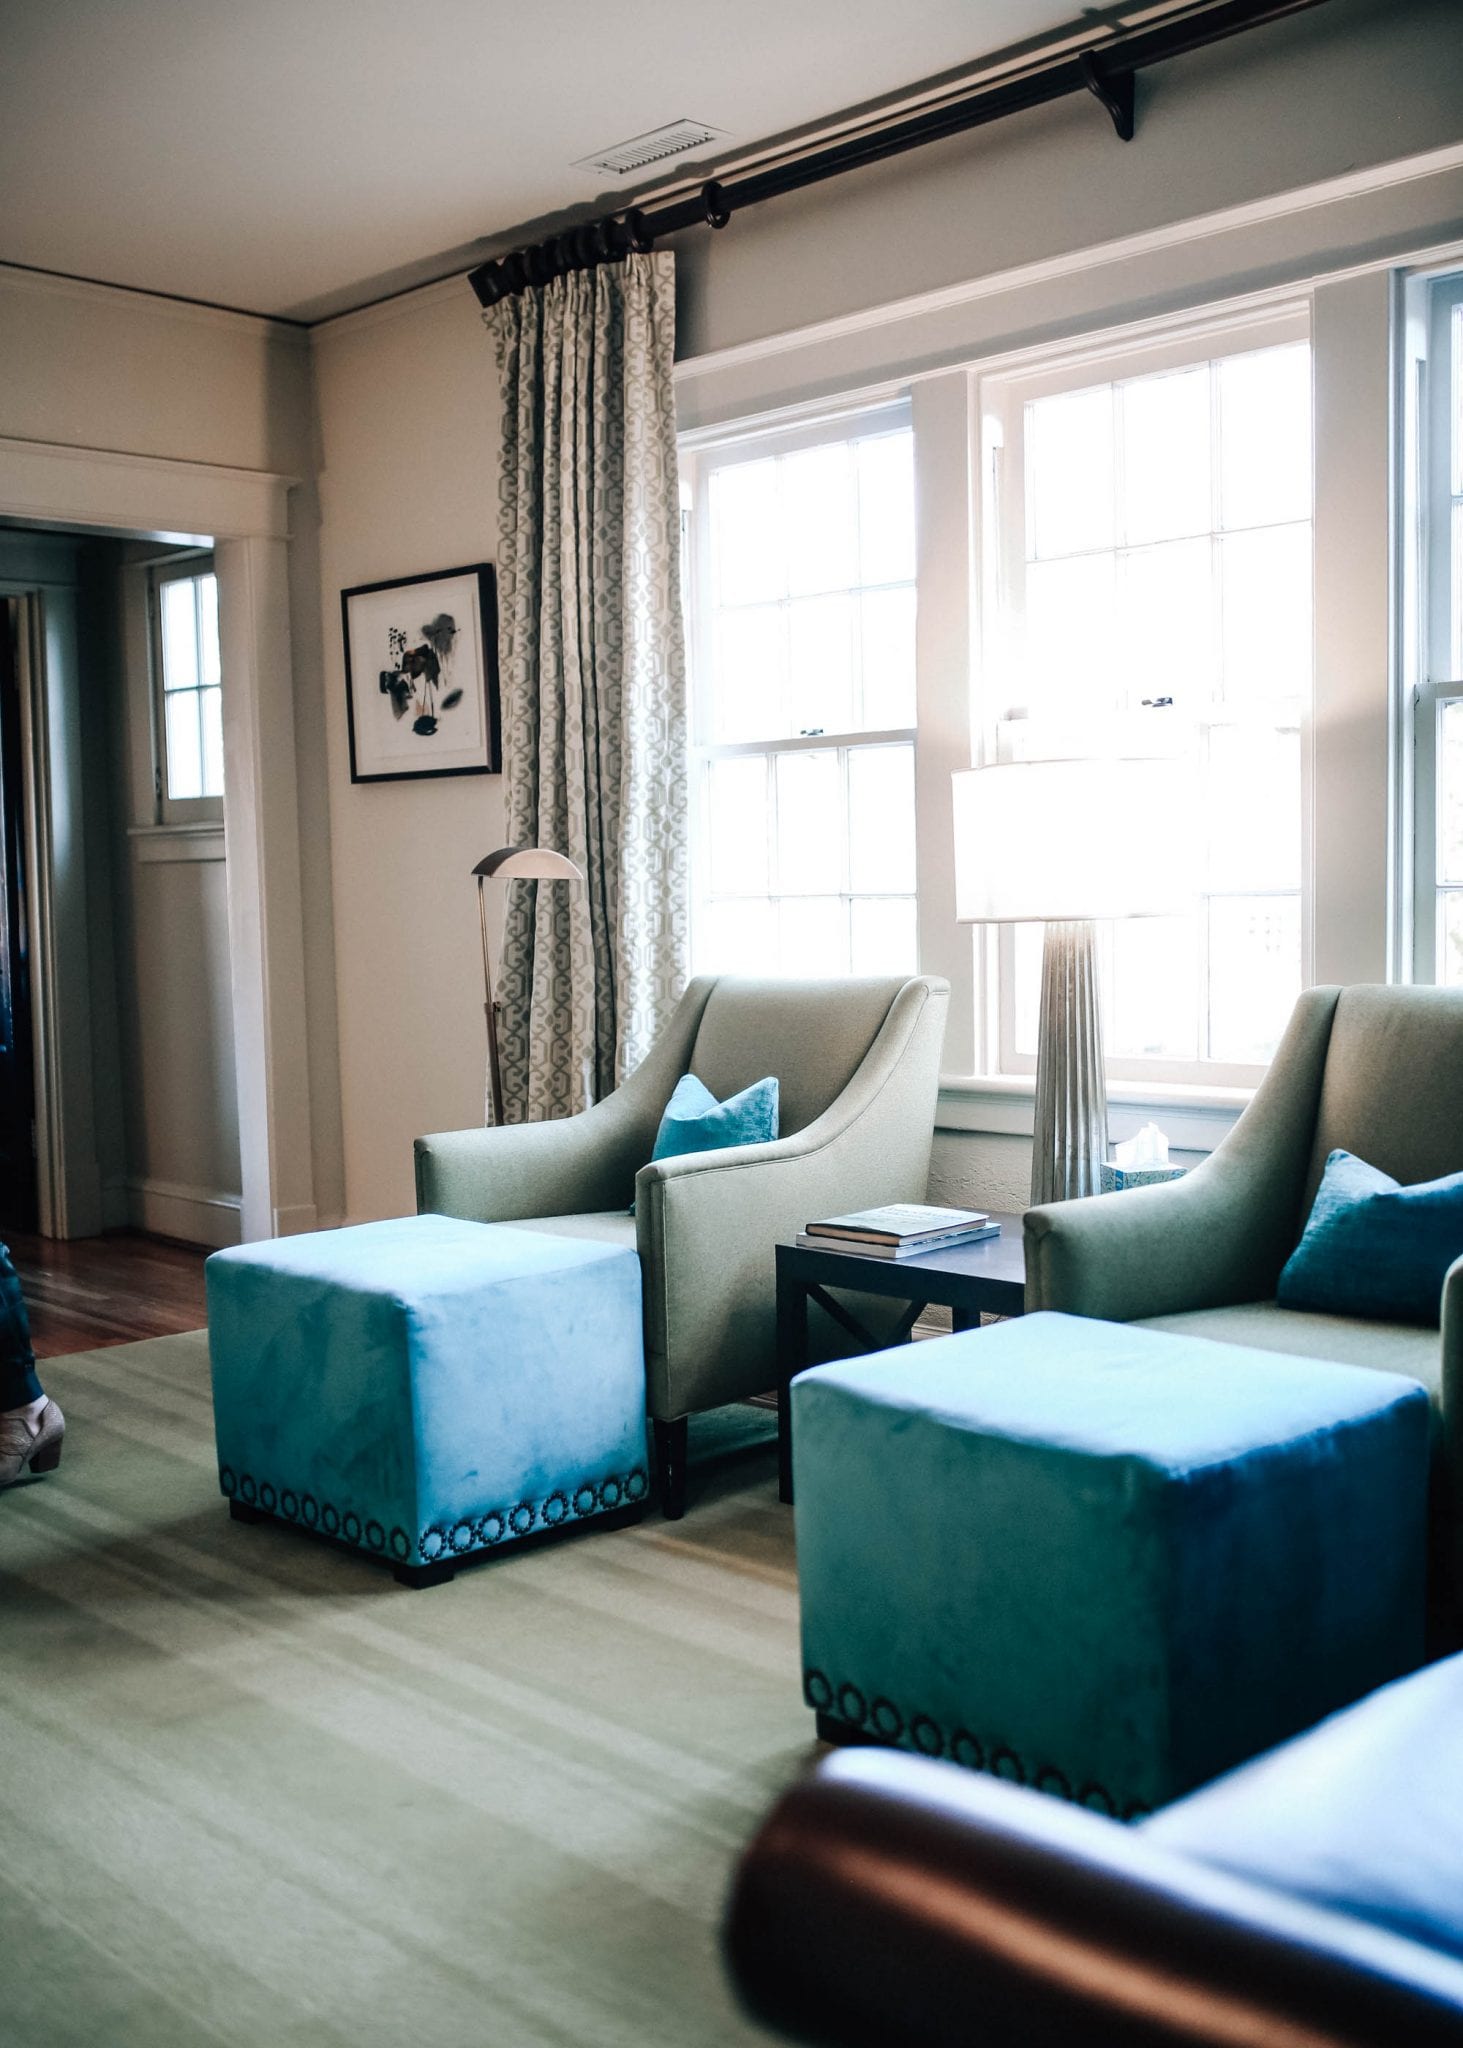
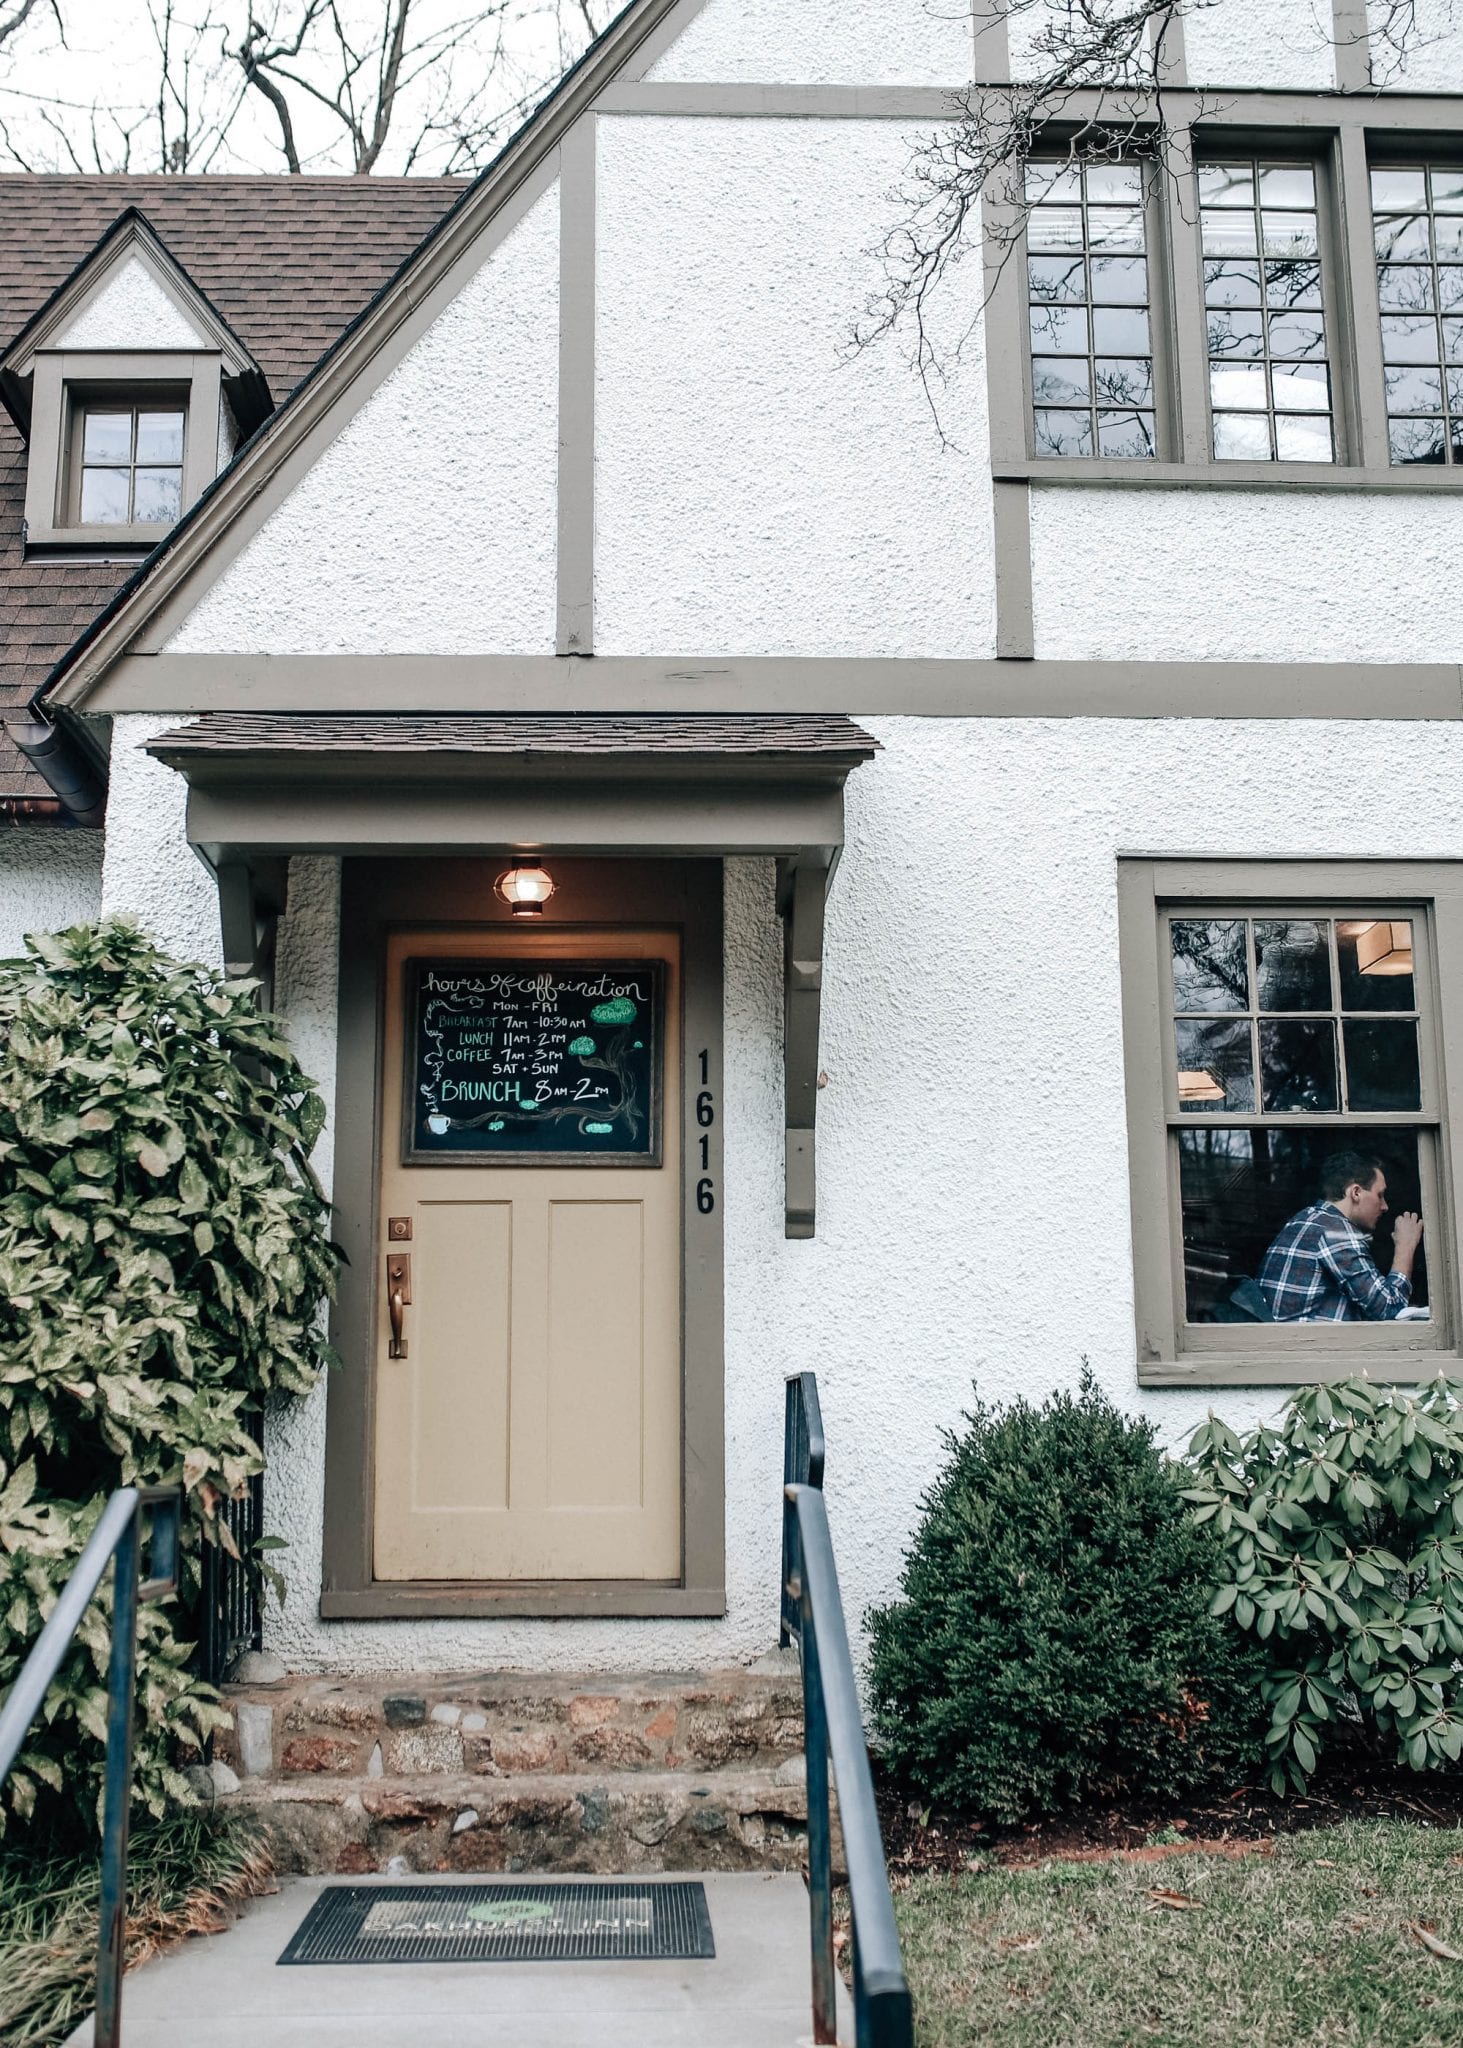
Taylor Rae and Zelle met at my house near Raleigh and we set off on our adventure on Monday morning. When we finally arrived at Oakhurst Inn, we were greeted by the most welcoming staff at the most charming boutique hotel situated right on UVA’s campus. There were so many things I loved about this place but my favorite part about this hotel was the common area right between all three of our rooms with the coziest fireplace we turned on each night. Something about our space was just so inviting and felt like home.

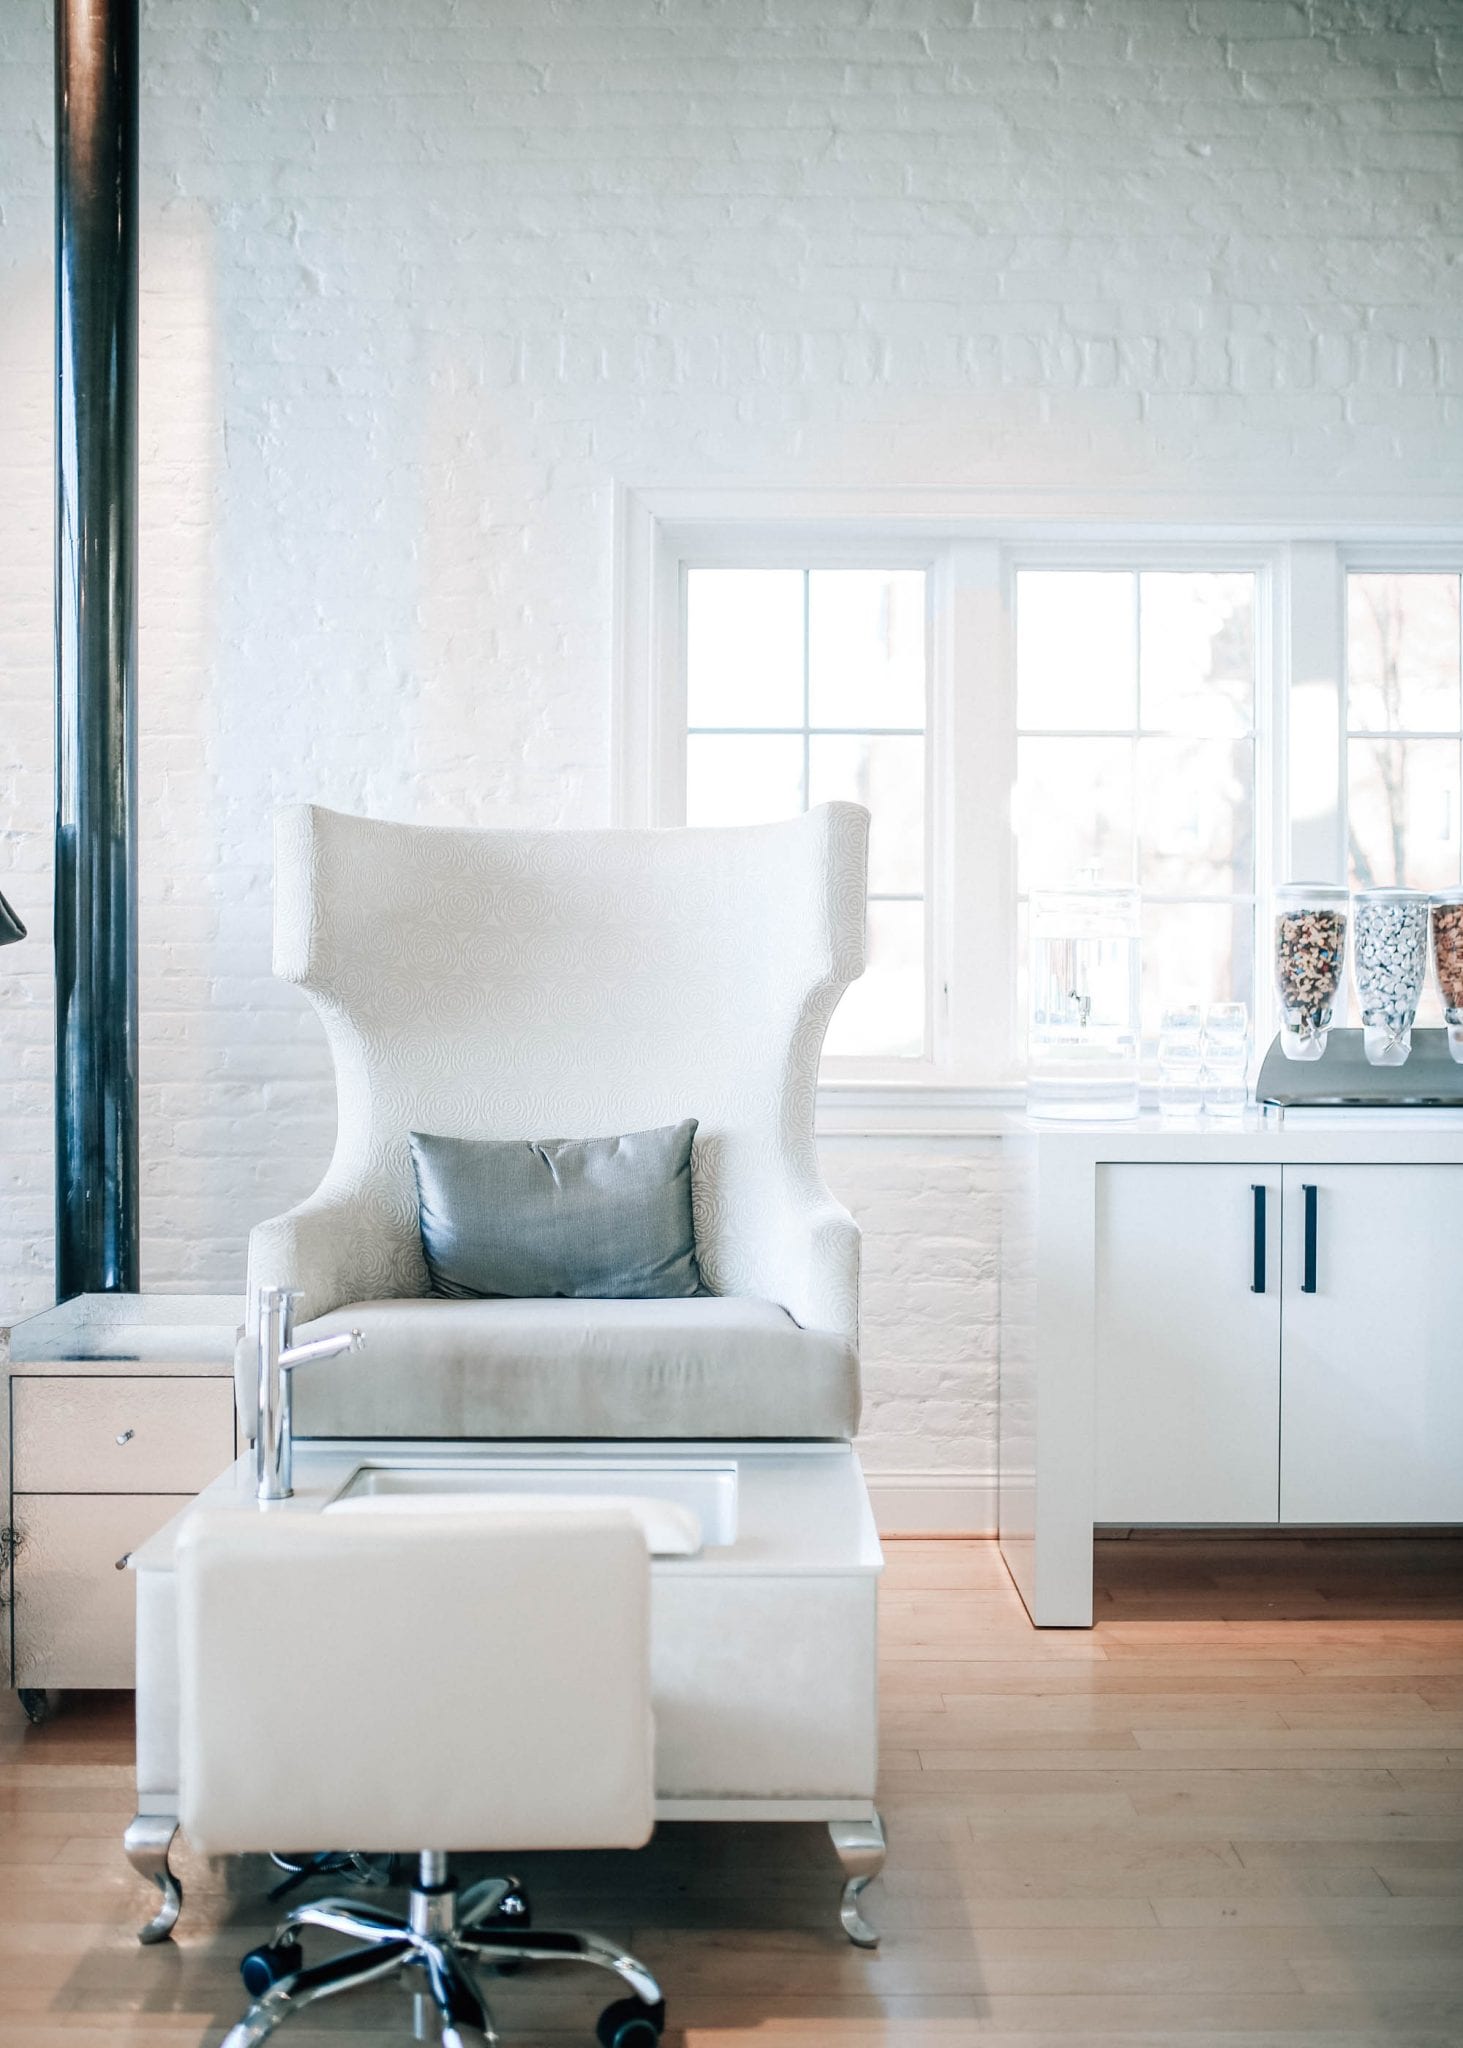
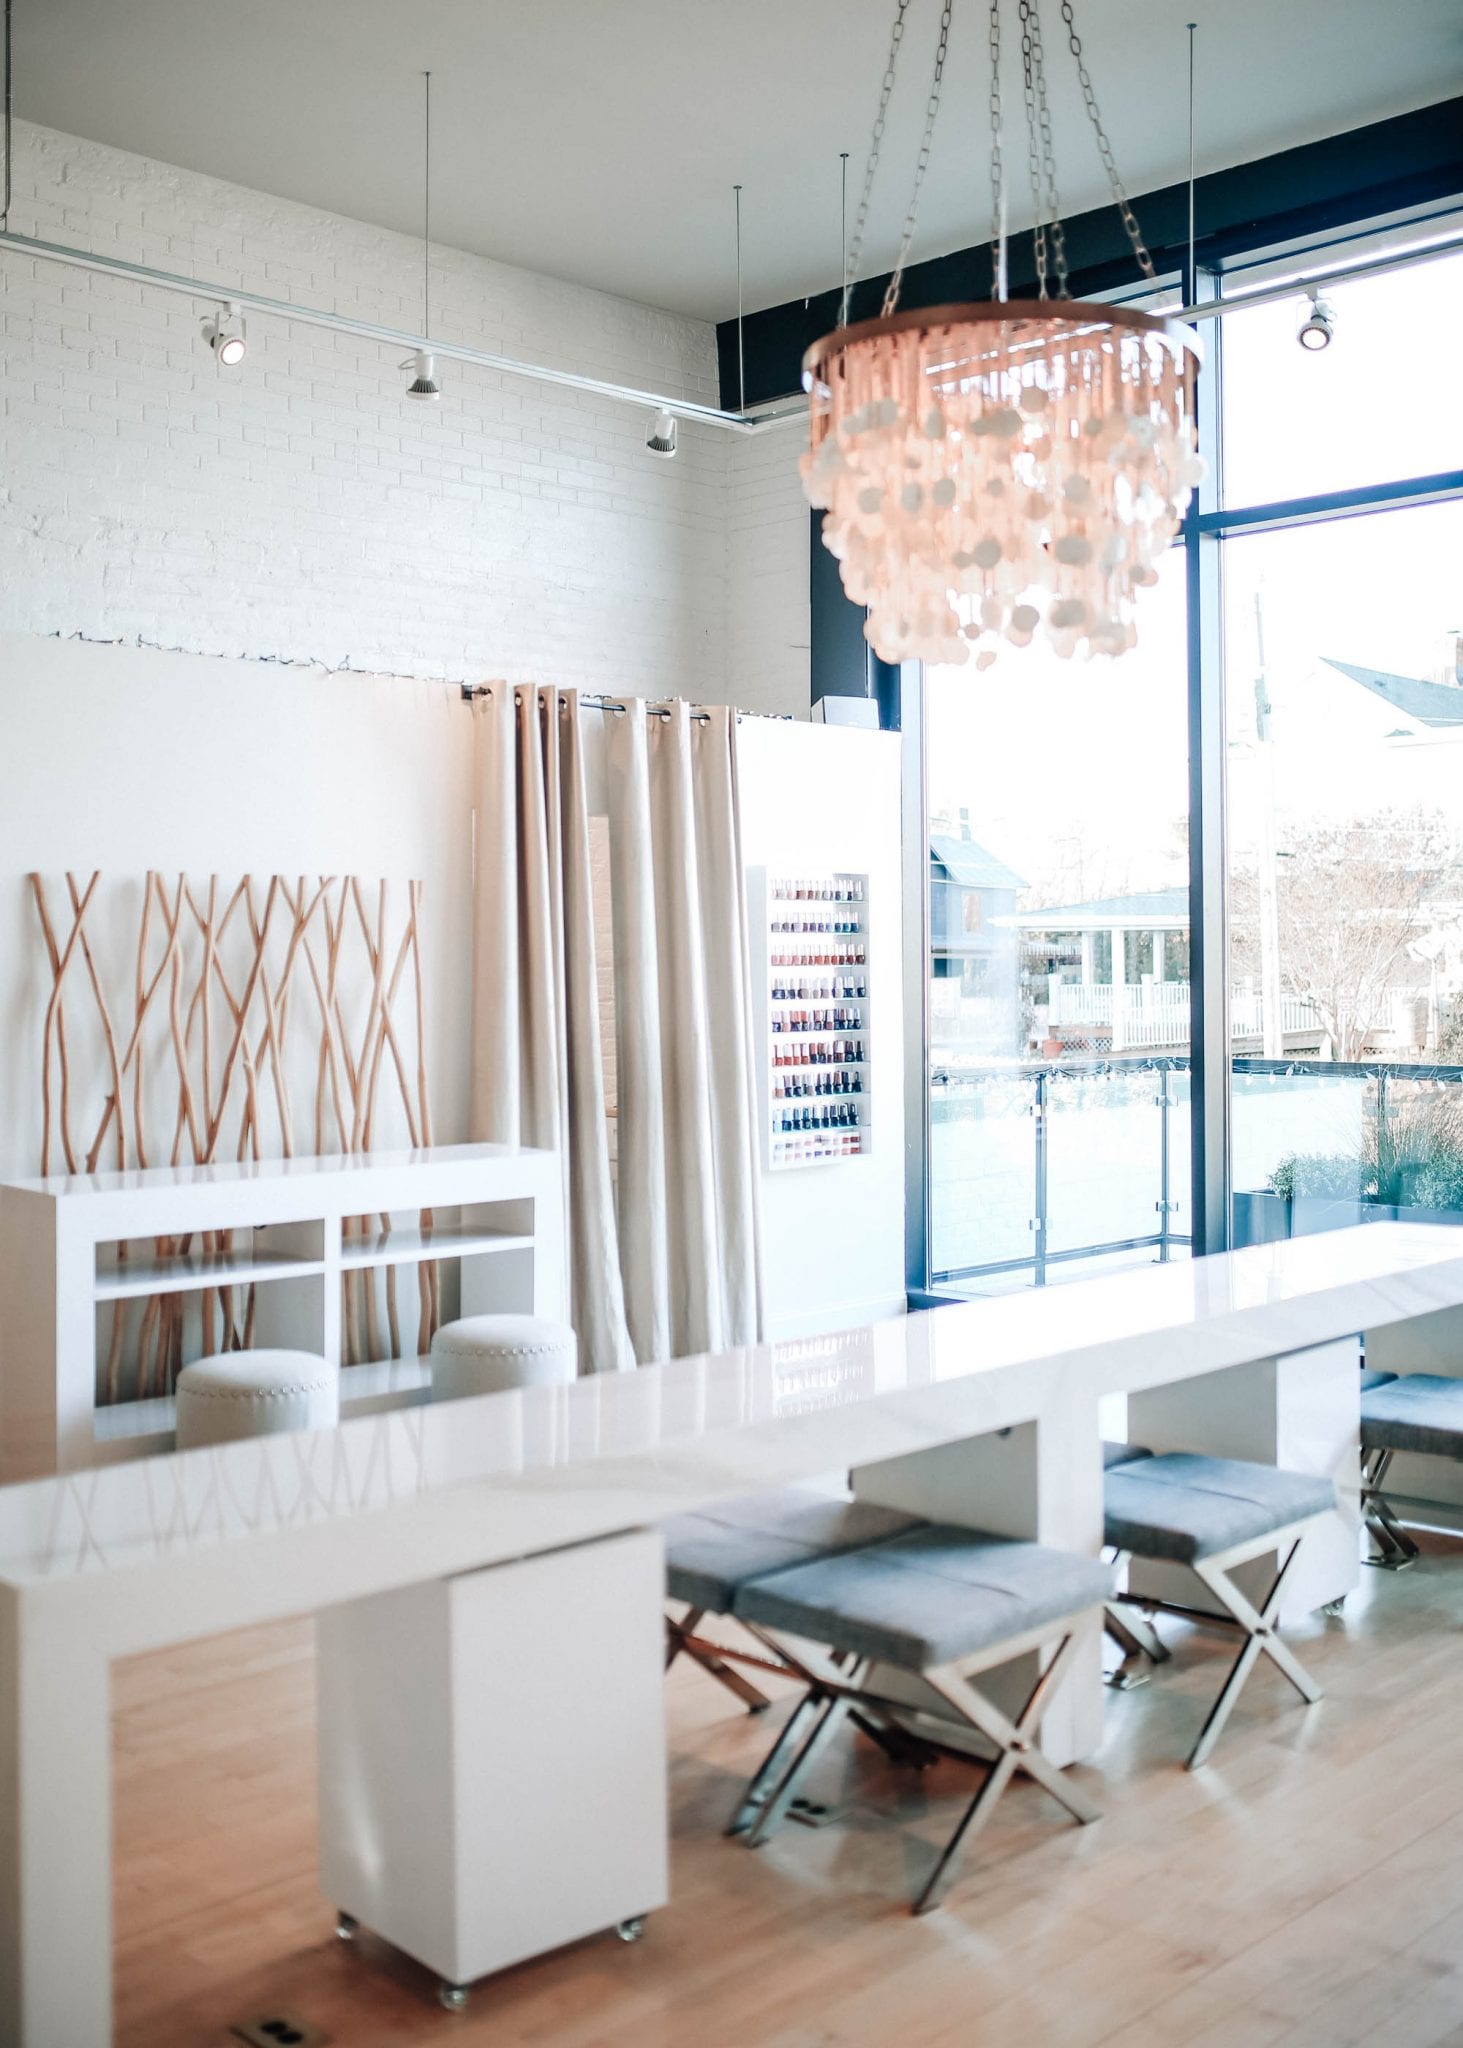
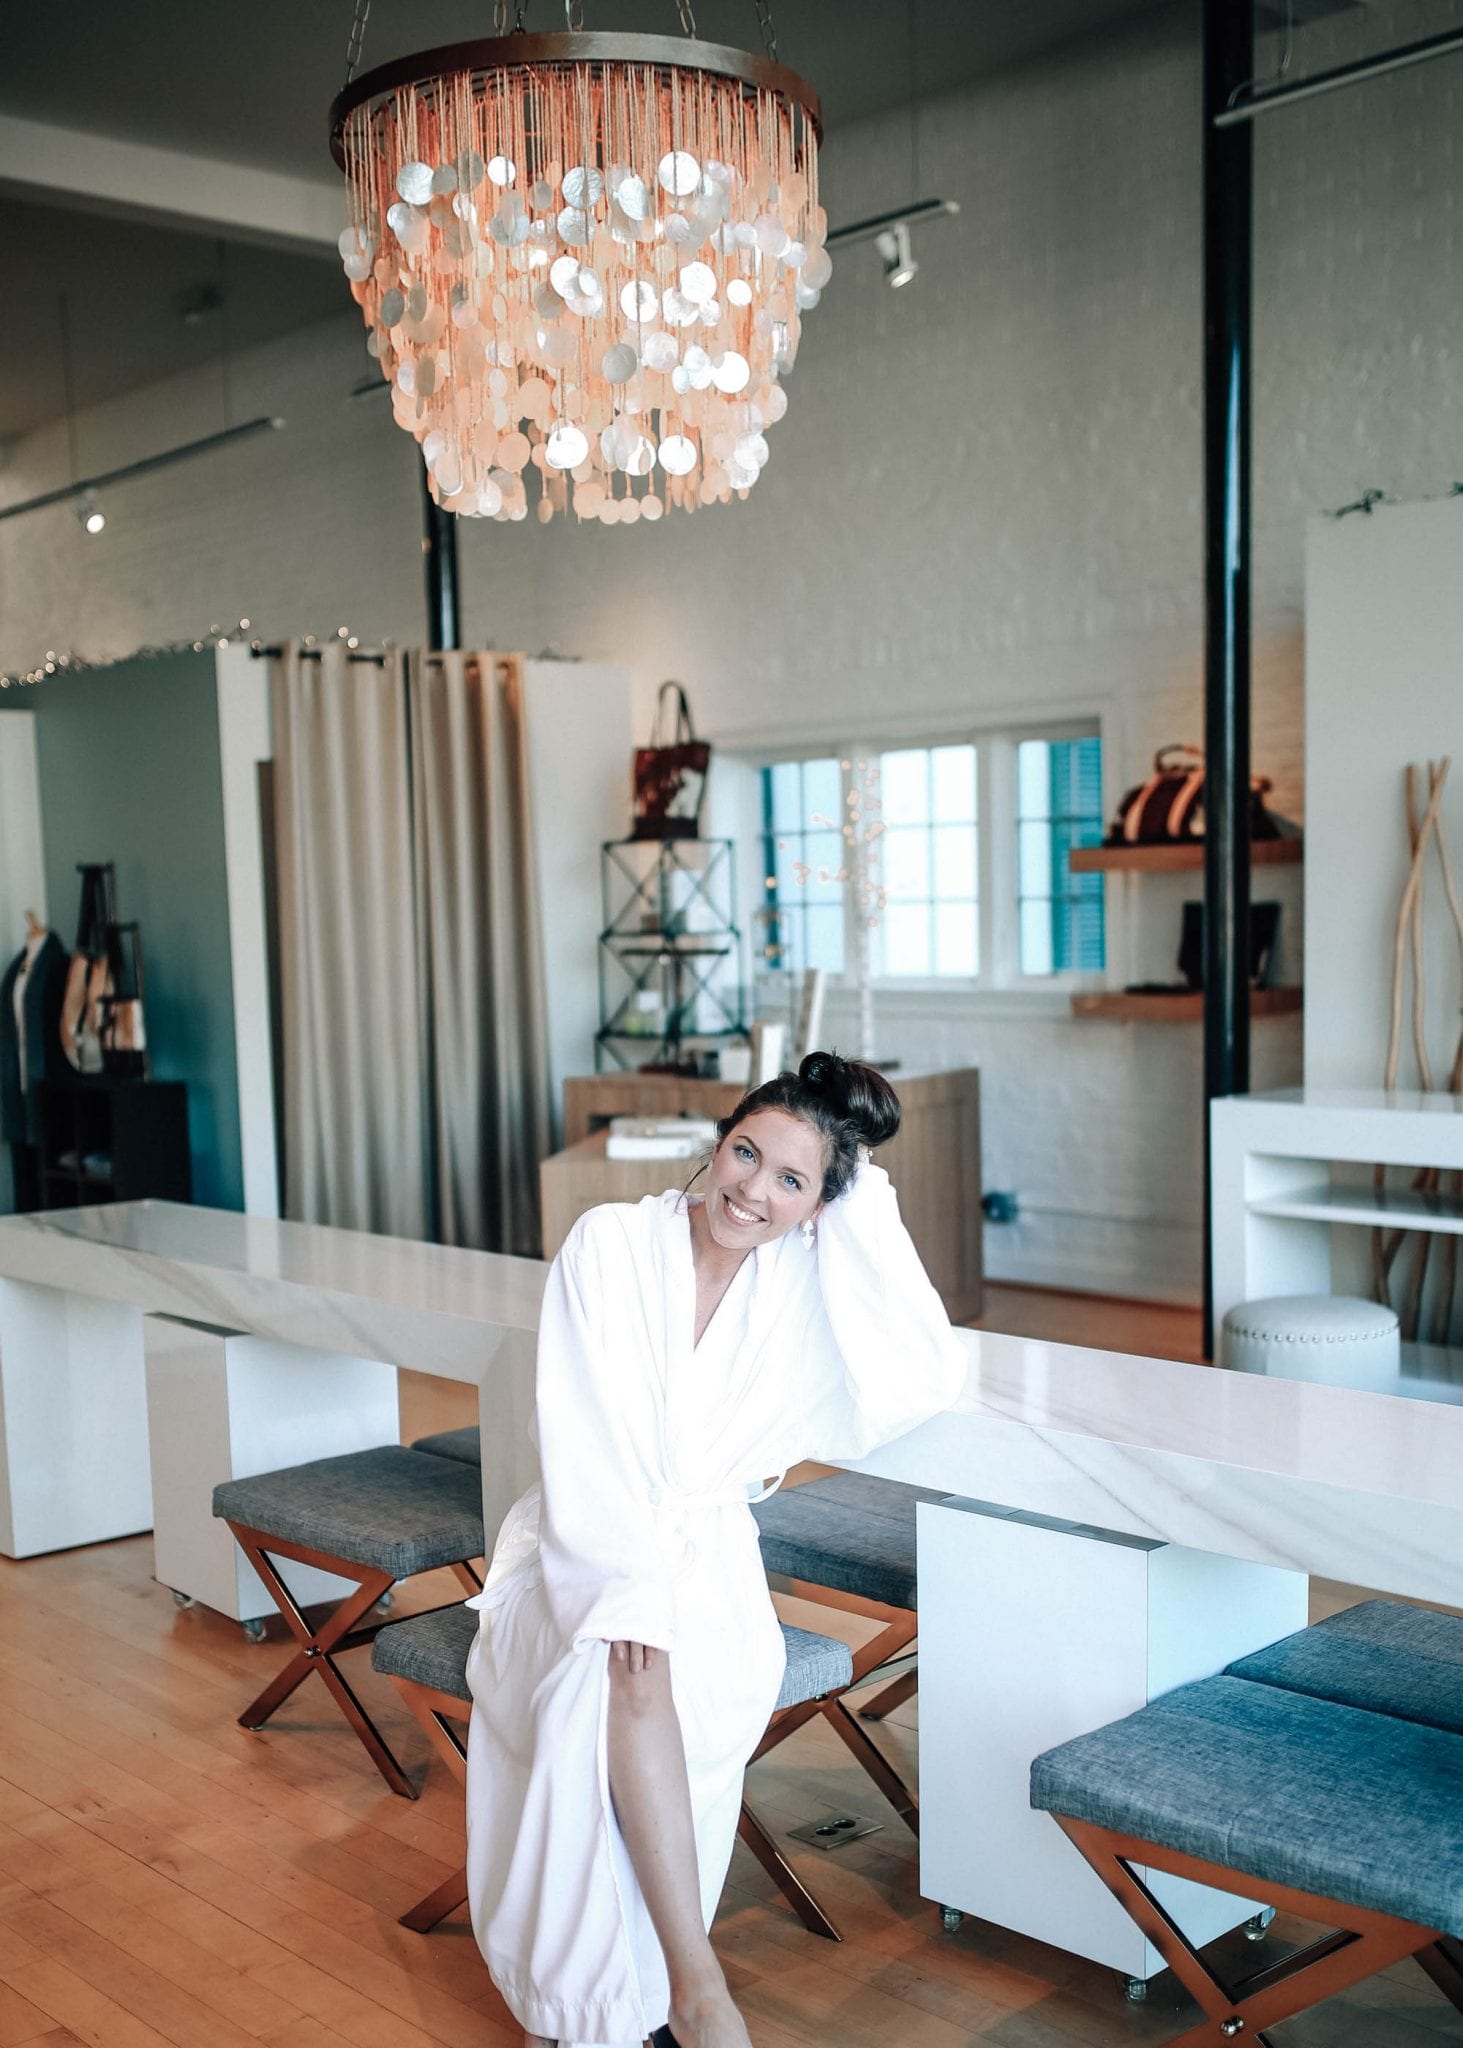
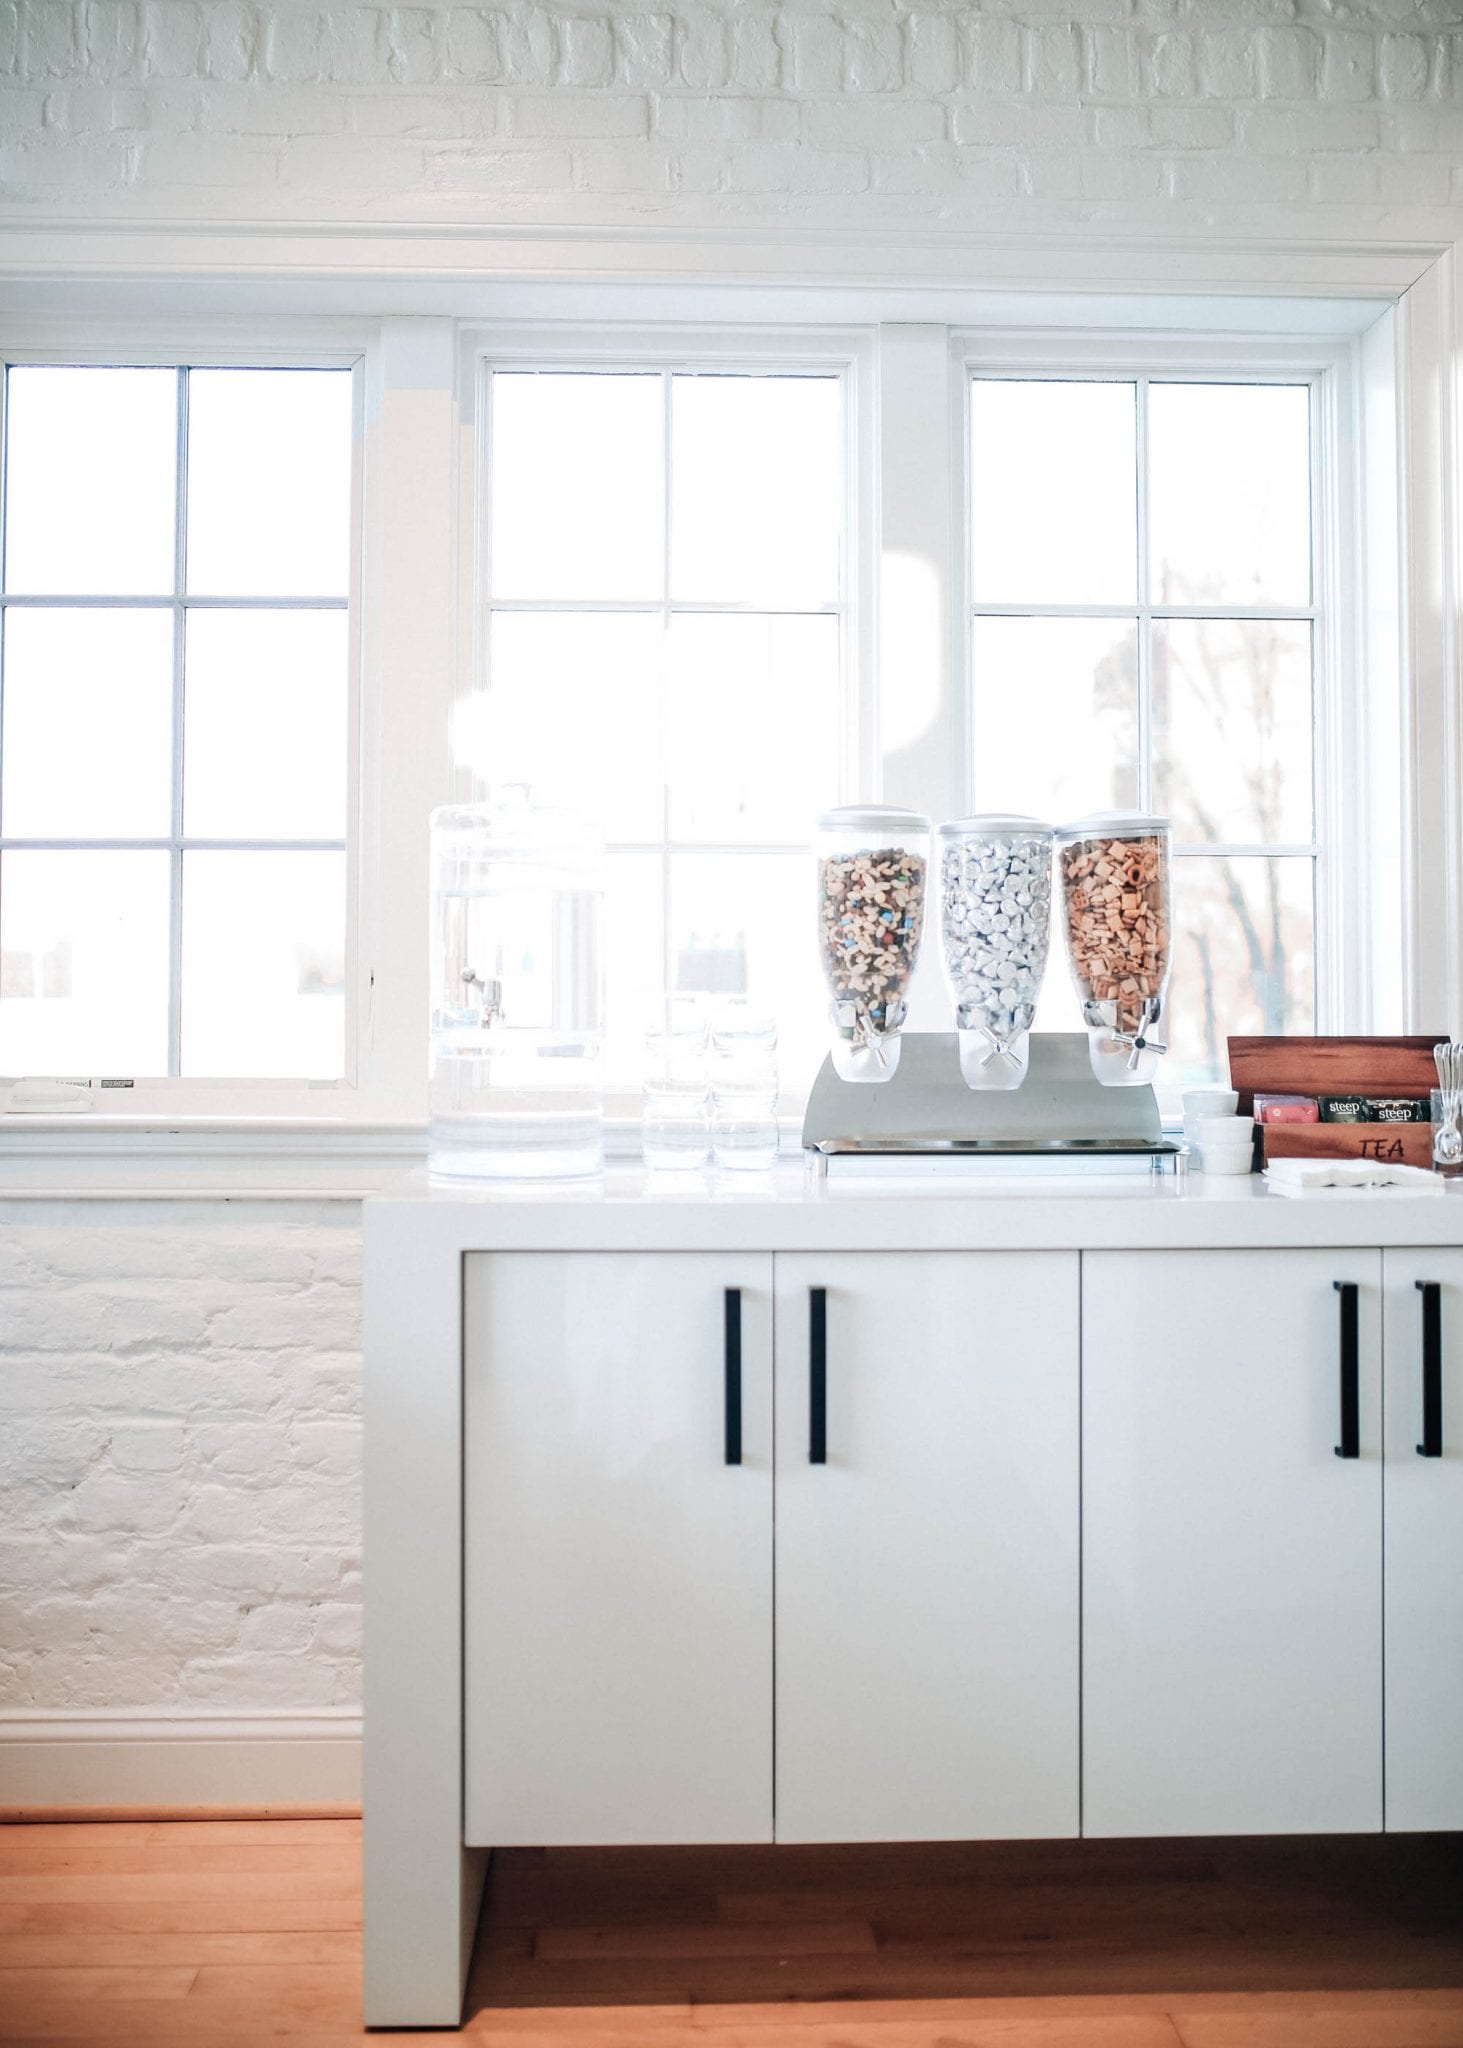
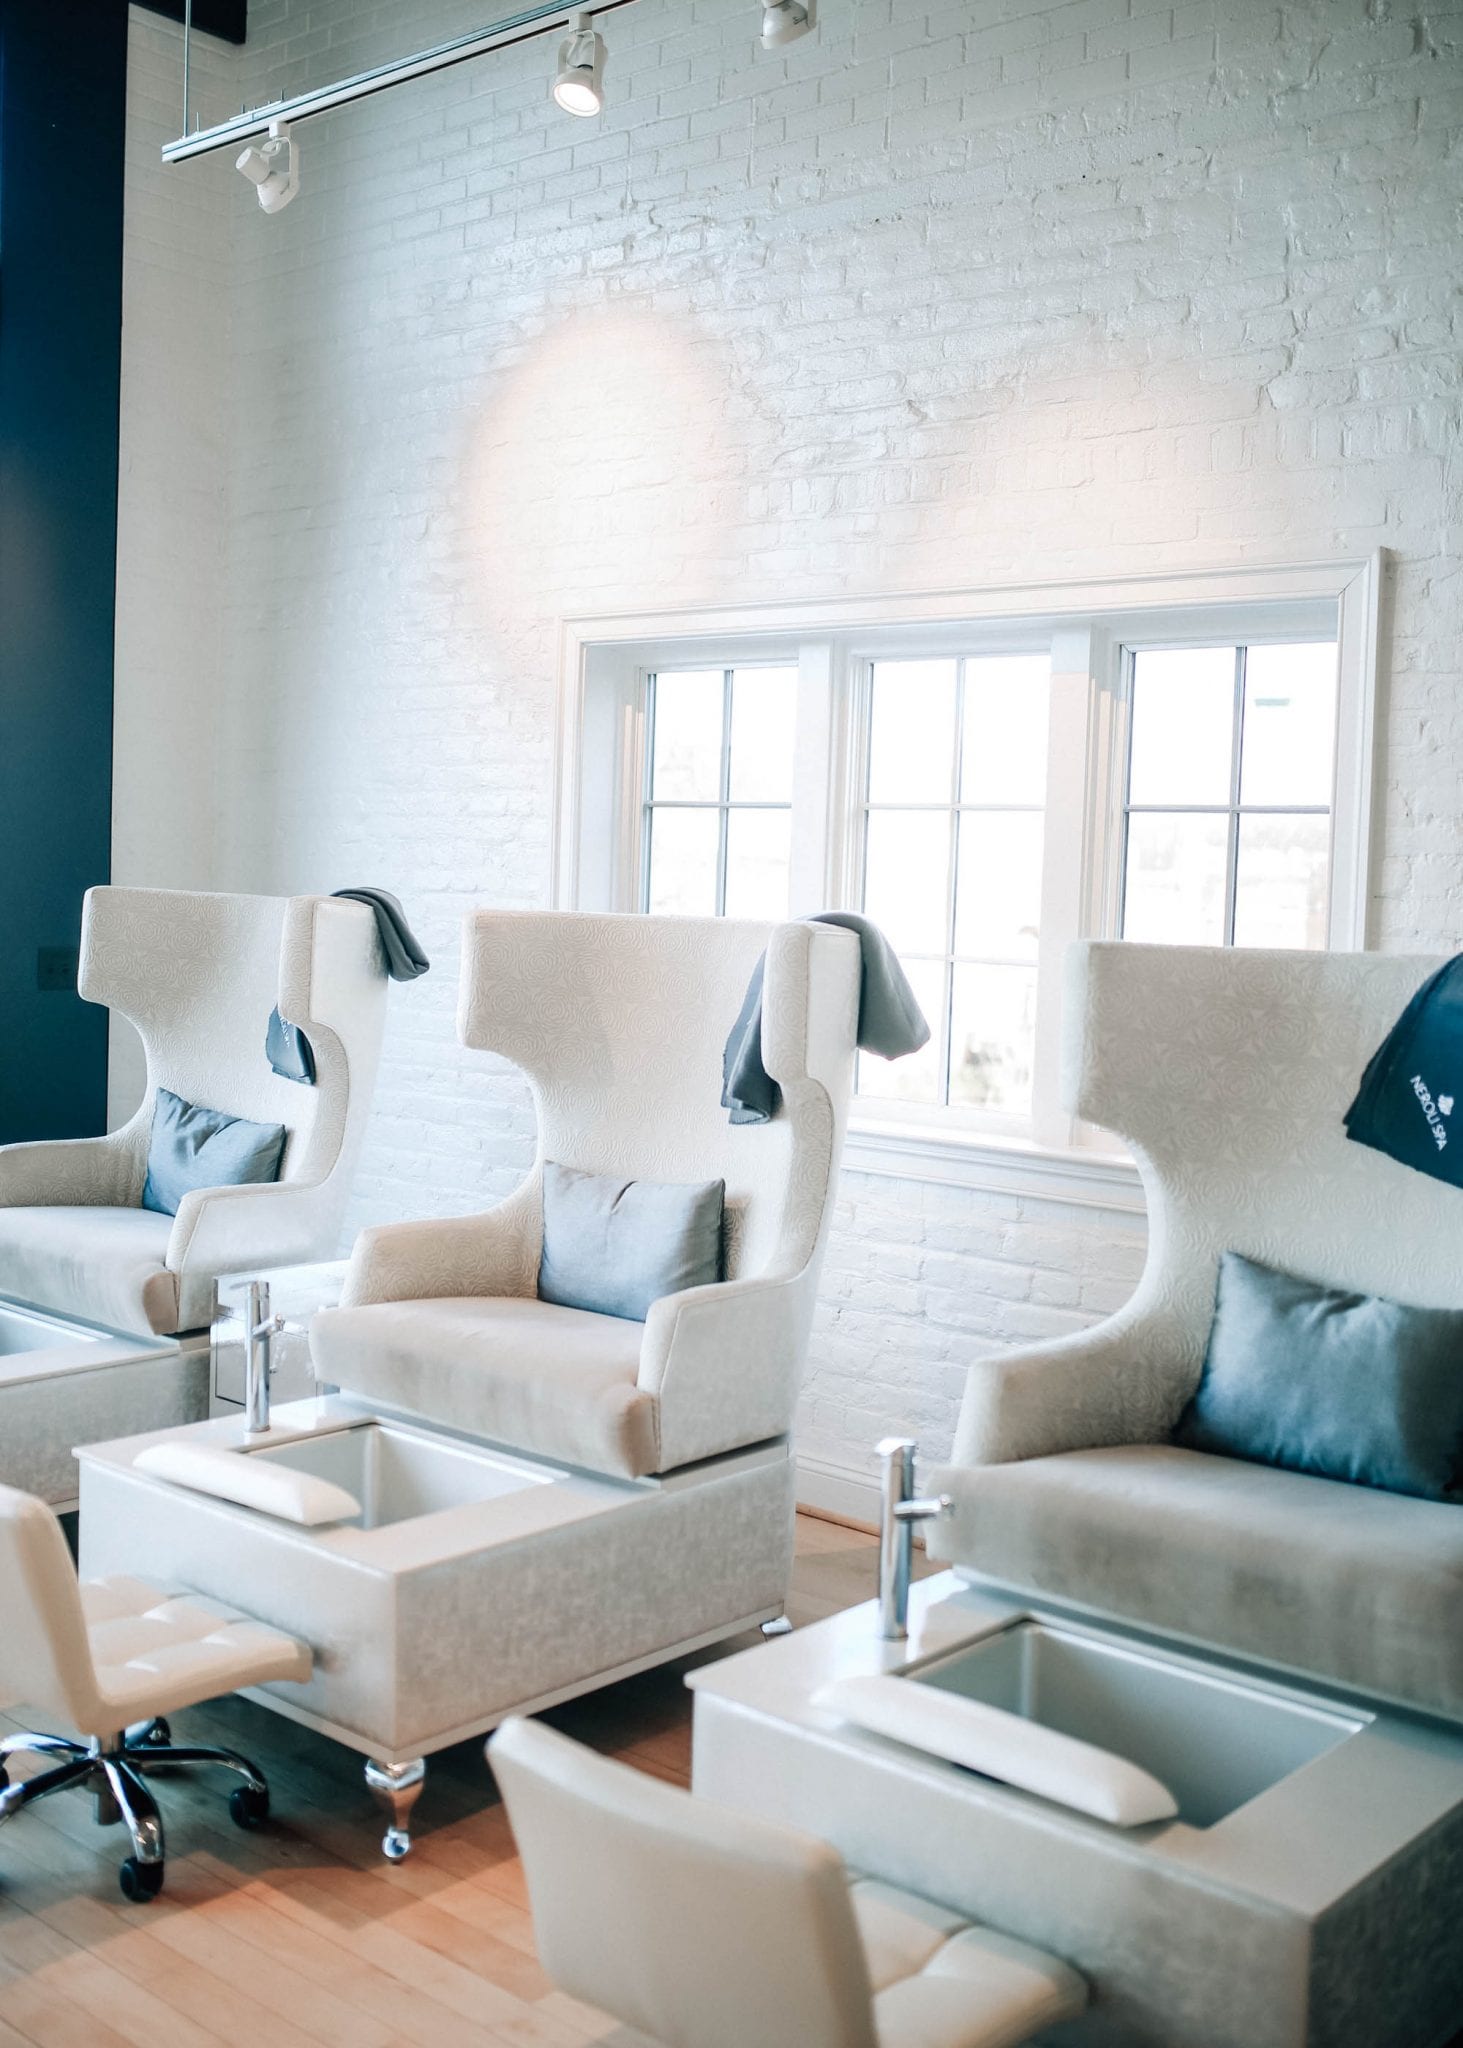
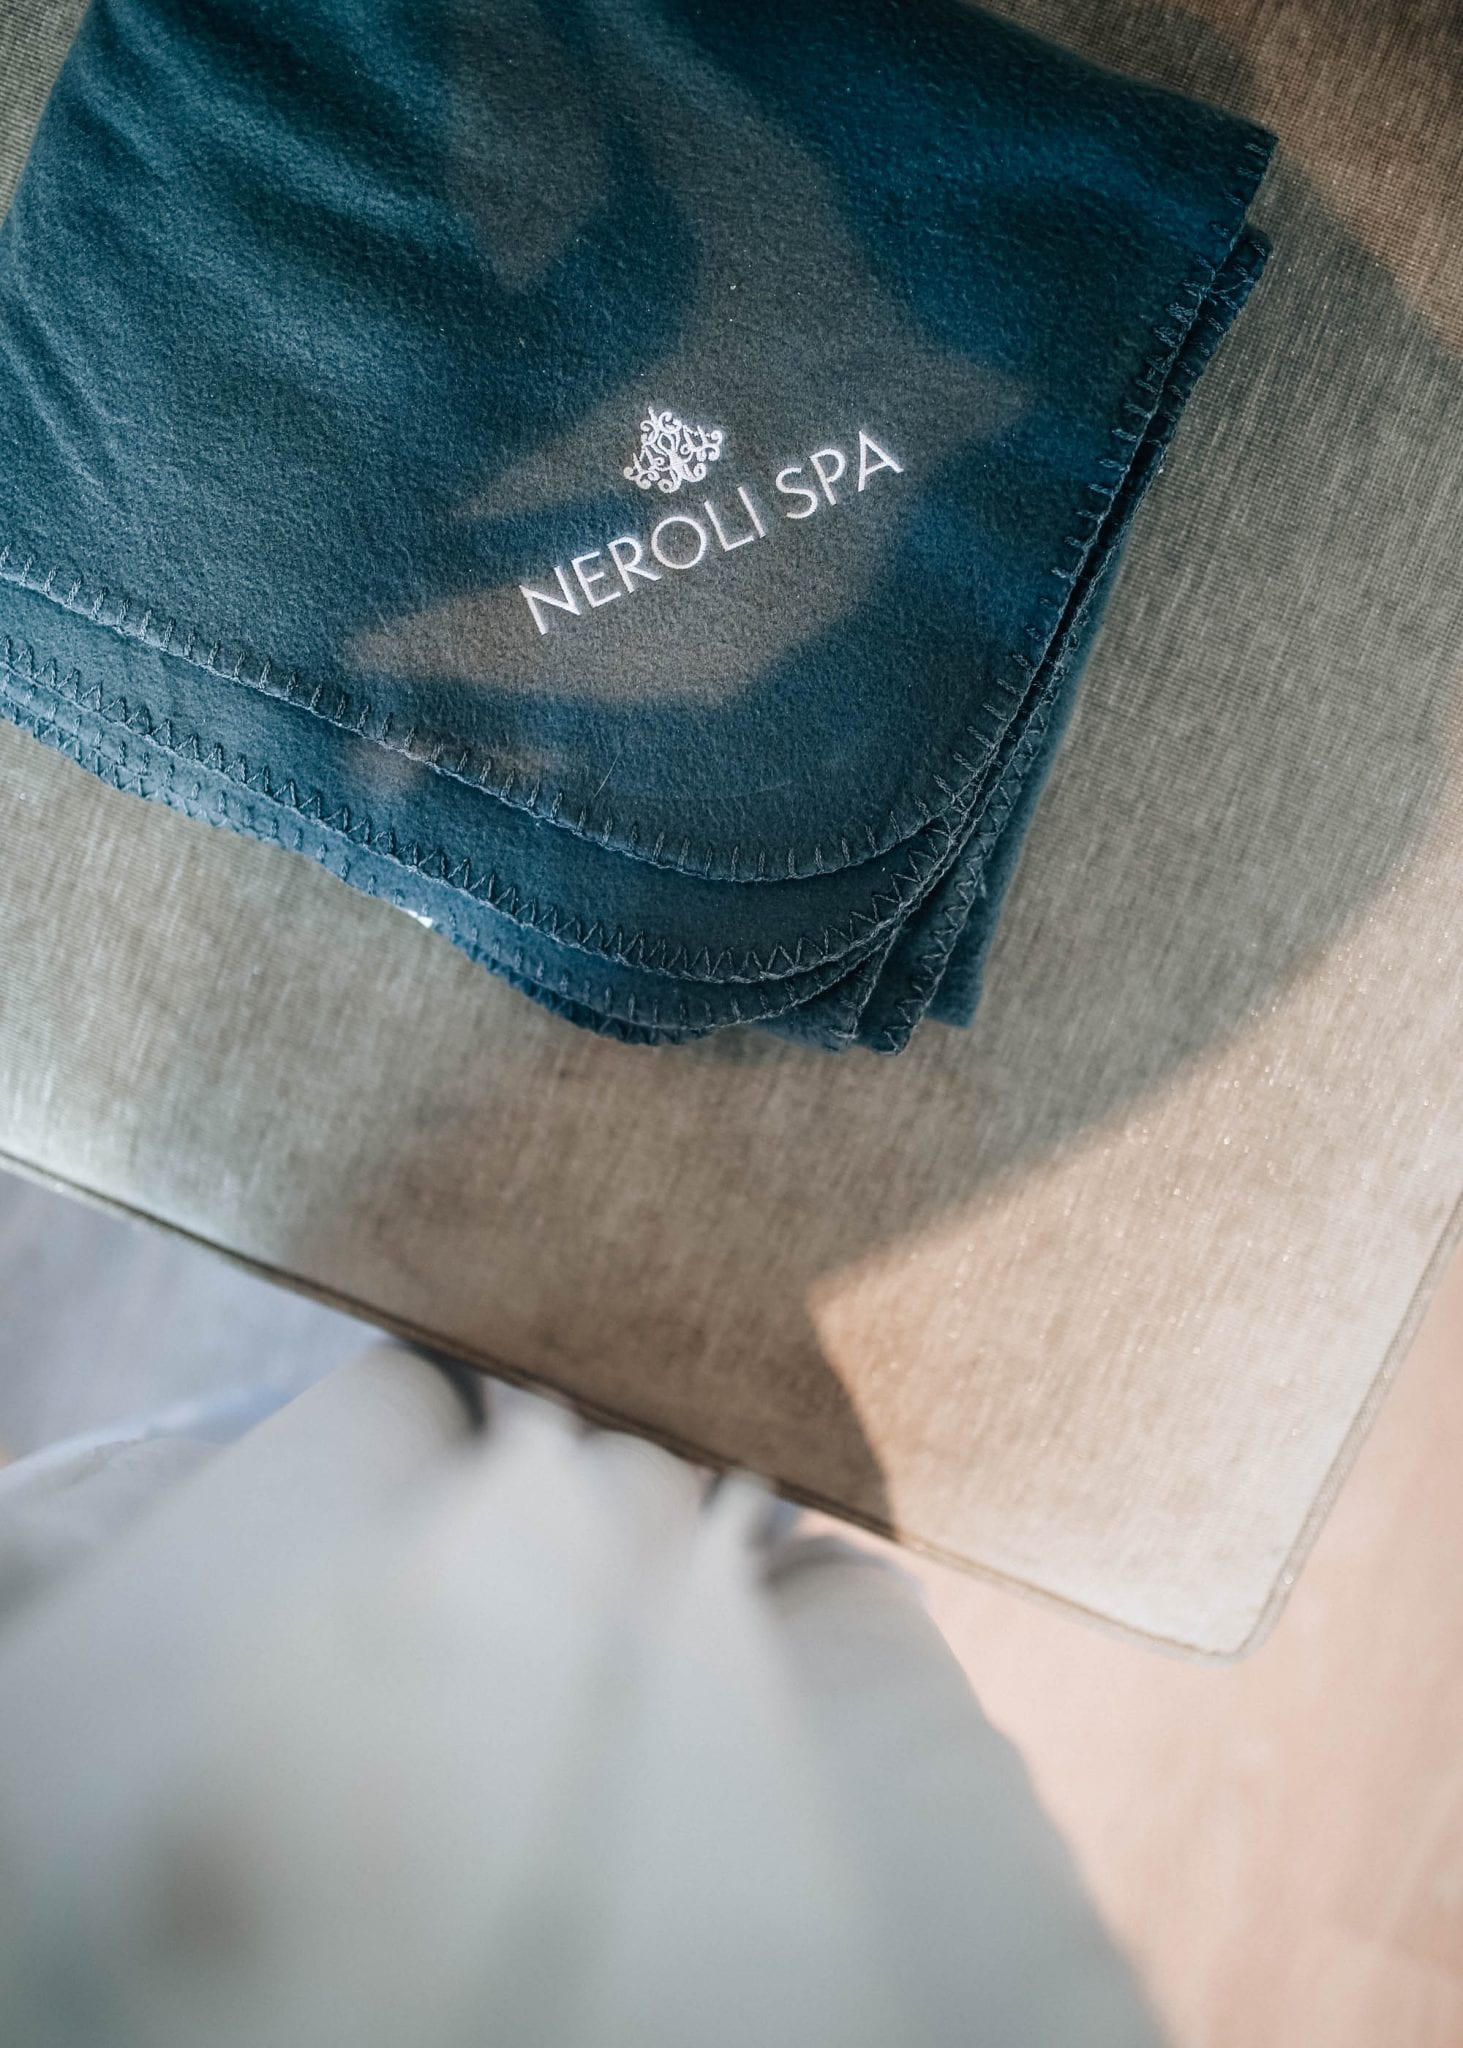
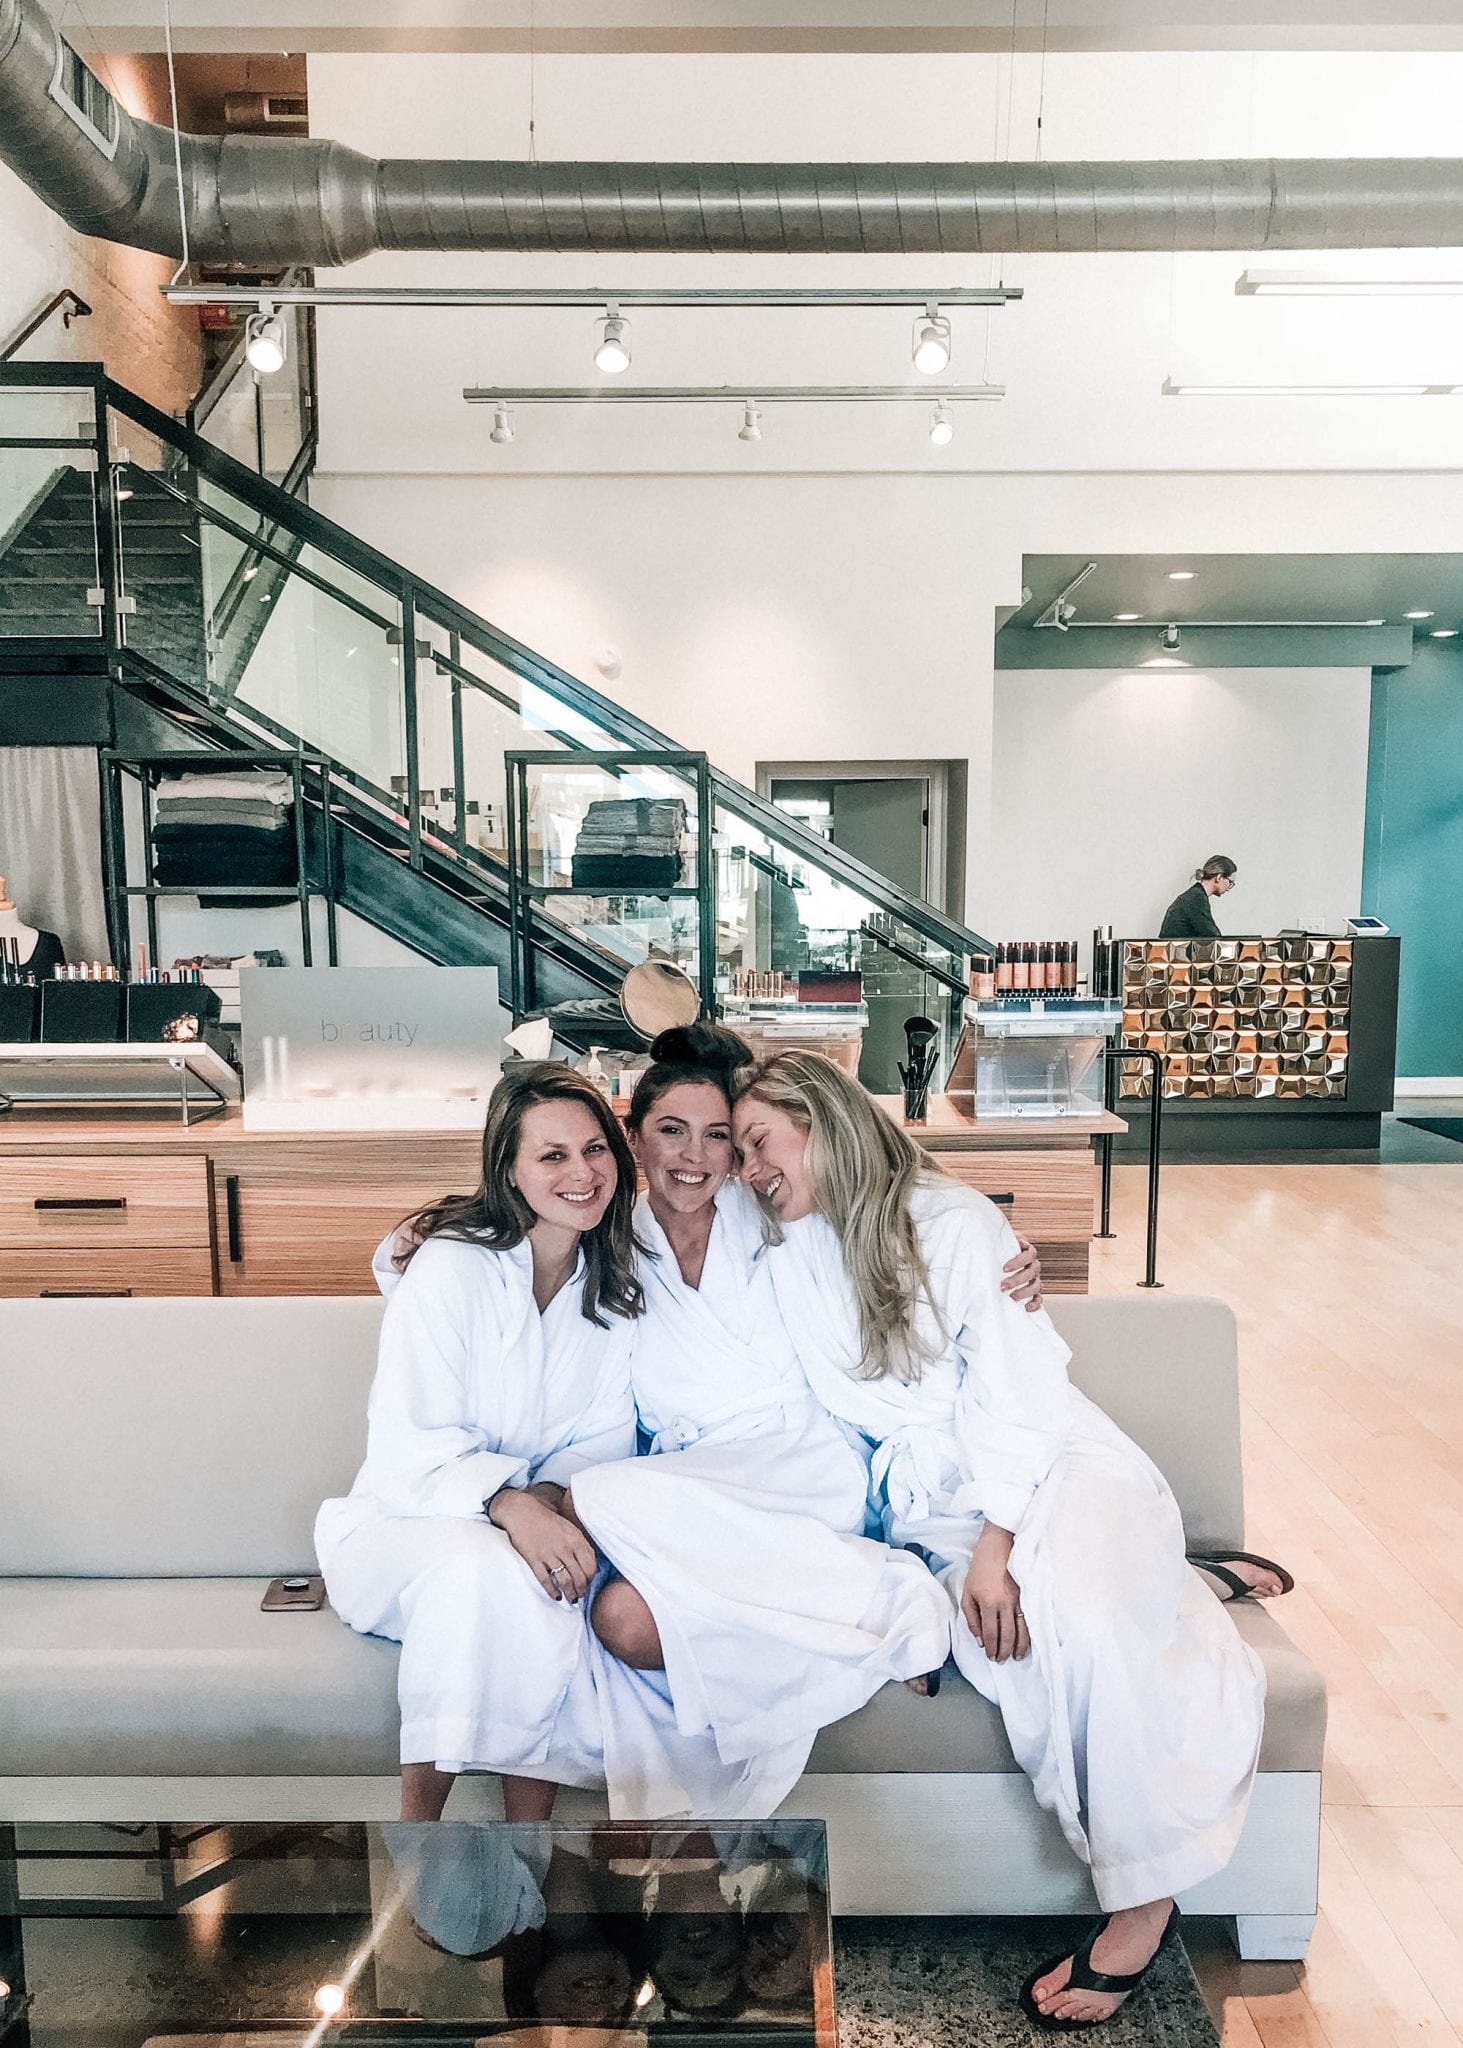
Soon after we checked in to Oakhurst Inn, it was time for facials and massages at Neroli Spa. Taylor Rae and I had their signature massage while Zelle had a facial and we were all so impressed with this spot. The spa was bright, airy, and they offered some of my favorite brands including Barefoot Dreams, Coola, and natural cosmetic brands such as RMS. Starting our trip off with 50 minute massages was the ideal way to start a trip, in my opinion. The white exposed brick and the beautiful chandelier made me never want to leave the spa but we had to head back to the hotel to get ready for our dinner reservation at Brasserie Saisson.

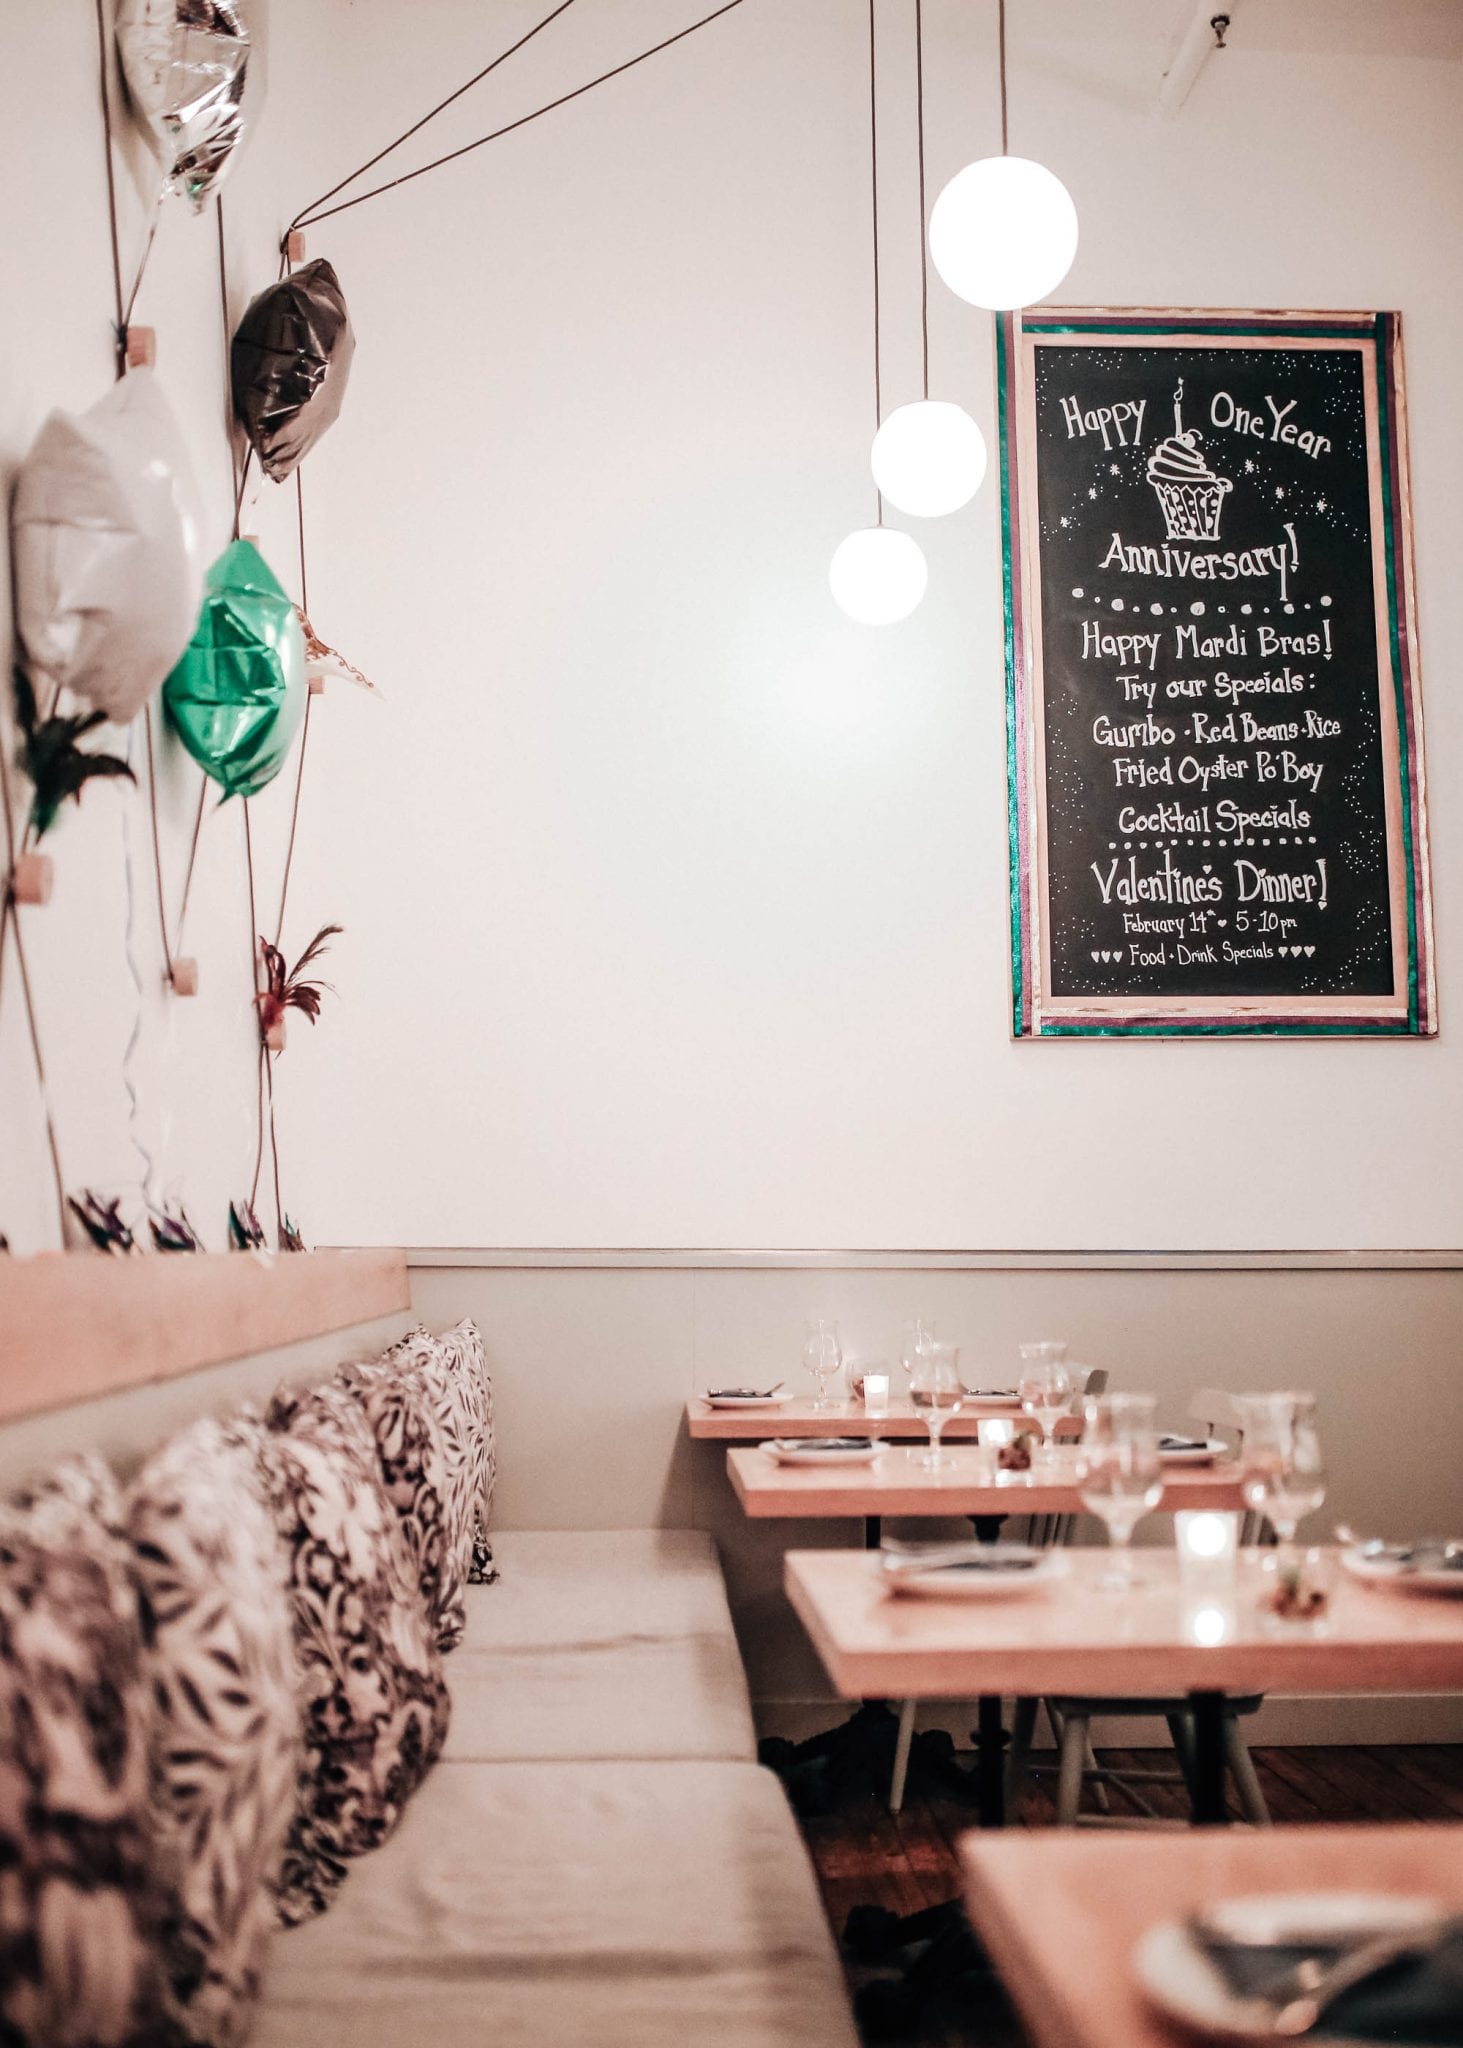
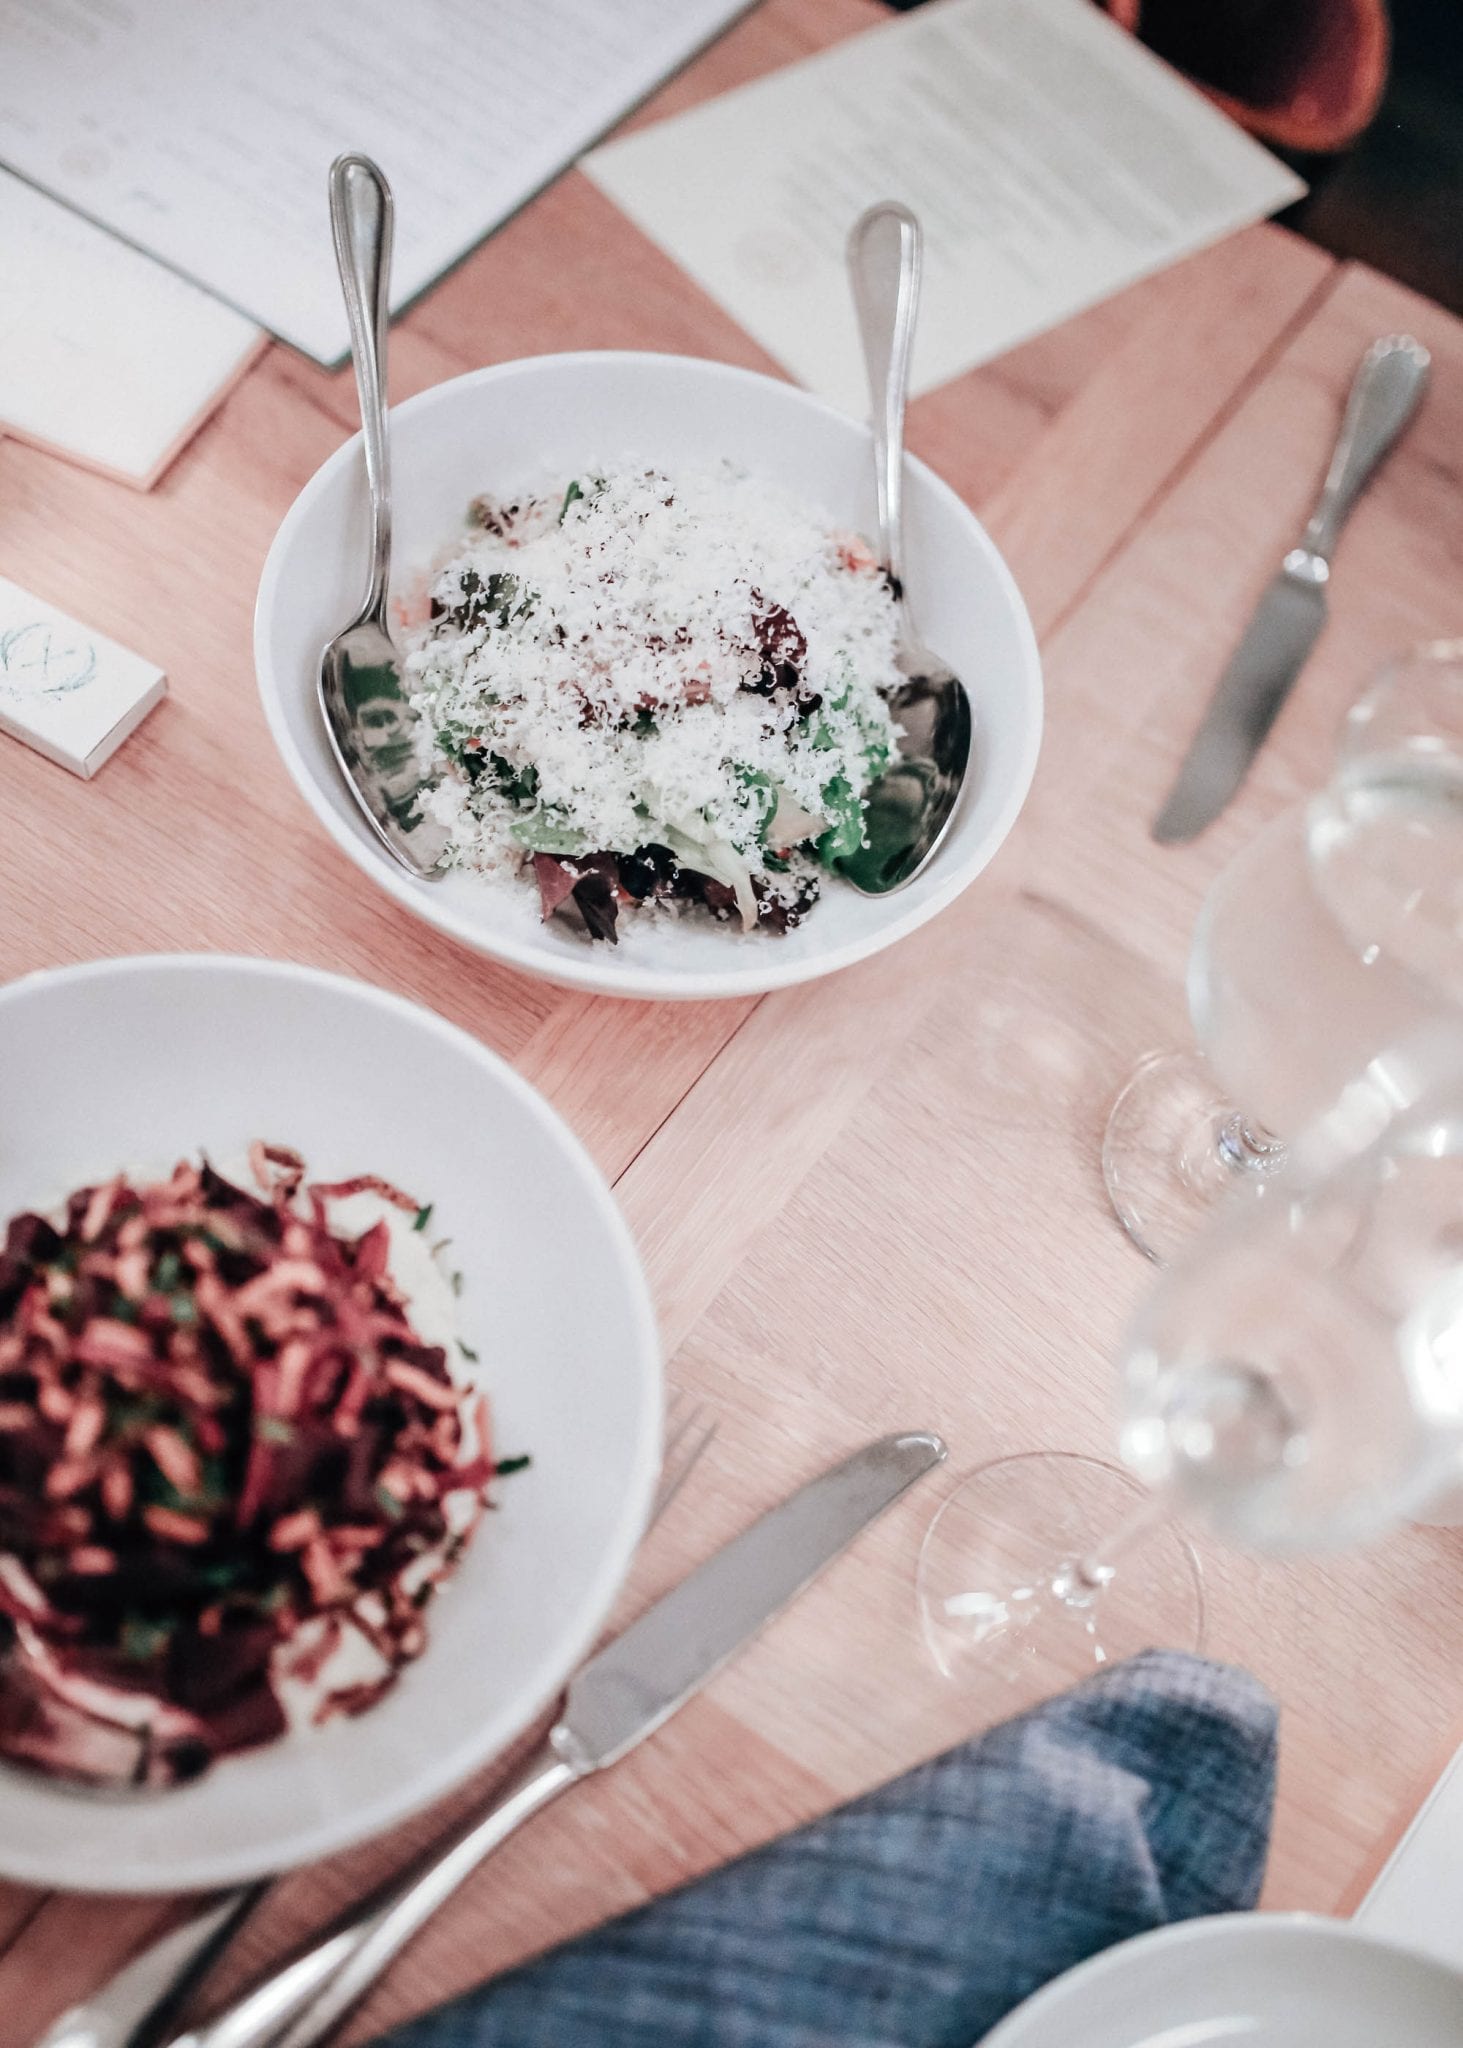
Our first night dinner was at Brasserie Saison, a modern European and farmhouse-inspired restaurant and brewery located right on the downtown mall. We ordered a few small plates and large plates to share including Farro Risotto (roasted vegetable and kale risotto), Deviled Egg Dip served with fresh waffles, Simple Greens with lemon dressing, Red Beans and Rice off of their Mardi Gras special menu, and more. Everything we tried was so delicious, the service was impeccable, and we topped it all off with their assortment of ice-cream and Ollibollen, warm fresh mini doughnuts covered in caramel sauce. After that meal, we were all stuffed and headed back to the inn, immediately changed in to our eating pants (or maybe that’s just me), and sat by the fireplace and caught up with each other.

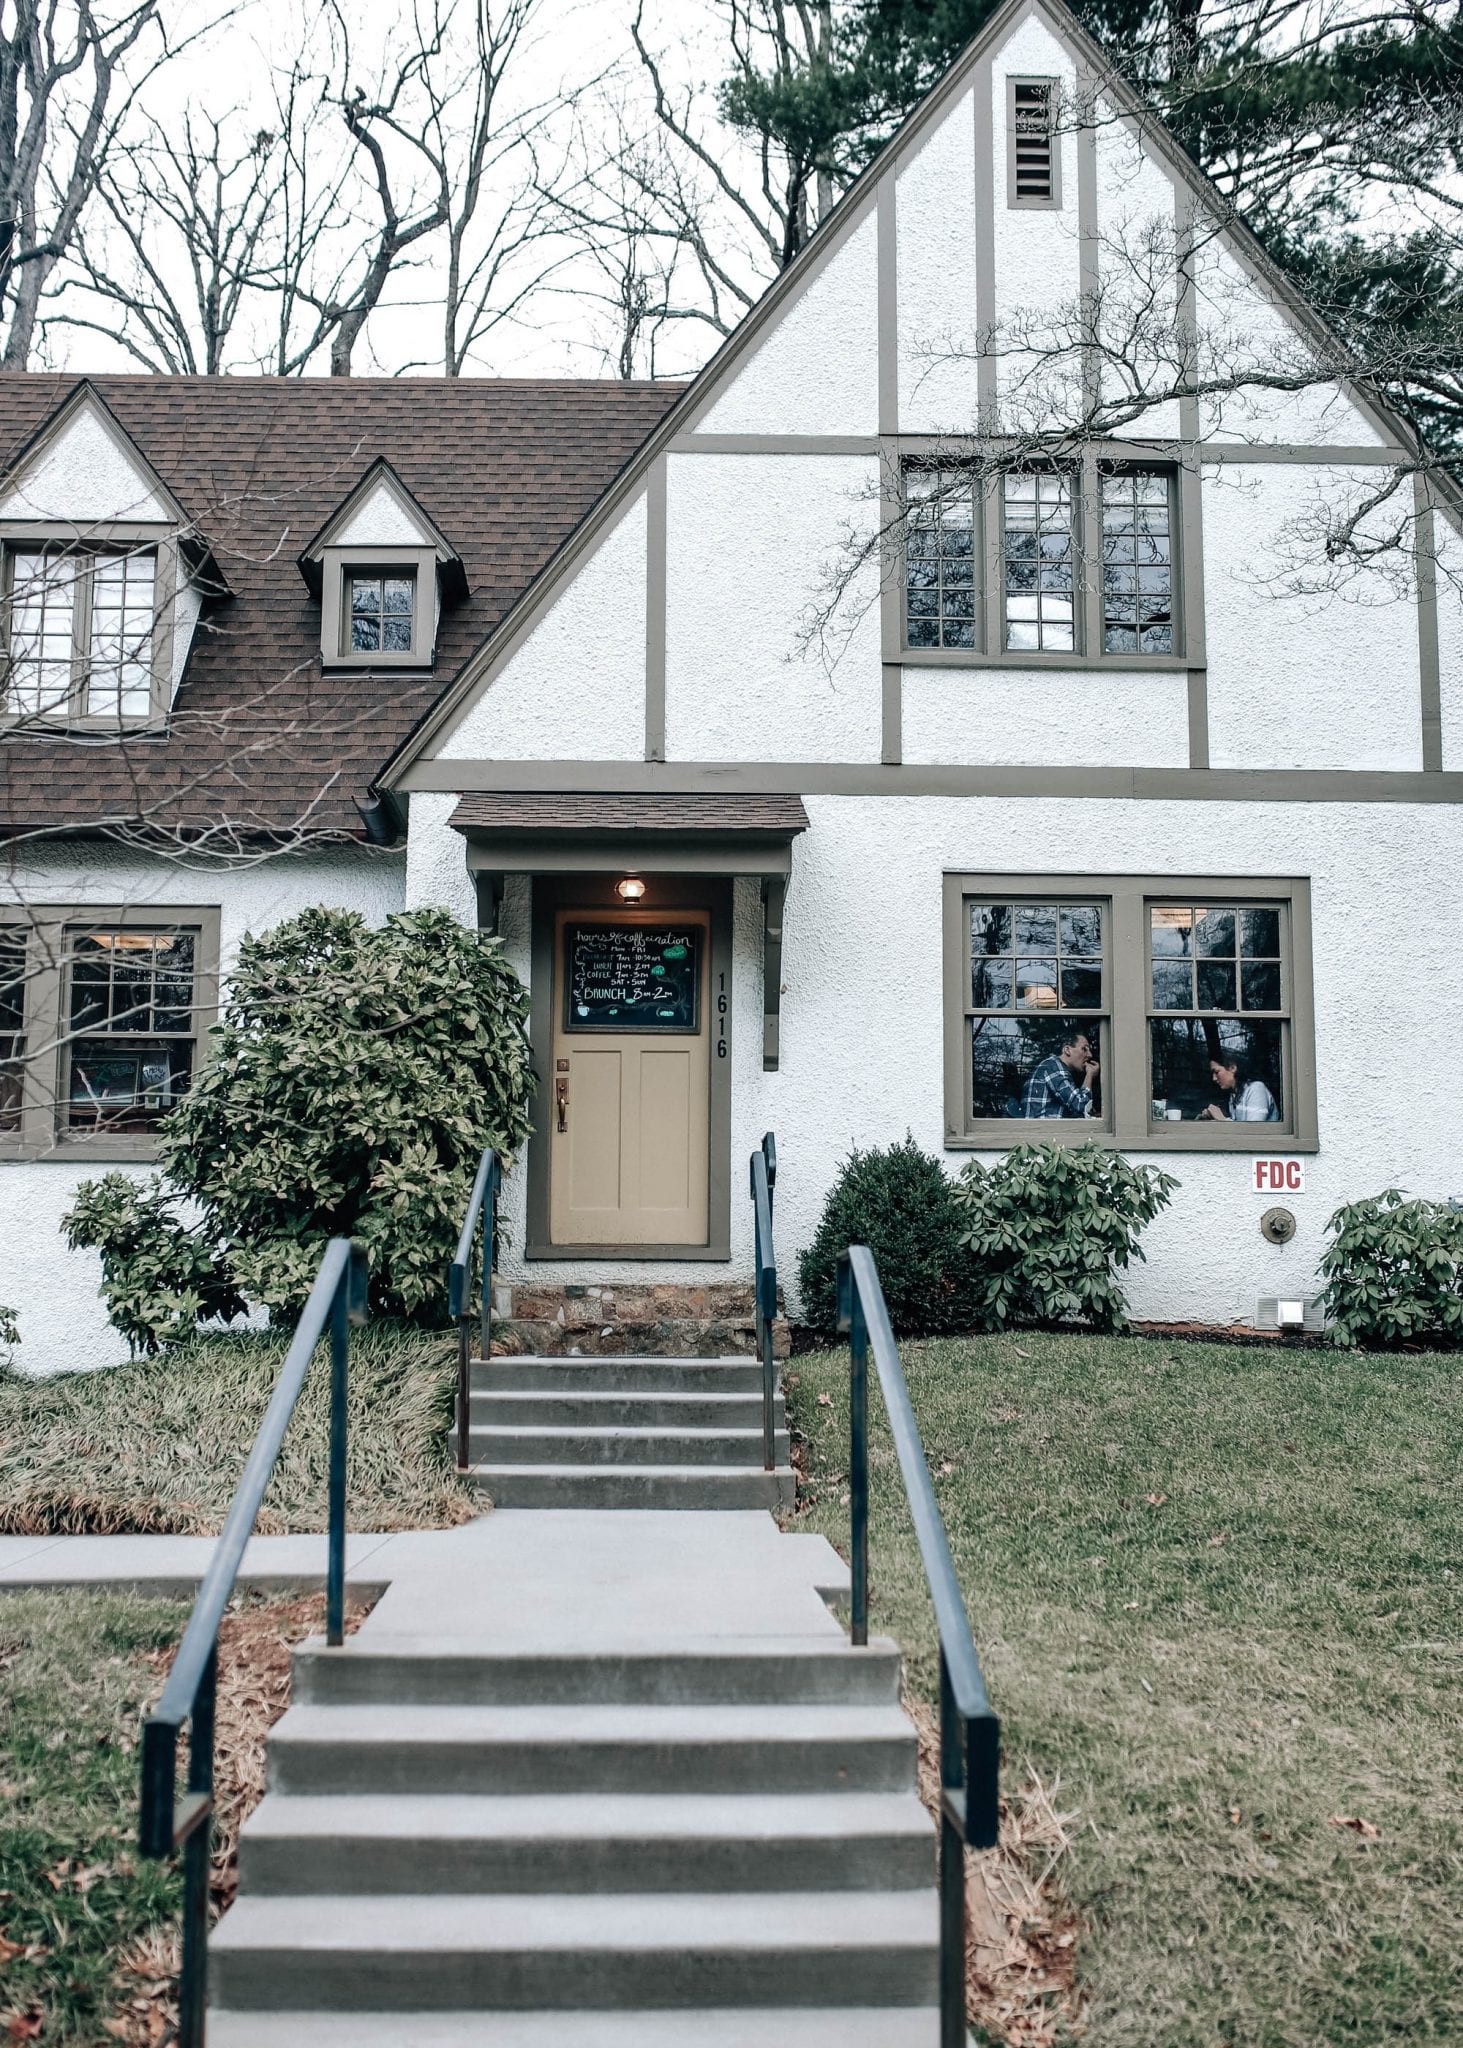
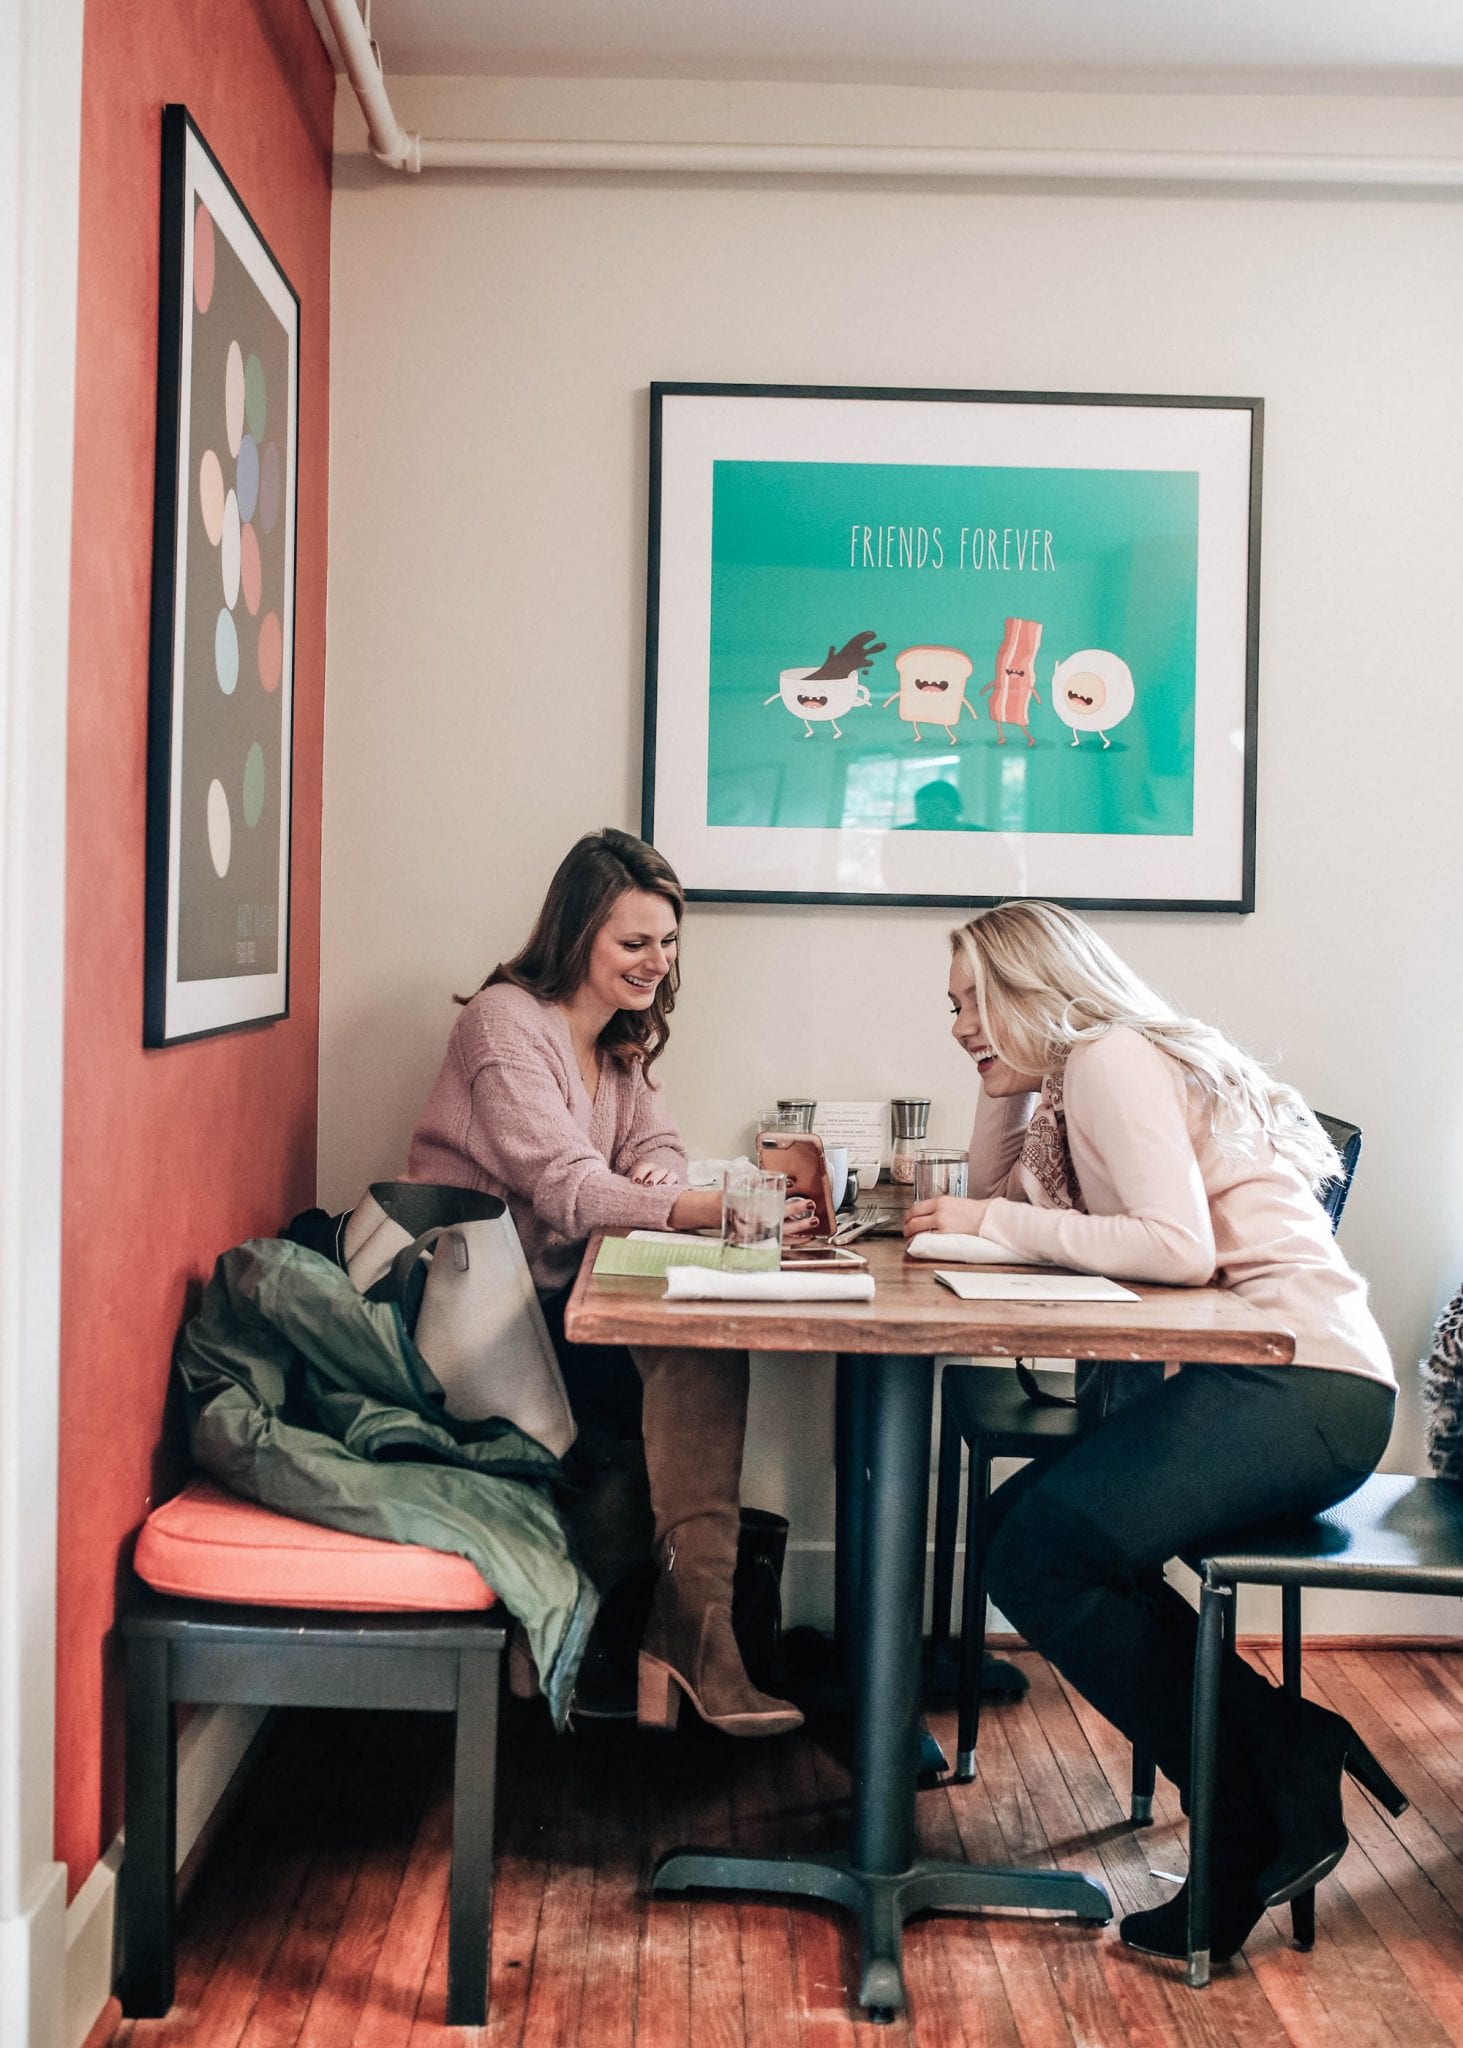
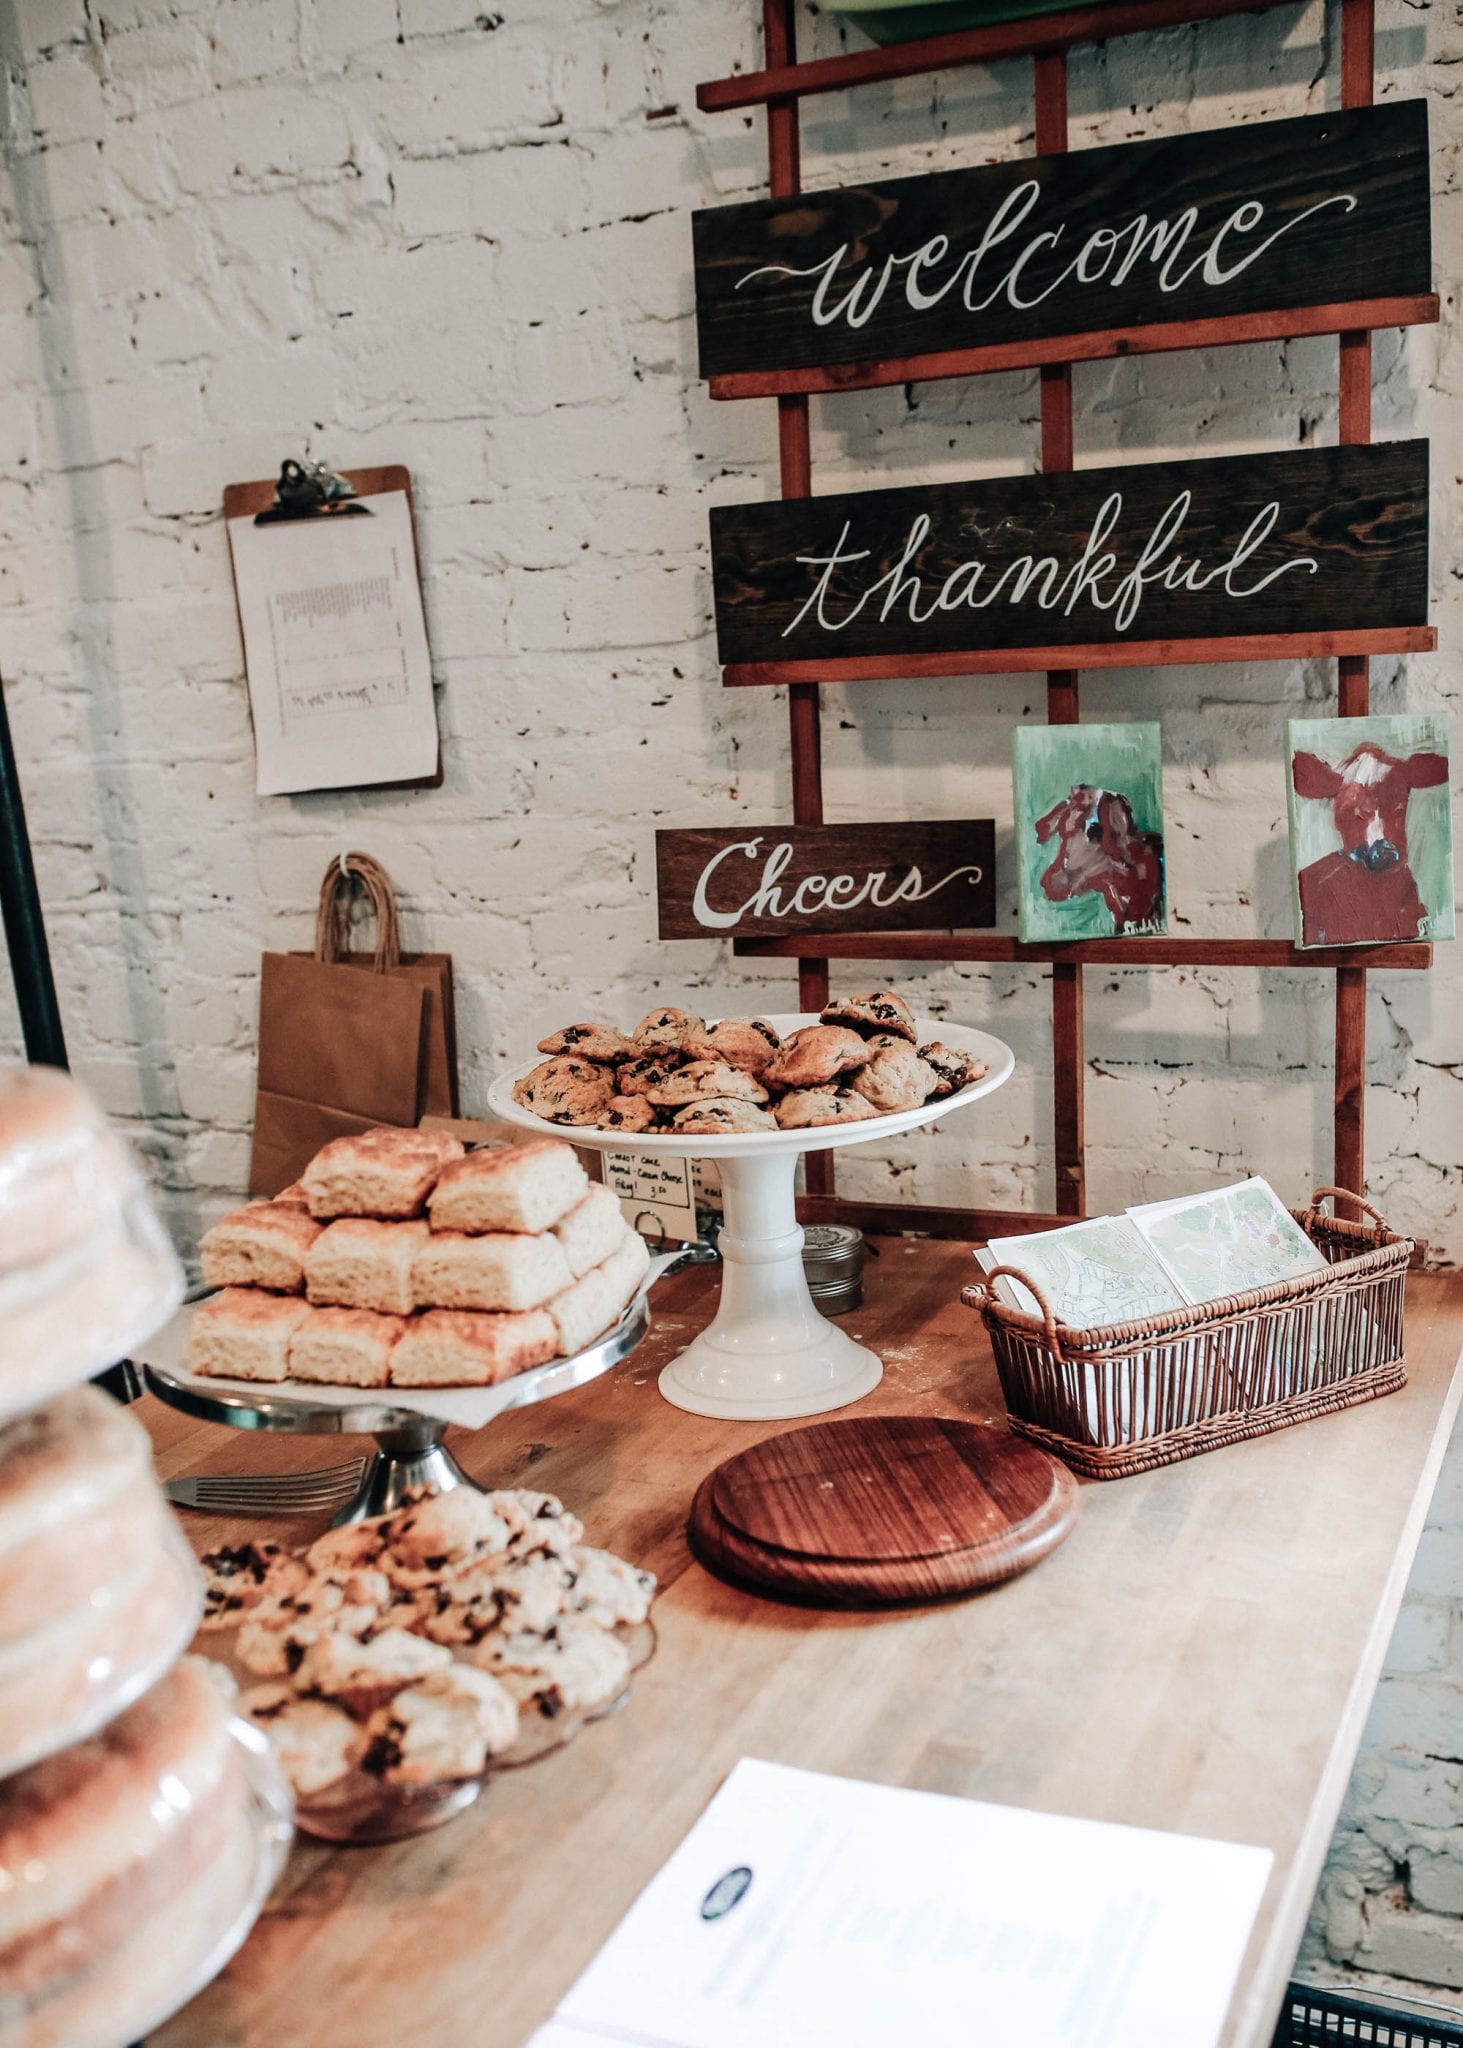
I mentioned earlier that my favorite part about the inn was the fireplace but my second favorite part was definitely their adorable cafe and expresso bar. Each morning we’d wake up, take a walk down to the cafe, order breakfast sandwiches, fresh berries, avocado salad, a big blueberry muffin, and talk about the schedule for the day. The food was delicious and the cafe was decorated with bright and fun pieces all around.

Tip: Order their breakfast sandwich and blueberry muffin!

We finished eating just in time to meet Anna, from Monticello Wine Tour, who also happens to have a well-known community page focused on things to do in Charlottesville, The Hometown Tourist of Charlottesville. She was so welcoming and felt like a good friend I’d known forever. Monticello Wine Tour offers group tours perfect for corporate parties, bachelorette or girls trips, or even couples trips. We picked up some sandwiches at a small local grocery shop, Keevil & Keevil, that we would save for our picnic later on at one of the vineyards. Side note: the veggie sandwich has been on my mind ever since and I’m about to call them to figure out the recipe.

Tip: Stop by Keevil & Keevil, order a veggie sandwich, and pack it up for fuel later on between wine tastings.

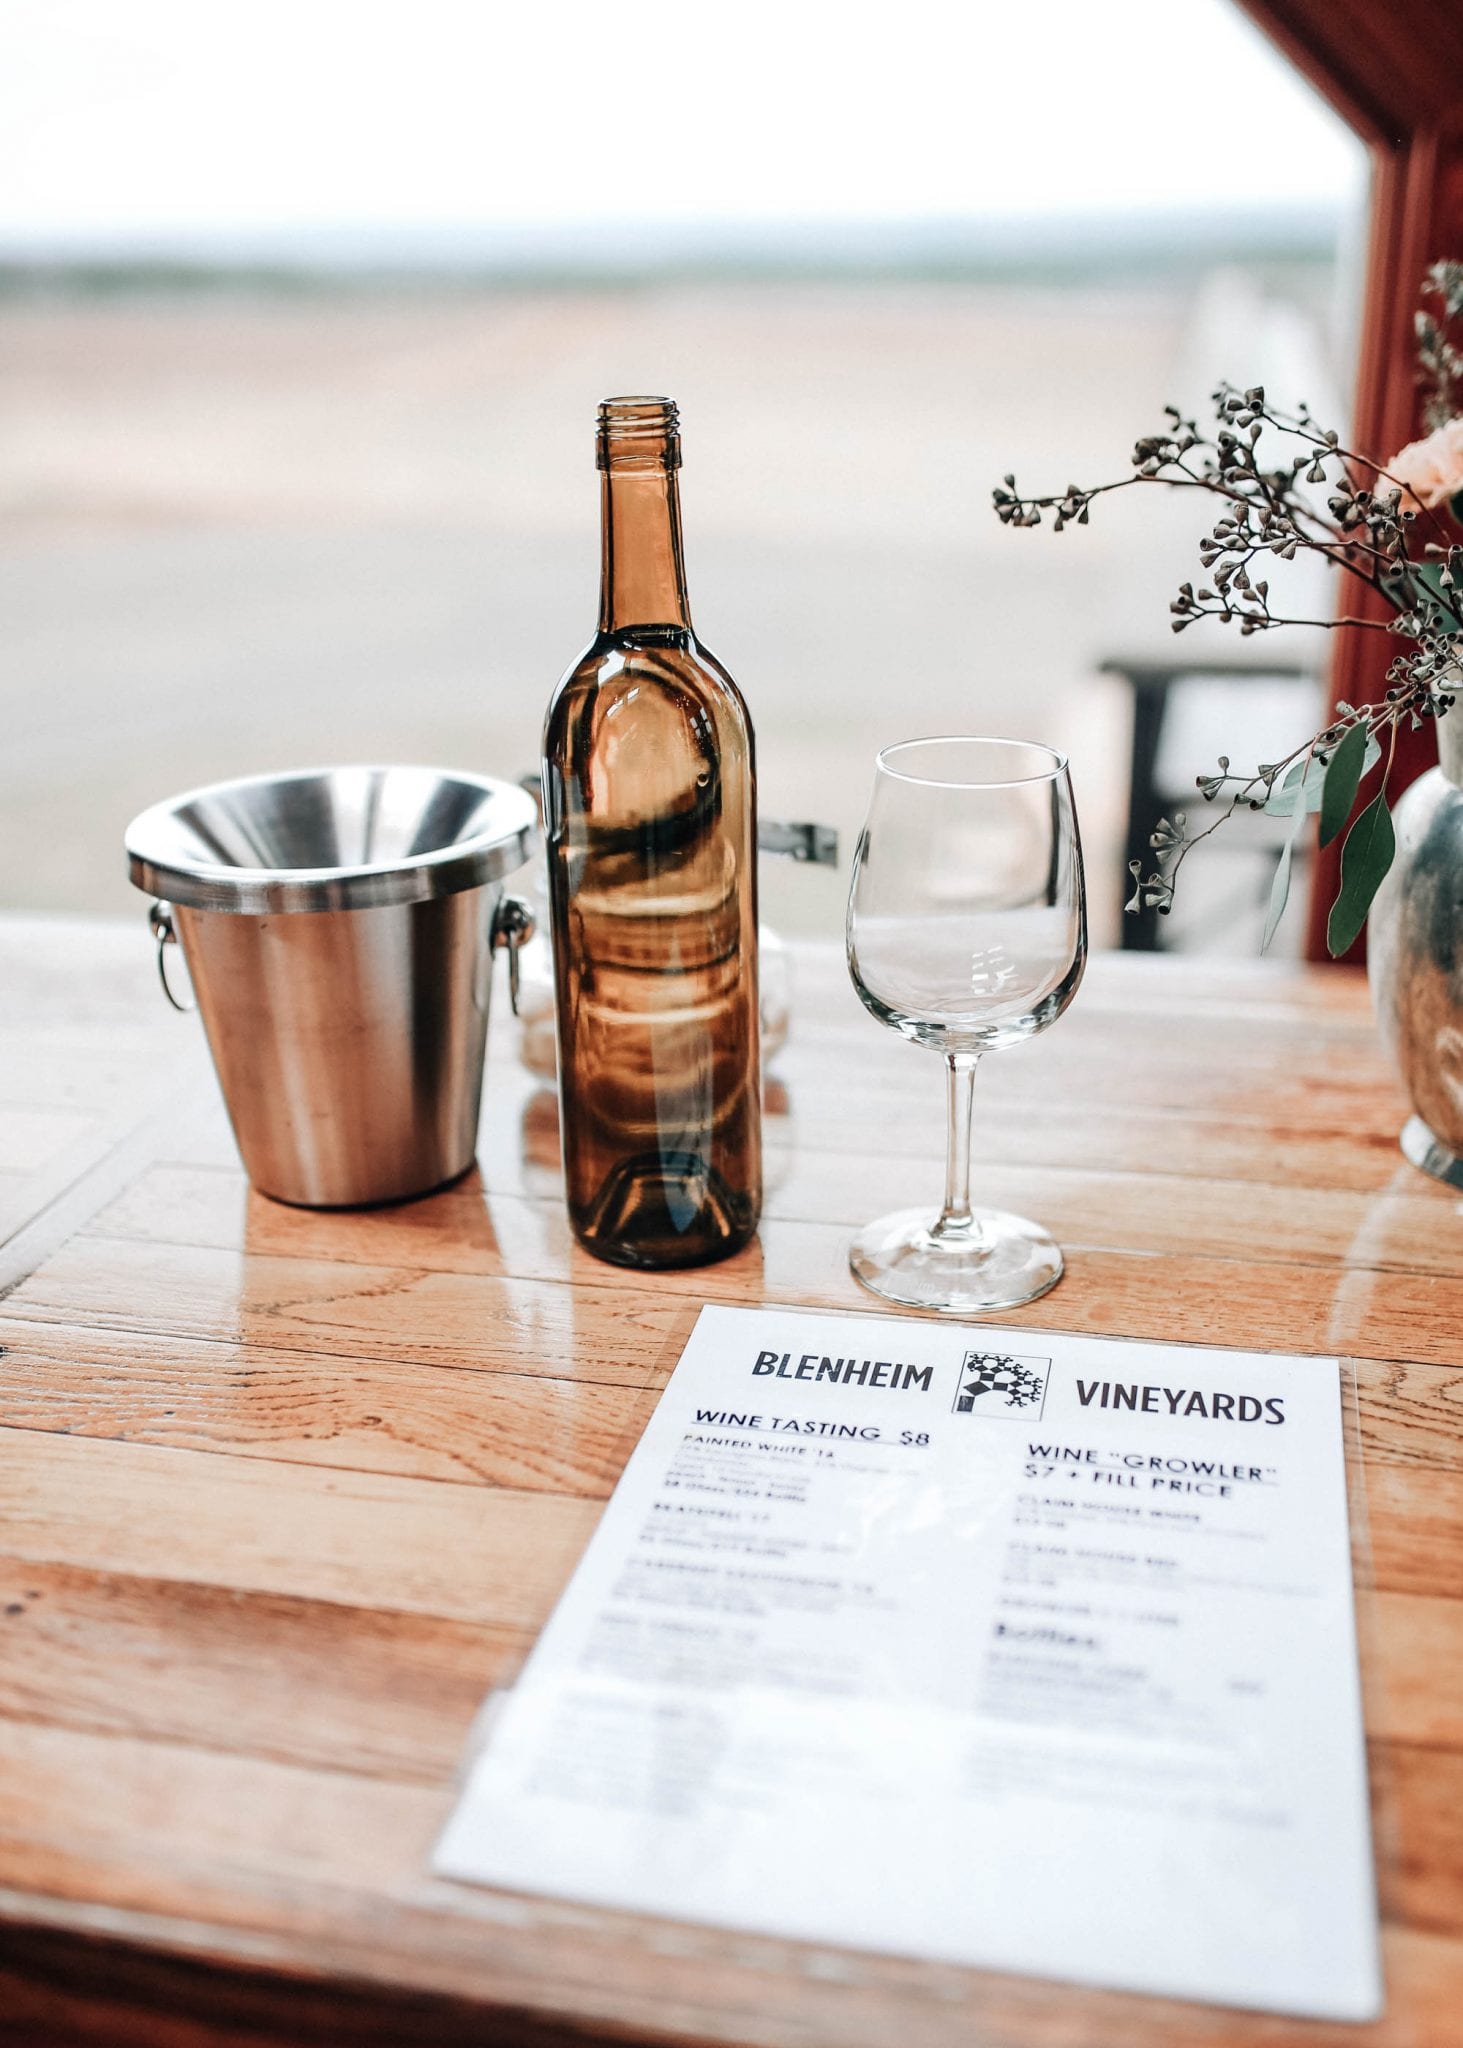
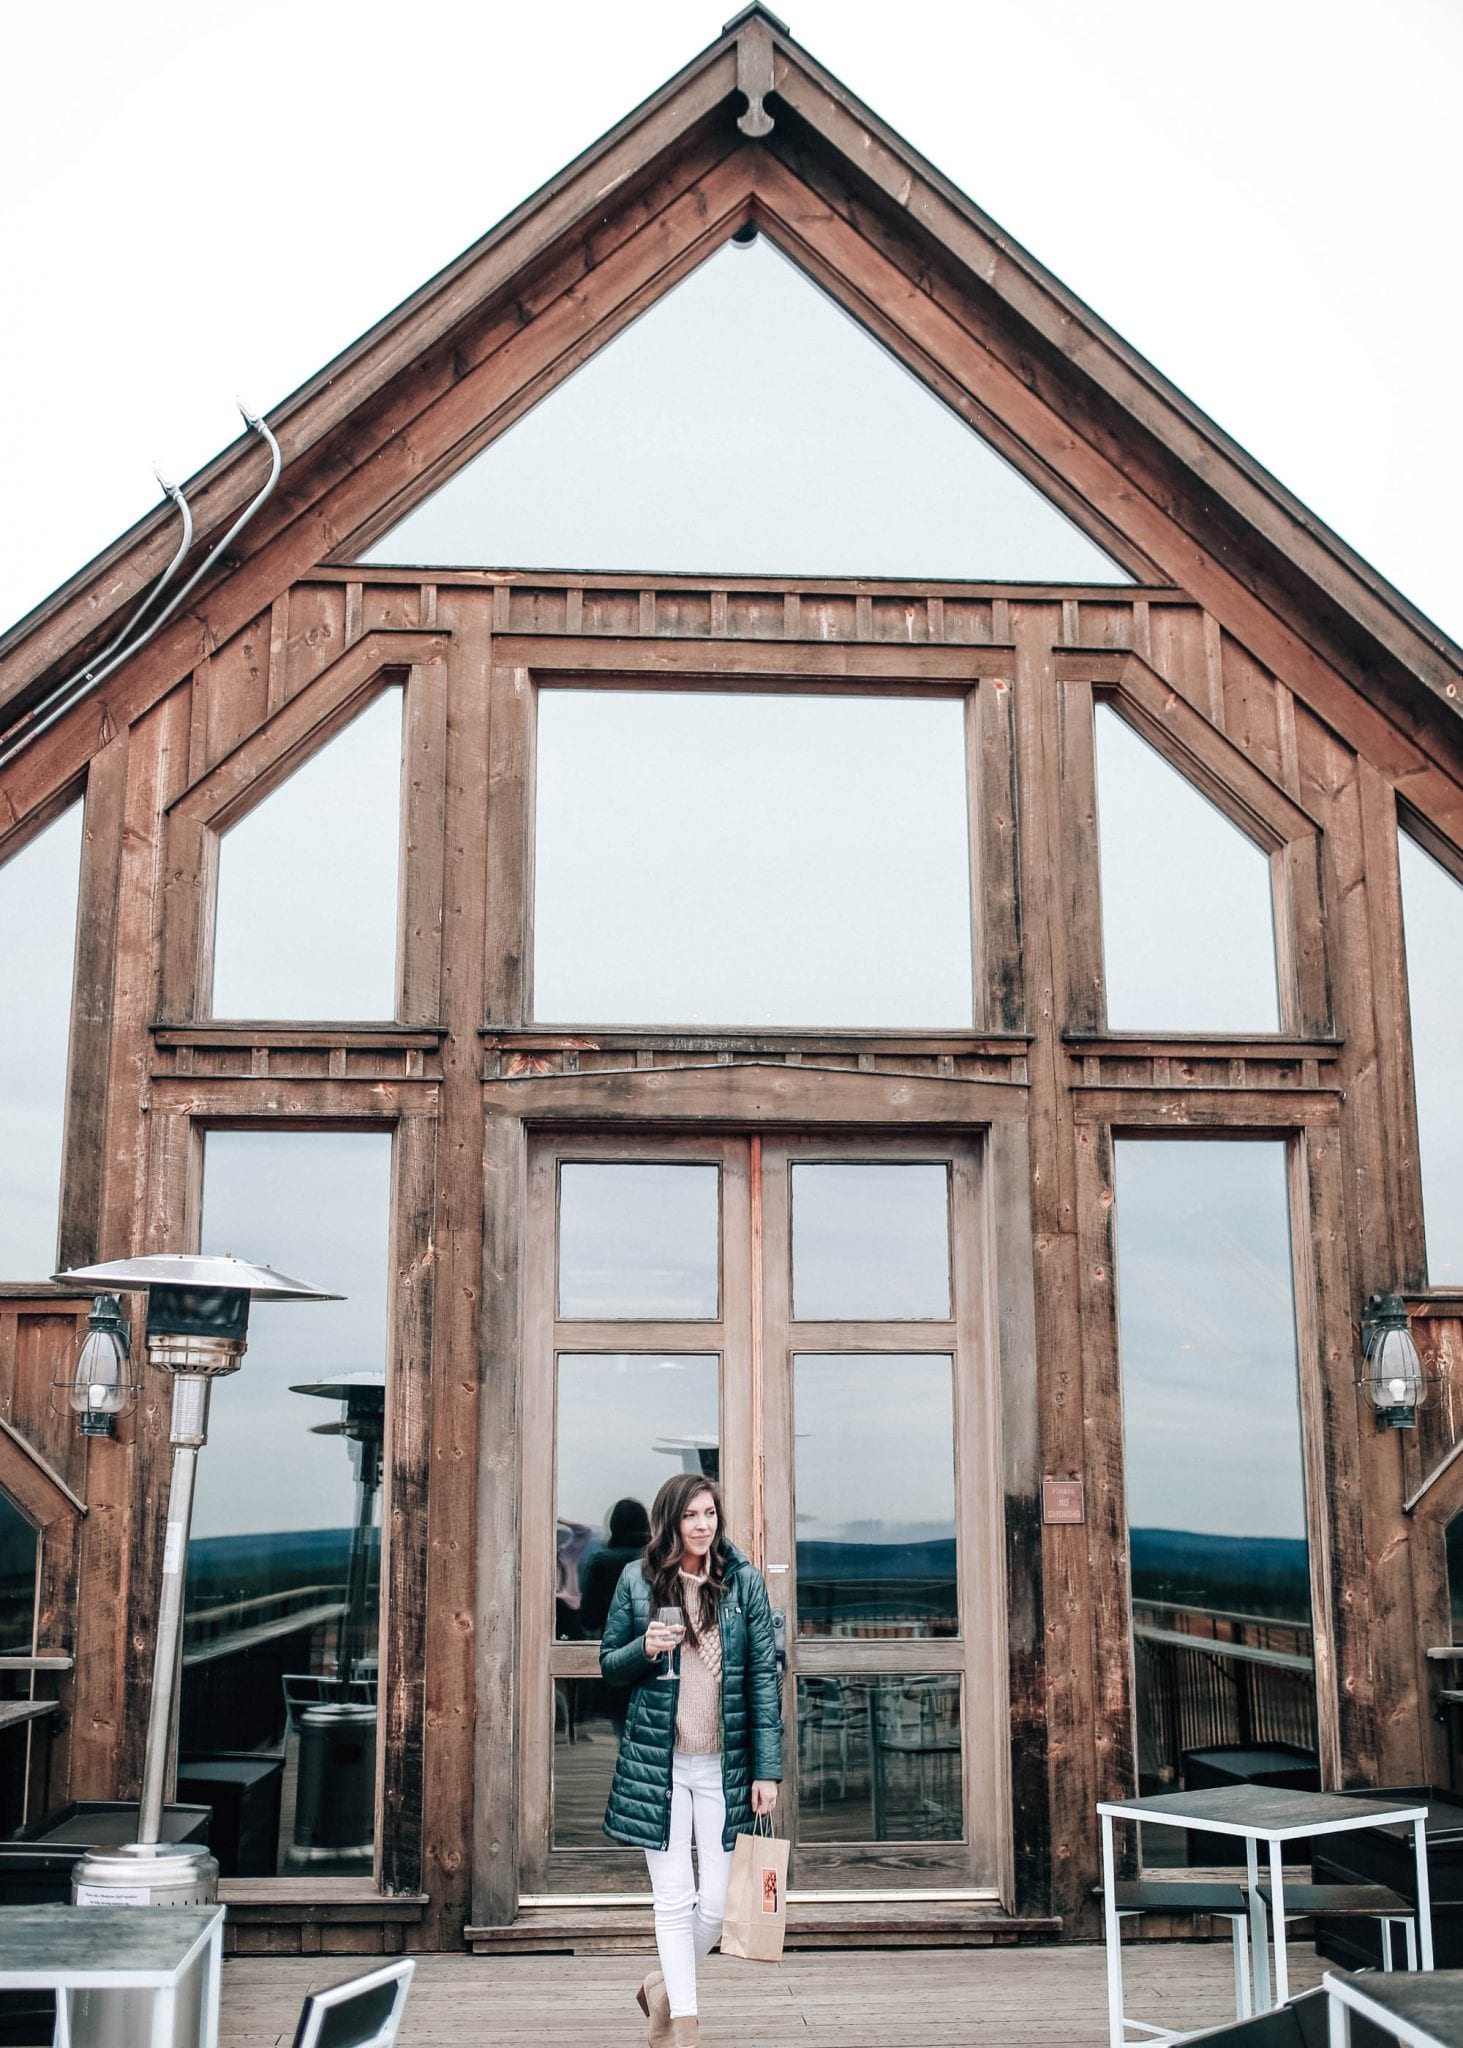
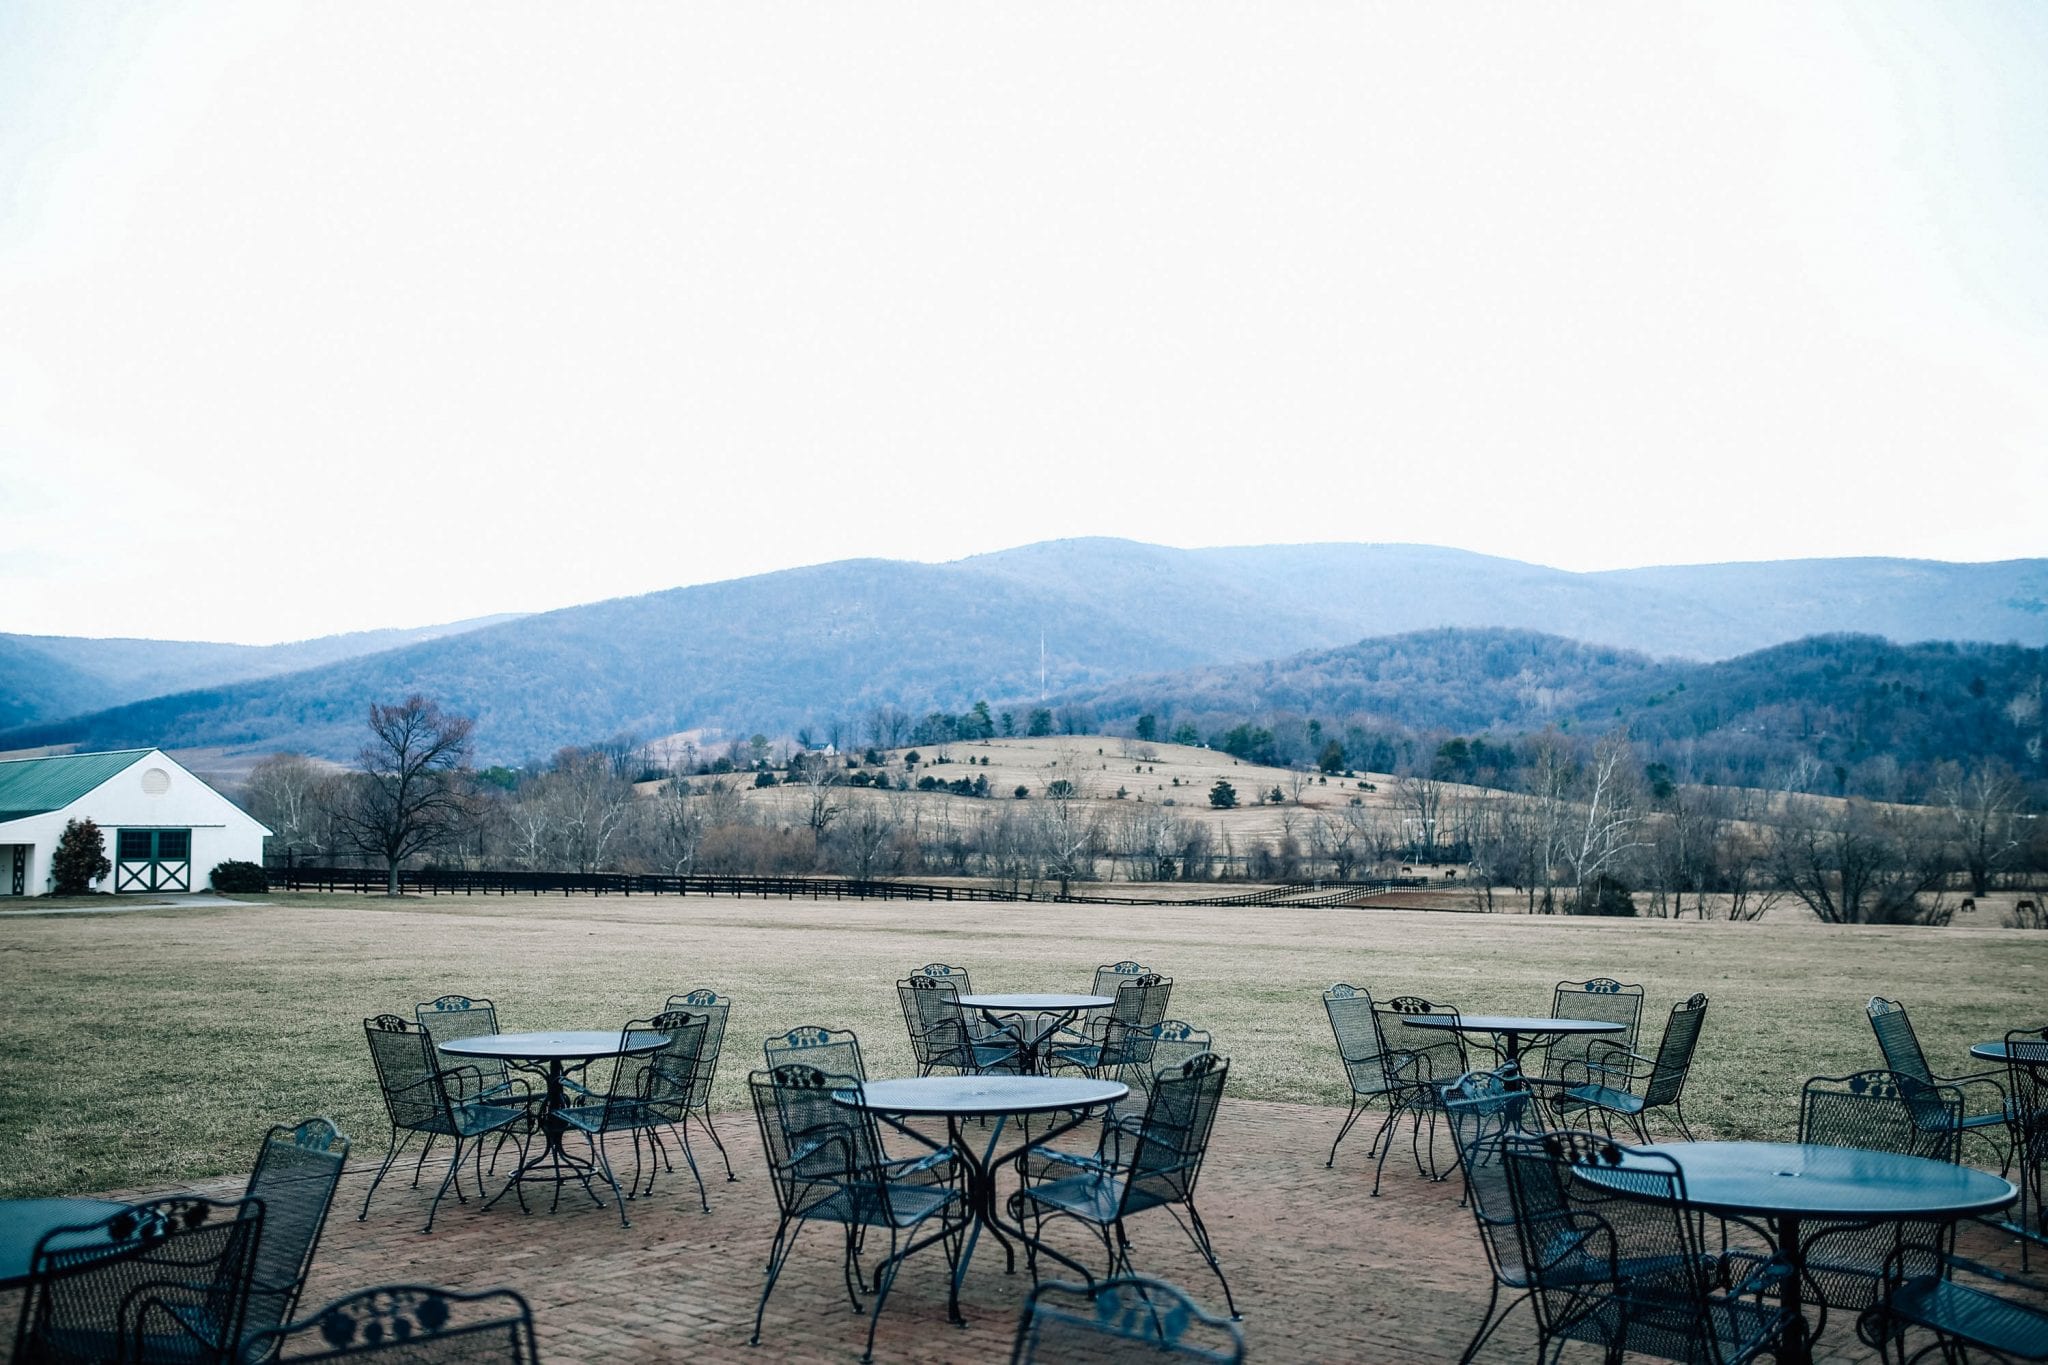
After we picked up sandwiches, Anna drove us around in a big suburban to some of the best wineries in town including our first stop, Blenheim Vineyards, owned by Dave Matthews. We tasted some reds and whites and went out on their back deck to take in the beautiful view overlooking the vineyards.

Tip: Order a glass of their Rkatsiteli white wine and play some Dave Matthews while sitting on the back deck.

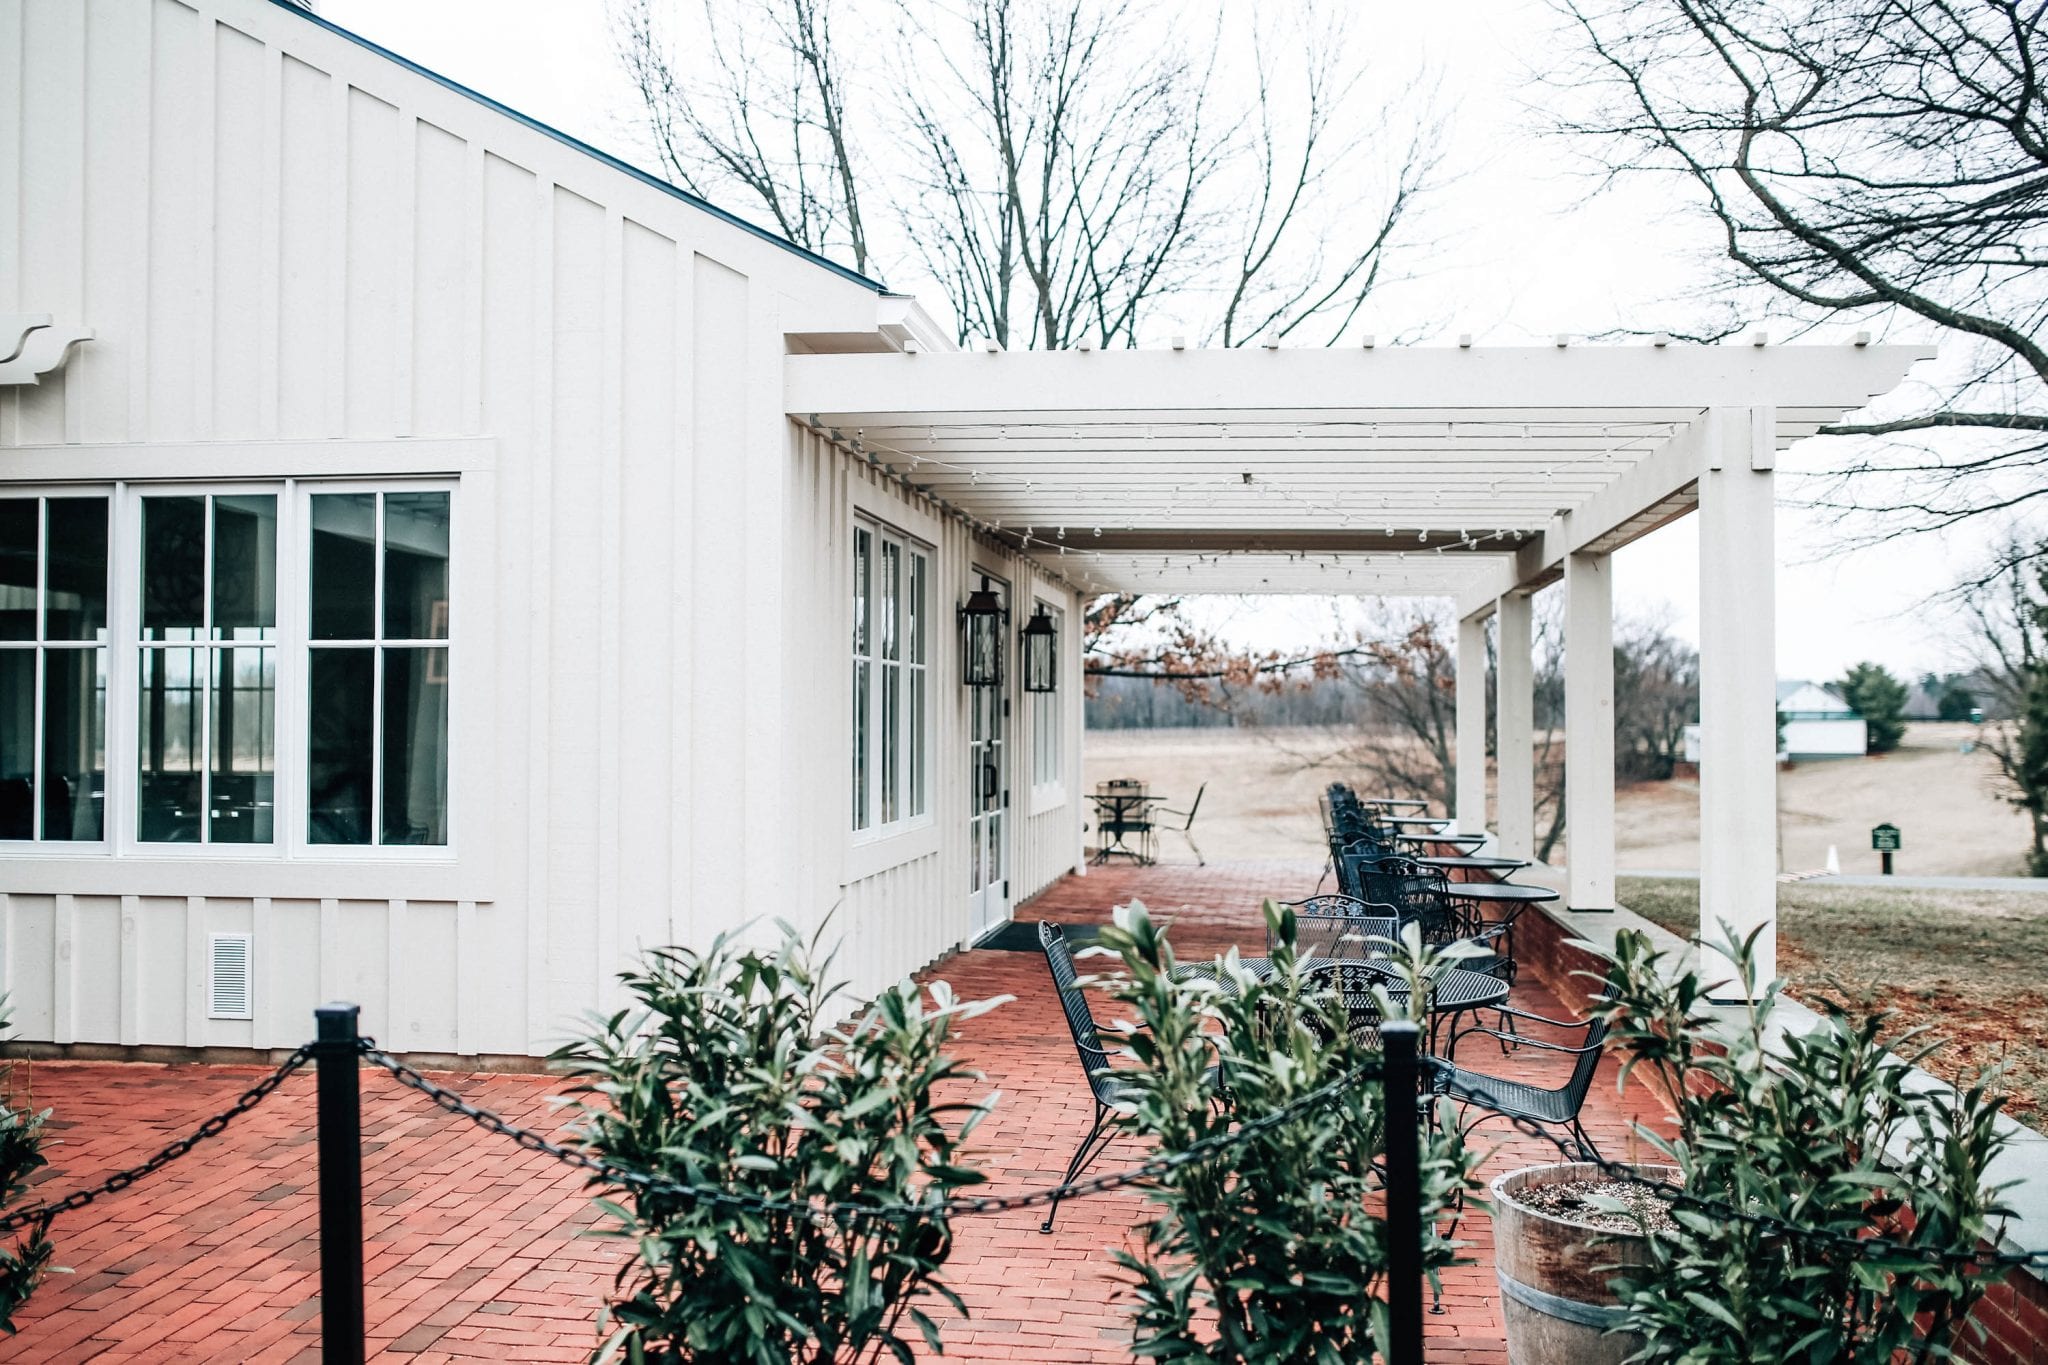
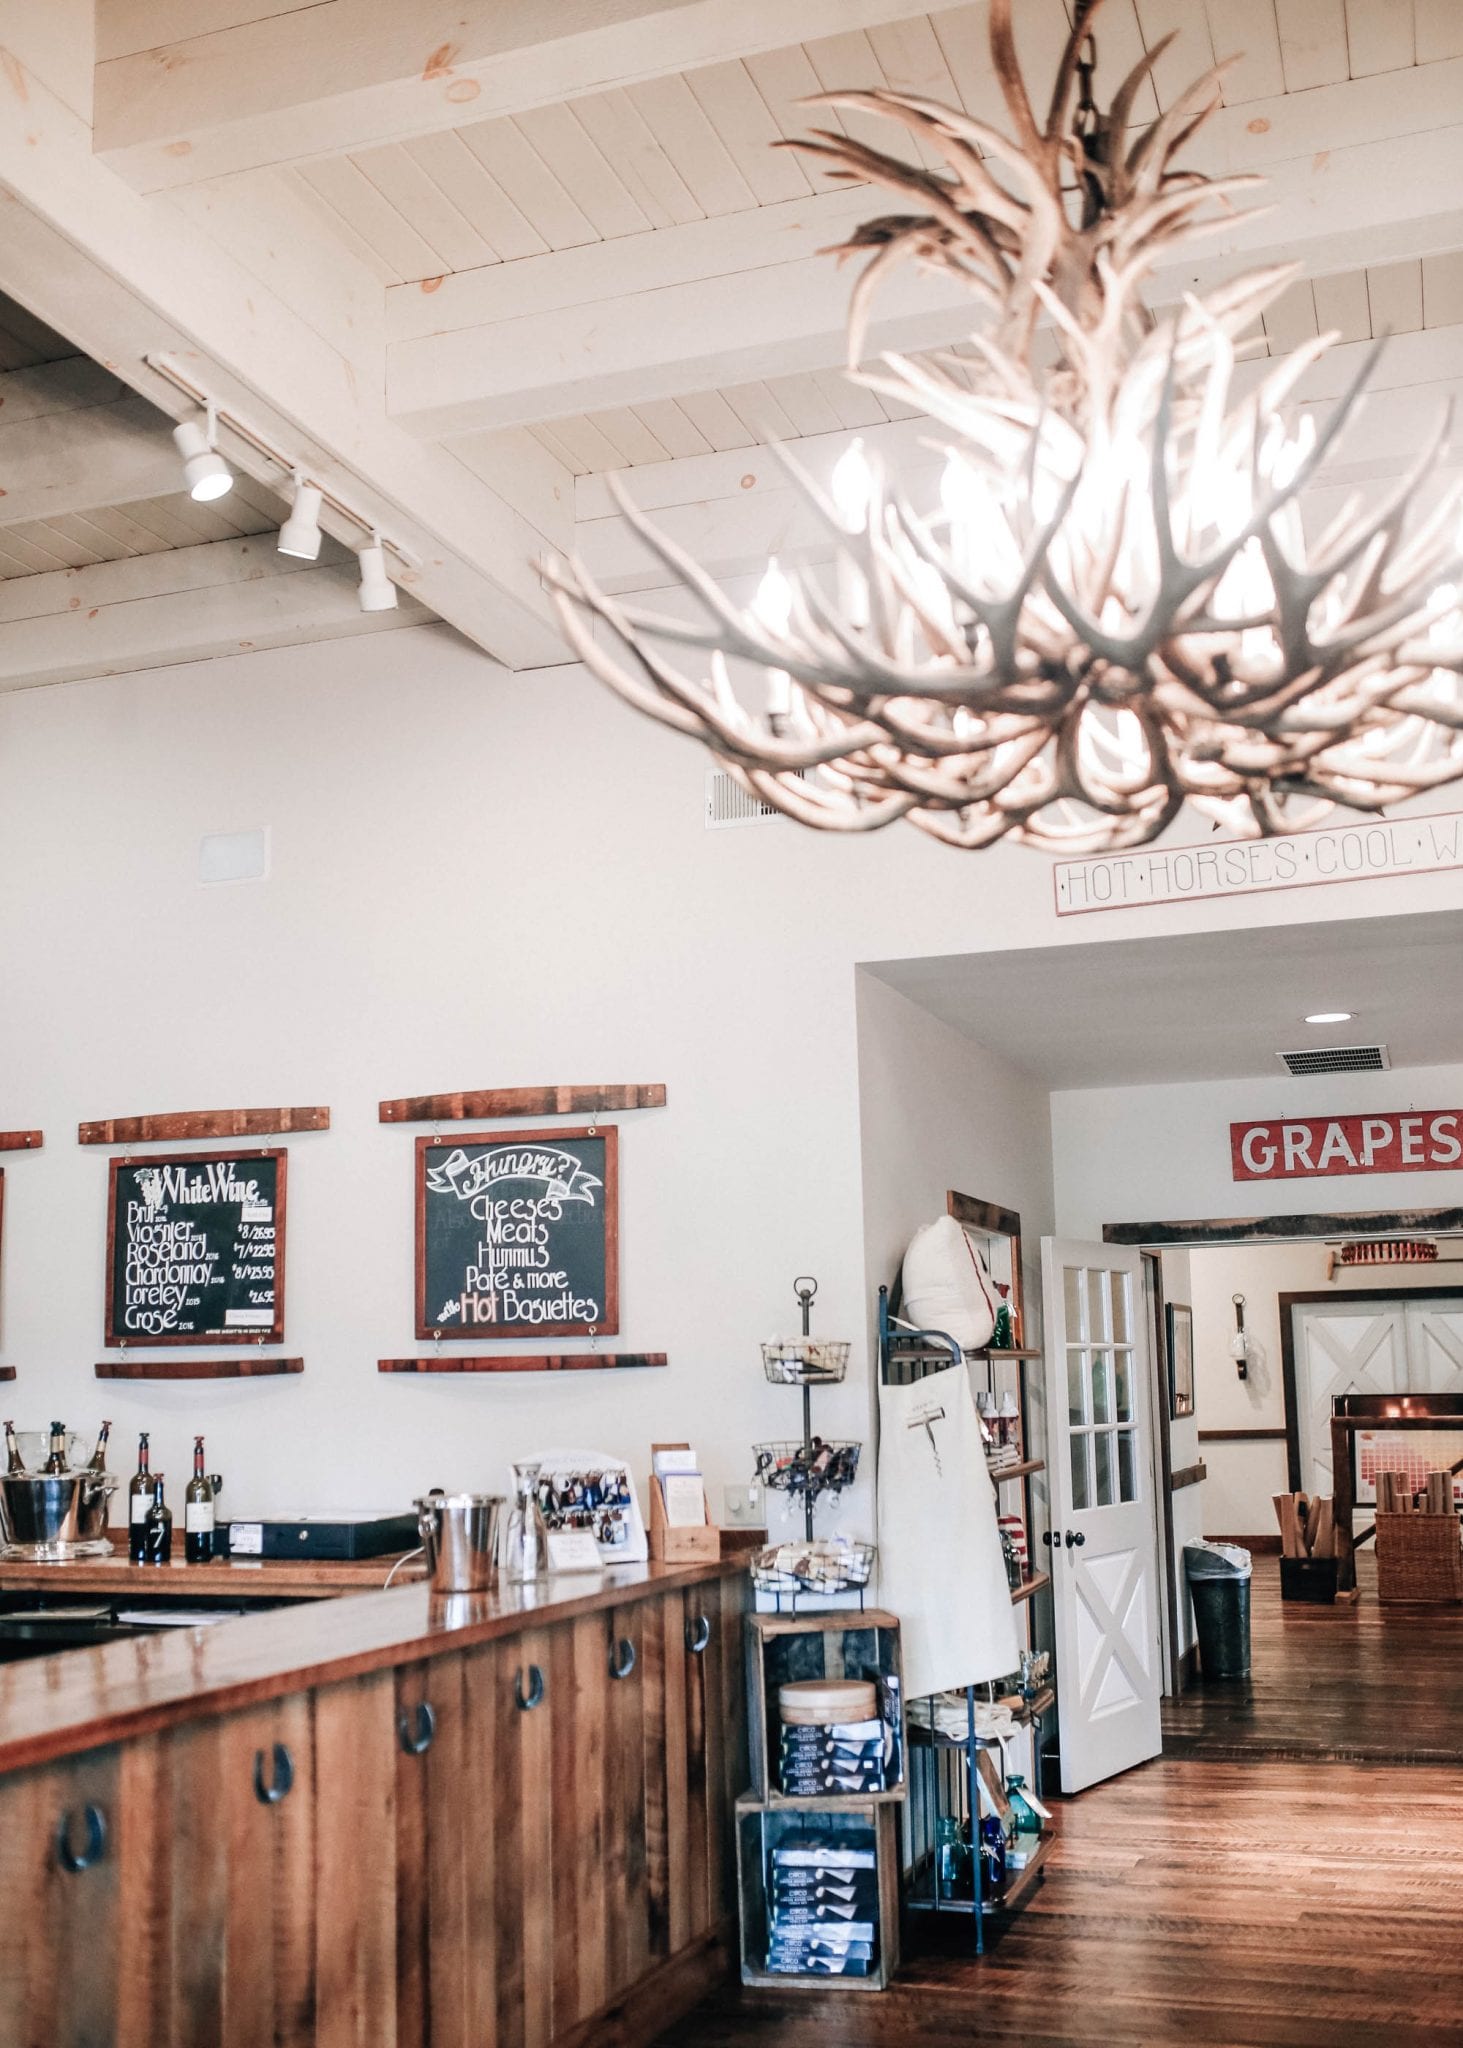
Our second winery stop was King Family Vineyards, a family owned winery which also has a huge polo field for summer matches on Sundays starting on Memorial Day weekend. The entire place was stunning and I’m dying to go back in the spring or summer with TJ. Dogs are welcome there which already makes it feel like home but I really genuinely felt like I was a home when we were here. James King let us try some of the best wine and we even got a sneak peek taste of their new rose the day before it launched on Valentine’s Day. We all bought multiple bottles of wine to take home and we found a table to eat our sandwiches we had picked up earlier at Keevil & Keevil.

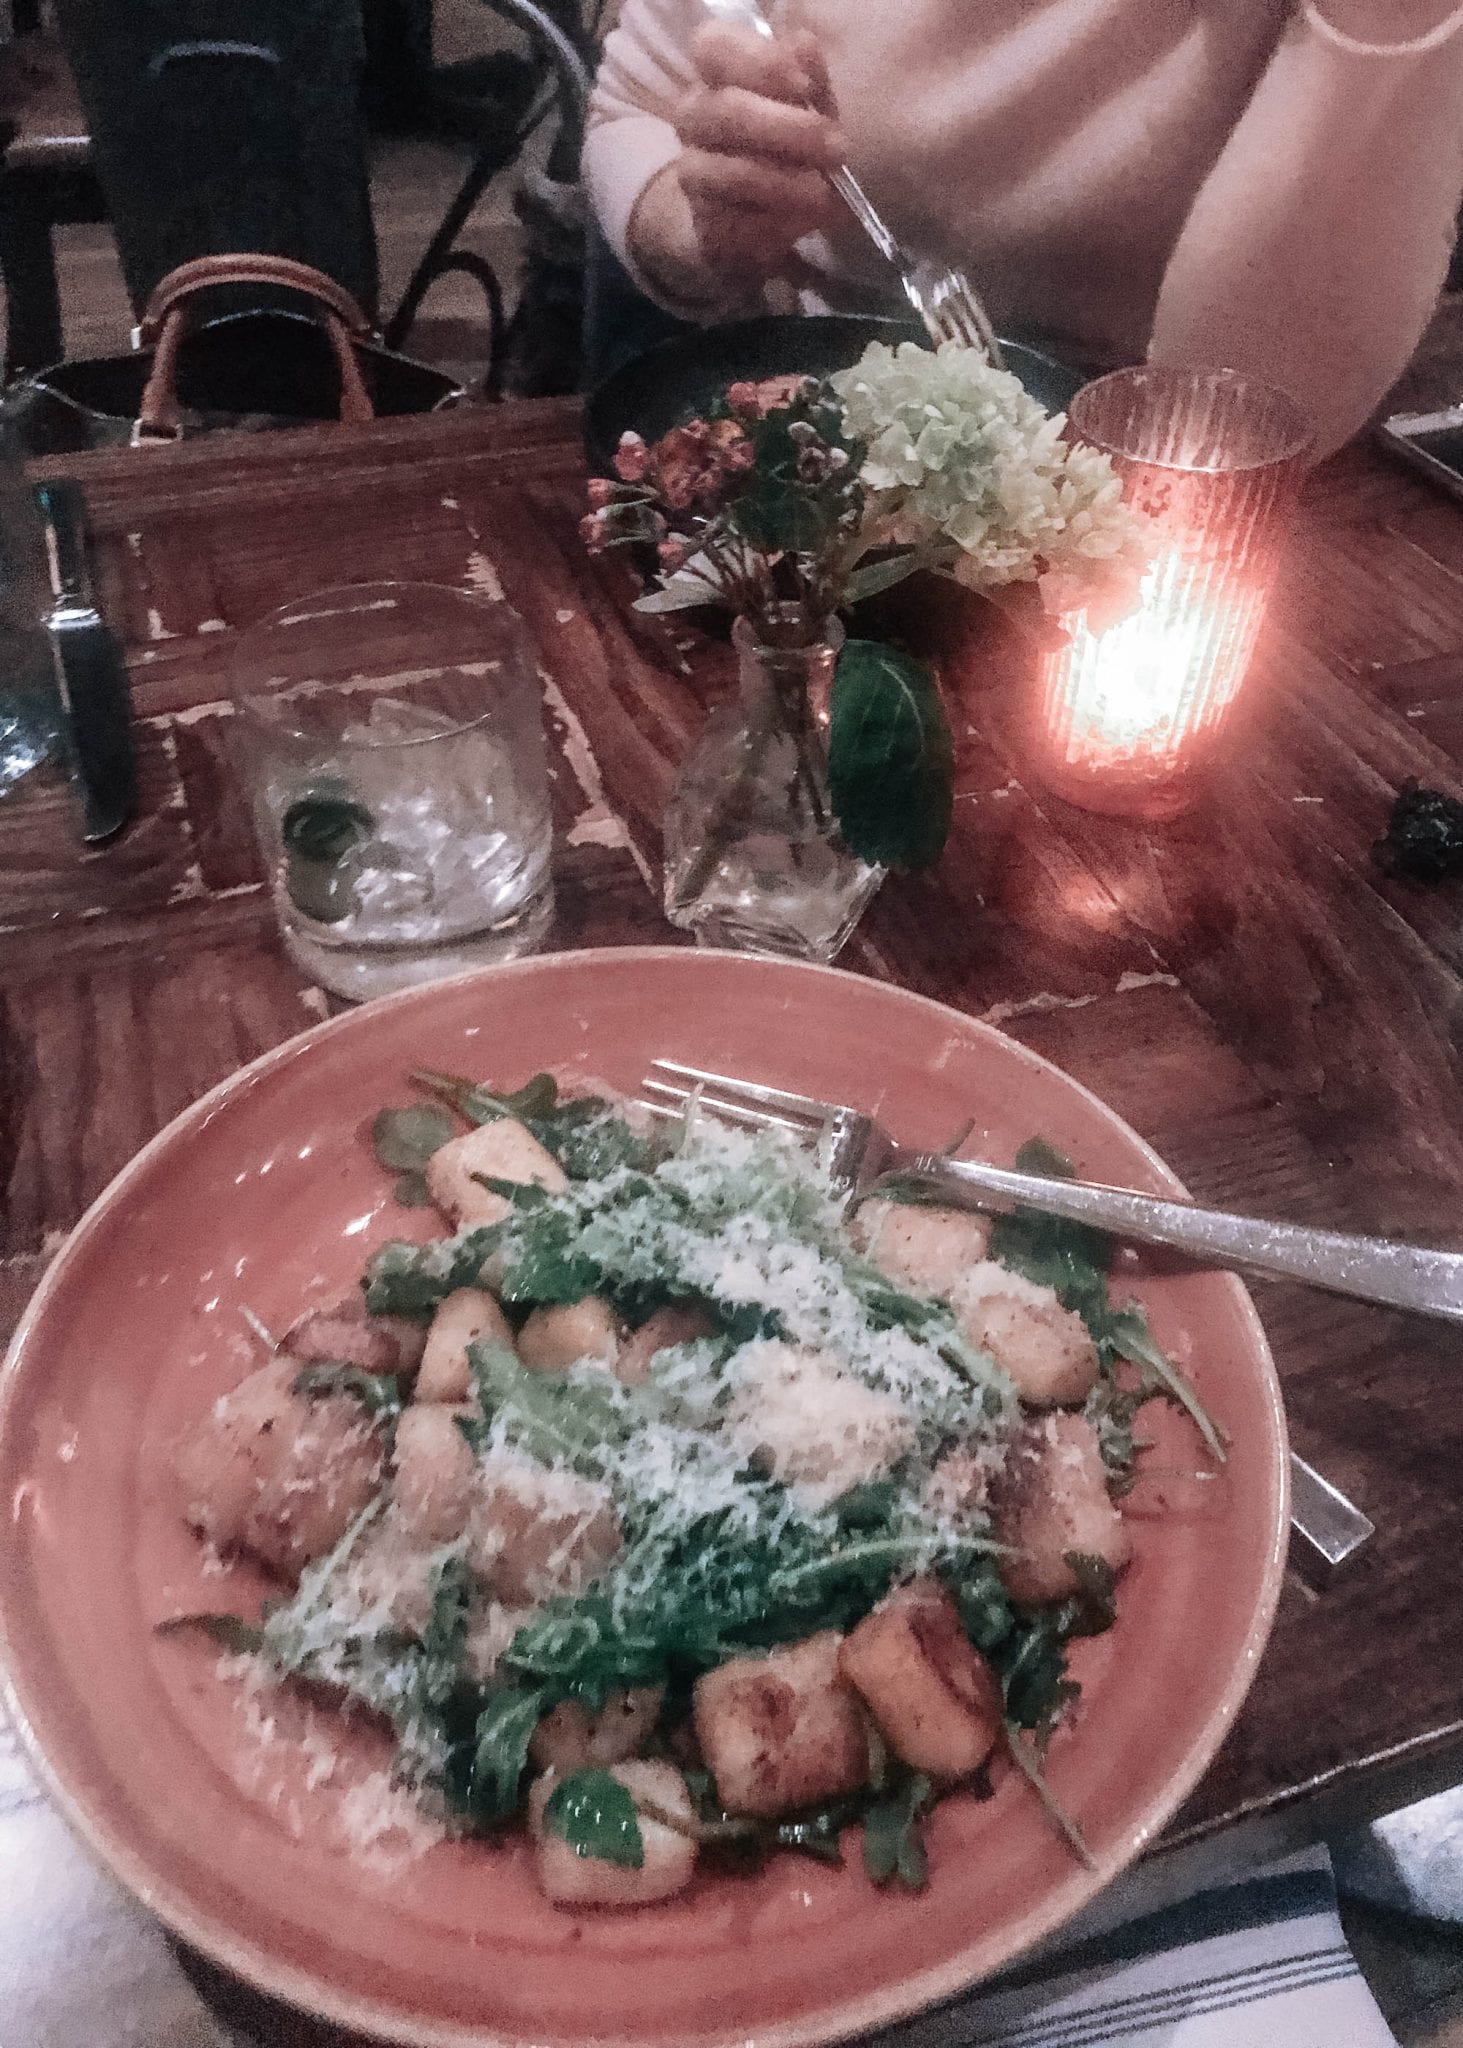
After eating lunch, we spent about an hour exploring a couple of antique shops as well as the downtown mall where we would later have dinner at Red Pump Kitchen, a mediterranean and Tuscan-inspired restaurant. We had eaten at Red Pump last year for my bachelorette weekend and I remembered it being one of the best meals I’d eaten. I ordered the seared potato gnocci with arugula and we finished with the chef-inspired assortment of gelato for dessert. This is another place I’ll have to go back and visit in the spring/summer with TJ once their alfresco dining area is open!

Tip: Order their Kale Caesar salad and their Local Greens Salad to share as a starter! So fresh and so delicious. And don’t forget to order their gelato trio for dessert!

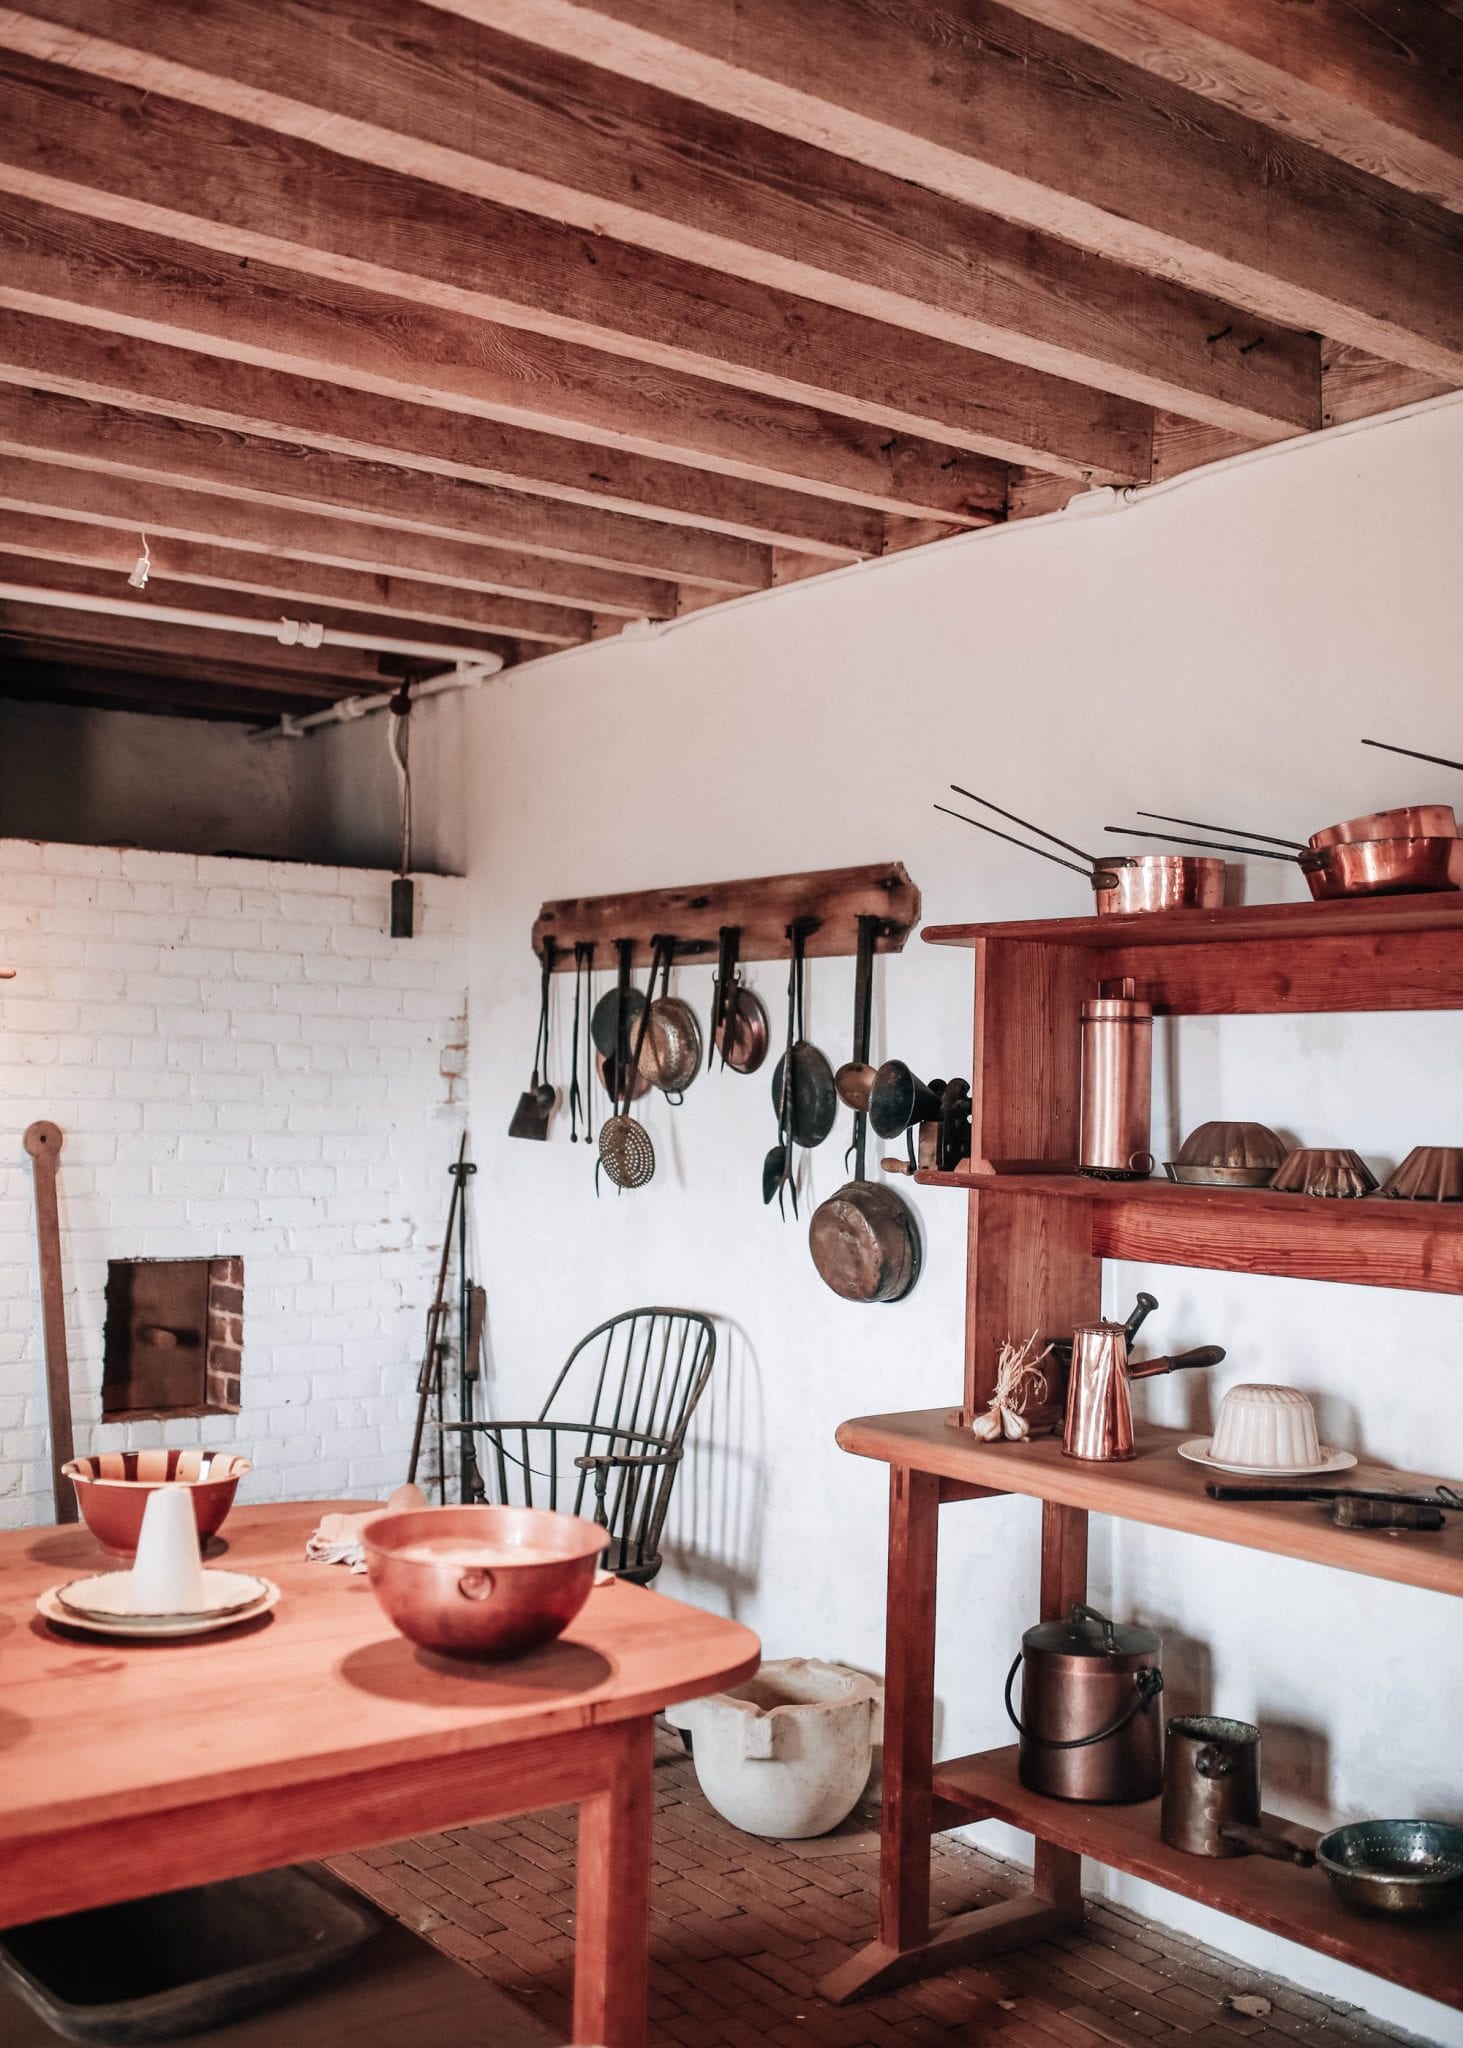
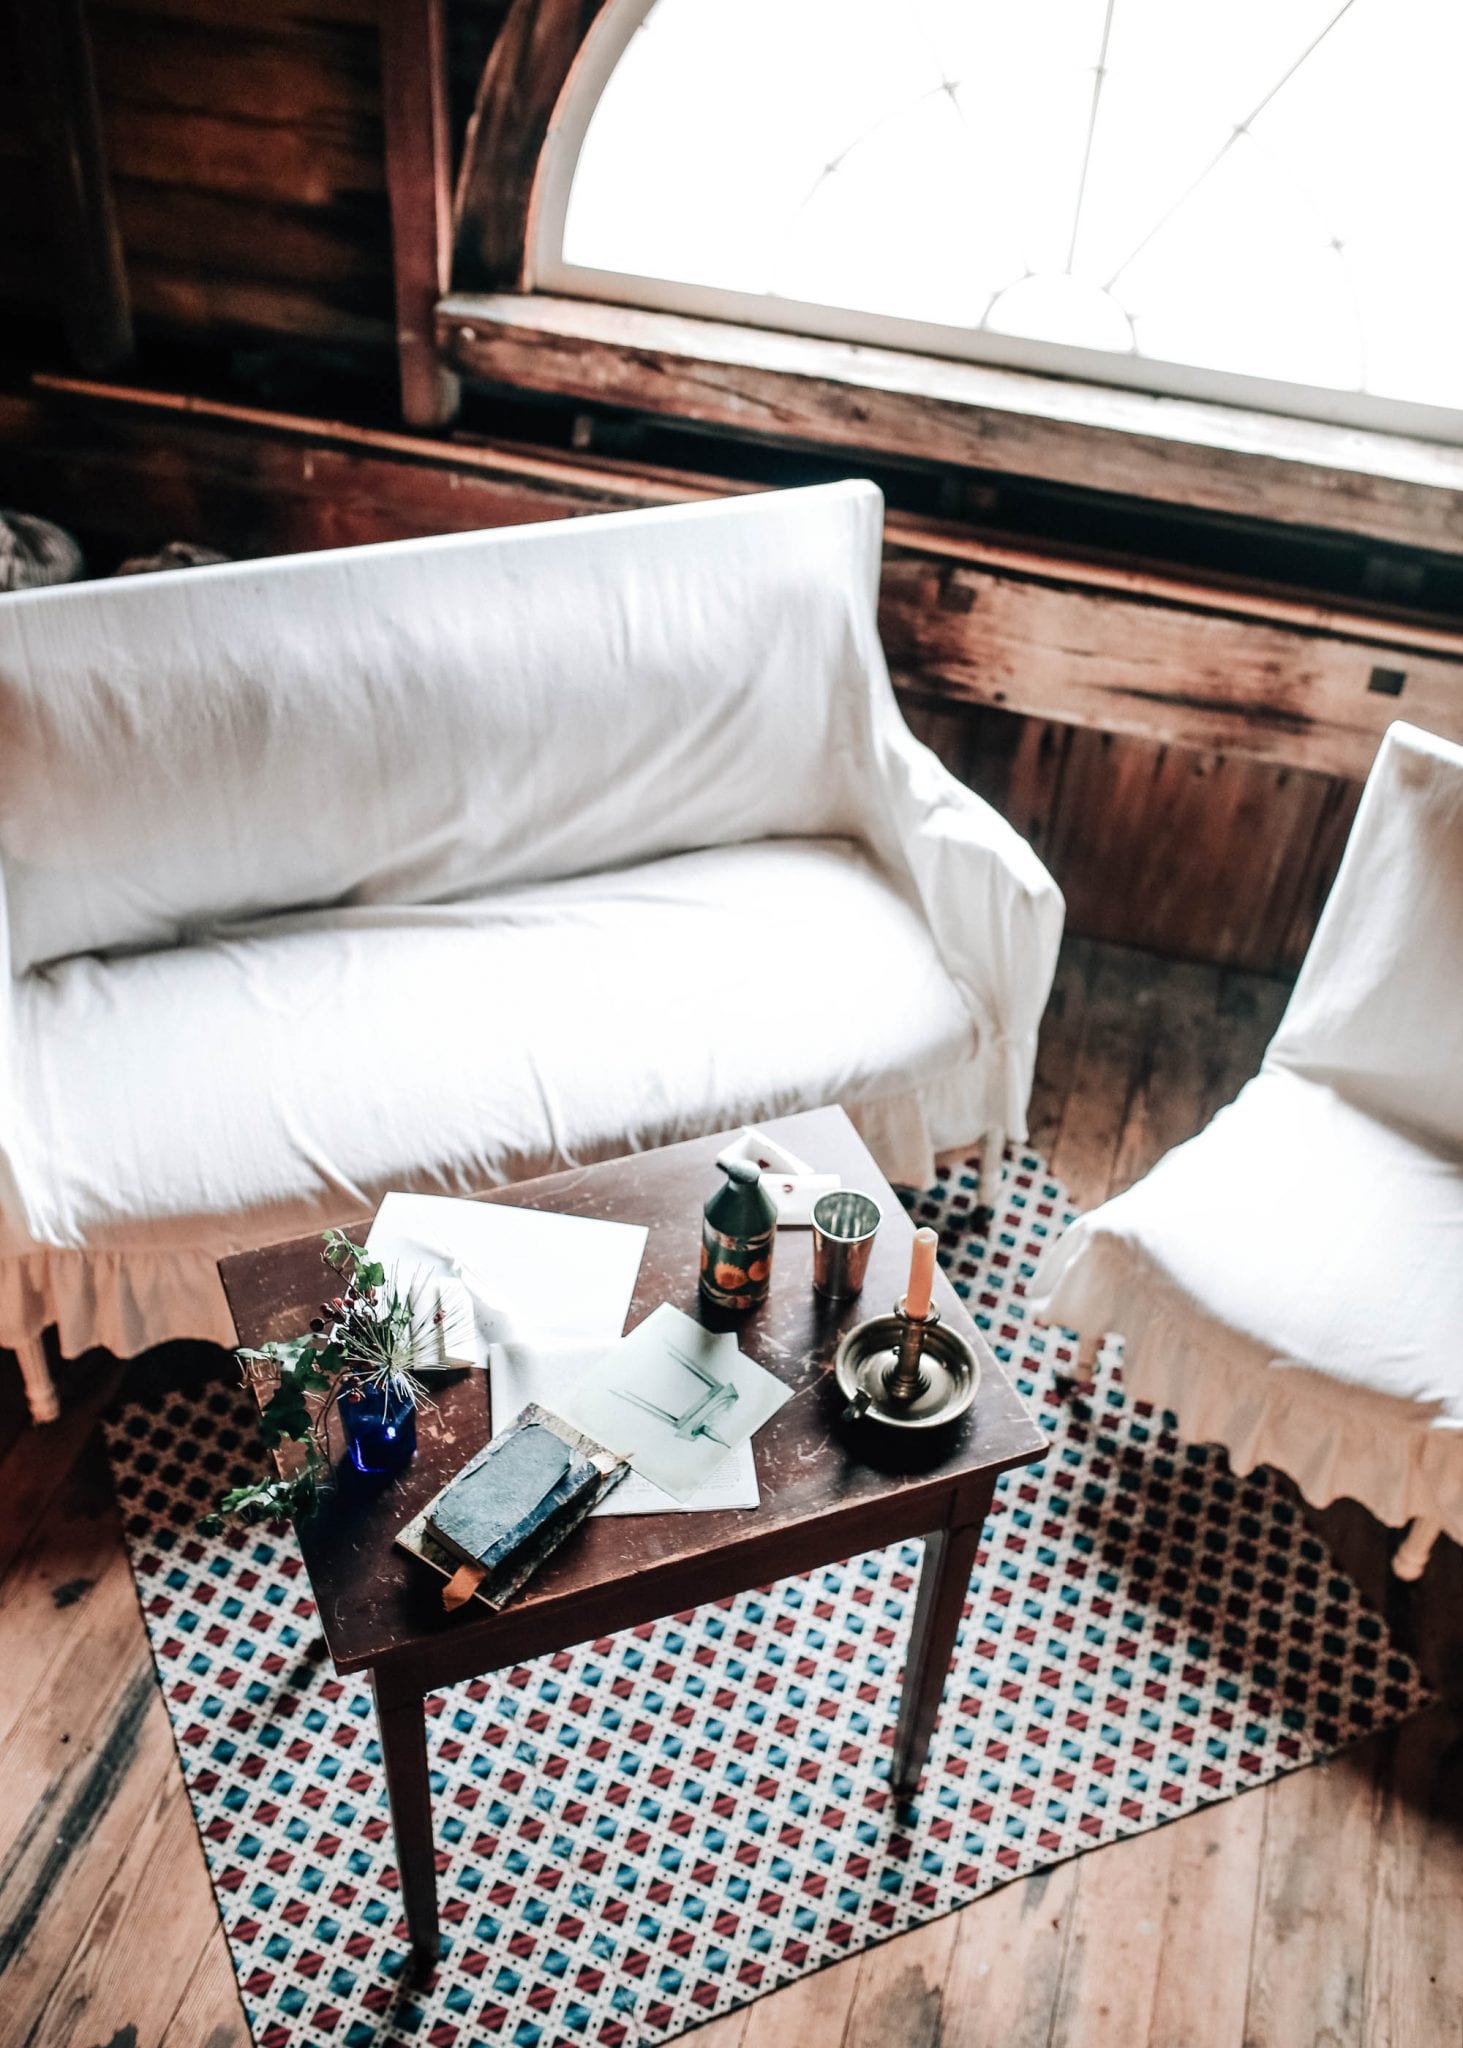
The next morning was our last morning at the inn so after our last breakfast at the Oakhurst Cafe, we packed up our car, checked out, and headed to Monticello for a quick tour. When I was growing up, I actually lived in Virginia and learned Virginia history more than any other state so while this wasn’t my first time visiting Thomas Jefferson’s house, it was such a nostalgic experience visiting it for the first time as an adult. It’s a way difference experience visiting as a kid v. an adult too and I noticed details of the house that I didn’t notice on previous visits. This is a must-stop in Charlottesville for anyone who loves history!

This trip was such a treat to be able to explore new places to visit in Charlottesville and I will most definitely be back in the summertime!

Thank you to the Charlottesville Albemarle Convention and Visitors Bureau for hosting and making this trip possible!

Shop My Suitcase:

<center>
</center>
Capsule Wardrobes

Building A Spring Capsule Wardrobe

<center>
</center>

TOPS:

BOTTOMS:

Today’s post is one I’ve wanted to create for a long time. As I get older, my shopping habits are changing and I’m learning to mainly buy things that I can mix and match to create a variety of outfits.

If you’re not familiar with the term ‘capsule wardrobe’, it’s basically a smaller wardrobe (normally 20-30ish pieces for a season) including clothing that you can mix together and wear multiple outfits with. With most capsule wardrobes I’ve seen, the pieces are usually more neutral but I’m trying to add in a bit more color to mine because how can you not during spring?! My goal is to go into my closet each morning and not feel overwhelmed with trying to find something to wear. With a capsule wardrobe, you can easily pick out what to wear each day, saving time, and just making your whole life feel less cluttered. Now depending on your lifestyle and work wardrobe policy, you may need a few dressier options because mine is definitely on the more casual side.

After doing some online browsing, I found 21 pieces that I’d put in my spring capsule wardrobe. The best part is that some of these are so classic that you might already own something similar!

OTHER:

<center>
</center>

SHOES:

<center>
</center>
<center>
</center>

*items above are clickable

and on to the 30 outfits you can create with these pieces…

I hope that was helpful! My ideal capsule wardrobe looks a lot different than most, mainly because it is a bit more colorful but still includes many timeless pieces. Now on to the difficult Monday night decisions… to watch This is Us or The Bachelor? TJ and I started watching This Is Us on Saturday night and I can’t stop!

xo, Shelby

PIECES SHOWN ABOVE:

<center>
</center>
Uncategorized

Weekend Sales and Plans

A Few Sale Picks:

HAPPY FRIDAY.

This week flew by and I have a feeling the entire month of February will too. I went to my first group fitness classes in a long time this week and my body has hopped aboard the struggle bus. I’m excited for the weekend though. We’re having some friends over for the super bowl and we’ll be doing a few home projects (I guess this never ends once you have a house). I’ve also been wanting to make our own smoothie bowls since we’re no longer close to Clean Juice so that’s also on my weekend agenda. We’ll probably go back to our local nursery in search of some more plants. TJ has dug up our back yard in the process of making a new patio. There are lots of things going on around here! Anyways, today I’m sharing a few good weekend sales and my top picks of each. I am dying to get this succulent print and I finally just ordered these shams for our bed that were on sale.

Hope y’all have a great weekend!

xo, Shelby

<center>
</center>
<center>
</center>

LOFT || $50 off your order of $100 (half off) w/ code SCORE

<center>
</center>
<center>
</center>

TARGET || various home decor up to 30% off

<center>
</center>

Textured Sweater (on sale for $18) || Grey Joggers || Denim Jacket 

shop this photo here

shop this photo here

<center>
</center>

*images above are clickable

Lifestyle

The Sweater To Get You Through Winter

Happy Friday!

I’ve thoroughly enjoyed this week and all of the snow we got but I’m excited for the warmer temps this coming week and getting back into the swing of everything. I need to get out of the house! Our streets are still covered in snow and ice, but today, I’m determined to make it out. I did have a chance to practice my video skills and made a little snow day video on youtube yesterday.

Anyways, the real reason I’m putting this post up to is talk about getting through winter. It hit me yesterday that winter is far from over… technically, we have about two months left and I don’t know how I feel about that. Actually, yes I do. It is depressing and I could definitely use a beach trip. The key to surviving the last couple of months of winter? Warm delicious soups and turtlenecks, specifically this beautiful blue one I’ve been wearing on repeat. It’s under $50 and quite warm and cozy.

These are also the jeans I am always wearing by Topshop. Love the fit and style and overall casual vibe they give.

Hope y’all have a great weekend planned! Or not planned. Those are fun too. We have a mildly busy weekend but I’m mainly excited about just getting out of the snow.

XO, Shelby

<center>
</center>
Lifestyle

Ideas For Decorating A Corner Space

Living Room Decor & Outfit:

Set of 12 White Photo Frames || Lavender Pom Cardigan c/o || White Denim || Tufted Ottoman || Knit Slippers || Chair (from Homegoods, very similar here) || TV Stand (from Homegoods, very similar here) || Candlesticks || Blanket || Pillow

Every home has “that corner”, the one that is a little awk and it might be enough space to put a chair but might not… It could maybe use a plant but you have no idea what type of plant to even place there. You might have a hard time deciding what to hang on the wall… a gallery wall? A grid-style gallery wall? Just a few frames? One massive frame? A mirror?

We put our Christmas tree up the first day we moved into our house so a few weeks ago, when we took the tree down, the corner it was in looked very sparse. I wasn’t totally sure what to hang on the wall or if the corner would be too big for the chair I had.

I had always wanted to create a big grid wall of personal photos (family, travel, life) in my home but never knew exactly where it would go, not to mention, they can be SO expensive depending on where you purchase them from. After hours of searching online, I came across a set of 12 for UNDER $100! Now, they are definitely not the best quality (one of mine came broken and we had to super glue it back together), but they are a wonderful budget-friendly option. It even comes with a stencil to help you hang all of the frames evenly.

So, this inspired me to create a list of ideas of what all can go into that awkward & empty corner you might have in your living room.

PLANTS
After seeing our Christmas tree’s void, I knew I had to put a plant there to replace until next November. We had a faux fiddle leaf fig in another room so I just made a switcharoo and now I think it’ll stay! Here are a few cute faux plants you may want to consider for your home:

<center>
</center>

WALL ART
When it comes to wall art, there are SO many options. Let’s walk through them:

One Giant Classic Frame: Find a cute print off of Etsy to save money, frame a special photo, or any other art print. Print it out in an extra-large size to make the space pop!

Gallery Wall: I’m a fan of gallery walls; however, I already had a standard gallery wall on the wall beside this space. You can see more photos of my gallery wall here.

Grid Style Gallery Wall: This is the particular style I went with for my corner. It doesn’t take much creativity which can be nice although you can still make it as personable as you want! I still have the stock photos in my frames but I’ll be adding photos of our wedding and life as soon as I order some prints.

A Row of Frames (Horizontal or Vertical): Hang a column of 3, a row of 2, or as many as you want depending on the size of space you have to fill! I’m going to be doing this with the wall above our bed since that space is more horizontal.

Floating Shelves with Frames of Various Sizes: I LOVE seeing floating shelves with frames and other knick-knacks on them above couches.

<center>
</center>

CHAIR

Depending on the size of your corner, you can put a smaller more dining-table style chair in the corner or you can go all out and put a larger statement chair.

<center>
</center>

OTHER IDEAS

Bar Carts or Bookcases: I love the idea of a bar-cart in the corner of a room… what could be more welcoming and inviting than a bar cart or a bookcase? You can even add a mini gallery wall of art above a bar cart for an extra cute corner space. Here are a few affordable options I absolutely love:


<center>
</center>

I hope those help inspire you! You might already have some of these in other areas of your home that you can switch over. Let me know if you end up creating this grid-style gallery wall! I’d love to see how it turns out!

PS – I just realized that our bar-cart is on sale today.

xo, Shelby
Living Room Decor & Outfit:

Set of 12 White Photo Frames || Lavender Pom Cardigan c/o || White Denim || Tufted Ottoman || Knit Slippers || Chair (from Homegoods, very similar here) || TV Stand (from Homegoods, very similar here) || Candlesticks || Blanket || Pillow

<center>
</center>
DIY Projects

DIY Faux Shiplap Tutorial

Materials Needed:

Hi everyone! I’m excited to share our latest home improvement project that TJ and I took on recently. We decided to add faux shiplap to one of our bedroom walls. I know TJ was a little skeptical about this project, but in the end, even he thought it looked great! I really fell in love with shiplap by watching Fixer Upper and seeing how great Joanna and Chip made it look in the homes they renovated. We decided on faux shiplap because real shiplap was pretty expensive per board.

This was one of the first big projects we tackled in our home and we were very excited/anxious to make sure everything looked good. We watched a few YouTube videos on tutorials and got a really good feel for how everything went together. Incase you’re more of a visual person, I created a video tutorial as well. Click here to watch the full video!

First, we will go through the materials that we used:

(5) 4ftx8ft pieces of plywood underlayment – we based the number of pieces we needed by using the dimensions of the wall that we were putting the shiplap on.

Stud finder

Nail Gun and Compressor – we borrowed a gun from one of TJ’s friends, but you can also rent them from Home Depot or Lowes.

16 gauge, 2” nails

Jig-Saw – we used this to cut around where the door and outlets were on the wall

Sandpaper

Tape-measure

Nickels

Level

Paint

Painter’s Putty

Trim

Table saw – Again, being new homeowners, we didn’t have this tool, but our friends came in handy


Steps to take… (want the video tutorial here)

Step 1: The first thing you want to do is measure the wall that you are putting the shiplap on. There were a couple outlets and a door frame that we had to navigate since we did not have a plain wall that we wanted to put the shiplap on. Measuring out the planks and adding the custom cuts was one of the hardest and most time consuming parts of the project. We definitely tried to adhere to the motto “Measure twice, cut once”. We cut the boards in 8 and 6 feet lengths, and 7 ¾” width. This was the easiest measurement to use for the wall that we were working on. You will have to figure out the best measurements for the wall you are working on.


Step 2: Gather the supplies. We went to Lowe’s and got the plywood (¼” thick), and had them cut the boards in to easy to use strips to start our work. Sometimes they will even cut the wood into all the strips you will need, but we weren’t that lucky this time. This is where our friend’s table saw came in handy. We brought all the wood over to his house and he was able to make the additional cuts we needed.


We also picked up the other supplies at Lowe’s (paint, stud finder, sandpaper, jig-saw, trim).


Step 3: Finalize your cuts. In addition to cutting the boards to the widths we wanted, we also had them cut into the 8 and 6 foot lengths. We used the jig-saw to cut where the outlets and door frame would be once we determined which boards would be placed at those spots. Once all cuts were made, we took the sandpaper to smooth out any roughness so the paint would look smooth.


Step 4: Find those studs. Using the stud finder, TJ marked out where the boards should be nailed into the wall. We wanted to make sure the boards would not fall or only be anchored into the drywall, so finding the studs was a must. Once those were marked we moved on to the easy part!


Step 5: Put the boards up. Using a level to make sure your first plank is straight (ensuring all your other planks will be straight), we placed our first board at the top of the wall. I held the board up while TJ used the nail gun to secure it on the wall. Colbie was a little scared when we first fired up the compressor, but she got used to it. We put two nails into each stud for extra security


Step 6: Get those nickels. Once the first plank is up, you want to make sure the spacing is uniform. We read that nickels were the best thing to use. We have to agree, not only was it easy to space the boards, but the space is exactly the right size. We positioned the second board on the wall with the nickels in between that and the top board. I held the board while TJ nailed them in.


Continue this way until all the boards are up on the wall. Make sure you take extra caution around outlets and electrical wiring.


Step 7 and 8: Putty and paint. Once all the boards were on the wall we got ready for painting. The 16 gauge nails left a little bit of a hole in the boards and we did not want that to show through on the wall. Using the Painter’s Putty we covered each hole and smoothed it out with a paint scraper and sandpaper. Once all the holes were covered we started painting! We choose to paint the shiplap the same color we painted the rest of the walls, Lapland Ice. It was a great neutral greenish-gray that really brightened the room, but also gave you a sense of calm. Typically shiplap is left white, but I envisioned this wall to be the same as the others. We may end up doing shiplap on a wall downstairs (if I can convince TJ to do it again!) and will probably stick to white there.


Step 9: Add that trim. To finish the look, we will add some trim to the corners and where the shiplap meets the ceiling. This will add a little more character to the room and complete the look. We haven’t added that because we haven’t found the right design as of yet.

And that’s it! It is so simple, inexpensive, and a fun project to do with your significant other. Really the hardest part was getting the boards cut correctly, but once that is done, the project and process is pretty smooth.


If you have any questions feel free to ask in the comments. TJ and I will try to answer them, but by no means are we experts! Stay tuned for more projects to come! Subscribe to my Youtube channel for more video tutorials!


xo, Shelby
Materials:

<center>
</center>

Outfit & Decor Details:

<center>
</center>

Follow us on Instagram