PINES25 for $25 off your first order!
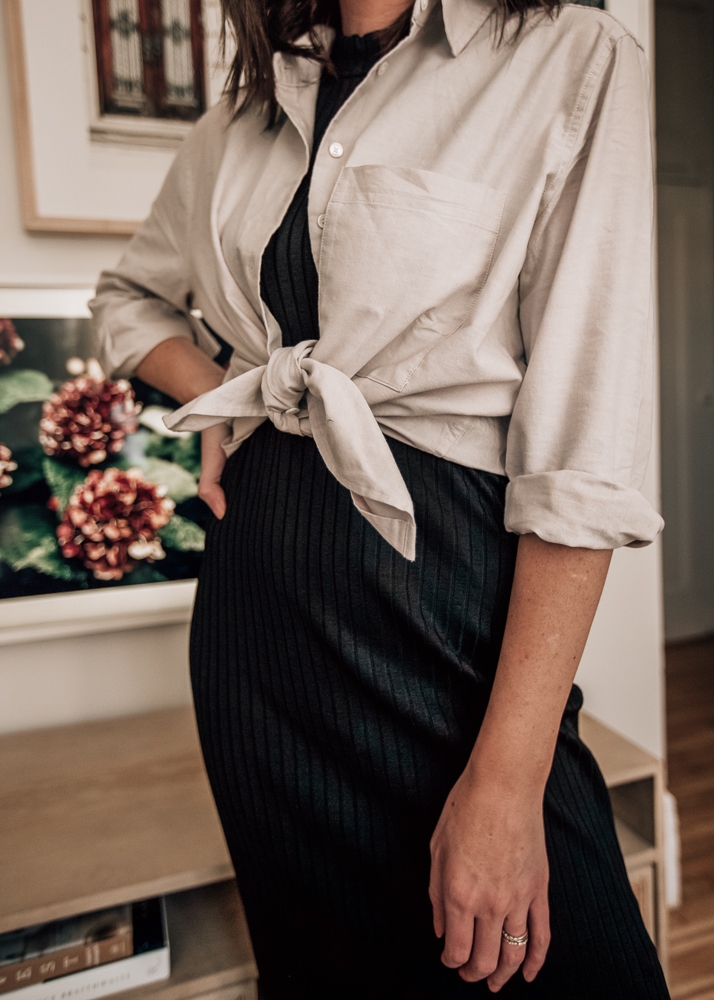
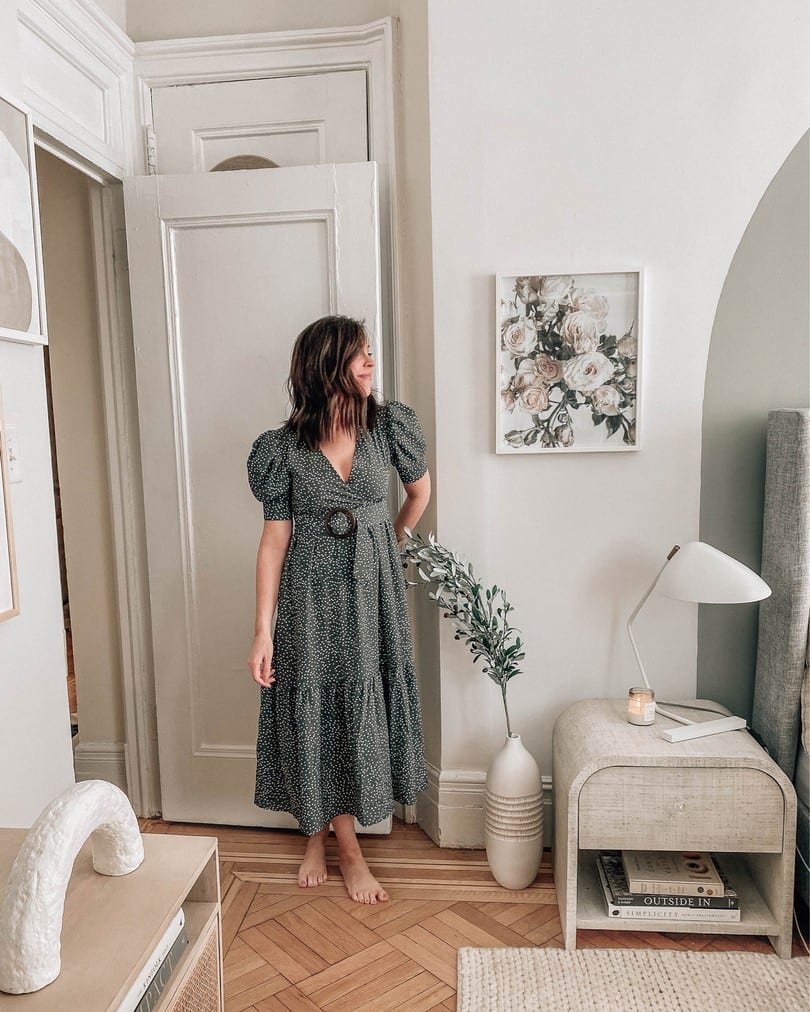
We’ve officially been living in NYC for 7 months now (crazy) and I’ll have to write a full post about my thoughts and what I’ve loved the most so far but one of many things that has changed in our life is the convenience and proximity to restaurants and shops. And I’m talking GOOD restaurants. I knew it would be tempting to eat out but I underestimated the temptation! We could easily walk 30 seconds to our favorite bagel shop or our favorite talian restaurant. After assessing our habits a few months ago, we made a decision to cut back on our eating out throughout the weekdays. I’ll always be up for some takeout on the weekend or a dinner date with friends but, usually, I feel my absolute healthiest when I eat at home… when I know the exact ingredients I’m consuming. Plus, it’s always nice to save some extra money!
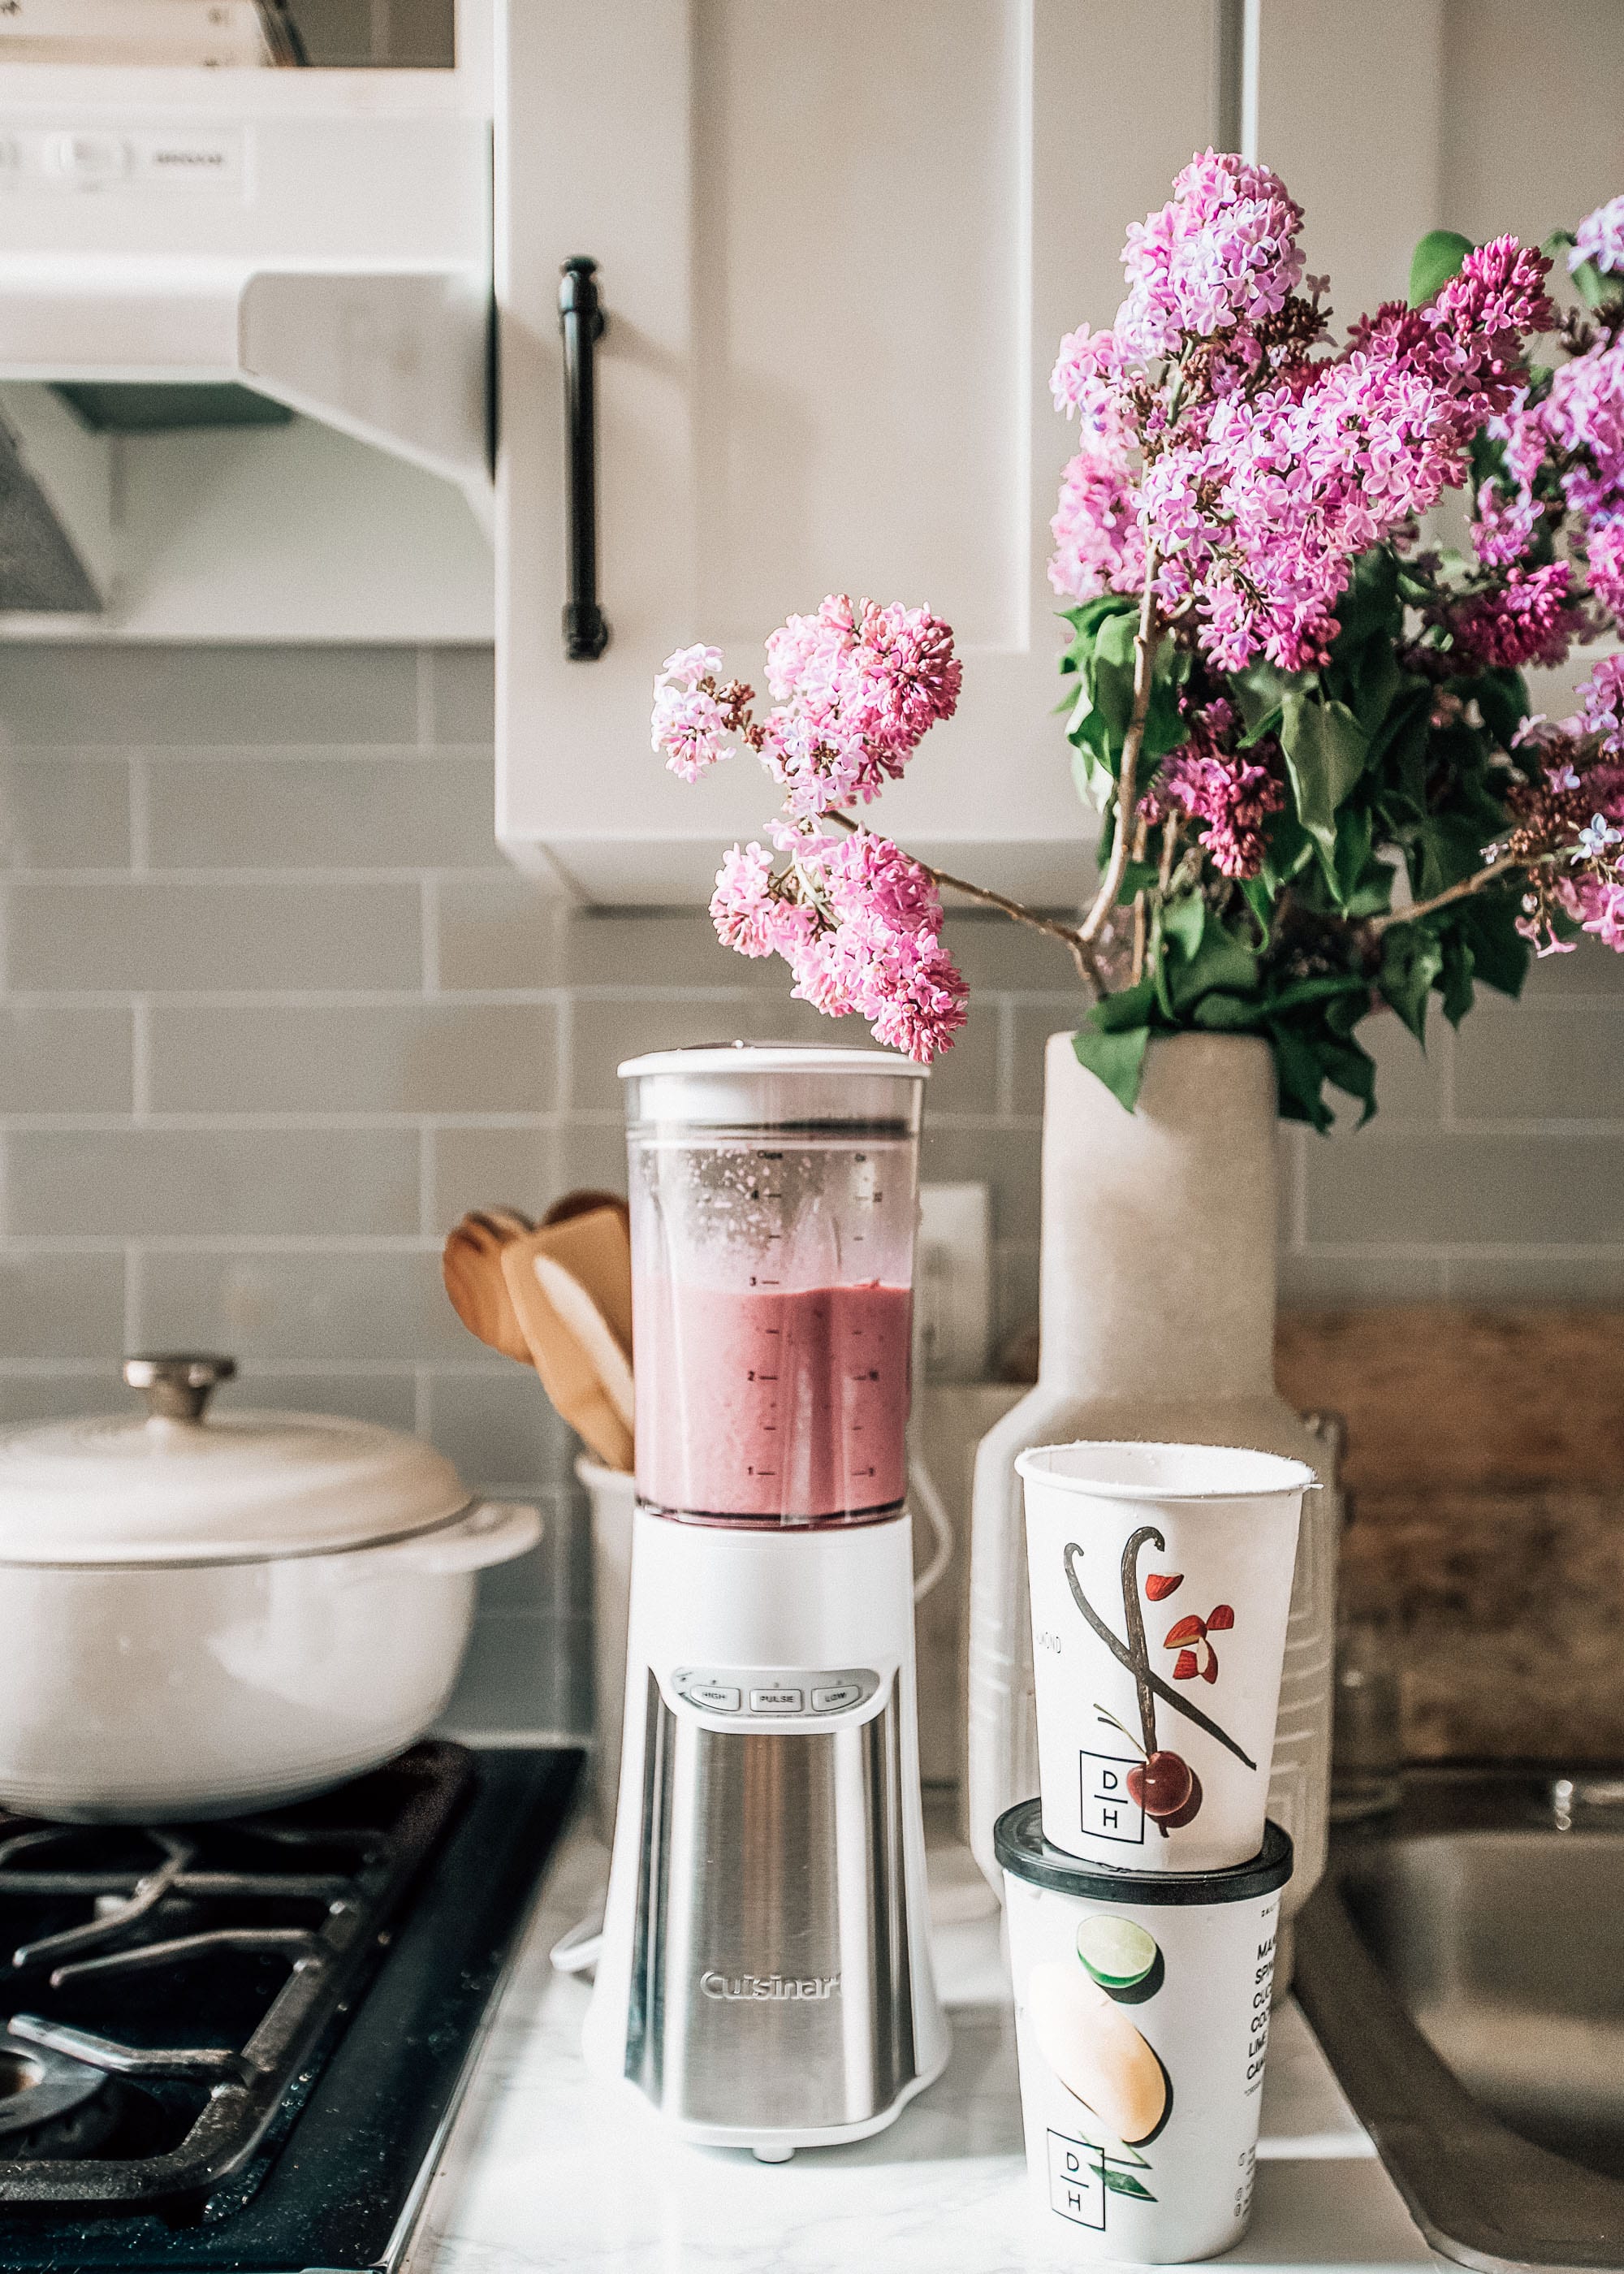
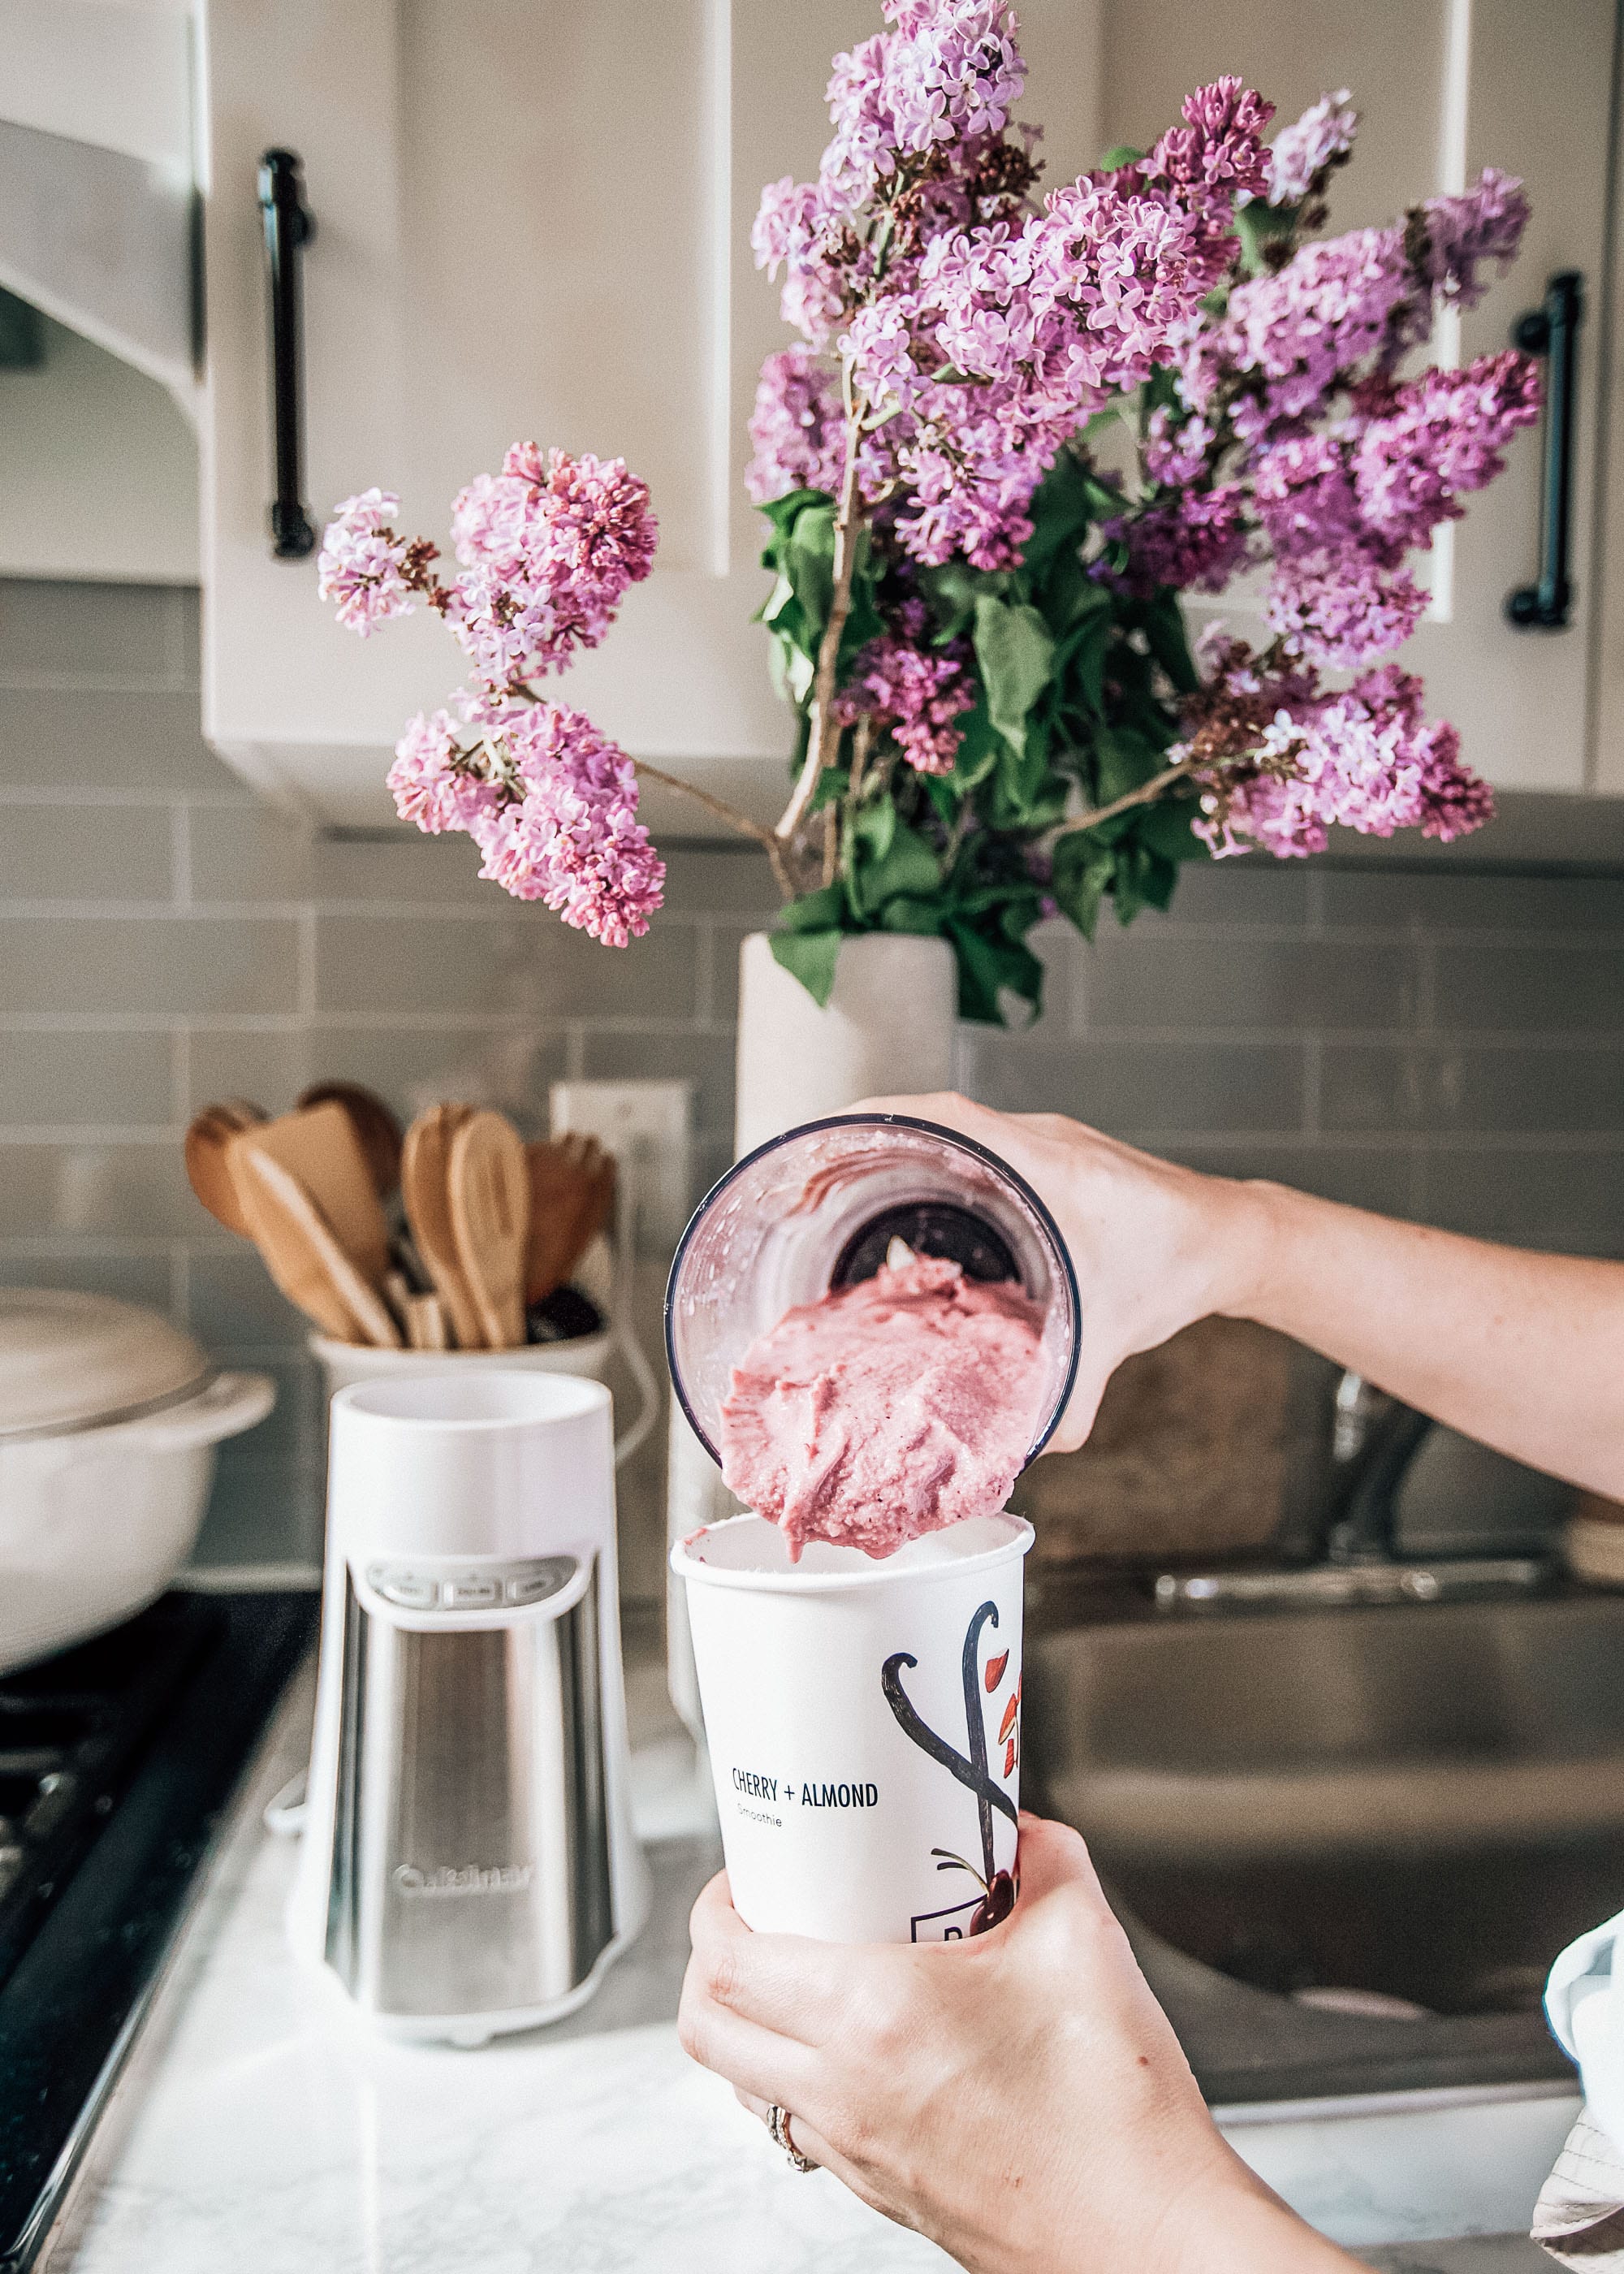
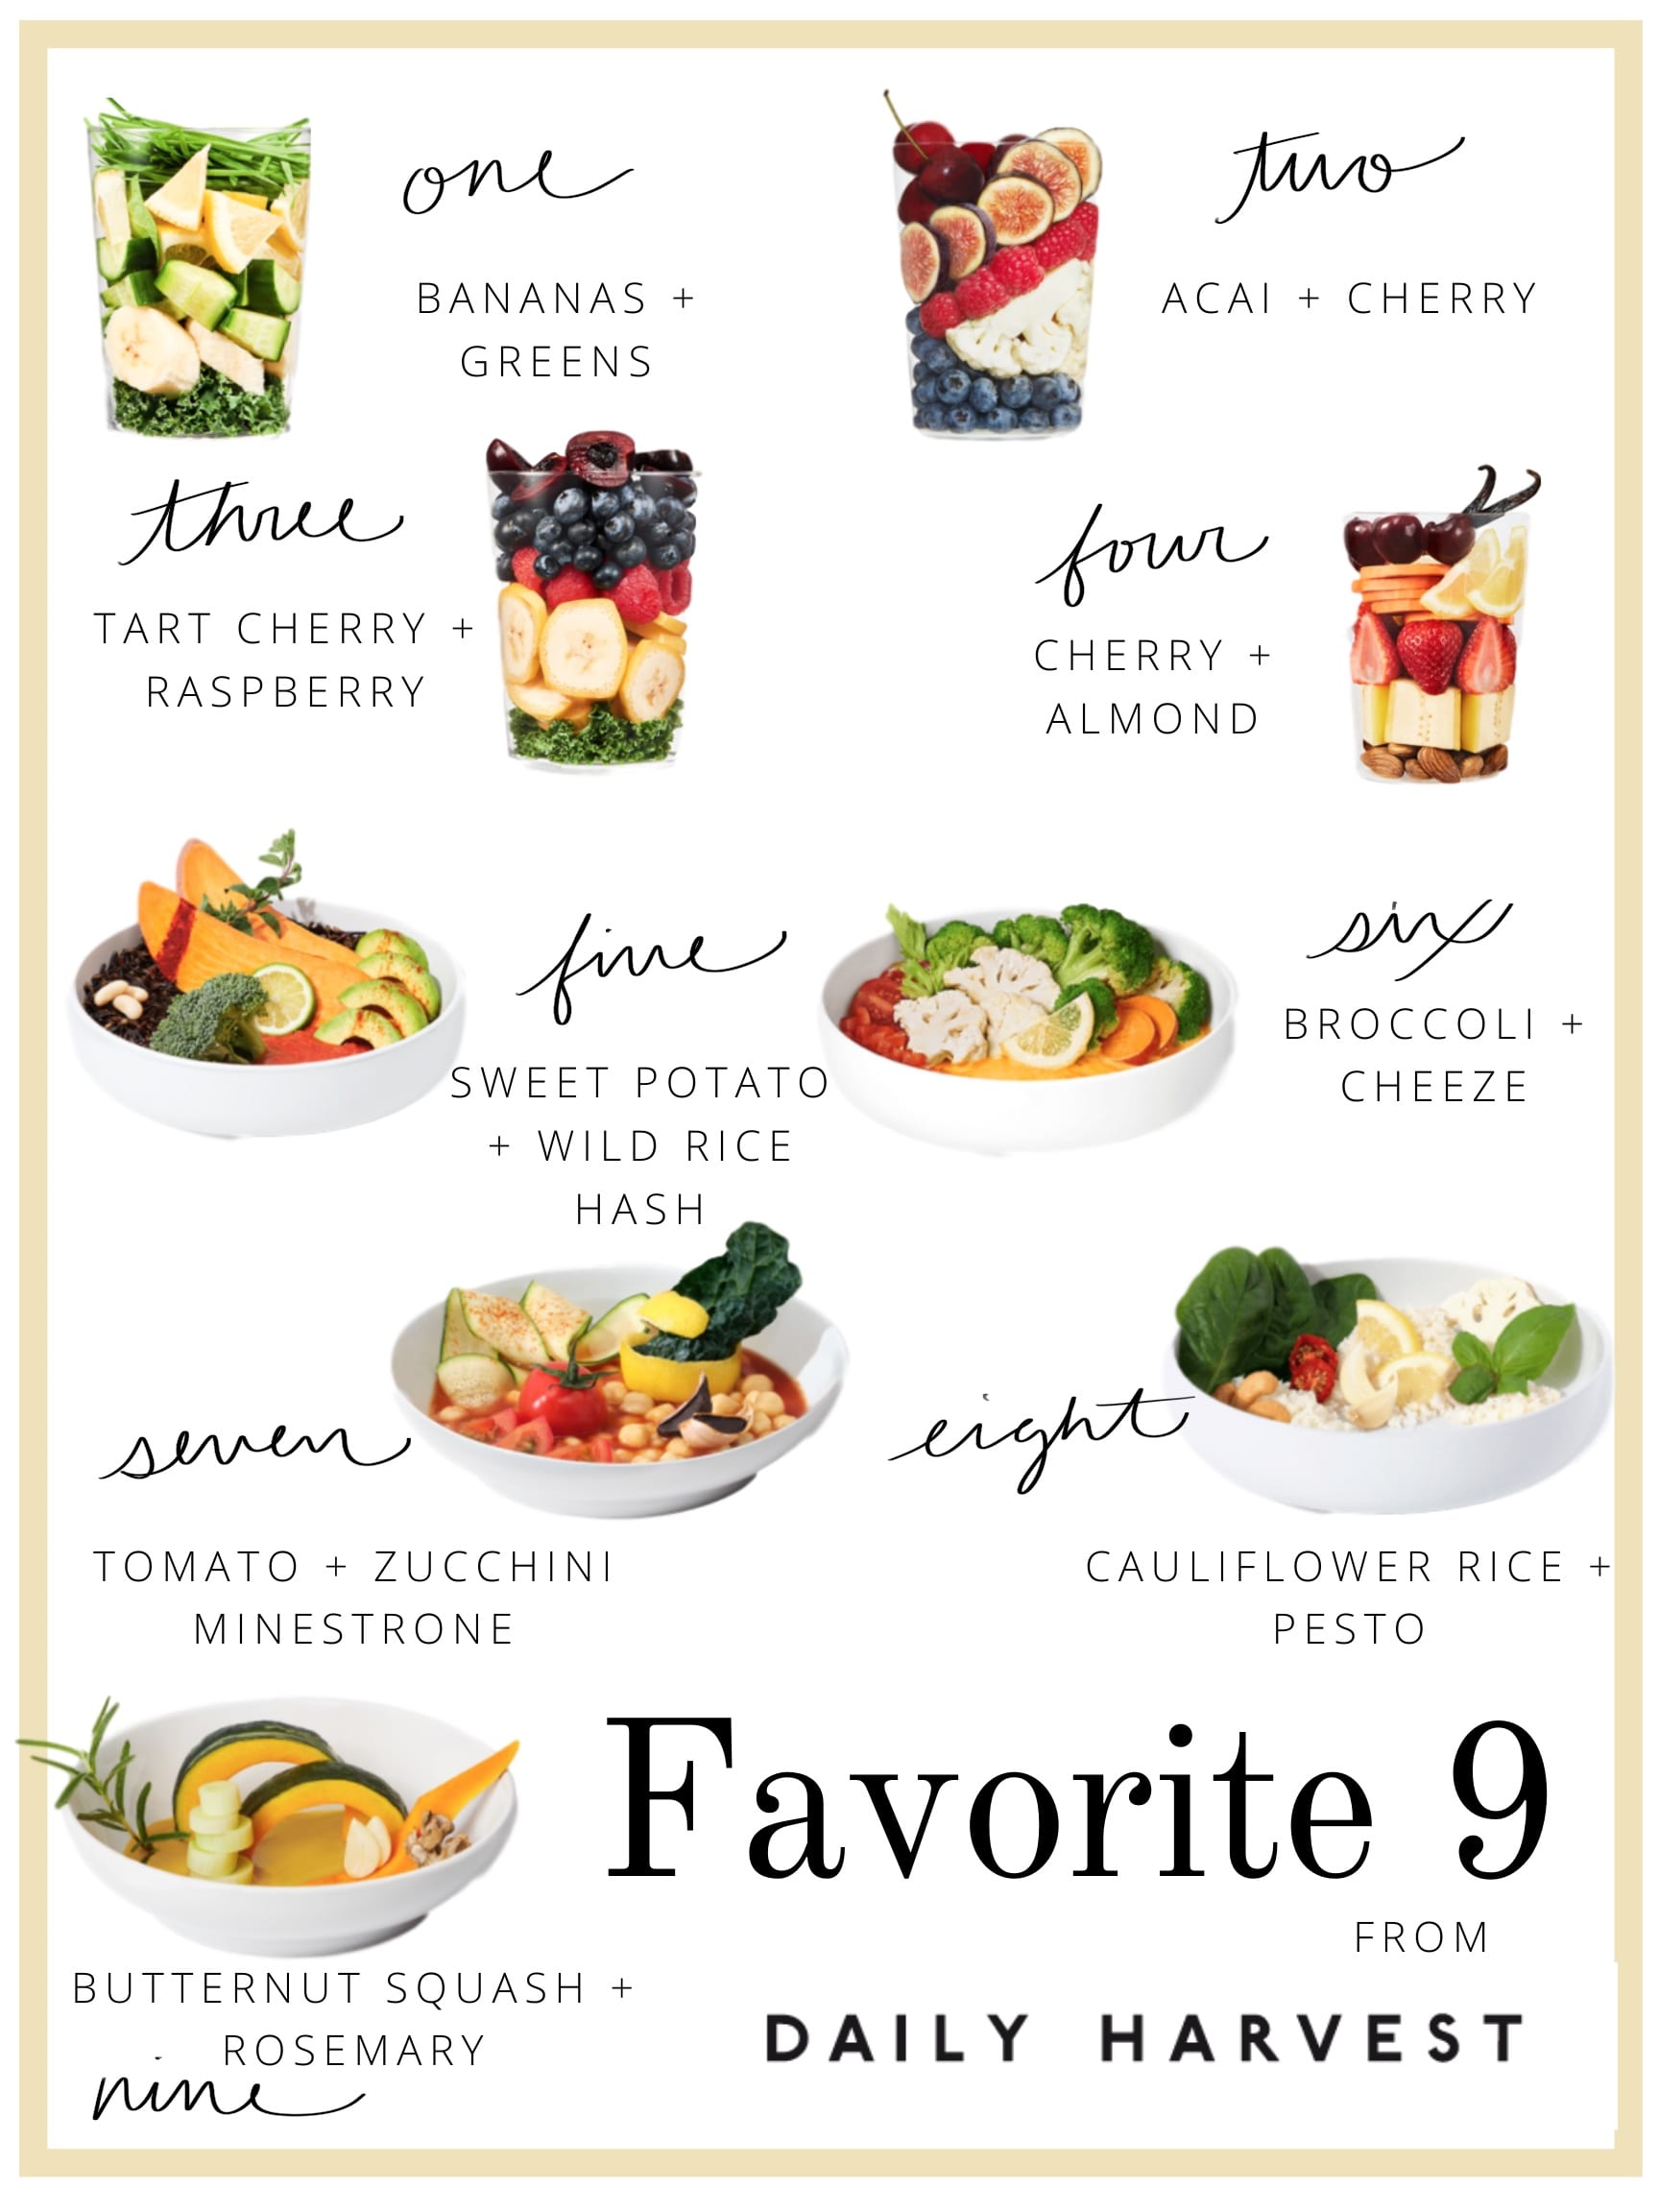
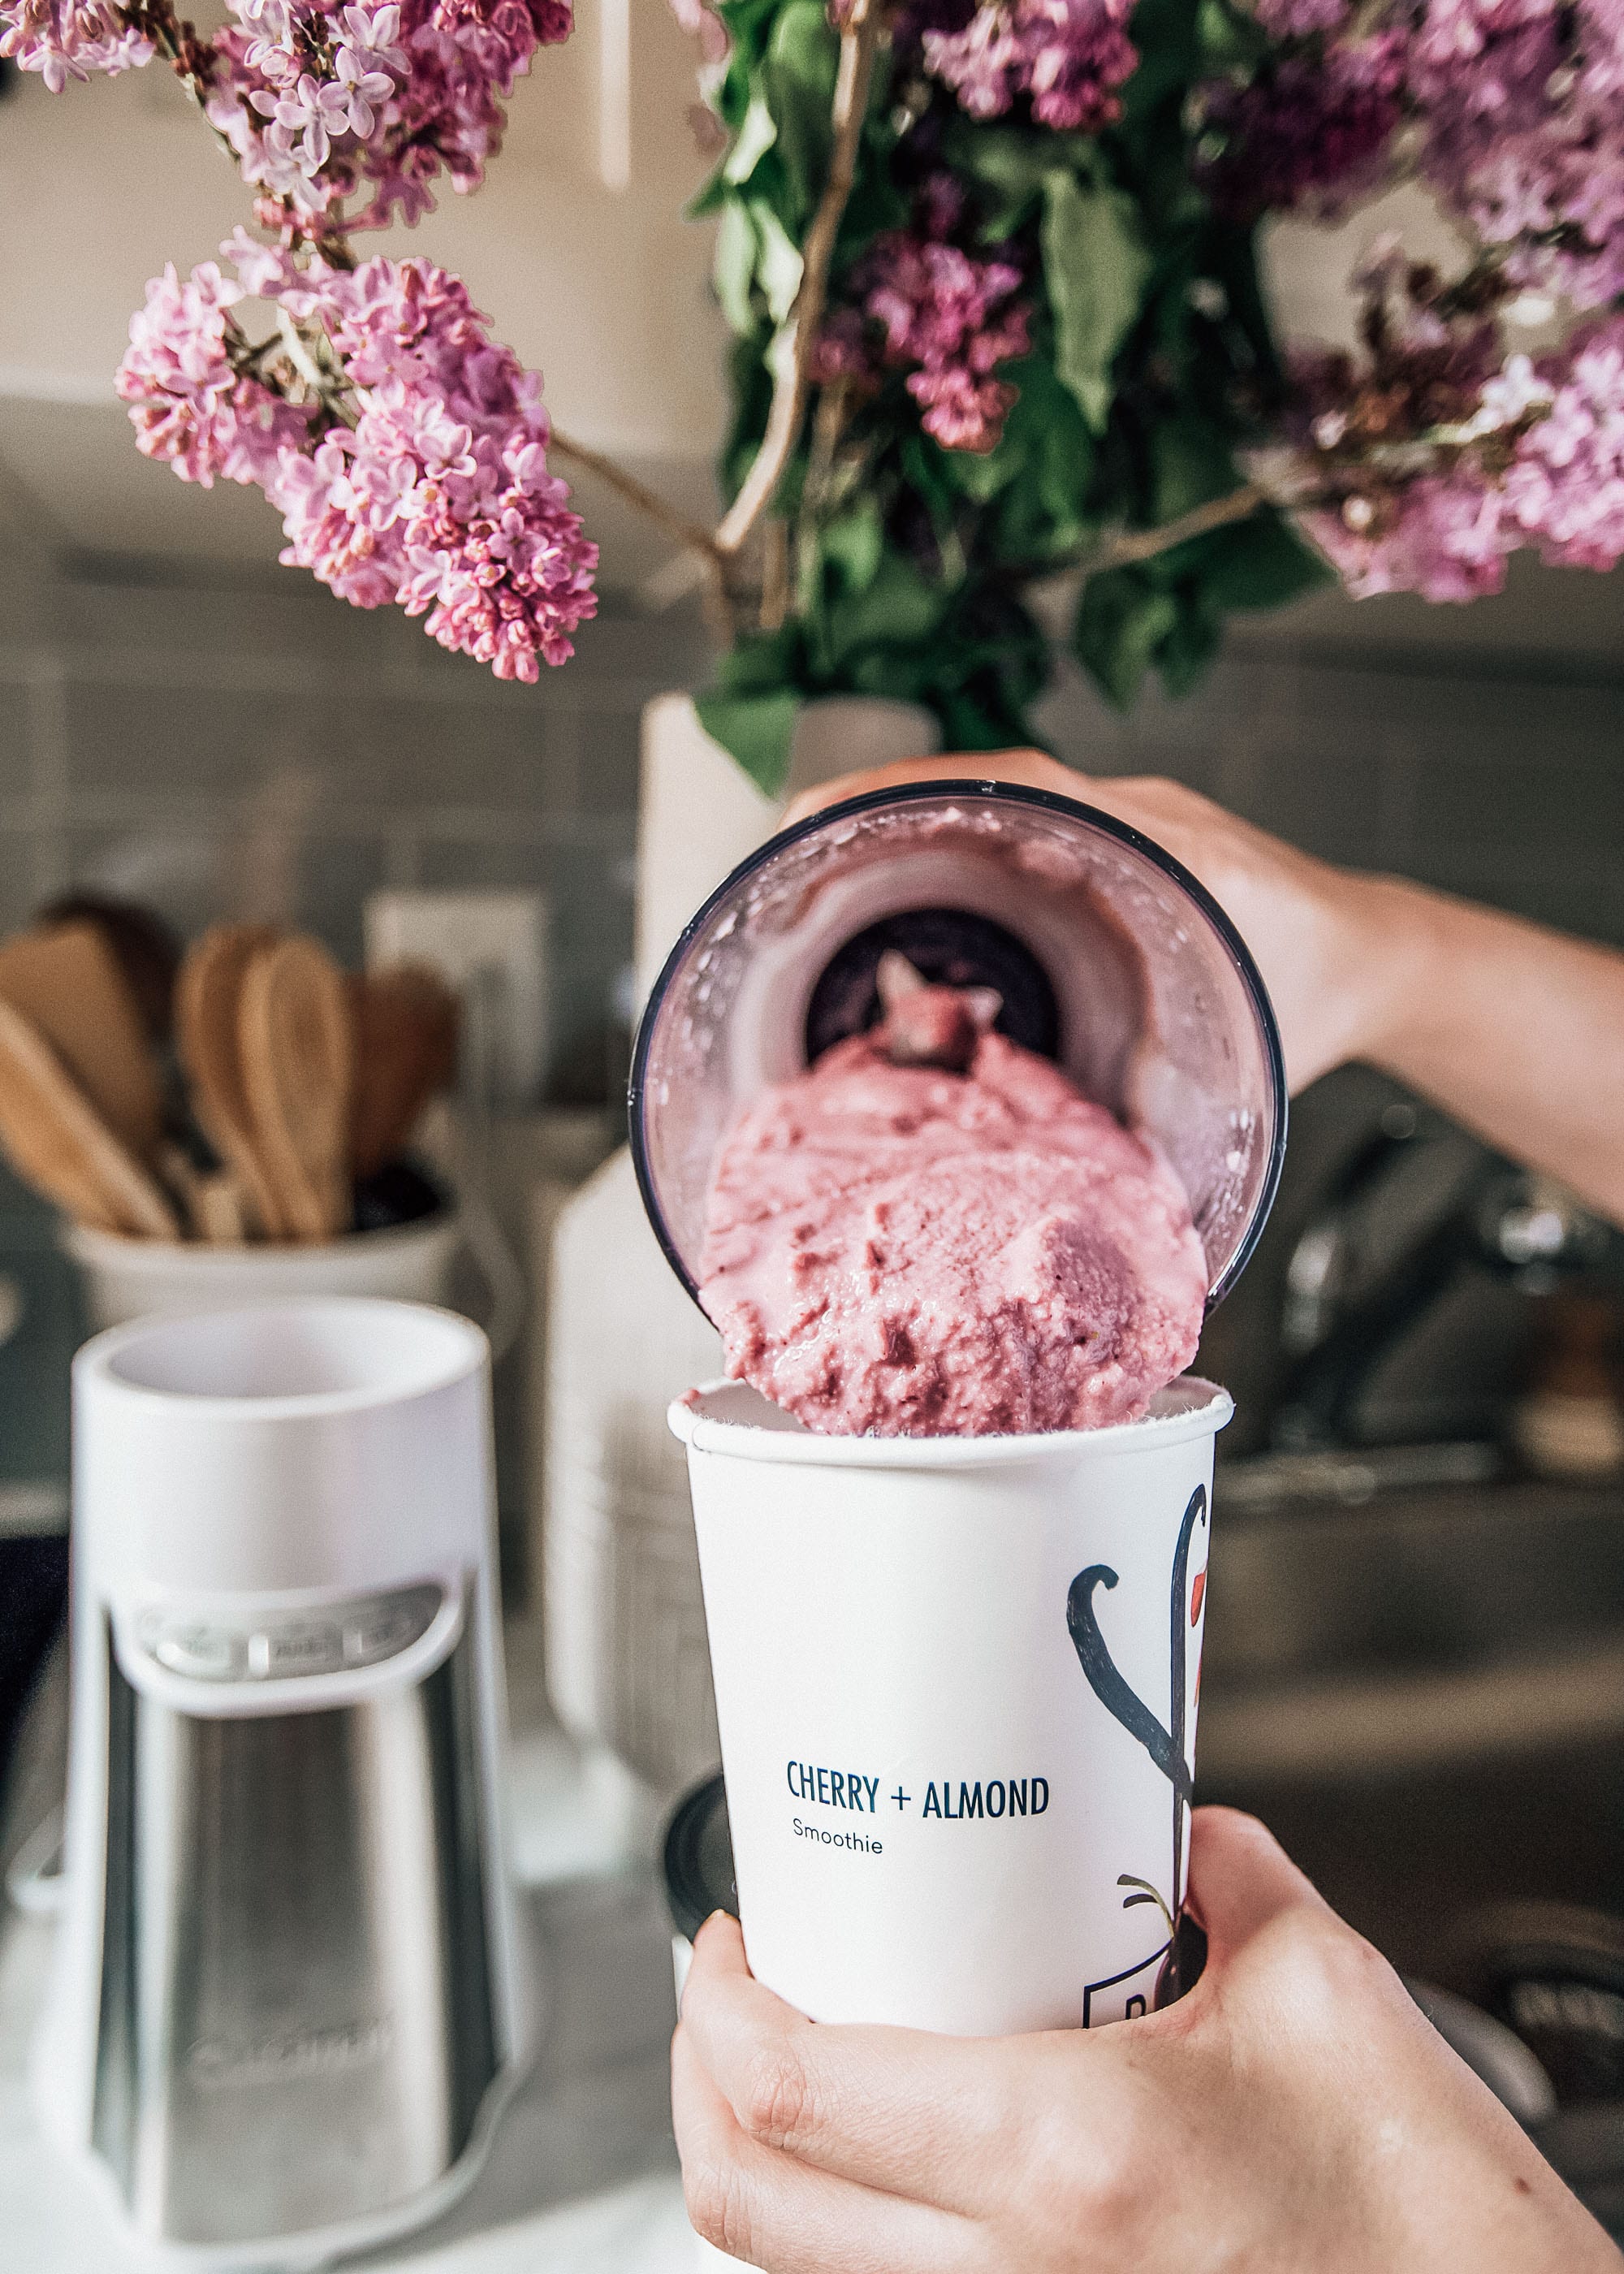
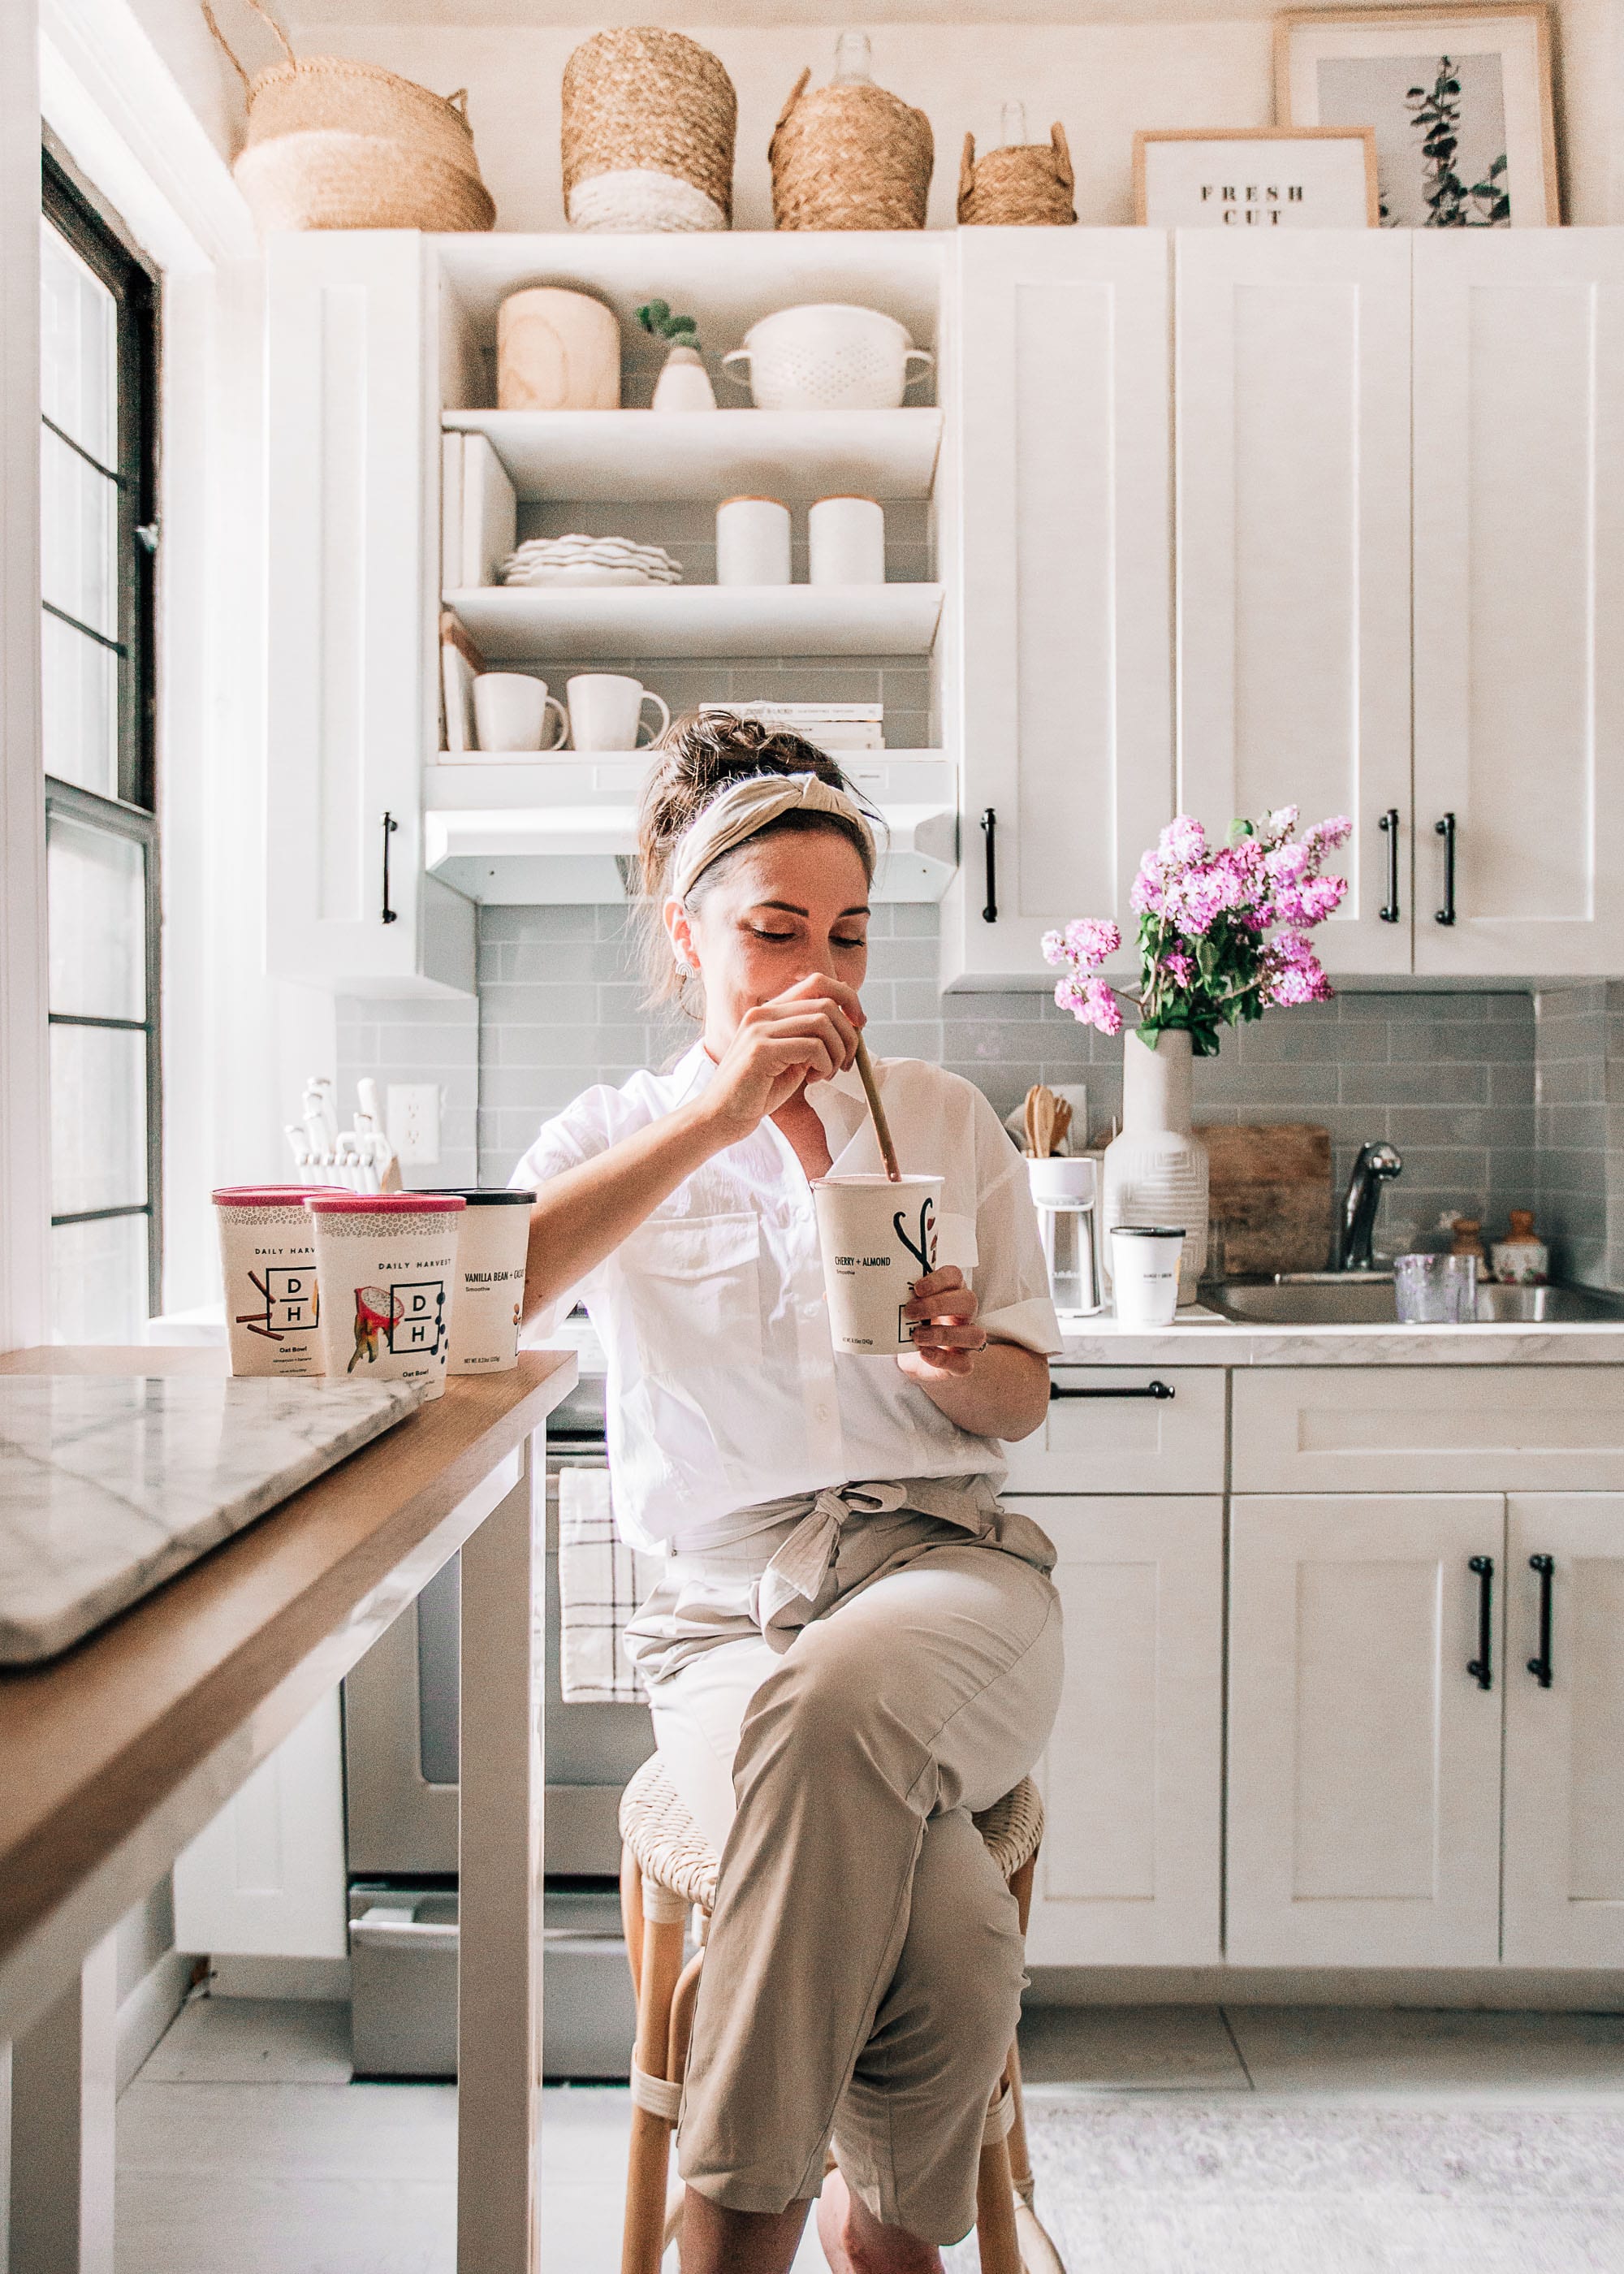
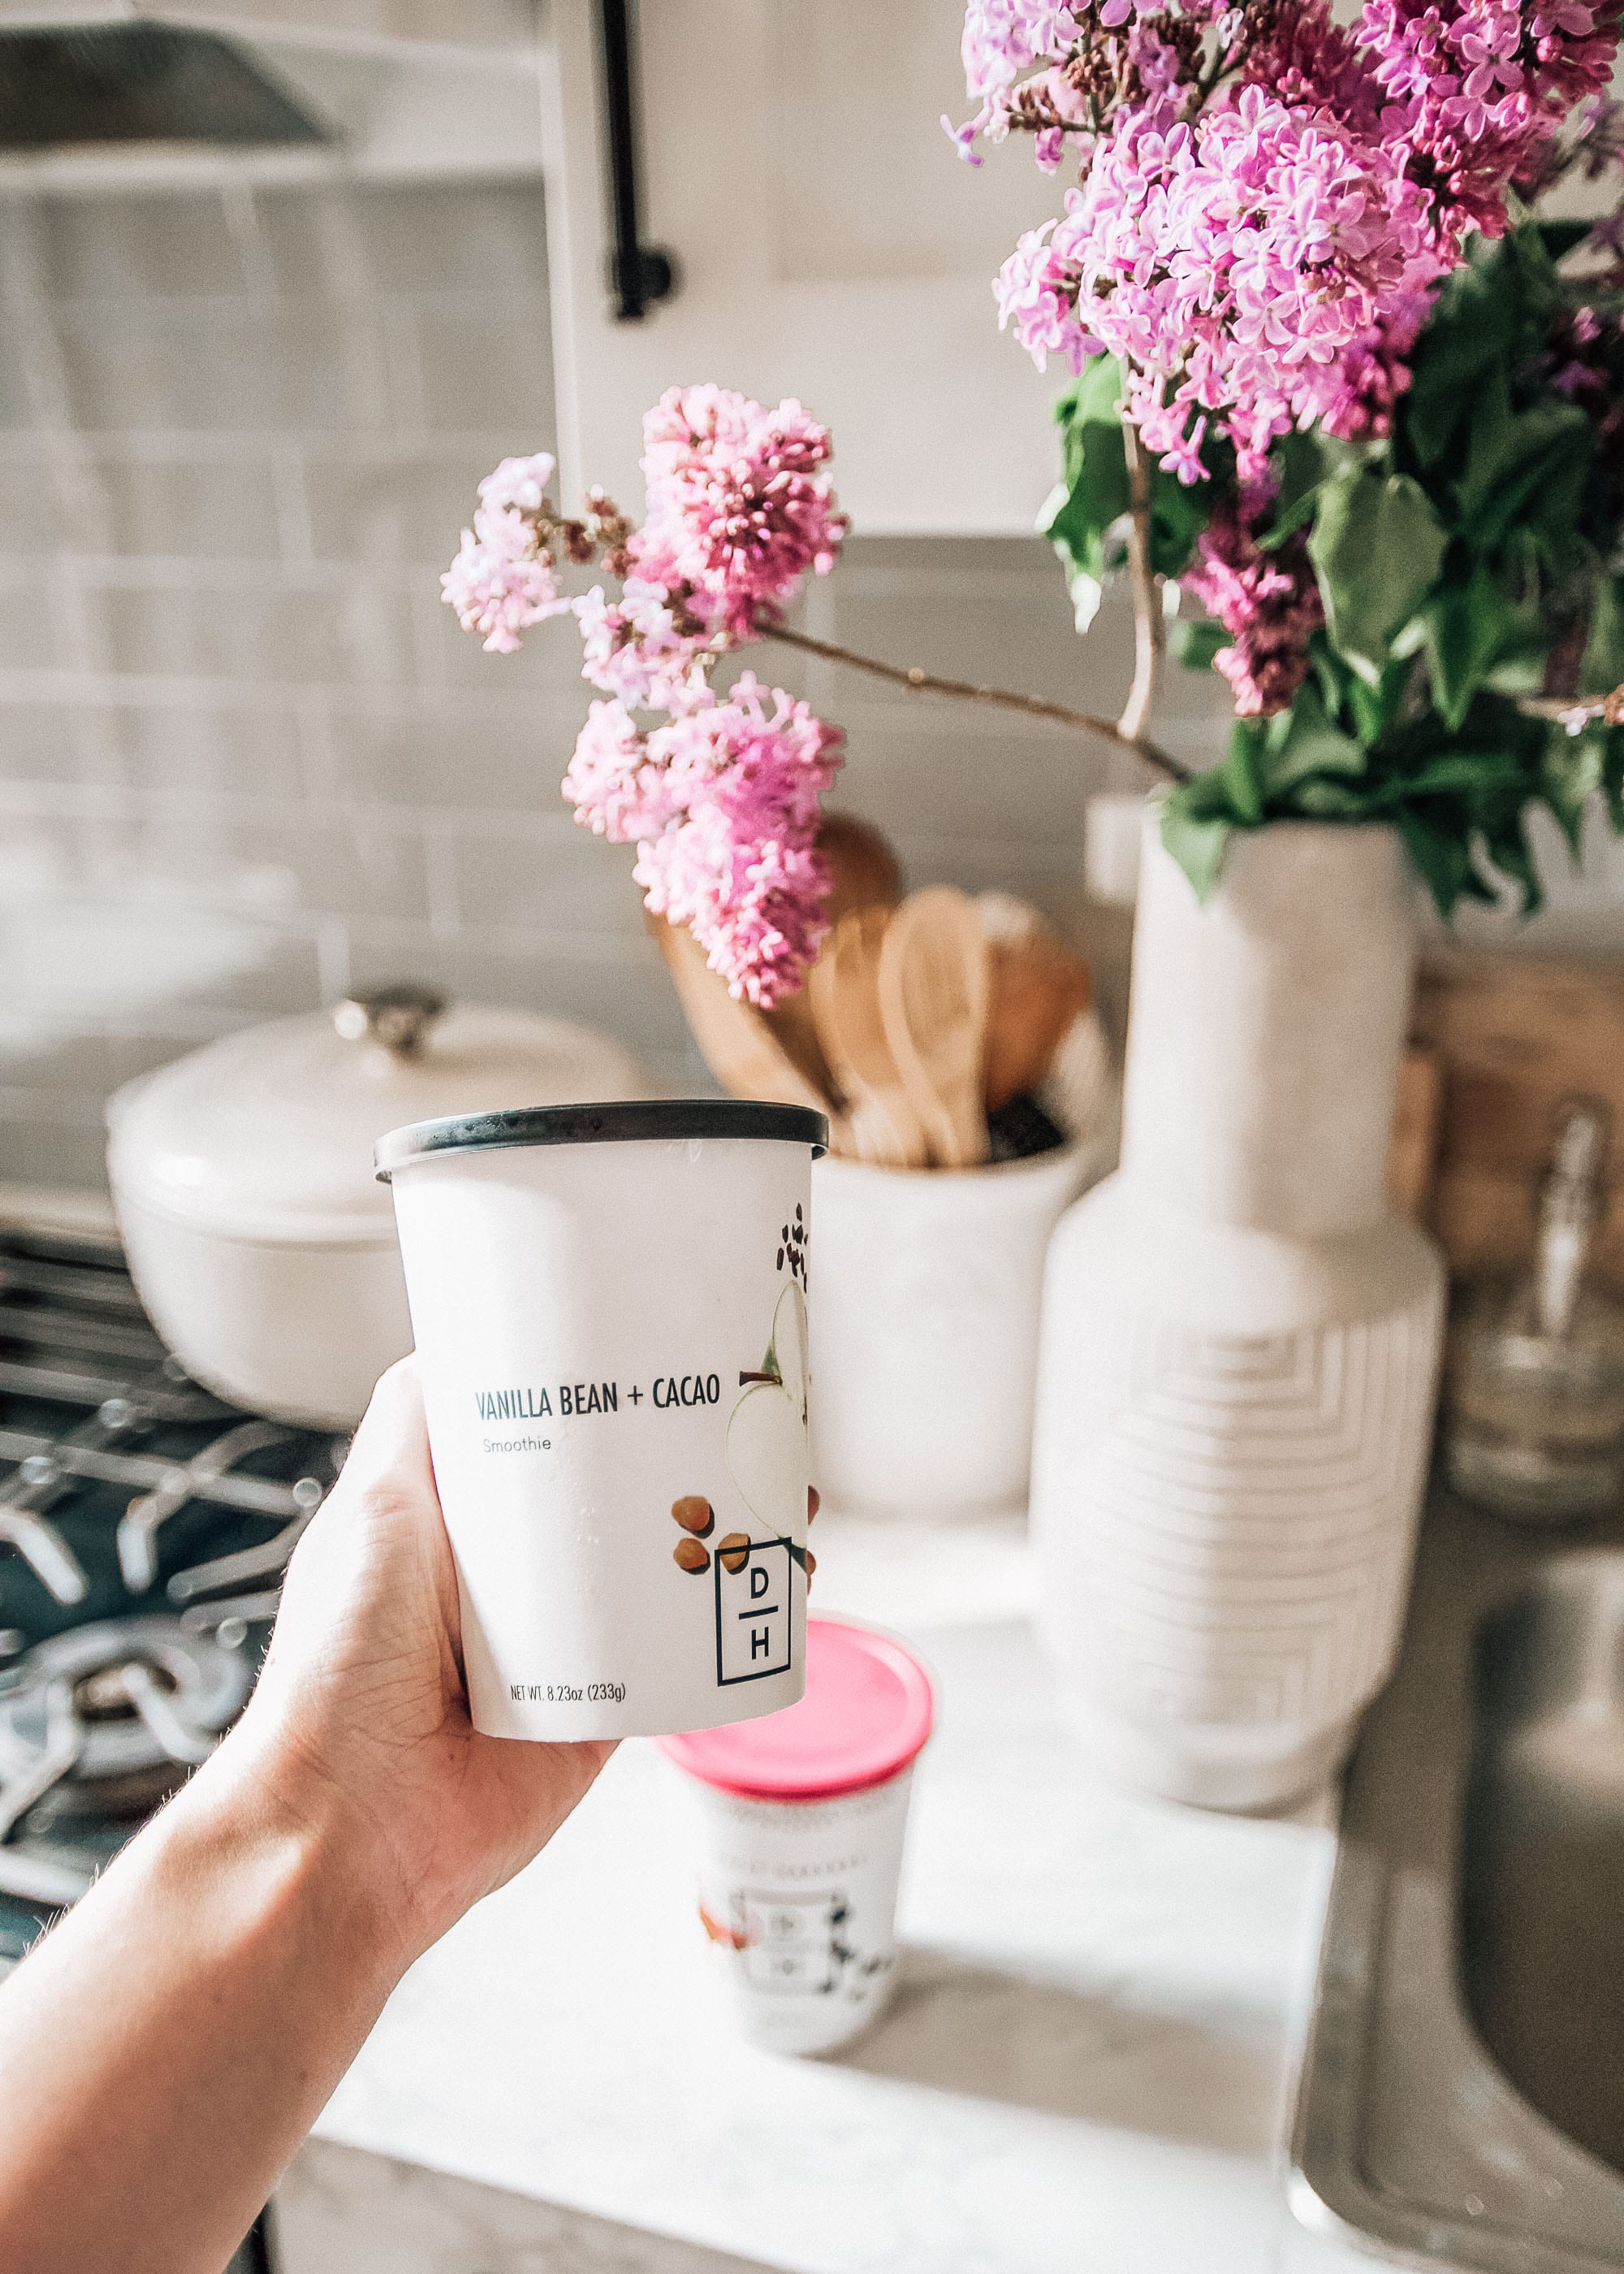
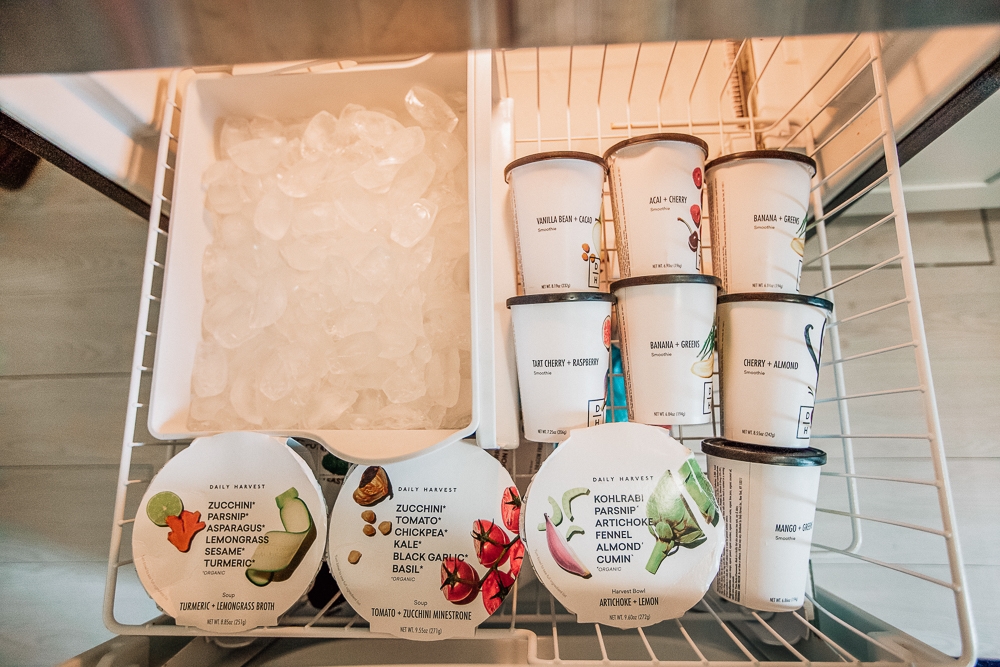
The main thing that holds me back when cooking at home is TIME. The time is takes to meal plan, pick up every ingredient at the grocery store, prepare, cook, and clean adds up. One of my favorite solutions to this these past few months has been ordering from Daily Harvest. Daily Harvest offers the most unique combinations of frozen smoothies, harvest bowls, oat bowls, soups, chia bowls, flatbreads, and so much more that are made with top quality fruits and vegetables. Plus, you can get $25 off your first box using the code PINES25. You can customize how often you want to receive them, easily pause your orders or select how many/which types you want in your box, and they are conveniently delivered to your doorstep. I have not always been a fan of frozen meals but this brand CHANGED the game with their recipes. The chef who crafts these recipes makes sure to make them equally as nutrient-rich as they are delicious.
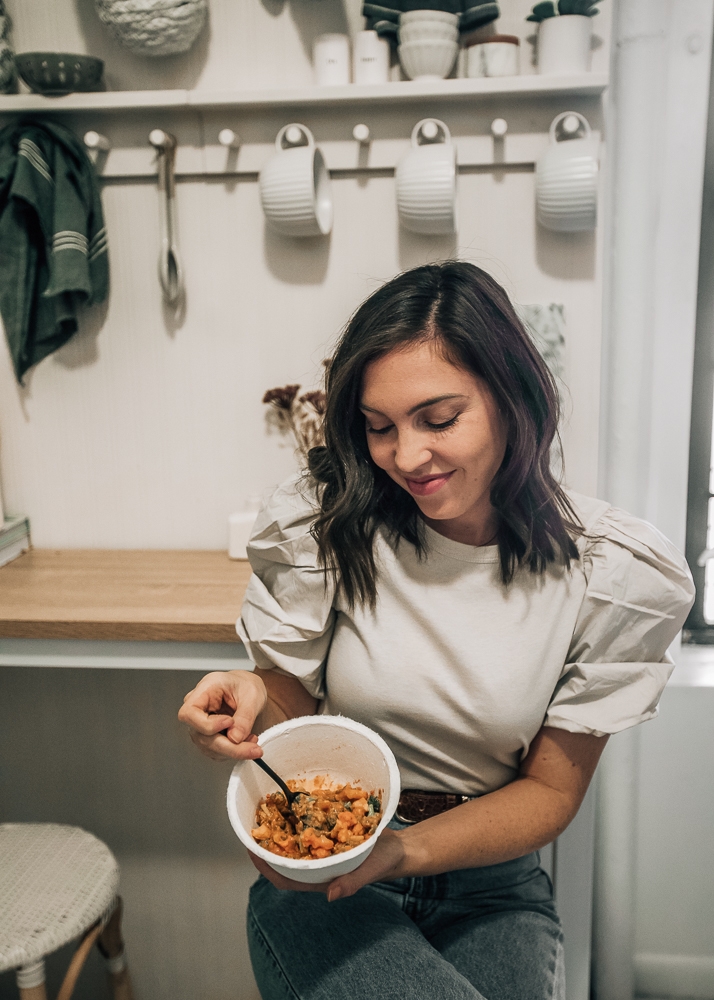
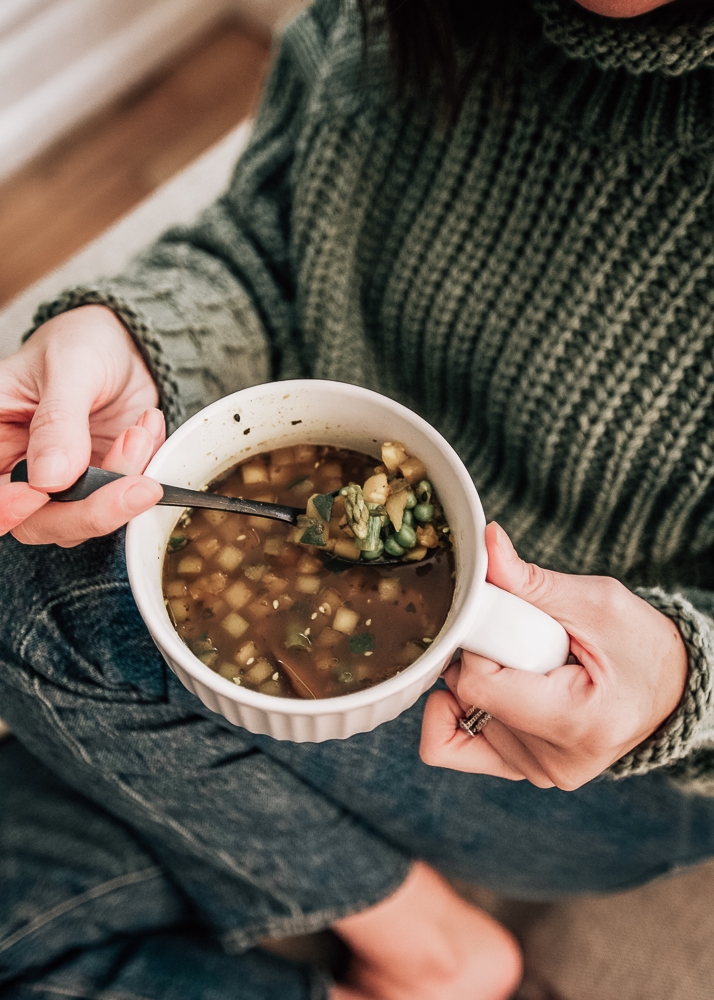
Personally, I think my favorite part about these meals are how they make me feel. If I’m having a busy day working and only want to spend 5 minutes (with minimal cleaning up) making lunch, I’ll open up one of their harvest bowls and heat it up on the stove. A few minutes later, I’ll have something that is more nutrient-rich than I could have created myself with my schedule and hardly any cleaning up to do. I feel so nourished after eating them and it’s crazy how much time it saves for something that also tastes REALLY good. I notice a big difference in my clarity and creativity when I eat better ingredients so I’ve really, really appreciated having something so convenient and healthy (while also tasting delicious).
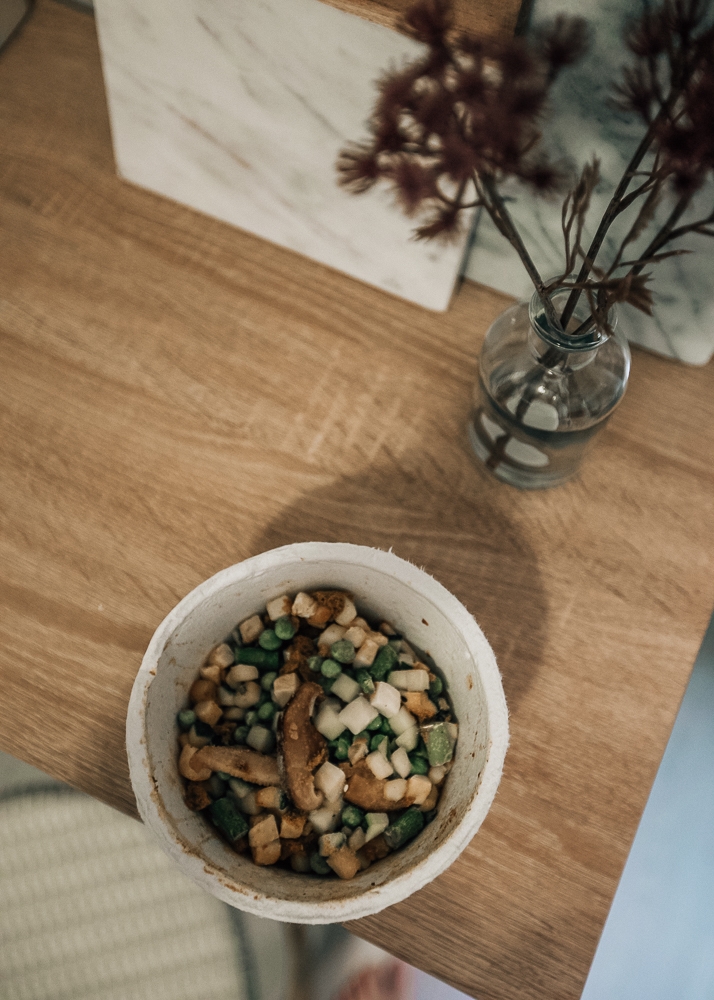
The process of making these is very simple. You’ll want to make sure to read the instructions though because some suggest adding liquid while heating up or blending!
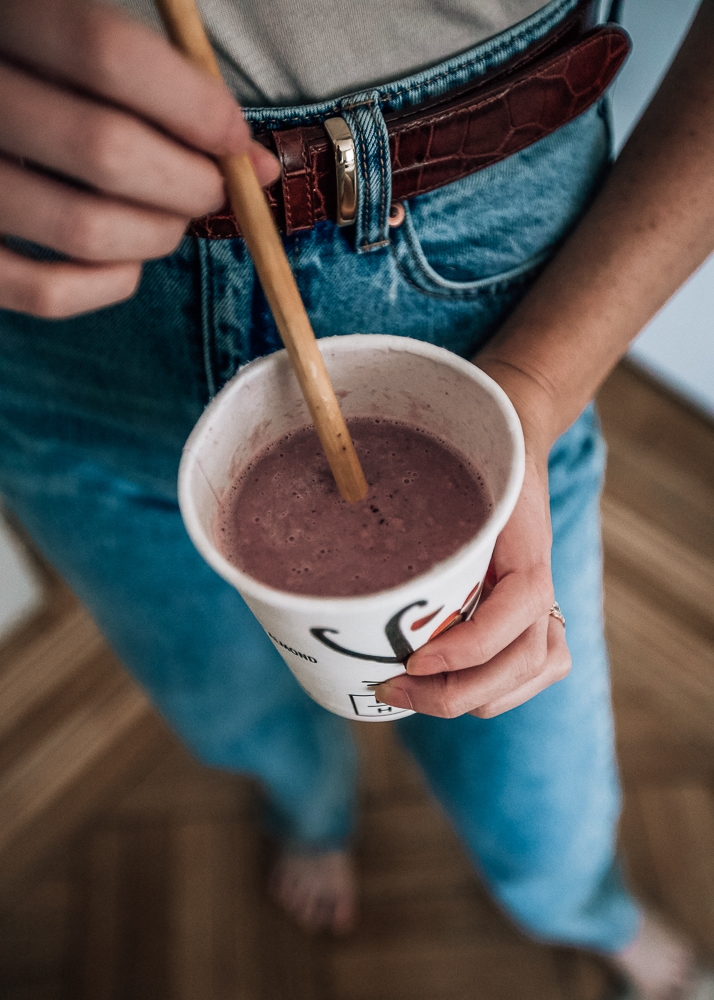
Smoothies
[show_shopthepost_widget id="4192518"]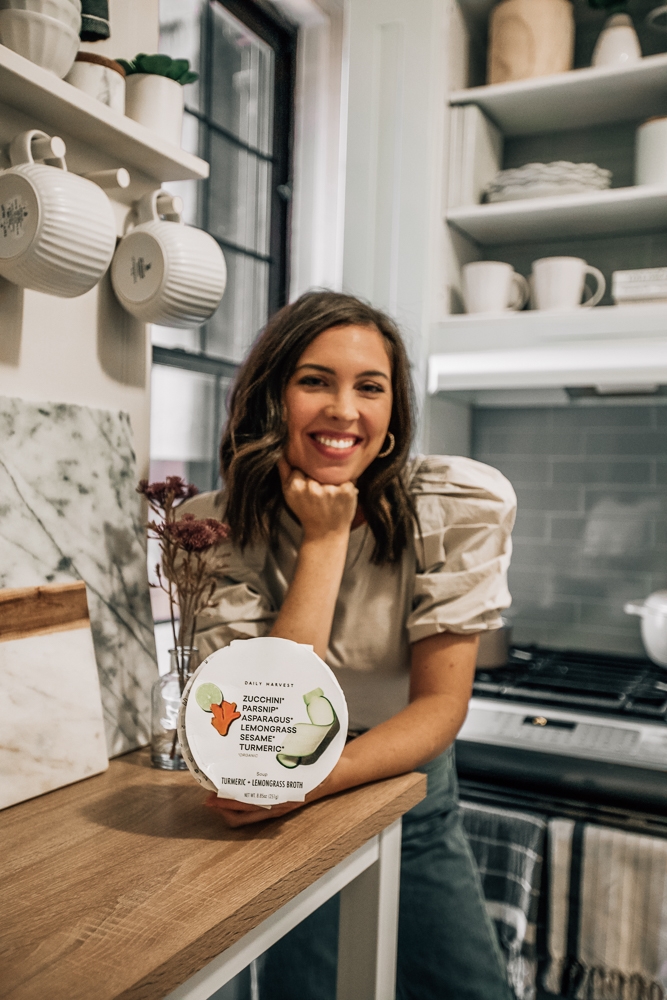
Soups
[show_shopthepost_widget id="4192517"]Harvest Bowls
[show_shopthepost_widget id="4192515"]I’m always looking for ways to make the most of my time and incorporating Daily Harvest into my daily routine has been such a game changer for my mind and body. The benefits have been endless, especially being surrounded by so many options for takeout at all times. Let me know if you end up trying it out or, if you’re already loving them, let me know your favorite one!
This post is in partnership with Daily Harvest.