DIY Projects

A Fall Garden Project (Raised Bed Tutorial)

This post is was made in collaboration with Chase Freedom Unlimited. All opinions are my own. 

I can’t believe we’re already so far into fall! It feels like just yesterday I was picking up flowers to plant for the spring and now I’m in that transitional mode, learning everything I can about creating a fall landscape and winter gardening. This time last year, I had zero experience with gardening and landscaping, and I feel like I’ve truly learned so much this year after reading books, taking classes, finding inspiration through travels, and just experimenting in our yard. I even hosted a pansy party last week with an incredible flower company, where we were able to learn so much from experts! Through reaching this goal of mine, I’ve learned that I’m even more interested in investing time into learning more about specific topics like growing vegetables, organic gardening, and more. I’ve googled 8,000 questions about the best things to grow in fall/winter and decided our latest yard project would be a raised bed for a vegetable garden.

I’ve really enjoyed teaming up with Chase Freedom Unlimited to share this personal goal of learning more about landscaping and gardening over the past several months and I can proudly say that I’ve reached huge milestones with reaching that goal. One of my favorite things to do is learn new things, and I feel like there are always new topics you can be diving into. If you’re unfamiliar with Chase Freedom Unlimited, it’s a cash back credit card that allows you to earn unlimited 1.5% cash back on all purchases so you’re always earning, no matter what. Through recent purchases, I’ve earned cash back that I can use towards furthering my gardening knowledge with smaller projects and classes here and there, such as our arbor with climbing roses. My new favorite time of the day is going outside to check on the roses and see how far they’ve climbed! Chase is now offering new Chase Freedom Unlimited cardmembers a special bonus available through Chase.com, and in Chase branches! You’ll get a $200 bonus after spending $500 in the first three months. If you have any personal goals you want to reach that require you to make any type of purchase, I’d highly recommend the Chase Freedom Unlimited card, so that you’re earning cash back and making the most out of your purchases. I’m always thinking about ways I can do this, and Chase has really helped me think more strategically about my goals. 

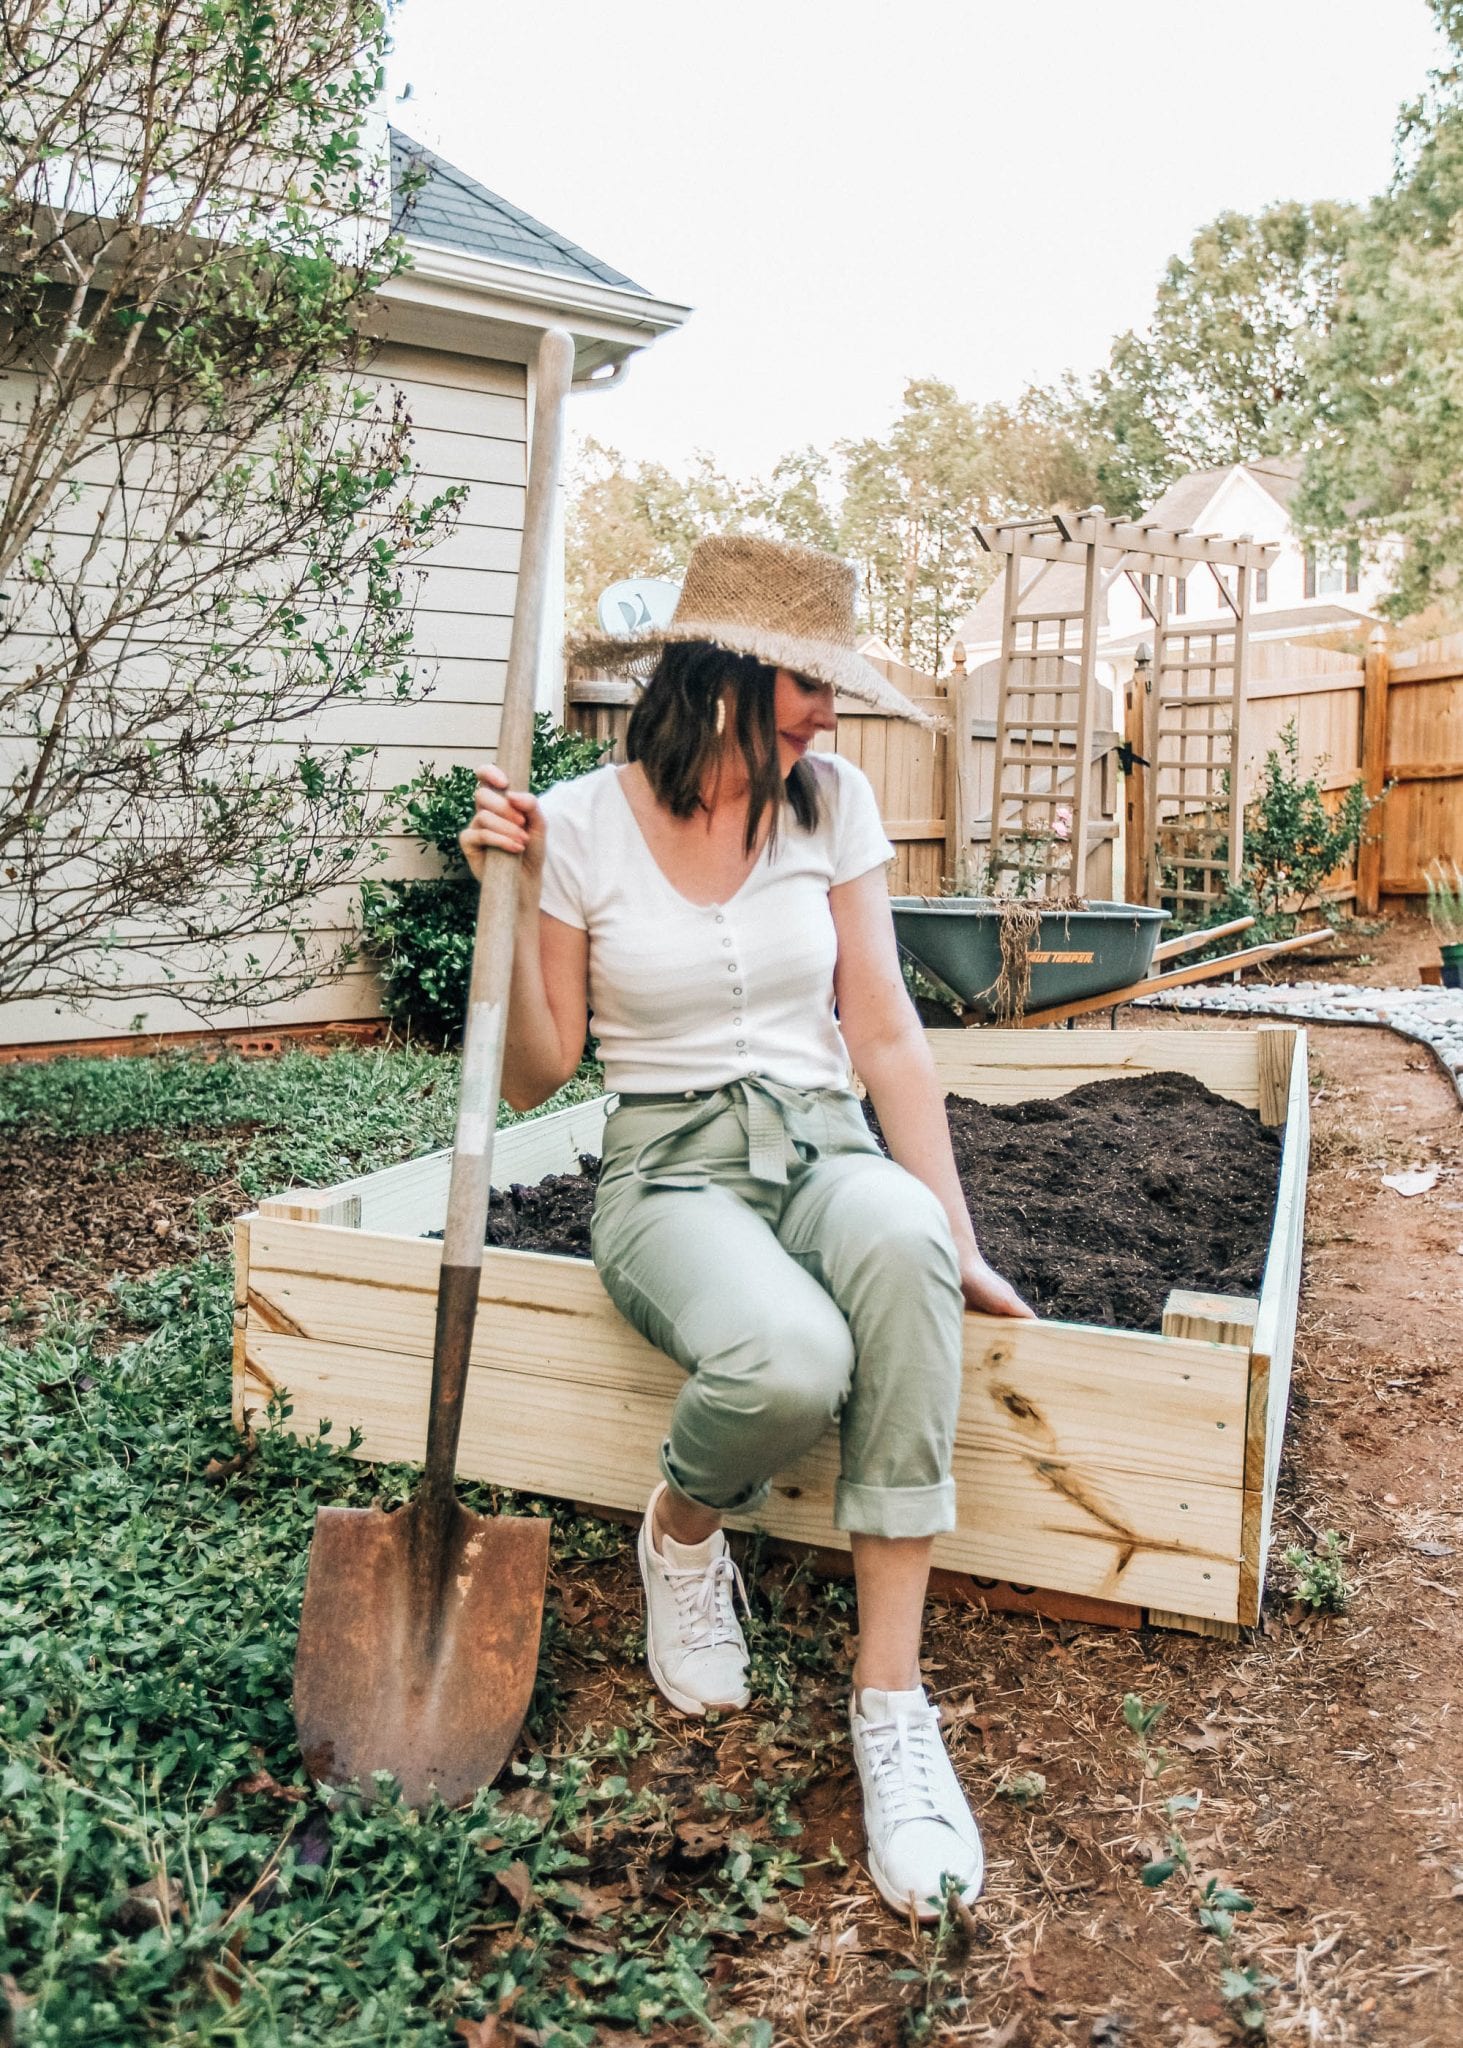
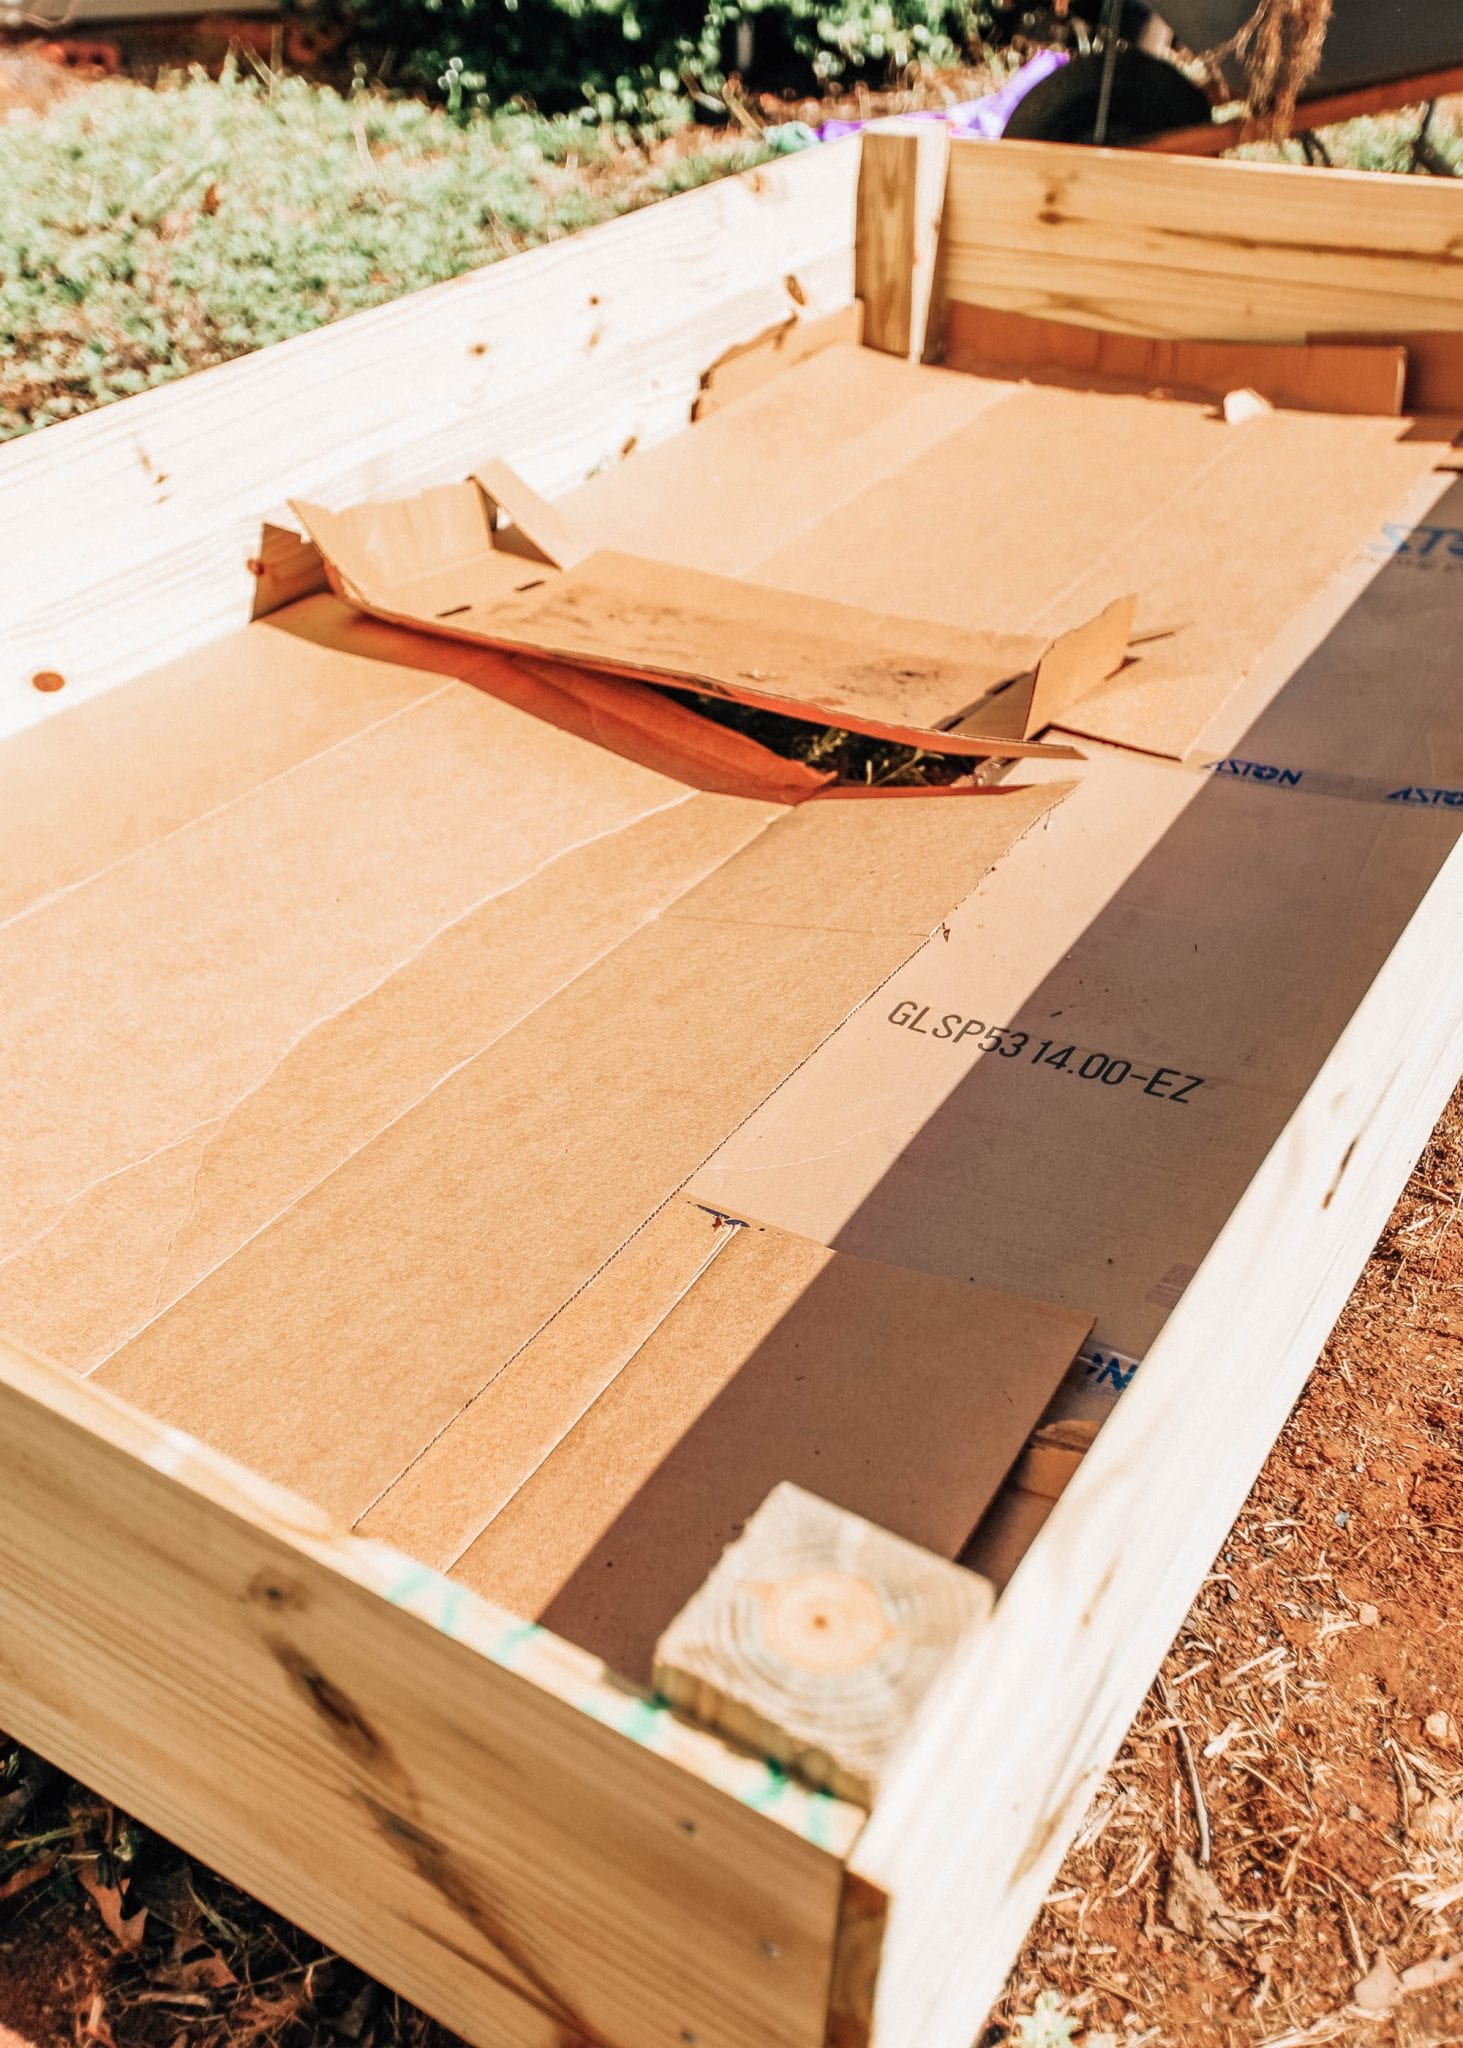
After deciding we wanted our next project to be a raised vegetable garden (which only took about 30 minutes to make), we set off to the store to get some wood and soil! This entire project cost less than $100 and we were able to redeem the cash back we’ve earned along the way to use towards the project. 

Supplies for raised bed:

(6) 1 x 6 pressure treated boards, 8 feet in length

(1) 4 x 4 pressure treated column, 8 feet in length

1 pack of (50) 1.5-inch wood screws

Mitre saw

Power drill

(12) 2 cubic foot bags raised bed soil

Cardboard


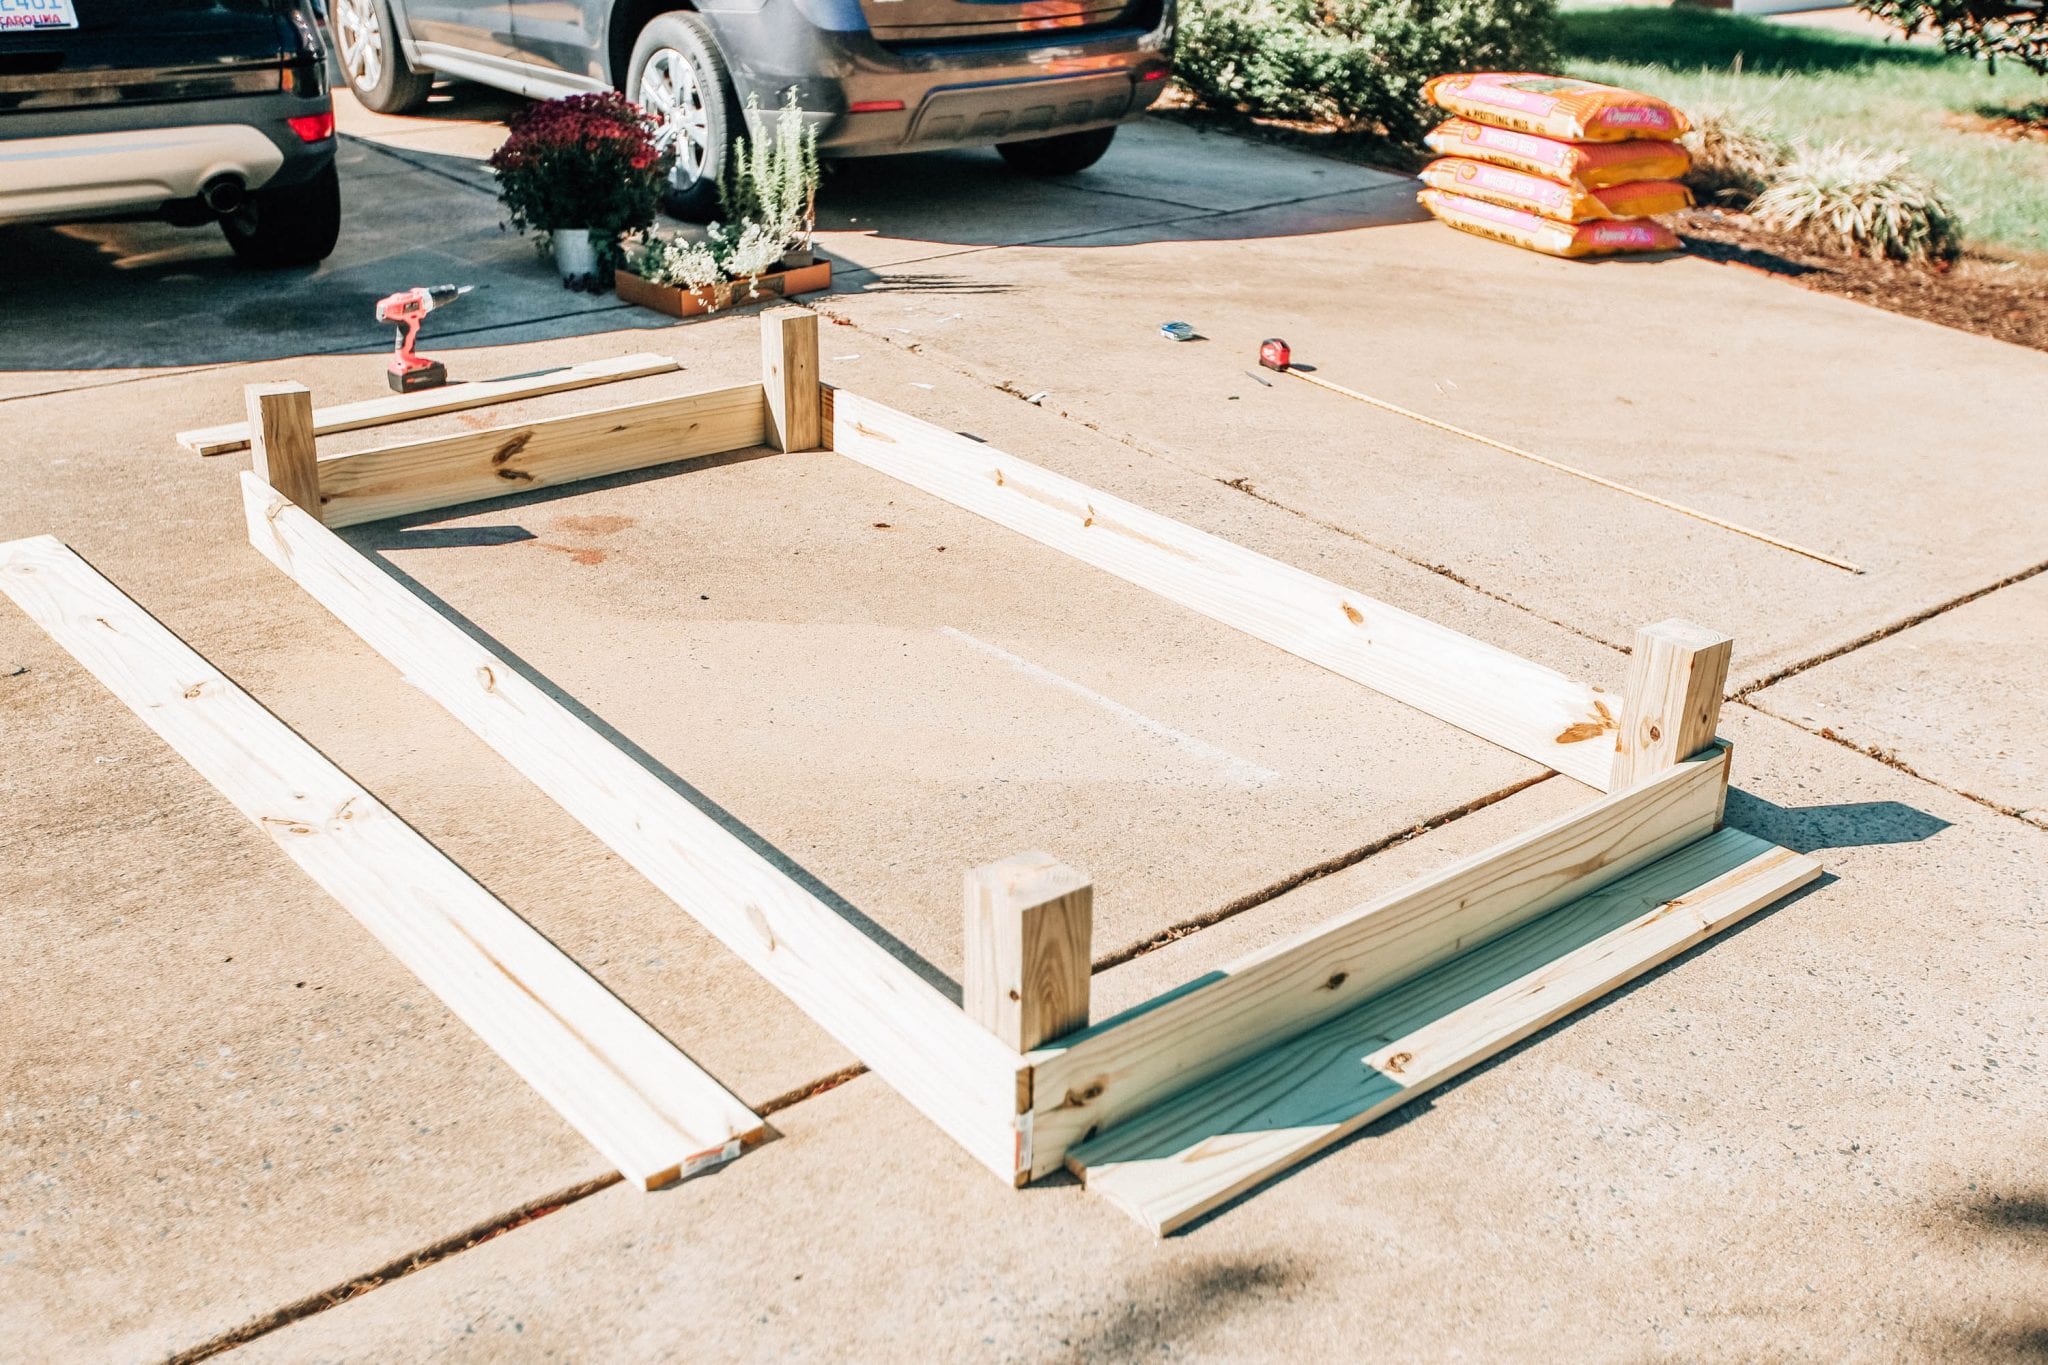
To make the raised beds, cut the 4 x 4 columns into 1 feet increments, for a total of 4 segments. This will anchor the sides together and provide stability when you add the soil and it stretches the wood. 


Cut 2 of the 1 x 6 boards in half to get a total of (4) 4-foot boards. 


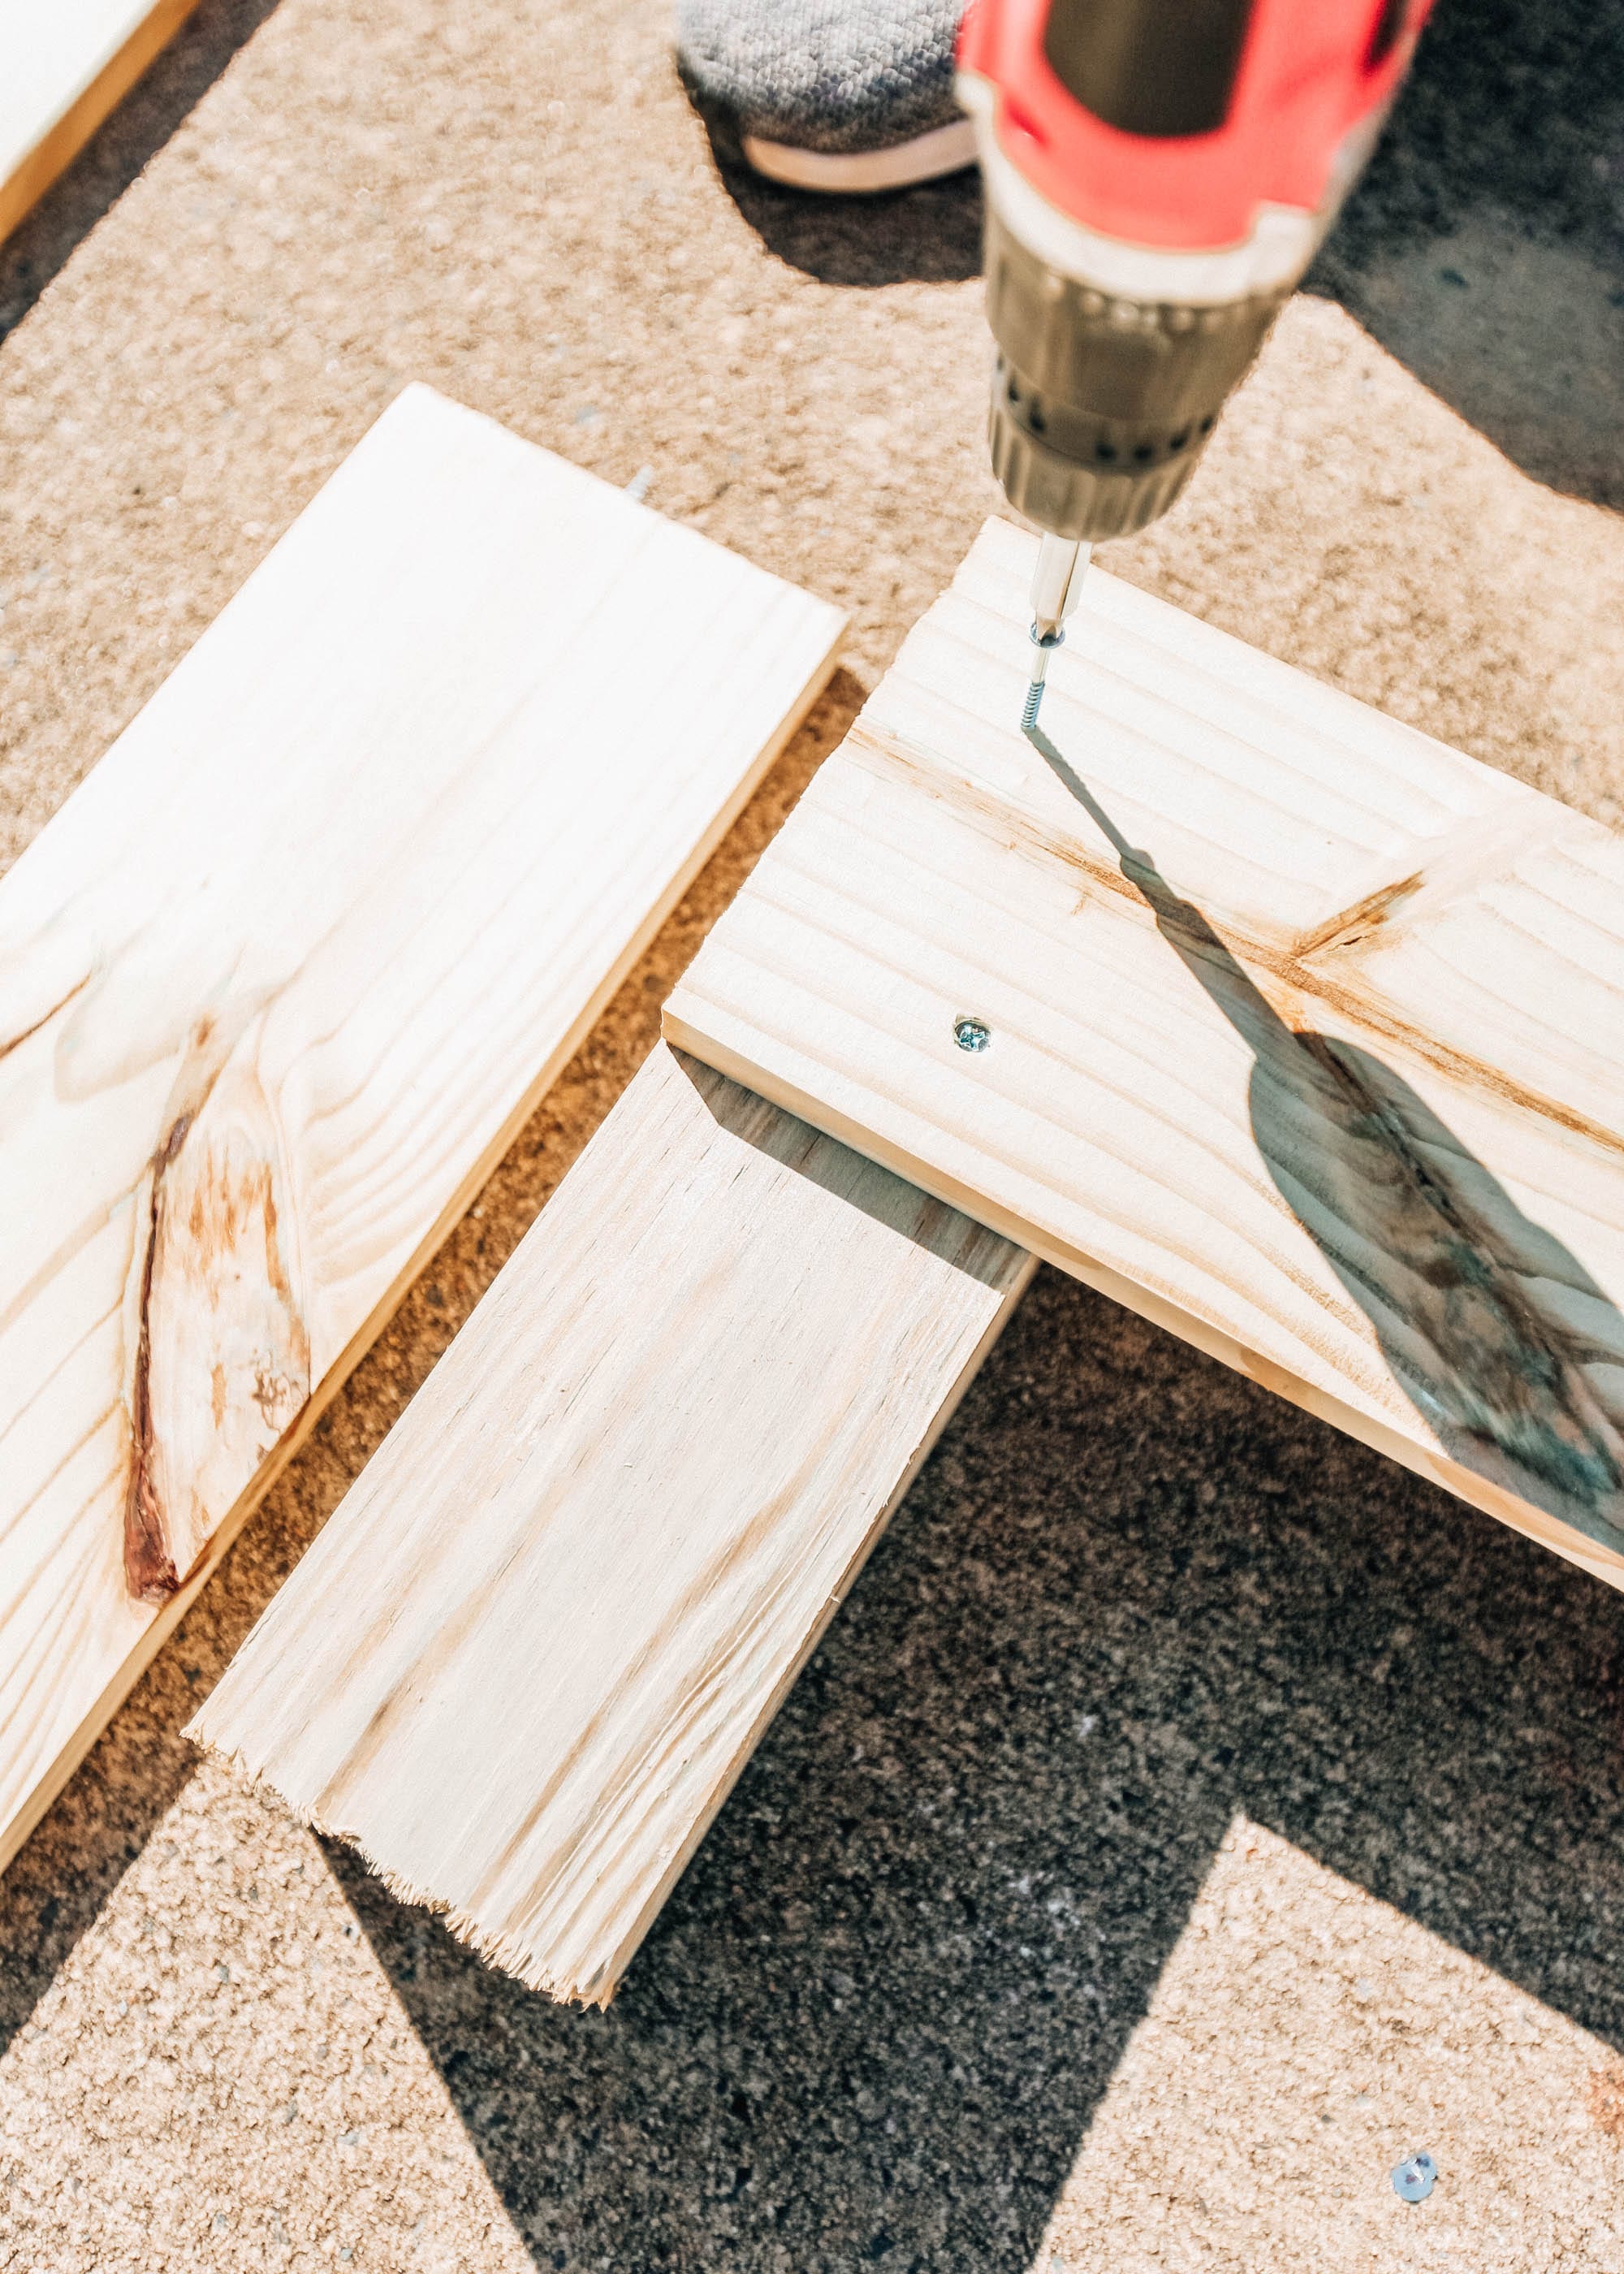
Attach (1) of the 4-foot boards to one of the 4 x 4 column segments with wood screws. Attach the other side of the 1 x 6 board to column segment number 2. Repeat steps for second 4-foot 1 x 6 board, right above the first board. 


Repeat all steps for other set of 4-foot 1 x 6 boards and remaining 4 x 4 columns. 


Connect each short side of the bed utilizing one of 8-foot 1 x 6 remaining. Ensure this is done on a level surface and is straight to keep integrity. Attach second long 1 x 6 board above first board using wood screws. 


Repeat steps for second long side of raised bed. 

Once the bed is complete, place in designated area of yard. To create an inexpensive weed barrier, lay cardboard on bottom of the bed. In other cases, you can purchase a plastic sheet to act as a weed barrier. Make sure you use polypropylene and not polyvinyl, as polyvinyl can leach chemicals into the soil. 

Add soil to the prepared bed, creating a minimum depth of at least 6 inches. If all the steps are followed, your bed will be 1 foot in depth. It may take between 12-16 bags totaling 2 cubic feet each to fill the entire bed. 

Now that the bed is made, we’re ready for the fun part; although, we’re a little late this season for any vegetables to grow this year. Once the new year rolls around, I’m going to make sure to order seeds for a variety of vegetables we love! Some I’m most excited for are: broccoli, lettuce, spinach, peppers, cucumbers, and an assortment of herbs! Vegetable gardening is a whole other topic to dive into so it’s a good thing I have some time before we plant seeds!

Gift Guides

Pines Picks For Him

Today I’m bringing you a few great gift ideas for the men in your life! I enlisted TJ’s help for this one and hopefully this helps whether you’re shopping for a significant other, dad, brother, etc. From wooden personalized watches to versatile tools to use around the house and cozy sweaters to wear all season, surely there is a gift for everyone in here! I included a description of each product below and links to where you can shop! 

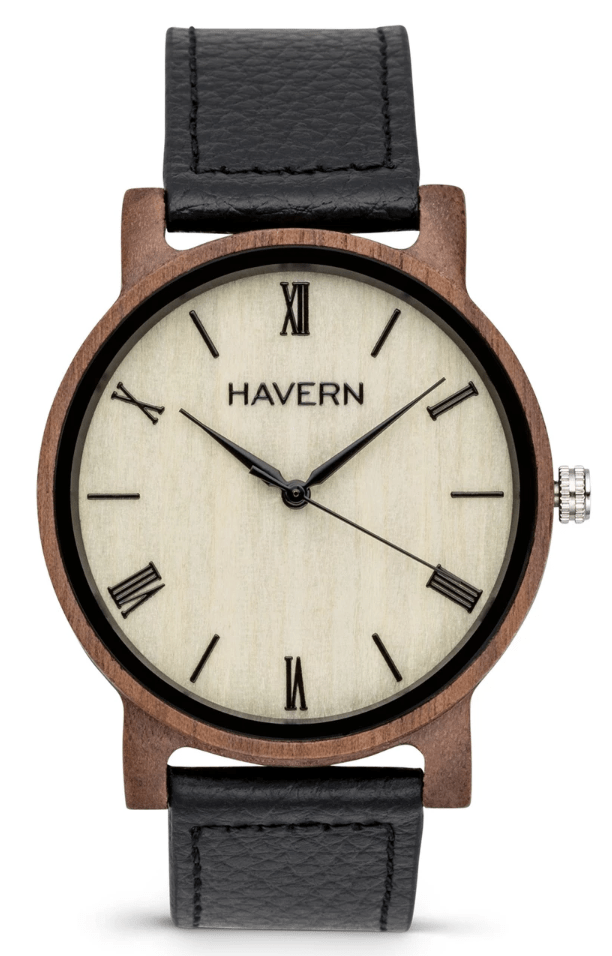
I discovered HAVERN Watches earlier this year and thought they were SO unique.  Aside from the fact that they are made in NC, you have the ability to shop by wood type (so many to choose from) and they offer personalized engraving. I ordered this style for TJ and decided to have our wedding anniversary engraved on it. I love the minimalist styles they offer. HAVERN also offers great groomsmen packages if you’re getting married anytime soon! The watch comes in a beautiful ready-to-be-gifted recycled Kraft paper box too. The company is also committed to giving back to the environment and partners with One Tree Planted so, simply put, 1 order = 1 tree. Get 10% off your first order using the code SHELBY10!
A good pair of slippers always make a great gift this time of year. Depending on what you’re looking to spend, these have great reviews for under $20 but my personal favorite place to buy slippers is LL Bean. Browse more high quality slippers here

If you’re a new homeowner and DIY-er, this tool chest/workbench is a dream! Aside from the fact that it’ll make your garage look so chic, it’s big enough to organize all of your tools so they’re not scattered around the house between projects. This one is the perfect size and has over 1,300 reviews!

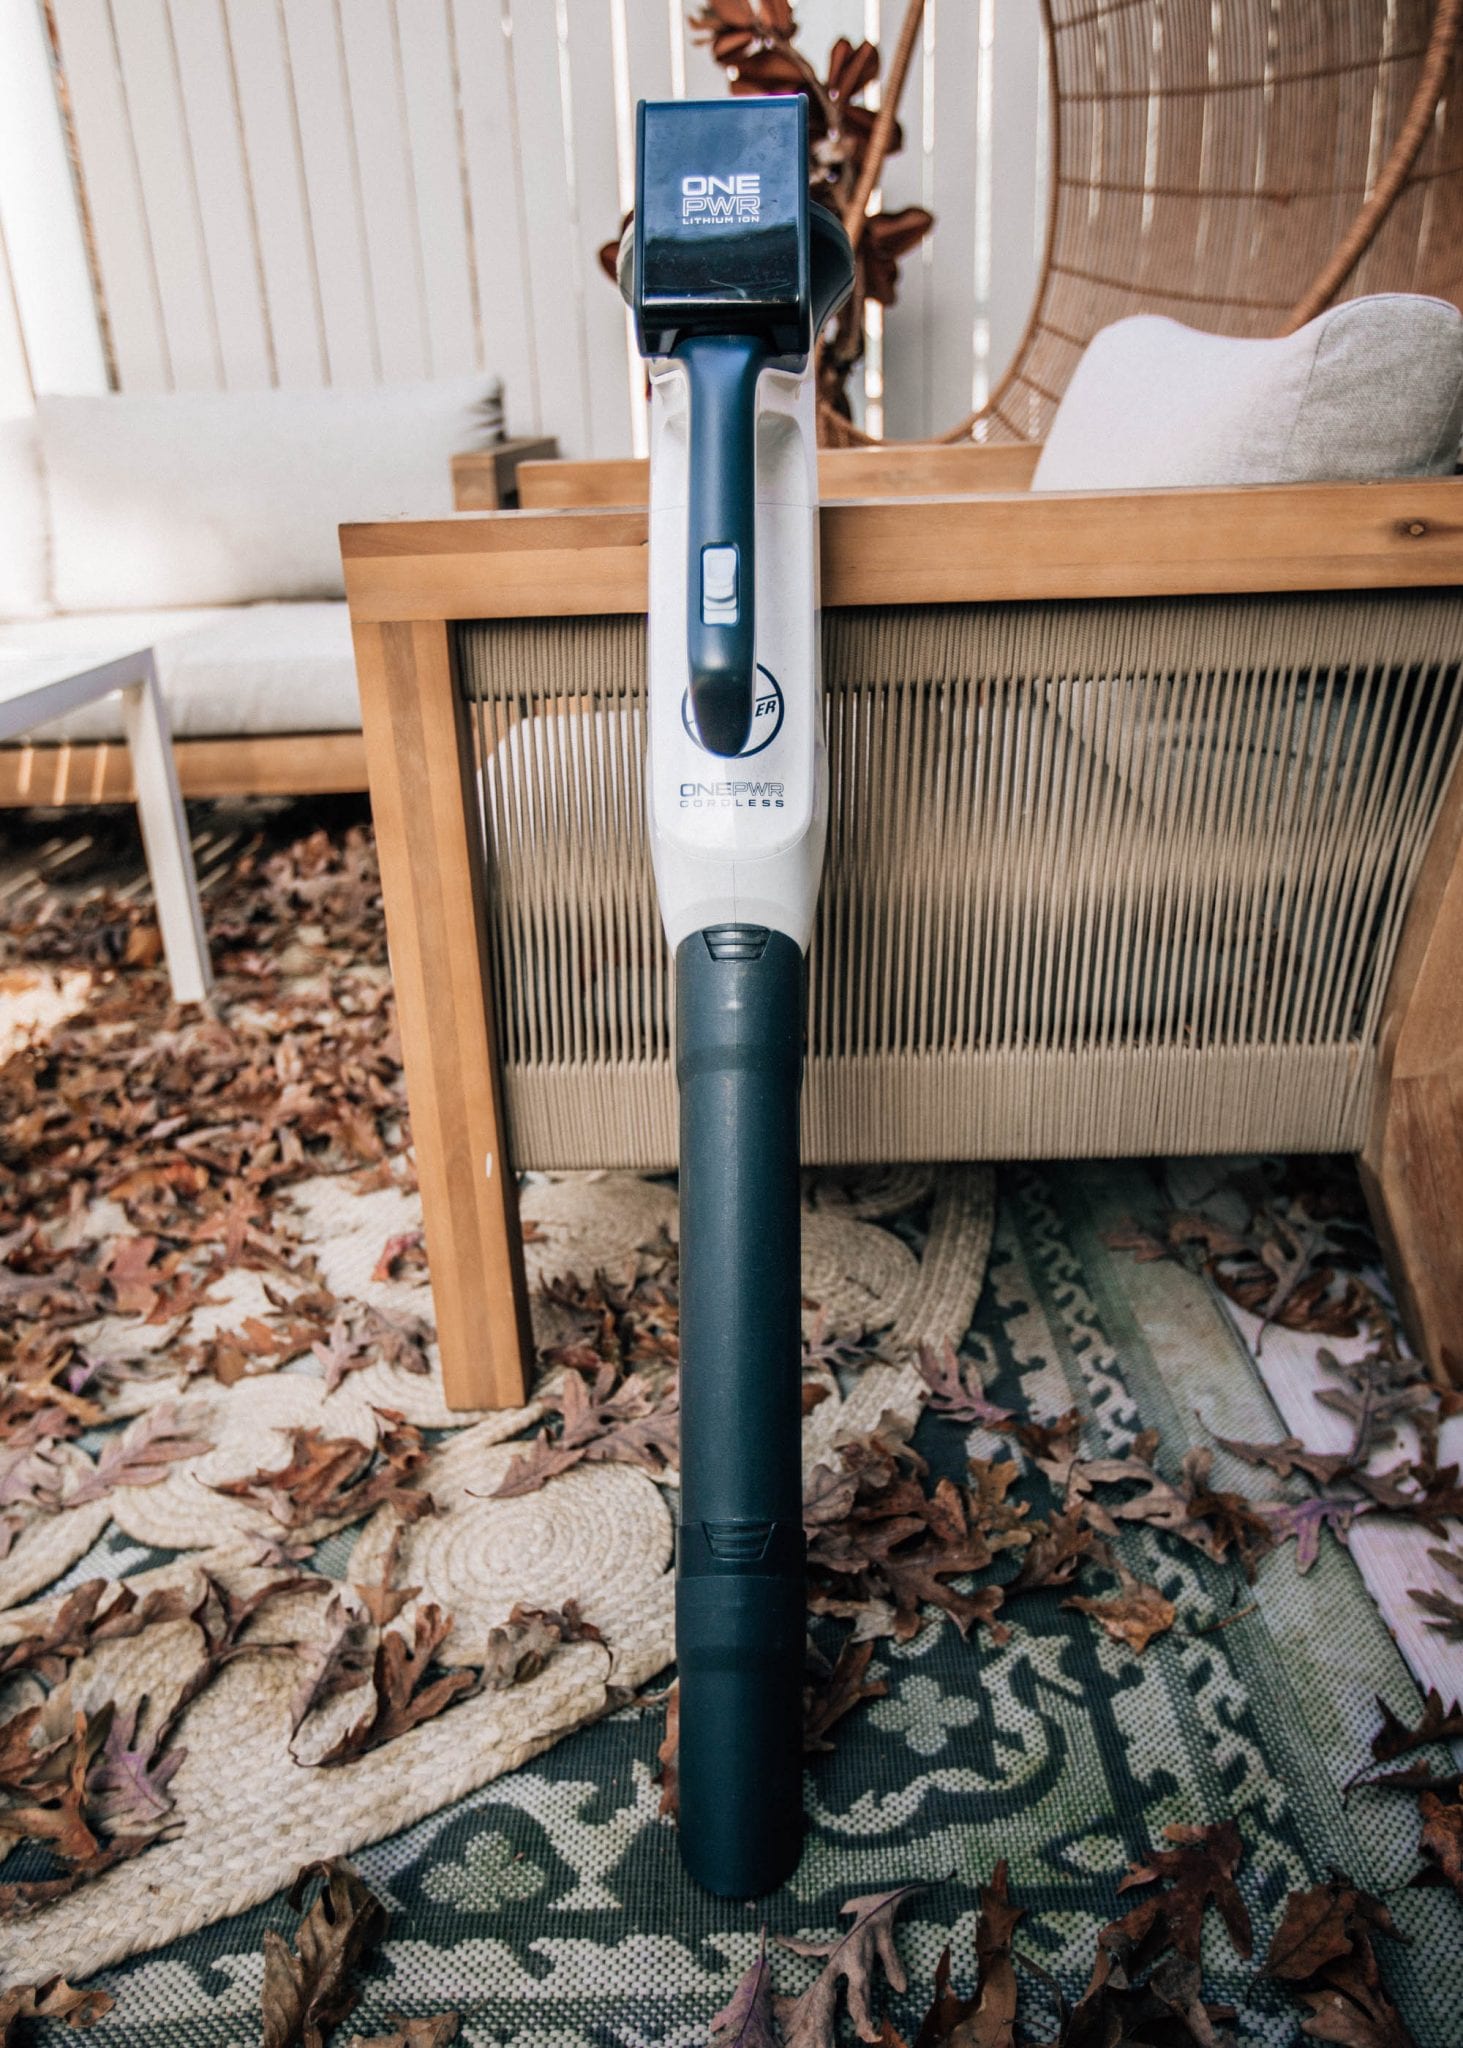
I’ve mentioned numerous times before how much I LOVE this line of products by Hoover. It’s so nice having cordless easy-to-whip-out-at-any-moment vacuums and this blower has been the best since our back deck is constantly covered with leaves. It’s high-powered, rechargeable and has great reviews for under $130 on Prime!

One of TJ’s favorite pullovers was recently on sale and, while the sale might be over, it still deserves a spot on this list! These 1/4-zip pullovers come in so many colors and will last a lifetime! Always such great quality and would make such a great gift to any guy in your life. 

This past year, TJ and I both have become big fans of this brand and, although it’s definitely a splurge, we’ve found that we wear this the most often making it well worth it in our opinion! These joggers are on TJ’s list and I know he’ll wear them every day like he has these shorts

Another great gift is good tools, especially for men who like building things around the house. Our most used tools are this cordless nail gun and this drill. We’ve used them during our kitchen reno with building shelves and our breakfast nook and have used the drill countless times when installing hardware.

For the guy who likes to grill but doesn’t want daylight savings getting in the way, this grill light attaches to the grill and makes it so that you can see what you’re cooking and listen to good music on it’s built-in bluetooth speaker. 

OTHER CLOTHING AND ACCESSORIES:

ELECTRONICS & MISC.:

Hopefully this gave you some ideas! If you’re interested in seeing my full gift guide magazine, click here to view that and I hope you have a happy rest of the week!

This post is in partnership with HAVERN watches. All thoughts and opinions are my own.

Gift Guides

The “Can’t Go Wrong” Gifts

Out of all of the places to shop for gifts this week, today I’m sharing one of my absolute favorites… a holiday shopping staple you really can’t go wrong with, whether you’re shopping for your mom, dad, husband, sister, etc. Few brands compare to the quality of The North Face and I love the feeling of gifting something that can be worn for years and years to come. When it comes to giving gifts for the holidays, when possible I typically like to shop at higher-quality stores knowing that the items I’m gifting won’t just fall apart after a few washes. TJ and I both have worn The North Face for as long as I can remember (he even still uses his North Face high school backpack for work every day). The North Face is having 25% off select items and it includes some of our favorites.

TJ’s quarter-zip pullover is one of the items included in the sale this week. This would make such a great gift for any husband, dad, father-in-law, grandpa, or brother! I already ordered it in this two-toned green color for my dad and brother-in-law. It comes in several colors and is such a great layering piece for the fall and winter months. TJ layered it underneath the Men’s Down Sierra 3.0 Vest in “Cedar Brown” – another piece you really cannot go wrong with. I also love this vest if you’re looking for a non-puffy option.

I have the Women’s Campshire Vest 2.0 (it also comes in a full-zip jacket) and I’ve been wearing it nearly every day layered over my favorite crewneck sweatshirts and leggings. I also have the Acropolis Parka in black… a coat I’ll have forever! The majority of The North Face’s products have a lifetime warranty so you’re getting what you pay for.

You can shop the rest of the Cyber Monday Sale here and I’ve included a few more favorites (some items not included in the sale but still great gifts!) below:

This post is in partnership with The North Face. All opinions are my own.

Holidays

Cyber Monday Sales

CLICK HERE FOR FULL SCREEN EXPERIENCE.

The North Face 25% off Select Styles including this VEST

ALL sweaters at Aerie 50% off including this chenille oversized turtleneck

ABERCROMBIE || 50% off ENTIRE STORE

AE/AERIE || 50% off sweaters, sweatshirts, (& leggings at AERIE)

ASOS || 30% off everything with the code “BIG30”

BACKCOUNTRY || Select Styles on MAJOR SALE up to 50% off

BANANA REPUBLIC || 50% off EVERYTHING (no code needed)

CRATE AND BARREL || 20-30% off sidewide *excluding furniture and select items*

EXPRESS || 50% off everything + free shipping + doorbusters

GAP || 50% off everything w/ code: GAPCYBER & extra 10% off everything w/ GOBIG

J. CREW || 50% off your purchase online only w/ code MONDAY

J. CREW FACTORY || 60% off everything + extra 10% off w/ code SOAMAZING

LEVI’S || 40% off everything – code: CYBER + extra 50% off sale

LOFT || 50% off everything + free shipping w/ code CYBER

MACY’S || daily doorbusters

MADEWELL || 30% off your purchase + extra 10% off

NORDSTROM || up to 50% off

NORDSTROM RACK || 24 hour flash sales on select brands

THE NORTH FACE || 25% off select styles

OLD NAVY || 50% off everything 

SERENA & LILY || 25% off everything

Serena & Lily never has sales this big and these are high-quality timeless pieces you’ll have for years. Some of my favorite items we have from here are: rattan beach chairs, white pendant above our sink, beach towels, large knit baskets (great for under our coffee table or open bathroom vanity).

WEST ELM || up to 30% off (buy more, save more)

WILLIAMS SONOMA || DAILY DEALS including up to 50% off Nespresso machines

Gift Guides

A Vacuum For Everyone

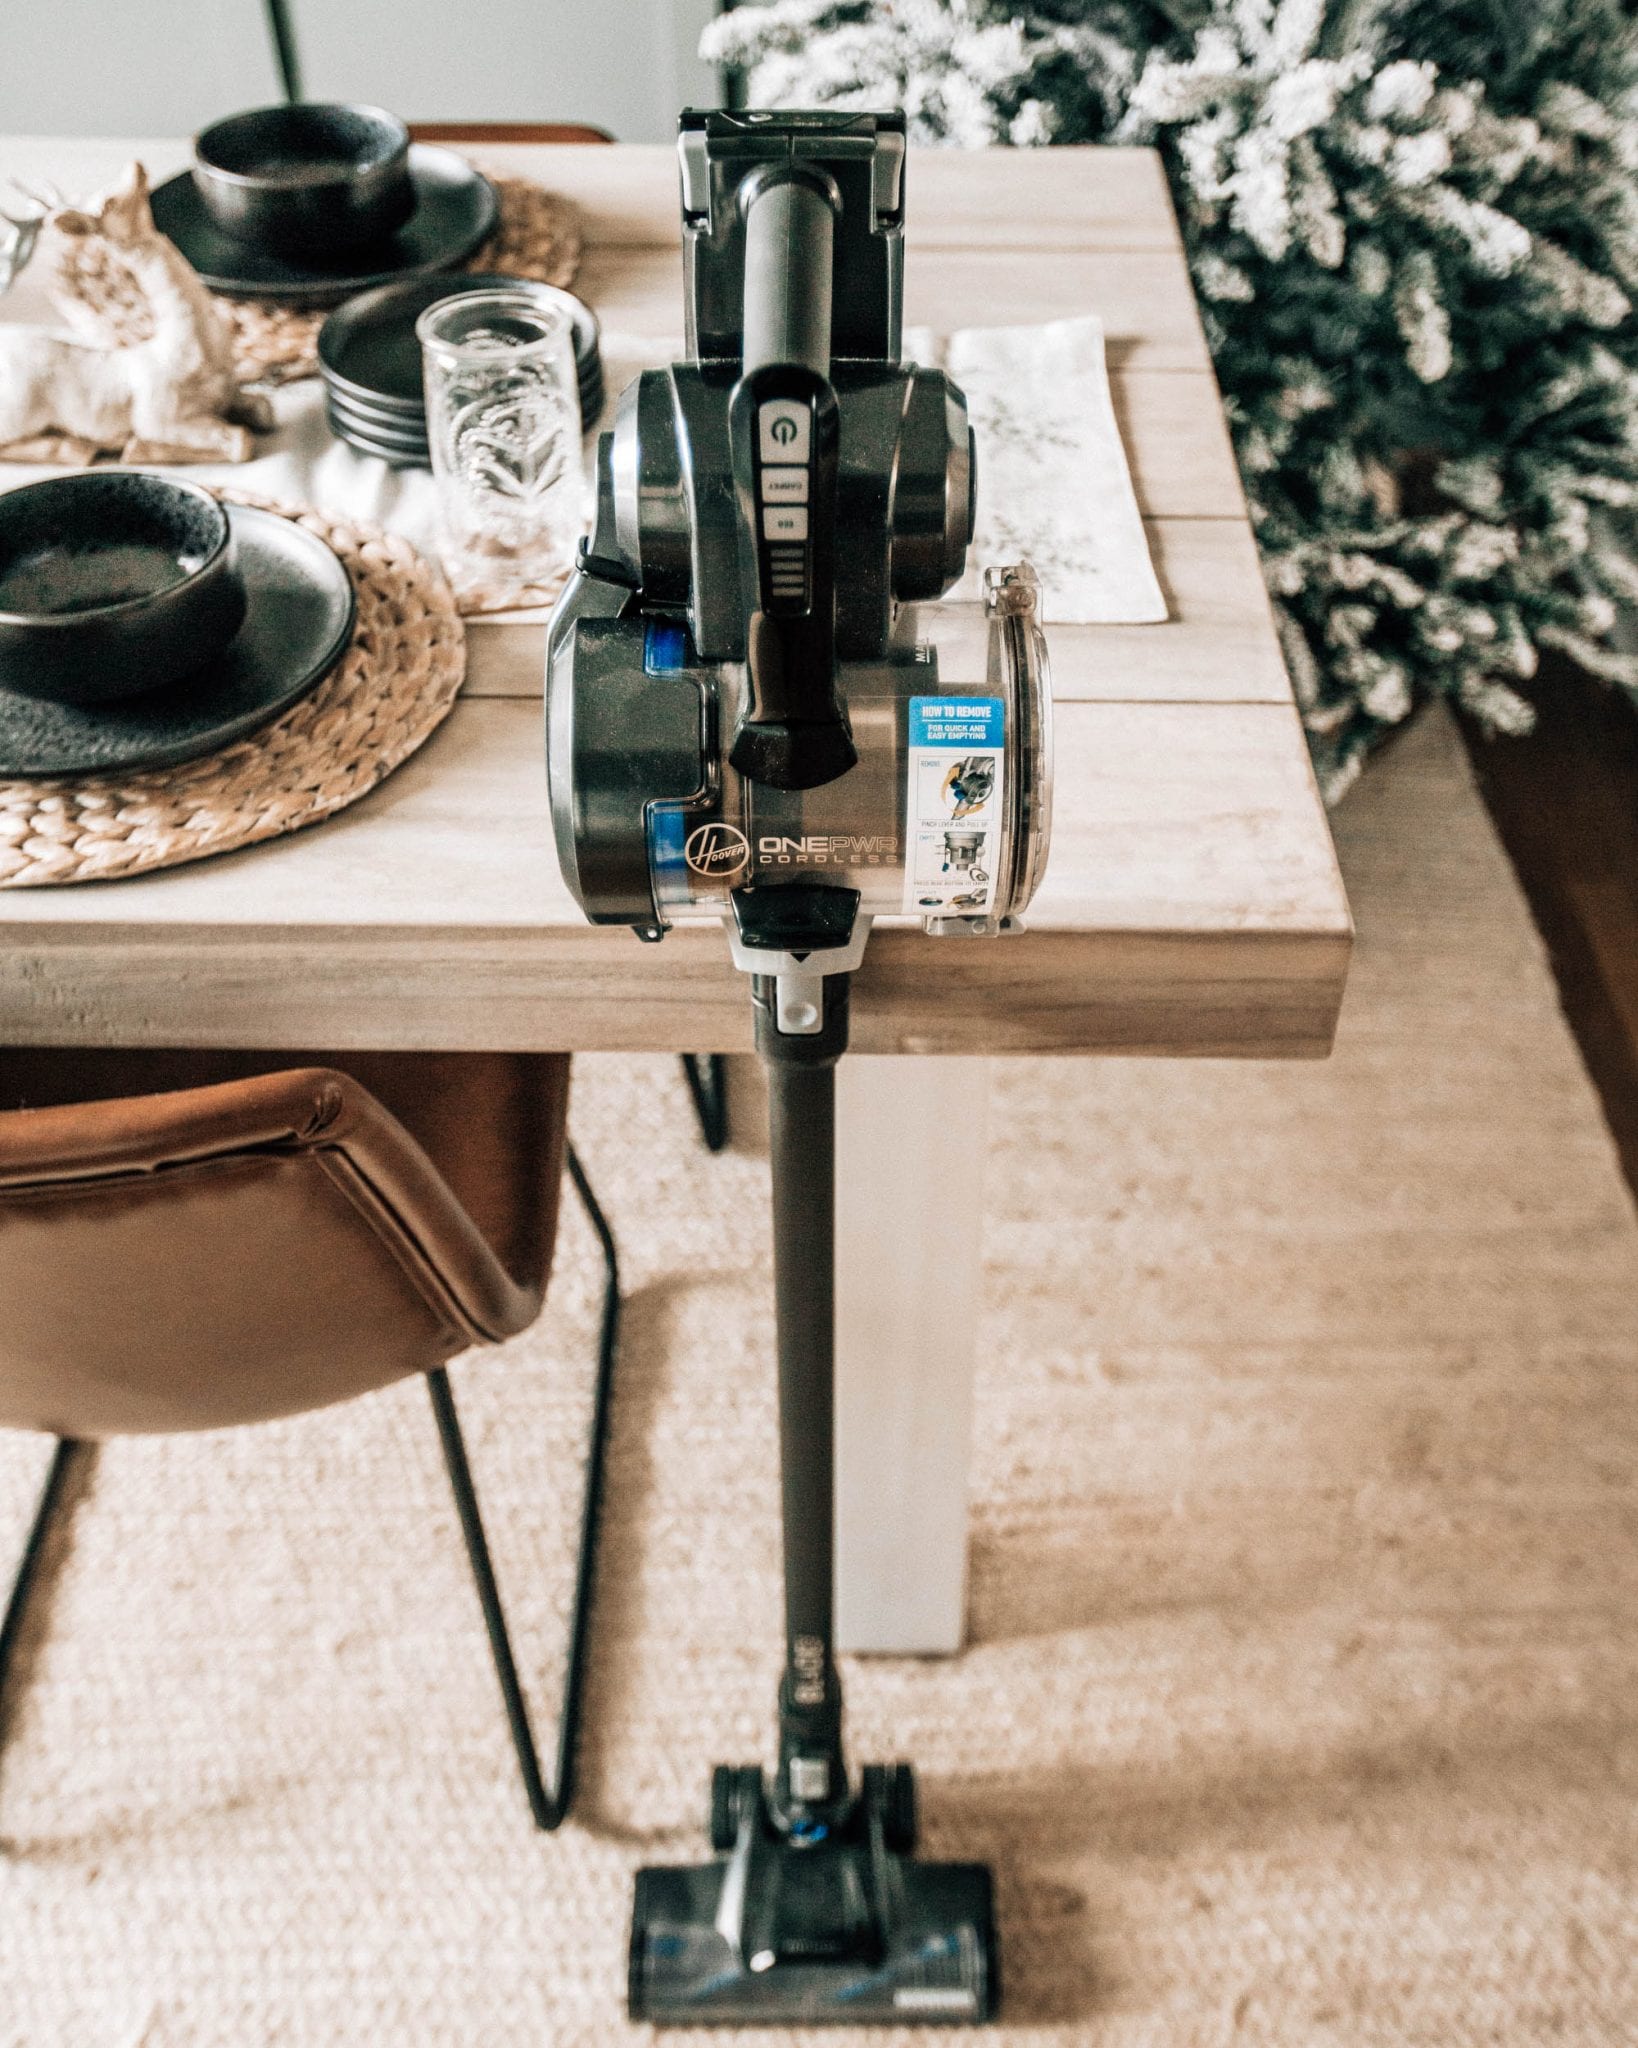
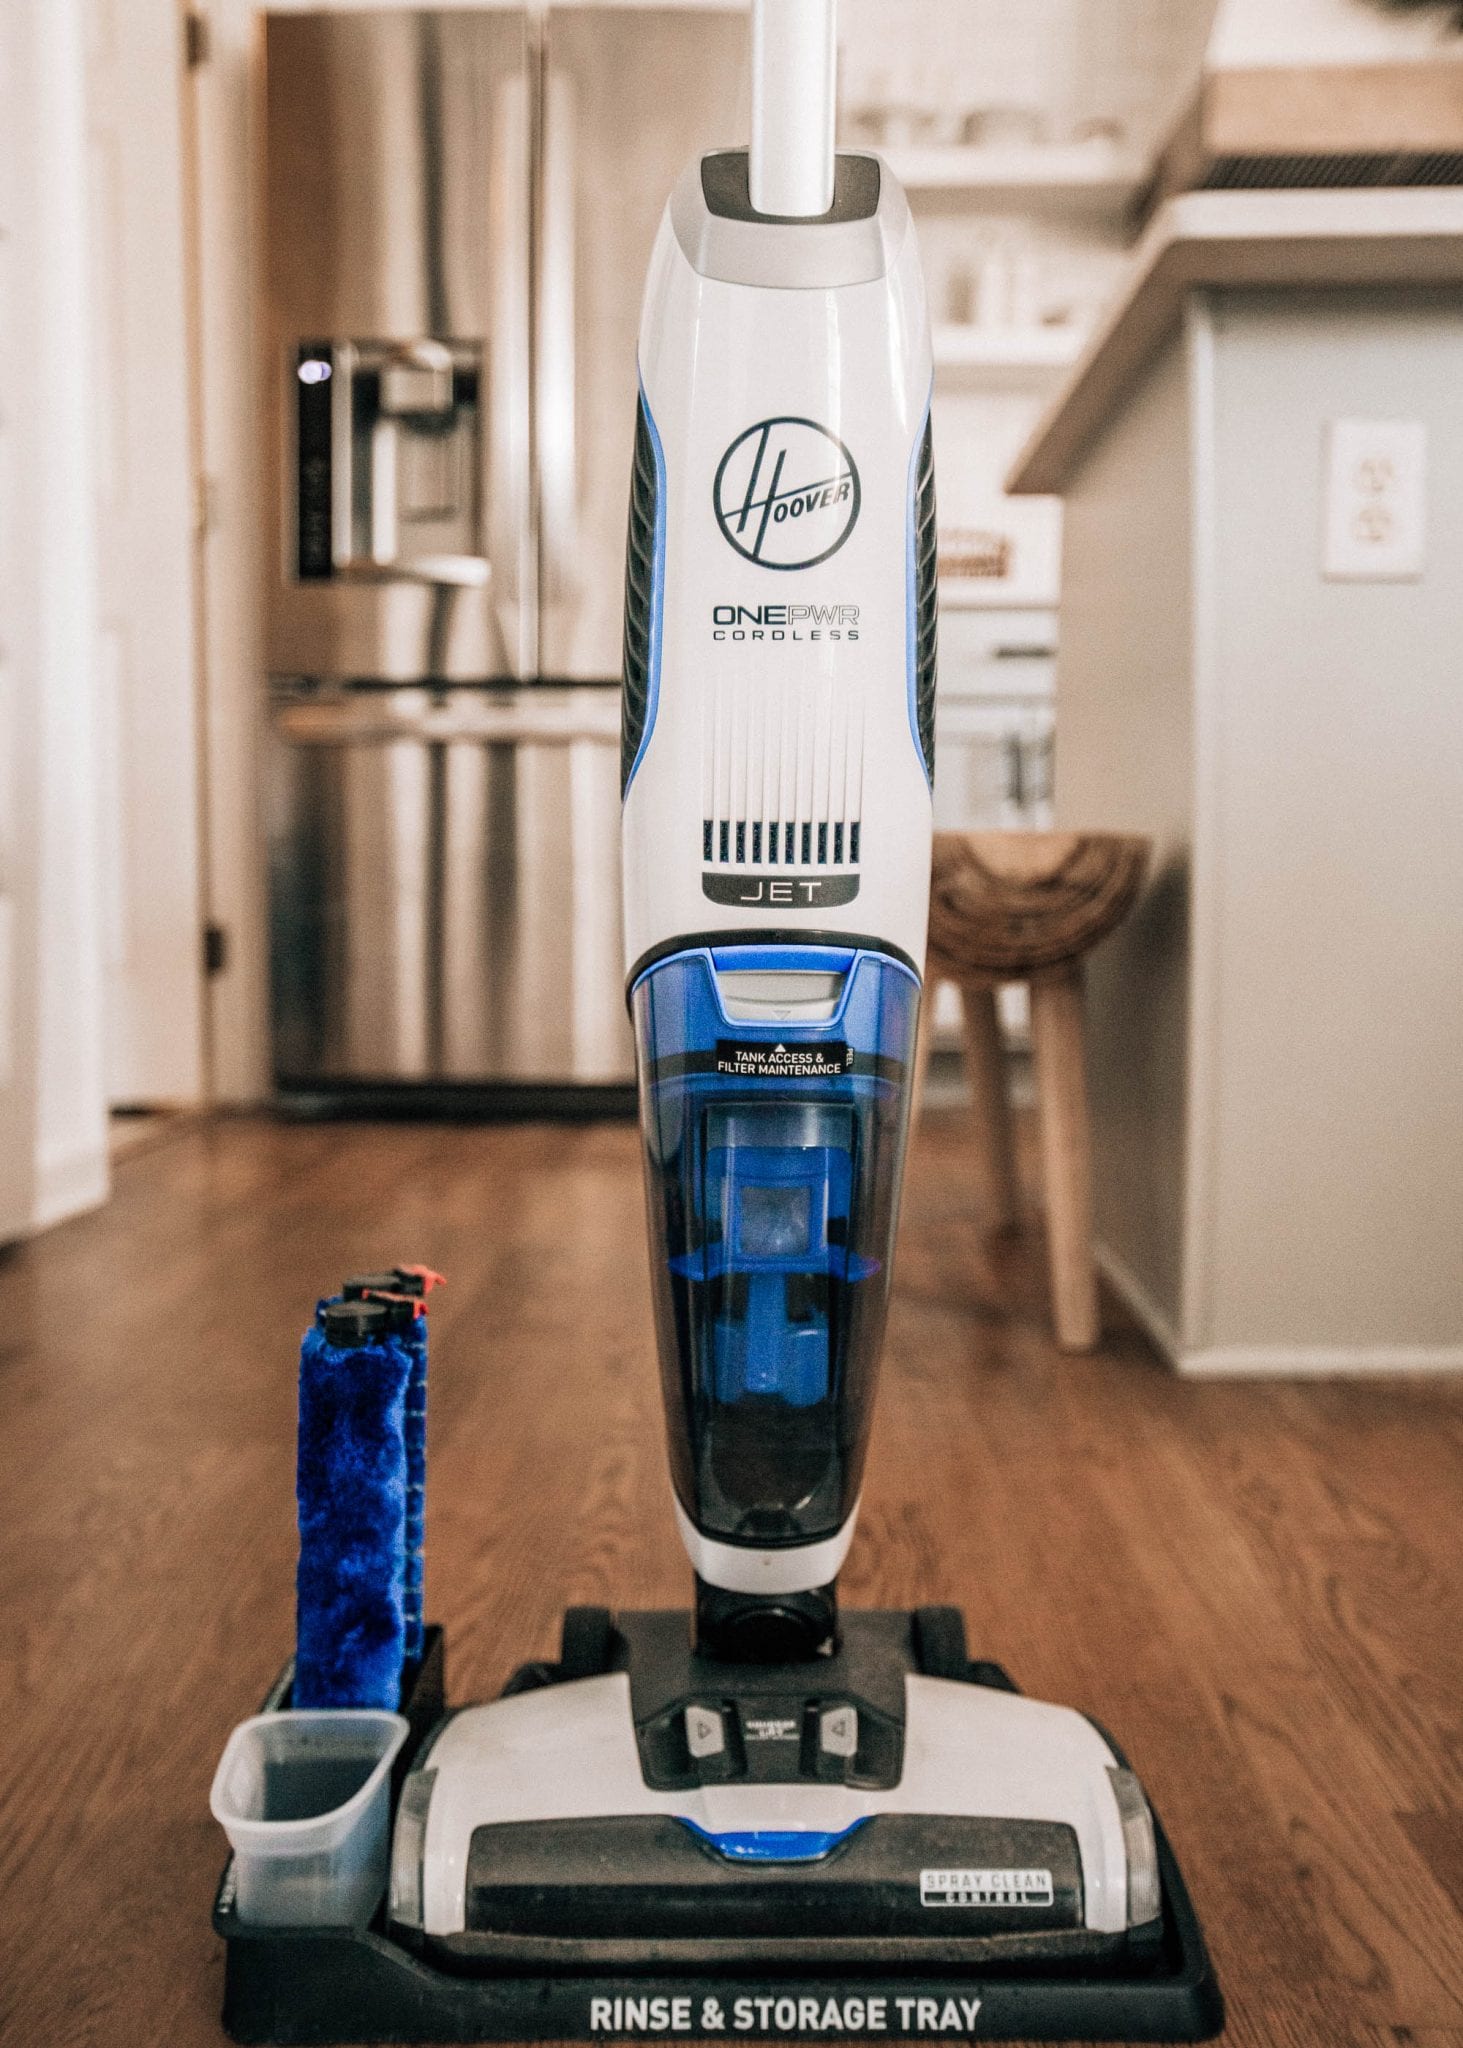
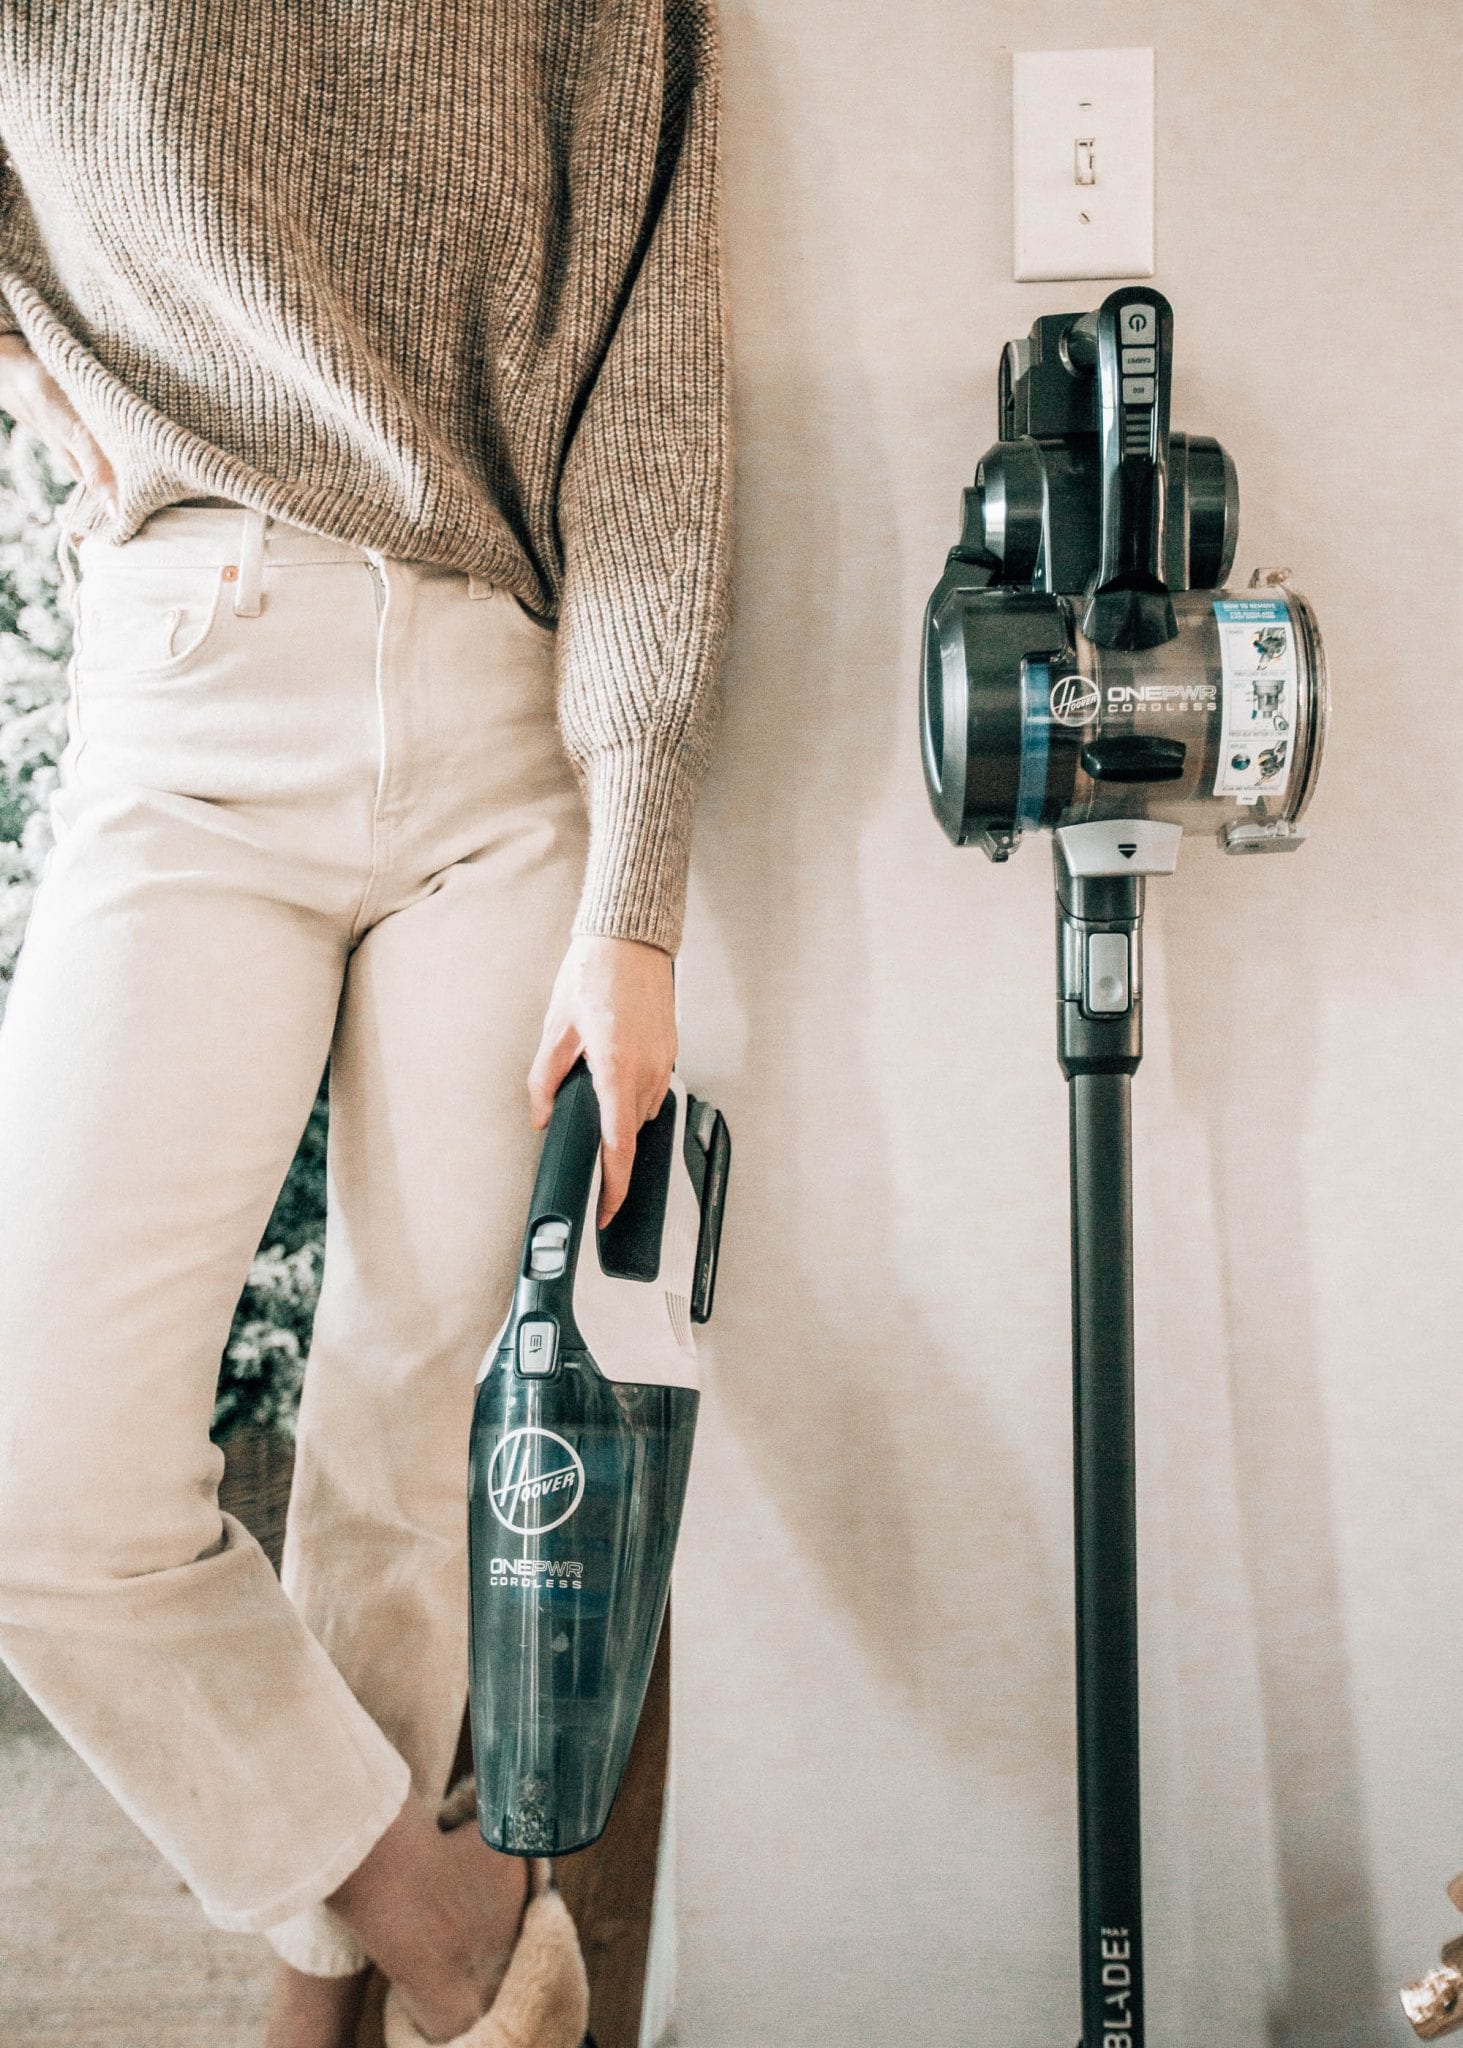
TJ and I have a full-on vacuum cleaner collection these days. We each have our favorite go-to’s (they’re ALL cordless) and today I’m sharing a few perfect gift ideas for everyone on your list – vacuum edition! Hoover introduced their newest ONEPWR line of 9 products (that all use the exact same rechargeable battery) earlier this year and we’re big fans and use their products daily. It is so nice being able to pull these out quickly and not have to worry about long cords getting in the way. Hoover.com also has some great deals happening so you can check them out here! They are also having a sale on the rechargeable batteries. I love how these batteries have fade-free power from start to finish so you’re always getting the most out of it no matter the battery life. These batteries are made to swap out between products for versatility but we like to keep a couple on hand just in case.

FOR THE HOMEBODY, NEW HOMEOWNERS, & NEWLYWEDS

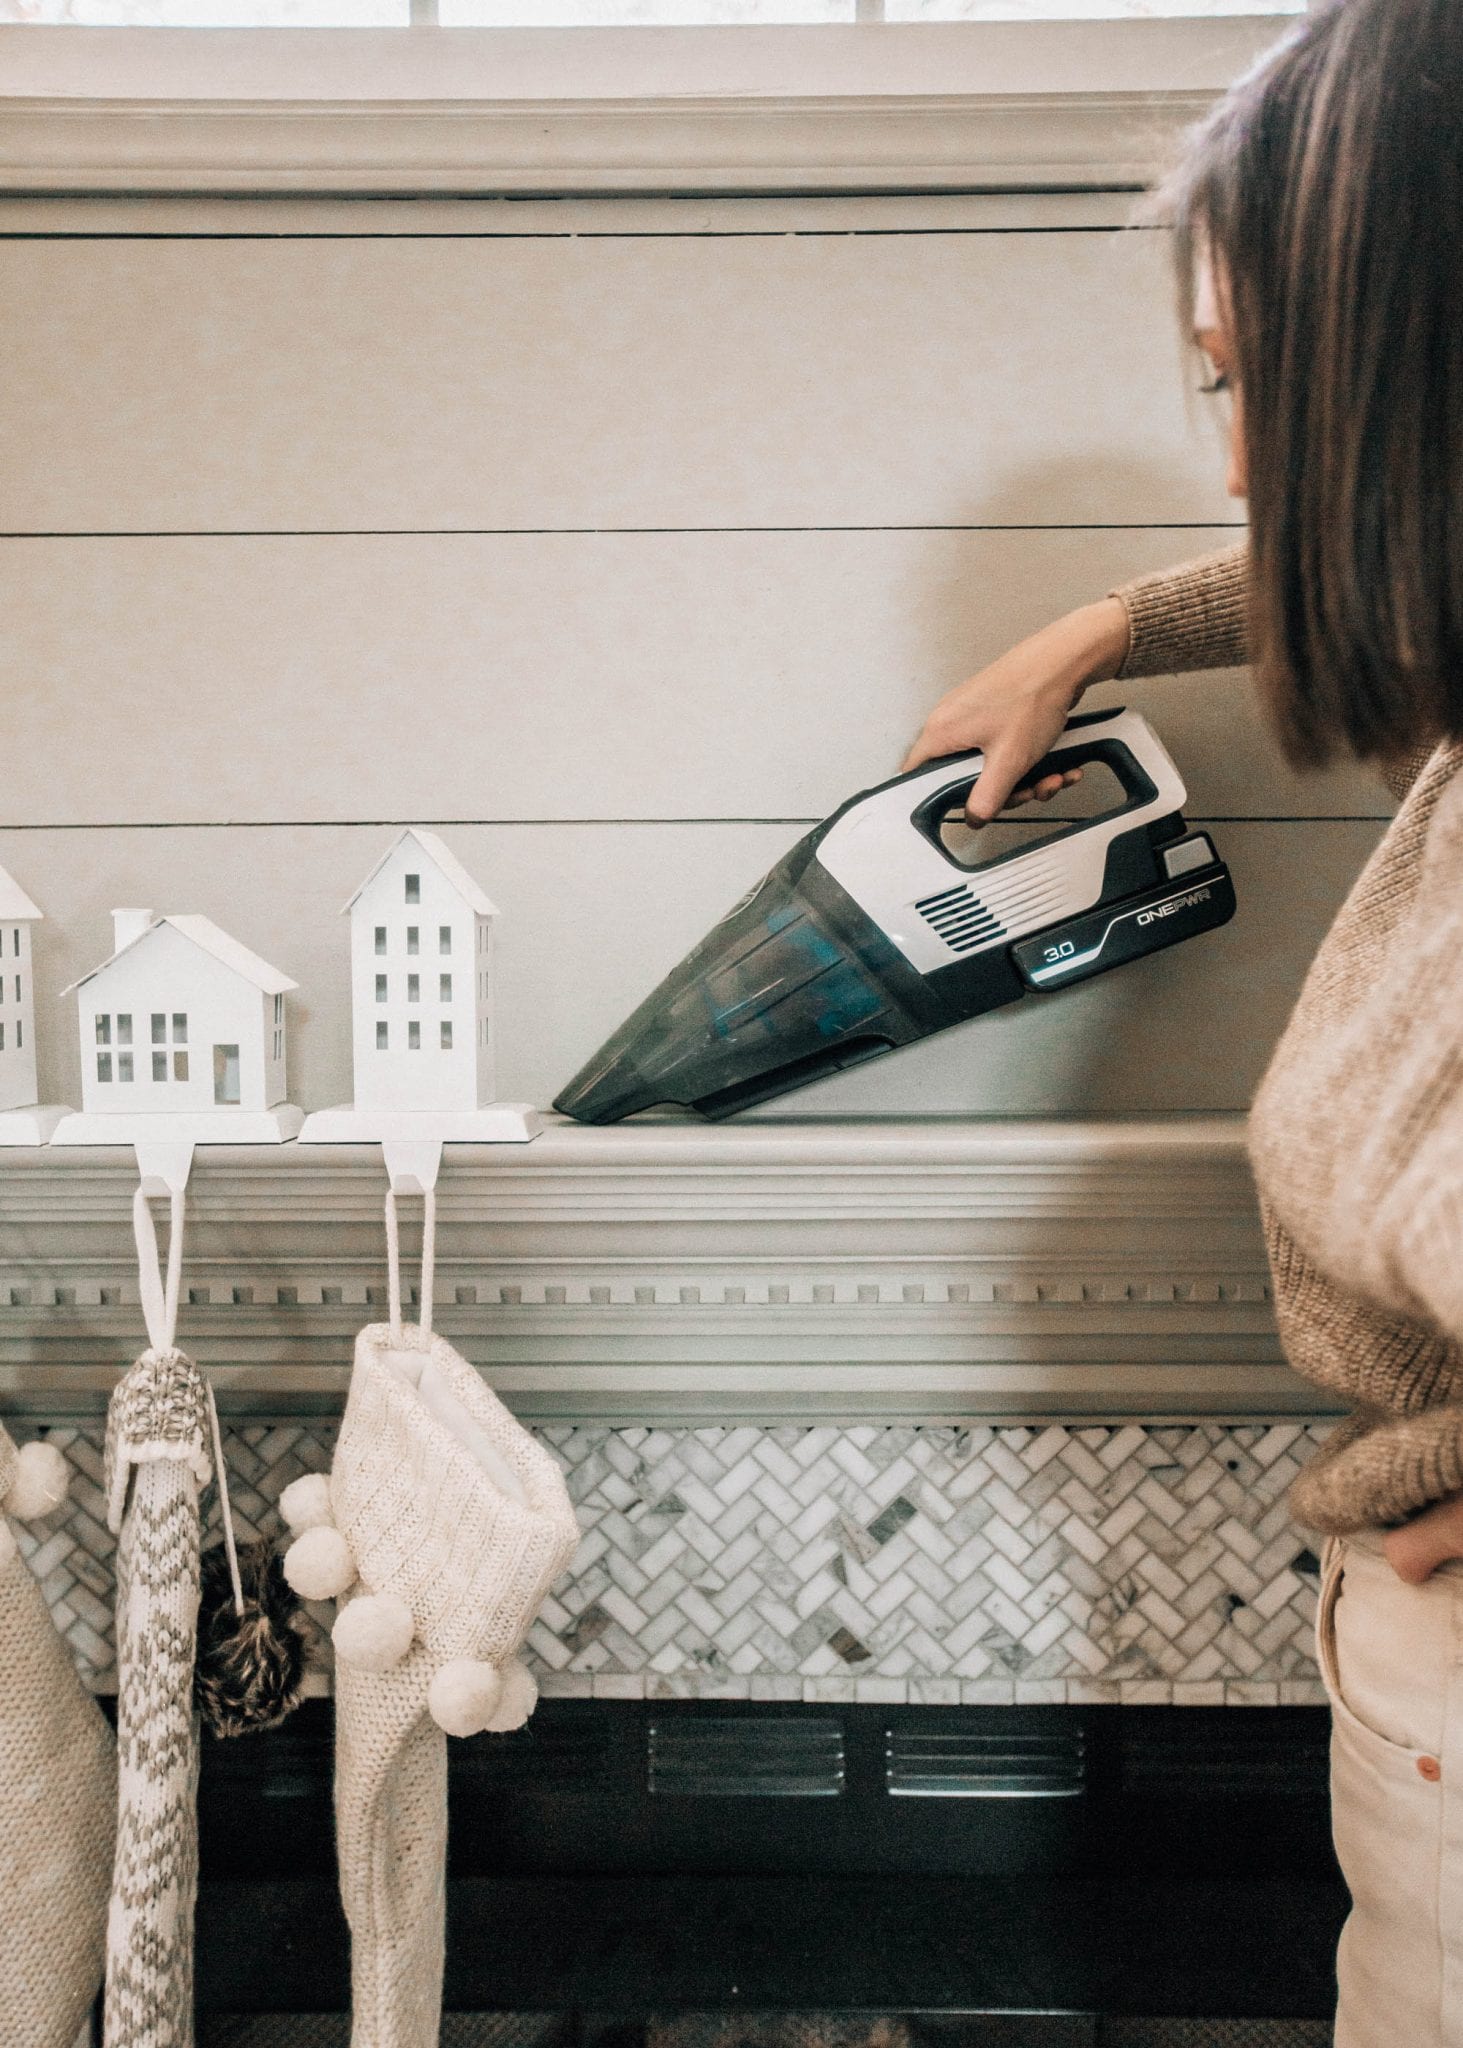
Every product available at Hoover can probably fall under this category, but especially the ONEPWR products. My personal favorite hands-down (no pun intended) is the Hand Vacuum. I use this hand vacuum almost daily to clean up smaller spaces quickly and get into small corners. It would make the perfect gift for couples and new homeowners too! The FloorMate Jet and Blade Max are also great gifts for cleaning up spaces quickly. If you’re looking for a versatile vacuum cleaner for every floor type, the Blade Max is SO good. Another great one worth mentioning is the cordless Leaf Blower! Our back deck is covered with trees so, during the fall, it’s constantly covered in leaves. I love how efficient and convenient this leaf blower is and highly recommend it for any homeowner! Shop all ONEPWR here

FOR THE DIYer

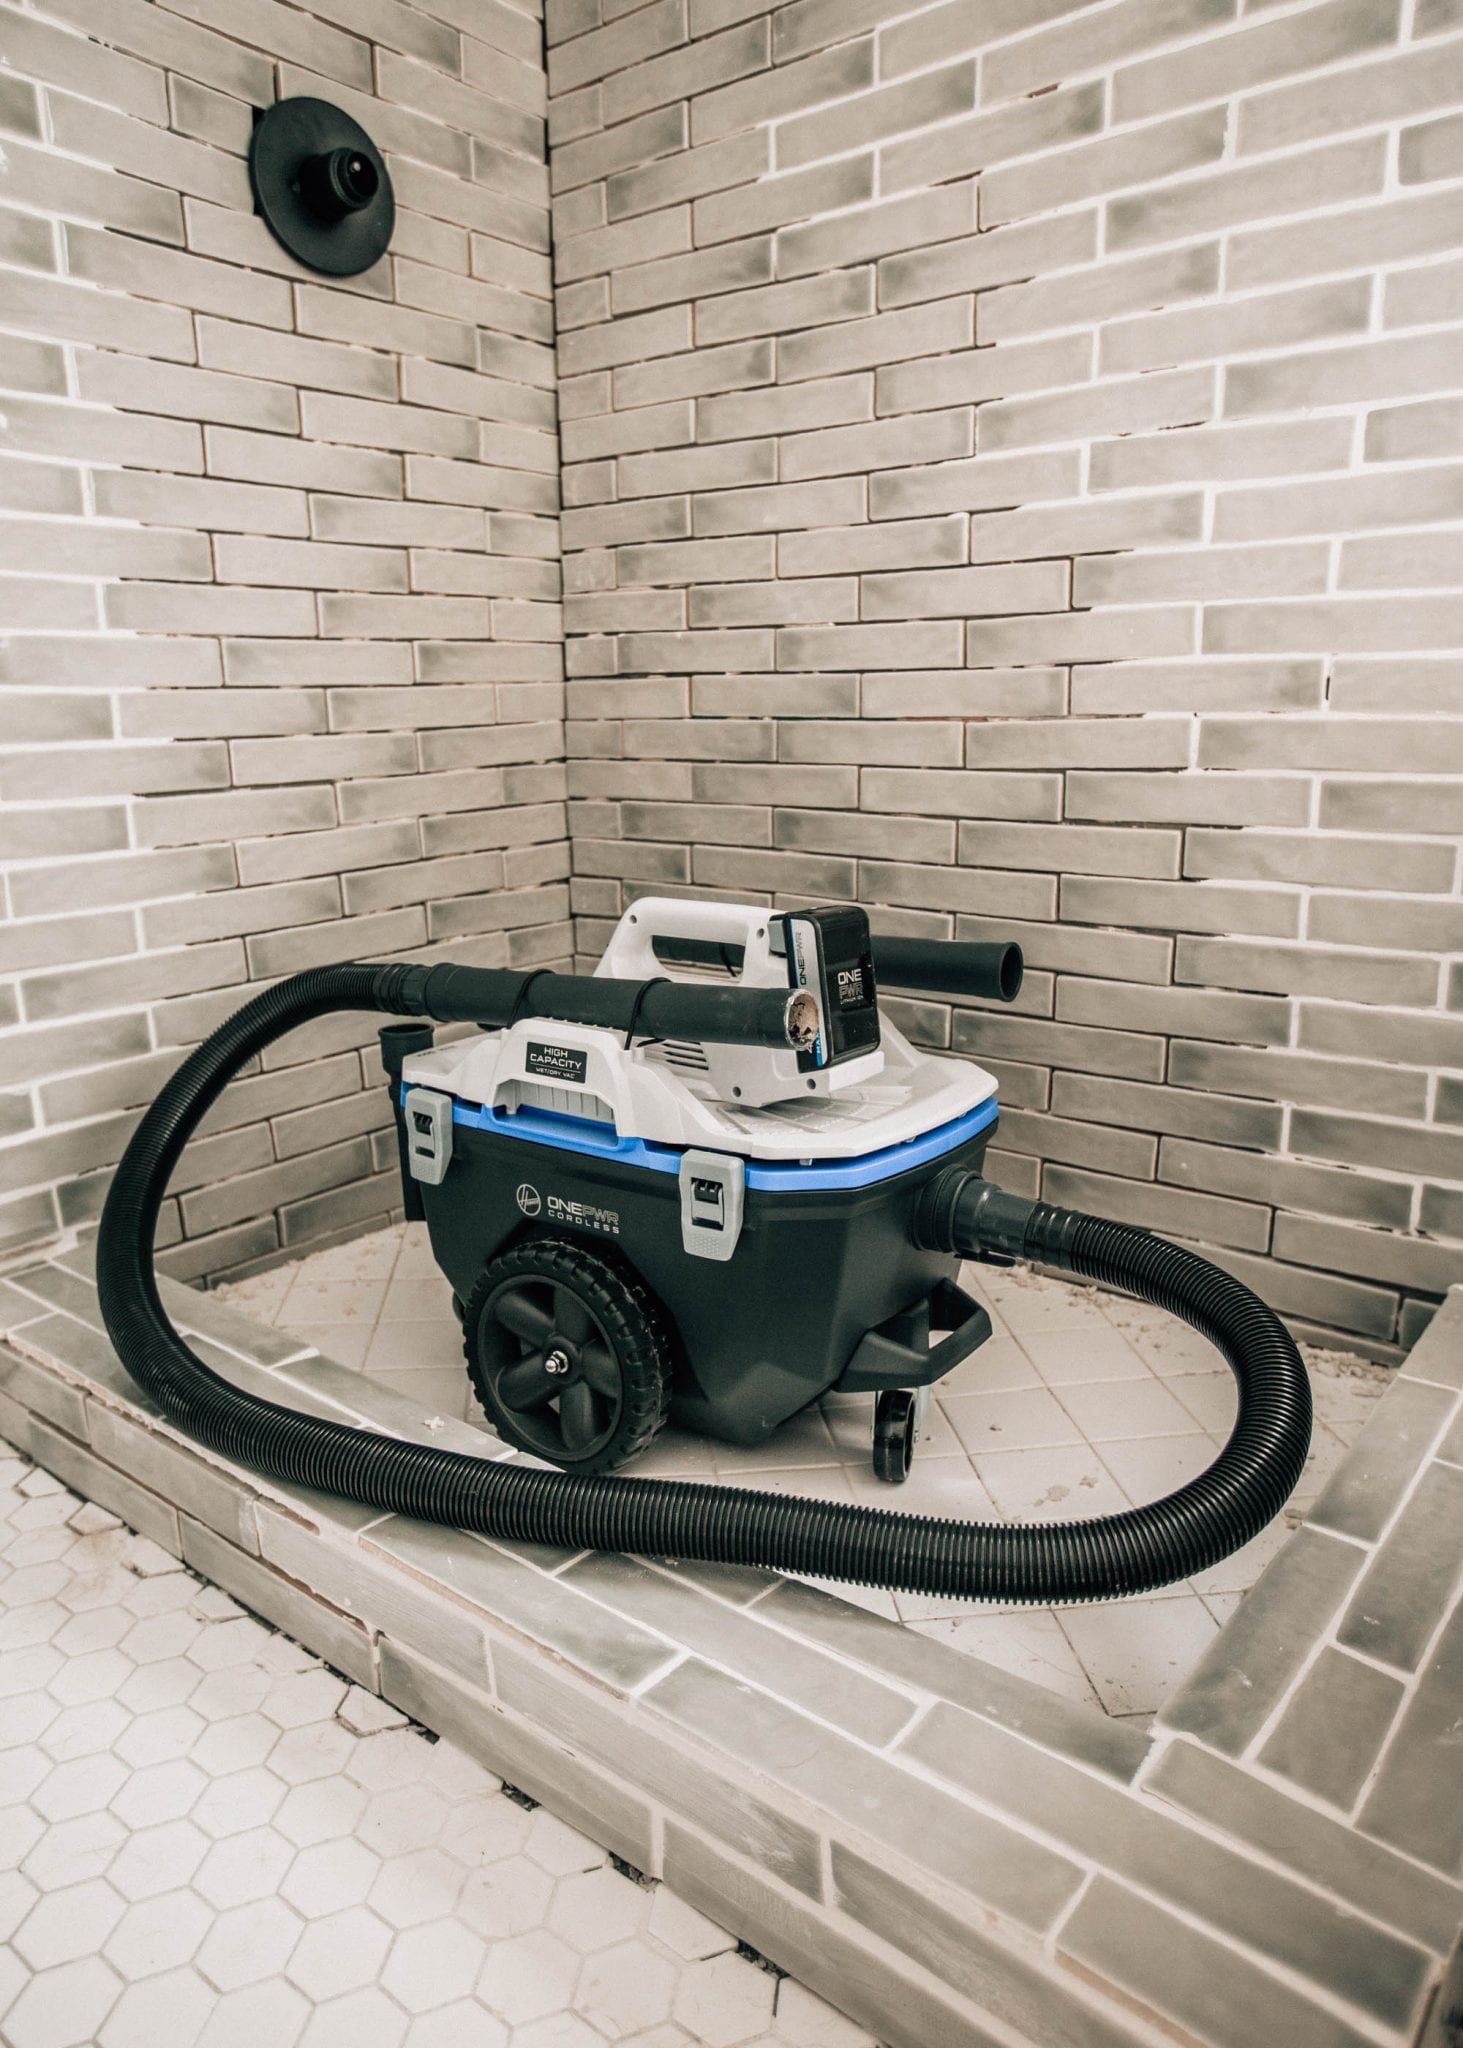
Every time we’ve done some sort of home project, we always clean up with this Wet/Dry utility vaccuum. We also use it to clean out our cars! For smaller projects, the Hand Vacuum is useful too!

FOR PARENTS OR GRANDPARENTS

When gifting parents or grandparents something, I always like to think of things that might make their lives easier and more simple. Since these ONEPWR products are so lightweight and cord-free, any of them make ideal gifts! I personally love the Blade+ Cordless Vacuum for hard flooring, the hand-vacuum for everywhere, the Hard Surface Sweeper for porches and patios, and the Spotless Go Portable Carpet Cleaner.

FOR PET OWNERS

I use the Blade+ to clean up our hard flooring throughout the downstairs since our two dogs shed on the reg. To clean up the sofa and smaller spaces, the hand vacuum is key! Lastly, the Portable Carpet Cleaner is a good grab & go option for messes.

This post is sponsored by Hoover. All thoughts and opinions are my own.

Gift Guides

Cyber Sales & a Stress-Free Holiday Guide

CLICK HERE FOR FULL SCREEN EXPERIENCE.

*will continue to be updated all week*

ABERCROMBIE || 50% off ENTIRE STORE

AE/AERIE || 40% off + FREE SHIPPING Select Styles

ASOS || Up to 70% off Pre-Black Friday Sale

BACKCOUNTRY || Select Styles on MAJOR SALE

BANANA REPUBLIC || 40% off entire purchase

CRATE AND BARREL || 20-30% off sidewide *excluding furniture and select items*

EXPRESS || 50% off everything + free shipping

GAP || 50% off everything w/ code: BLKFRIDAY

J. CREW || 50% off your purchase 

J. CREW FACTORY || 60% off everything

LEVI’S || 40% off everything – code: INDIGO

LOFT || 50% off everything 

MACY’S || daily doorbusters

MADEWELL || 30% off your purchase

NORDSTROM || up to 50% off

NORDSTROM RACK || 24 hour flash sales on select brands

THE NORTH FACE || 25% off select styles

OLD NAVY || 50% off everything 

QVC || New Cyber Deals Every Day

SERENA & LILY || 25% off everything

Serena & Lily never has sales this big and these are high-quality timeless pieces you’ll have for years. Some of my favorite items we have from here are: rattan beach chairs, white pendant above our sink, beach towels, large knit baskets (great for under our coffee table or open bathroom vanity).

WEST ELM || up to 30% off (buy more, save more)

WILLIAMS SONOMA || DAILY DEALS including up to 50% off Nespresso machines

Holidays

Simple Cozy Living Room Updates

After 2 years of having an empty wall in our living room, I finally found the perfect piece! I ordered 3 of these wooden hexagon mirrors to fill it up and added a few holiday pillows on the sofa while I was at it. I’ve been eyeing this mirrors for a long time after searching endlessly on the internet for something that would fit this smaller sized wall. These are just $42 so the entire wall was under $150. I added some of my favorite faux garland to the sides of them for a festive touch!

I ordered a couple of cozy knit pillows to add to the living room as well. Walmart’s website is my favorite place for throw pillows these days.  You just can’t beat the price and their styles are so, so beautiful. A lot of them look like high-end pillows but with an under $20 price-tag. Their decor in general is so good. I recently bought these dining chairs and I’m in love! 

If you’re on the hunt for some new throw pillows, I highly recommend each and every one of these for any space you’re looking to create coziness!

Thank you to Walmart for sponsoring this post. 

Entertaining & Recipes

A Fresh Holiday Cocktail Recipe

Just in time for the holidays, I’m bringing you what is quite possibly the best cocktail I’ve ever tasted… made with and inspired by my favorite fresh ingredients and infused with rosemary simple syrup (made with rosemary picked from our backyard). A few weeks ago, I was spending time at my sister’s new house and, with the help of her creative and talented-enough-to-be-a-chef boyfriend Bryan, we somehow created this festive drink recipe after testing a few different concoctions and trying to come up with something delicious. We finally found the perfect combination of ingredients and now I will 100% be serving these to all of my family this Thanksgiving! It’s sweet but not too sweet and the hint of rosemary gives it such a unique taste. It’s so simple and quick to make and all you need are about 5 ingredients!

We used vodka from The Hangar 1 Distillery, made from a blend of California grapes and Midwestern grain. The fresh and local ingredients (and extra smooth taste) from Northern California make it such a versatile base for a variety of cocktails and make it a perfect pair with both sweet and savory eats! It’s the perfect drink to make while everyone is in the kitchen cooking for Thanksgiving.

Servings: 4

Ingredients:

Hangar 1 Straight Vodka: 4 ounces

Pomegranate Juice: 2 ounces

Lime: 2 whole limes juiced

Rosemary infused simple syrup: 4 ounces (1 stem of rosemary)
Blackberries (for garnish)

To create the simple syrup, simply boil equal parts of water and sugar and throw a sprig of rosemary in the pot so that the flavors can combine.

Mix all of the ingredients in a shaker (mine is a 24 oz. shaker), pour over ice, and enjoy!

Because of how versatile this vodka is, the drink can really be enjoyed over appetizers or dessert. Personally, I know I’ll be pairing it with some of my favorite Thanksgiving appetizers like grilled brie with fresh cranberry sauce, my mom’s marinated veggies, and a Thanksgiving cheese ball!

This post is in partnership with Hangar 1 Distillery.

Entertaining & Recipes

4 Last Minute Holiday Appetizers

The other day I asked what type of blog posts you wanted to see more of and one of the most popular answers was appetizer ideas! Today I’m sharing a few really easy delicious ones to make for any of your holiday gatherings you might be hosting or attending this season. I also stopped by Home Centric and picked up a few new beautiful marble and wood charcuterie boards, serving plates, and other holiday decor that I’ll share below! If you live near Cary/Raleigh, Home Centric is such a great place for all of your hosting needs – cheese boards (marble and wood ones for under $10!), servingware, and pretty much anything you could ever need in a kitchen. While I was there, I also bought a few mini Christmas trees! 

When thinking about my favorite appetizers, the first one that always comes to mind is a beautiful cheese board with berries, jam, crackers, and assorted cheese. You can’t go wrong with those but one thing I like to do is create mini boards to spread across a long table interspersed between other heavier appetizers. These square boards from Home Centric were an incredible price so I stocked up on a few and created mini cheese boards using: assorted cheeses (all from Trader Joe’s), grapes, berries, almonds, pistachios, and crackers.

Personally, it’s almost more fun for me to decorate an appetizer table rather than a more formal table-setting. There aren’t any rules so I like to add some greenery, unique holiday details (like these wooden animals), and have fun with it.

The first recipe is a Crescent Roll Tree and you won’t believe how simple it is to make!

CRESCENT ROLL CHRISTMAS TREE

Ingredients You’ll Need:
2 8 oz. cans of crescent roll dough
2 boxes of Boursin garlic and herb cheese (personally, I only used one but they were light on the cheese)
1 tbsp of melted butter
2 tbsp of chopped parsley (you can use fresh but I just used dried.. either works!)

Instructions:
1. Heat the oven to 375 and unroll all of the dough so that they are triangles. 
2. Cut the dough triangles in half so that you have enough triangles to build a tree design with them. For mine, I used 25!
3. Place a spoonful (depending on how cheesy you want them) of Boursin cheese on each triangle and roll them up starting with the larger side of the triangle. 
4. Lay the rolls in the shape of a Christmas tree and bake them for 20 minutes (or until golden).
5. Top with melted butter and parsley and enjoy!

Secondly, I feel like every holiday gathering needs a good cheese ball. This was only has 4 ingredients and is easy enough for anybody to make!

GREEN ONION CHEESE BALL

Ingredients You’ll Need:
2 8 oz. packages of plain cream cheese
4-6 green onions chopped
1/2 cup of sliced almonds
1/2 teaspoon of ’21 Seasoning of Salute’ from Trader Joe’s (honestly, any mixed seasoning that involves garlic,  onion, mustard, etc. will work. I just like this one because it also includes rosemary, basil, parsley, a little bit of all of my favorites!)

Instructions:
1. Mix together the cream cheese, finely chopped green onions, and seasoning. 
2. Roll everything into a ball shape then roll it in the sliced almonds. Enjoy now or refrigerate until your guests arrive!

HAM & SWISS PINWHEELS

Ingredients You’ll Need:
1 8 oz. tube of crescent roll dough
1/2 lb thinly sliced ham
1/2 lb of thinly sliced swiss cheese
2 tbsp Dijon mustard
1 tsp of poppy seeds
2 tbsp of chopped parsley (I used dried)
4 tbsp of butter (melted)
1/4 tsp garlic powder

Instructions:
1. Preheat oven to 350 and open the crescent roll dough, keeping them in the rectangular shape (pinch the lines to secure that shape… you don’t want them in triangles!)
2. Spread dijon mustard over the dough along with ham and cheese slices – then roll the rectangles (from the long side) up. Close the edges up.
3. Cut each roll into 3 slices and place in a medium-sized baking pan (open side facing up). An 8×8 or similar should work.
4. Mix together melted butter, parsley, and garlic powder and brush on top of the rolls. Top with poppy seeds and bake for about 20 minutes or until rolls look golden. 

The last appetizer I wanted to mention (not pictured) is caprese skewers! Mozzarella balls, basil, cherry tomatoes, and balsamic glaze are a quick and easy one to put together before a party and is a no-fail option.

I’ll definitely be making this cheeseball for Thanksgiving this year and can’t wait to share more ideas over the holidays! If you’re in need of any entertaining items, be sure to stop by your local Home Centric for prices you really can’t beat anywhere else.

Thank you to Home Centric for sponsoring this post.

DIY Projects

Easy DIY Holiday Book Covers

This past weekend as I was cleaning up the house in preparation of getting our Christmas decorations out, I was looking at our TV stand and the countless colorful books that filled the open shelving… a mix of TJ’s books and my own that we’ve collected over the years. While I’ve always loved the TV stand filled with books, it didn’t have a festive feel that I was hoping for and then I thought about a simple way to fix that without spending more than $20! I decided to wrap each book (like we used to do in elementary school) with a few different types of holiday gift wrap from Target. It took me a few tries to remember how to do it without the paper ripping but eventually I got the hang of it and I am in love with how it turned out! You can watch my IG stories “craft” highlight for a close-up tutorial here

I stuck with creamy whites, dark green, and traditional packaging paper (the cute brown kind) for the most part and I just love how it ties this whole corner together! I’ll probably keep most of them this way year-round because of how clean and organized it makes it look. 

Anyways, I can’t believe Thanksgiving is next week! I’ll be sharing a lot of helpful gift guides soon so be sure to check back if you’re looking for some holiday shopping ideas!

DIY Projects

Landscaping Update: Building a Backyard Path

This post was made in collaboration with Chase Freedom Unlimited. All opinions are my own. 

I’m back today with another backyard update! For the last several months, we’ve been slowly but surely making some progress on our backyard landscaping ideas and I’ve been learning a ton about gardening and landscape design in general. In partnership with Chase Freedom Unlimited, a cash back credit card that allows you to earn cash back on every single purchase, I’ve documented the learning process and feel like I’ve truly gained so much knowledge. Seeing climbing roses blooming half way up our arbor and a jasmine wall growing faster than we can keep up is the most rewarding thing! Getting to watch something grow from a tiny plant and knowing that you played such an important role in that is such a fun feeling.

When we first bought our house, it had a small path from the patio to the firepit made of wood chips. We weren’t a big fan of the wood chip “path” and one of our first projects was to clear them out. It had been a while since clearing the wood chips, but now we wanted to focus on the path leading from the arbor at our fence gate. As you may have seen in one of my previous posts, we were totally in love with the path at one of our rentals in France. 

We made a trip to a home improvement to see if we could find something similar and a design we loved. We went to the outdoor section with pavers and pebble rocks. We found square 1×1 pavers and 1 x 6in bricks in a shade of color we really liked and set them up in a unique alternating pattern. We knew this would look good as the steps of our path, and now needed to find the pebbles that would go between. The major stores had a few to choose from, but we also stopped by a local landscaping store as well, trying to find a color and size pebble that would look good with the pavers. We ultimately settled on a brand that offered bags with a good selection of sizes, and the colors ranged from a dark to a muted gray. The final piece we needed was a border that would contain our path. We settled on a no-dig landscape border that would be easy to lay down and wouldn’t be as noticeable as other borders. We ended up getting two 60-foot borders because we have about 50 total feet to cover. Another resource you may want to consider using is a weed barrier for under the path as an added blocker. 

Once we got back with all our supplies, we began to sketch out the route we wanted the stone path to take from the fence to the patio. For the most part it was a straight path with an initial curve at the beginning. There was a little bit of grass in the pathway, so our first step was to clear the path of debris and level out where the pavers would go. Once everything was clear, we figured out how wide the path should be based on wide each paver step ended up being. The width of each step equaled about 18 inches, so we decided on 5 inches on each side of the pavers, for a total of 28 inches for the path. The no dig border was very easy to lay down and accommodated the curve we were anticipating with the path. Each pack came with 18 stakes that we nailed into the ground. 

With the path outlined by the border we began to lay down the pavers. We used two of the square pavers and four of the bricks for each step. Each step was about a foot apart and we needed a total of 20 steps to complete the path. Once the pavers were set, we began to fill in the rest of the path with the pebbles. Pro Tip: use polymeric sand between the pavers to create a solid bond so there is no rocking when using the steps. Now that our path is finished, we are going to fill in the sides with sod in order to have grass growth in the backyard. 

DIY Projects

DIY Hanging Gutter Planters

This post was made in collaboration with Chase Freedom Unlimited. All opinions are my own.

Earlier this summer, we decided to add a swing to our front porch, but I knew the porch needed something else. Our porch is really tall and there was a big space behind the swing that I knew needed to be filled with something. After visiting a friend’s house, I noticed she had hanging planters at the end of her porch and I loved them! I especially loved what they were made out of… gutters! The following weekend, TJ and I decided to pick up some supplies to try and make our own gutter planters… and they worked! Today I wanted to share a quick tutorial of how we made these. I can’t wait to fill them with different plants throughout the year! The best part was that the whole project took less than an hour and cost less than $50 (without plants included).

If you’re new here, I’ve been sharing a few landscaping goals these past few months. I had a goal this year to learn more about gardening and landscaping in general and teamed up with Chase Freedom Unlimited, my personal favorite cash back credit card to ensure I’m earning 1.5% cash back on every purchase while reaching these goals. I’ve learned SO much in such a short amount of time but still have quite a few backyard landscaping goals in progress, like growing grass, laying down a stone path, and much more. Luckily, my initial projects like these gutter planters are earning me cash back that I can use towards those projects to keep this project moving! I’ll continue to share all the yard design projects and updates on here. 

SUPPLIES:

12 feet of vinyl gutter

3 sets of gutter caps

1 pack of ¼ x 2 inch S hook

2 screw in D planter hooks

About 20 feet of nylon rope

Six 1 inch washers (with hole wide enough for desired rope)

Six ¼ – 1 ½ inch pipe clamps


TOOLS:

Power Drill 

Mitre saw (or jigsaw)

Polyurethane spray

Flat head screwdriver

Tape measure 

STEPS:


  1. Determine desired length of the gutter planters. We used 12 feet of gutters to make three 4 feet sections. Cut the gutters using a mitre saw or jigsaw to the desired length.


  2. Drill 5 holes in each gutter spaced evenly. Two holes will be used for the rope to pass through and the other three will be for drainage.


  3. Measure the length of the space vertically to determine how long your rope needs to be. We had about 7 feet of space on each side and cut our rope accordingly. TIP: if you can, have Home Depot or Lowes cut the rope for you using their tool that melts the ends. This will keep your rope from unraveling.


  4. Once the rope length is determined, measure out the distance between the planters and mark that on the rope. We had about 28 inches between each planter.


  5. Once marked, slide one planter onto the rope using the 2 outer holes. Loop through the washer and then the pipe clamp. Tighten pipe clamp onto rope until snug. Repeat for the other side of the planter and remaining 2 planters.


  6. Mark holes where D planter hooks will connect to the ceiling, dependent on how long the gutters were cut. Screw hooks into place using accompanied hardware. 2 options: Tie rope directly onto D hook or tie directly onto S hook. If using the S hook, this will allow for removal of the planters without untying the rope. 
  7. Solidify tied rope using polyurethane spray that will harden.

    Lastly, fill planters with desired potting soil and plants. 

Follow us on Instagram