Materials Needed:

Hi everyone! I’m excited to share our latest home improvement project that TJ and I took on recently. We decided to add faux shiplap to one of our bedroom walls. I know TJ was a little skeptical about this project, but in the end, even he thought it looked great! I really fell in love with shiplap by watching Fixer Upper and seeing how great Joanna and Chip made it look in the homes they renovated. We decided on faux shiplap because real shiplap was pretty expensive per board.
This was one of the first big projects we tackled in our home and we were very excited/anxious to make sure everything looked good. We watched a few YouTube videos on tutorials and got a really good feel for how everything went together. Incase you’re more of a visual person, I created a video tutorial as well. Click here to watch the full video!
First, we will go through the materials that we used:
(5) 4ftx8ft pieces of plywood underlayment – we based the number of pieces we needed by using the dimensions of the wall that we were putting the shiplap on.
Nail Gun and Compressor – we borrowed a gun from one of TJ’s friends, but you can also rent them from Home Depot or Lowes.
Jig-Saw – we used this to cut around where the door and outlets were on the wall
Nickels
Level
Paint
Trim
Table saw – Again, being new homeowners, we didn’t have this tool, but our friends came in handy
Steps to take… (want the video tutorial here)
Step 1: The first thing you want to do is measure the wall that you are putting the shiplap on. There were a couple outlets and a door frame that we had to navigate since we did not have a plain wall that we wanted to put the shiplap on. Measuring out the planks and adding the custom cuts was one of the hardest and most time consuming parts of the project. We definitely tried to adhere to the motto “Measure twice, cut once”. We cut the boards in 8 and 6 feet lengths, and 7 ¾” width. This was the easiest measurement to use for the wall that we were working on. You will have to figure out the best measurements for the wall you are working on.
Step 2: Gather the supplies. We went to Lowe’s and got the plywood (¼” thick), and had them cut the boards in to easy to use strips to start our work. Sometimes they will even cut the wood into all the strips you will need, but we weren’t that lucky this time. This is where our friend’s table saw came in handy. We brought all the wood over to his house and he was able to make the additional cuts we needed.
We also picked up the other supplies at Lowe’s (paint, stud finder, sandpaper, jig-saw, trim).
Step 3: Finalize your cuts. In addition to cutting the boards to the widths we wanted, we also had them cut into the 8 and 6 foot lengths. We used the jig-saw to cut where the outlets and door frame would be once we determined which boards would be placed at those spots. Once all cuts were made, we took the sandpaper to smooth out any roughness so the paint would look smooth.
Step 4: Find those studs. Using the stud finder, TJ marked out where the boards should be nailed into the wall. We wanted to make sure the boards would not fall or only be anchored into the drywall, so finding the studs was a must. Once those were marked we moved on to the easy part!
Step 5: Put the boards up. Using a level to make sure your first plank is straight (ensuring all your other planks will be straight), we placed our first board at the top of the wall. I held the board up while TJ used the nail gun to secure it on the wall. Colbie was a little scared when we first fired up the compressor, but she got used to it. We put two nails into each stud for extra security
Step 6: Get those nickels. Once the first plank is up, you want to make sure the spacing is uniform. We read that nickels were the best thing to use. We have to agree, not only was it easy to space the boards, but the space is exactly the right size. We positioned the second board on the wall with the nickels in between that and the top board. I held the board while TJ nailed them in.
Continue this way until all the boards are up on the wall. Make sure you take extra caution around outlets and electrical wiring.
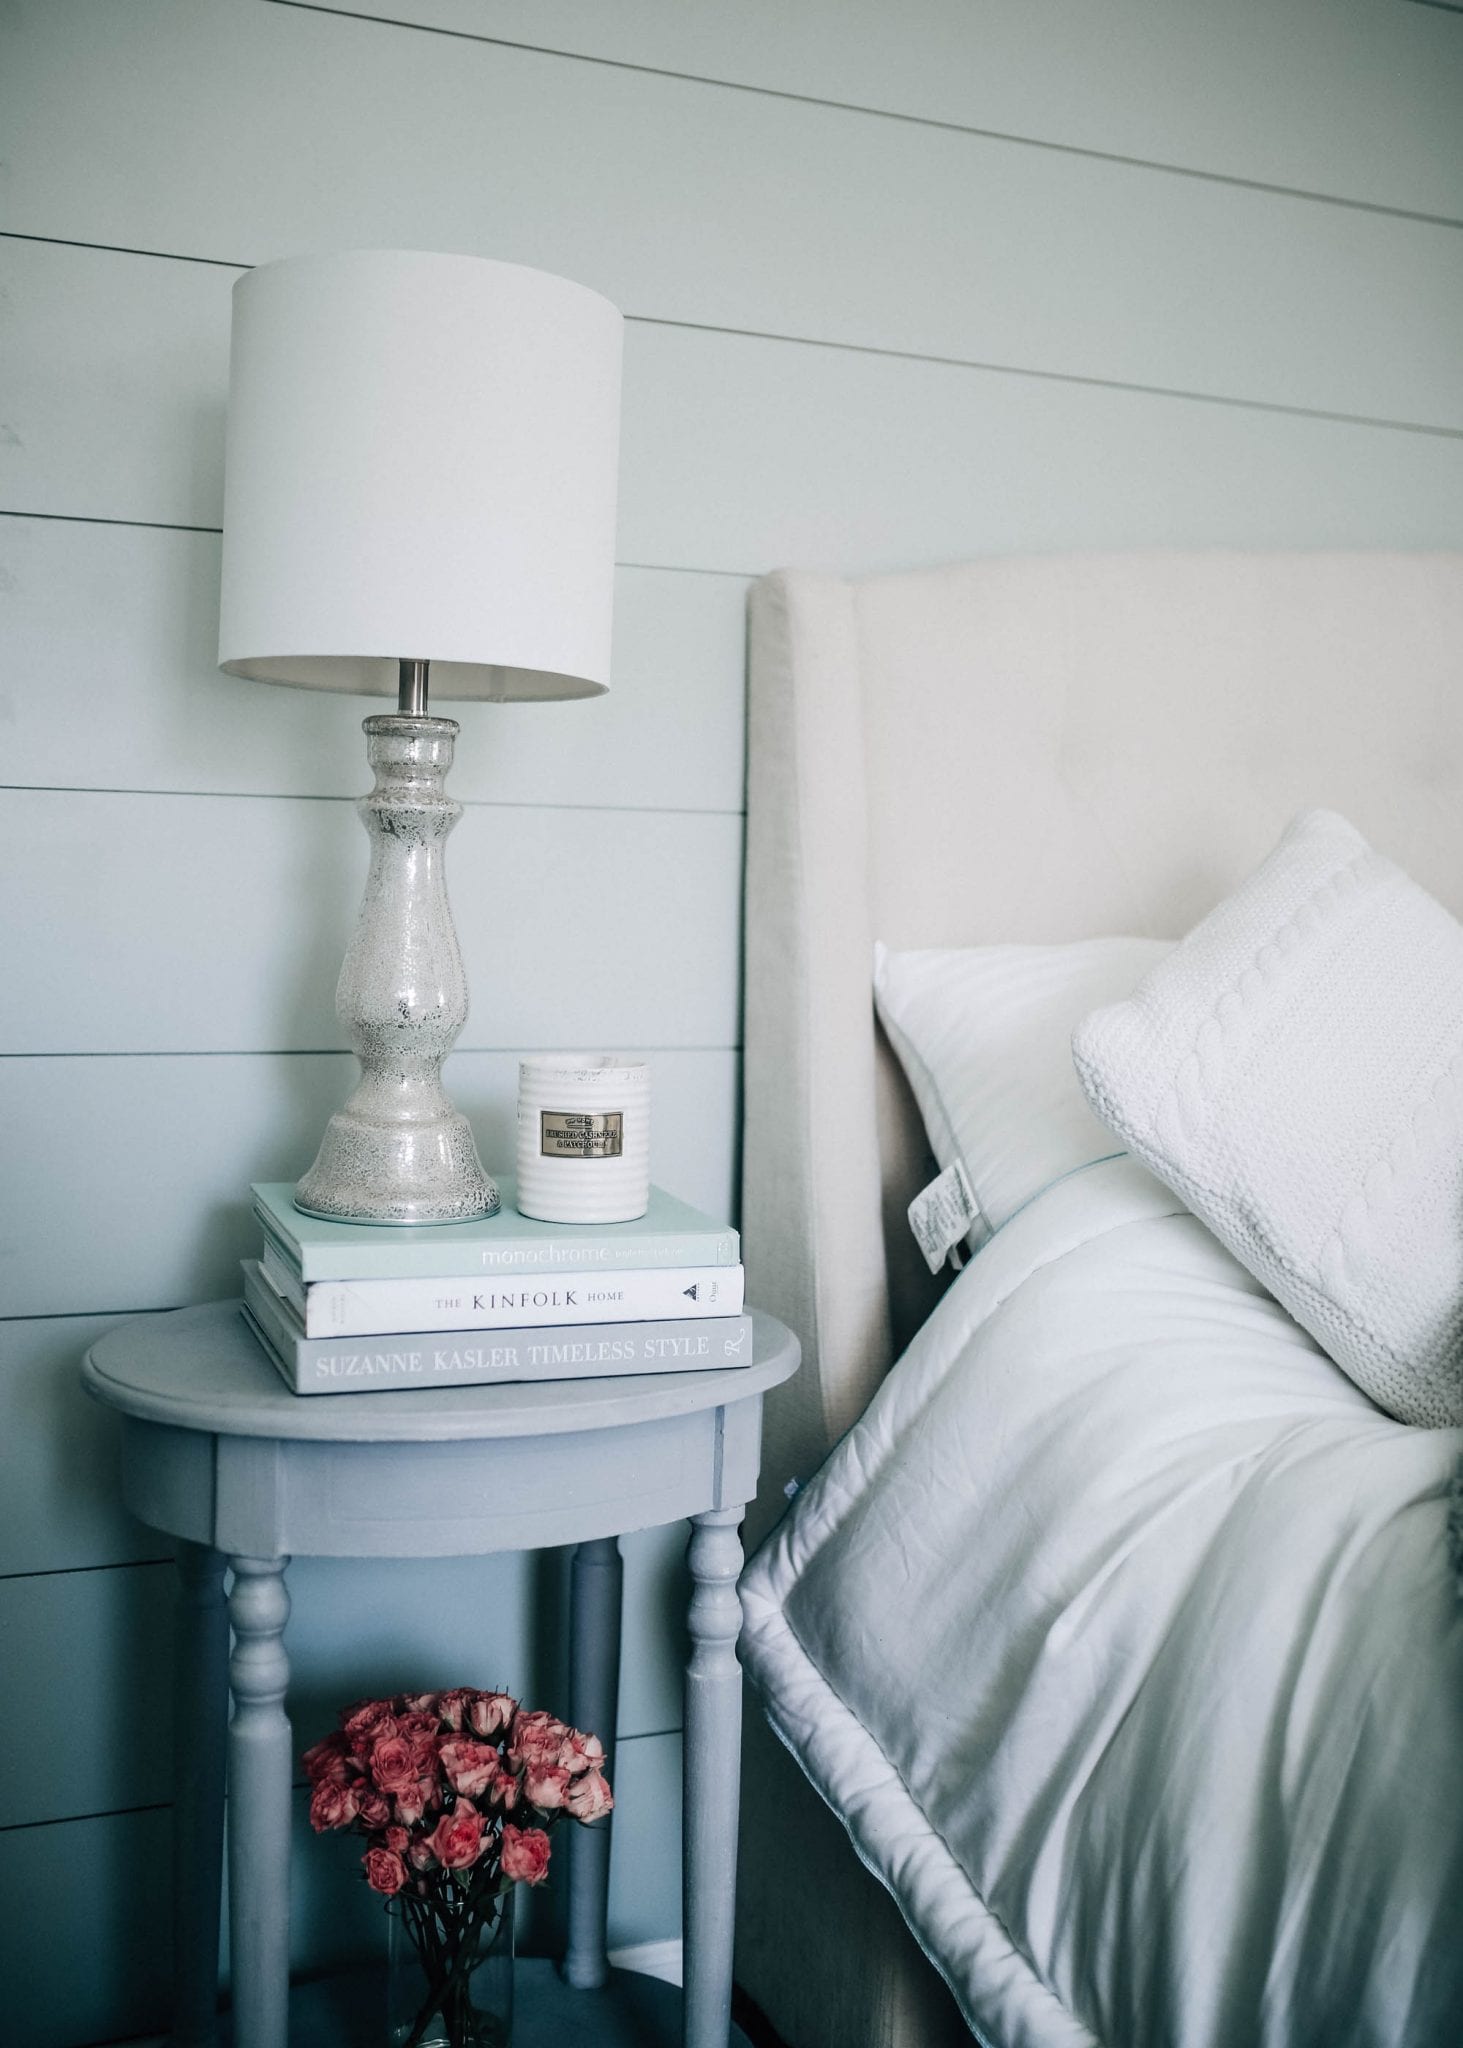
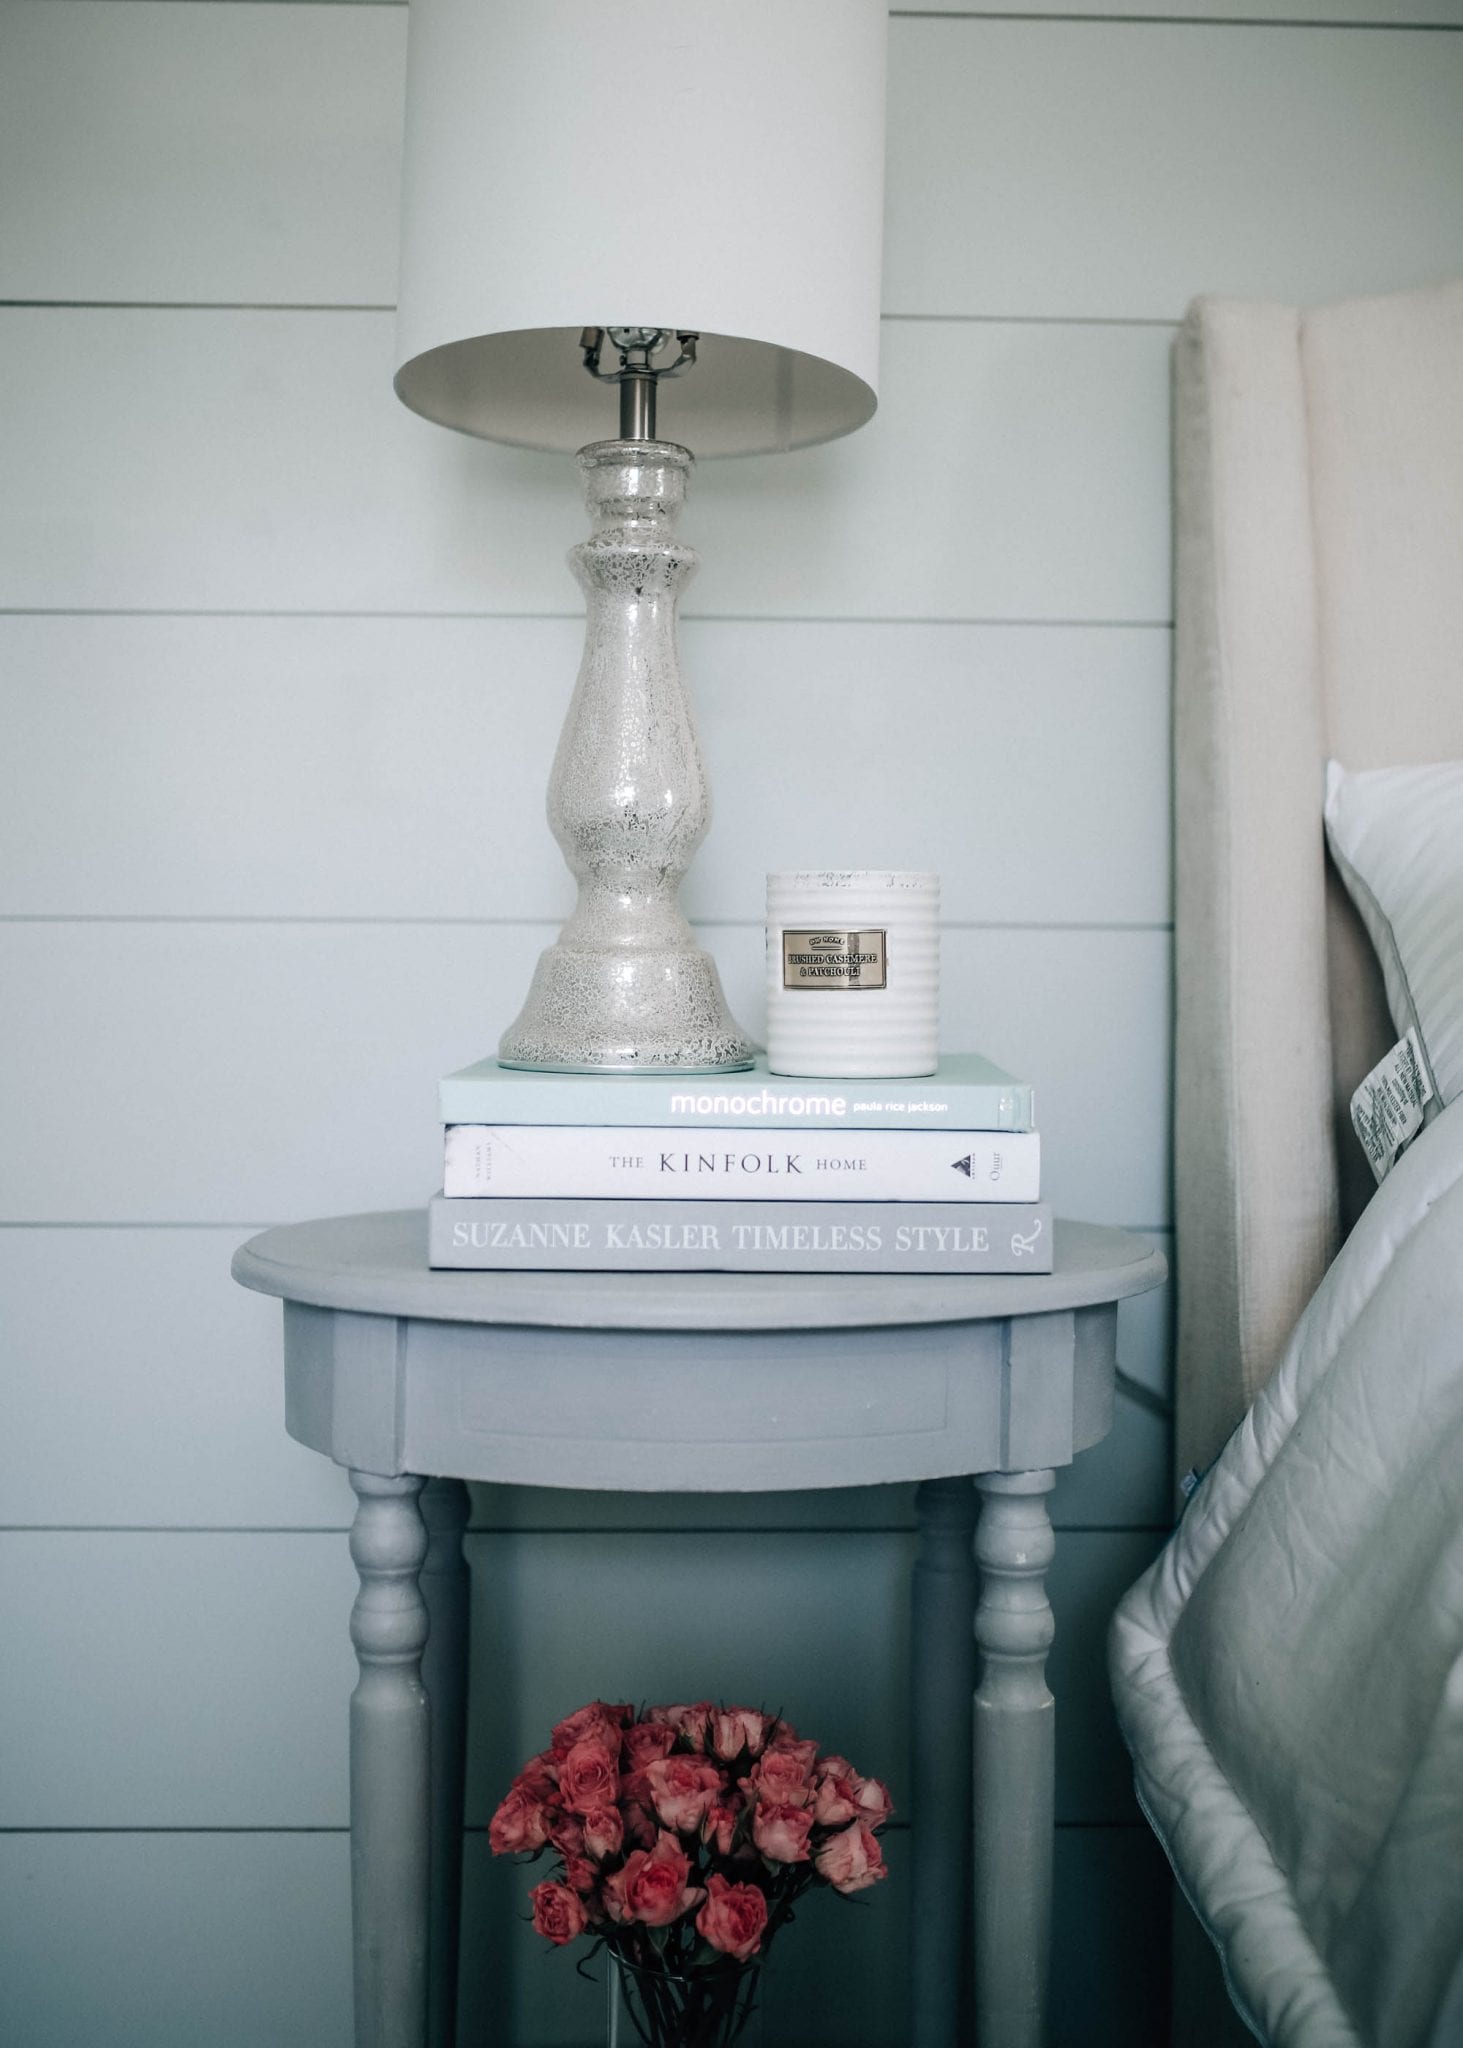
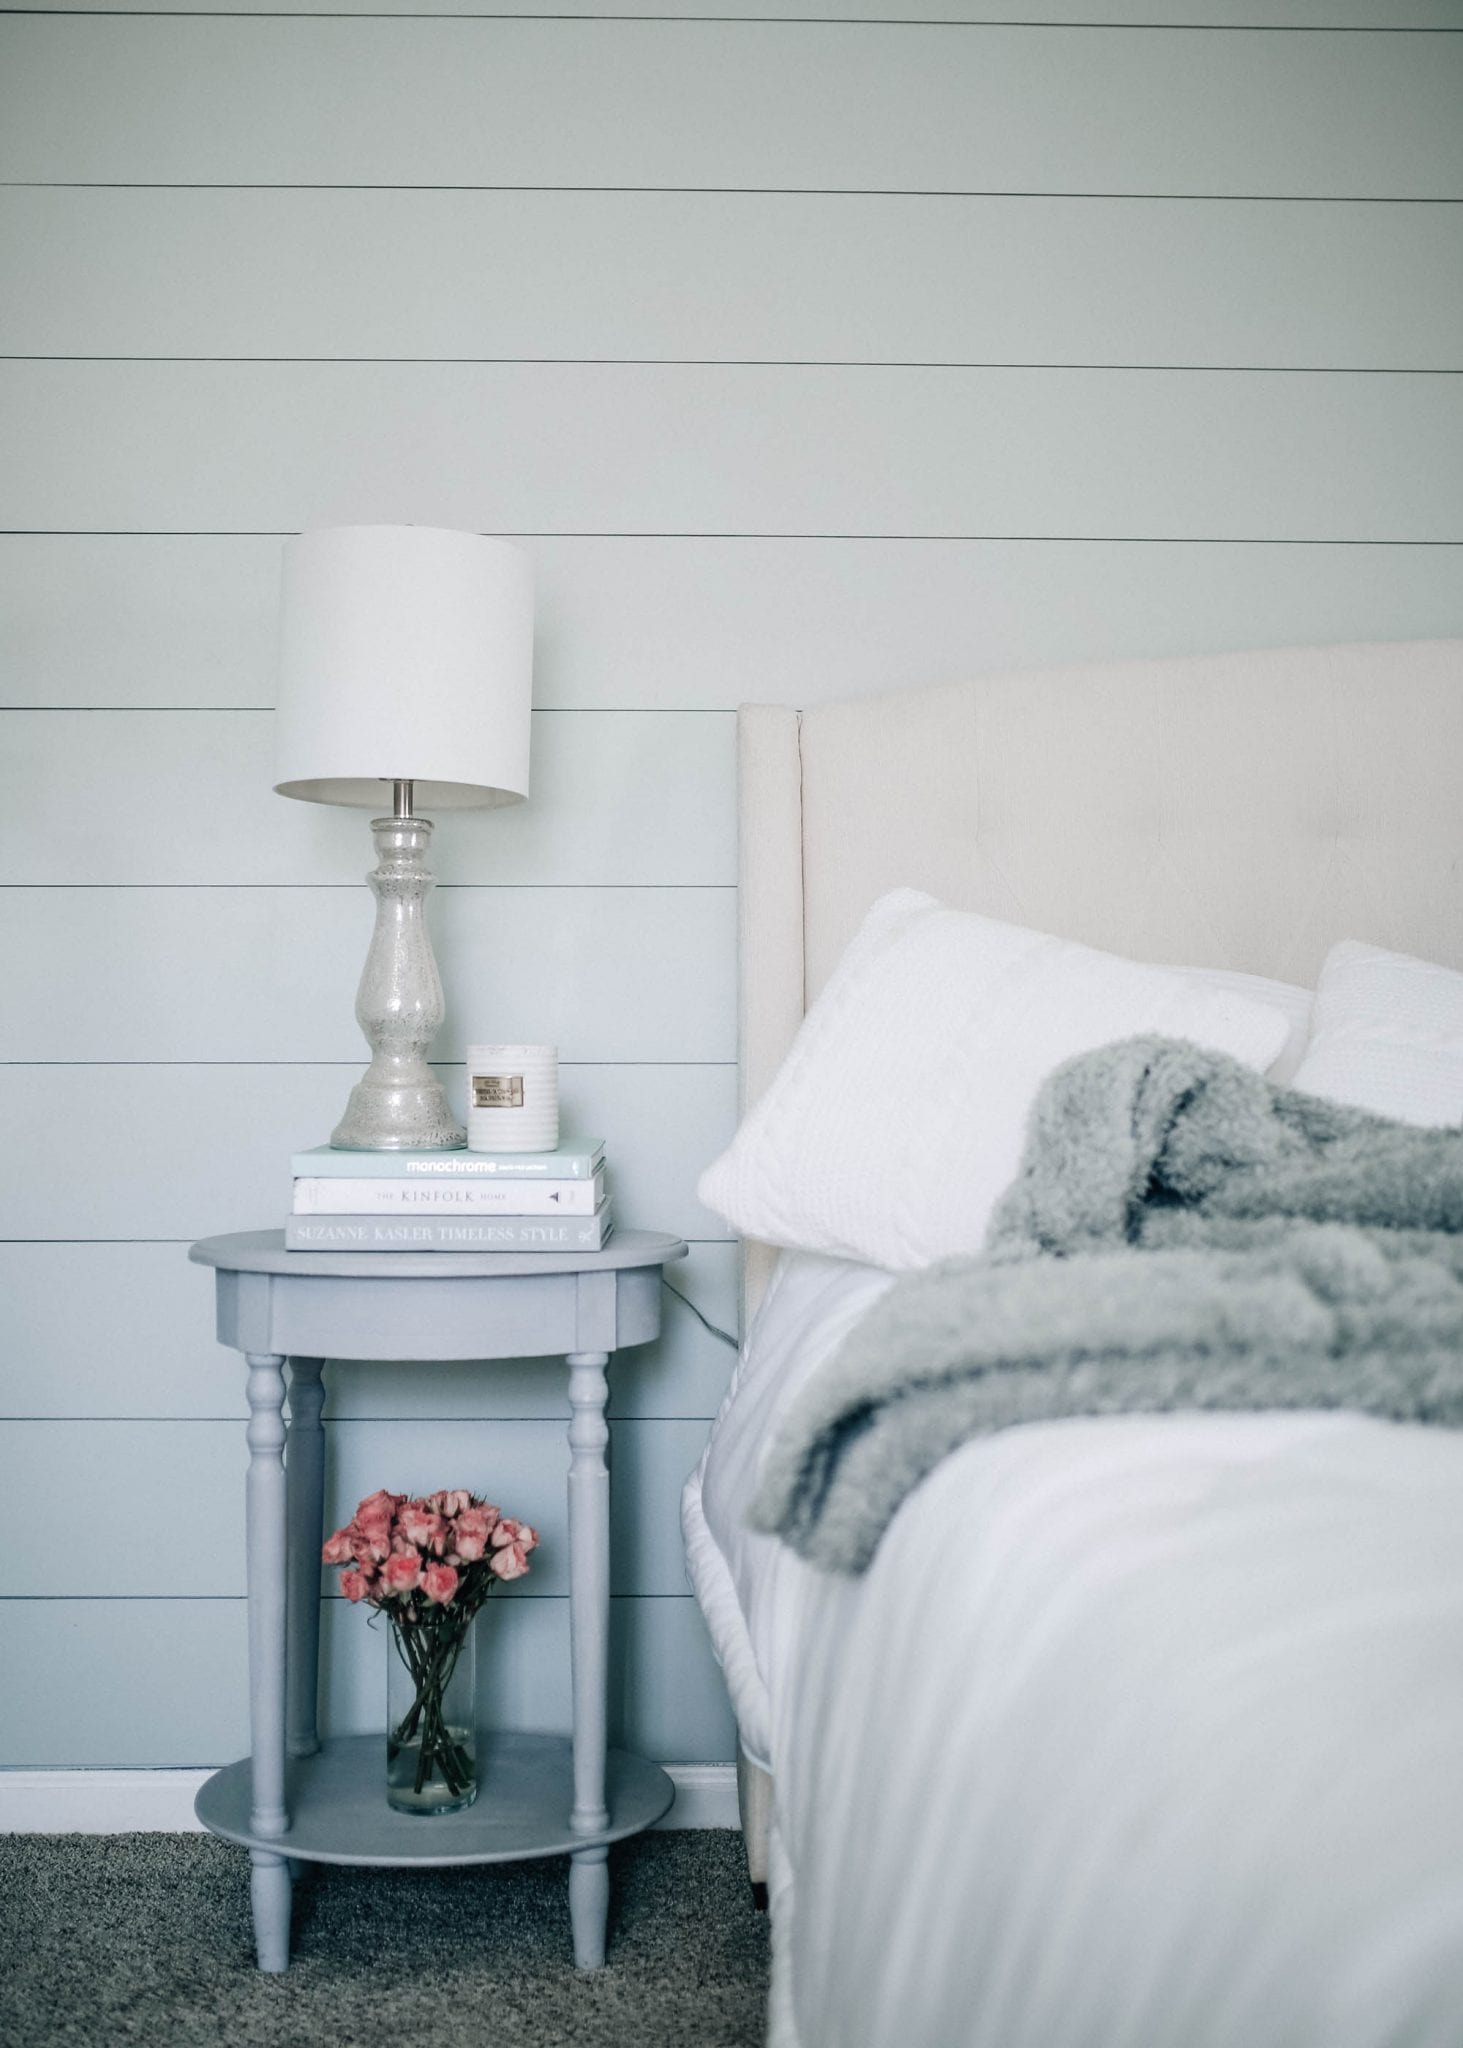
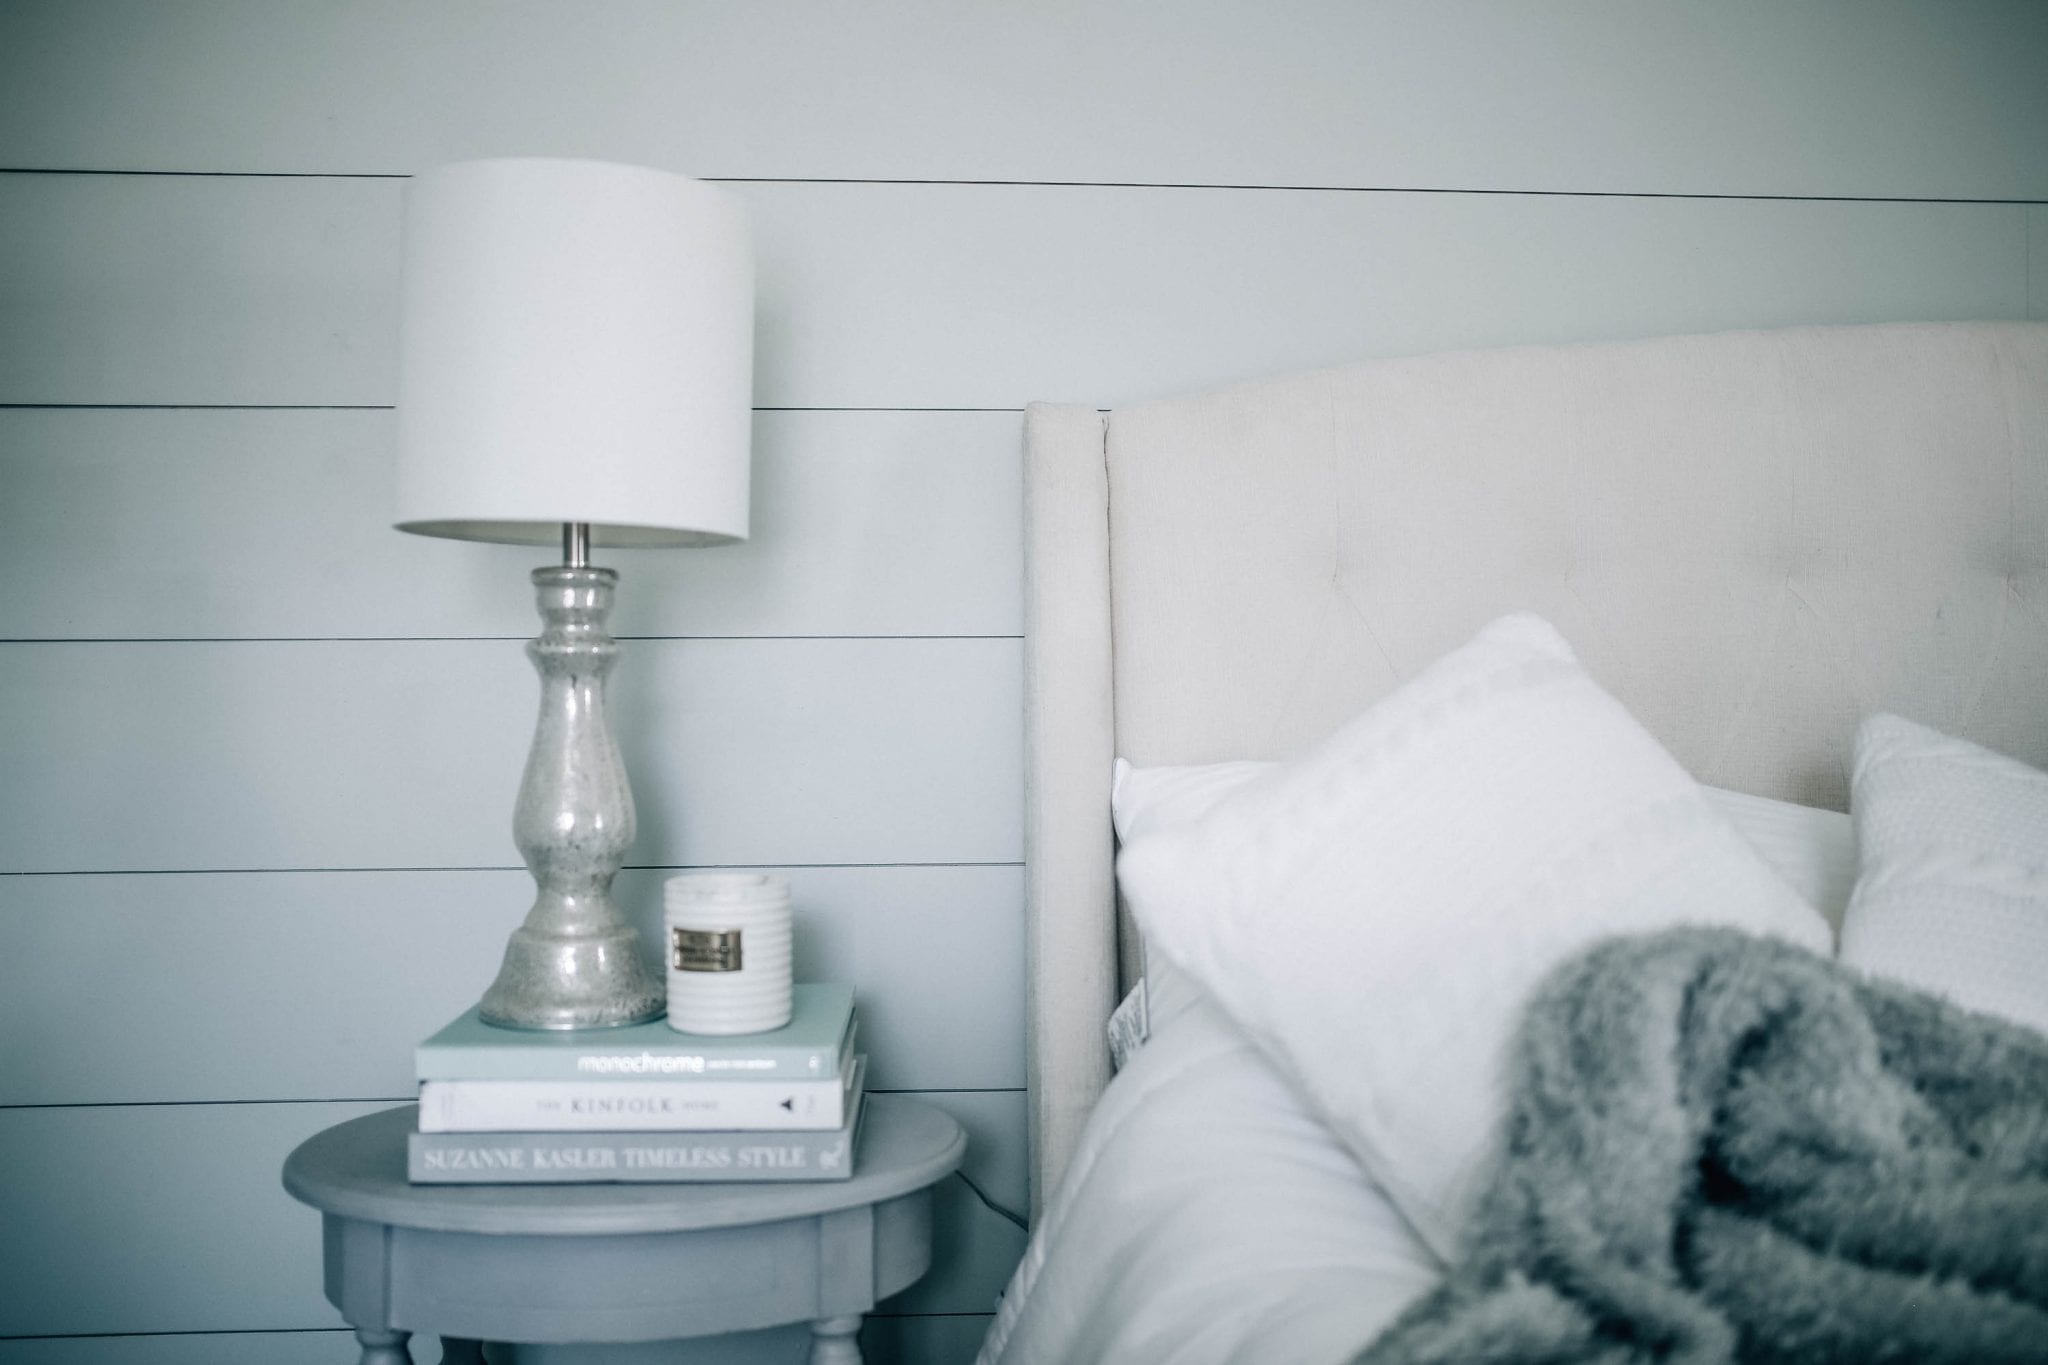
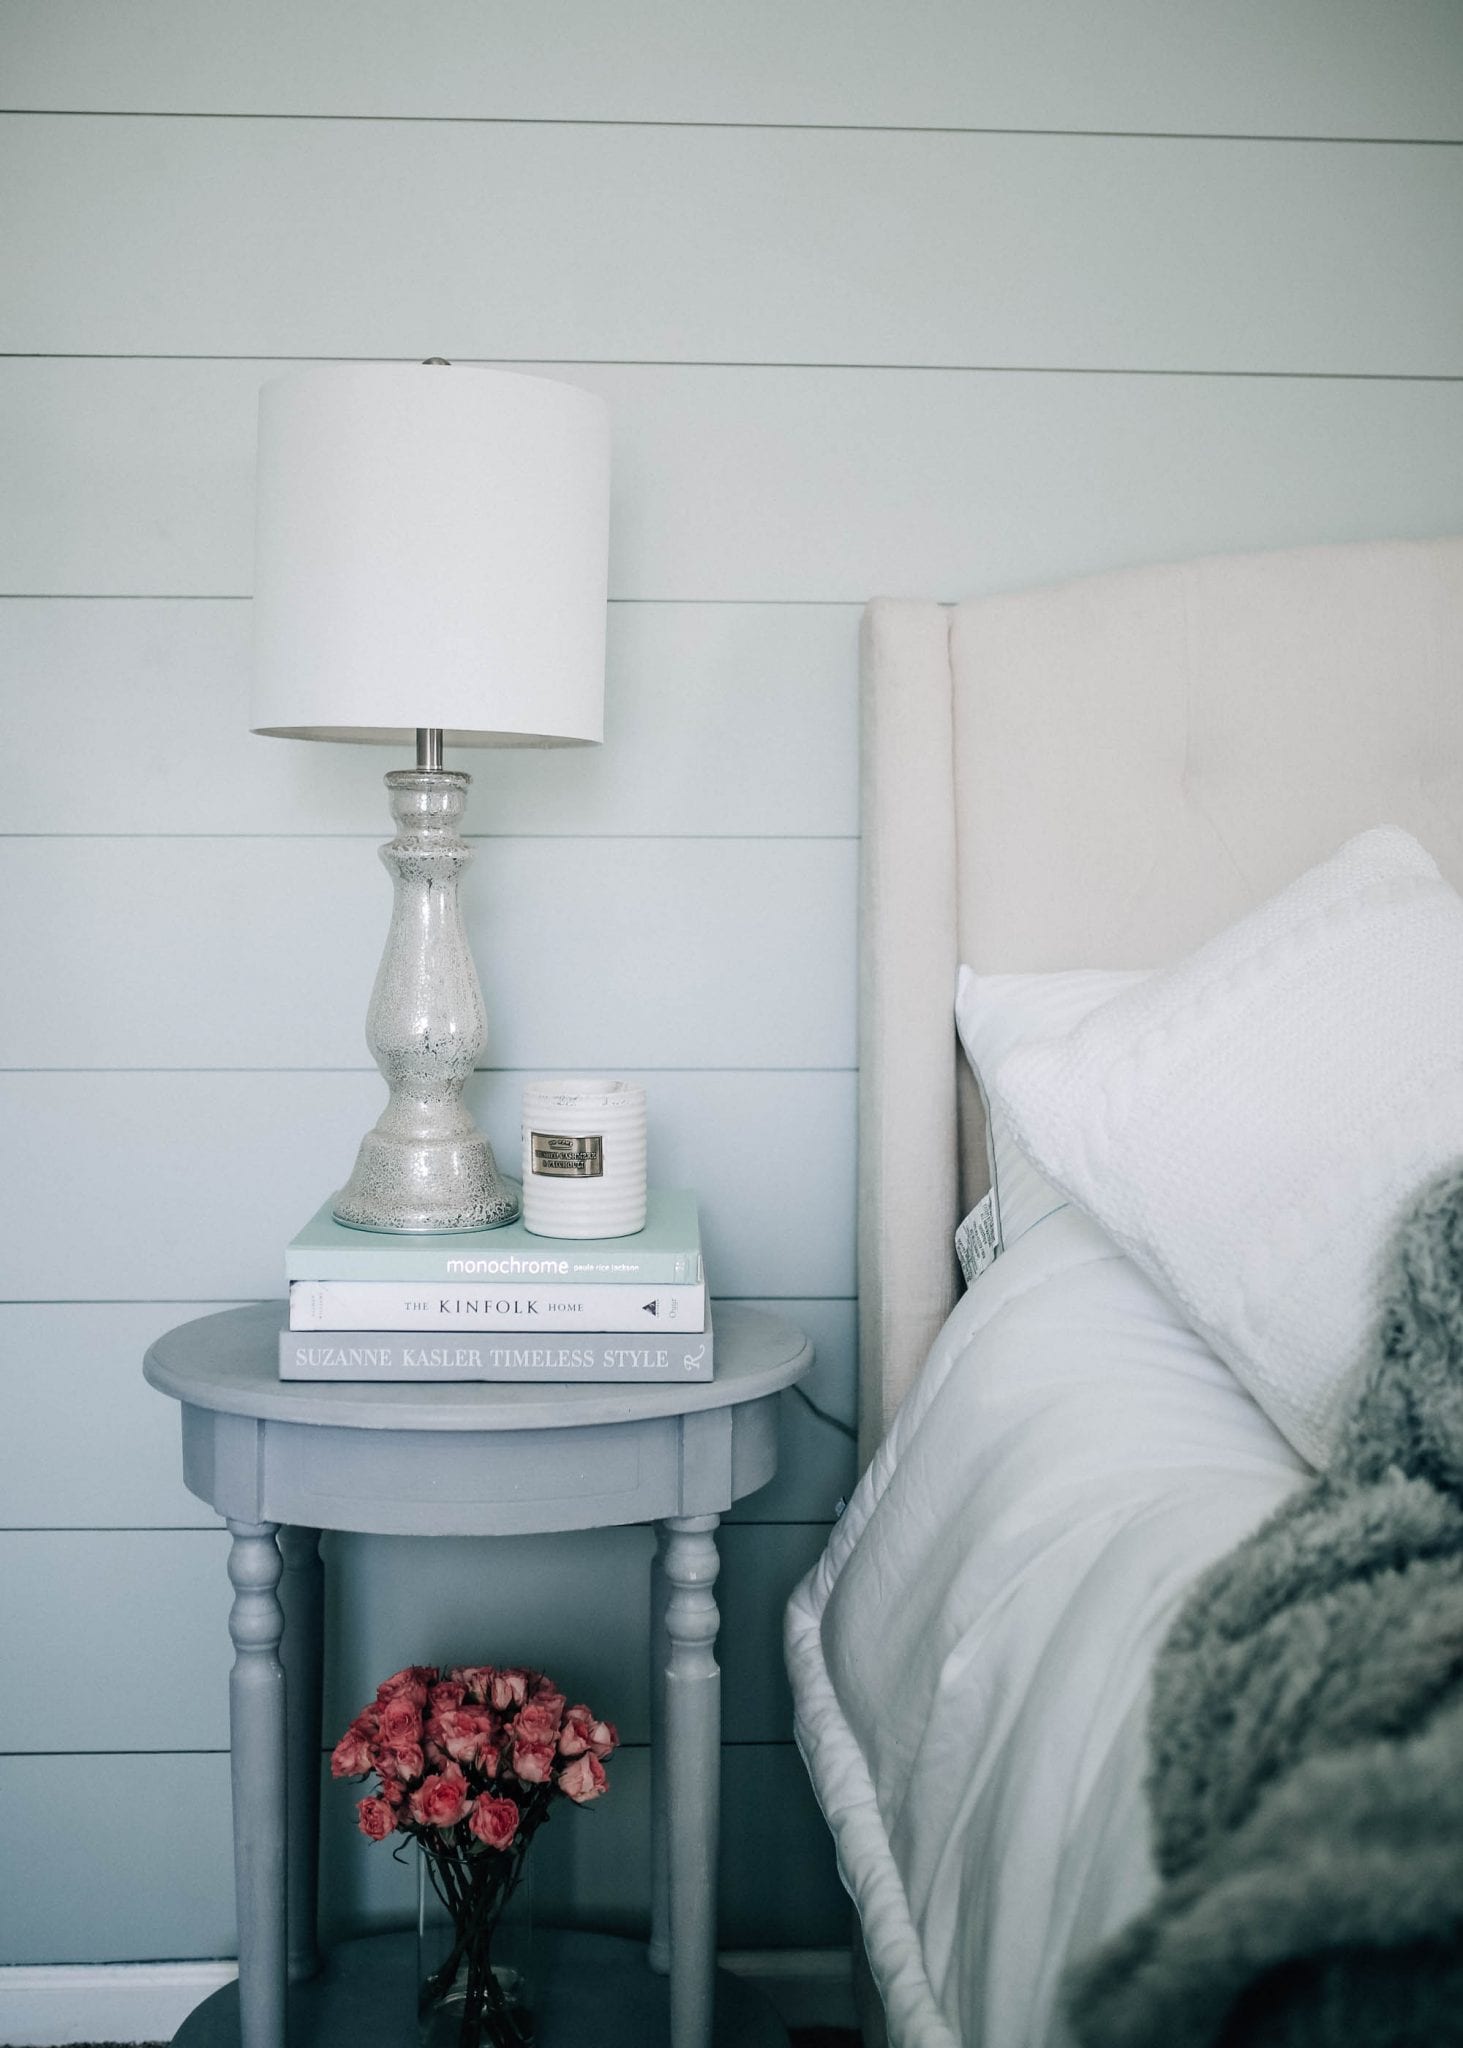
Step 7 and 8: Putty and paint. Once all the boards were on the wall we got ready for painting. The 16 gauge nails left a little bit of a hole in the boards and we did not want that to show through on the wall. Using the Painter’s Putty we covered each hole and smoothed it out with a paint scraper and sandpaper. Once all the holes were covered we started painting! We choose to paint the shiplap the same color we painted the rest of the walls, Lapland Ice. It was a great neutral greenish-gray that really brightened the room, but also gave you a sense of calm. Typically shiplap is left white, but I envisioned this wall to be the same as the others. We may end up doing shiplap on a wall downstairs (if I can convince TJ to do it again!) and will probably stick to white there.
Step 9: Add that trim. To finish the look, we will add some trim to the corners and where the shiplap meets the ceiling. This will add a little more character to the room and complete the look. We haven’t added that because we haven’t found the right design as of yet.

And that’s it! It is so simple, inexpensive, and a fun project to do with your significant other. Really the hardest part was getting the boards cut correctly, but once that is done, the project and process is pretty smooth.
If you have any questions feel free to ask in the comments. TJ and I will try to answer them, but by no means are we experts! Stay tuned for more projects to come! Subscribe to my Youtube channel for more video tutorials!
xo, Shelby
Materials:
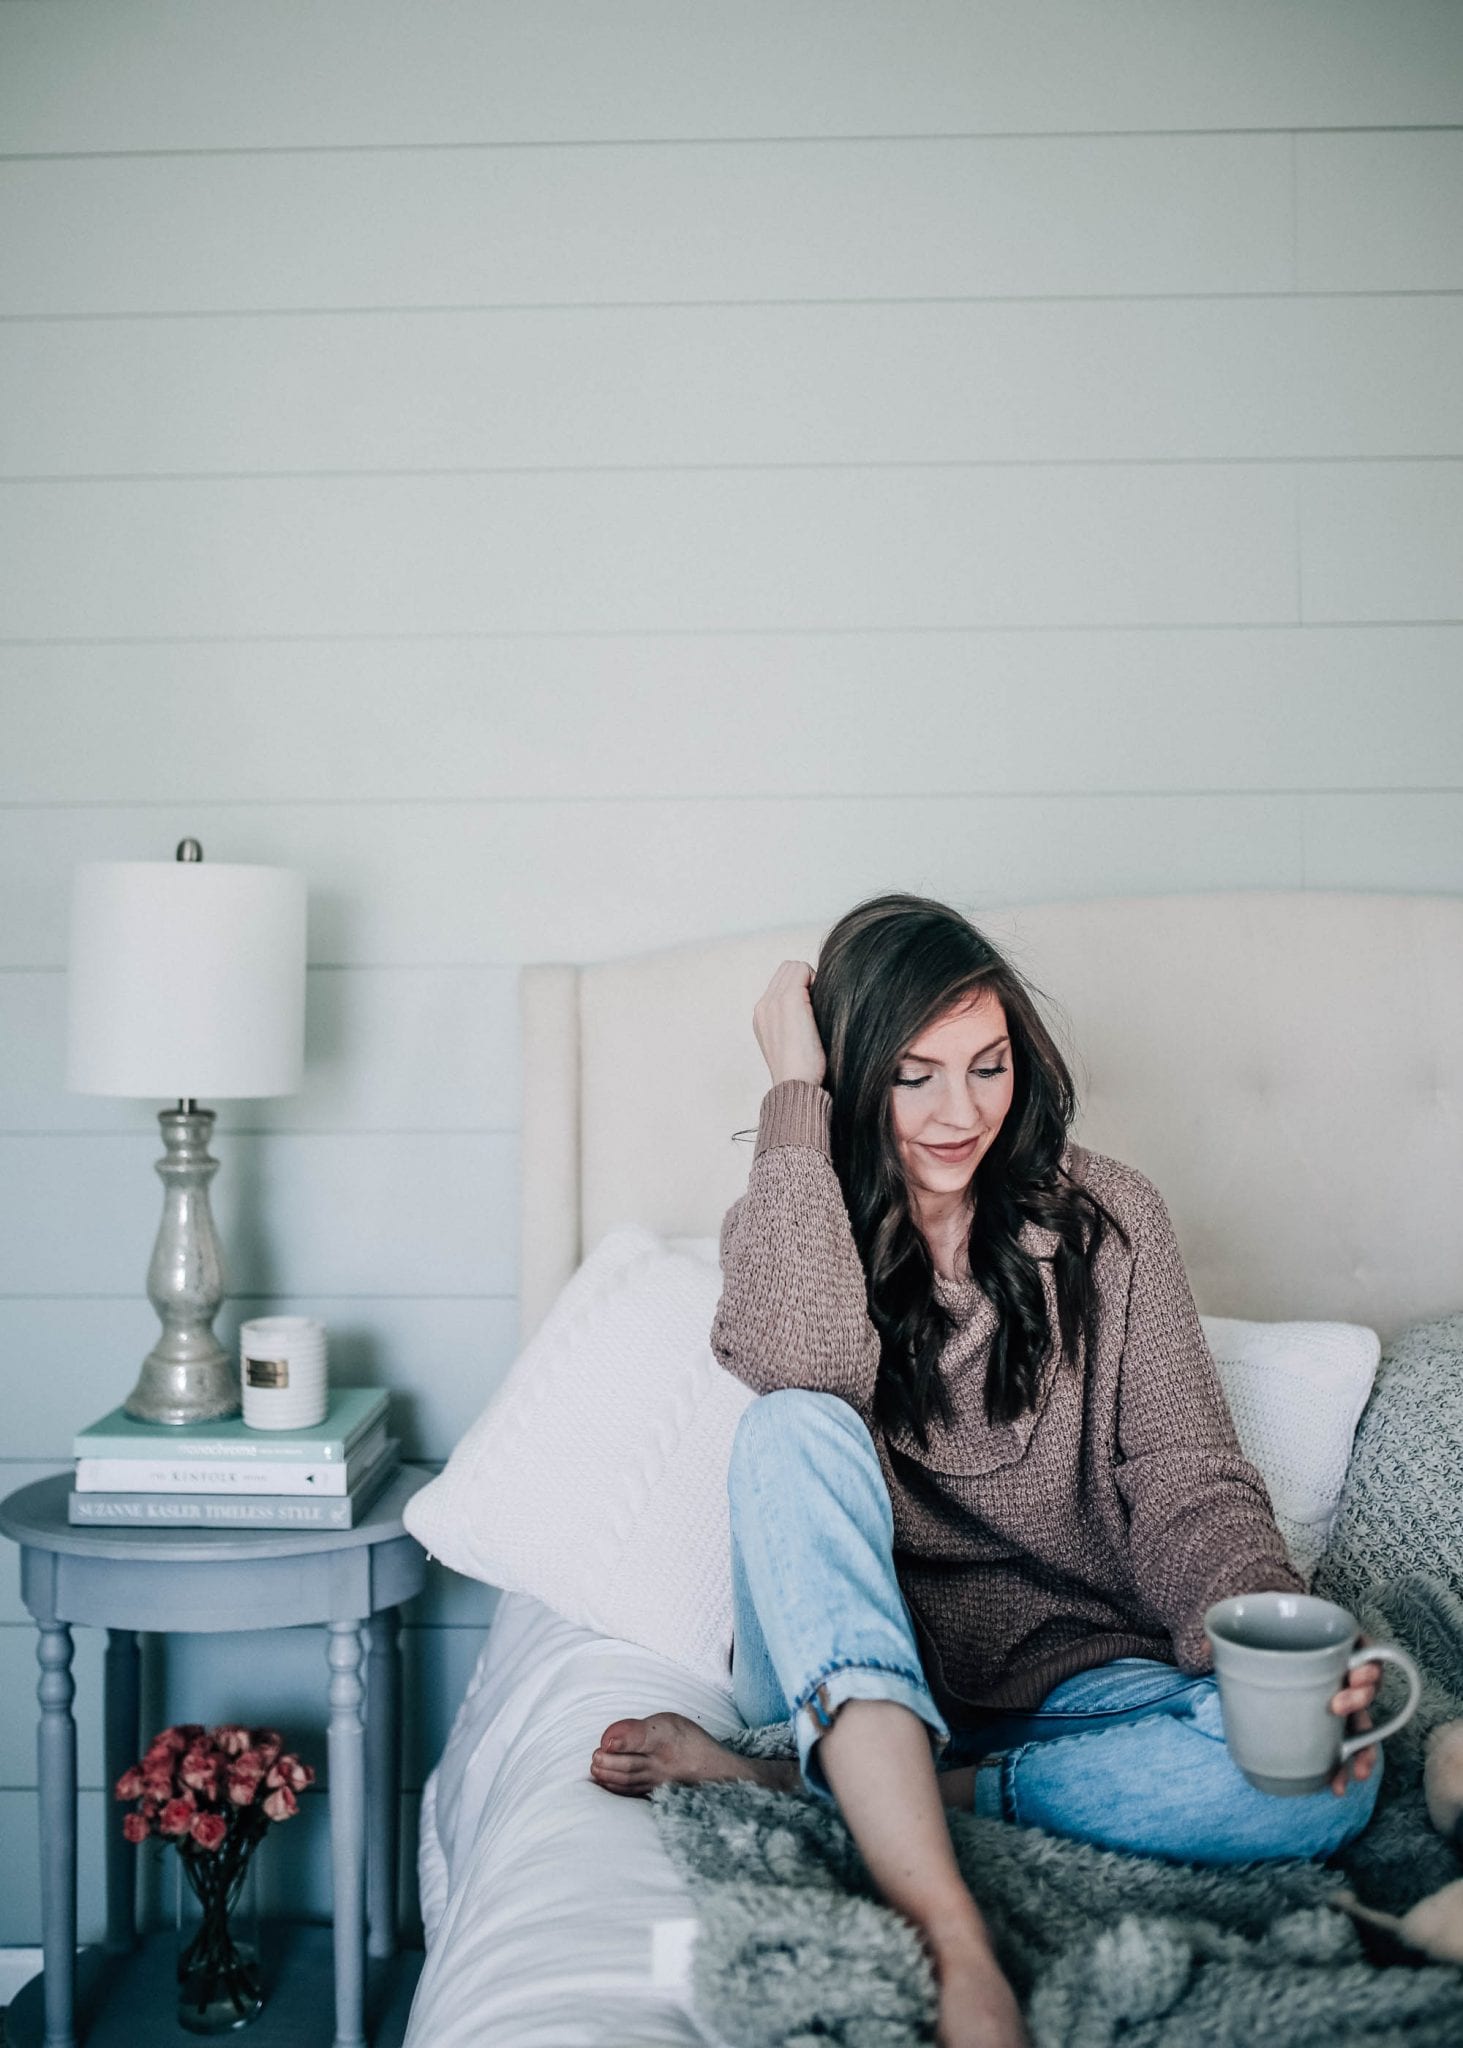
Outfit & Decor Details:

It turned out so good! I would love to do a few home imrovement projects but we can’t decide if we want to tackle them because we’re in a rental! Keep sharing alllll the home updates!
Zelle | Southern Style