Wellness

Meeting Friends as an Adult 101

I’ve been out of college so long now that I’ve officially lost count. It’s either 6 or 7 years at this point, which is mind-blowing. They say college years fly by, which they do, but I feel like the years in your 20’s fly by even faster. Luckily, I’ve lived in the same general area for all of those years so I haven’t had to really start fresh in a new town with making friends; although, I will say my college friend list (who I would regularly keep in touch with) went from like 12 to like 3 or 4. I also started my blog 5 years ago and a lot of my newer adulthood friends came from that… not necessarily just “bloggers”, but photographers and other people who have similar interests and hobbies. I don’t think there’s an age where you can stop making best friends. You can make a new best friend at age 80 and you can drift apart from a friend at age 25.

I know of a lot of people who move to new cities though and don’t know a soul and, unlike college years where friend-meeting happens naturally, it can be challenging and feel a little awk to develop new friendships in your 20’s, especially if you’re more introverted. I think you pretty much have to realize that most people are in the same boat with making friends at this age (or really any age over 22) and get over the idea that it’s awkward. It’s not really awkward, it’s just how it is as an adult.. it’s normal to feel uncomfortable! Great things never came from comfort zones. I truly feel like a better person and more filled up after spending time with other people and that is coming from someone who is able to go days without seeing anyone other than my husband. I love alone time so much and need it very, very often but I’ve also realized that I feel healthiest and happiest with some social balance.

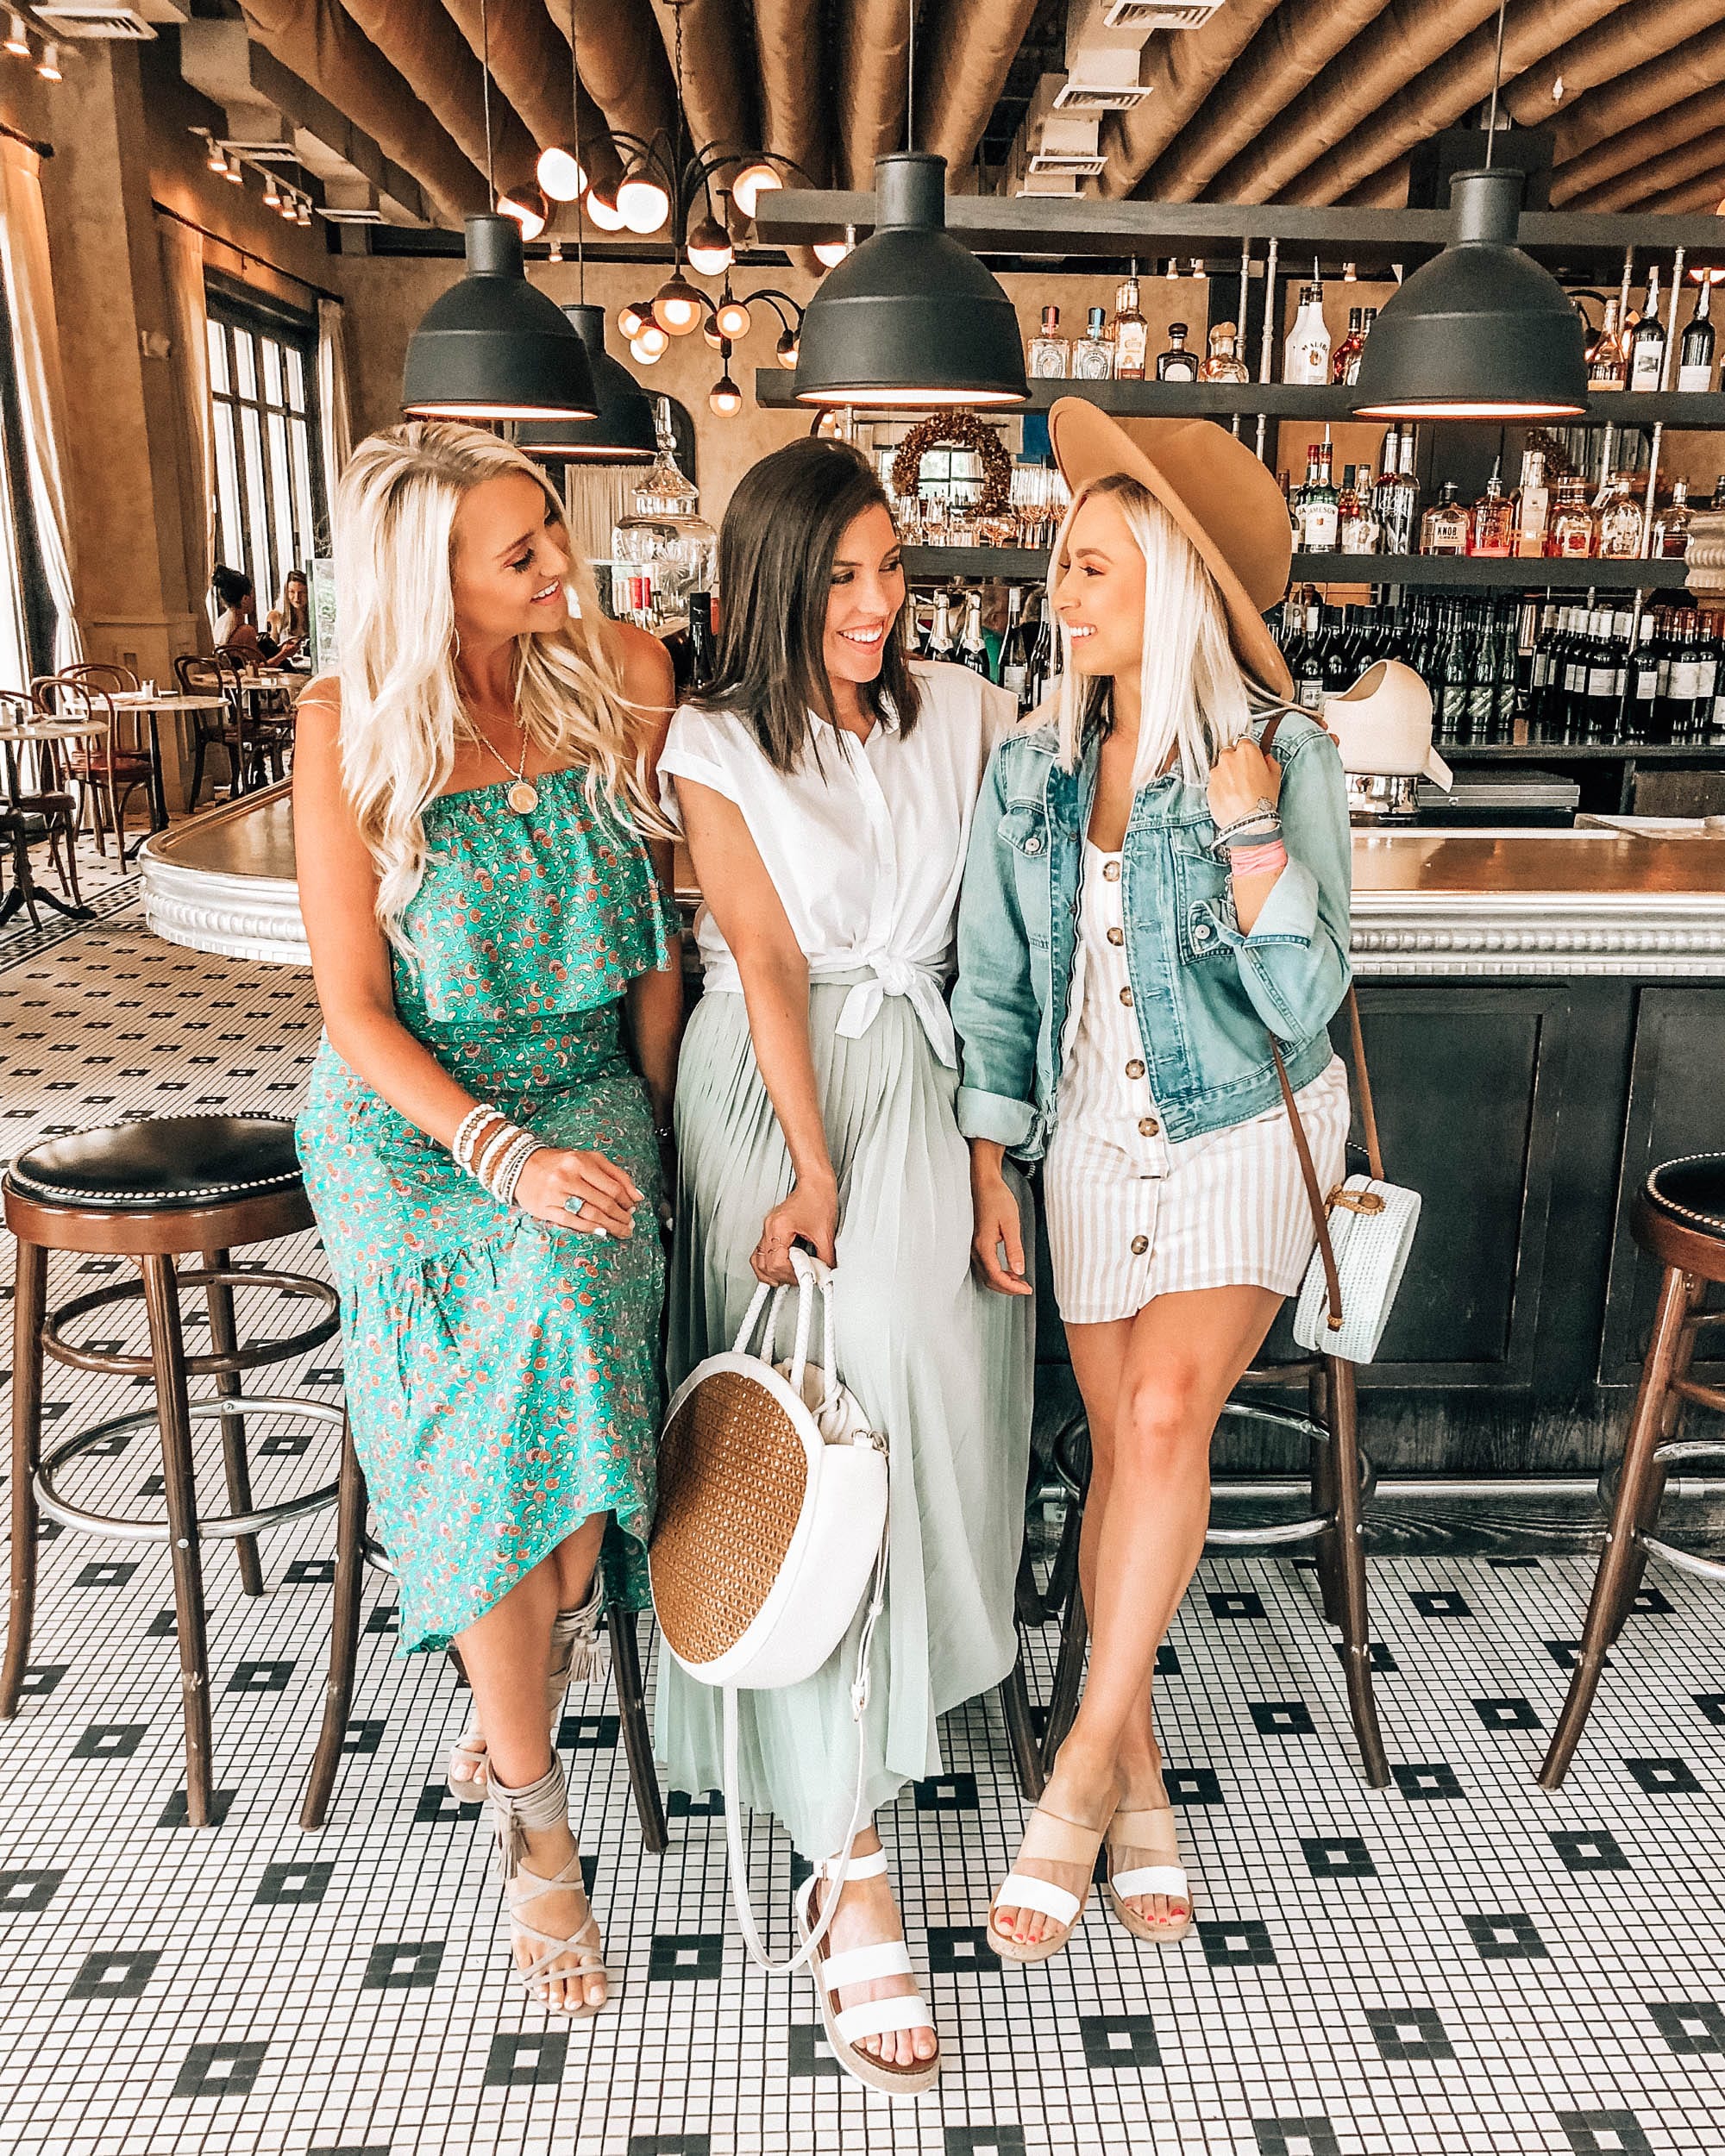
I’m going to share a list of ways that I have made new friends in my 20’s and also some ways that you all told me you’ve had luck making new friends. The best part is, when you’re in your 20’s, you can be picky about your friendships but it’s also important to be open minded and really get to know someone without quick judgement. There’s no more going to organic chem class with people you don’t connect with or going to sorority events where you might experience cliques or feel left out… you truly can choose who is in your life and who isn’t. You just have to be willing to invest time into those people. I’m far from perfect at this and I can be the type of person that loves cancelled plans but I have met a lot of people in my late twenties. In fact, most of my friends currently are ones that I met post-college.

Ways To Meet Friends:

Through Your Pets. Seriously, get a dog and take your dog places.
Apartment complex dog parks are gold mines for adult friendships. When we lived in apartments, we met people who were around our age, had similar interests (dogs, duh), and even met people who we didn’t know we worked with. Even as homeowners now, we’ve met neighbors through our dogs, people at farmer’s markets through our dogs, we petsat someone’s dog through the Rover app and then the owners asked us to hang out with them. It’s just way more comfortable to go up to someone and be like “Can my dog say hi?”. Literally, TJ says that every day. Sometimes I’ll see couples with dogs at our local farmer’s market and want to meet them and, honestly, Colbie is the best wingman/girl. Find dog friendly bars too! And then eventually ask for their number. Bonus points if you have a puppy. At that point, you’re just a friend magnet. 


Through New Hobbies
I met most of my friends in my 20’s this way. There’s pretty much a facebook group for anything these days. I joined a group a while back called “Raleigh Bloggers” or something and I met a few girls that way. Then, as I got more and more into blogging, I attended conferences, went to more events, met creative people of all kinds: event planners, graphic designers, photographers, videographers, food bloggers, fashion bloggers, travel bloggers, wardrobe stylists, owners of boutiques and shops, website designers. My blog has evolved some since I started it and now I’ve met more home-focused bloggers and will be attending a DIY conference this summer. Once you find something you enjoy doing, you’ll find more and more opportunities for meet-ups and events with like-minded people.

Instagram and Facebook
It goes down in the DM’s. Speaking of the above, even if you don’t necessarily have a blog, you can still meet like-minded people on Instagram. I’ve heard from a lot of you that you’ve made friends on Instagram with other new mom’s in the area. Join a local Facebook group or even join a Facebook group of a podcast you love to listen to. There are usually subgroups within those groups for local areas where you’ll find info about events and meet-ups. Some people you might follow on Instagram have community facebook groups where you can find others who live near you. Someone yesterday told me that they moved to a rural area where there weren’t any Facebook groups so she just started one herself and have met a lot of people through that.

At Workout Classes or Rec Sports Leagues
This is a popular way for meeting friends as an adult. Find a fitness studio or rec sports league that you love and just start going regularly. I’ve heard of a lot of friendships starting at Burn Bootcamp, Orange Theory, Pure Barre, Camp Gladiator, and through Premiere League or Tri-Sports (if you’re more into volleyball, kickball, or softball, etc).


At Work (if you’re lucky)
This is another most popular way to make friends, but only if you’re lucky. I’ve had jobs where I worked with older people who I probably wouldn’t hang out with outside of work and I’ve had jobs where I was obsessed with every person I worked with and they became my best friends during that time. I’ve met wives or girlfriends of people that TJ works with and he has met husbands/bf’s of girls who I’ve met. If you’re more introverted, make friends with a social butterfly who can then introduce you to his/her friends and invite you to things where you can meet more people. 


Neighbors or Community Events
When we moved into our neighborhood, we were like 10 years-ish younger than most families. Now, there are more people our age moving in which is exciting but we do have this neighbor who we LOVE and he is about to become my website hosting guy and we might even make some youtube DIY/home improvement vids with him in the future. You never know how much in common you’ll share with your neighbors so take every opportunity to get to know them if you can. Most neighborhoods will host events at the pool during the summer which is a great way to get to know your neighbors without having to go out of your way. Halloween/trick-or-treating is actually also a great time to take advantage of getting to know your neighbors. 


Friends of Friends
When a friend of yours invites you to a baby shower, bridal shower, or gathering of any kind, say yes. Those are great ways to meet new people who might live in your area and chances are you will get along great since you both like the same person! 


Local Run Clubs
There is a local run club near us that I always see drinking at the bar inside of the grocery store (lols) and TJ is always jealous. The only way I know it’s a run club is because of their t-shirts. He could easily just go up to them and say, “Hey, can I join your run club?”. Anyways, you can find run clubs through Facebook. 


Church or Small Groups
If this intimidates you, you can start small and just start going to a church where you feel welcome. Eventually, you can sign up for any young adult groups they have where you can meet someone you like. Then, you can learn more about their small groups. Or, you can just dive right in and show up to a small group. Most churches have ways to find small groups that are a good fit for you, especially the larger churches like Hope. 


Offline Premium

If you’re in Raleigh or Durham and you love trying new restaurants, you can sign up for Offline Premium (12ish/mo) where you will gain access to preview parties, get gift-cards to try out new restaurants, and have opportunities to connect with others who have this same interest. I love Offline’s mission of “helping us rediscover and reconnect with the amazing world around us”.

Mom Groups, Playgrounds.
Okay, I’m not a mom but apparently motherhood is very welcoming and community-focused. I’ve heard from SO many of you that you made so many friends since becoming a mom whether it was at playgrounds or mom groups. One of my friends recently joined a mom group where they meet at different local parks and walk/exercise together and she said it was the greatest change she has ever made.

Junior League
One of the most popular ways that I’ve heard people make friends in their 20’s/30’s is joining your local Junior League. I’m not a part of the Raleigh Junior League but after I graduated, I strongly considered joining when I felt a lack of community in my life. They are always planning events in the community, there are so many volunteer opportunities, and it sounds like a great organization. 

Bumble BFF

I’ve heard SUCH good things about Bumble BFF. One of my friends mentioned she recently moved to Charlotte and struggled with making friends up until she started using Bumble BFF and that changed everything. The great thing about this app is that everyone on it has a desire to make new friends just as much as you so the awk factor isn’t really there.
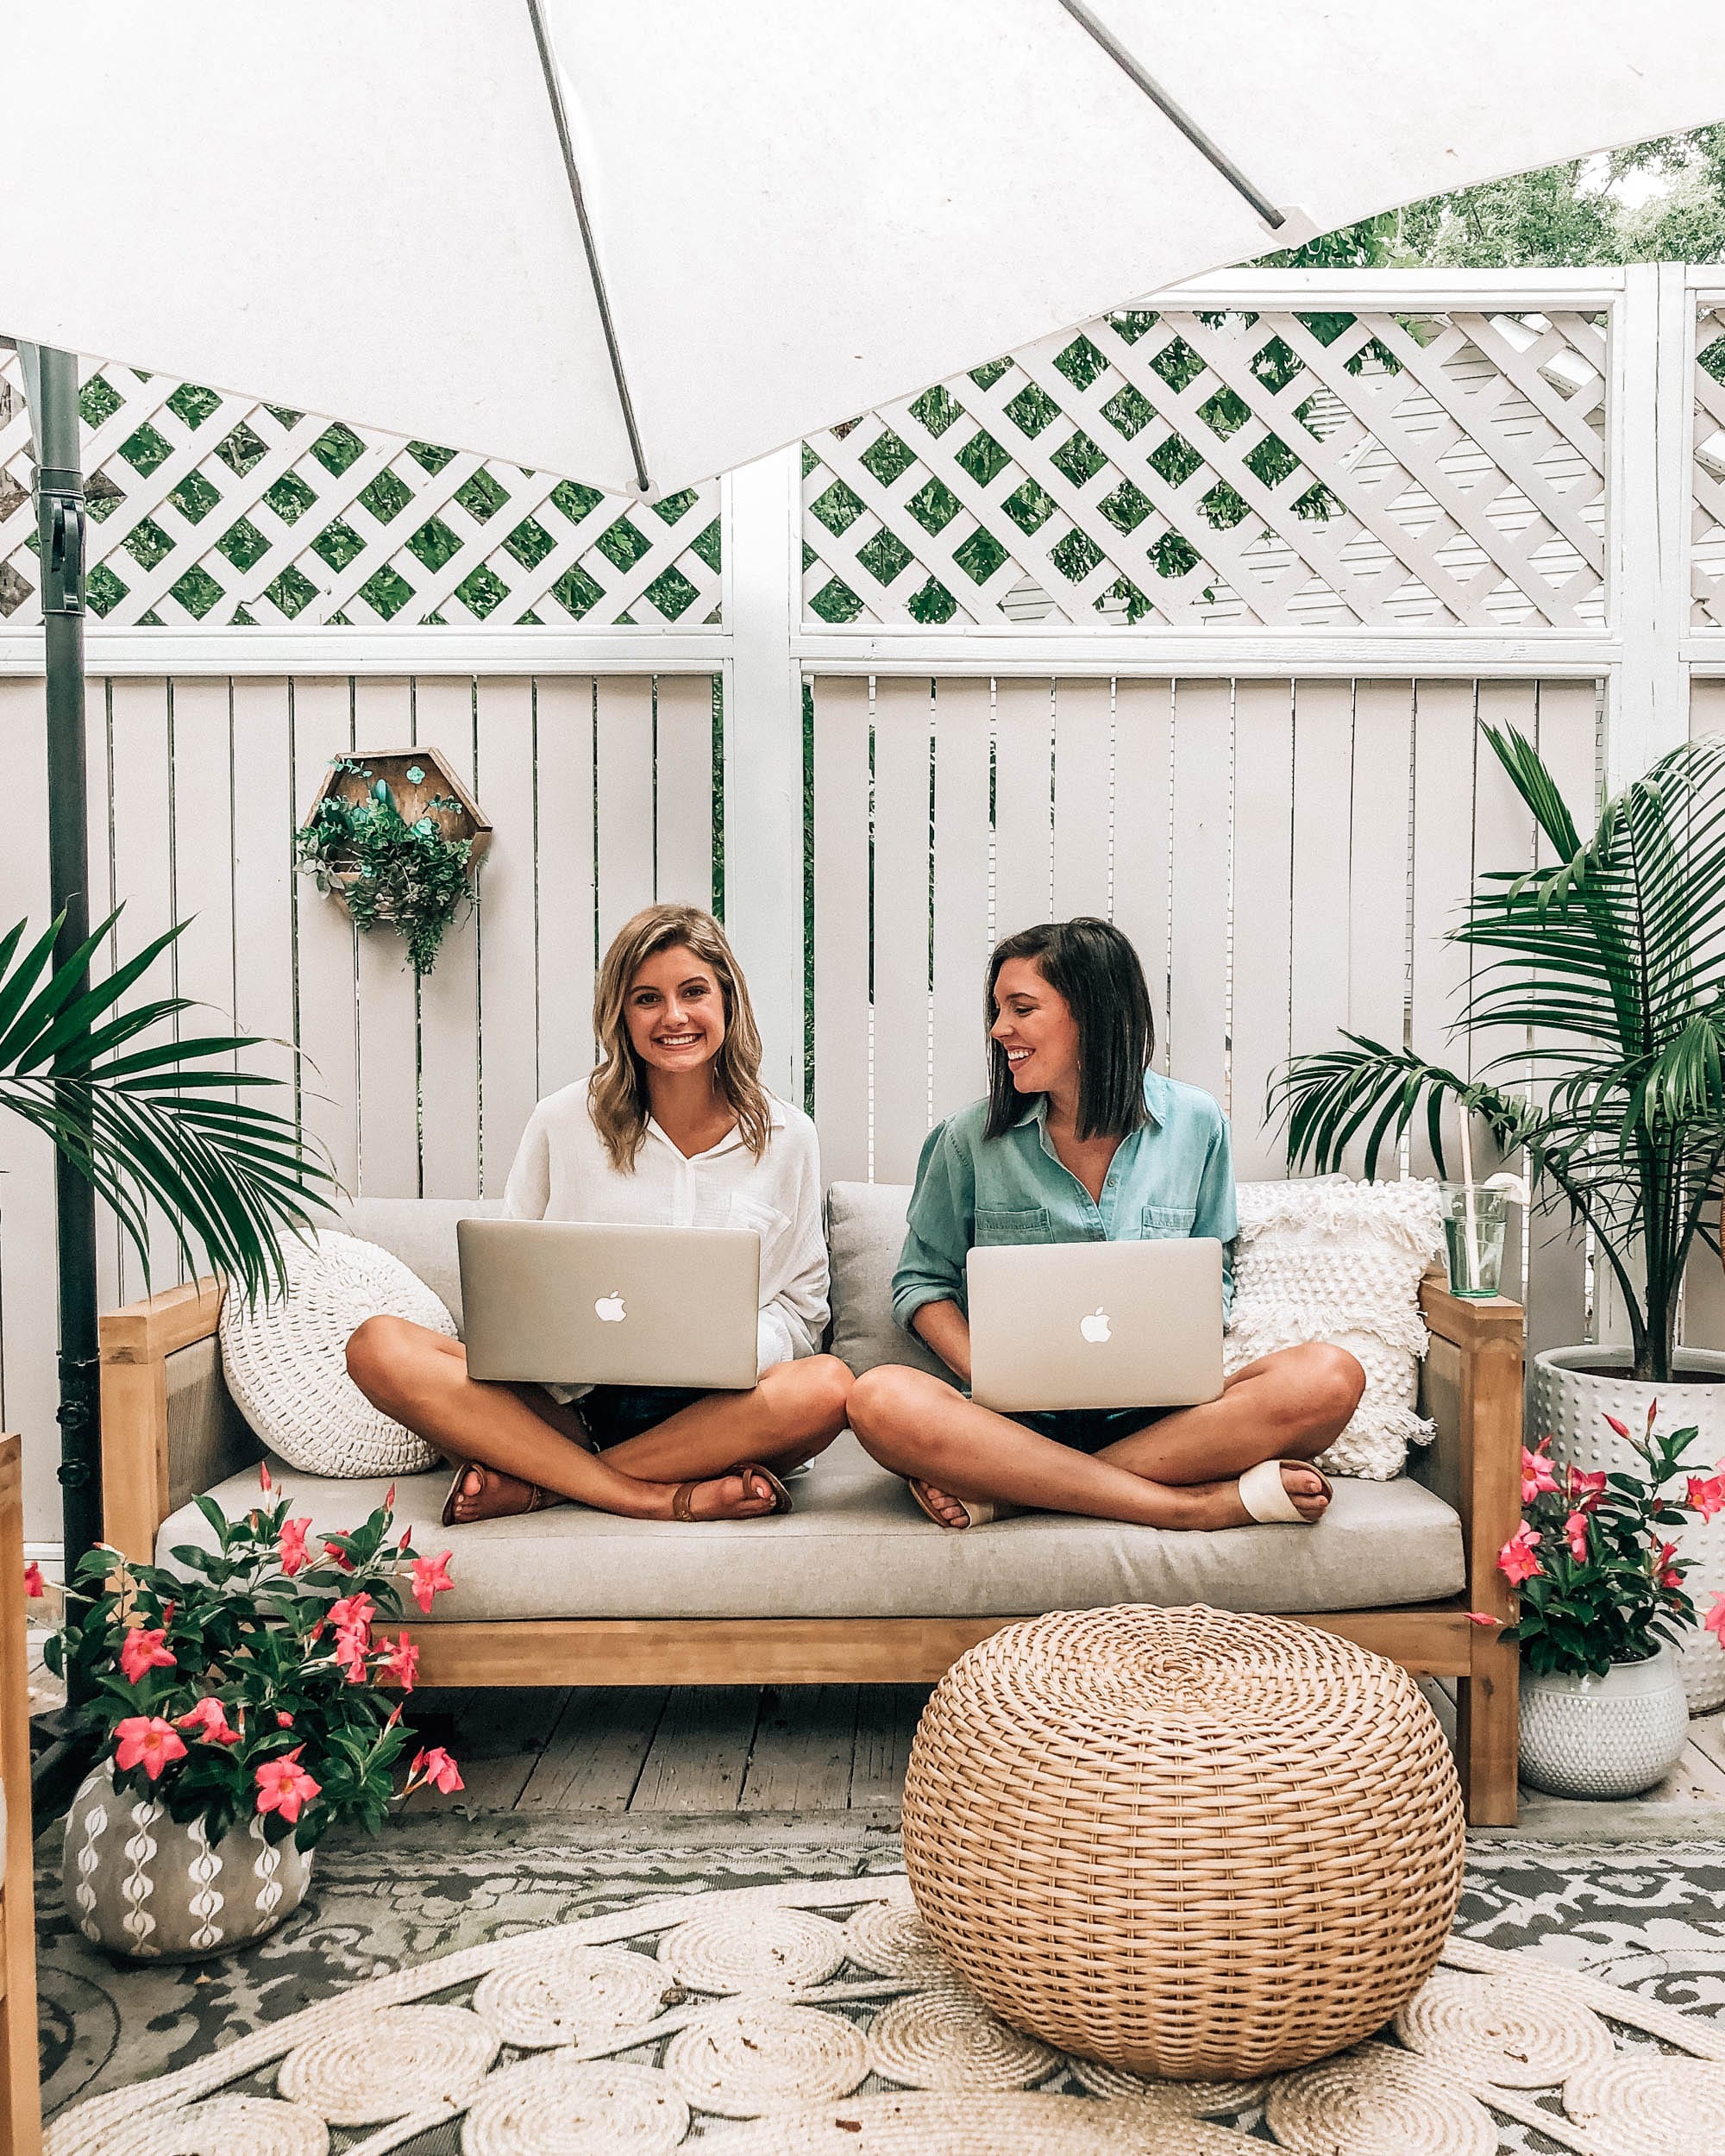
Coworking spaces. 

If you do freelance work or just have a work-from-home job, I definitely know how lonely it can feel. More and more coworking spaces are popping up which I think is so cool and such a great place to meet others who clearly are interested in meeting people. Some coworking spaces in Raleigh area include: Spaces, HQ Raleigh, Loading Dock Raleigh, The Locality (for women entrepreneurs).

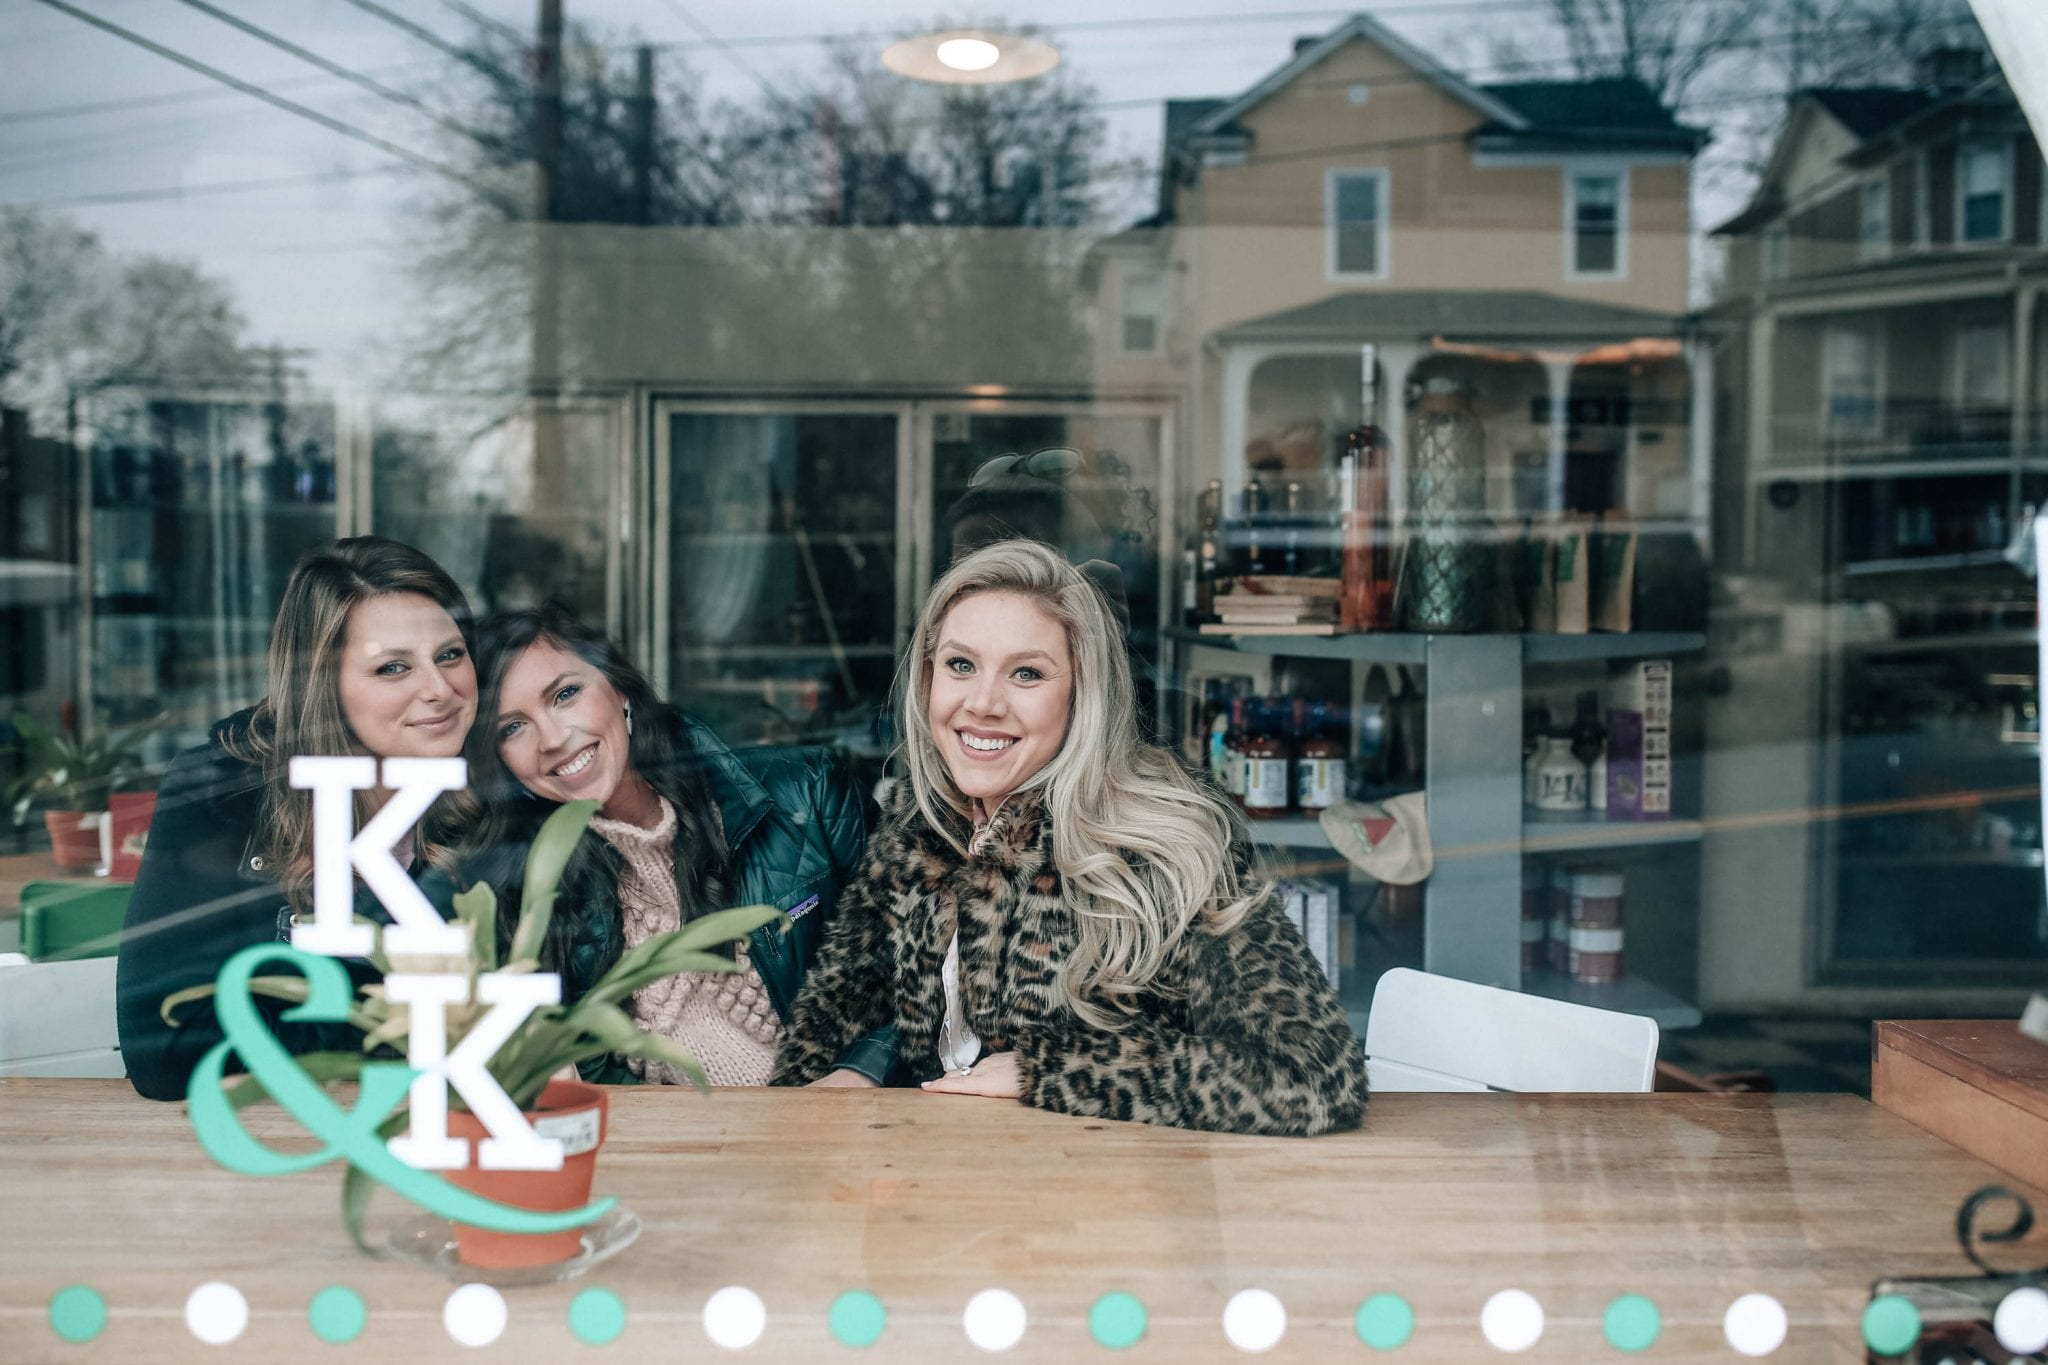
Going to local places regularly.

If there is a local coffee shop near you, go to it regularly. As soon as we moved 1.5 years ago, I started going to a local coffee shop and it immediately felt like home. Now, I’m actually working every day with one of the girls who work there (she joined me last week to work for PITP!) so you never know what will come from those places. 


Other ways:

A few other ways that come to mind are: college alumni groups, friends of family members (my cousin has the coolest cul-de-sac on the block), start a blog about anything (the blogging community is honestly so welcoming), and just start saying yes to things that scare you.


If you have any questions or stories or if I missed something, let me know! I’ll go in and edit this as time goes on. Just remember, you’re not alone at all if you feel like you don’t have as many friends as you did years ago, it’s just a matter of figuring out how to connect with others.

In My Suitcase

10 Items To Travel More Comfortably

I’ll be going on my first flight to Europe in a few weeks and I’ve started packing mentally. After a super quick trip to Chicago last week, it got me thinking of how I can ease the entire process of traveling because sometimes it can get uncomfortable and a little crazy. I rounded up a few items that have either totally changed my travel game or are in my cart for our next trip. If you have any items that have eased your traveling, let me know!

COMFORTABLE JUMPSUIT

I recently ordered this and this jumpsuit and they are life-changing. This one shown above is actually on sale today so, if you’re interested, get it while sizes are in stock! IT IS THE BEST and so worth every penny. Dressing in a comfortable stretchy jumpsuit that is easy to get off and on is my favorite way to travel… basically, something that feels like pajamas that does look like it. I own these three jumpsuits and they all have my stamp of approval:

MACHINE WASHABLE & ZIPPABLE TOTE BAG

I recently was introduced to Logan and Lenora bags which are made of high quality performance materials in Denver and they’re machine-washable with a waterproof inside and a water-resistant outside. When you’re sliding your bags underneath seats on the plane, you want something that will be easy to clean and this is exactly that! I also love that it zips, has multiple compartments, and can slide on and off of a suitcase. For 15% off, use the code PRETTYINTHEPINES. They also have beach totes, weekender bags, pouches, and so much more.


TRAVEL BEAUTY KIT

I used to visit Target’s travel-size section at the last minute and pick up whatever I could find to make due for my face wash, etc. These days, I can’t travel without either my TULA travel kit or Bioclarity travel kit. Both are such great products with the Bioclarity being a little bit more affordable than the TULA; although if I had to go with one, I’d probably go with TULA. Both have a travel size cleanser, moisturizer, and a few other products with great ingredients that you can’t find last minute in Target. No more settling when it comes to your travel skincare routine! For 20% off TULA, use the code SHELBY20. For Bioclarity, use PINES.

SILK EYE MASK

You never really know what the lighting situation will be when you’re at your destination and I’ve learned to always bring an eye mask with me to help ensure I can get the best sleep as possible. Recently, I’ve splurged on the Slip brand pillowcase and eye mask and have no regrets… most luxurious feeling thing ever and has so many anti-aging benefits!

HANGING ORGANIZER

I’ve been using this exact hanging organizer for at least 3-4 years now and it’s made traveling so much easier. You can use it to organize jewelry, toiletries, cosmetics, but I have always used it for my toiletries and make-up. There are so many compartments and it has held up so well… I was so happy to see it on Amazon Prime!

MOWELLEN’S INNER PEACE

Back in February, I used this before our flight to help with anxiety. If you’ve never used CBD oil, I would do some research and, if you’re taking other medications, definitely talk to your doctor before taking because it can supposedly interfere with some meds. However, I used it and it 100000% helped get rid of any anxious feelings I had about traveling. I haven’t used it since then but I still think about how surprised I was with how calm I felt. It may sound pricey but this bottle will last you a long, long time because you only use a drop or 2 at a time and you can mix it in with what you’re eating or drinking. You can read reviews before ordering but I was impressed.

BLUETOOTH NOISE CANCELLING HEADPHONES

I’ve had a pair of Bose headphones since I was in college and I think they’re definitely worth the splurge. My current ones aren’t Bluetooth though so I’m in the market for a new pair and these are what I’m leaning towards.


LIGHTWEIGHT NEUTRAL SNEAKERS

For my past few trips, I’ve been wearing these lightweight white sneakers and I love them for their comfort and versatility. The only thing I would maybe change is that I wish they were slip ons to make it easier for going through security. Plus, once you arrive to your destination, you have a shoe that will go with hopefully several outfits. I’ve been eyeing these.


NECK PILLOW

For long flights, this is a must for me and I am still trying to find the best rated neck pillow out there because I 100% need it for our flight to Europe. If anybody knows, let me know!

MINIMERGENCY KIT


This is a kit that our wedding planner gifted me a while back and I’ve kept it in my suitcase ever since! It’s technically for brides but it includes ALL of the random things that you might need: advil, blister balm, bobbi pins, and so much more! There have been several times that I was so thankful I had it with me.

Uncategorized

A Gardening Goal

This post is in partnership with Chase Freedom Unlimited. All opinions are my own.

Let’s discuss goals! Can you think of something that you want to be better at or something you want to learn more about but don’t know where to begin? Personally, I have a few goals that comes to mind but today I’m going to focus on one specific goal that I plan to work on for the rest of the year and then ultimately the rest of my life.

I’ve always admired other women in my family who are so knowledgeable about gardening, landscaping, and plants in general. My parents’ yard is one of the most lush and beautiful yards I’ve ever seen and I used to wonder “why do they go to plant shopping every single weekend?”. I totally understand now and I think I’m at that stage in life where I am turning into my parents. Our yard on the other hand needs a lot of TLC. I just have so much to learn when it comes to plants. We have bushes to replace, grass to grow, flowers to plant, and I would love to have a small vegetable garden in our backyard.  In the past, I kind of just selected the prettiest bushes and hoped for the best. But there are actually a lot of really great resources out there, classes to take, gardens to visit, and so much to help you gain more knowledge about this topic. I’m also excited to be partnering with Chase Freedom Unlimited to share my #AlwaysEarning journey.

With this goal that I have, I’ve researched specific workshops to take, popular botanical gardens to visit, DIY projects to do, and books to read which will help me little by little reach my goal of learning more about landscaping and becoming a better gardener. Each month, I’ll update you all on my journey and how much I’ve learned. I’m also specifically excited to partner with Chase on this because my Chase Freedom Unlimited (my personal favorite credit card) card allows me to earn 1.5% cash back on every purchase (and 3% cash back for the first year). I’m not a huge credit card person but when I am looking for the right one, I look for no annual fees, easy cash back programs, and 0% APR for at least 12-15 months. This one has ALL of those so I’m a big fan.

Anyways, I’m excited to learn more about this topic and hope to one day be as skilled as my mom and grandma are. We have a lot of backyard goals this year in terms of landscaping so I can’t wait to share all the progress as we dive into something new!

Capsule Wardrobes

A Casual Summer Capsule Wardrobe

If you follow along on Instagram, you’ll see that I frequently wear the same pieces over and over again. I’ve been pretty particular with my shopping lately and have wanted to build a summer wardrobe that is cute, easy, and efficient when getting ready. This specific wardrobe is definitely casual (mainly for weekends or if you work at home) but there are definitely some outfits that can be worn to a casual office (pants, skirt, tops). I’ve included each outfit below with all outfit details. I’ve been building this for a while now so hopefully most items are still in stock (and on sale!).

UPDATE (6/19/19): Exact white pleated midi skirt has been added online.

The 17 items consisted of the following:

DENIM JACKET

This is a year-round staple that ties together any casual outfit but my favorite denim jacket would have to be either the one in this video (this one) or this lighter wash boyfriend fit jacket (not included in video). The one in the video is by Madewell and is the highest quality!

STRIPED MAXI DRESS

Blue and white stripes are basically considered a “neutral” when it comes to summertime. You can layer other shirts over top of this maxi dress to make it look like a skirt and I’ve linked a few other great options below:

DENIM SHORTS

Denim shorts are a summer casual must-have and these are my favorite ones I’ve found. Wearing a 25 for reference. 

TAN SHORTS

These are my favorite and I love that they come with a built-in tie waist belt! On sale for $35 today (6/11/19) 

WHITE BUTTON DOWN SHIRT

STRIPED BUTTON DOWN SHIRT

OLIVE V-NECK TEE

BLUSH CREW NECK TEE

CHAMBRAY SHIRT

BELTED JOGGERS (Grey or Khaki)

NEUTRAL STRIPED SKIRT

DENIM OVERALL DRESS

WHITE PLEATED MIDI SKIRT

My exact skirt I’m wearing in the video (from here) is sold out I believe (UPDATE: exact skirt has been restocked and can be found here) so I’m linking a few similar ones below: 

BASKETWEAVE BAG

3 PAIRS OF SHOES

DIY Projects

Painting Kitchen Cabinets Yourself

This is way overdue but I’ve been meaning to write about how we painted our kitchen cabinets since… January. As part of our kitchen renovation we knew we wanted to give our cabinets a major refresh. We weren’t that big of fans of the original color and knew they would match better with the rest of our kitchen if we painted them a solid color. Painting cabinets yourself can seem very daunting, especially when you look at all the steps involved, but it can save a lot of money! Typically companies charge per “door” that is painted and it can be upward of $2,000-$3,000 for hiring a painter. This was the route I thought we were going to take until one day we were just like “let’s try it ourselves”. We knew we could save some money to use elsewhere and set aside about 3 days to get them completed. And I’m so glad we did!

The first step for us was to decide what color we wanted to paint the cabinets. Ultimately, we wanted a 2 tone look, with the top cabinets one color and the bottom a different. We ended up choosing “Pure White” for the remaining top cabinets and Rhino by Behr for the lower cabinets. We picked up the highest quality Behr paint, Marquee, because the kitchen cabinets are one of the highest traffic areas in the house. Think about how many times those doors are opened and closed and the sauces and oils that splatter all over them over the years. A full list of supplies we made sure we had before starting is below:

Paint (get the highest quality possible in satin or semigloss finish)

Primer (we used this water-based one)

Medium grit sandpaper

Fine grit sandpaper

Vinegar and water mixture (to clean cabinets before anything)

Sponge (also for cleaning)

Painter’s Tape

Tack cloth (for wiping after sanding and getting all wood dust off)

Paint Sprayer (optional but makes things easier – NOT necessary though – we did not use this)

Sponge brush

Paint rollers (make sure to get the half size)

Angled brush

Power screwdriver (to remove doors)


1. Prep your cabinets by cleaning them thoroughly.

The first step is to make sure the cabinets are thoroughly cleaned. The kitchen area has a tremendous build-up of oil and grease, substances that will not be conducive to having your new paint stick to the wood. There are a couple options for cleaning the doors to remove the grease. You can opt for a cleaner like Spray Nine, or you can just use a 50/50 mixture of vinegar and water. To get tough on grease, use a kitchen sponge to scrub the doors and cabinet structure. Wipe them dry afterwards.


2. Remove cabinet doors.

Once the doors and cabinet structure was clean and dried, we removed our doors. The easiest way to do this is with a power screwdriver. We had 17 doors that needed to be removed, some anchored with 3 separate screws. It would have been very time consuming and difficult if we were using a hand screwdriver to remove the screws. One thing to be sure to do is make sure you know which doors go where to help with putting the doors back. We labeled the back of the doors with sharpie. For example, starting from the left side of the kitchen, we numbered the top in order (T1, T2, etc.). We did the same with the bottom doors (B1, B2, etc.).

3. Set up sand, paint, and drying station.

With 17 doors that needed to be painted, we had to have an area where all the doors could be sanded, painted, and where they could sit for a while and dry. We ended up using our fire pit stones in the backyard along with the railing to our deck. This enabled us to have a flat surface with which to work and we didn’t have to worry about paint getting places it shouldn’t. We saw other setups where people used 2×4’s hung between ladder rungs. It doesn’t really matter what you use, just something where the cabinet doors can sit so that you can paint all edges of it. I even used some stacks of books when I ran out of space outside.


4. Sand cabinet doors.

Our cabinets were manufactured with natural wood stain. We knew that they would have to be sanded well to make sure the paint was going to stick to the wood. We sanded by hand to get into the crevices as much as possible, but if you have flatter cabinet faces you may be able to use an electric sander. For this first pass of sanding we used a medium grit paper. Use a tack cloth to rub down the cabinets and cabinet structure to get rid of any excess wood dust that may have accumulated. Don’t sand too much that it makes the surfaces uneven, just enough so that the wood will accept the new paint. This was our least favorite and most tedious part, but one that is most important.

5. Prime cabinet doors.

To make sure the paint stuck and covered the wood grain on the cabinets and cabinet structure, we started out with white primer. There are a couple of ways to paint the cabinets. The most efficient way is to use a paint sprayer. We do not own a sprayer, and it was not in the budget to buy one for the project (they can be anywhere from $150-$350). Instead we used a mixture of sponge brushes, angled brushes, and mini rollers (mini rollers are where it’s at). The angled brushes were effective in getting the edges and corners of the doors, the sponge brush worked well to get smaller grooves in the doors, and the mini roller helped with the flat door surface and the cabinet structure.


6. Sand cabinet doors again.

Once the doors have dried from the primer, it is time for another thorough sanding. Yep, again, but lightly! Go for the fine grit sandpaper on this step. The goal is not to remove the primer, but to create as smooth a surface as possible for the next coat of paint. Work lighter and then apply more pressure as needed. Use a tack cloth to remove excess wood dust (make sure to buy several of these).


7. Paint cabinets with first coat of color of choice.

Finally! Time for some color. Using the same techniques that worked for the primer (roller, brushes, sponges), apply the first coat of paint to the doors and cabinet structure. We made sure to apply the paint generously to keep any of the wood grain from showing up after the drying process.


8. Sand cabinet doors once more, paint second coat.

Repeat steps 6 and 7 for the doors and cabinet structure.

9. Screw doors back into original places.

Once everything dries, you can add the doors back to the cabinets utilizing the labels that were made when taking off the doors. As we were adding the doors back, there seemed to be a couple gaps between the doors that we had to fix. This was relatively easy by ensuring the doors were straight and level when reinstalling.

Woohoooo! It’s really not THAT bad. The worst part is just how long each step takes but the steps themselves aren’t bad, just tedious, especially if you have a lot of doors and drawers. 

Let me know if I missed anything or if you have any other questions!

Organization

Our Pantry Organization Makeover

The other day I shared how we made our pantry barn doors but today I wanted to take you inside the pantry! One of my goals for the year was to get more organized and declutter my life. Closer to the beginning of the year, we organized our fridge but I knew this pantry had to be organized before our kitchen was complete! It’s crazy how organizing one little space can make such a difference in so many areas of your life. Every type of food now has a “home” in our pantry and it’s the best! I picked up these metal baskets months ago which then set the tone for the rest of the pantry! 

The first step was creating categories for each food or item that we have in our pantry regularly. I ended up going with: canned vegetables and soups, oils and condiments, coffee and tea sweetener, smoothie stuff, pasta, assorted rice/quinoa, nuts and nut butters, sauces, assorted snacks, dog treats, bread/bagels, coffee pods, chips/popcorn, drinks (Vitamin water, etc.), and “dranks” (wine). 

I knew that we would have some extra space after this so I decided to make some extra baskets and space for items that aren’t food like: cookbooks, party supplies, napkins/napkin rings, reusable water bottles. I also picked up some clear containers to store other assorted items for baking and other foods we go through quickly (pretzels, tortilla chips, spaghetti) that way we always know when we’re running low on those. 

Other Pantry Organizational Items:

And lastly, a before pic!

Our Home

Kitchen Gadgets On Our Counter (and Radar)

*items above are clickable

Yesterday I shared a few kitchen accessories that I picked up recently but today I wanted to talk about kitchen gadgets! Kitchen gadgets that we own and love and a few that are on my radar (or currently on it’s way to me via Amazon Prime). Either way, these kitchen gadgets/items are all very highly rated and reviewed and I’m going to start with the ones that we personally own and use on a daily basis!

15 Piece Knife Block Set
We recently updated our knife set with this beautiful white and wood block set and I’m in love! The white knives look so good with all of the white in the kitchen and once I saw that these were 60% off, I had to have them! If you’re in the market for a new knife set, look no further than these! Such great quality and looks so great on the counters!

50s Retro Style Two-Slice Toaster
I purchased this toaster a few months ago and I’m so glad I did. It toasts everything to perfection and the only regret I have is that I didn’t get the 4 slice size. This toaster comes in a few different sizes and several colors to match any kitchen! Worth the splurge for sure!

Large Round Cutting Board
This should be called “Very, Very Large Round Cutting Board”. I’ve been eyeing this cutting board for the longest time. I finally went to see it in store and I’m glad I did because it is huge. I want to say it’s at least two feet wide but maybe I’m wrong. Either way, it is beautiful and would be the perfect cutting board or even cheese board for a larger group. 

Breville Nespresso Creatista Espresso Machine
I’ve been wanting to make the Keurig to Nespresso switch for a while now but haven’t pulled the trigger yet. I have been doing a lot of research on some of the highest rated models and this one seemed to have some great reviews. For a while I was making lattes making a mess and using so many different things in our kitchen so this machine would simplify the entire process and make life a lot easier (and tastier). I’m also considering this model although there are some questionably reviews. 

OXO Vegetable Chopper
One of the things that keeps me from cooking so often is all of the prep work so I’m always looking into ways to save time with 1) cutting vegetables and 2) washing dishes (see the next item for what I recently ordered). This vegetable chopper would be the perfect way to help save some time when I’m making some of my favorite summer salads. 

Blade Brush Knife and Cutlery Cleaner Brush
I think my least favorite chore around the house is washing dishes. I’ve found a few items that help get the job done but this is a little Amazon find I recently ordered and can’t wait to use. I never know what to do with our nicer knives and this little knife brush will make things much more simple.

Silicone Clip-on Snap Strainer/Colander
One of the foods I make most often is pasta. I feel like our pasta to strainer ratio is very disproportionate so I decided to order one of these clip-on strainers to add to our collection and help save space instead of getting an entire colander. 

KitchenAid 5-Speed Diamond Blender
I have been in the market for a new blender for a while now and after looking up some of the best ones, I think this one is the winner! It has amazing reviews and is a great price plus we’re entering smoothie season quickly with these 100 degree weeks!

What’s your favorite kitchen gadget?!


Our Home

Functional Accessories for the Kitchen

If you’ve been following here for a while, you might know that we’ve been working on our DIY kitchen renovation since the very beginning of the year. It is not complete just yet but while I was doing some shopping the other day at Home Centric, I picked up a few new kitchen accessories to decorate the countertops a little bit. I wanted to add in functional items that can also help spruce up the space. If your kitchen is in need of a budget-friendly refresh, there are so many cute smaller items that you can find for a quick and simple update.

The first item I knew I had to have: these white oil and vinegar bottles. Sometimes too many oil bottles on the countertop can look cluttered (although it’s convenient for them to be on the counter) but these are the perfect clean and simple addition! I also found a large white utensil holder to put all of our wooden spoons in. I also love placing a pretty oven mitt in that same utensil holder to have easily accessible. I have another one of these holders under the counter to hold plastic/rubber utensils but I love having these in an easy to reach spot plus all of the wooden pieces together just makes the space more cozy and cottage-y. I also store our bamboo straws from the farmer’s market in there. If you’re in need of an inexpensive utensil holder, or really anything for your kitchen, you have to check out Home Centric’s selection. I’m still on the hunt for a bread box so I can store our bread out of sight but still close to our toaster. 

Some other pieces I found were striped oven mitts, a small cake stand, salt and pepper shakers, a ceramic pitcher for fresh flowers or branches, cook books, and faux succulents. I also picked up some dishware, pots and pans. I needed a new pan to saute all of our vegetables in and I found this beautiful champagne one with a white interior. The prices were too good to pass up. I thought I was almost done shopping until I came across the cabinet organizers and I picked up some organizers for pots and pans. If you follow along on Instagram, I have a story highlight where I share spaces I’ve organized including the refrigerator and the pantry but we haven’t quite tackled the cabinets yet! Hopefully these will help start that process.

Functional Kitchen Accessories:

– storage jars or canister sets

– utensil container and wooden spoons

– oil and vinegar sets

– salt and pepper sets

– cookbooks

– paper towel holder

– bread box

– cake stands

– pitchers

Anyways, do you see that small space to the left of the range hood? I can’t decide whether or not to add some shelves on the wall there. If we end up doing that, I’ll for sure be picking up a few more items! If you’re near Raleigh/Cary, I highly recommend stopping by Home Centric in Crossroads for all of your home needs! If you’re not around Raleigh, you can search for the nearest location near you here. Hopefully this gives you some ideas of how to decorate your kitchen using some useful items!

This post is in partnership with Home Centric. All opinions are my own.

Uncategorized

Memorial Day Weekend Sales

ABERCROMBIE || 50% off *most* items

AERIE || 40-60% off select items

AMERICAN EAGLE || 25-60% off EVERYTHING

ASOS || 40% off new arrivals

BANANA REPUBLIC || 40% off everything 

EXPRESS || 40% off everything 

GAP || 40% off EVERYTHING (no exclusions)

J. CREW || 40-50% off everything 

J. CREW FACTORY || 60% off MOST styles 

LOFT || 40% off your purchase (code: FINALLY)

MADEWELL || 20% off DRESSES (code: PERFECTMATCH)

OLD NAVY || 50% off ALL tees, tanks, swim, shorts, and dresses 

TARGET || up to 30% off patio items & home (extra 15% off w/ the code HOME)

WAYFAIR || up to 70% off 

WORLD MARKET || up to 20% off (world market rewards members, code: MDW20)

I know I’ll be shopping for a few more basic items for my summer wardrobe and some everyday summer dresses I can wear all season long. Dresses are all I feel like wearing these days. Anyways, I hope you have a great long weekend! We’ll be doing some work around the house, maybe having a pool day, and enjoying the weather! Incase you missed it, I shared our DIY pantry barn door tutorial yesterday. 

DIY Projects

DIY Pantry Double Barn Doors

In this week’s episode of the neverending kitchen renovation, I’m sharing our pantry makeover! First of all, I’d say our house is much more basic than you’d think. We have just added a lot of personal touches to it and have elevated it with some DIY projects. These pantry doors are a prime example of that. I have always loved the feel of barn doors and I love how big and sturdy they look while making a room still feel warm and cozy. Our pantry, which was probably one of the not so pretty spots in our house, is now maybe one of my favorites, thanks to these double sliding barn doors… and thanks to TJ who built them!

We originally had bifolding double doors which seem to be especially popular in homes built 20 or so years ago. Those didn’t really add much to that wall so a while ago we decided to add barn doors. I honestly never thought that we would end up building any ourselves but when I started shopping around online, I realized that they would cost over $1000-ish each for a fairly basic design. We have about 9,078 other things we want to do to our house and spending thousands on pantry doors was definitely not going to happen. After a couple of recent DIY experiences that were pretty challenging (range hood, floating shelves, etc.), we figured doors might be somewhat easy compared to what we did.. and we were right! Well, up until the horizontal 1×2 wood detailing (that was the most challenging part of the whole thing).

I asked TJ how difficult he thought building these were from 1-10 with 10 being the most difficult and he said they were a 6. Without the horizontal detailing, they’d be a 4. This definitely won’t be the last time we build them though! I really want one in our bedroom where it leads to the master bath.

Anyways, here’s how we built them:

Supplies

(2) 4×8 ft, 23/32 in sanded pine plywood

(3) 6 ft 1 x 6 boards

(4) 8 ft 1 x 4 boards

(6) 8 ft 1 x 2 boards

(1) 10 ft 1 x 4 board

(5) 6 ft 1 x 12 boards

#10 screws

Liquid Nails

Clamps

Miter saw

Nail gun

Sand paper

Behr Moth Grey paint

Primer

Barn door mounting set

Level

Wood putty

1.5 inch 18 gauge brads

The first step for us was to measure the doorway that we were trying to cover. The demensions ended being 53 inches wide (including the trim) and 81 inches tall. We knew we wanted the doors to cover the trim so we decided to create two doors as opposed to one large door. We figured it would look more seamless with dual sliding doors as opposed to one. Plus, that would have been a gigantic door. The final measurements for each door ended up being 28 x 83 inches.

The next step we needed to decide was a design on the door. We knew we didn’t want to do anything too fancy, but also wanted to have nice lines that drew the eye in when looking at doors. Ultimately, we ended up with a more modern design using 1×2’s.

To start creating the doors, we began with the sanded pine plywood as the base. Luckily, Home Depot was kind enough to cut the 2 pieces of plywood into the dimensions that we needed. We used the 1 x 4’s to frame the two long sides of the doors, with the 1 x 6’s running horizontally at the top, middle, and bottom of the doors.


Using the miter saw, we cut the 1 x 4’s and 1 x 6’s to the lengths needed. The 1 x 4’s ran the length on the vertical side and the 1 x 6’s were placed in between the 1 x 4’s. We felt this would give us the desired streamline look. We used the Liquid Nails to attach the boards first, holding them in place with clamps. After the Liquid Nails had set, we used the nail gun to secure the boards in place. With the plywood being 23/32 of an inch and the boards being 3/4 of an inch, the 1.5 inch brad nails worked well.

Once the frame was made, we moved onto the 1 x 2 diagonal boards. This was the most difficult part of the project, only because we wanted to match up the distances, angles, and cuts as close as possible. We didn’t want to have the diagonal boards of one door to not match up with the other. In order to get this correct, we made sure to measure where each board hit the vertical and horizontal boards as well as using the mitre saw to make the diagonal cuts needed. There were times where we were a little off with the angle, but we were able to remedy this with the wood putty before painting.

Just like the 1 x 4’s and 1 x 6’s, we used Liquid Nails and brads to secure the diagonal boards to the door. At this point, the doors were constructed and the only thing left for us to do was to sand, add wood putty, prime, and paint. At all intersection points of the boards we added the putty to make sure there were no seams that could be seen. To make sure we did not have the plywood grain or knots from the boards show, we used 2 coats of primer and 2 coats of paint. This sufficiently covered those spots.


The next step was for us to mount the doors onto the wall. We chose to buy a standard 10 foot barn door wall hardware kit from Amazon. We decided to go with 10 feet because the 8 foot option would not allow the doors to open wide enough to get to all of the items on the sides of the pantry. The doors ended up weighing about 45 lbs each, so we wanted to make sure we had a secure way to hang them. The best option for us was using a header board to utilize each stud in the wall to hang the doors. We were able to find a 10 foot 1 x 4 board from Home Depot that ended up being perfect. We hung the header board into the wall studs about 3 inches above the trim, meaning the barn door slider would be 4 total inches above the trim.

The barn door slider was simple to hang to the header board, but the most important aspect of hanging the slider was to make sure it was level. We did not want the doors to slide without us moving the doors. To make sure we had the door slider rail level, we made sure to use a 4 foot level while measuring every connection point that the slider made to header board. This kept us on track. Another good way to do this would to use a laser level, but we did not have one of those.

At this point the barn doors were complete! But… we needed to still replace the inside of the pantry with refreshed shelves. We weren’t big fans of the wire shelves that were there previously, so we chose to use 1 x 12 wooden boards as the new shelves, securing them to the sides with 1 x 4’s. We had extra pieces of 1 x 4’s and measured how long they needed to be on the sides of the pantry. It ended up being about 11 inches. We secured these into the wall studs with #10 screws.


The 1 x 12 boards needed to be 59 inches long in order to sit on the 1 x 4’s for the sturdiest connection. We cut them to this length and secured them with the #10 screws. Once the boards we set, we painted the walls and shelves with Magnolia paint in the color of Ship Lap. This is the same color we used for our dining room walls around the accent wall. It gave a really nice, clean, refreshed look to the inside of the pantry. As a side note… if it looks like the shelves may be sagging a bit, we will reinforce them with 1 x 2 boards underneath.

And that’s it! All in all an easy project that only took us about a week to complete (in the evenings) from demo to finished product. Let us know what you think!

Our Home

My Favorite Serena & Lily Items

Last weekend we decided to take our new beach chairs for a spin and had an afternoon adventure to the beach. The weather was just too good and I was way too excited to put these beauties to use. With Memorial Day Weekend coming up, there are a lot of great sales happening and today I wanted to share one that I think is worth sharing! Serena and Lily is having 20% off everything starting today so I thought it would be a good time to share my favorite picks and the 4 items I own from there that I absolutely love. No, Serena and Lily is not cheap but you will be blown away by the quality and detail of everything. Plus, these items will last!

There are 4 items that I have and love from Serena and Lily. The first are these beach towels. They come in several different colors (the green was my favorite) and they are such great quality and HUGE. I just keep thinking of how nice it’ll be to have a set of 4 when we have a family one day. These towels are splurge-worthy for sure. I like “turkish towels” but I love how this one has your traditional soft and thick white terry material on the other side. 

The second item: the beach chairs. We’ve bought inexpensive beach chairs from Wings countless times but these ones are keepers. They are stunning with the natural rattan woven pattern and we received so many compliments on them just from the first weekend of using them. They make me so excited for summertime and I can tell they are really well-made. 

The last two items that I own and love from Serena and Lily are: this giant woven basket and this ceramic pendant that now hangs over our kitchen sink! Both items are so simple yet so detailed. The basket is definitely a splurge but once you see how large it is and how thick the material is, you’ll realize it’s worth every penny. I have mine under my coffee table (the PERFECT spot for it) and put hand weights and other random work-out items for when I’m working out in the living room. 

Entertaining & Recipes

Fighting Mosquitos in Our Backyard

This post is sponsored by TIKI Brand. All opinions are my own.

We’re coming up on our second summer of having our own backyard and, after last year, I can safely say it’s my favorite part about homeownership… having an outdoor space to entertain guests or just spend the evenings with each other and the dogs while the sun sets behind the trees is the best. We definitely experienced our fair share of challenges though once we started spending more time out there last summer… most of them being bug challenges. You can have the prettiest patio in the world but if you are constantly being bothered with bugs, it can make it very difficult to enjoy it, leading you to spend the season indoors. Our most common uninvited bugs last year were ants and mosquitos. I shared with you all our ant solution the other day but today I wanted to share one item we’ve been using that is known for proven mosquito repellency and that is the TIKI Brand Clean Burn BiteFighter Torch Fuel.

I was walking the aisles of Target a few months ago (when am I not?) and noticed that TIKI Brand had pink glass TIKI torches… um yes, please! My parents always had TIKI torches on their deck but they were the more traditional looking bamboo material ones. I couldn’t believe how many cute options there were. It didn’t take me long before I was setting up two pink torches in our backyard along with one of their table-top ones, which also come in endless styles and colors. The best part about this brand, aside from the fact that they carry the cutest torches ever, is their newest torch fuel that you fill them up with that helps keep mosquitos away, is 85% plant-based, and petroleum-free.

The Clean Burn BiteFighter Torch Fuel comes in a light green bottle in two sizes and is also made to create dramatically less soot and smoke compared to traditional torch fuels which makes for a much more pleasant summer experience for those nights when we want to sit out on our patio. I haven’t noticed any smoke yet, actually, and this is the only fuel I’ll buy now because of how clean the flames are.  I also really love how I can control the size of the flame with the “adjustable flame” knob on both the torches and the table-tops.

These products have been such a game changer when it comes to helping repel mosquitos in our backyard and I highly recommend this fuel for the next time you want to enjoy a night outside. You can sign up for their emails and get 25% of products and free shipping here and let me know if you end up trying it out or if you have any summer mosquito secrets of your own!

Follow us on Instagram