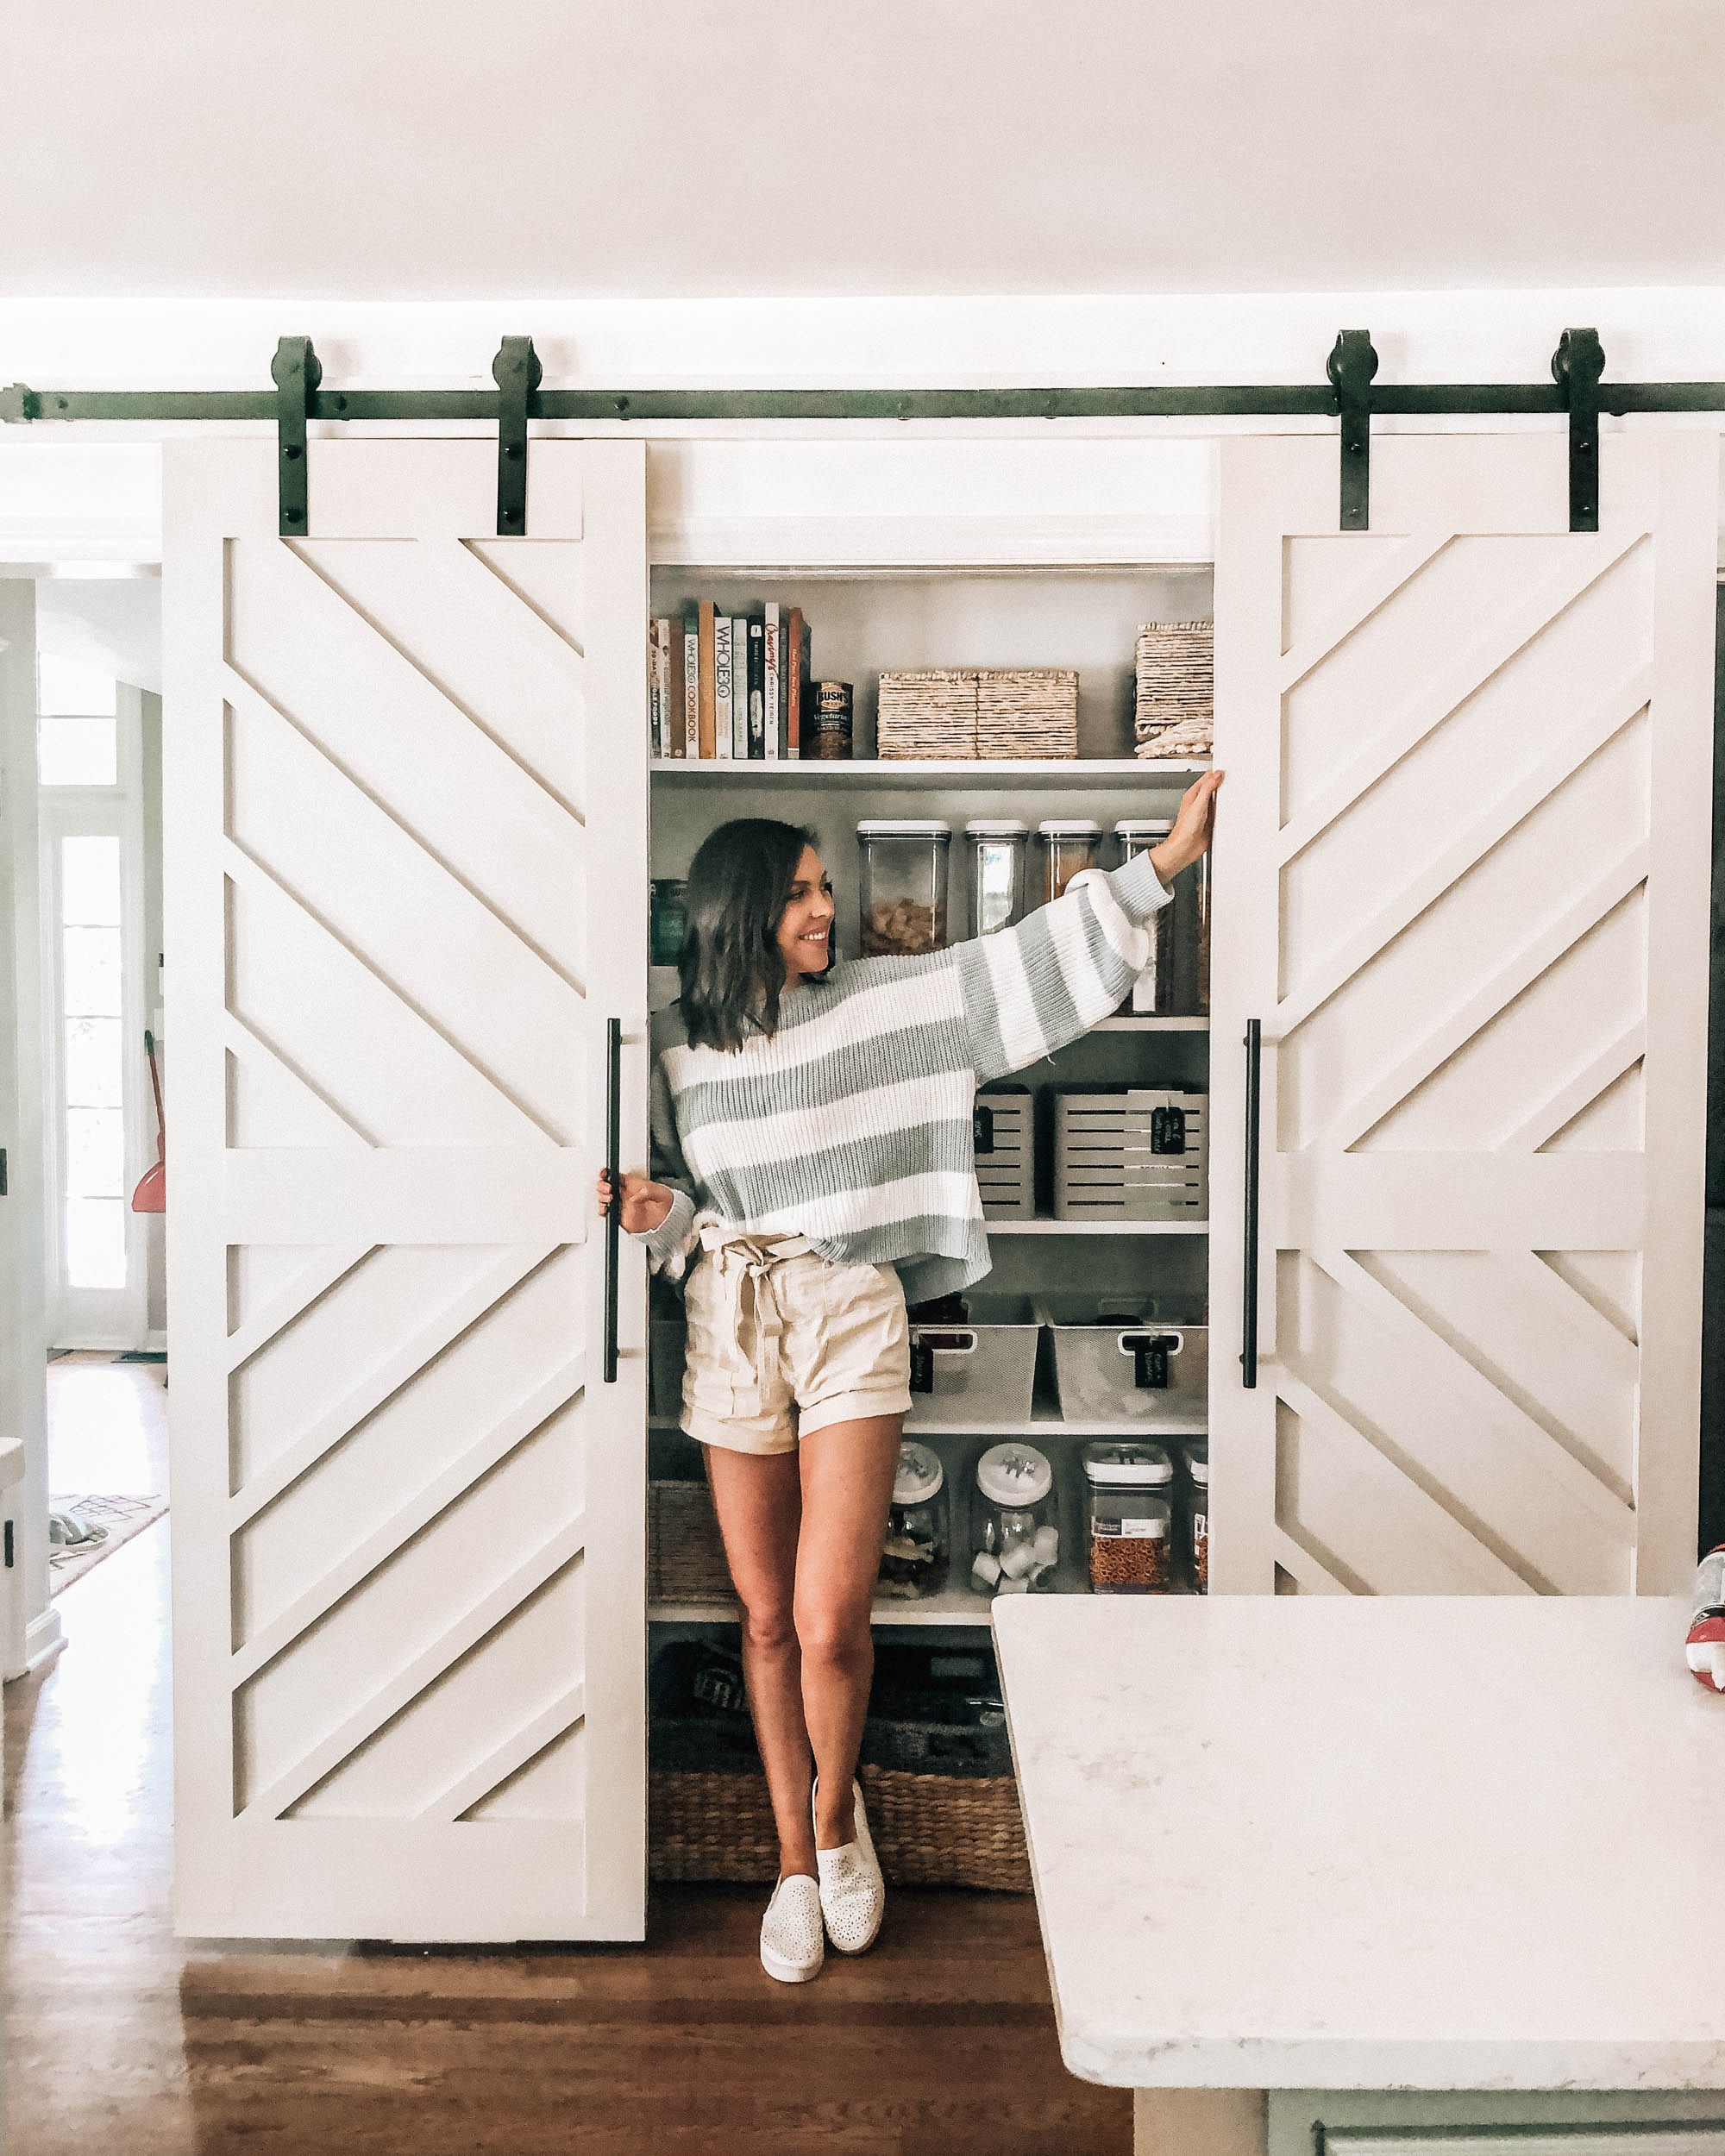
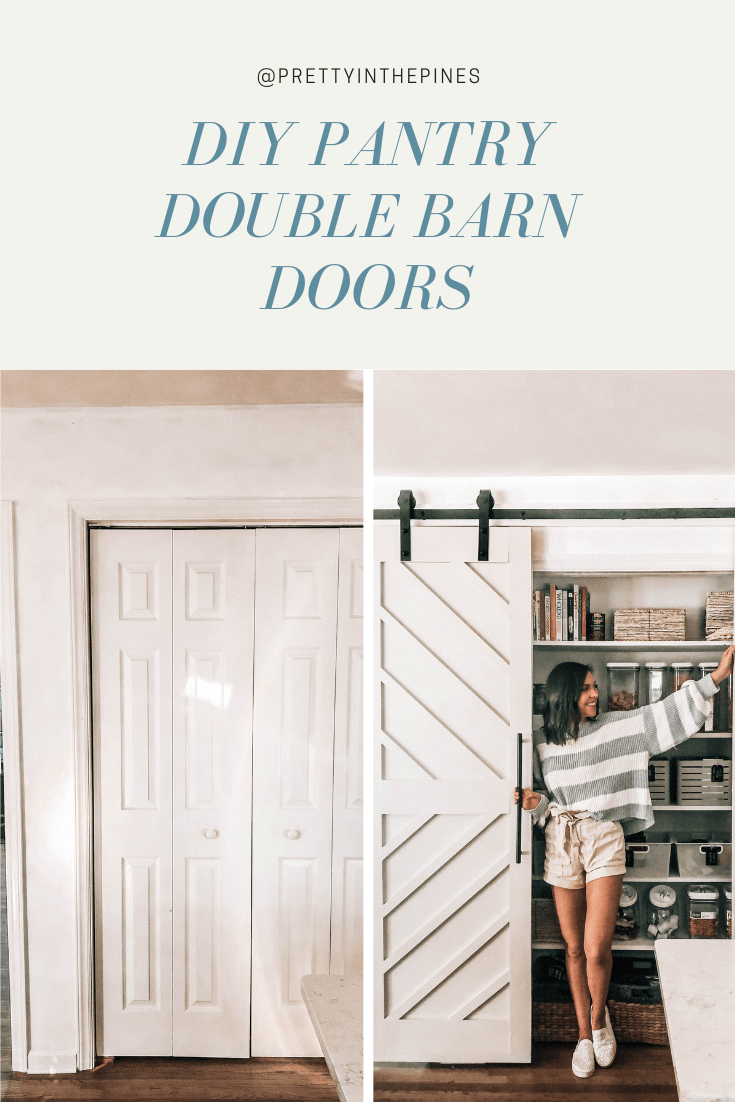
In this week’s episode of the neverending kitchen renovation, I’m sharing our pantry makeover! First of all, I’d say our house is much more basic than you’d think. We have just added a lot of personal touches to it and have elevated it with some DIY projects. These pantry doors are a prime example of that. I have always loved the feel of barn doors and I love how big and sturdy they look while making a room still feel warm and cozy. Our pantry, which was probably one of the not so pretty spots in our house, is now maybe one of my favorites, thanks to these double sliding barn doors… and thanks to TJ who built them!
We originally had bifolding double doors which seem to be especially popular in homes built 20 or so years ago. Those didn’t really add much to that wall so a while ago we decided to add barn doors. I honestly never thought that we would end up building any ourselves but when I started shopping around online, I realized that they would cost over $1000-ish each for a fairly basic design. We have about 9,078 other things we want to do to our house and spending thousands on pantry doors was definitely not going to happen. After a couple of recent DIY experiences that were pretty challenging (range hood, floating shelves, etc.), we figured doors might be somewhat easy compared to what we did.. and we were right! Well, up until the horizontal 1×2 wood detailing (that was the most challenging part of the whole thing).
I asked TJ how difficult he thought building these were from 1-10 with 10 being the most difficult and he said they were a 6. Without the horizontal detailing, they’d be a 4. This definitely won’t be the last time we build them though! I really want one in our bedroom where it leads to the master bath.
Anyways, here’s how we built them:
Supplies
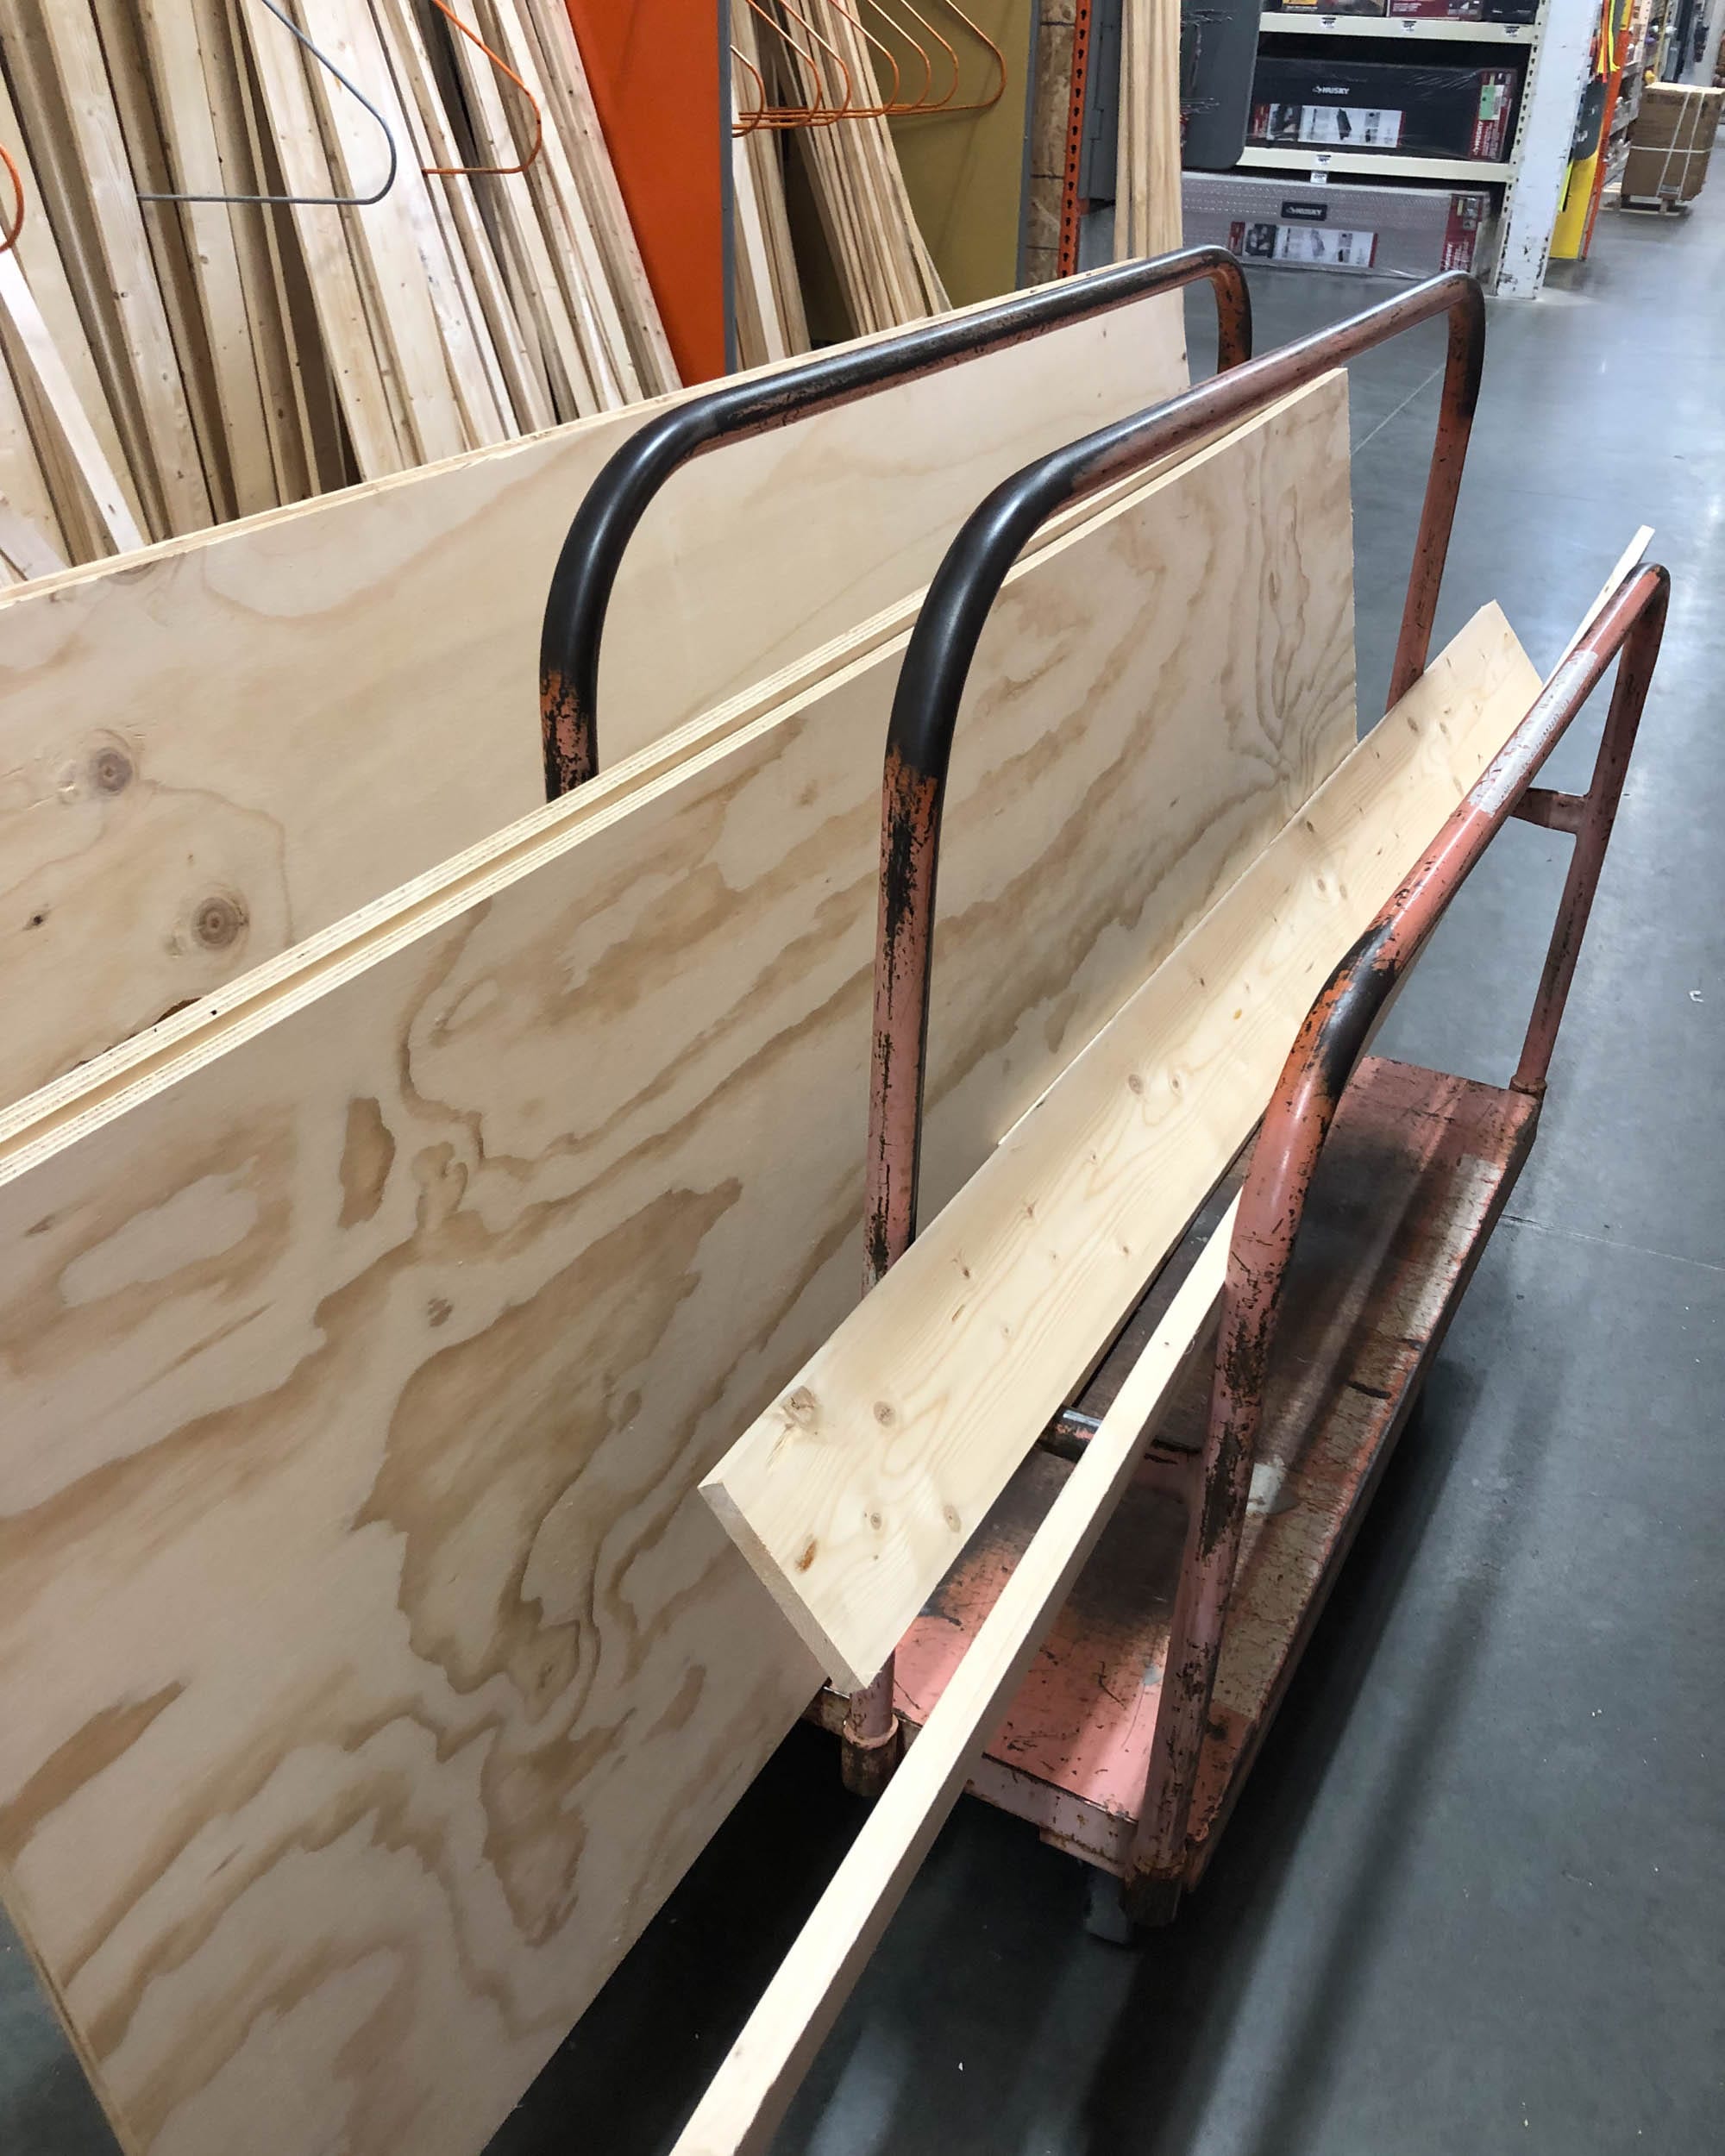
(2) 4×8 ft, 23/32 in sanded pine plywood
(3) 6 ft 1 x 6 boards
(4) 8 ft 1 x 4 boards
(6) 8 ft 1 x 2 boards
(1) 10 ft 1 x 4 board
(5) 6 ft 1 x 12 boards
#10 screws
Liquid Nails
Clamps
Miter saw
Nail gun
Sand paper
Behr Moth Grey paint
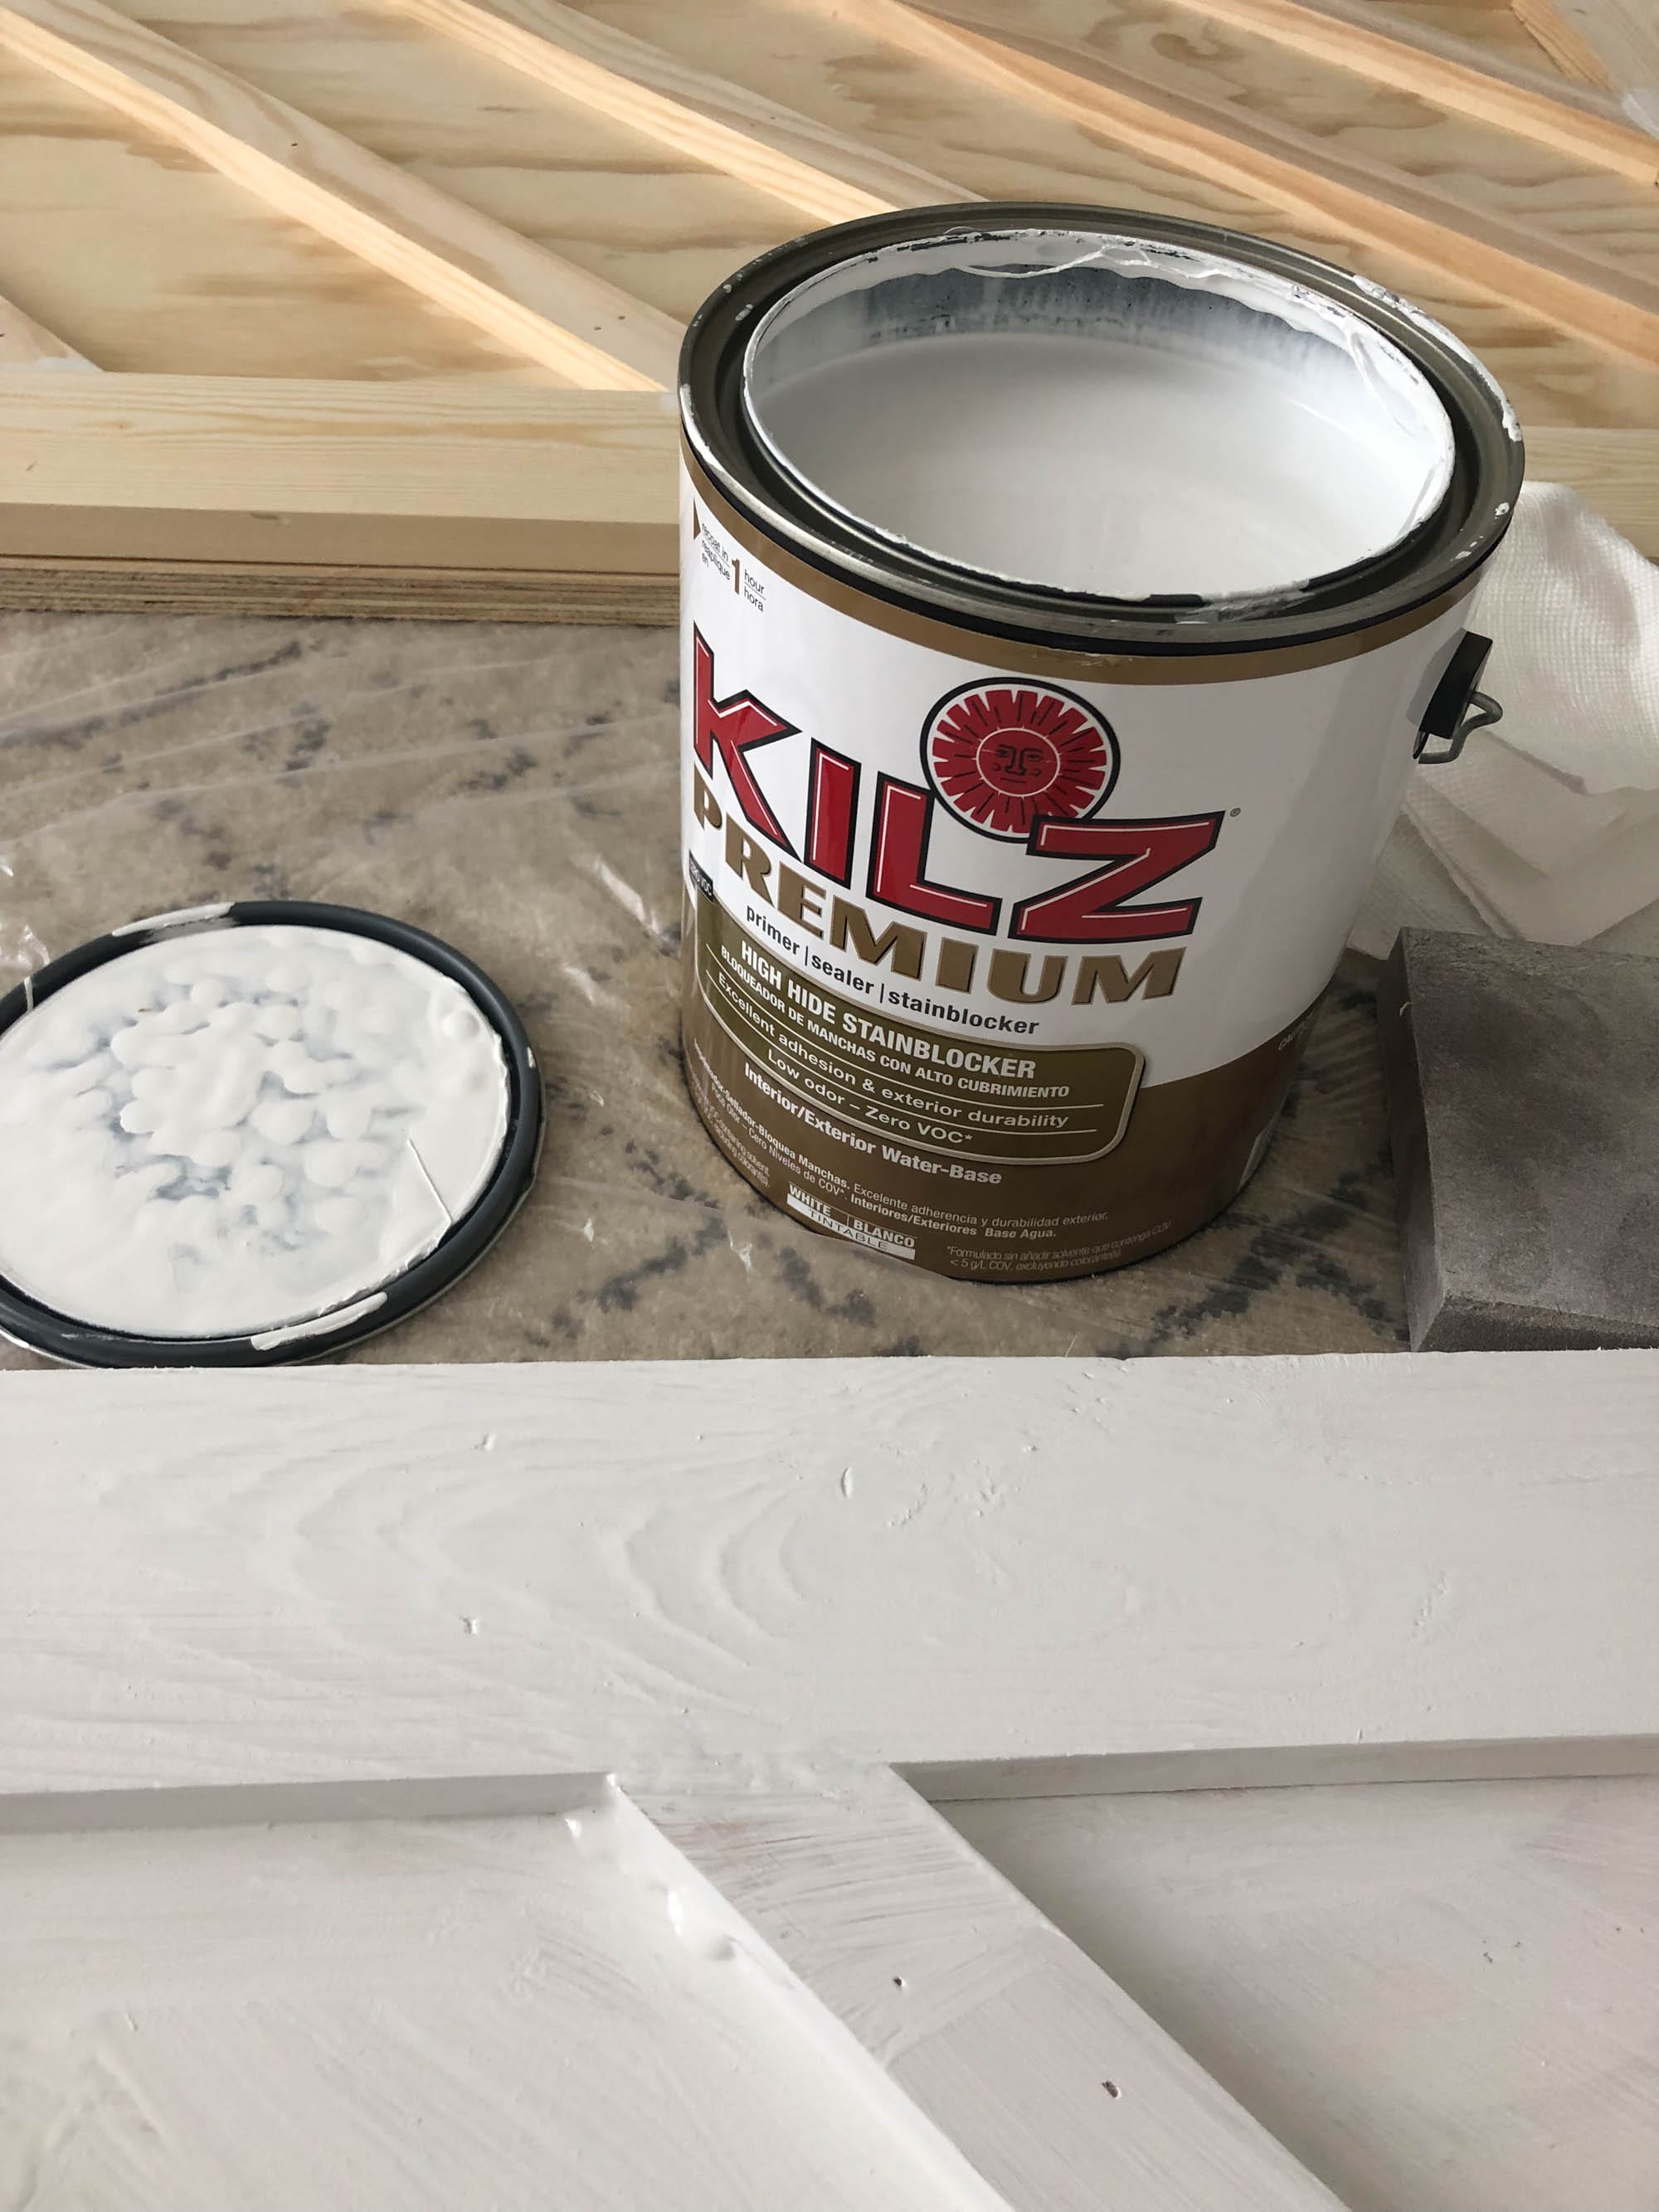
Primer
Barn door mounting set
Level
Wood putty
1.5 inch 18 gauge brads

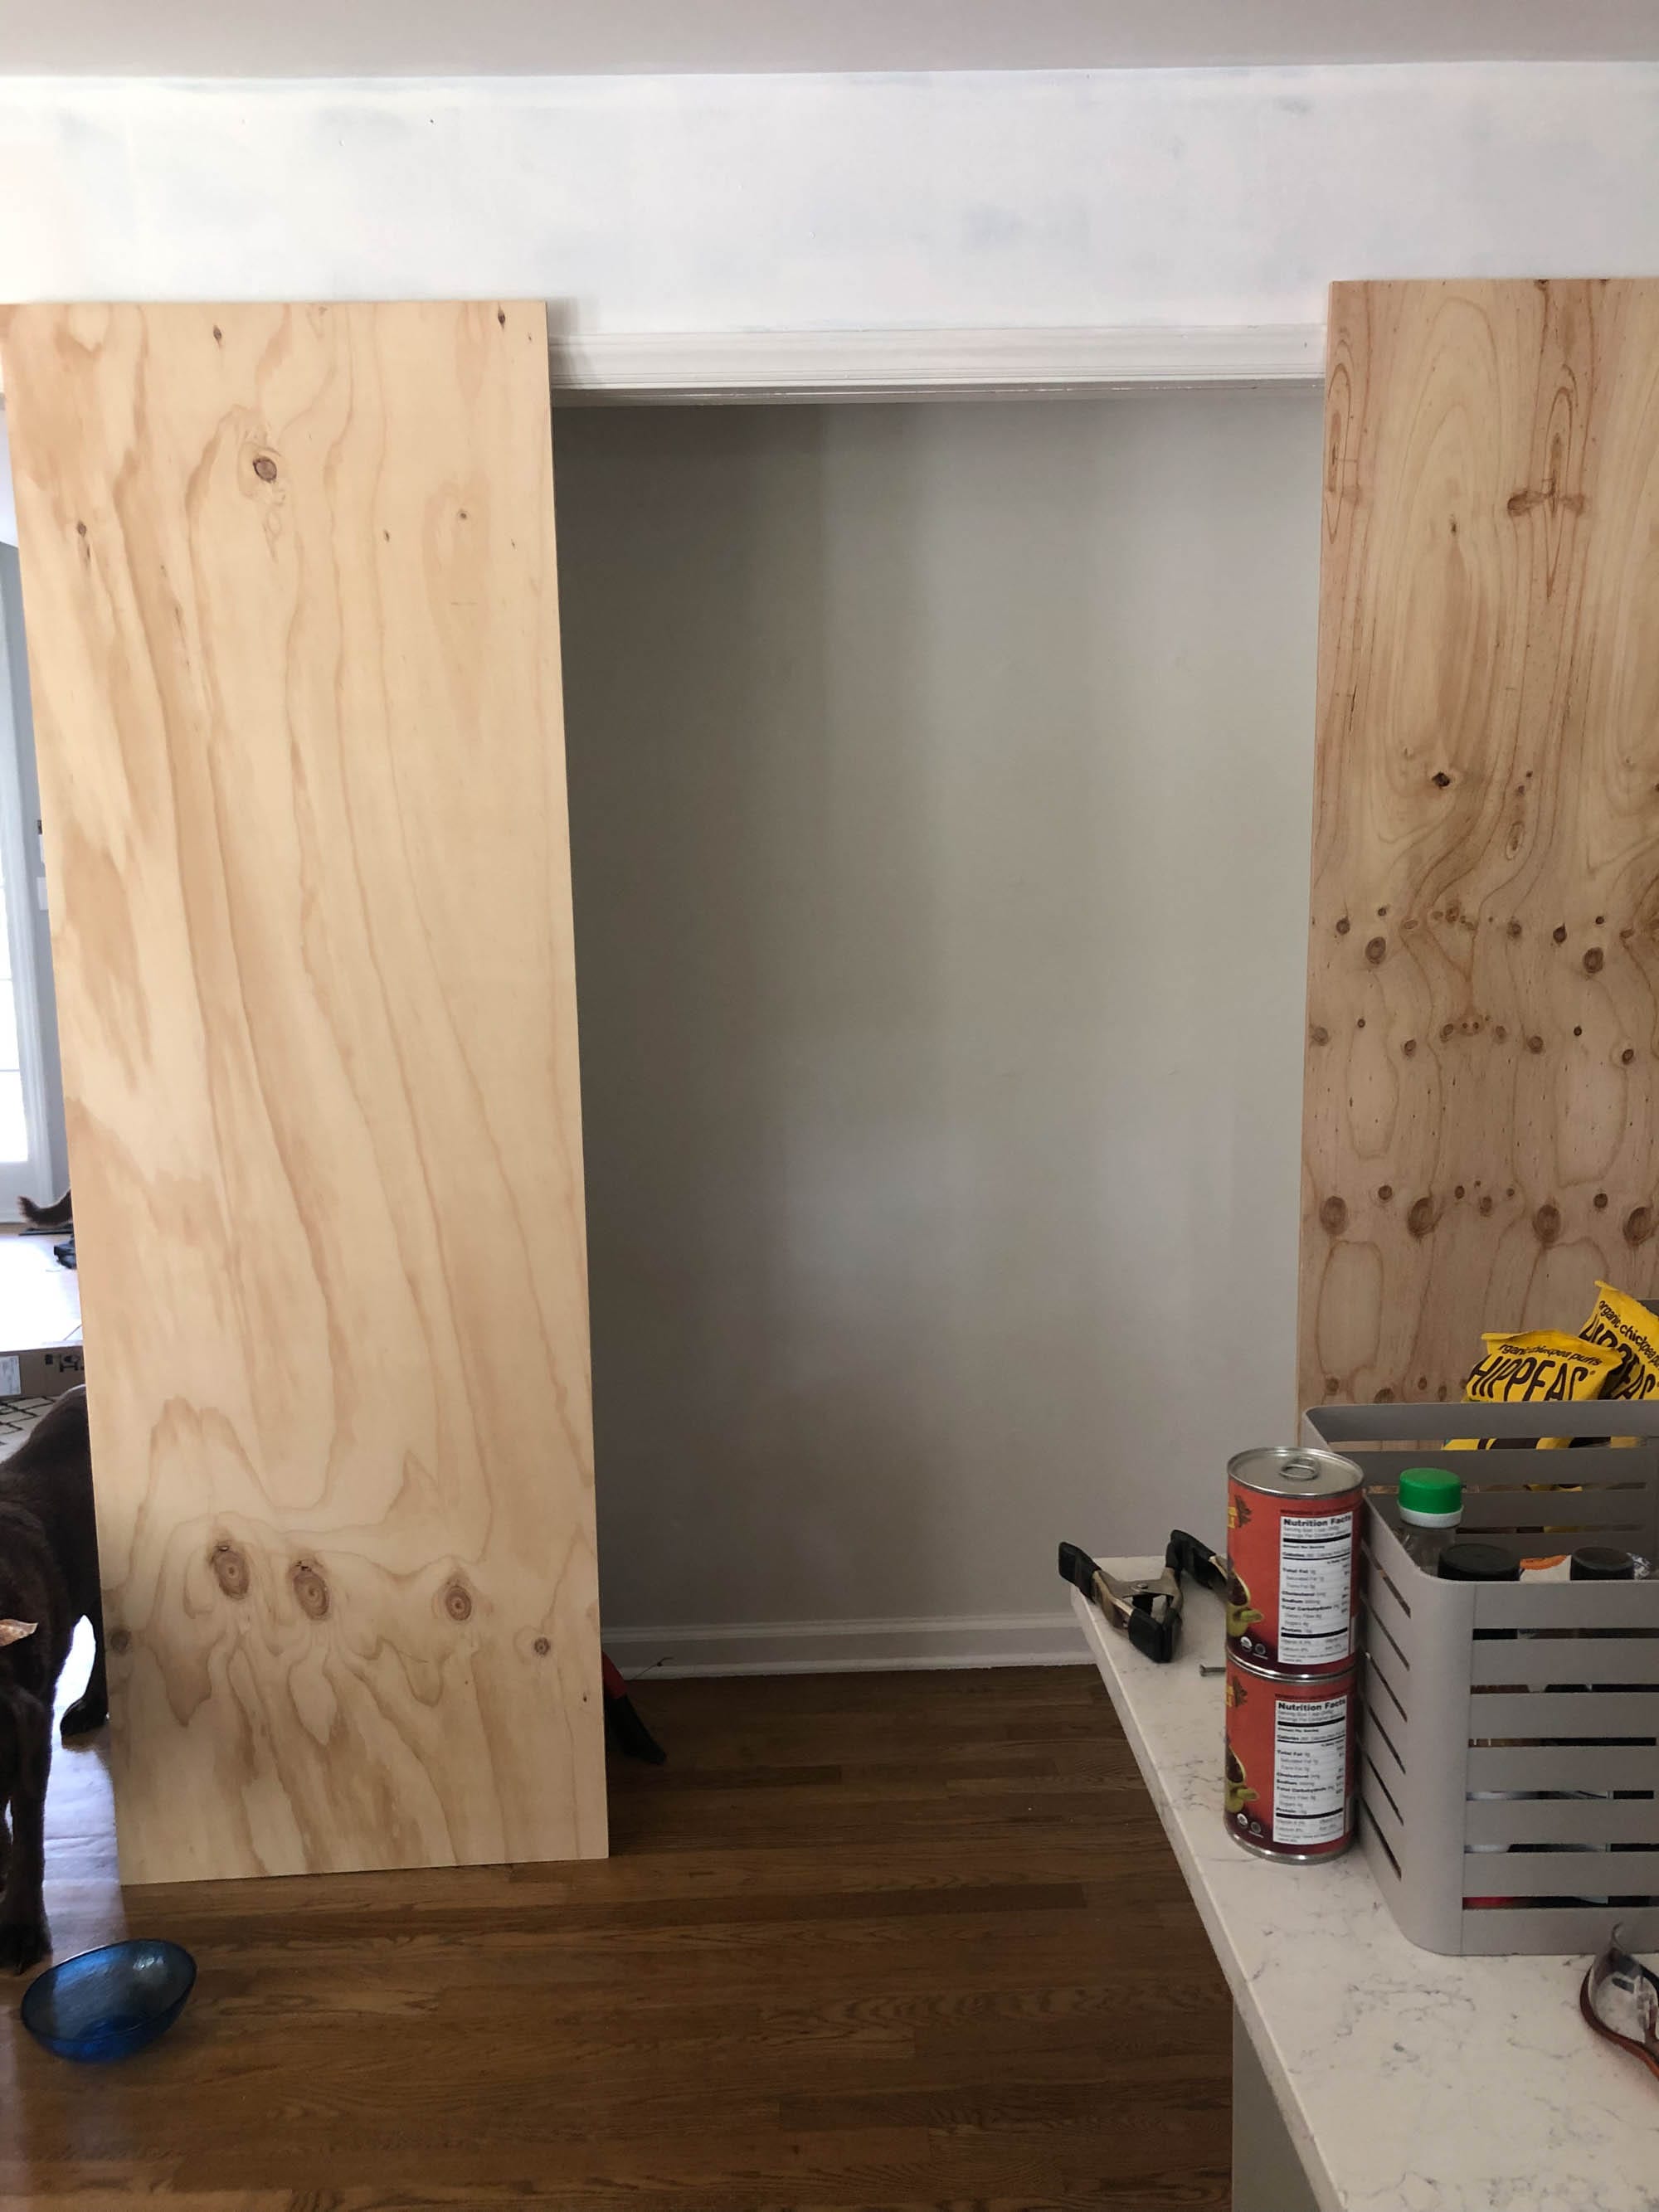
The first step for us was to measure the doorway that we were trying to cover. The demensions ended being 53 inches wide (including the trim) and 81 inches tall. We knew we wanted the doors to cover the trim so we decided to create two doors as opposed to one large door. We figured it would look more seamless with dual sliding doors as opposed to one. Plus, that would have been a gigantic door. The final measurements for each door ended up being 28 x 83 inches.
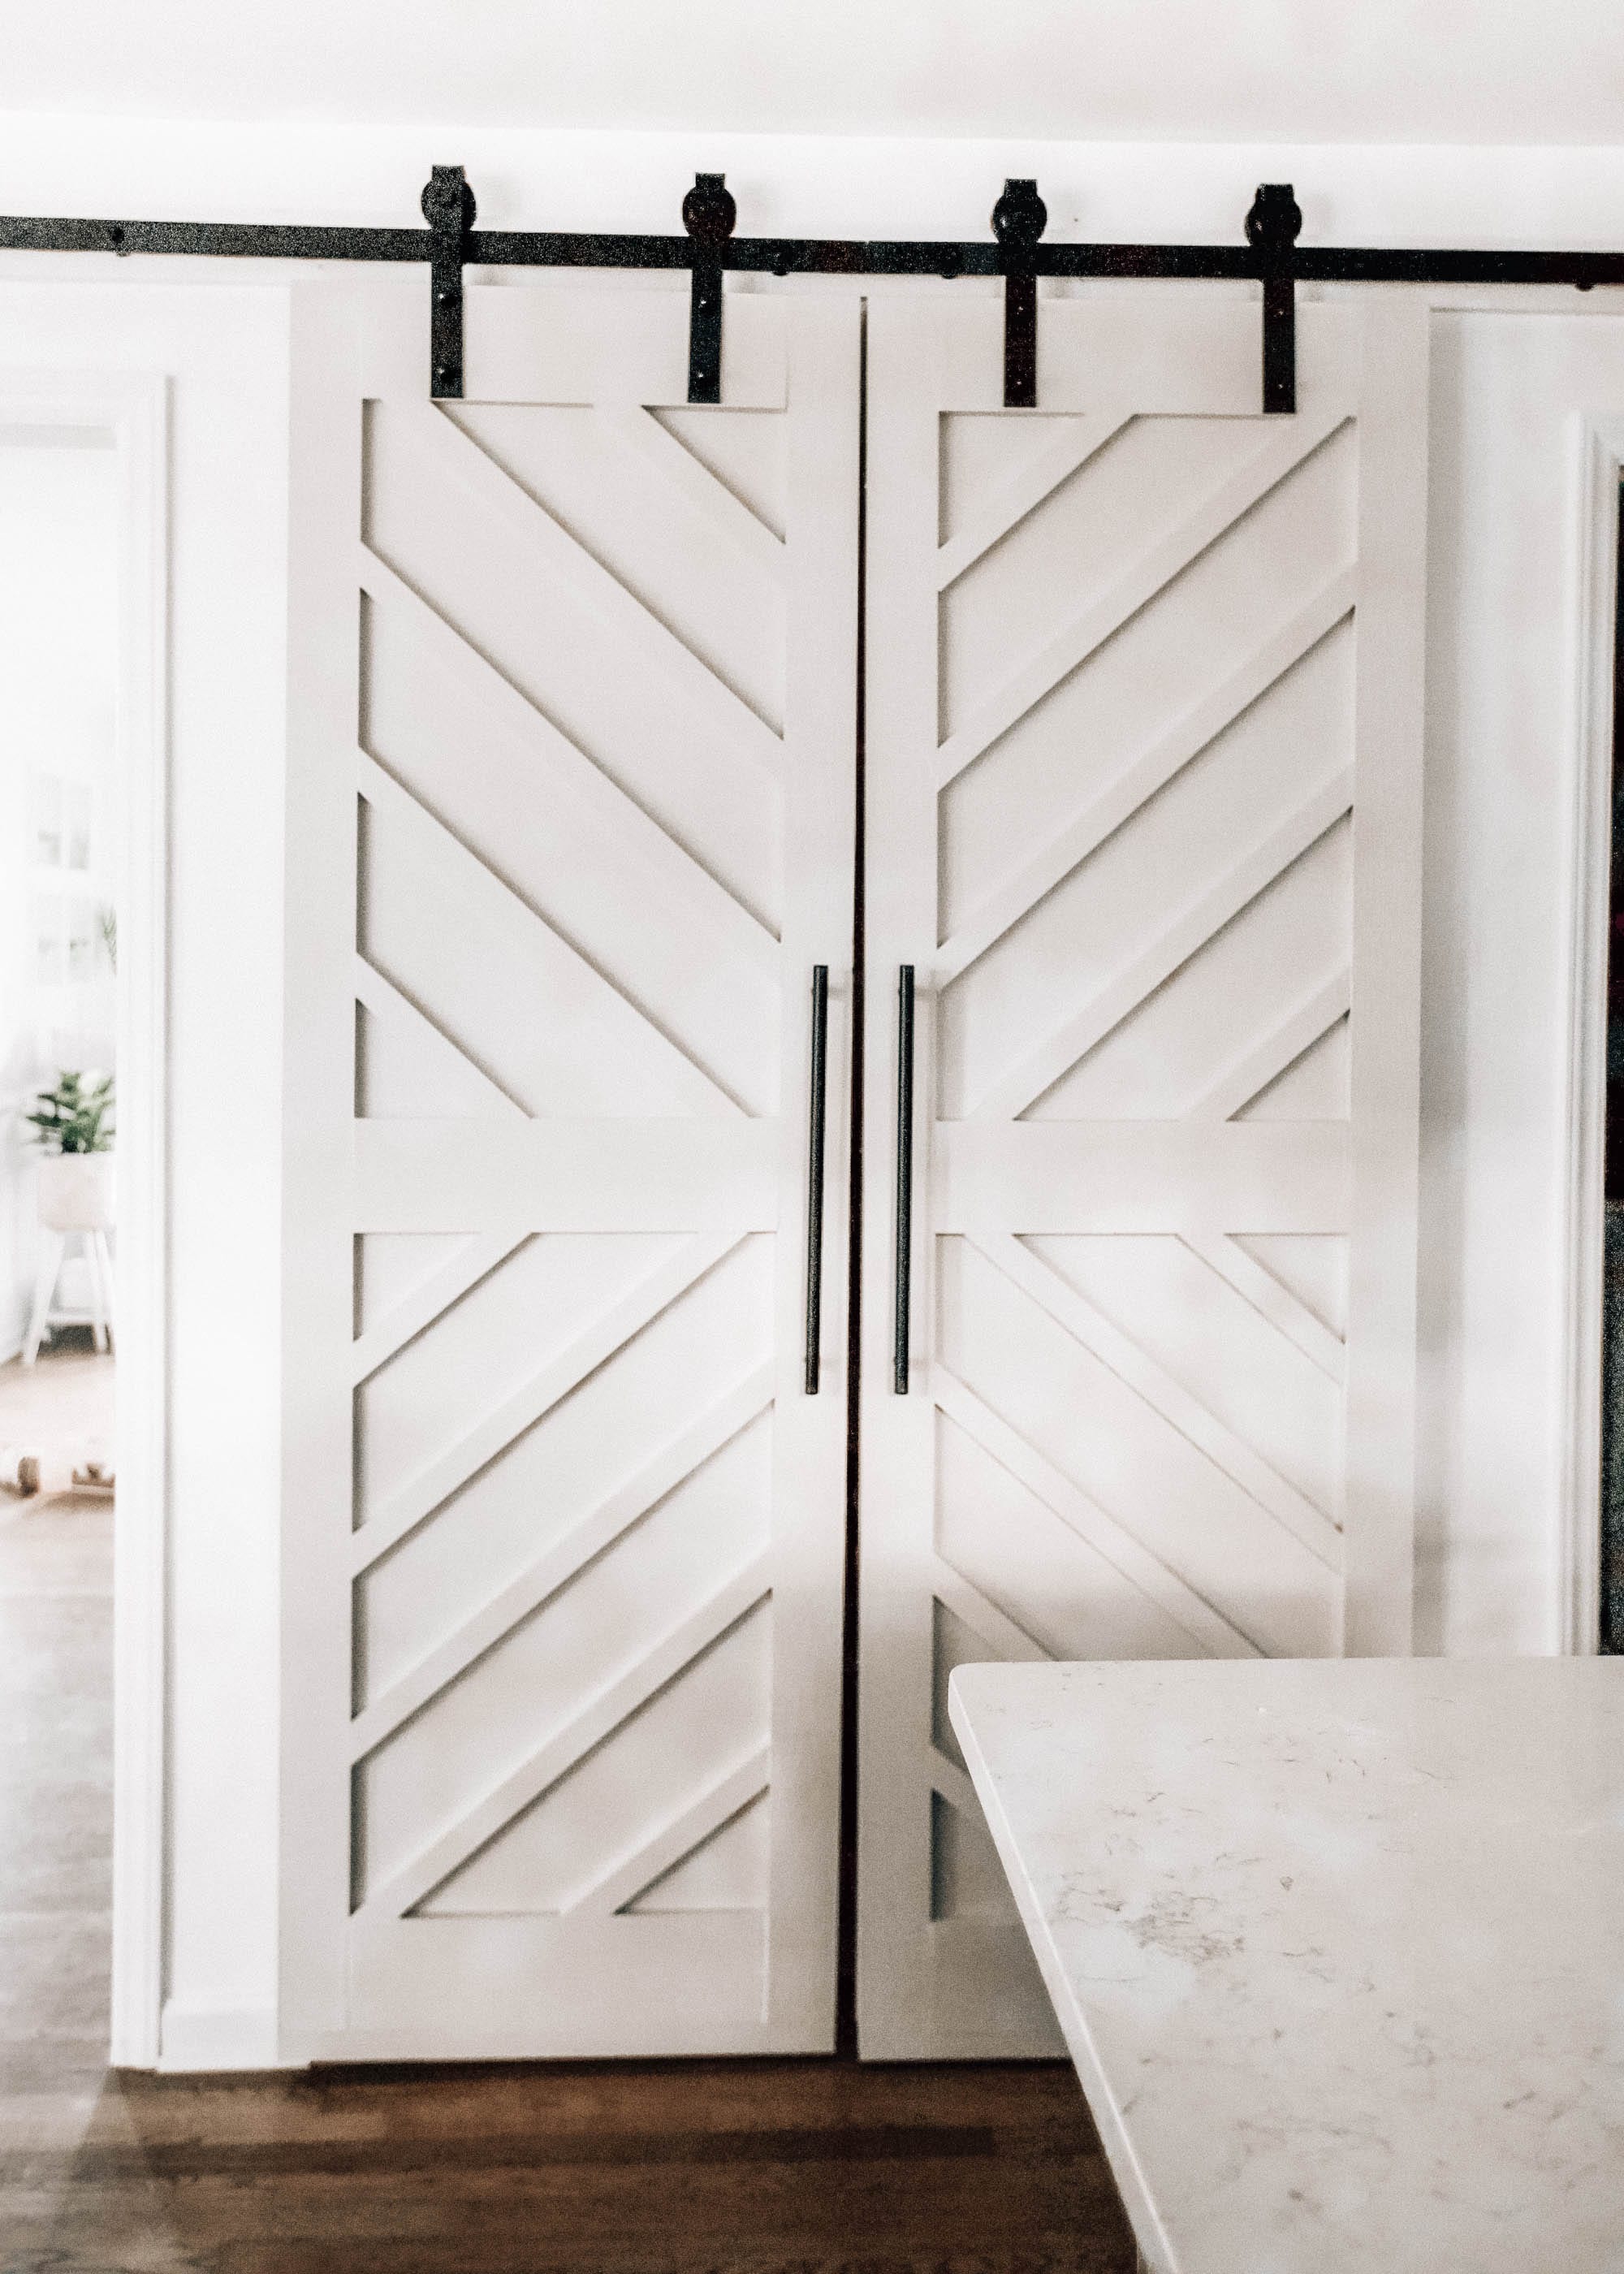
The next step we needed to decide was a design on the door. We knew we didn’t want to do anything too fancy, but also wanted to have nice lines that drew the eye in when looking at doors. Ultimately, we ended up with a more modern design using 1×2’s.
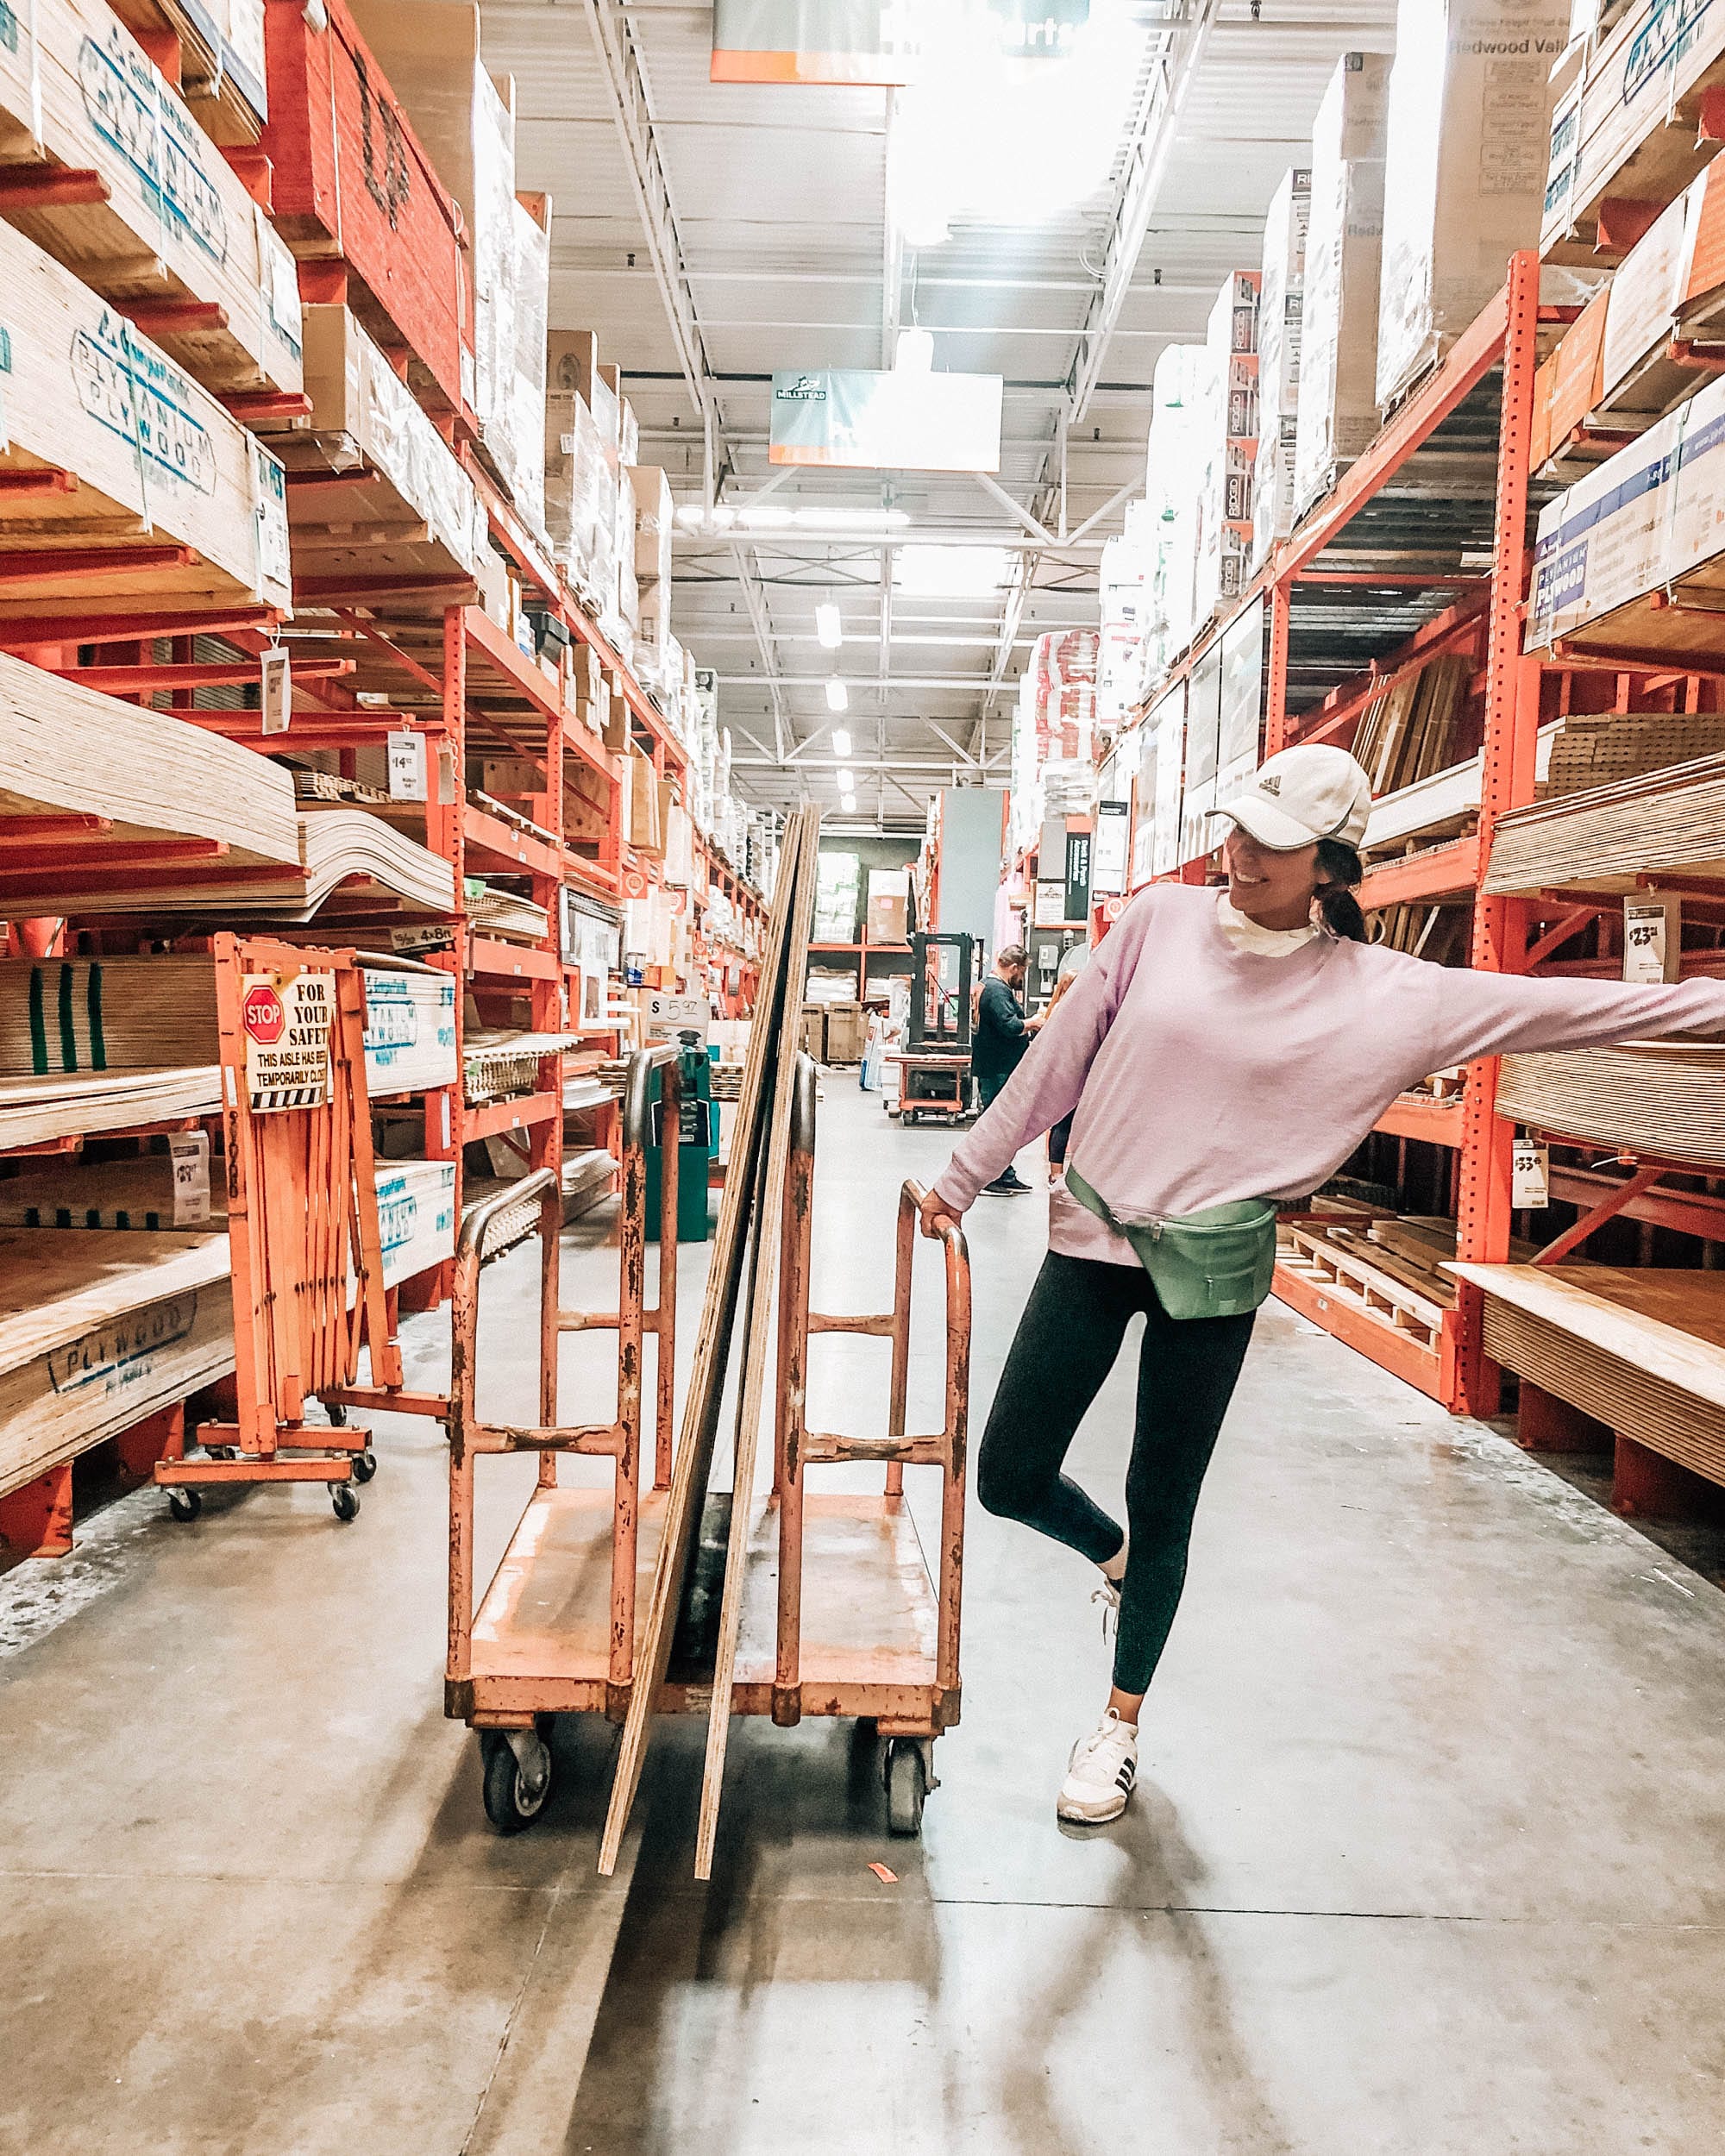
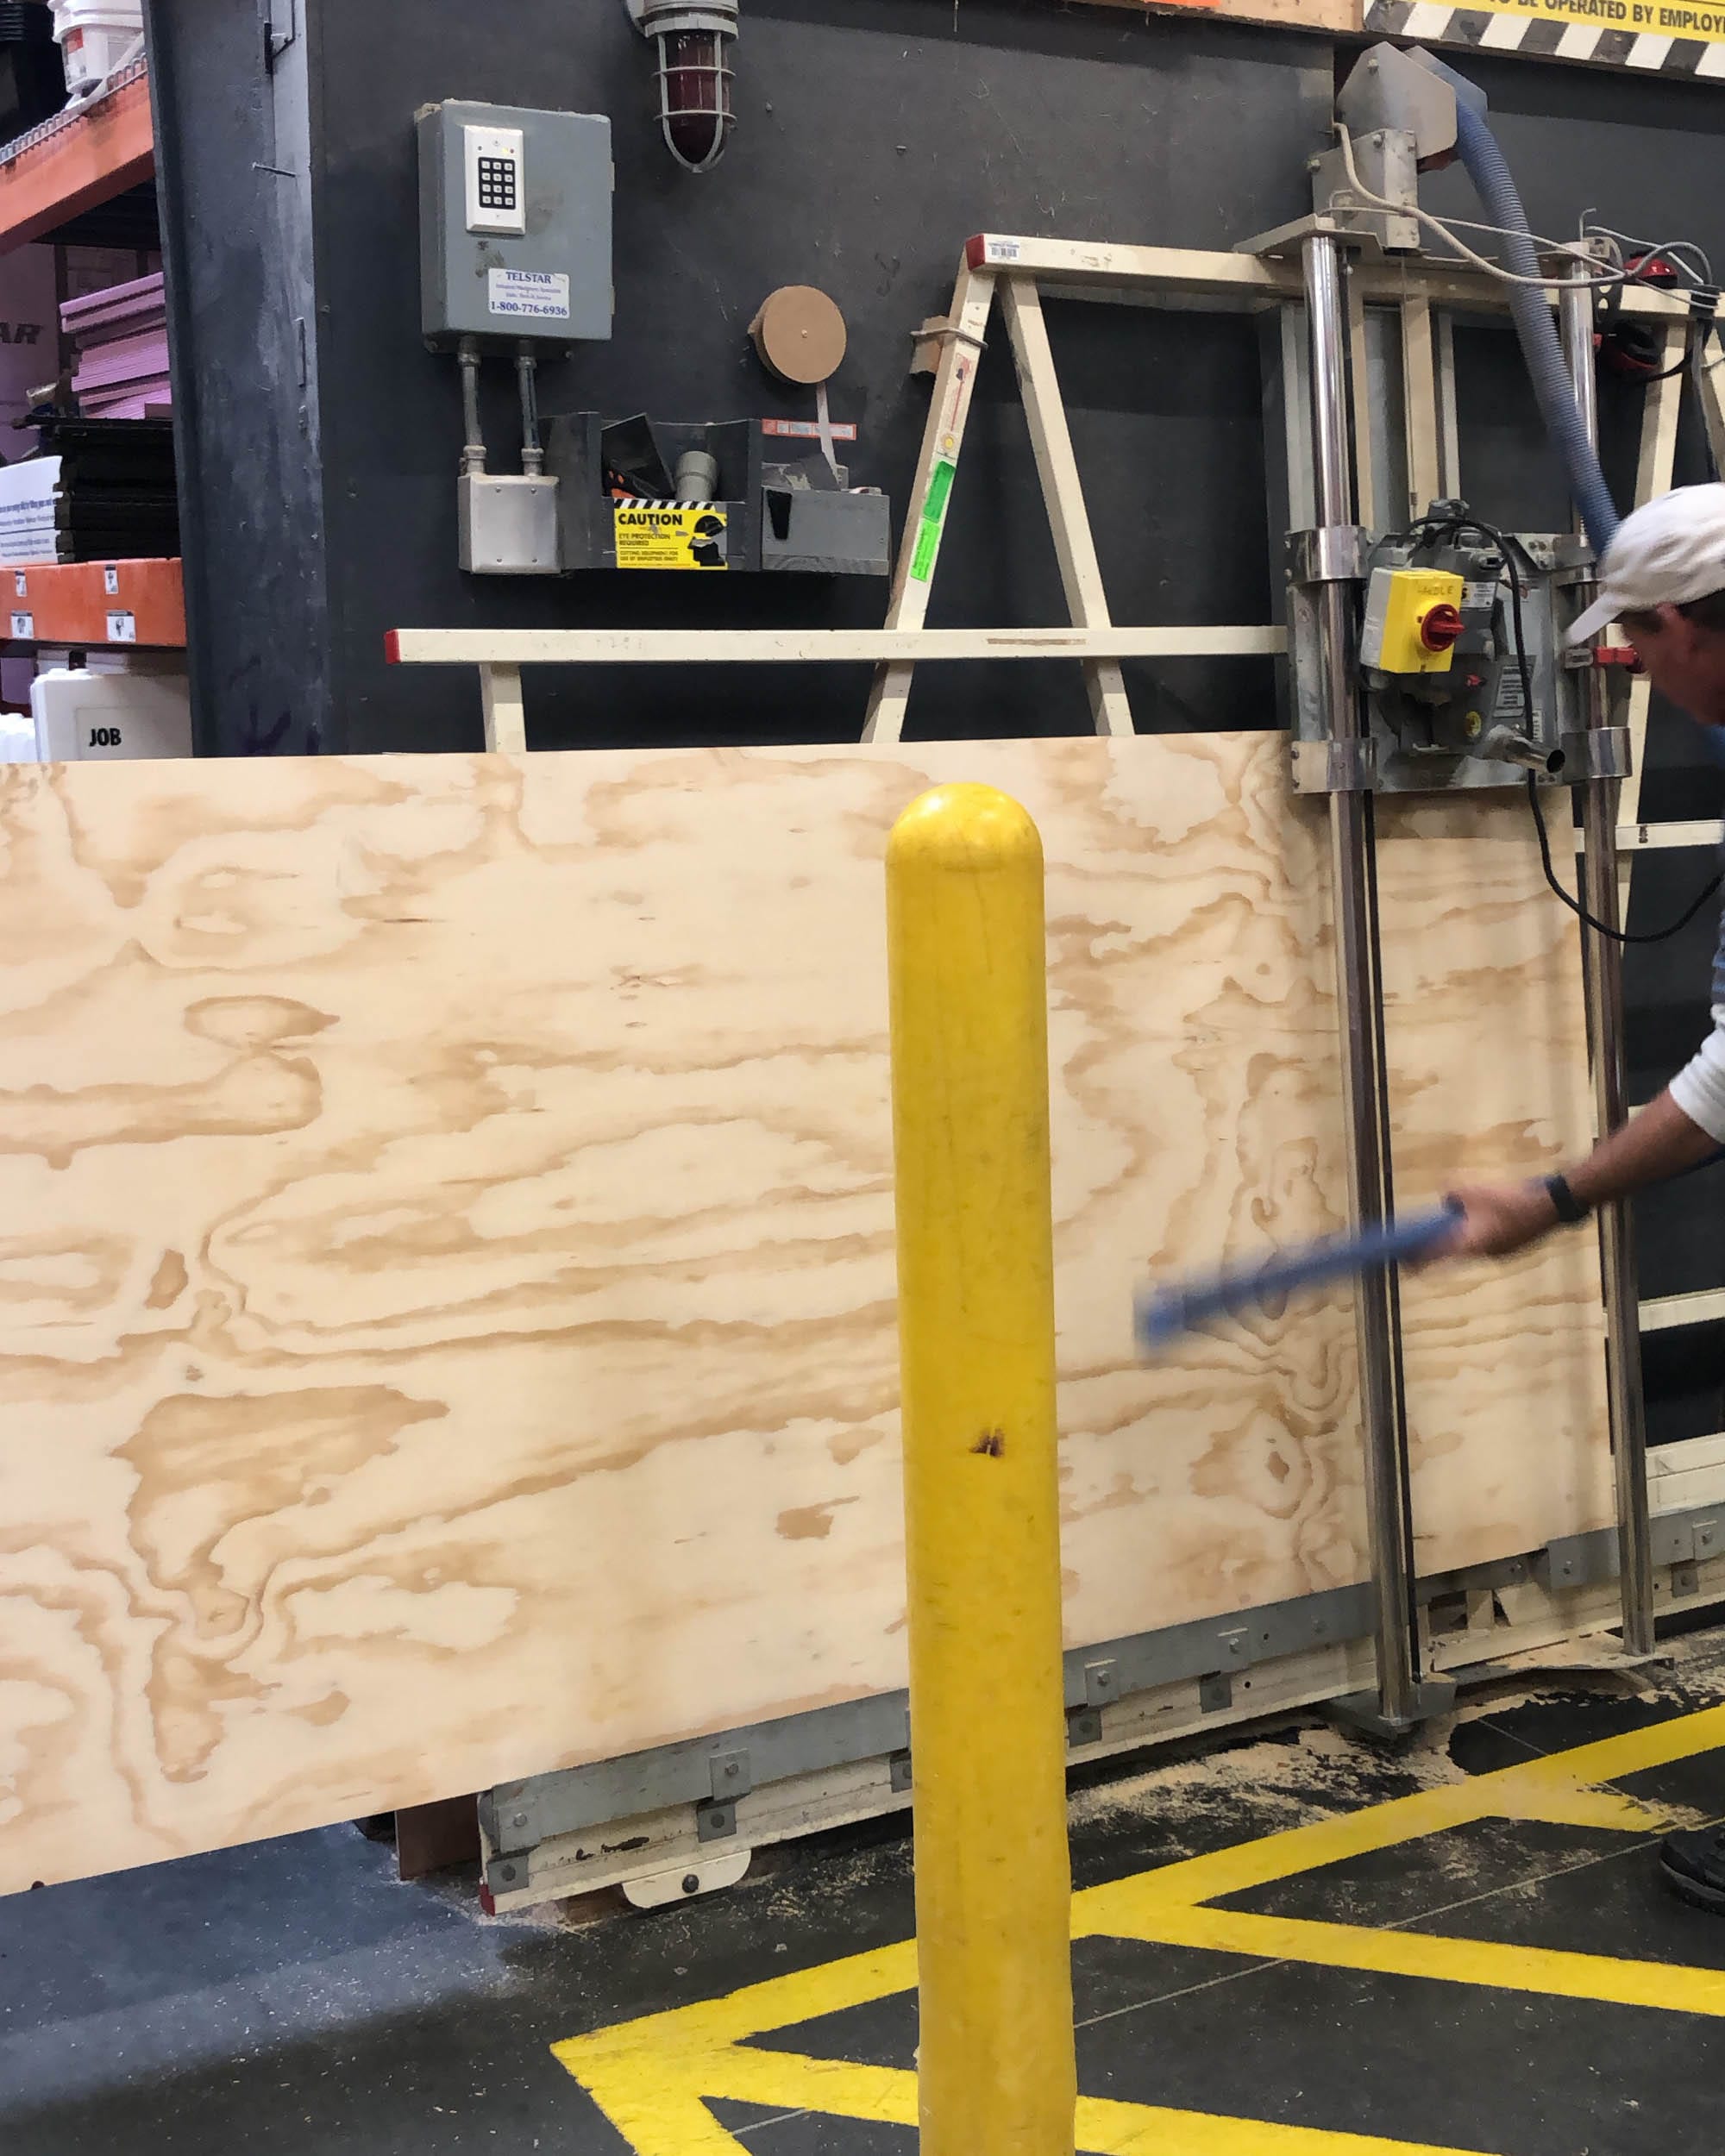
To start creating the doors, we began with the sanded pine plywood as the base. Luckily, Home Depot was kind enough to cut the 2 pieces of plywood into the dimensions that we needed. We used the 1 x 4’s to frame the two long sides of the doors, with the 1 x 6’s running horizontally at the top, middle, and bottom of the doors.
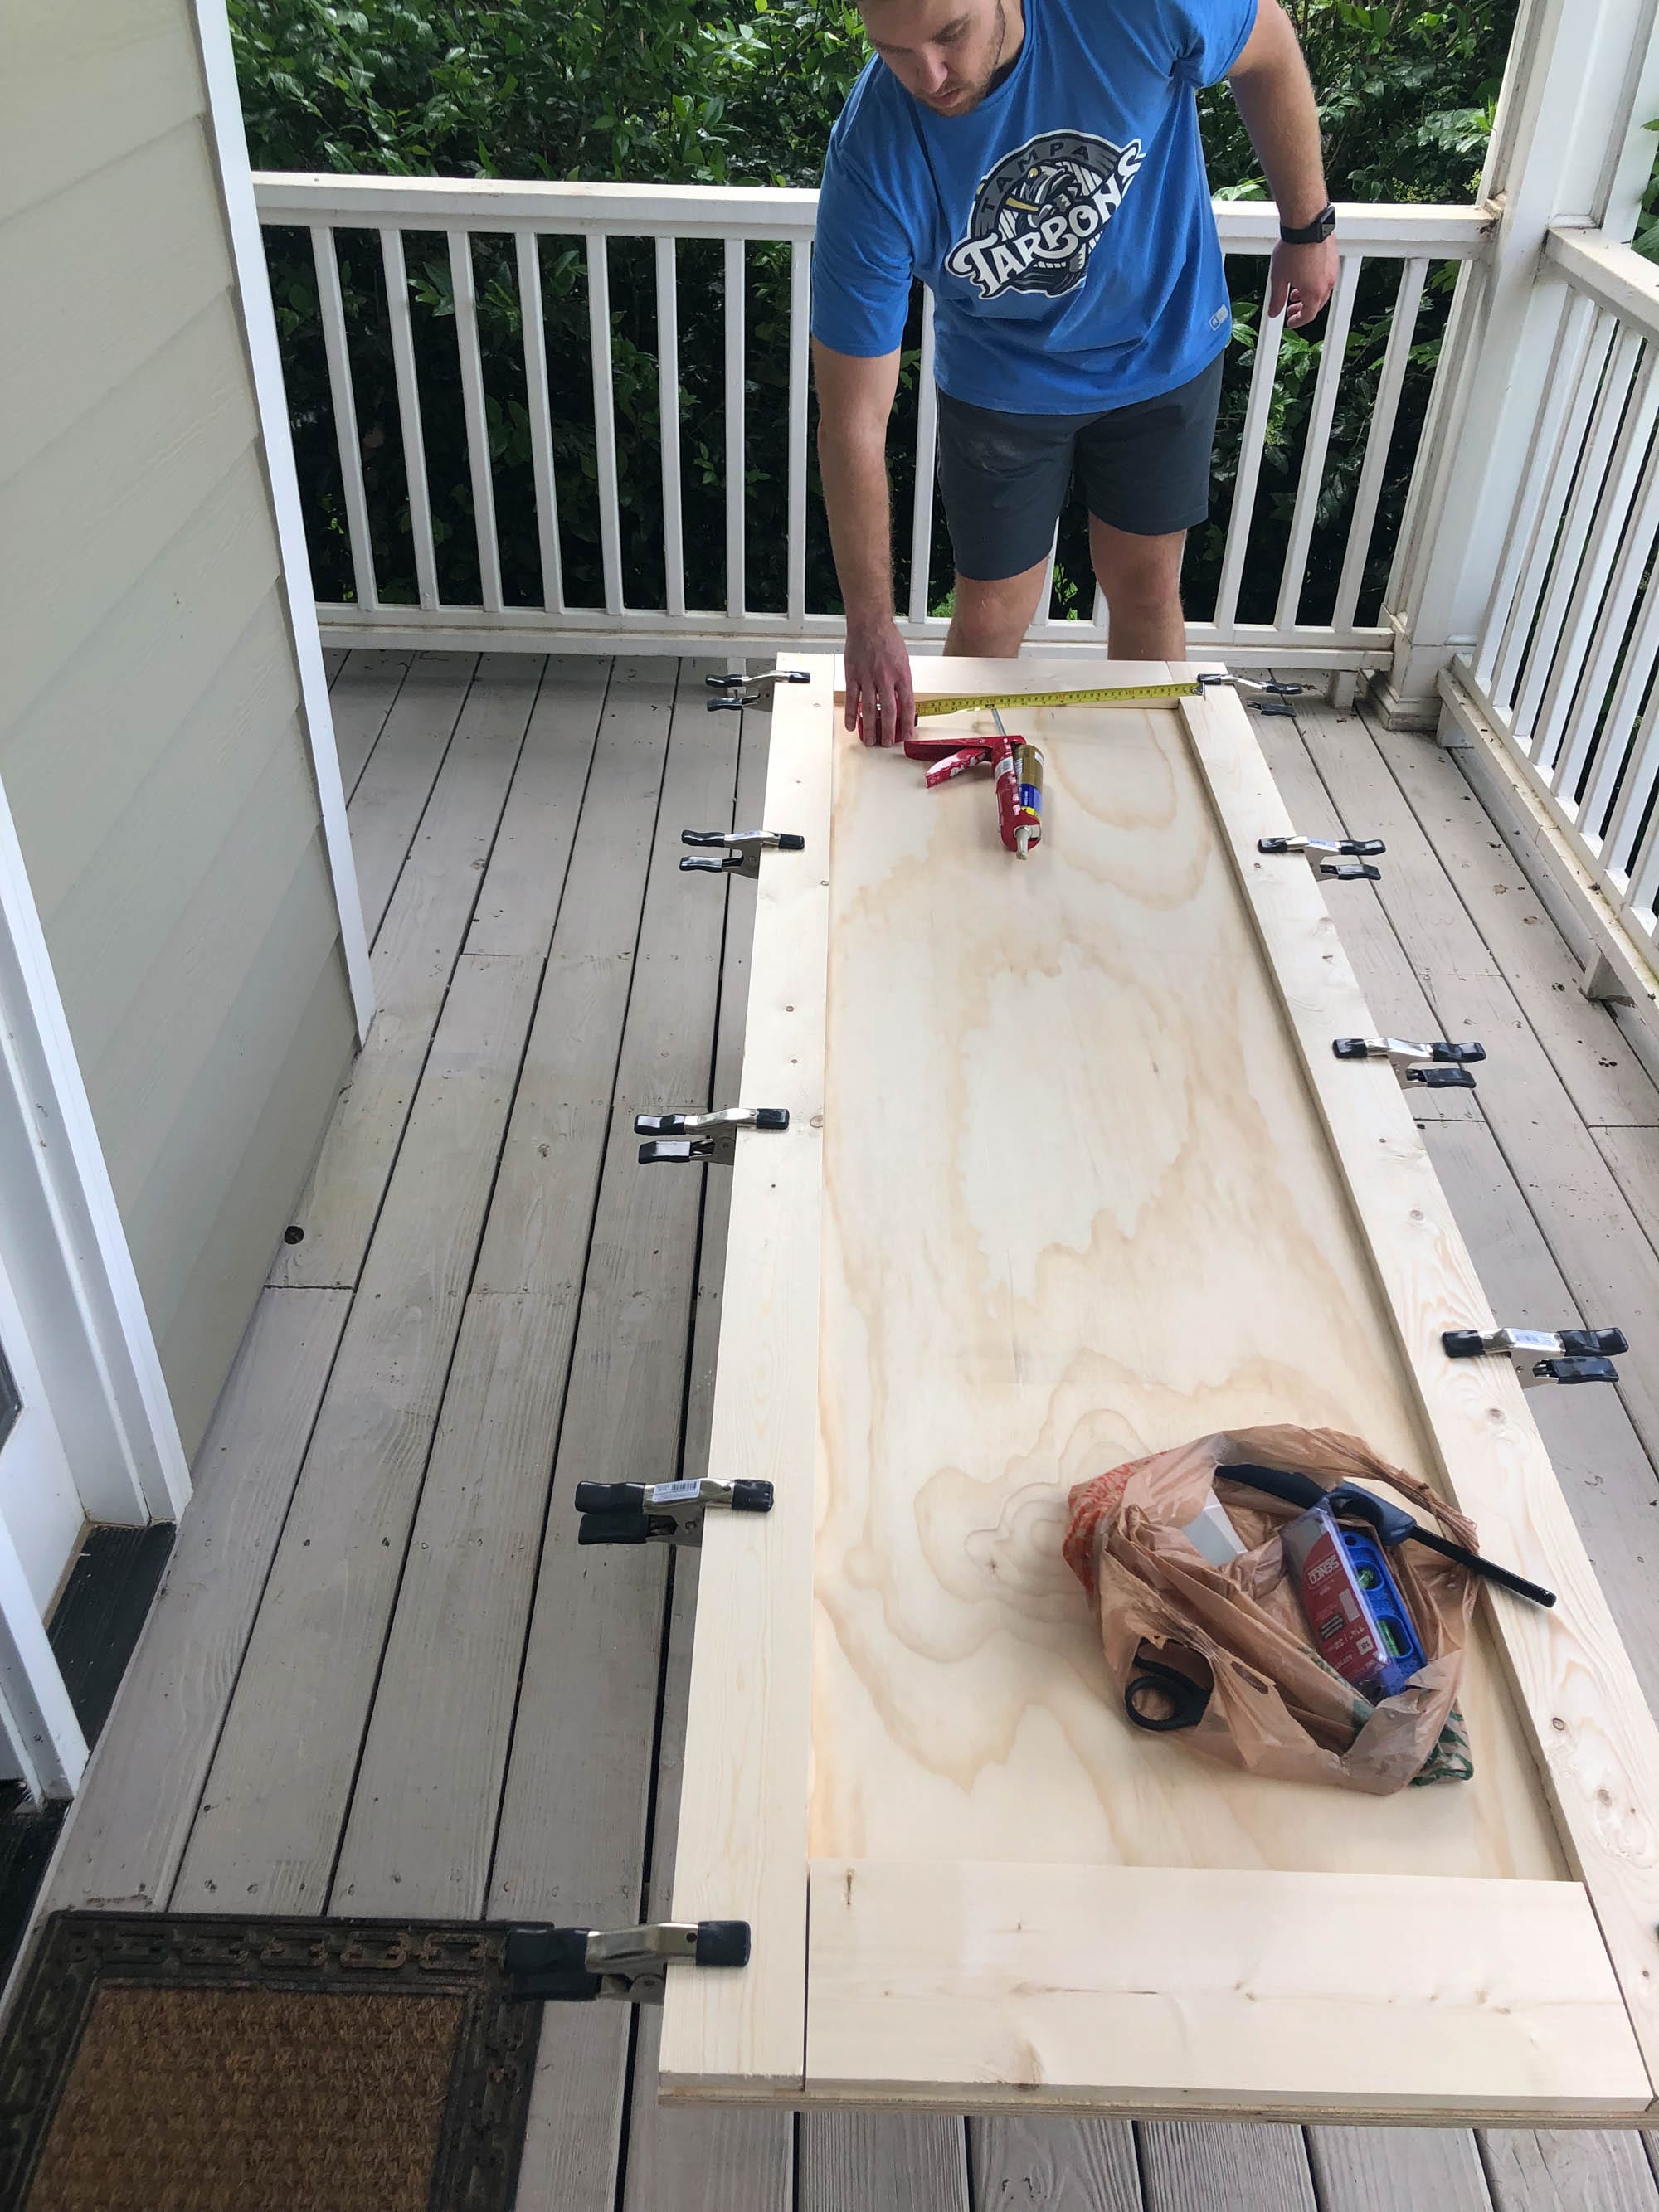
Using the miter saw, we cut the 1 x 4’s and 1 x 6’s to the lengths needed. The 1 x 4’s ran the length on the vertical side and the 1 x 6’s were placed in between the 1 x 4’s. We felt this would give us the desired streamline look. We used the Liquid Nails to attach the boards first, holding them in place with clamps. After the Liquid Nails had set, we used the nail gun to secure the boards in place. With the plywood being 23/32 of an inch and the boards being 3/4 of an inch, the 1.5 inch brad nails worked well.
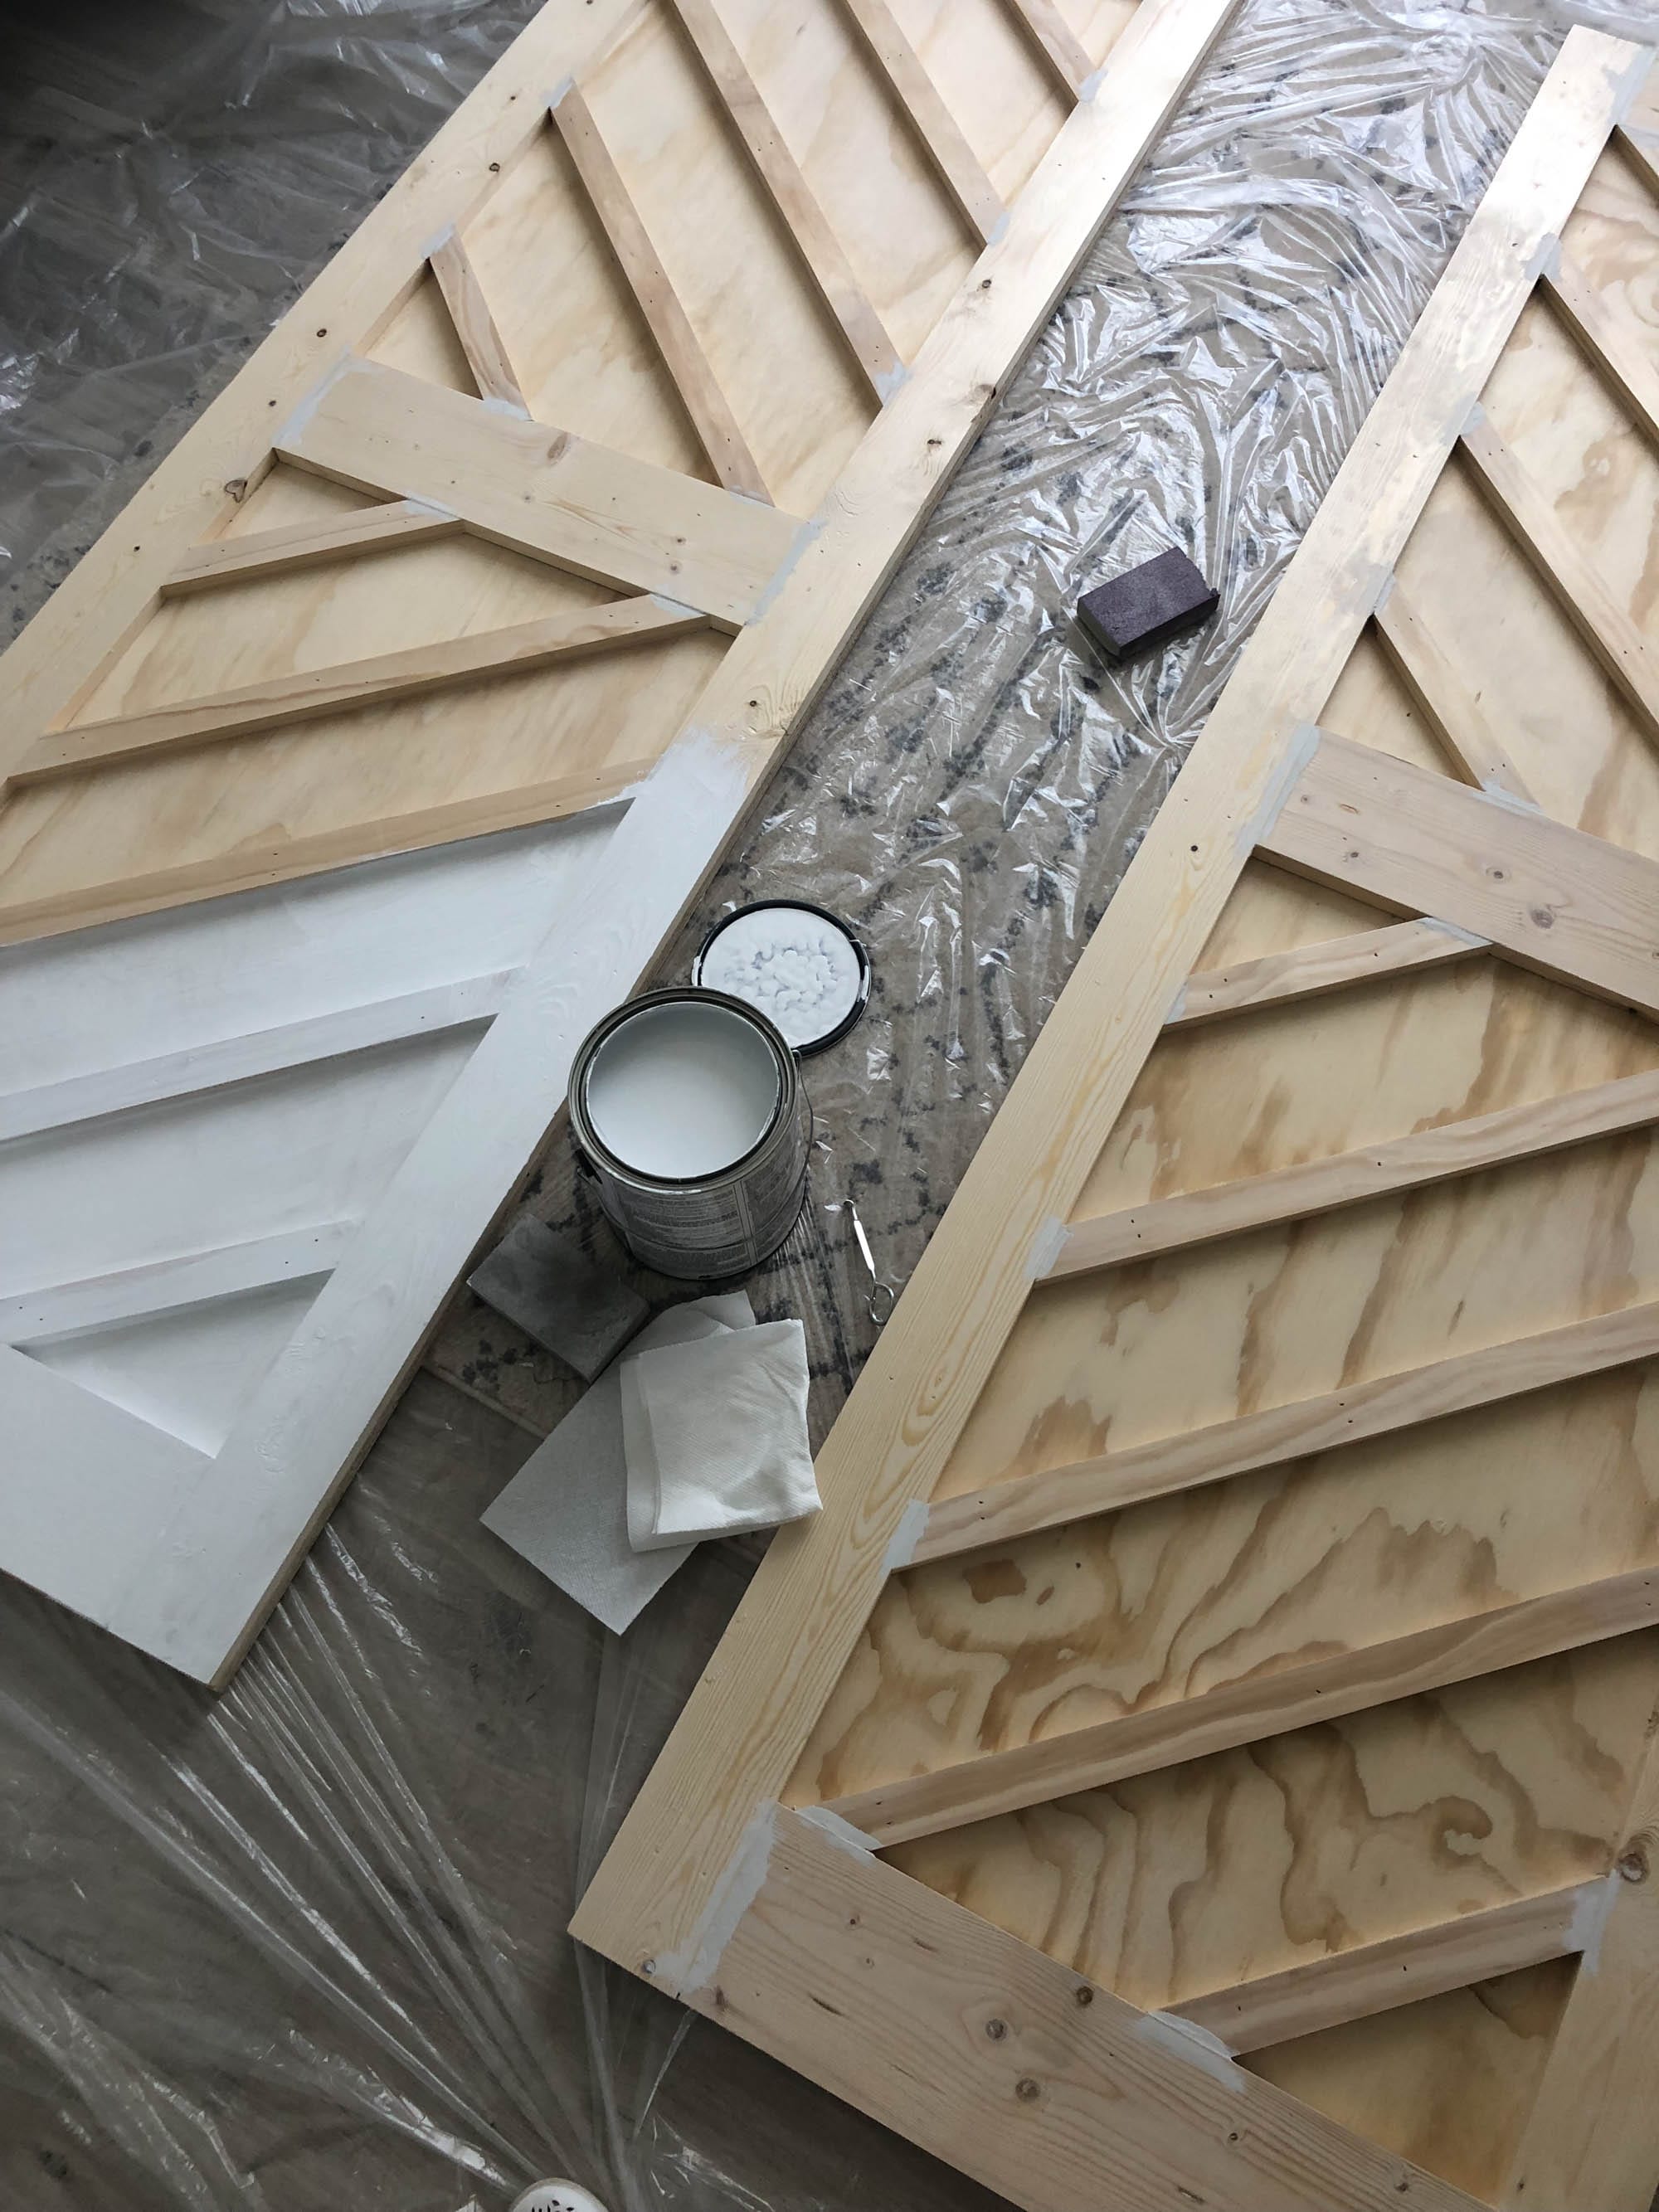
Once the frame was made, we moved onto the 1 x 2 diagonal boards. This was the most difficult part of the project, only because we wanted to match up the distances, angles, and cuts as close as possible. We didn’t want to have the diagonal boards of one door to not match up with the other. In order to get this correct, we made sure to measure where each board hit the vertical and horizontal boards as well as using the mitre saw to make the diagonal cuts needed. There were times where we were a little off with the angle, but we were able to remedy this with the wood putty before painting.
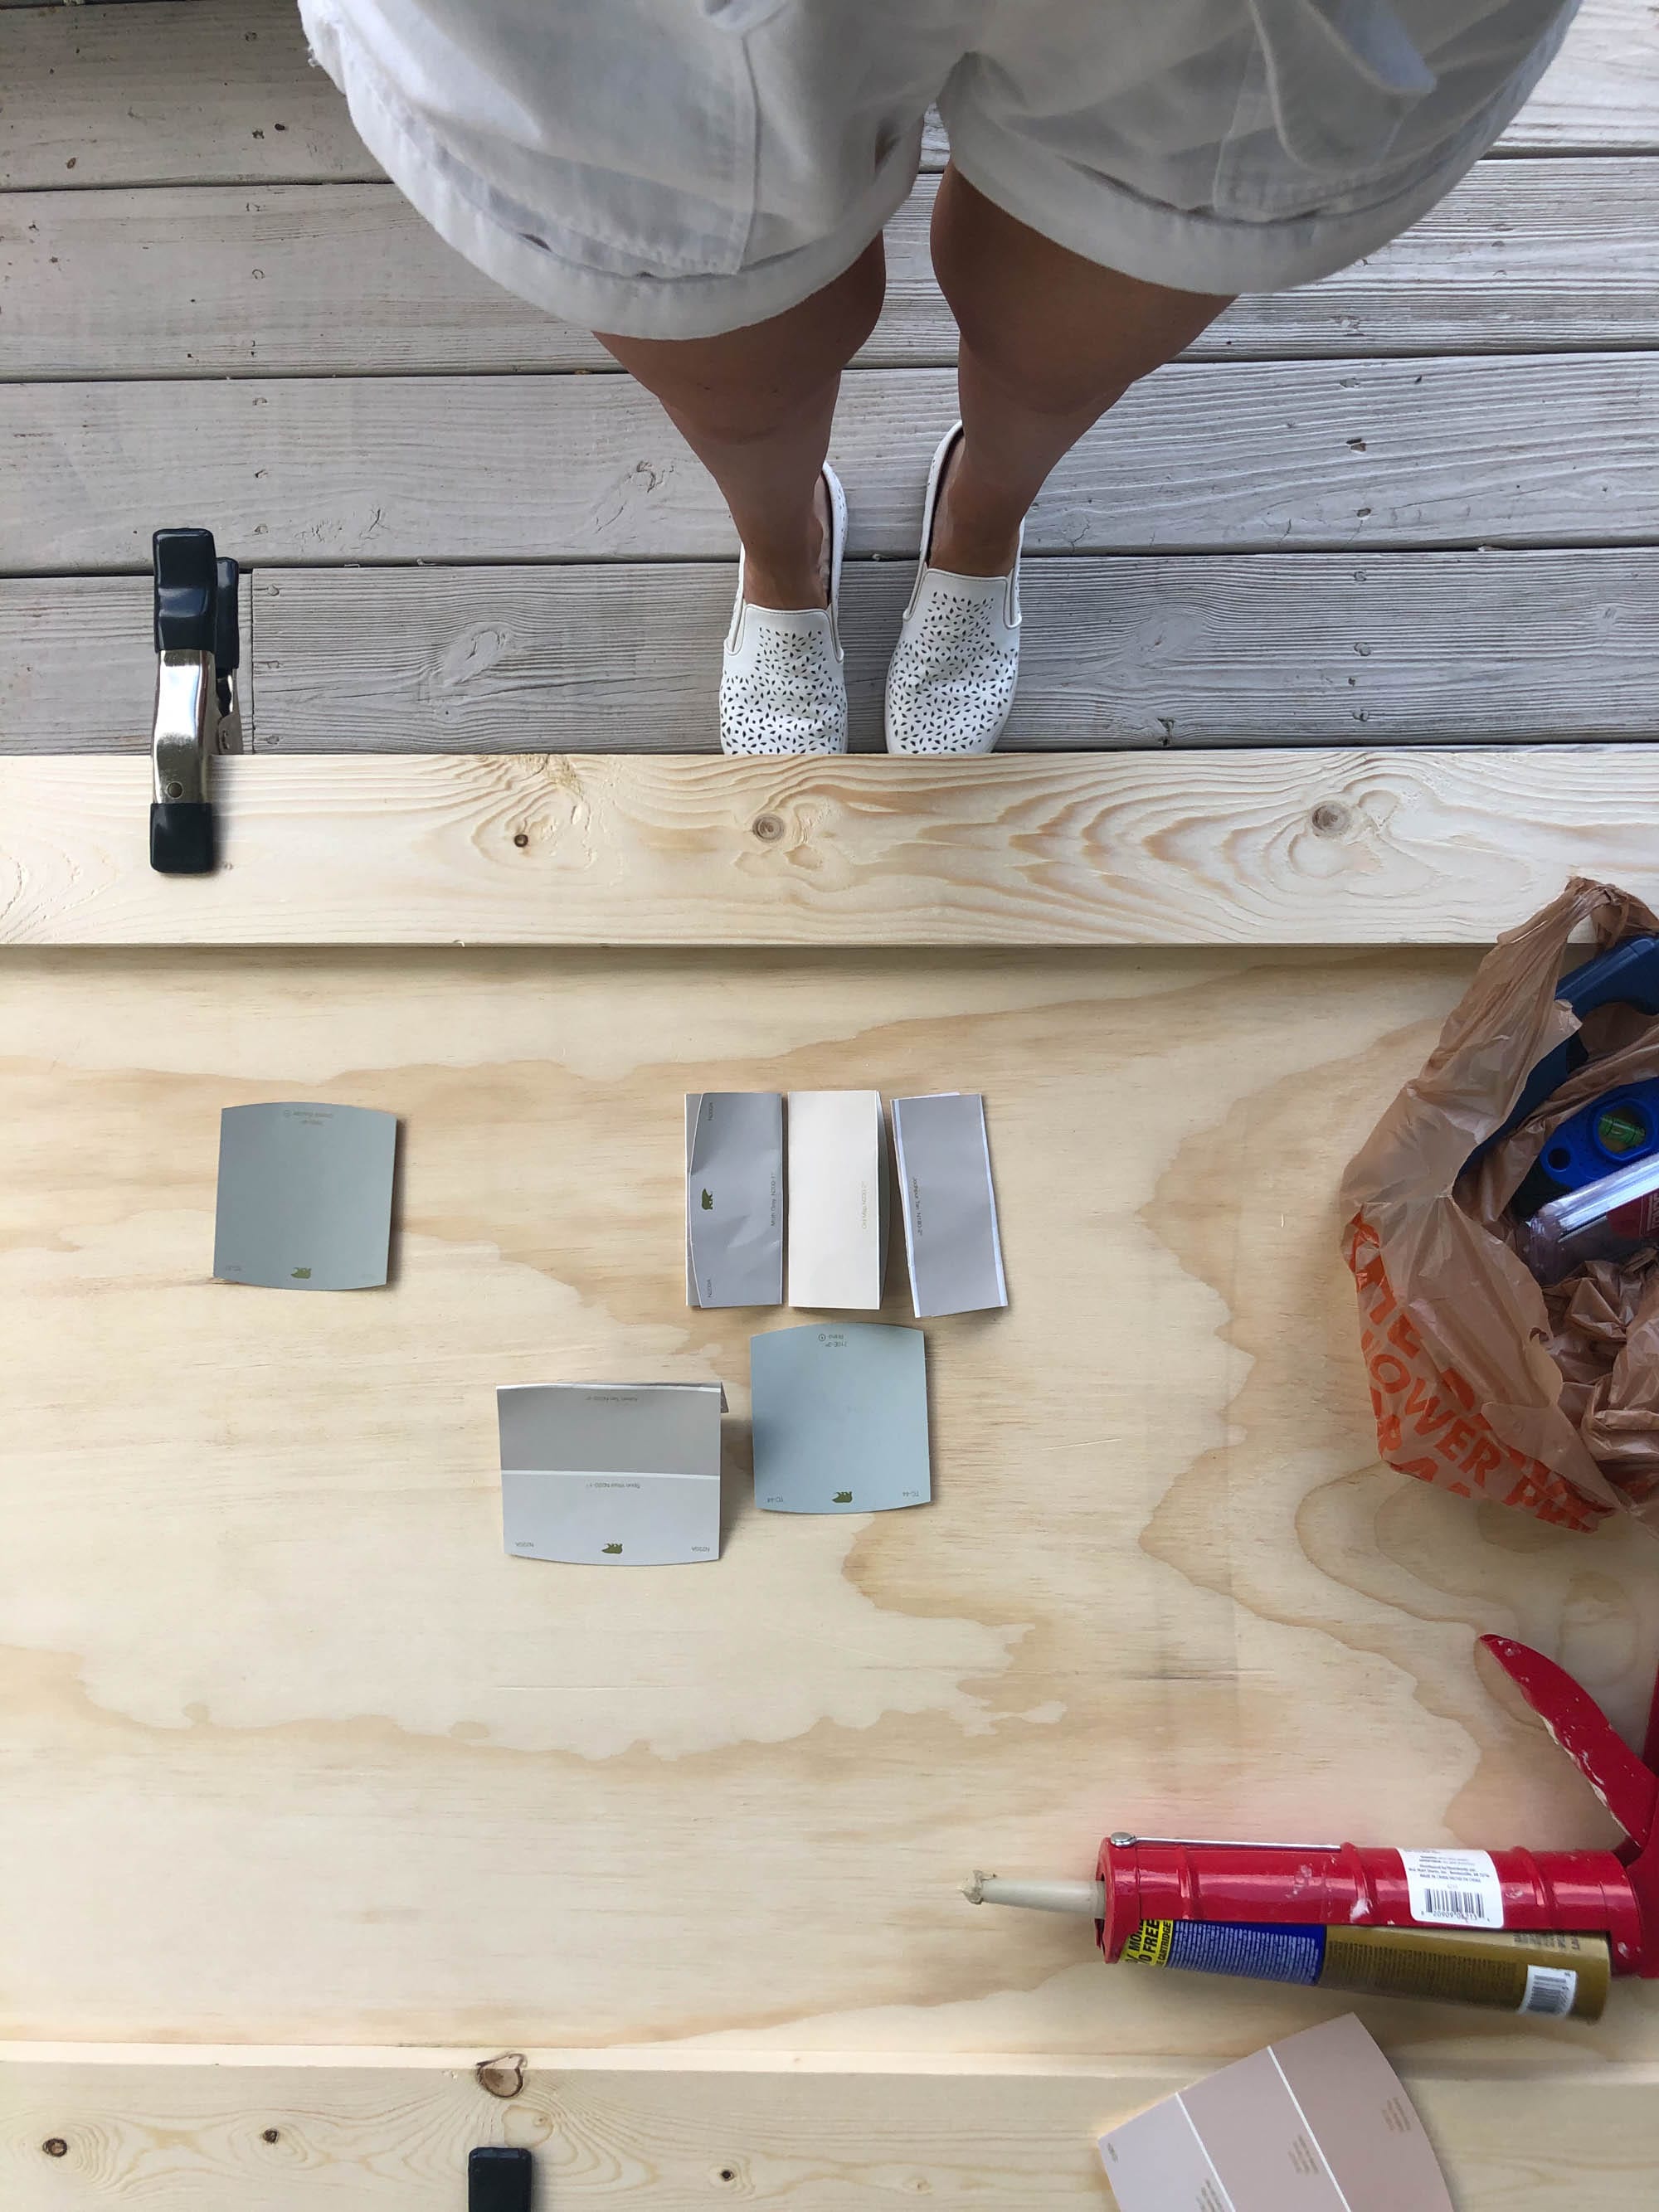
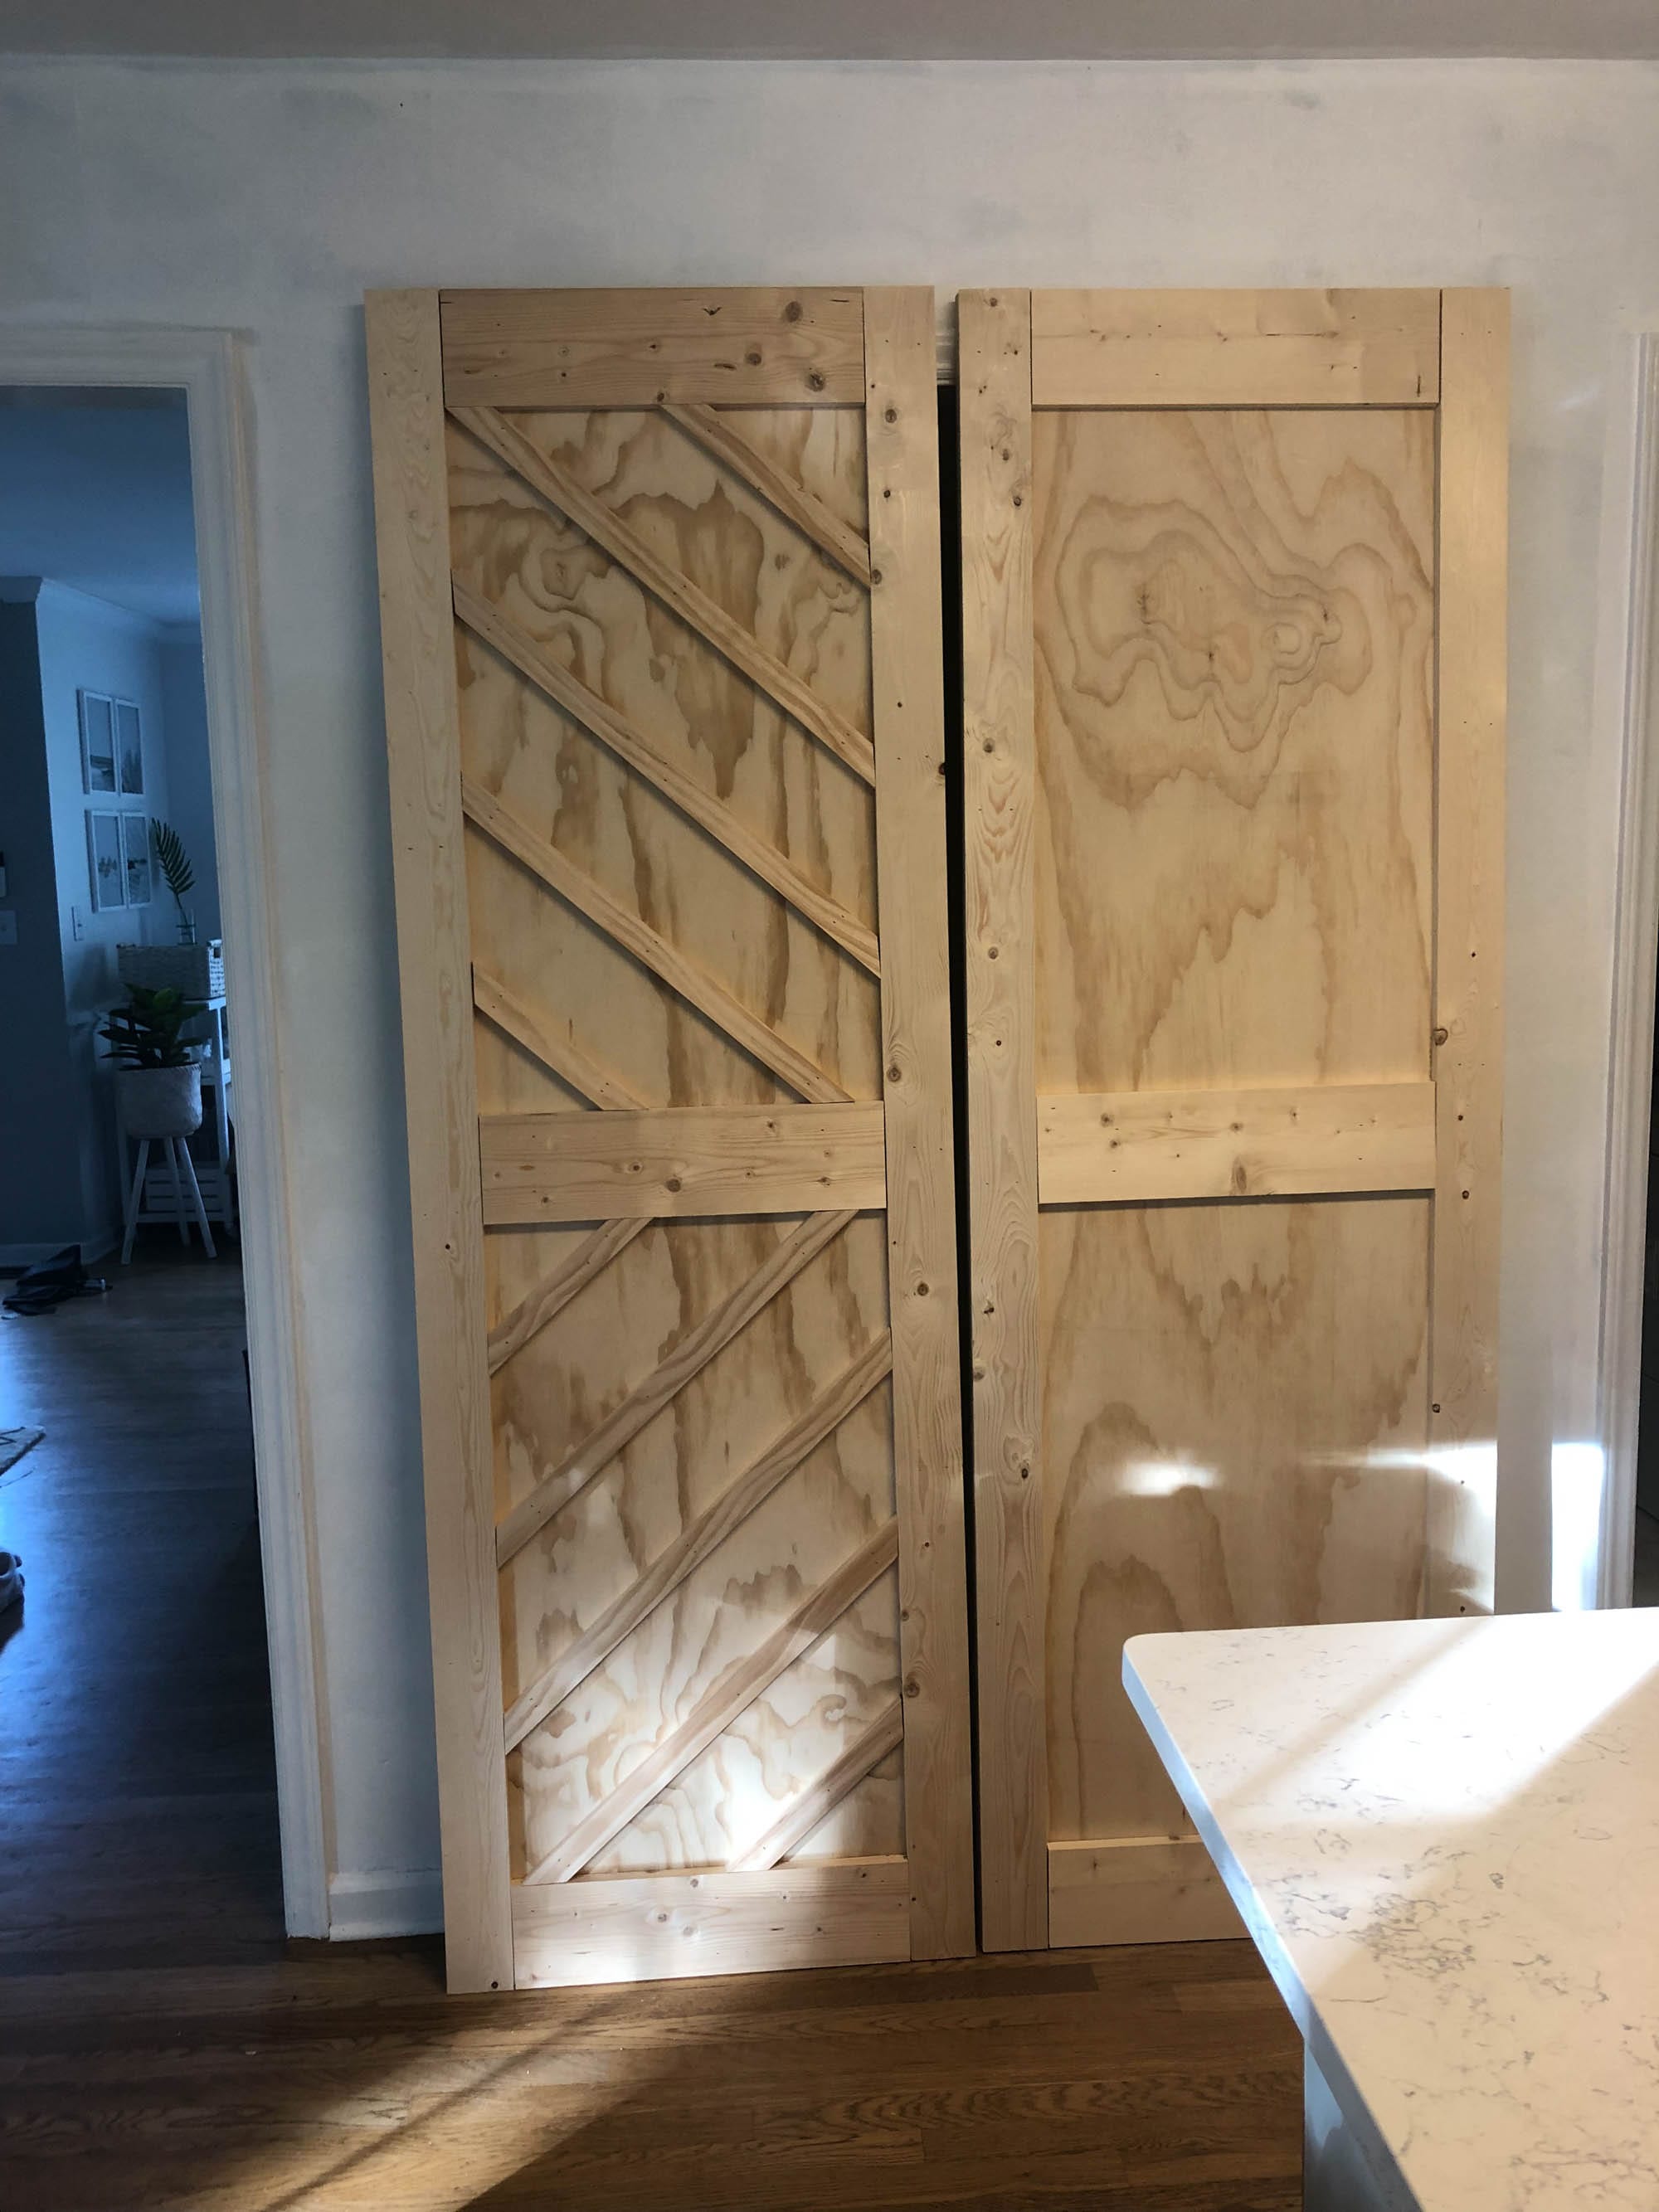
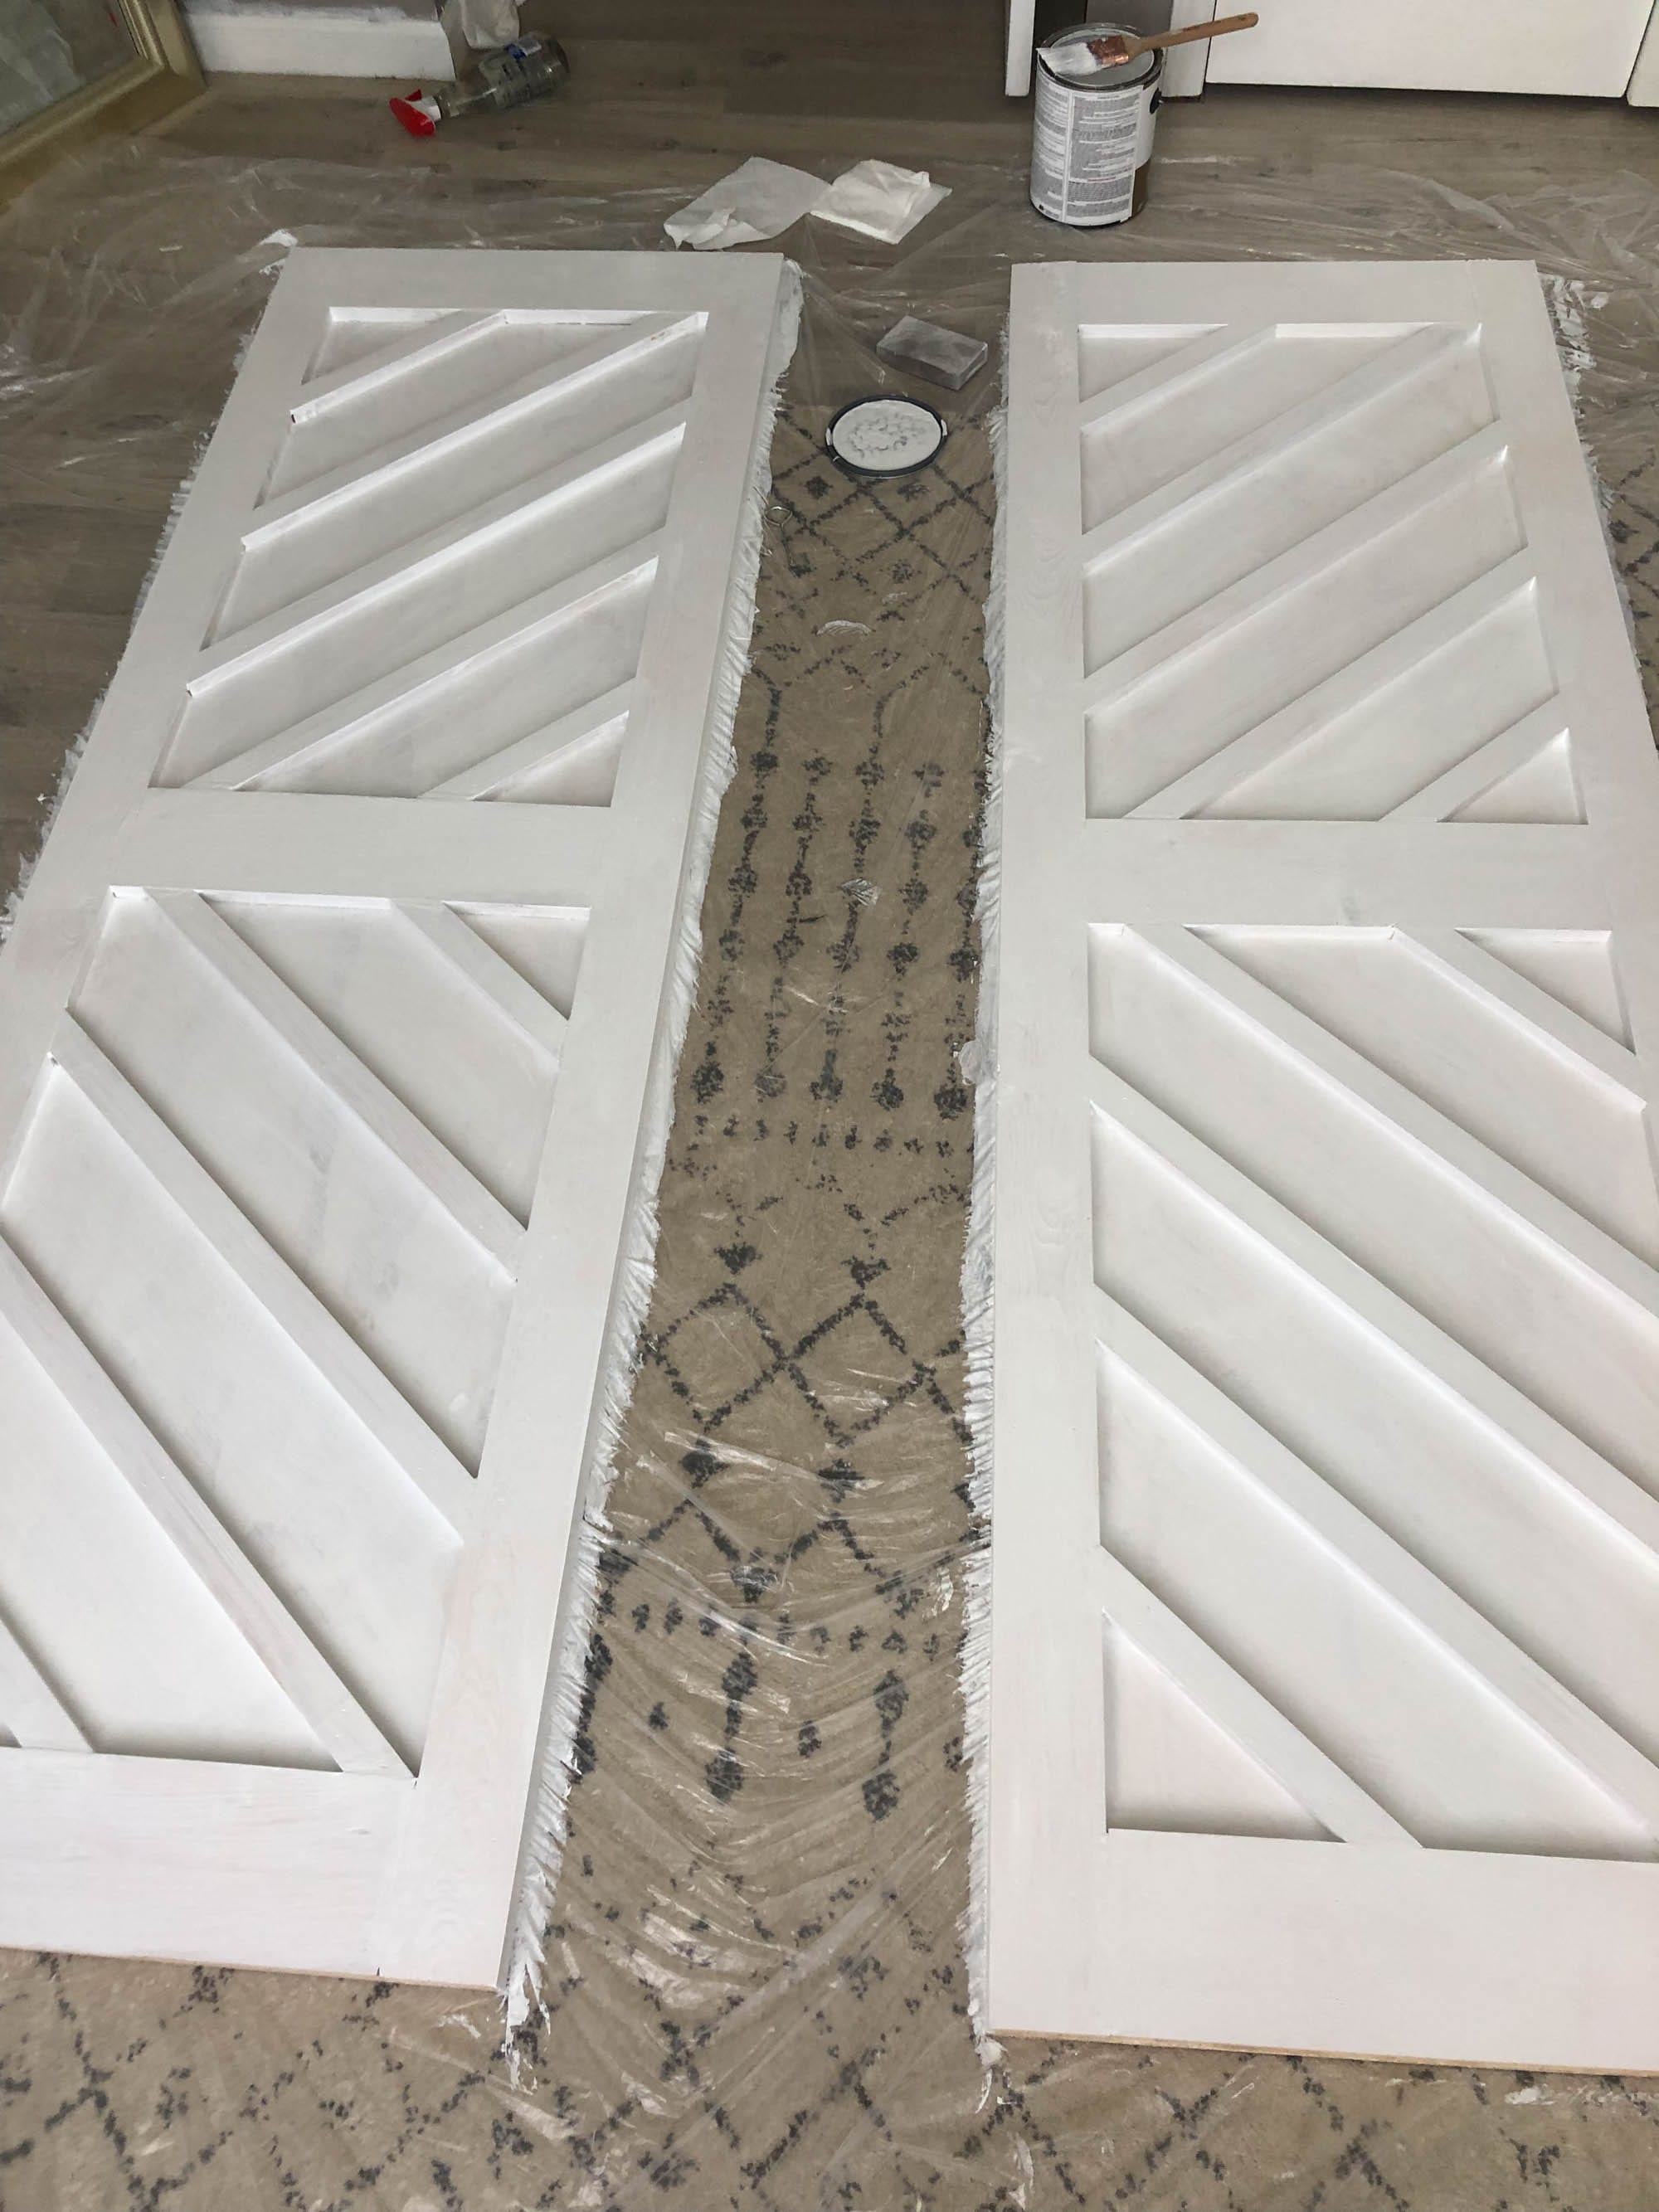
Just like the 1 x 4’s and 1 x 6’s, we used Liquid Nails and brads to secure the diagonal boards to the door. At this point, the doors were constructed and the only thing left for us to do was to sand, add wood putty, prime, and paint. At all intersection points of the boards we added the putty to make sure there were no seams that could be seen. To make sure we did not have the plywood grain or knots from the boards show, we used 2 coats of primer and 2 coats of paint. This sufficiently covered those spots.
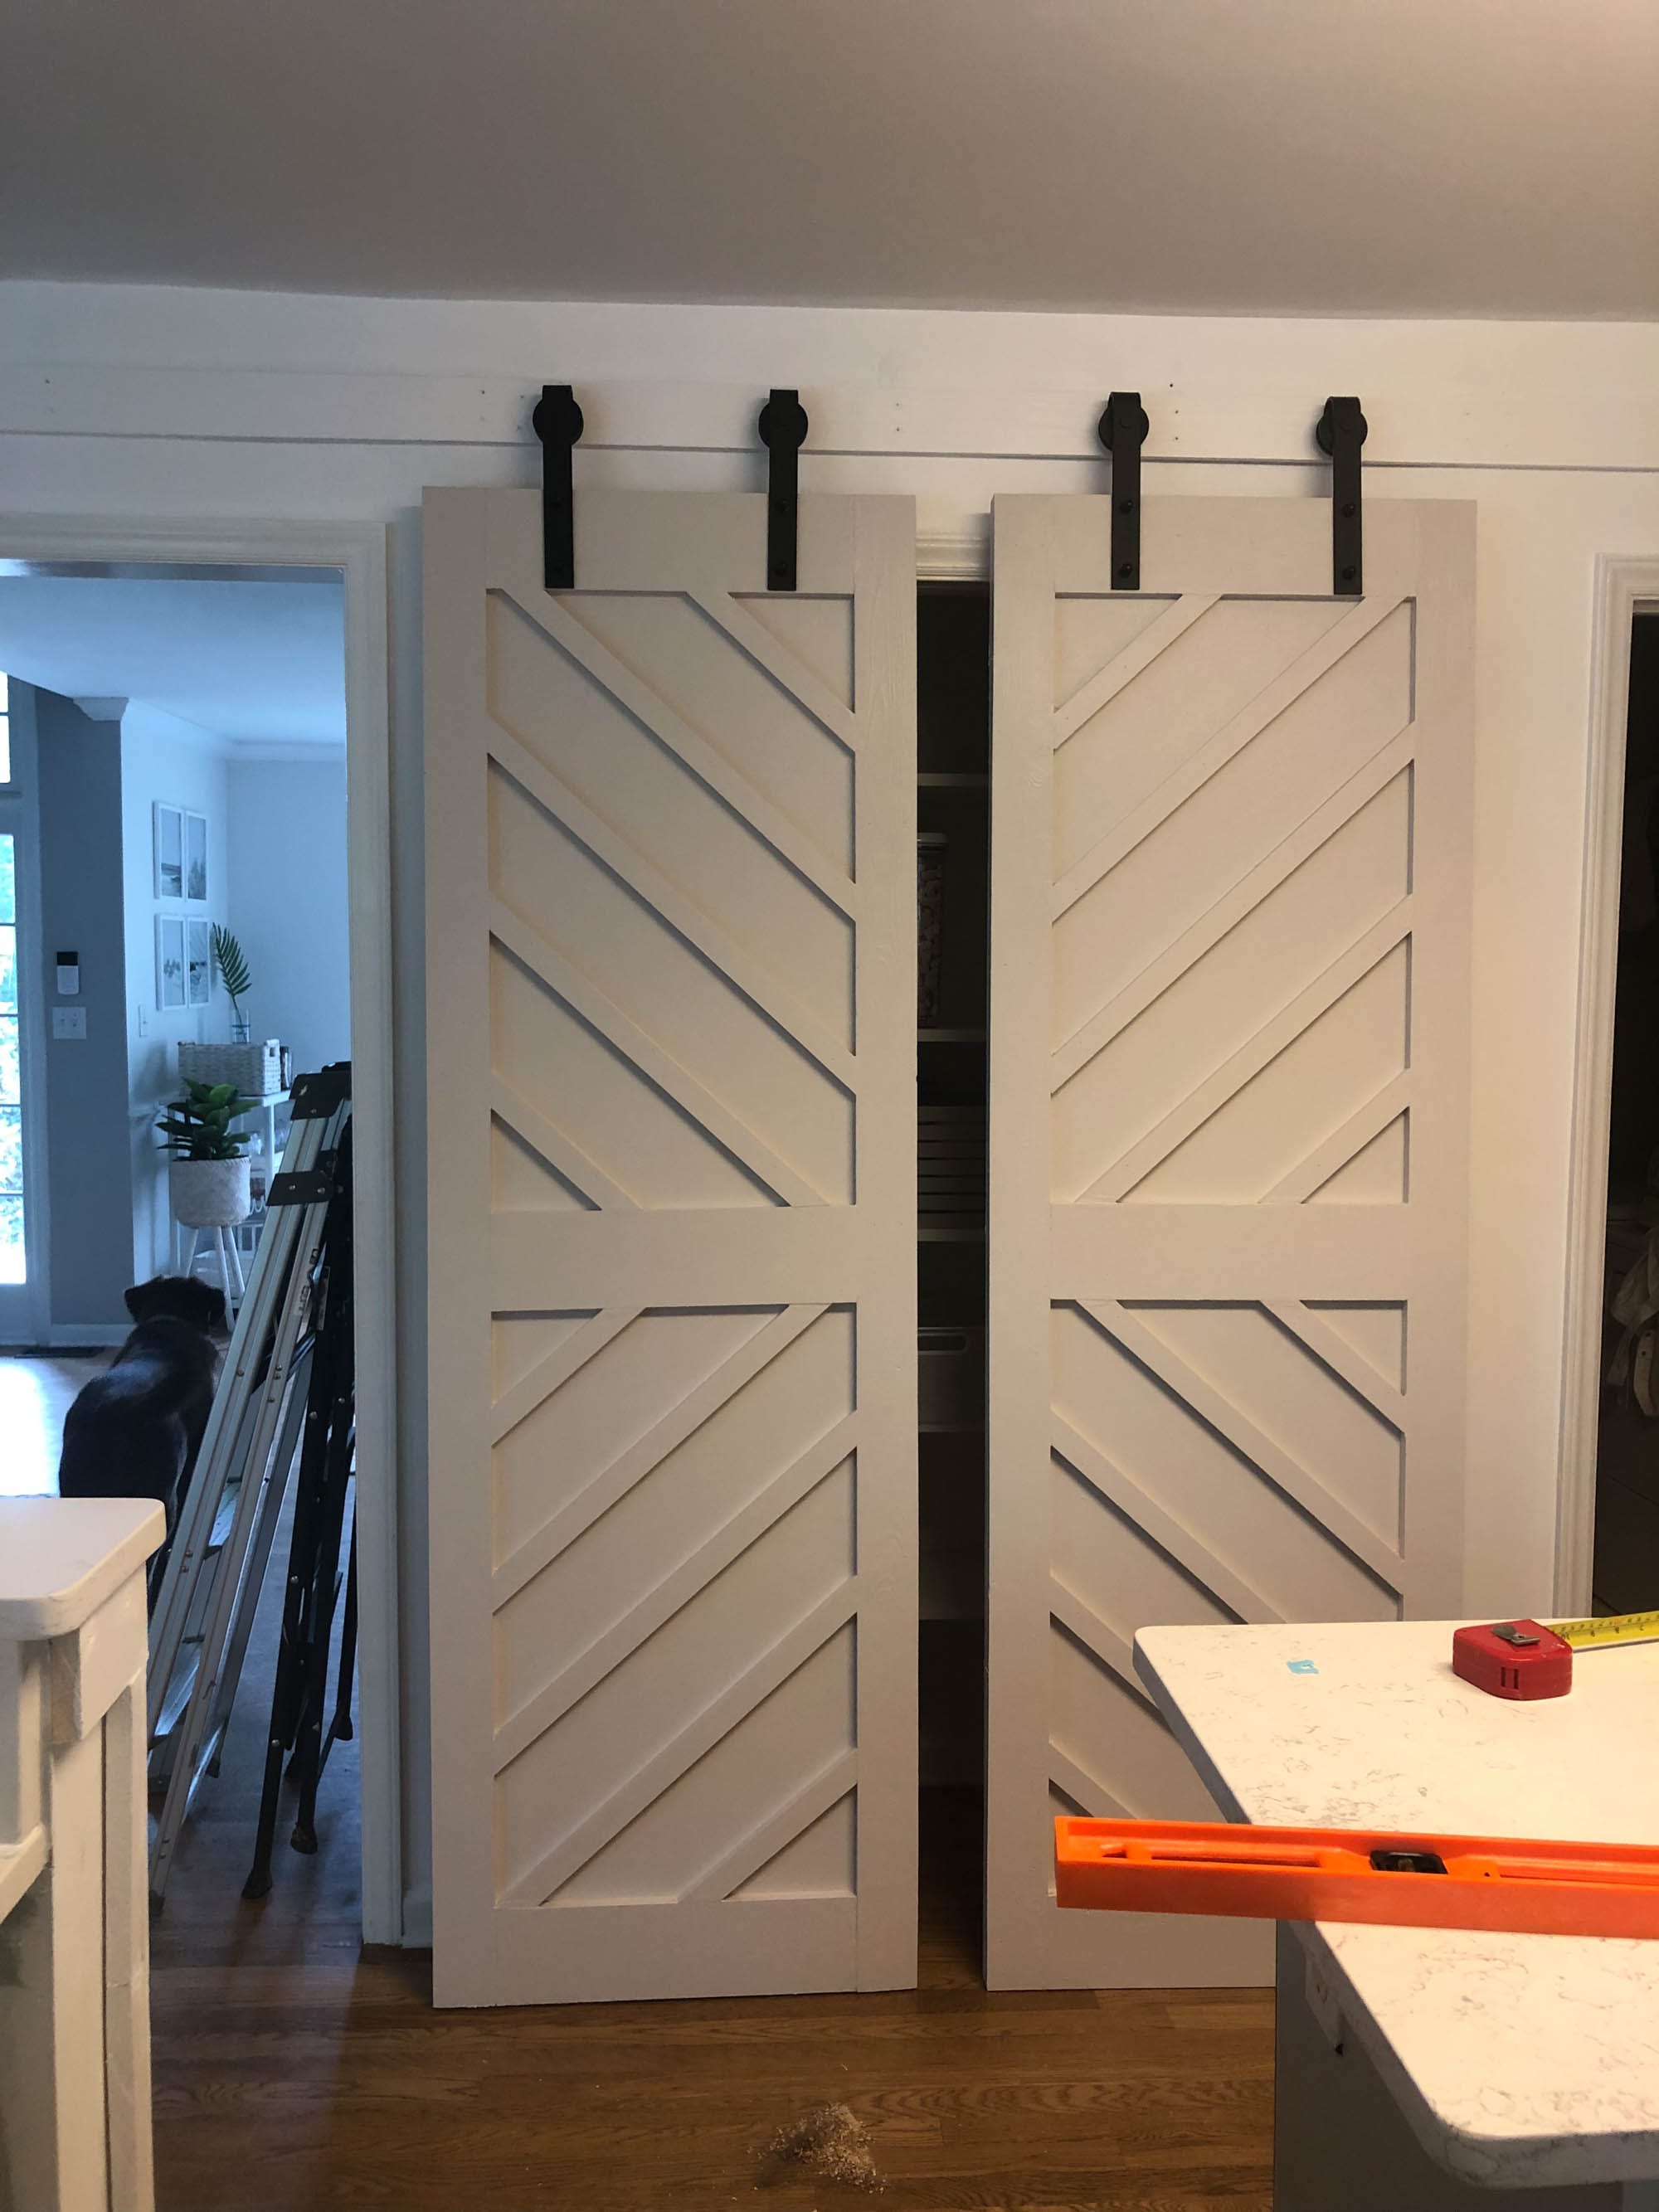
The next step was for us to mount the doors onto the wall. We chose to buy a standard 10 foot barn door wall hardware kit from Amazon. We decided to go with 10 feet because the 8 foot option would not allow the doors to open wide enough to get to all of the items on the sides of the pantry. The doors ended up weighing about 45 lbs each, so we wanted to make sure we had a secure way to hang them. The best option for us was using a header board to utilize each stud in the wall to hang the doors. We were able to find a 10 foot 1 x 4 board from Home Depot that ended up being perfect. We hung the header board into the wall studs about 3 inches above the trim, meaning the barn door slider would be 4 total inches above the trim.
The barn door slider was simple to hang to the header board, but the most important aspect of hanging the slider was to make sure it was level. We did not want the doors to slide without us moving the doors. To make sure we had the door slider rail level, we made sure to use a 4 foot level while measuring every connection point that the slider made to header board. This kept us on track. Another good way to do this would to use a laser level, but we did not have one of those.
At this point the barn doors were complete! But… we needed to still replace the inside of the pantry with refreshed shelves. We weren’t big fans of the wire shelves that were there previously, so we chose to use 1 x 12 wooden boards as the new shelves, securing them to the sides with 1 x 4’s. We had extra pieces of 1 x 4’s and measured how long they needed to be on the sides of the pantry. It ended up being about 11 inches. We secured these into the wall studs with #10 screws.
The 1 x 12 boards needed to be 59 inches long in order to sit on the 1 x 4’s for the sturdiest connection. We cut them to this length and secured them with the #10 screws. Once the boards we set, we painted the walls and shelves with Magnolia paint in the color of Ship Lap. This is the same color we used for our dining room walls around the accent wall. It gave a really nice, clean, refreshed look to the inside of the pantry. As a side note… if it looks like the shelves may be sagging a bit, we will reinforce them with 1 x 2 boards underneath.
And that’s it! All in all an easy project that only took us about a week to complete (in the evenings) from demo to finished product. Let us know what you think!

I love this!! You make home-DIY seem fun and accessible. (I am currently living the apartment life where I can’t even nail pictures to walls… but a girl can dream…)
Thanks Rebecca! I never really thought I’d be a DIY person but having a house makes it SO much fun! I feel your apartment struggle though not being able to fully do what you want!
Looks so good! How thick were the 4 x 8 plywood?
Don’t the doors slide out to the other doorways next to your pantry? Isn’t that a problem?
They can slide in front of those openings but we keep them shut when we’re not using the pantry so it hasn’t really made a difference!
How much did making the actual doors cost? Super adorable by the way!!
Probably around $200!
Where did you buy your hardware for the doors?
Hi! I found it on Amazon. I found it here: https://rstyle.me/+E4kH9IxfbxUkNsNRKkKxtg
Where did you get your handles?
These are the handles I ordered: https://rstyle.me/+ax3DmWq9fnqhrM2jN8q1AQ
Hope that helps!
Is there a printable PDF of this awesome job!!!
I loved this so much I made the same for my bedroom closet. Thanks so much for the inso!
Oh my goodness! LOVE this!! Having stayed in a rental that had those accordion doors, they aren’t the most convenient. GREAT job and design! I think I’ll use this, tweak size a bit, and make similar to close opening from bedroom to bathroom 😉
The handles you linked are no longer available. Would you tell us the size/style they are perfect!
Hi Krista! They were 18in handles in a “bar” style. Here is something similar to the ones we used! https://rstyle.me/+IMMvnOs_7qgqYNlCNFdBVw