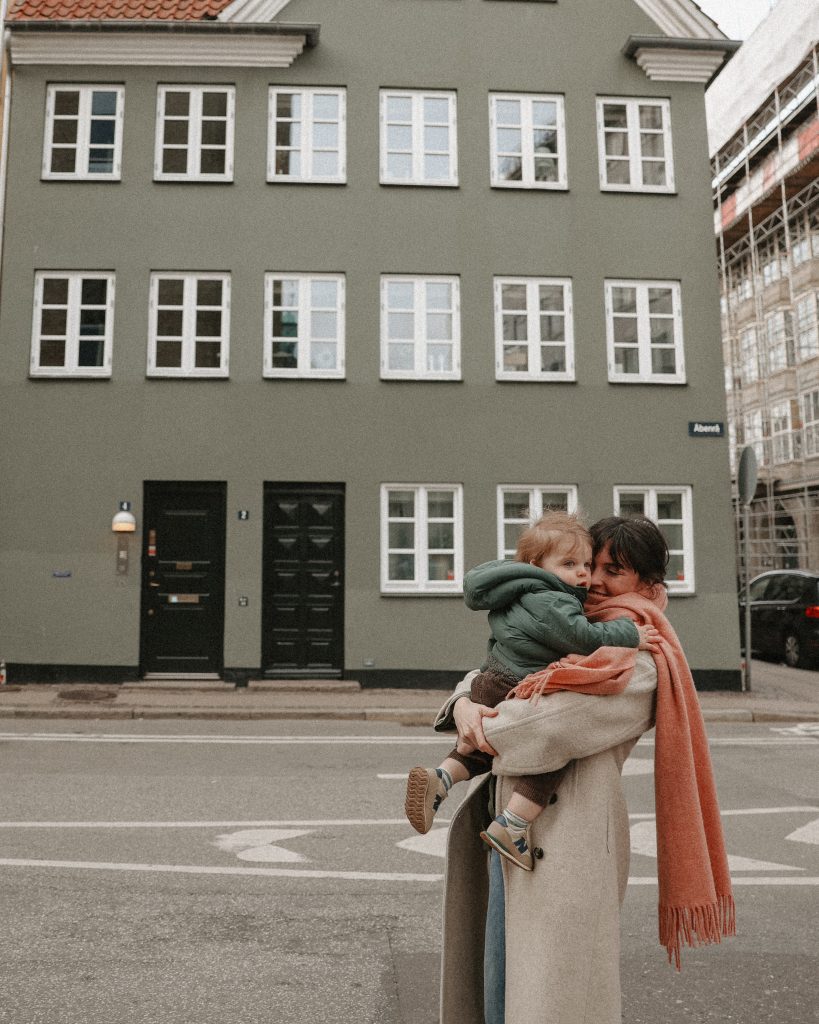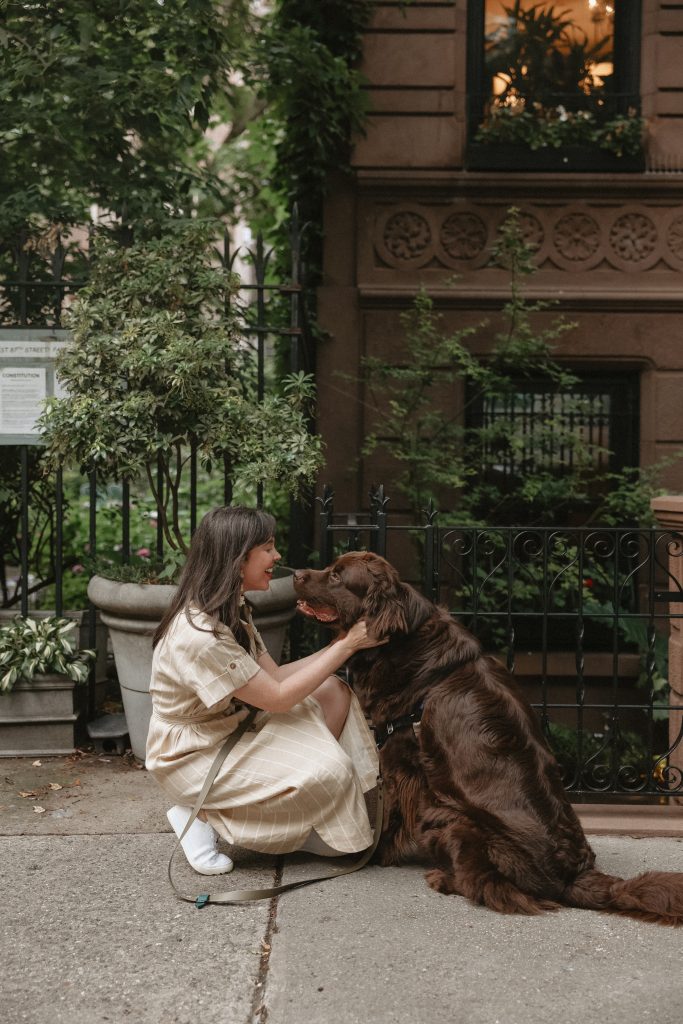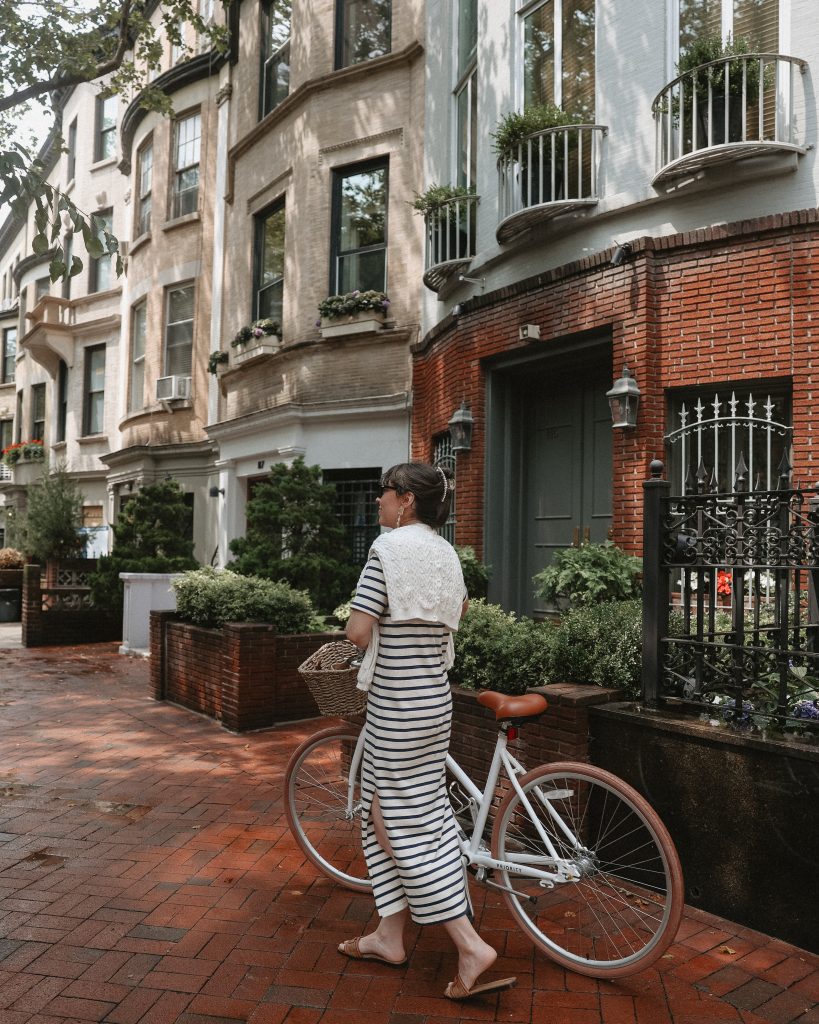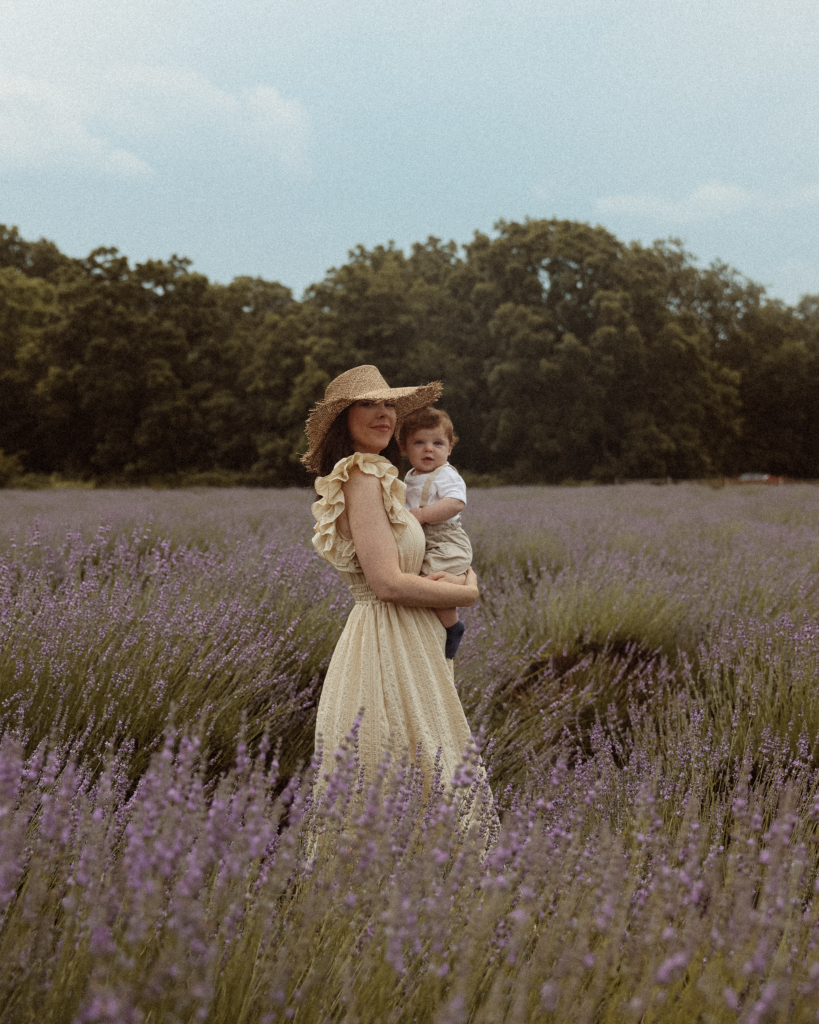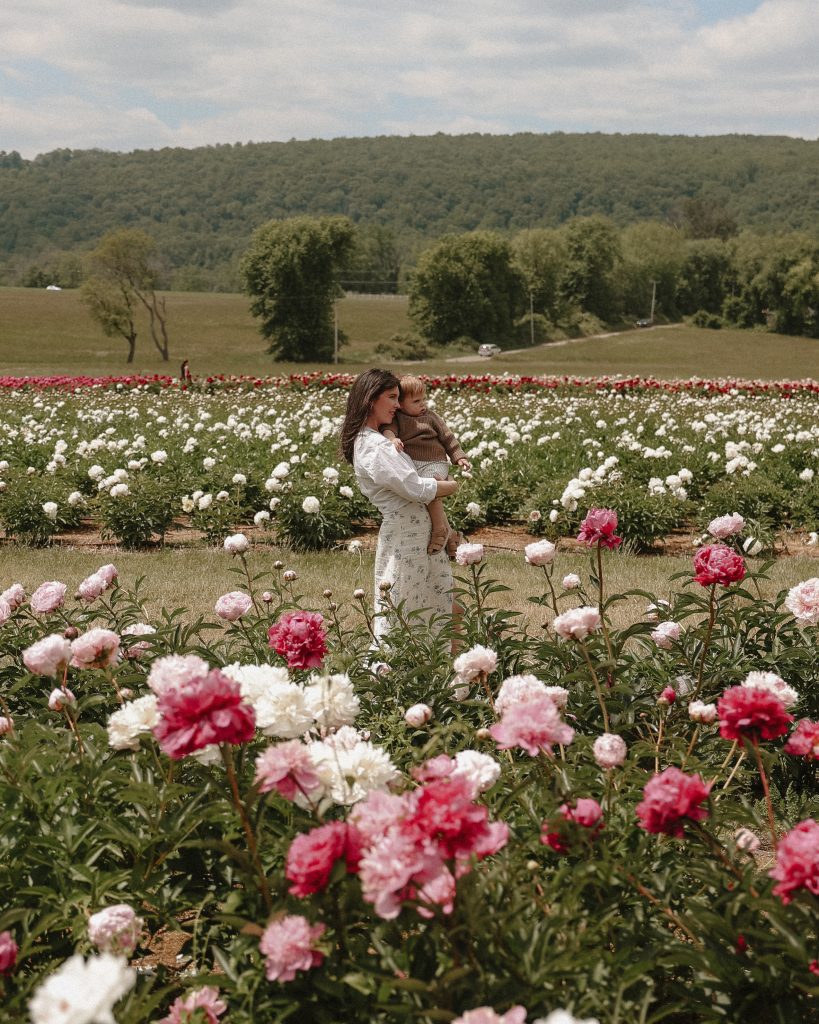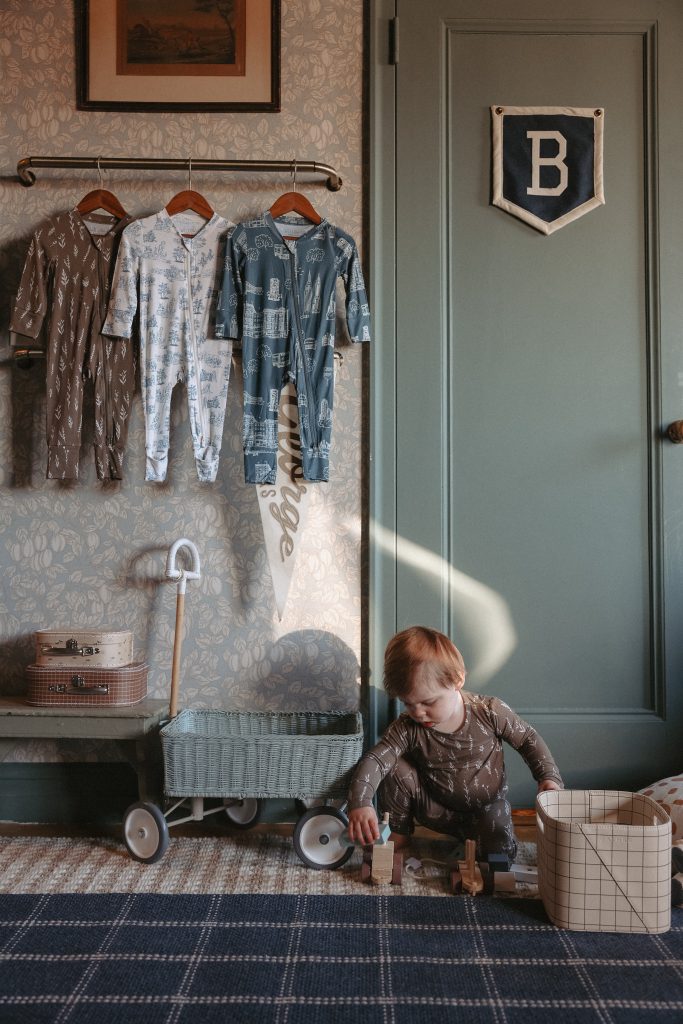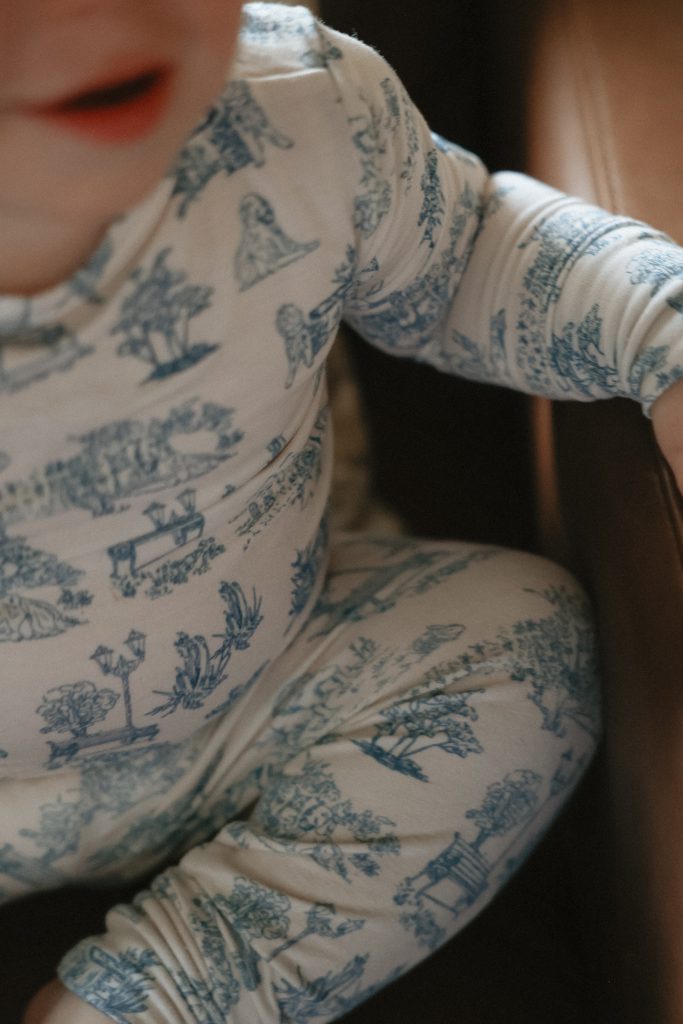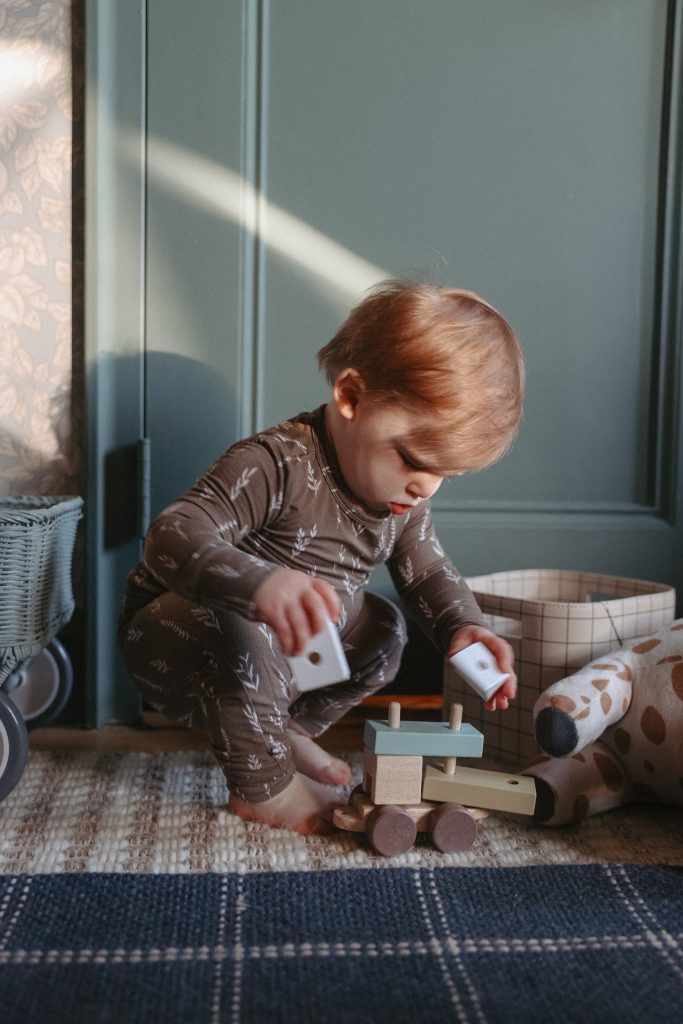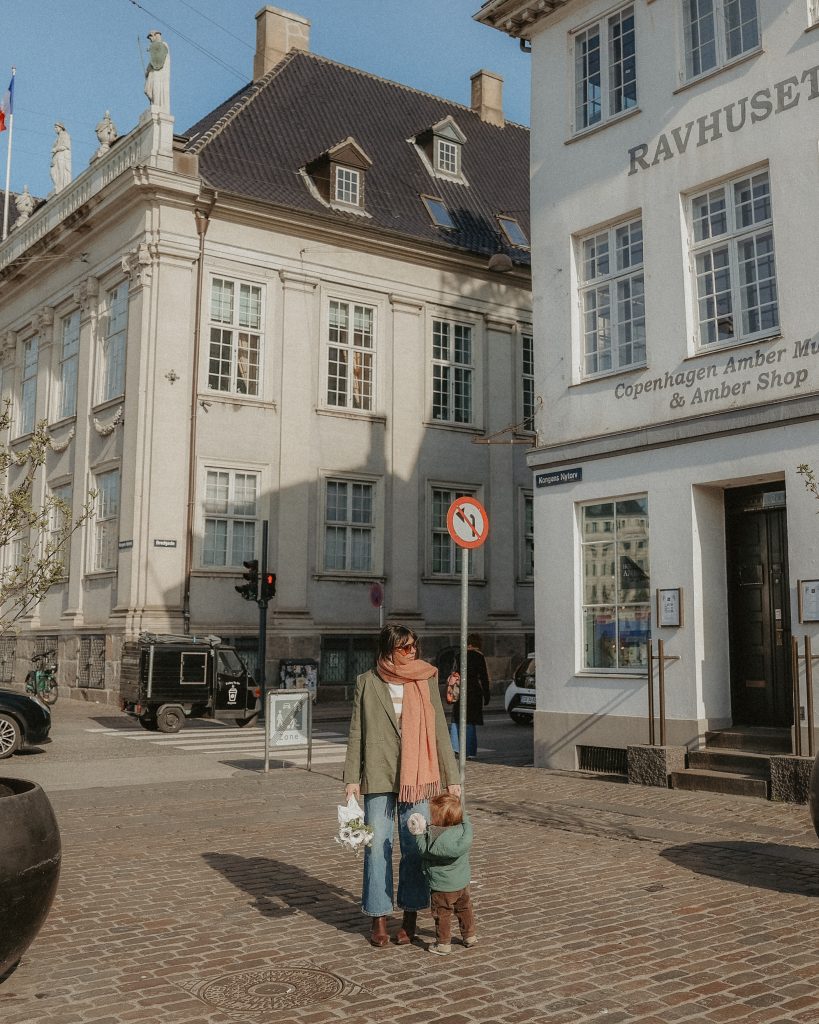
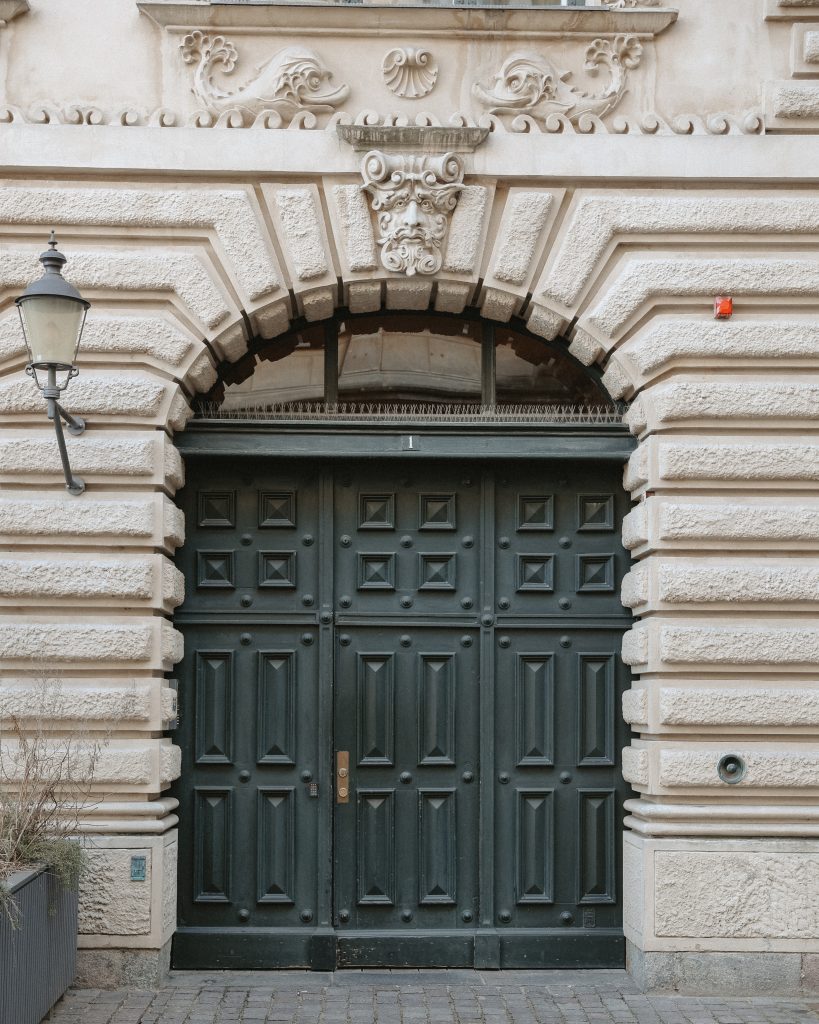
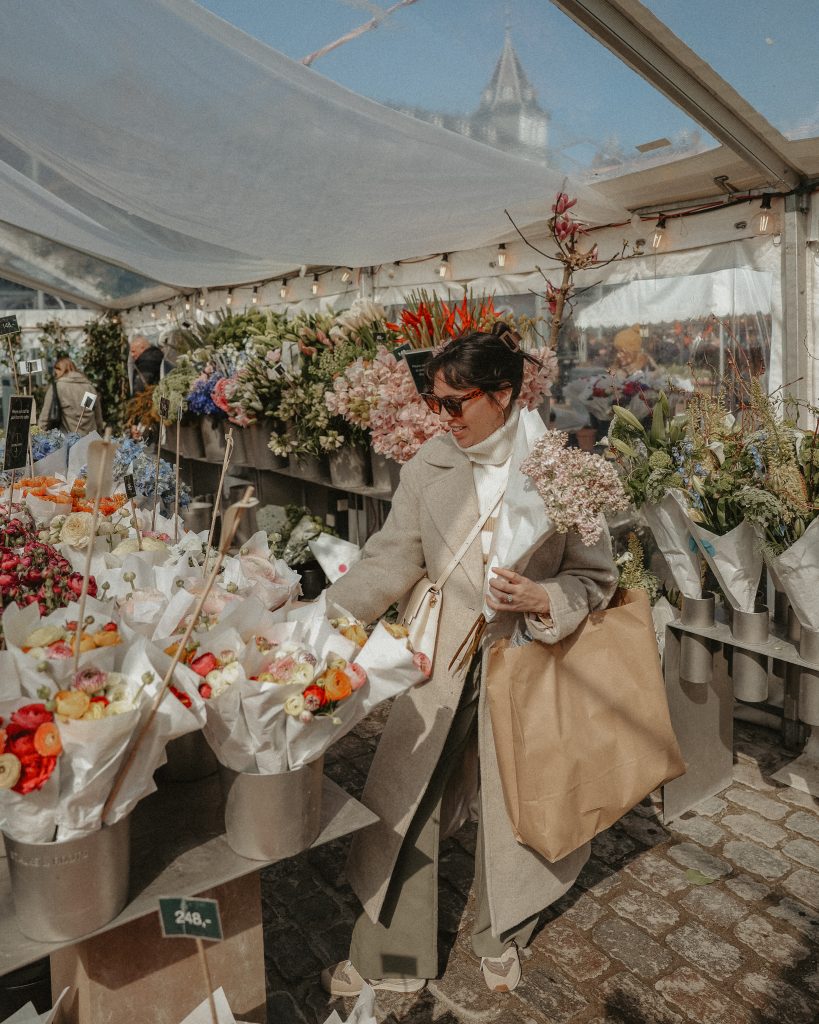
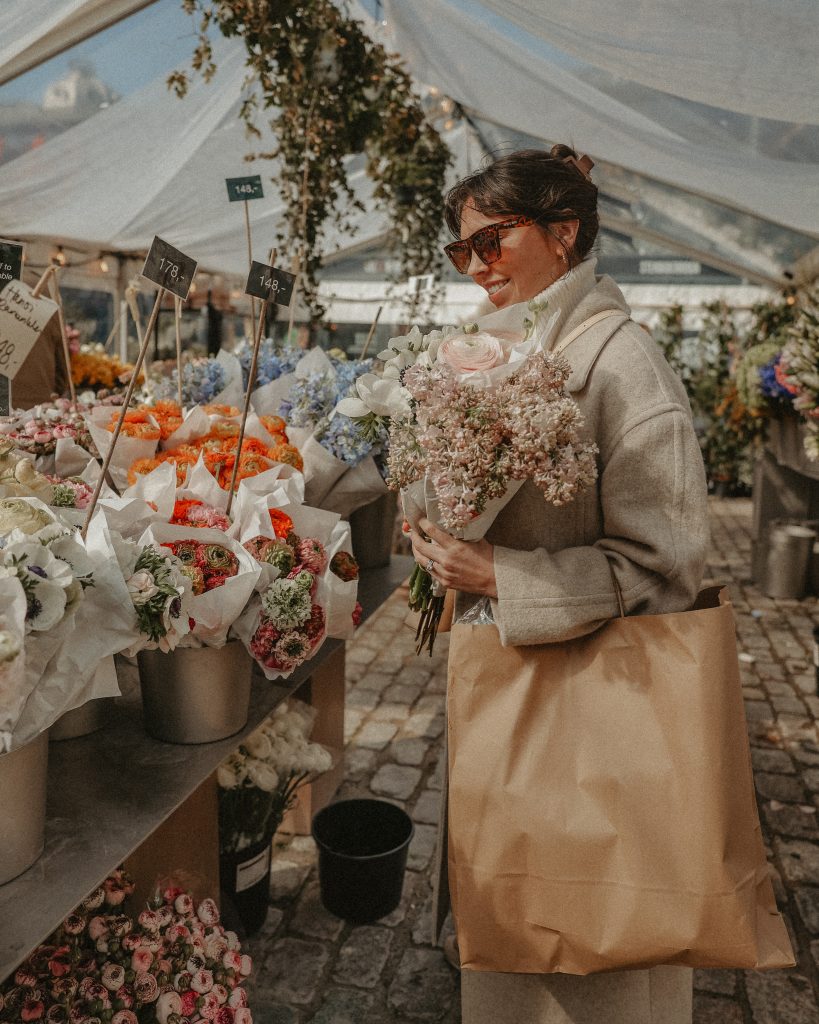
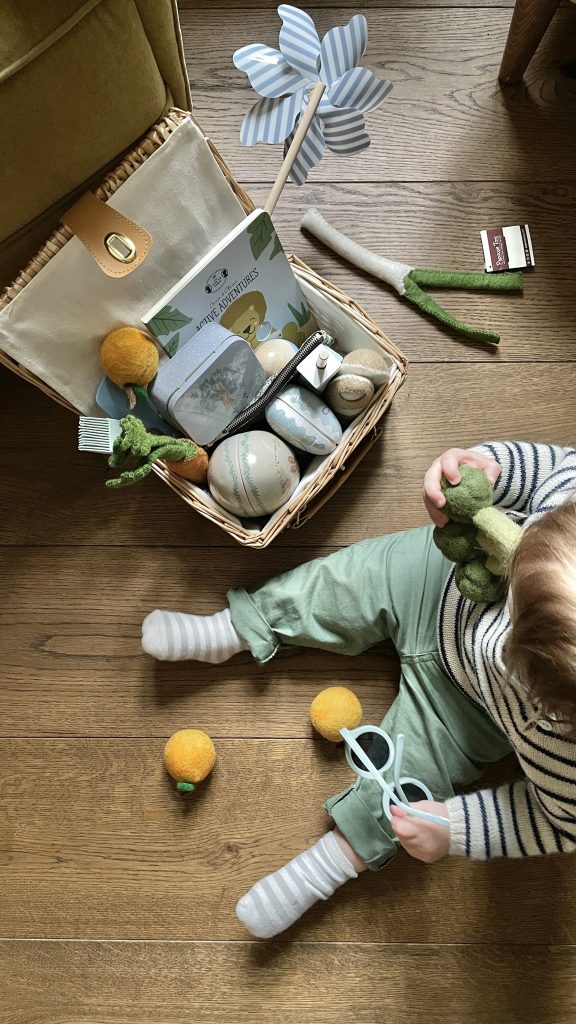
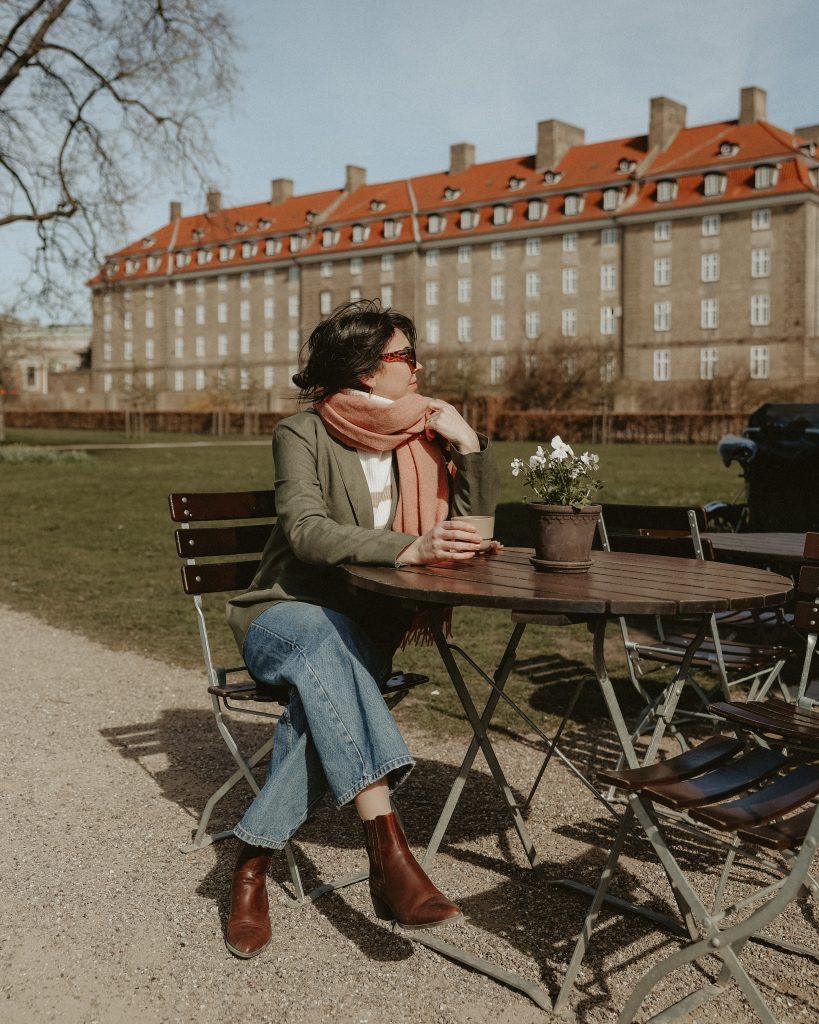
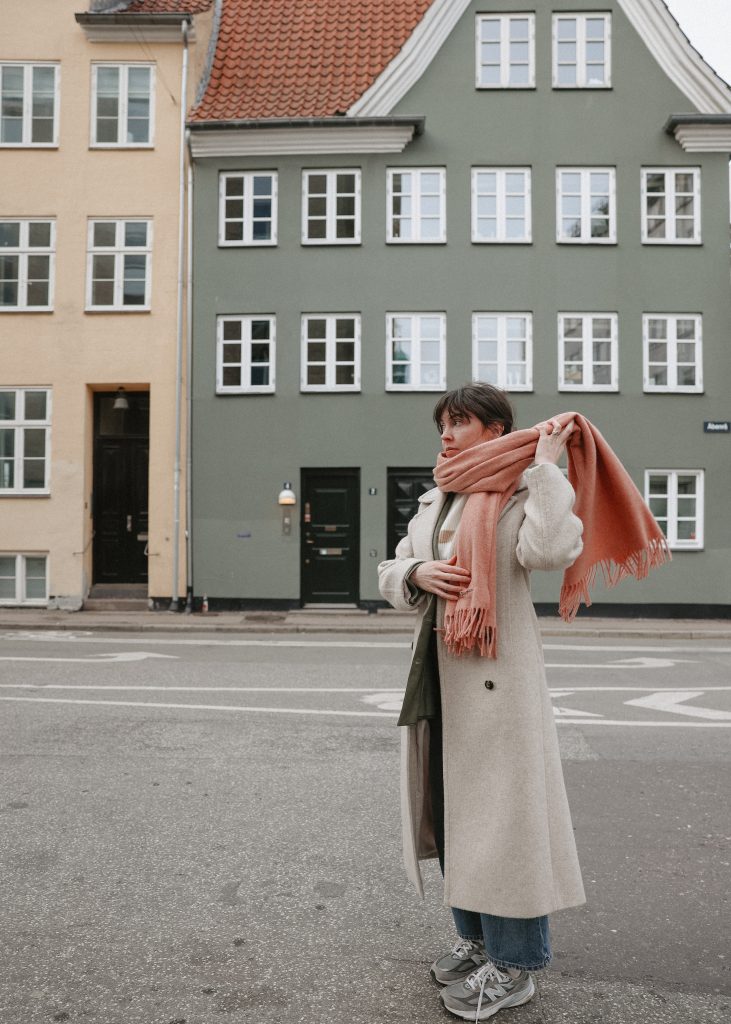
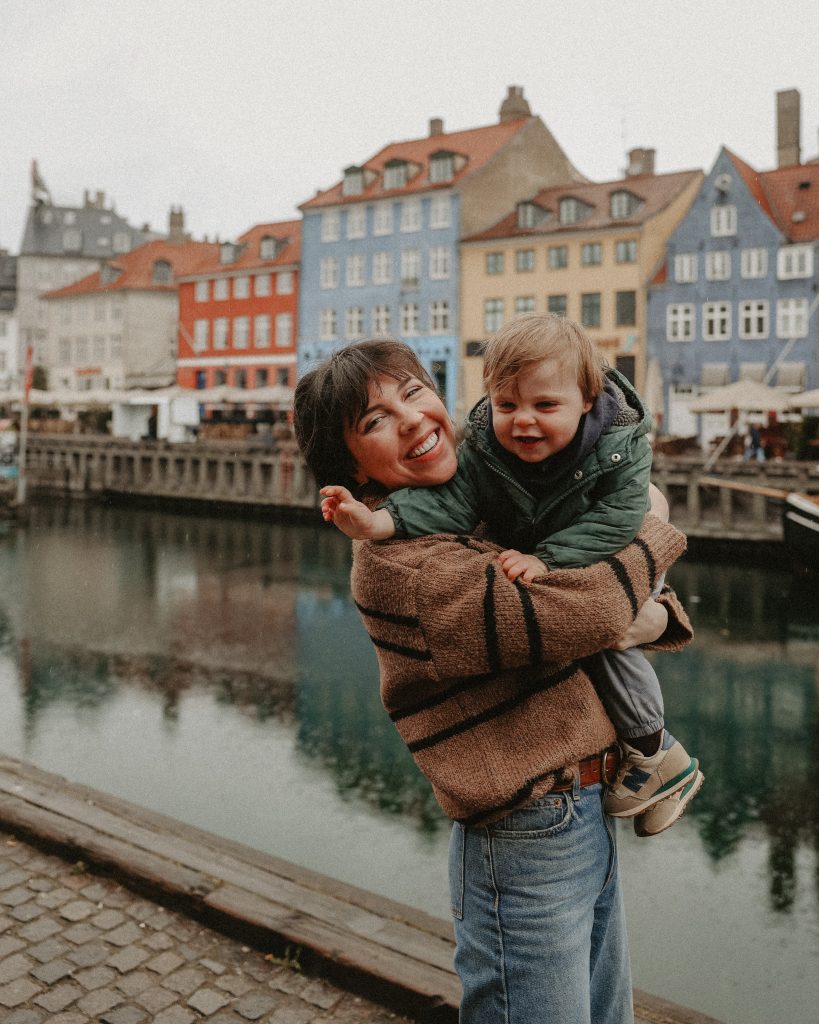
What I’m Wearing
My sister moved to Copenhagen last summer for her job and, since then, it’s been on my list of European cities to visit. We decided to split up our stay by spending half the time at her home (in a town 15 minutes outside of Copenhagen) and the other half in the city at Hotel Sanders. I’m so glad we got to experience her everyday routine and ride the train into the city but also experience staying central to the city which was when we really started learning our way around more. My first impressions of Denmark were: feeling extremely safe, very kid (and parent) friendly, beautiful clean streets and stunning architecture, a lot to do and see (and SHOP and eat), especially for kids. The food was incredible and I can definitely see us revisiting during warmer months! Summer would be the perfect time to visit, in my opinion. When we were there (April 6th-April 11th), it was in the 40’s and 50’s for the high. I had brought my winter coat so it was still very enjoyable but definitely pack for cooler weather since you’ll be spending most of your time outdoors.
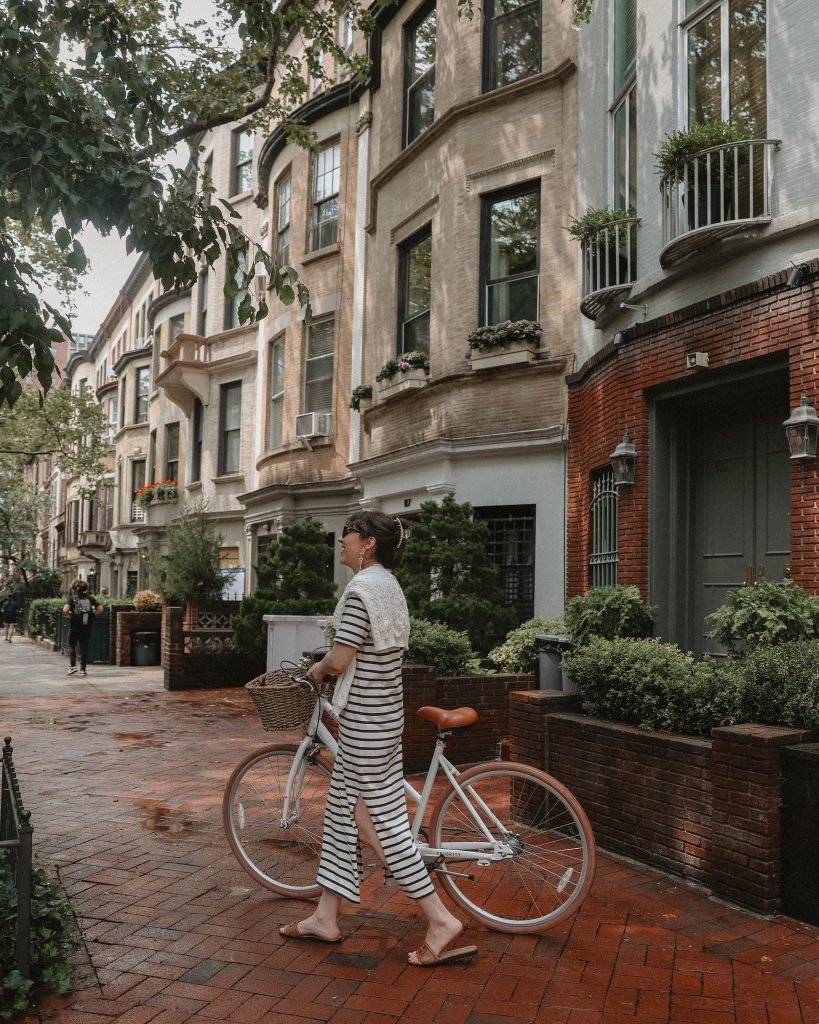
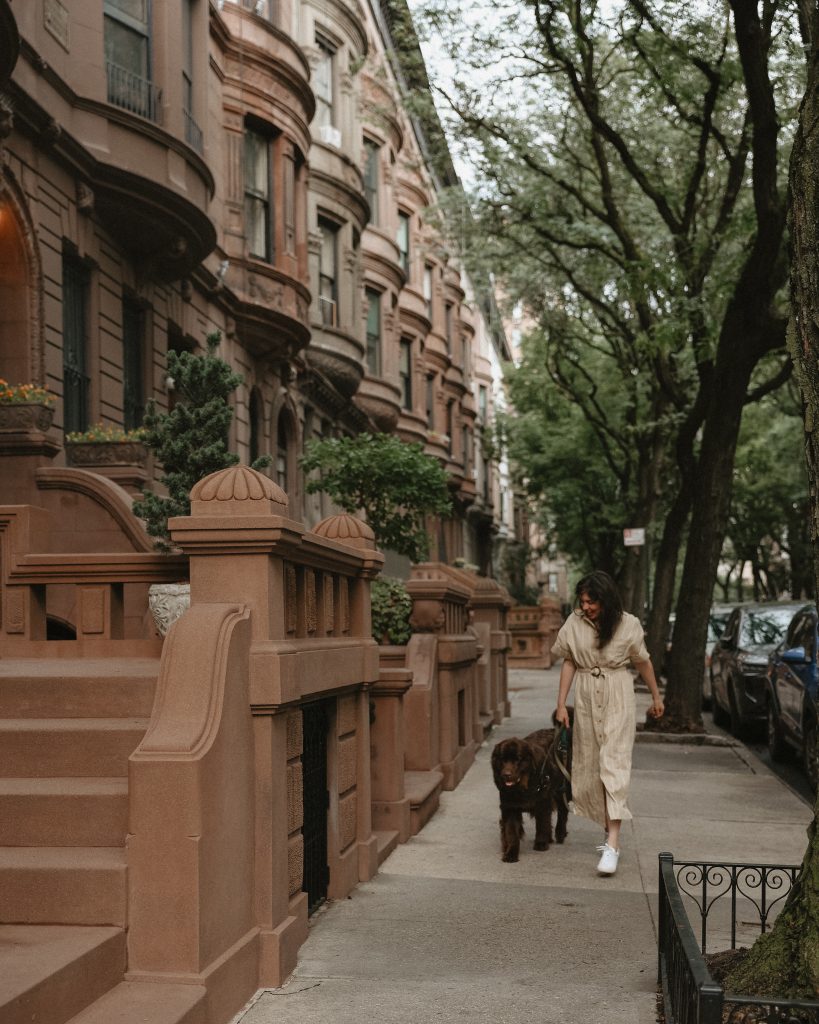
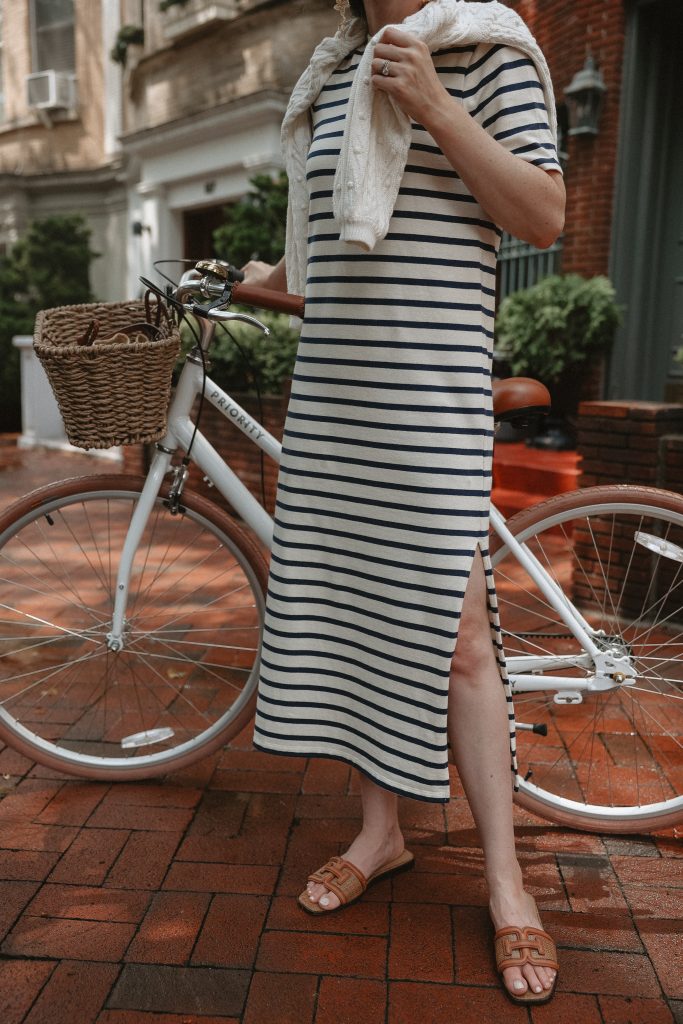
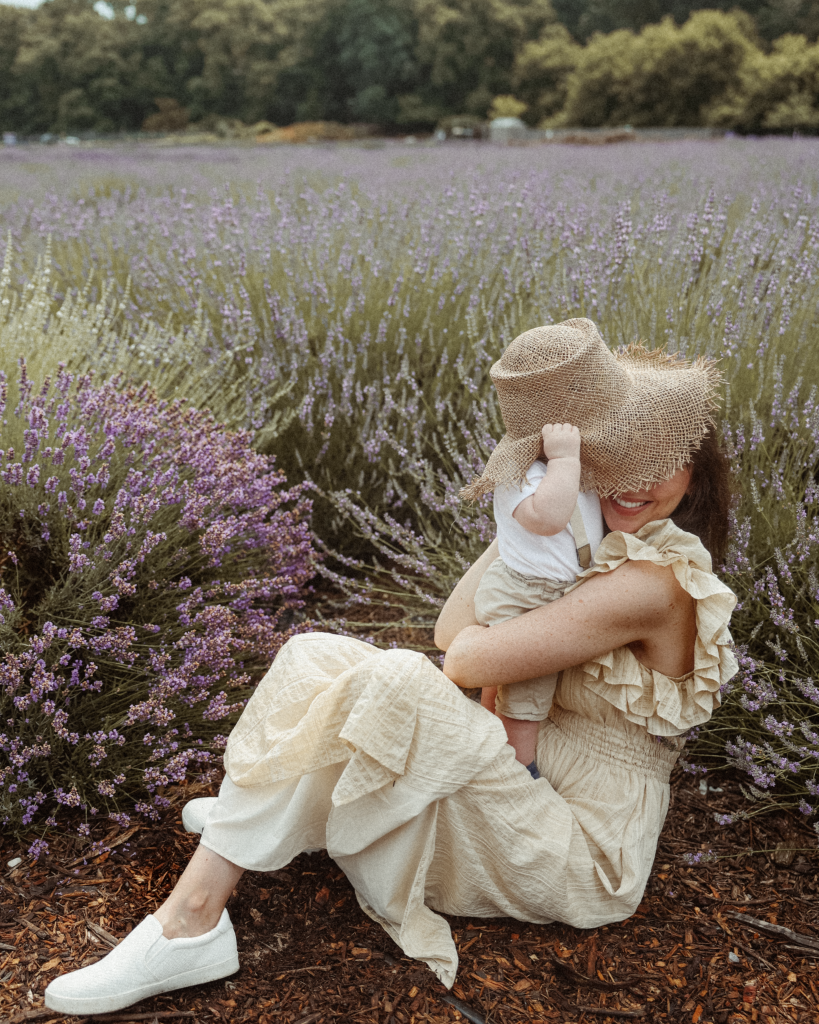
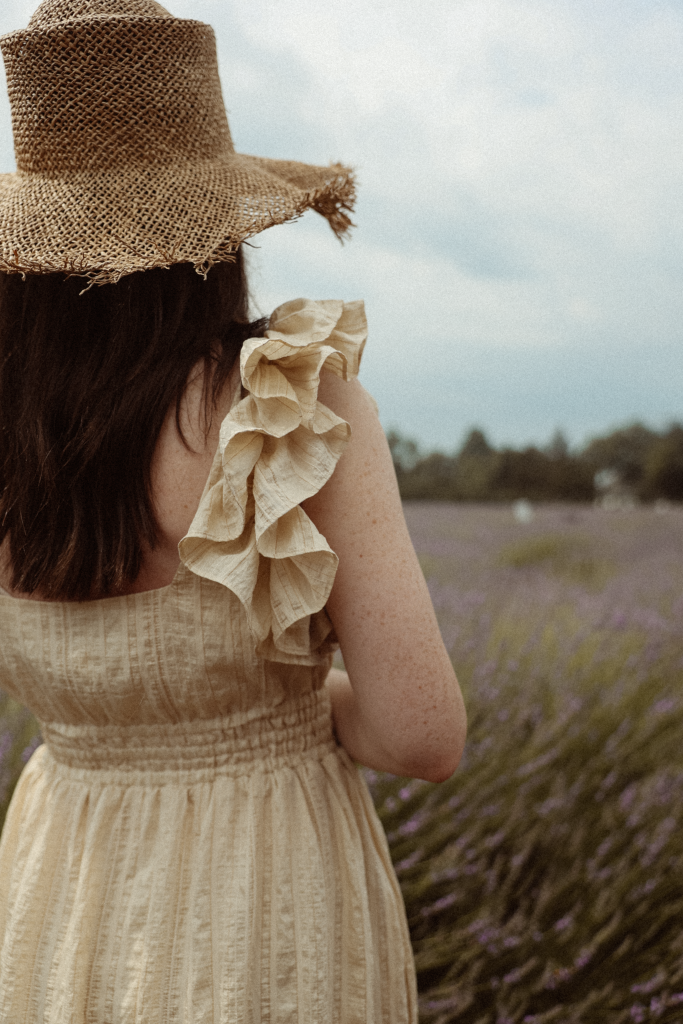
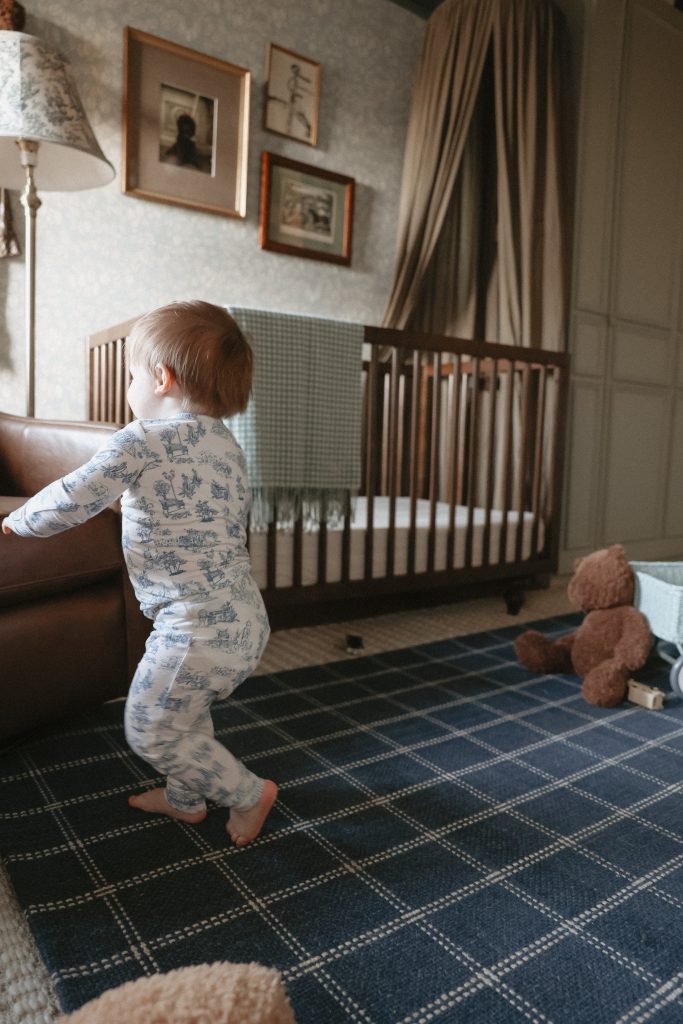
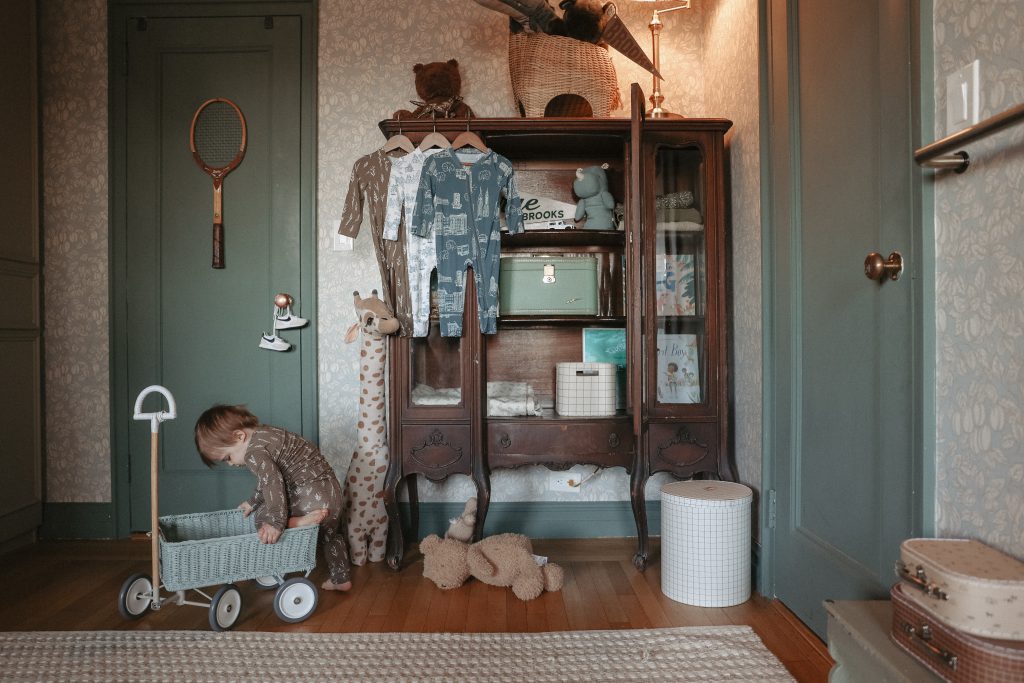
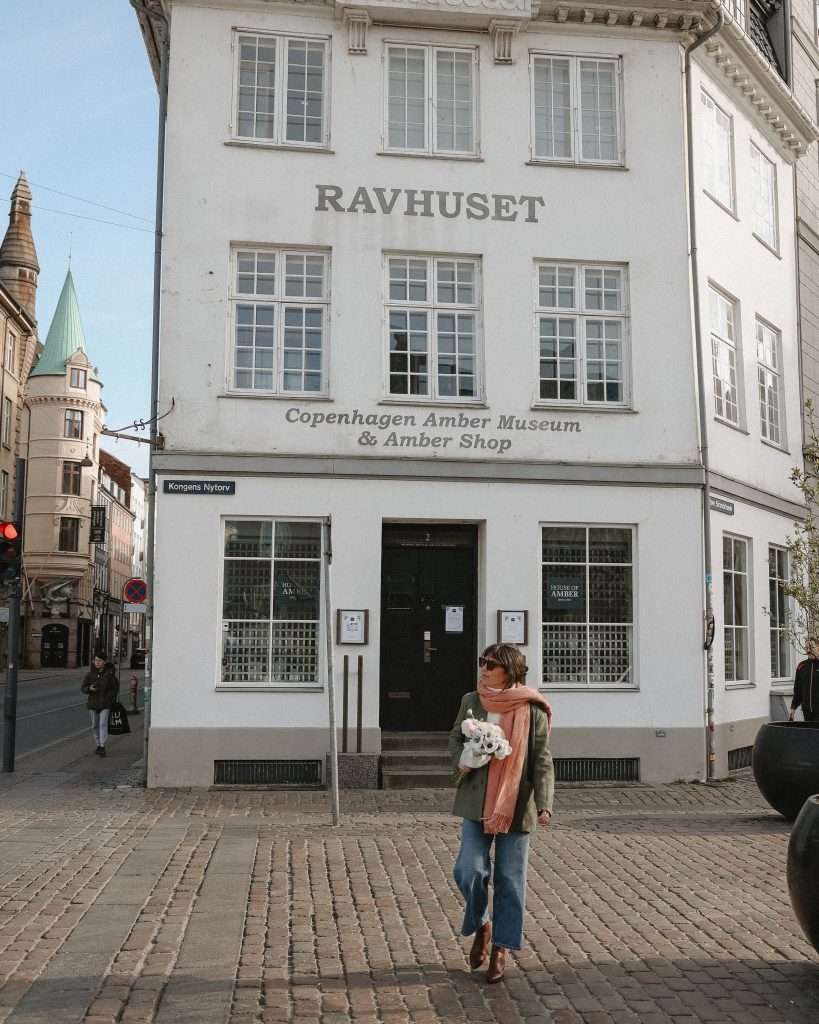
What I’m Wearing
EAT
Coffee Shops and Bakeries
Coffee Collective
There were several locations of Coffee Collective but my favorite had to have been located in this old 19th century phonebooth. I became a Cortado girl on this trip and I also loved how most cafes served a “bun with cheese and butter”… something so simple but so filling and fresh tasting. I was hooked and went every single day.
Juno the Bakery
Juno, an award winning bakery especially known for their Cardamom Bun, is very well known to locals but was a somewhat longish walk away from where we stayed. We actually tried this bakery while we stayed with my sister just outside of Copenhagen and her husband picked it up and brought it back to their place before we woke up. He literally bought one of everything and it was phenomenal. I’d definitely recommend going and exploring the area it’s in too while you’re there!
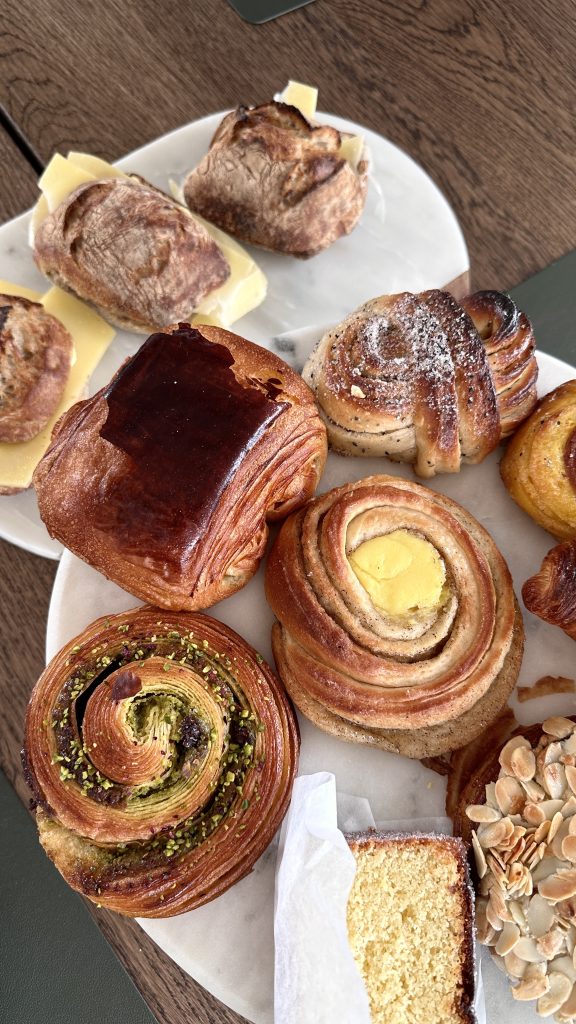
Farumhus
This bakery was located very close to our hotel so during our hotel portion of our trip, we frequented it! Great location and great coffee. It’s pretty close to Nyhavn too if you’re wanting some coffee while walking around that area.
Conditori La Glace
If you’re wanting some of the best fluffiest cake of your life, this is your place and it’s Denmark’s oldest patisserie. Not only is it so beautiful inside but I was told that it’s the Queen’s favorite bakery. You must stop by here, even if you don’t like cake… it just felt very iconic and my mouth is watering thinking about it and knowing it’s 3,800 miles away. It was also in a very convenient location if you’re out shopping!
Lunch Spots
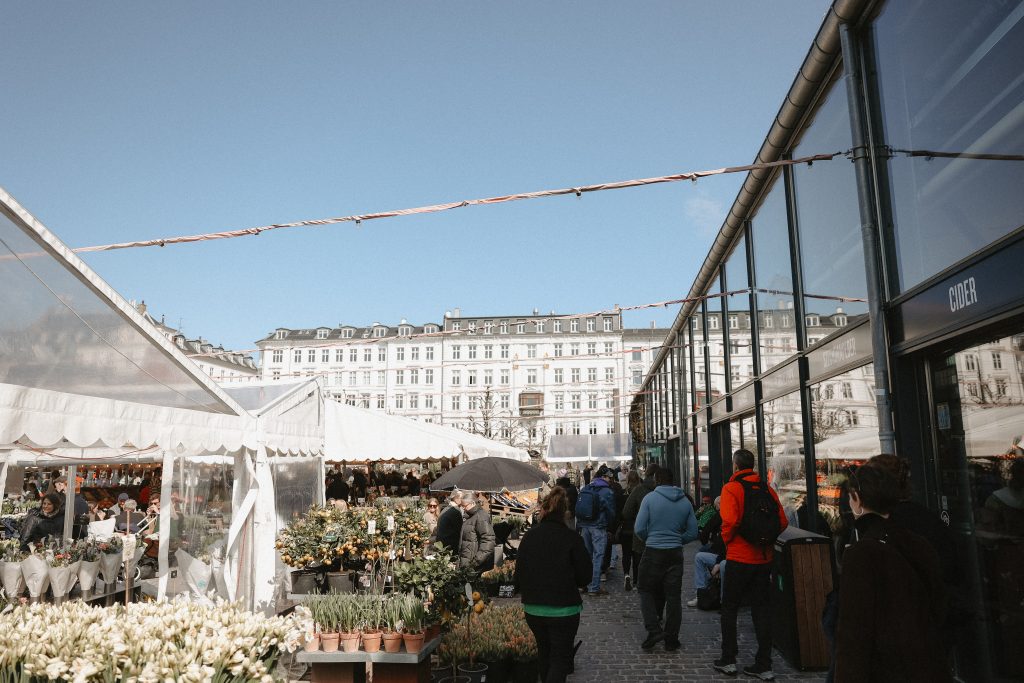
Torvehallerne Market
Our lunches were all very casual and spontaneous for the most part and this market/food hall was very casual (and very busy on a Saturday). If you’re hungry but not quite sure what you want to eat, this food hall had over 80 shops to choose from and everything I had was delicious. I’m a little sad we didn’t go back here a second time. It was SO fun getting to taste a variety of local businesses’ foods in one place though and I’d highly suggest adding this one to your map for an easy lunch spot.
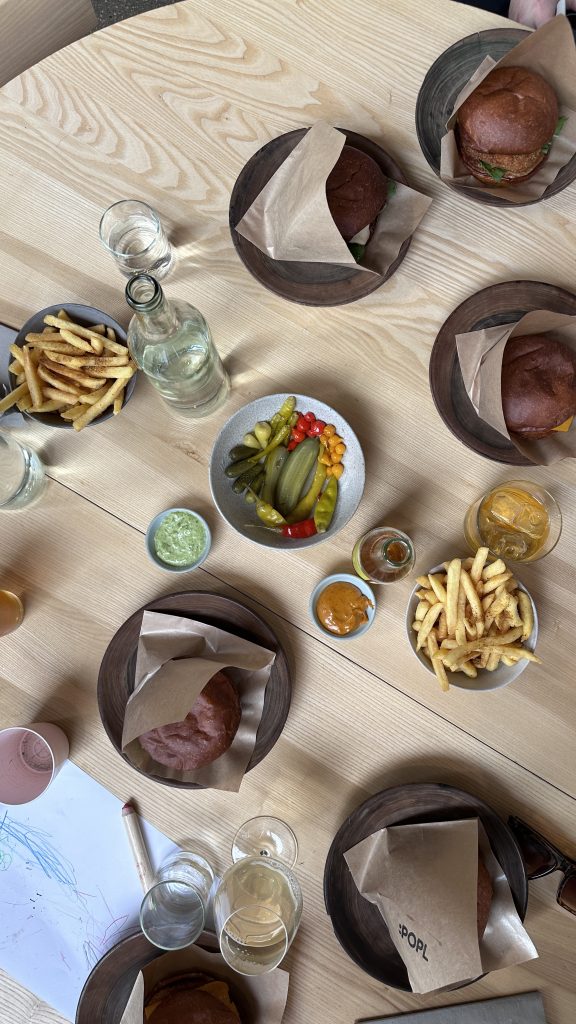
Popl
We met some friends here for burgers one day and I don’t want to get your hopes up but I thought this was the best burger of my entire life. The staff were also incredibly friendly to Brooks (everyone in this city was, really). If you’re in the mood for a really good burger, I’d add it to your list. It’s run by the same chefs who also run Noma, which was voted the World’s Best Restaurant multiple times. We also tried the more casual famous burger chain over there, Gasoline Grill, which was also pretty good. I preferred Popl though!
Huks Fluks
We popped into this place spontaneously on Easter when we were starving and I felt that it should be added to the list mainly for it’s location. It was located in what felt like a colorful courtyard of several other restaurants and seemed to be a good spot close to most of the shopping and sightseeing.
Dinner
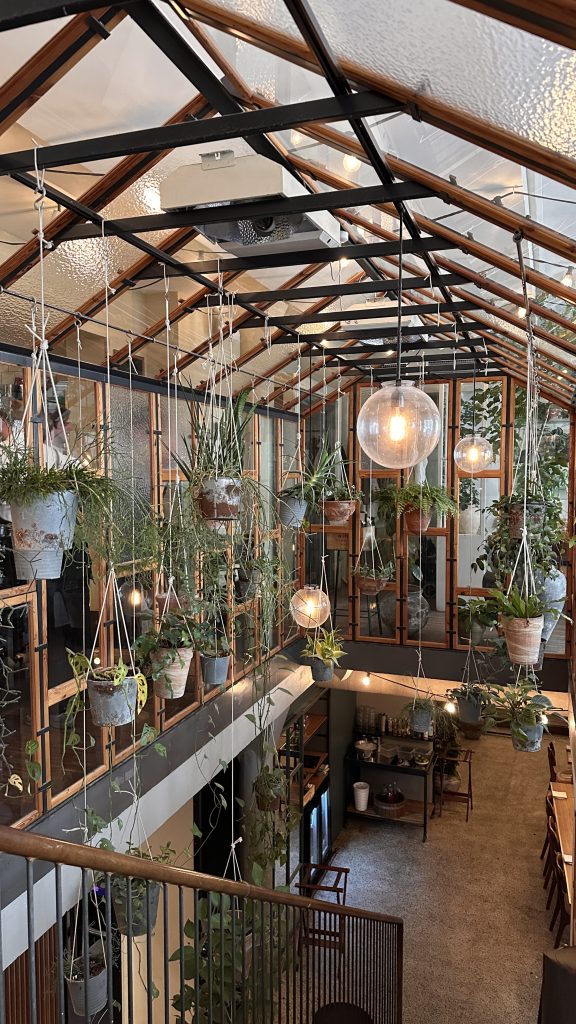
Vækst
We had a dinner reservation here on our first night and aside from the beautiful greenhouse-inspired interiors, the food was immaculate. Most of their menu is based on fresh Nordic vegetables and herbs but they also had meat dishes, all inside of a literal greenhouse. They also serve lunch too if you’re looking for something a bit more elevated than what I listed above!
Bæst
If you love charcuterie and pizza, put this in your map right now! Another award winning restaurant, Bæst has housemade charcuterie and cheese and makes the best pizza using organic and sustainable ingredients.
Veve
If you’re feeling adventurous and up for a splurge-worthy dinner, you’ll want to make a reservation for this vegetarian restaurant. I’ve never dined at a more unique restaurant before and each course was not only a work of art, but SO tasty. I’m pretty sure Brooks was the first kid to ever dine here (wouldn’t really recommend for kids/babies but we managed). Your dining experience basically starts out in a lounge at a coffee table and you have 6-7ish courses of appetizers brought out and explained to you. After about 45 minutes, we were then taken to our dining table where we were brought 6-7 more courses for dinner. It was just the most fun dinner I’ve ever had. A major splurge but I’d say it was worth it, especially since most of our other meals were very casual.
Frk. Barners Kælder
We actually did not eat here but I wanted to after our friends told us about it! It has very traditional Danish dishes so, if you’re in the mood for that, I’d add it to your list!
SHOP
Children Stores
Skovalfen
This toy store was adorable and had every felt and wooden shaped toy imaginable. I stopped in here to make a last minute Easter basket for Brooks and bought so many felt fruit toys and other unique items that he loved.
Red Barnet Genbrug
Right across the street from Skovalfen, is this secondhand clothing store for kids. I didn’t end up buying anything here but I could have spent an hour just sifting through all of the clothing.
Miniministeriet
This store was also right beside the first toy store mentioned and definitely worth stopping into! A perfect mix of clothing, toys, and gifts.
Sostrene Grene
This was one of the most unique stores I’ve ever shopped at and I definitely could have spent over an hour just inside of this one store. It wasn’t a children’s store but had enough items for children to be included in this list. It also had home decor, kitchen gadgets, crafty supplies, and so much more.
Other Shops Worth Visiting
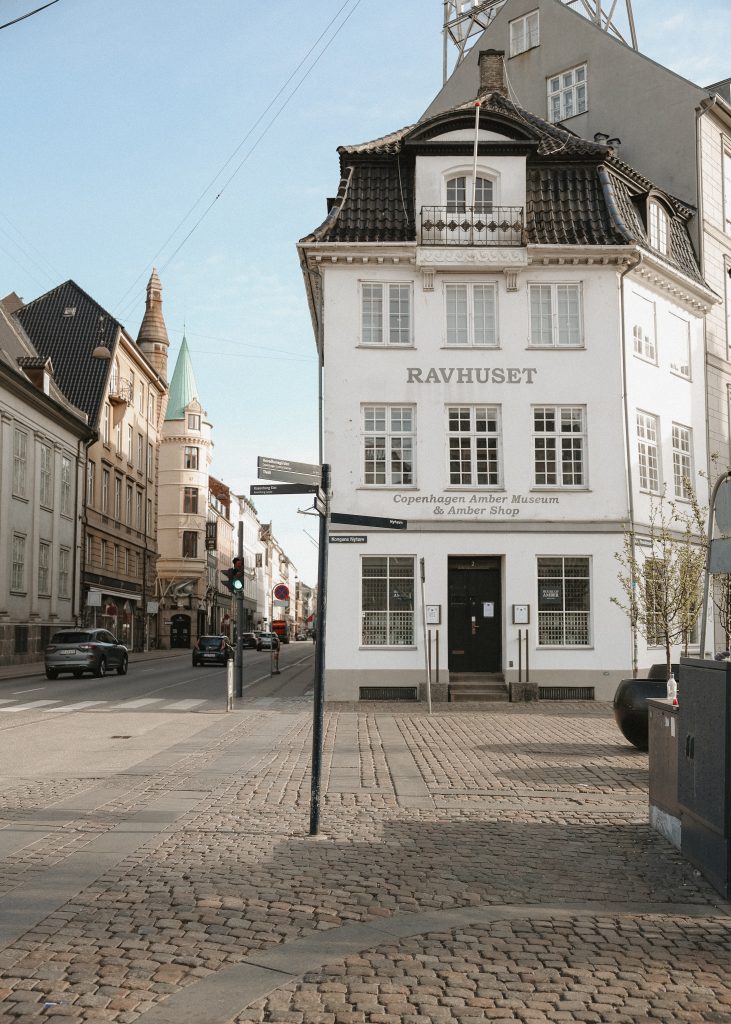
Det Gamle Aplotek
If you’re looking for any sort of Copenhagen souvenir, I LOVED this shop. This is where I bought the ceramic houses I shared on my Instagram stories.
Sostrene Grene
I mentioned this one above but I’d also add it in the home-craft-life category of shopping. If you’ve never been to one of these, it’s definitely worth stopping by! The most fun store I’ve ever been in.
Antiques and Flea Markets
I had a huge list of shops to visit in this category but was sad to find them all closed since it was Easter weekend. They take their long Easter holiday weekend very seriously and close up nearly every shop for 4 days straight just FYI. I’d suggest searching ‘Antik’ or ‘Loppemarked’ in your map app to find what is nearest to you but a few that I had saved on my personal map guide are listed below:
Weekend Flea Markets
Remisen Loppemarked
Loppetorv pa Frederiksberg
Loppemarked Norrebro
Antique Shops
Strædets Antik
Bøgebjerg Antik
GB Antiques
Antiques Maritime
There were countless others that I passed by though… they’re everywhere!
SEE & PLAY
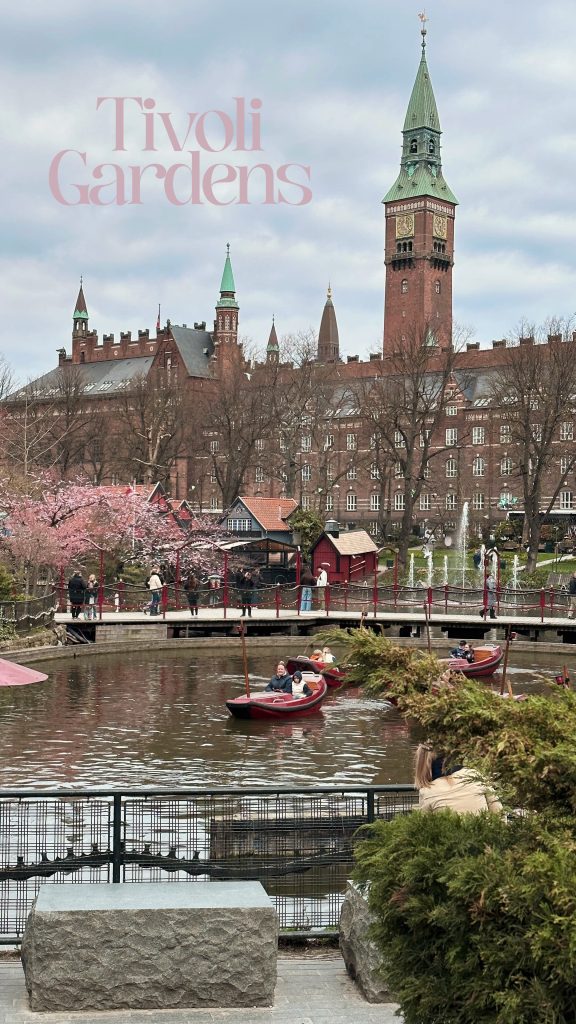
Tivoli Gardens
The second oldest amusement park in the world is definitely worth visiting. It’s part gardens, part amusement park so even if you’re not a huge fan of rides, you’ll find so much beauty here! And the FOOD. Every corner of this park was so beautiful and I can definitely see why Walt Disney was inspired by this.
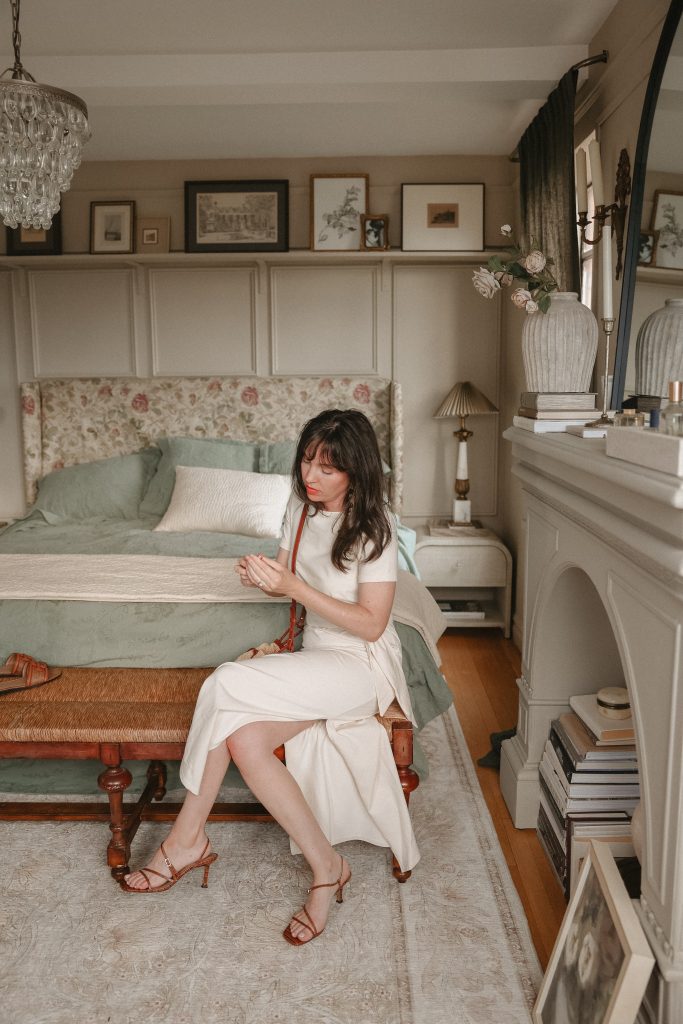
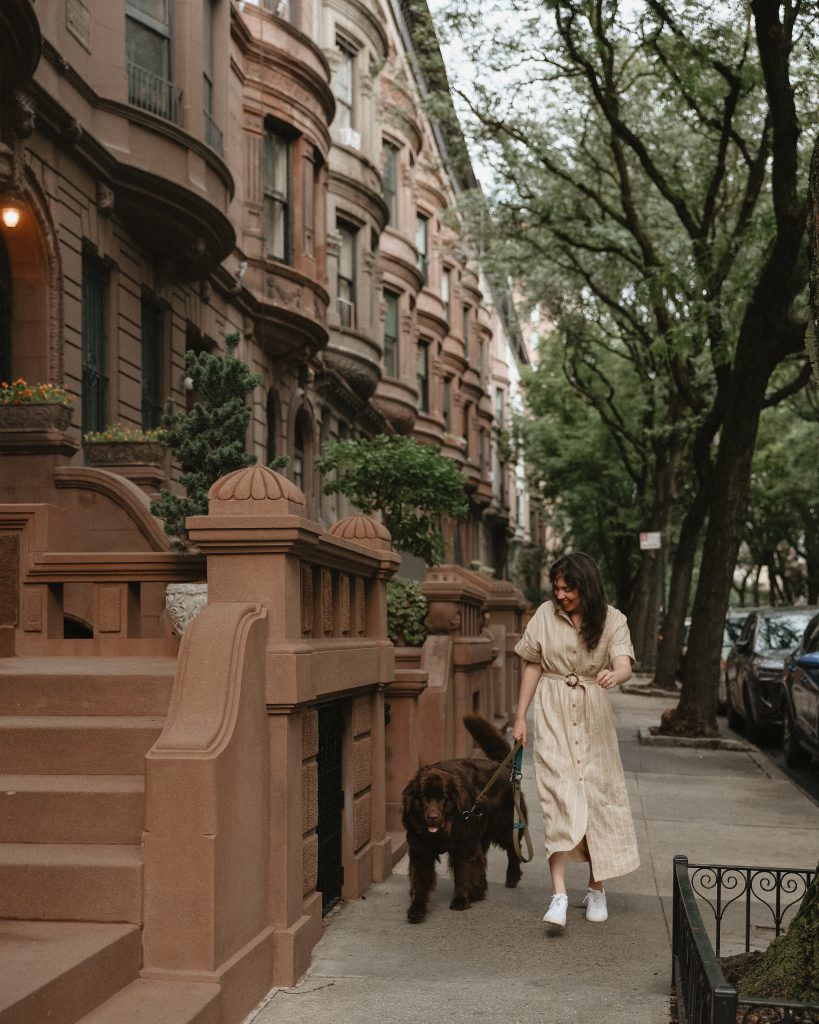
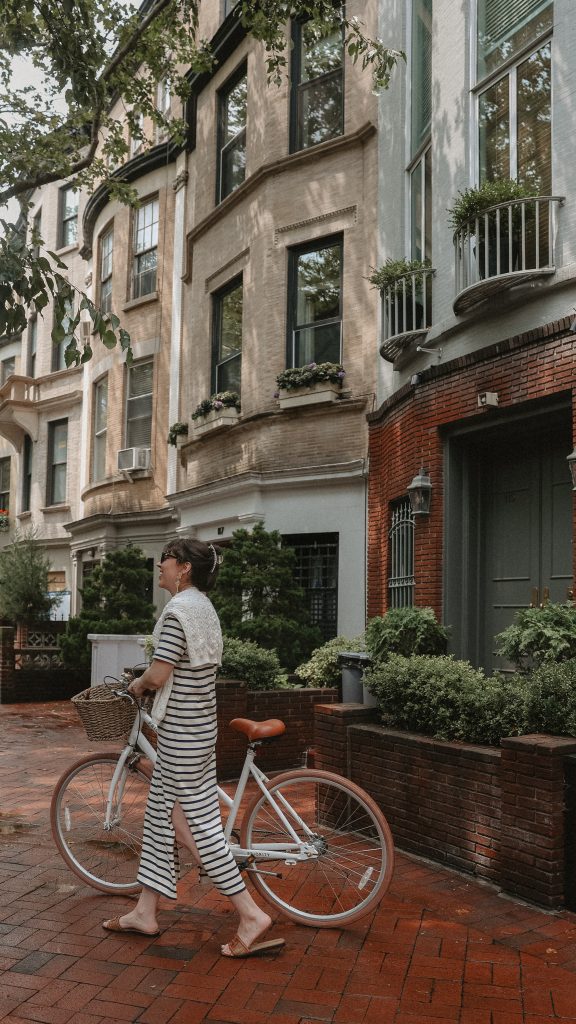
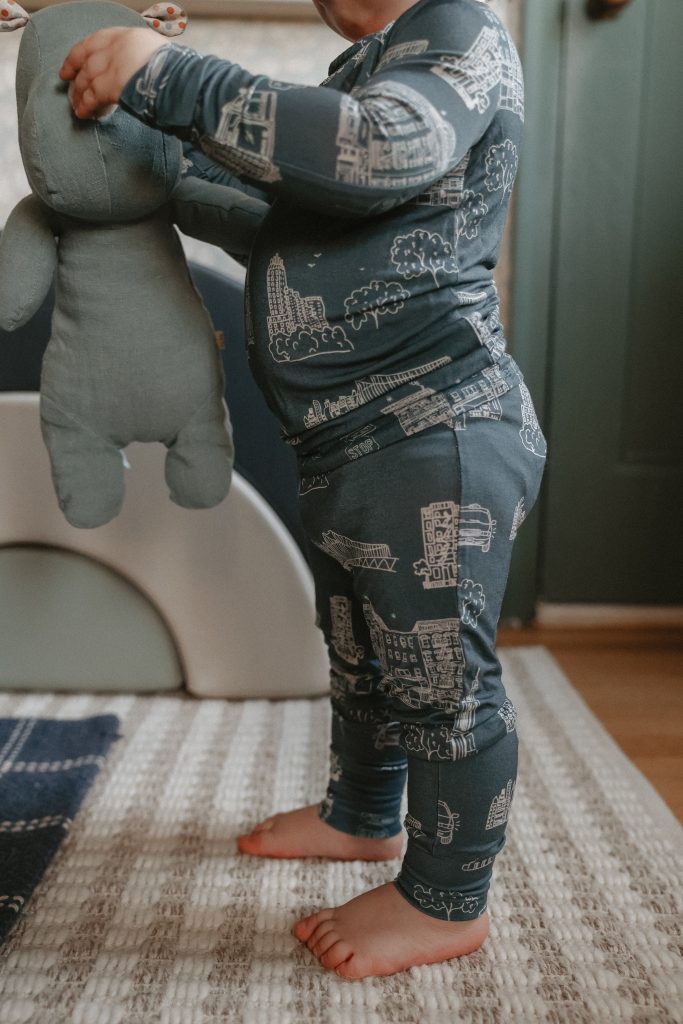
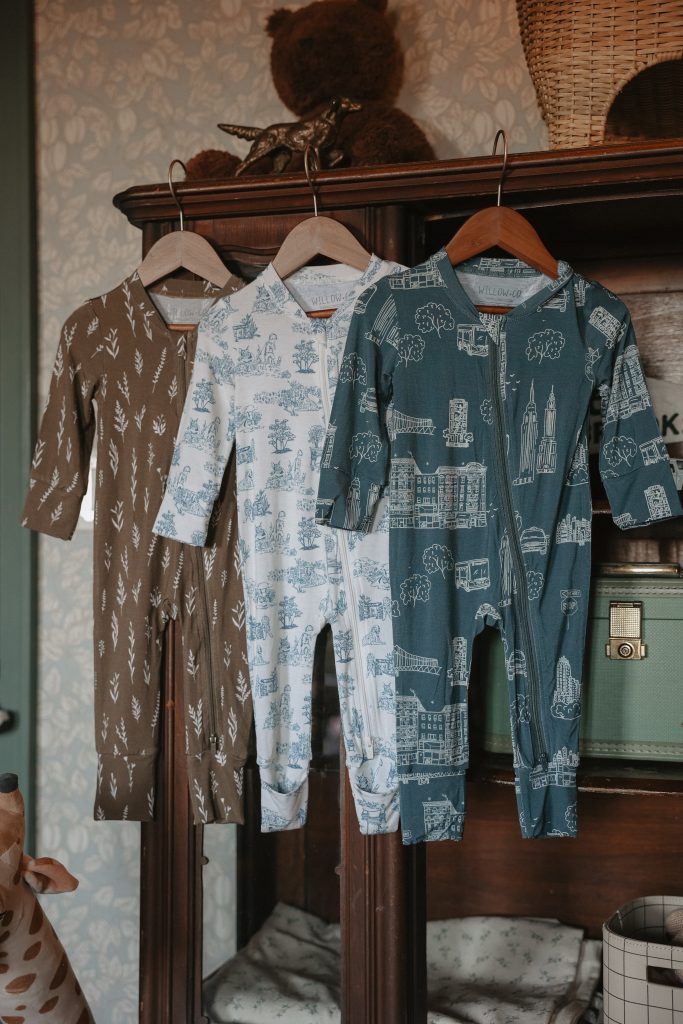
What I’m Wearing
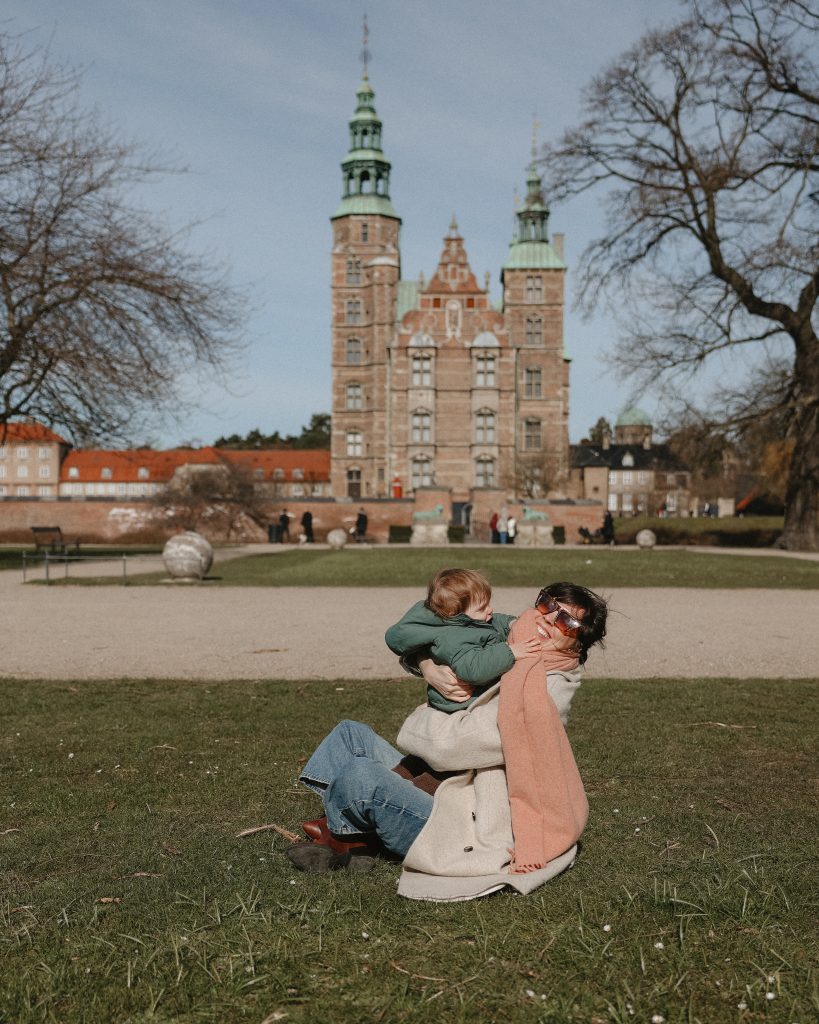
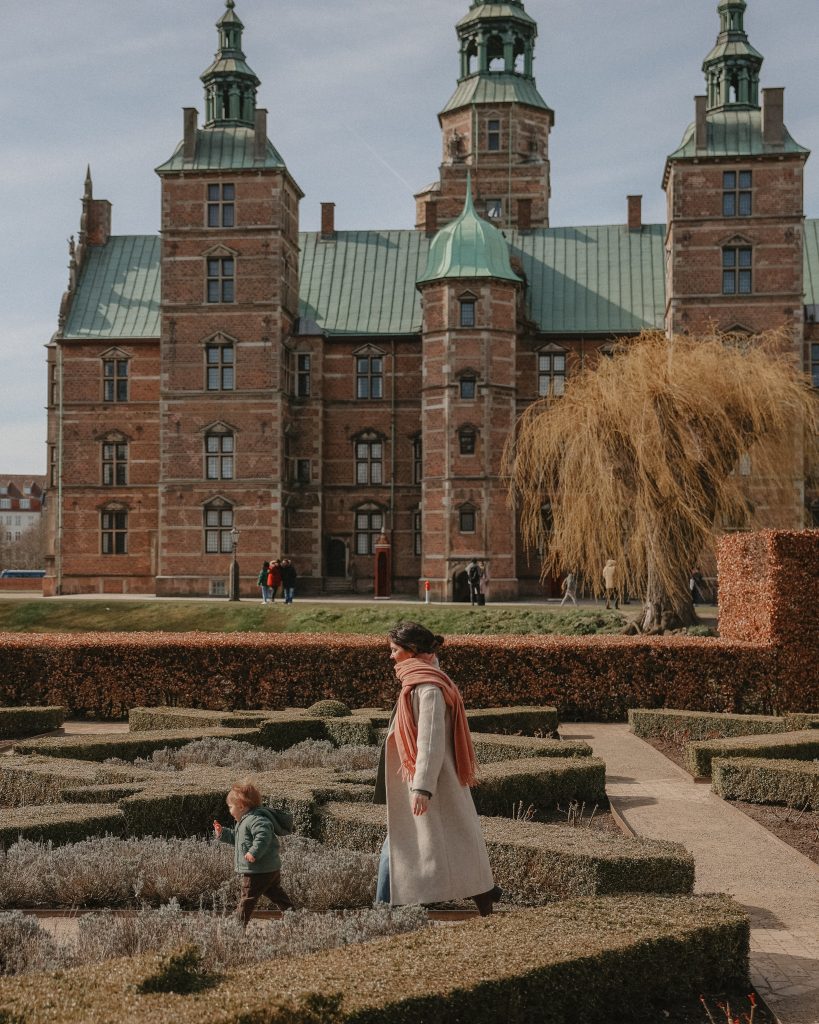
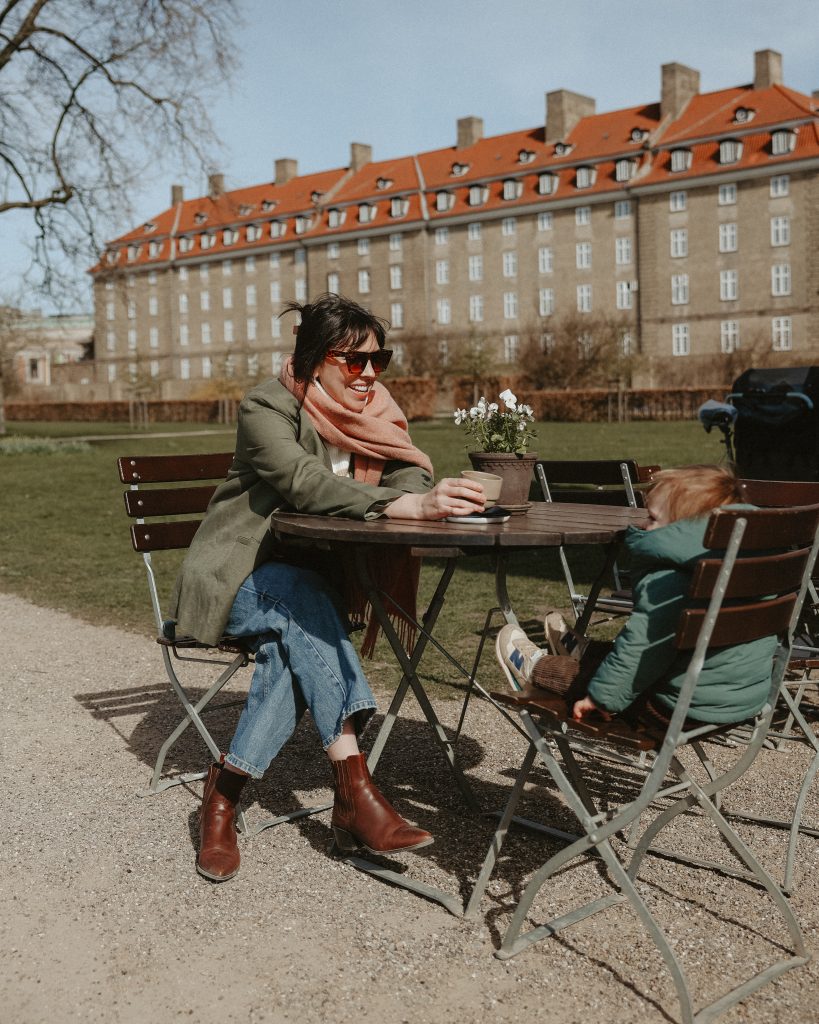
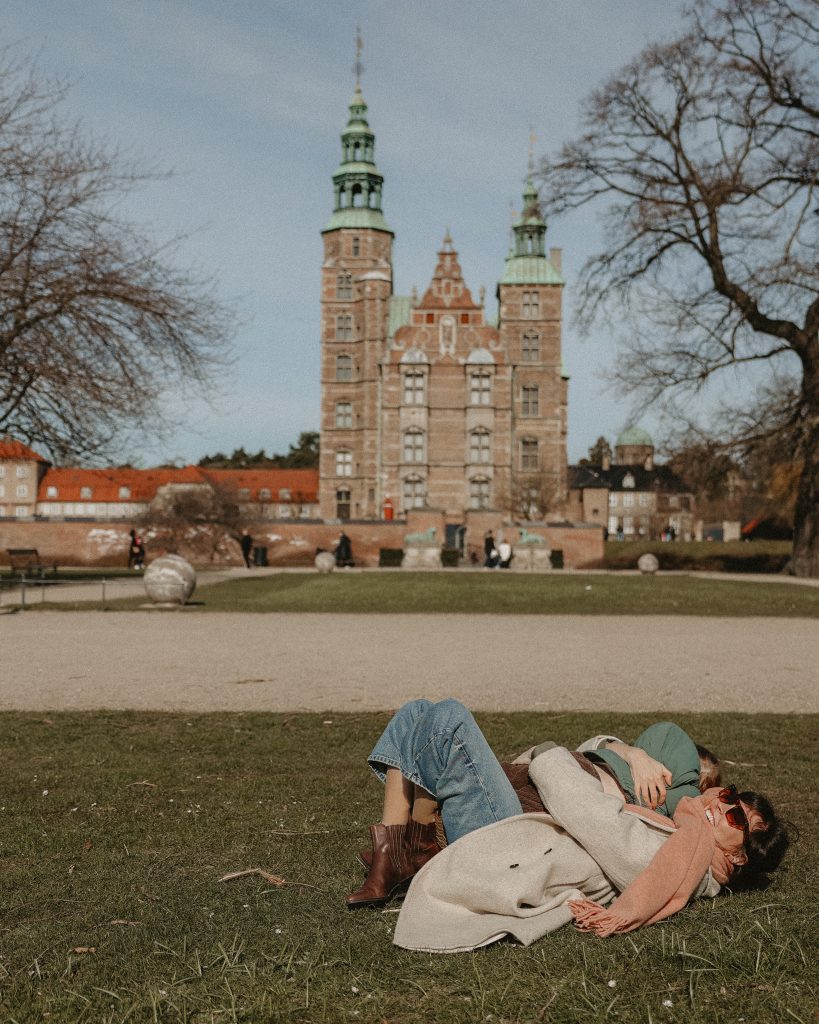
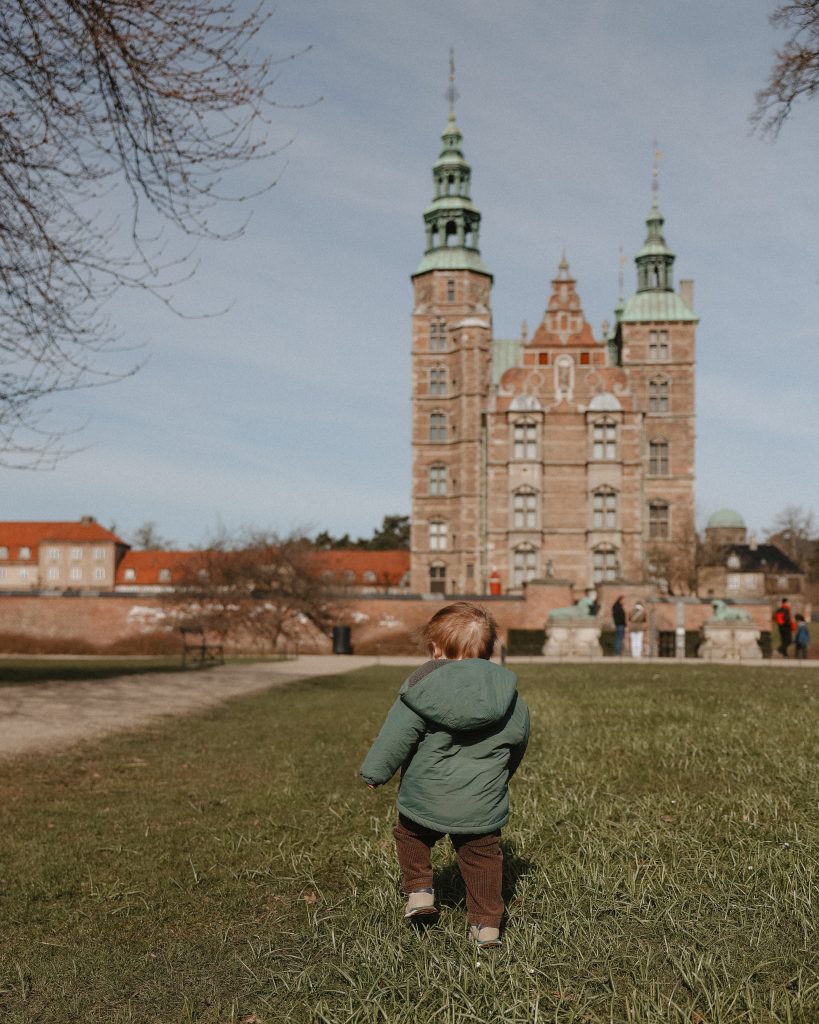
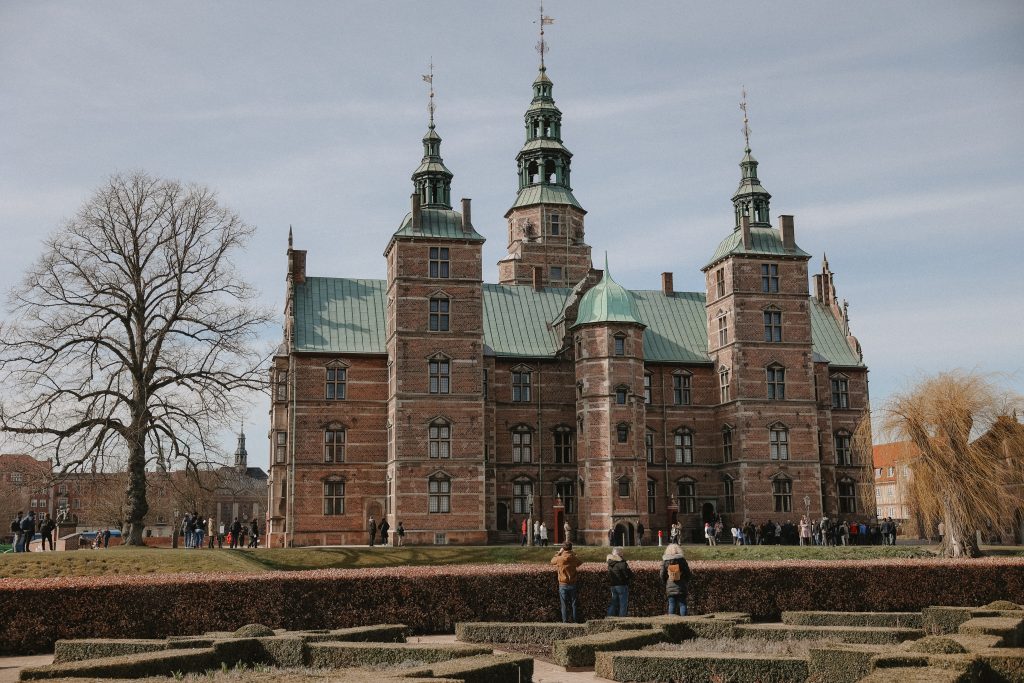
Rosenborg Castle Gardens
If I lived here, I’d stop here daily. Surrounding the Rosenborg Castle (which is a dream), are multiple gardens inside of a big park. We came here to let Brooks run around in the grass and we all just kept thinking “we need to come back here in the summer or fall”.
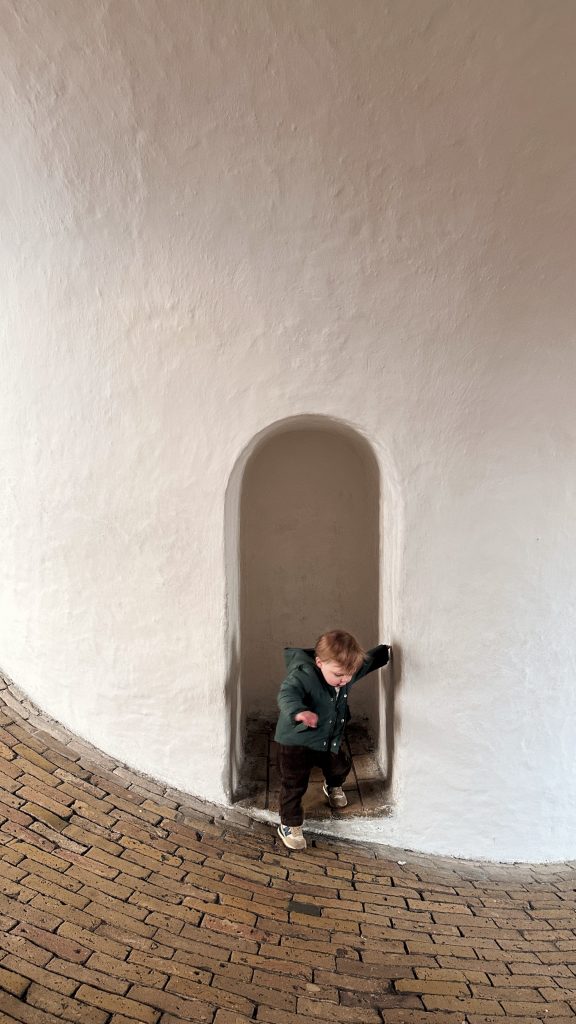
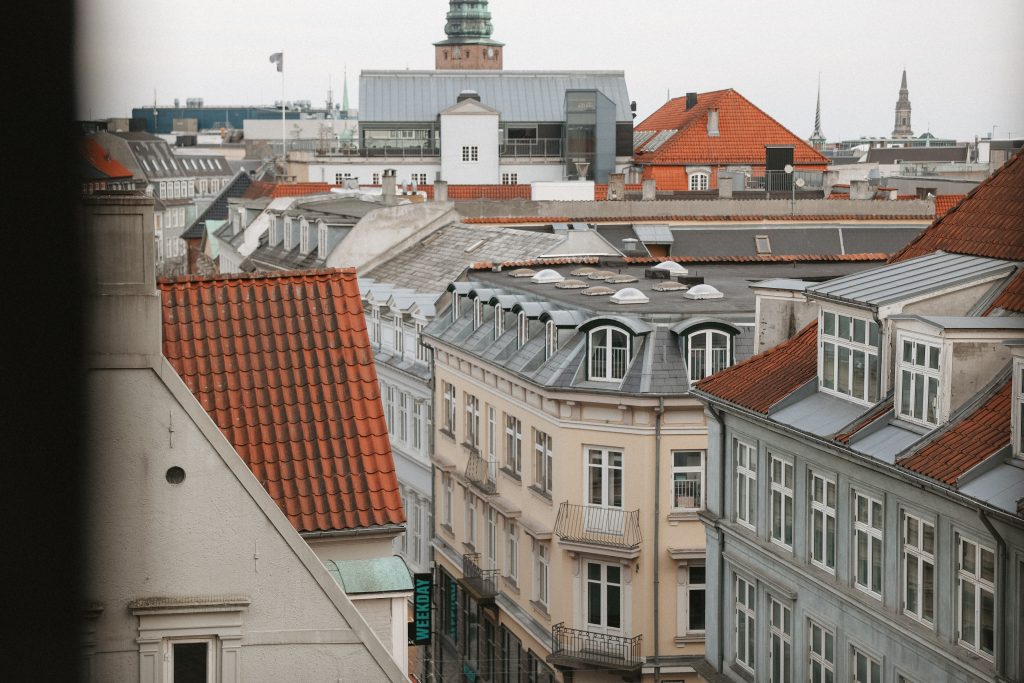
The Round Tower
This was a quick stop we made after dinner one night and I’d say it was worth it. We were only there for probably 30 minutes but it was really nice getting a good view of the whole city.
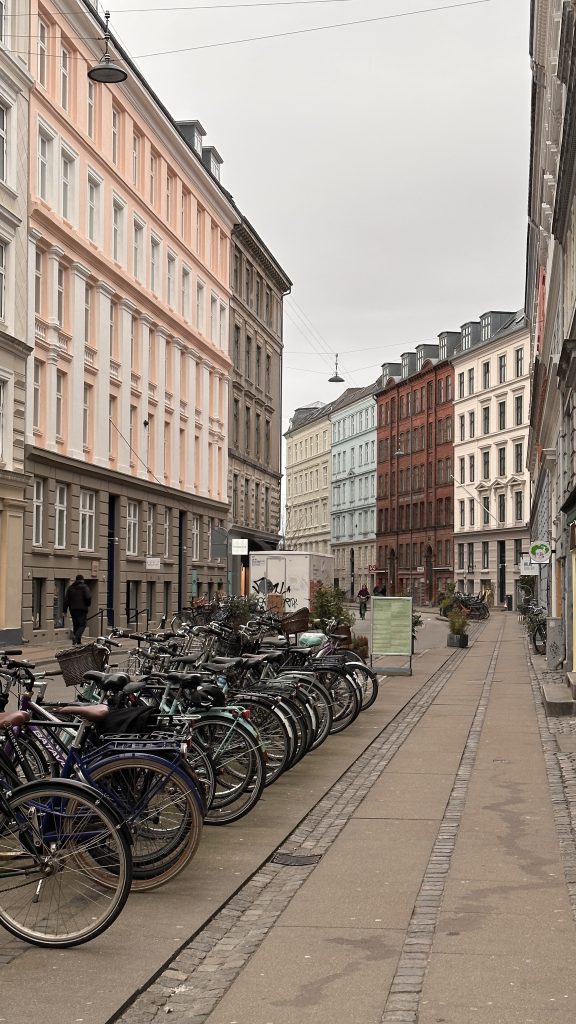
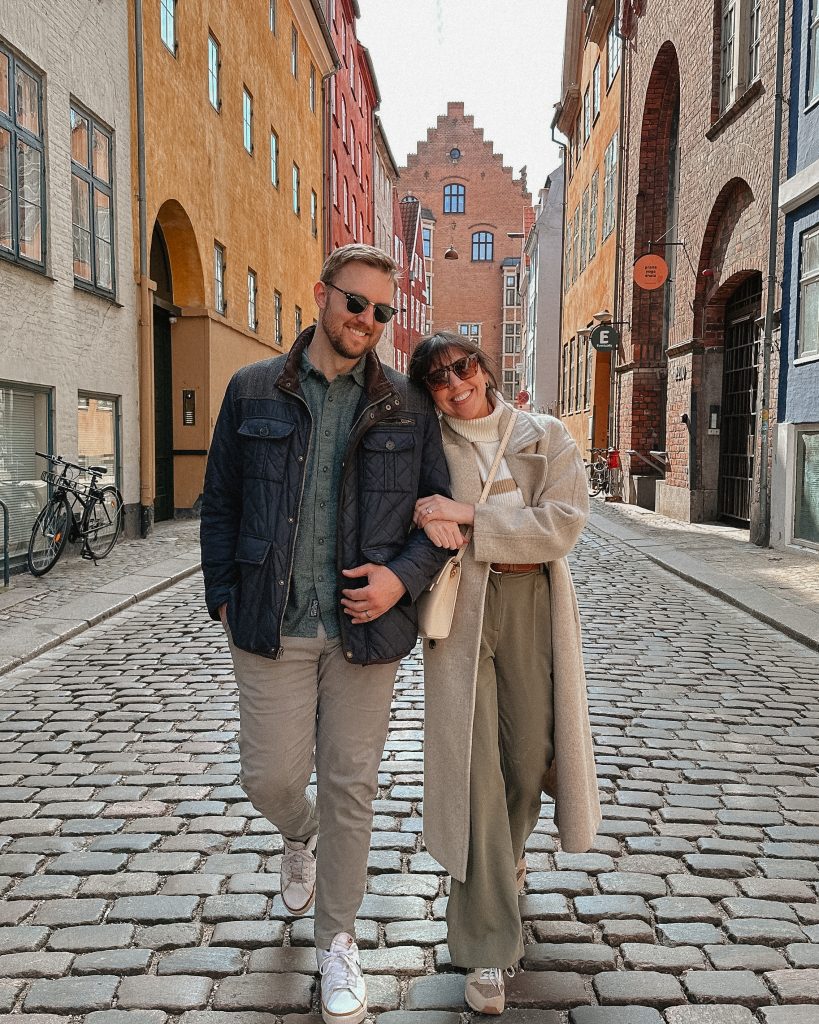
Magstræde
Just a quaint colorful quiet historic cobblestone street close to a bunch of restaurants by the water!
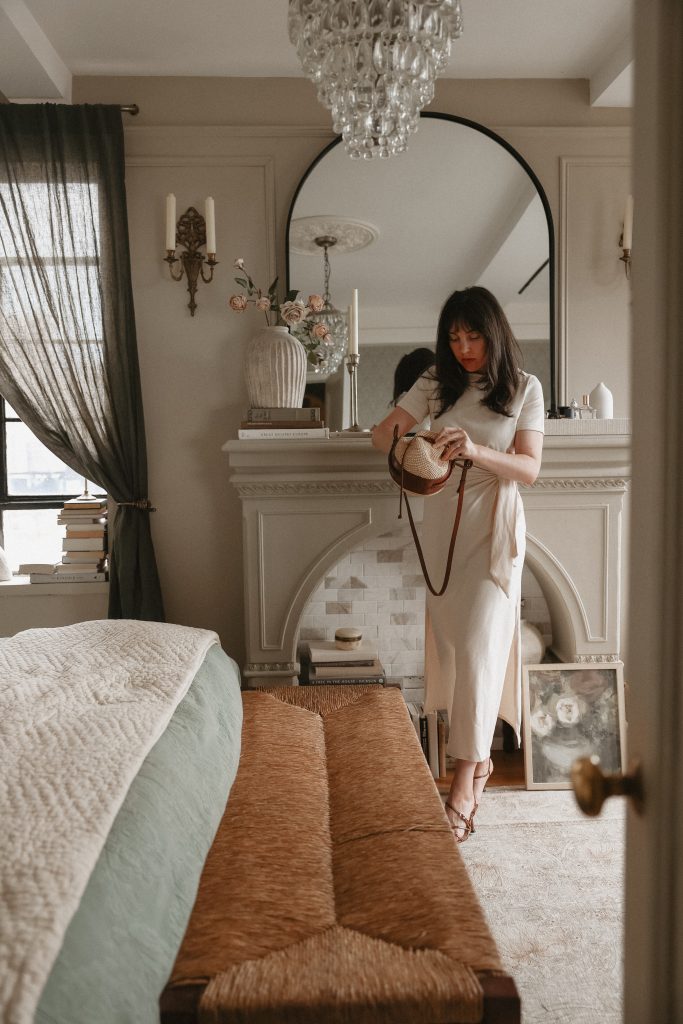
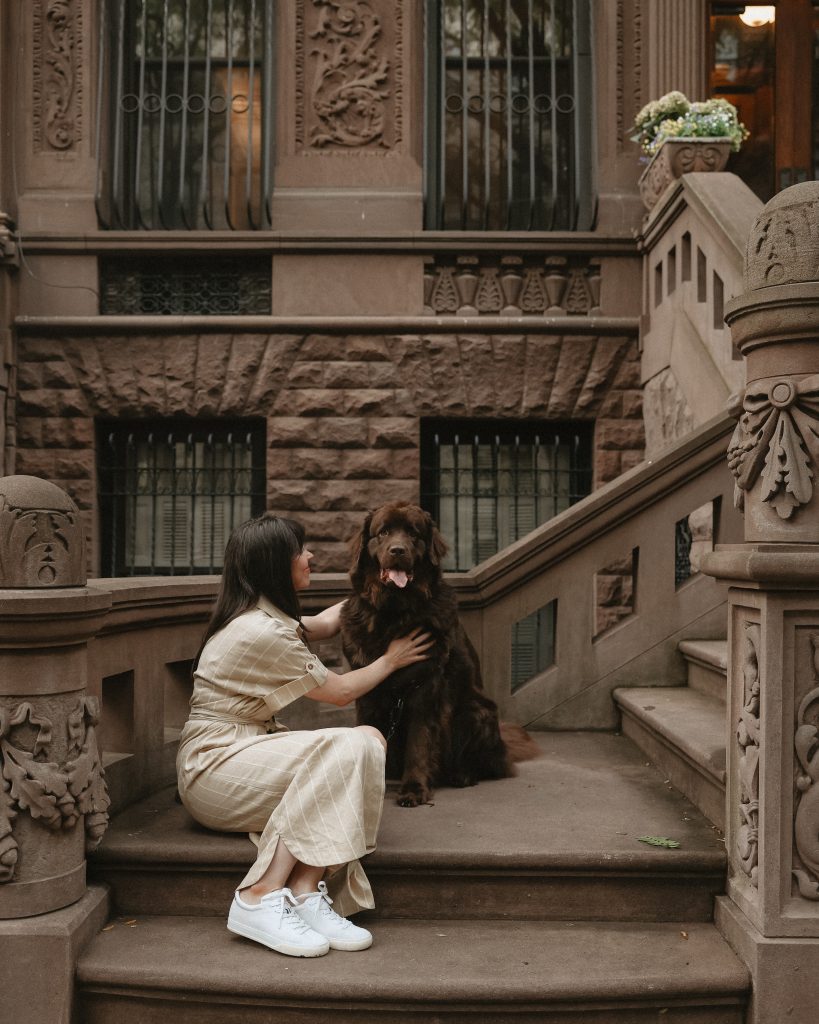
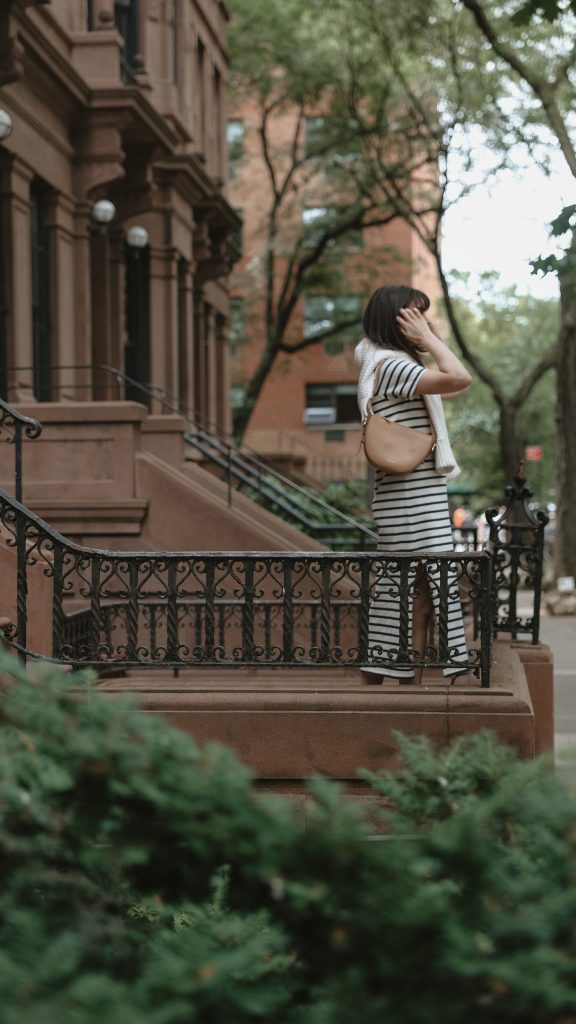
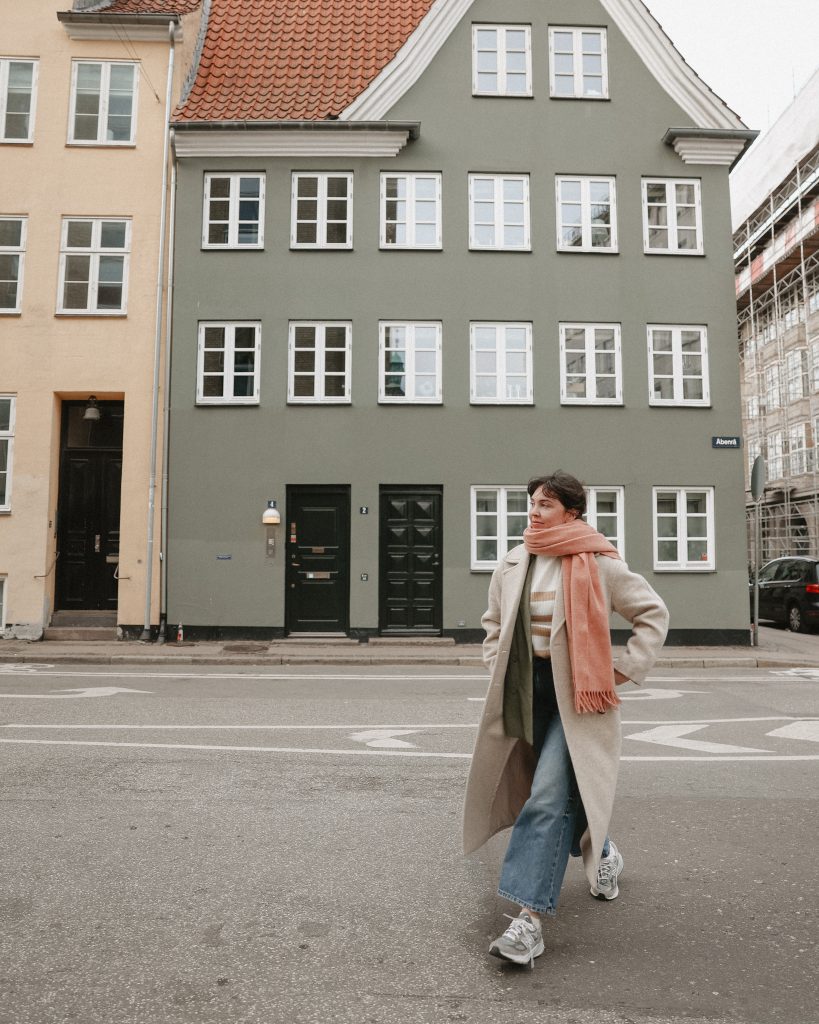
What I’m Wearing
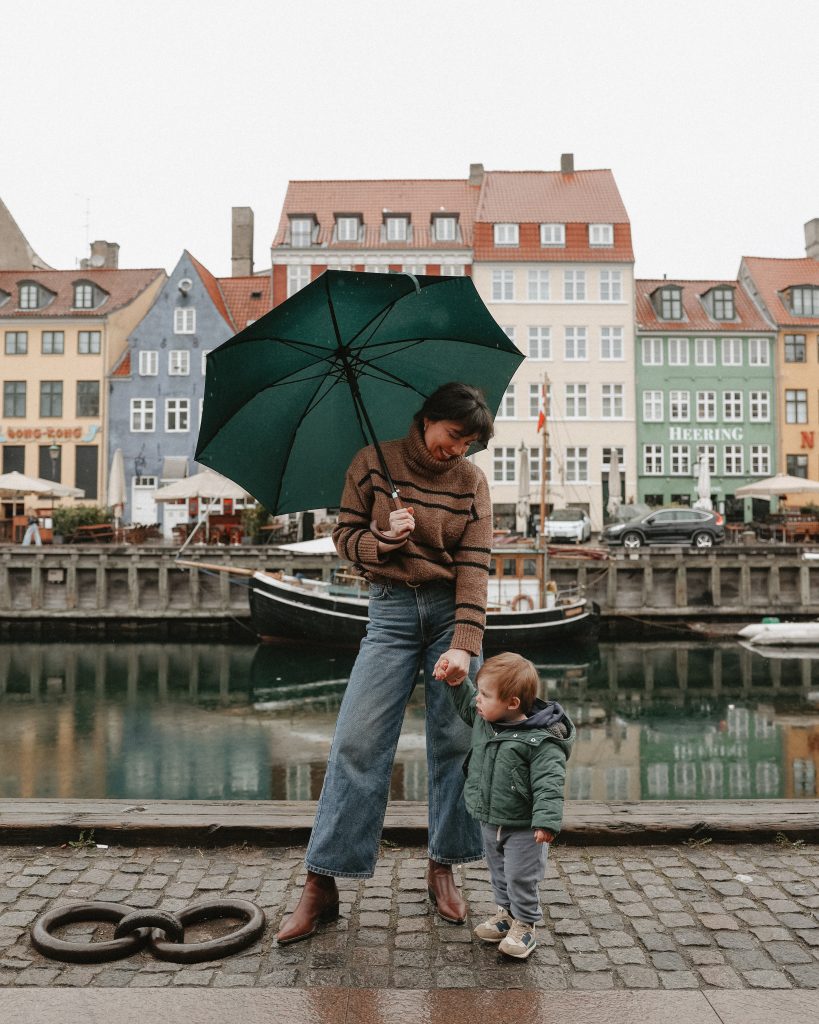
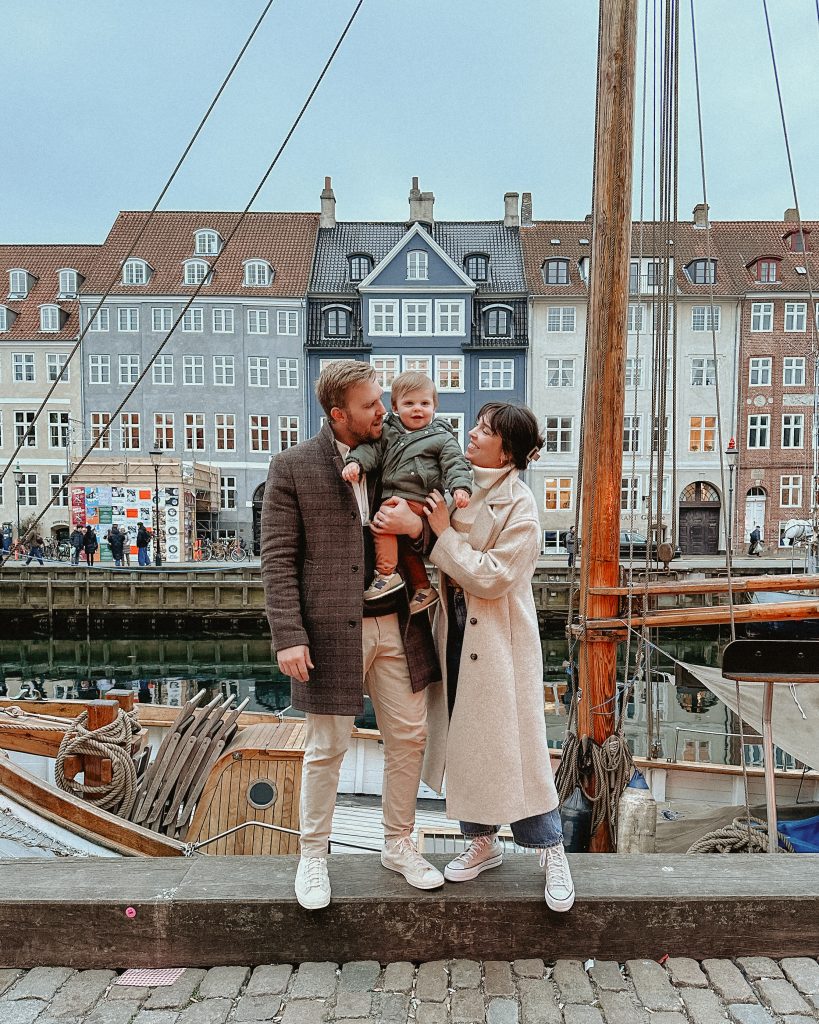
Nyhavn
This is what you probably envision Copenhagen looking like with all of the colorful houses lined up on the water. A pretty touristy area but 100% a must see. Highly recommend stopping by first thing in the morning before the crowds, especially on a rainy day!

Traffic Park
This was definitely a little bit out from the center of the city but a really fun place for kids to ride bikes! It’s essentially a mini traffic park that has tiny streets, pedestrian walkways, mini stoplights, and kids can learn about traffic signs, lights, etc. on their bikes! Kids can rent bikes here too. This video does a better job at describing it and is what led me to find it!
STAY
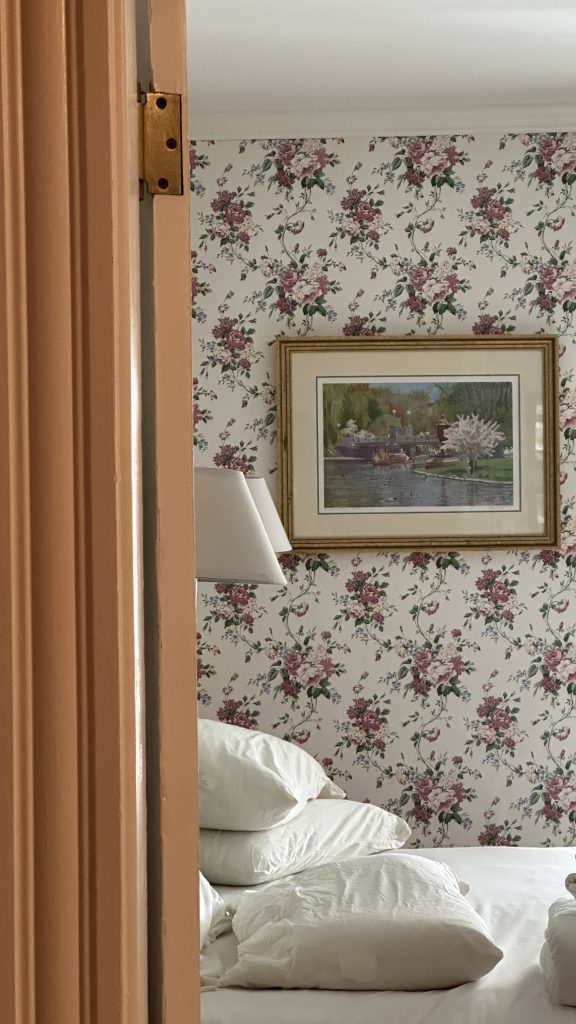
Hotel Sanders
This is where we stayed for the last portion of our trip and it was a 10/10 experience. It’s a small, boutique hotel and they’ve clearly put attention into every little detail imaginable. It’s cozy but elevated and feels like a home away from home! However, I did want to list a couple of other options in case this one is booked for when you’re visiting. I’ve also heard incredible things about Villa Copenhagen and Hotel d’Angleterre!
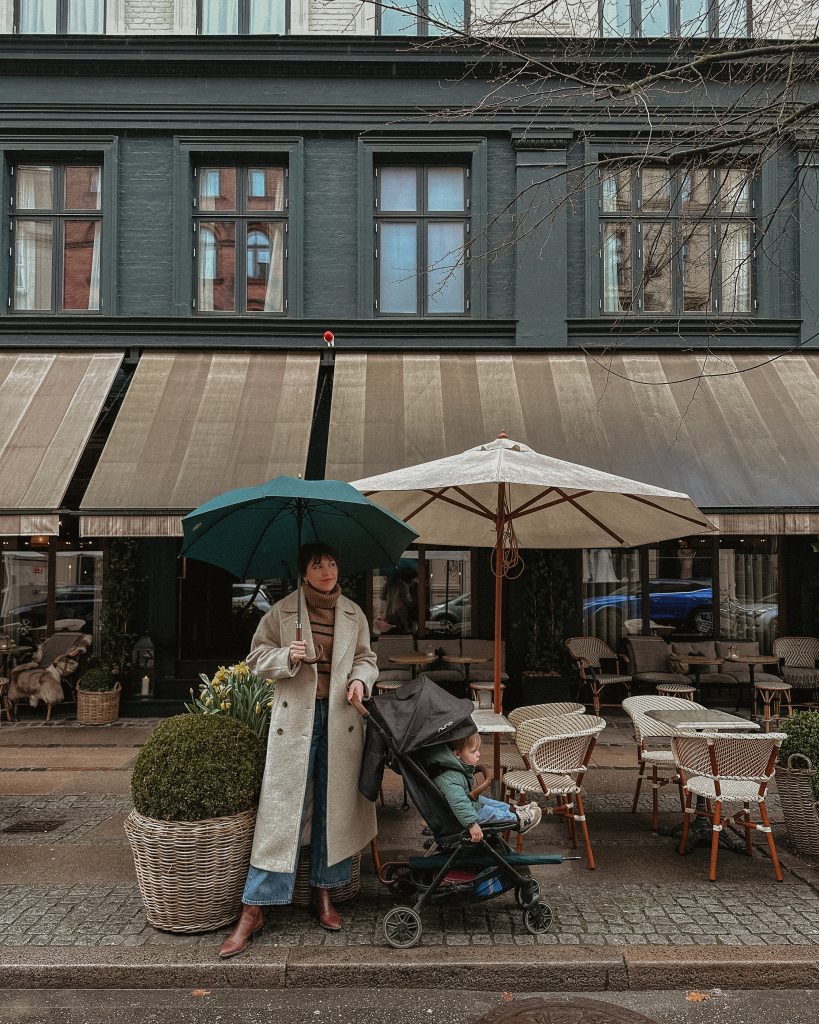
What I’m Wearing
I think that wraps up my recommendations for visiting Copenhagen. It’s SUCH a special city and I really miss it as I’m writing this. If you’re wanting to take your baby or children to Europe but not sure of where to start, this city was a great first trip! I will never get over how friendly everyone was and the trust the country has with eachother was unlike anything I’d ever seen… it wasn’t uncommon to leave your baby napping outside of a cafe which I had heard about but was wild to see in person! And if you don’t have kids, it’s still a beautiful city and incredible food and architecture to soak in!