I’m going to warn you all that this post is a little out of the norm in that it is pretty informative when it gets down to the patio details. If you don’t care too much about how we built our patio, you can scroll on down to the end where I talk about all of our decor details, my favorite part! If you’re more into visuals/video, you can watch our youtube video on our outdoor space here.
Outdoor Decor:

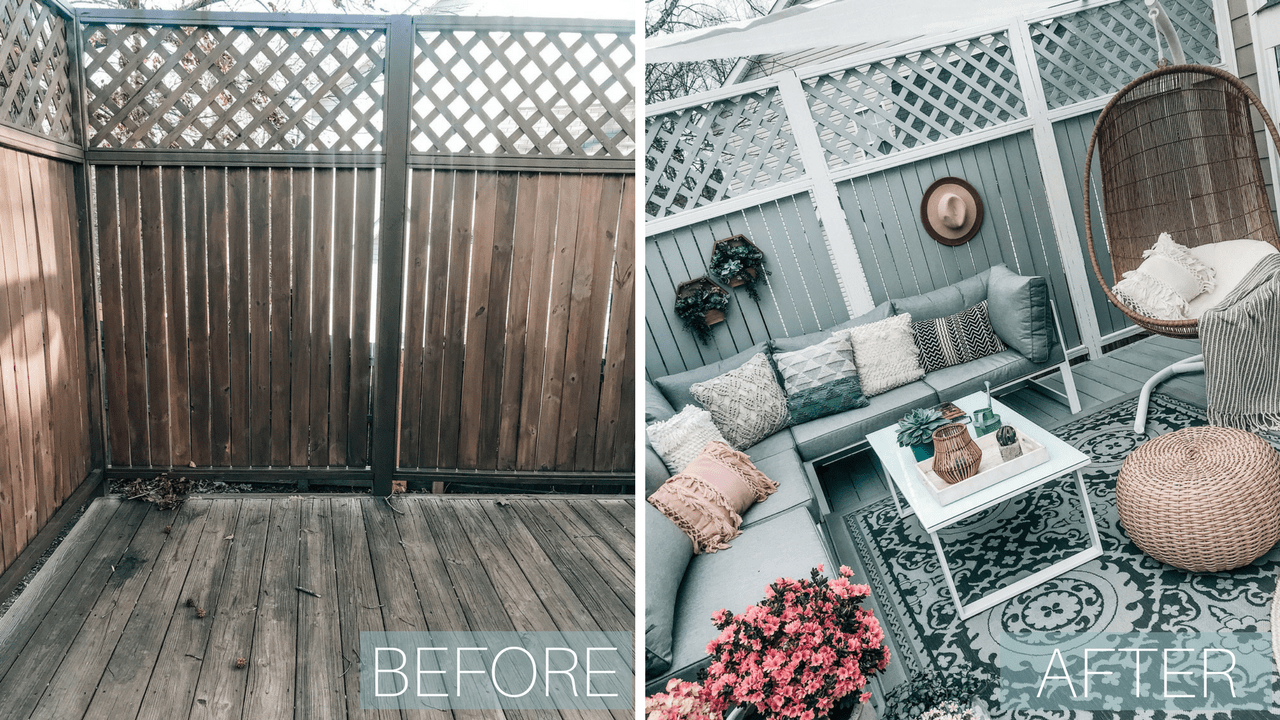
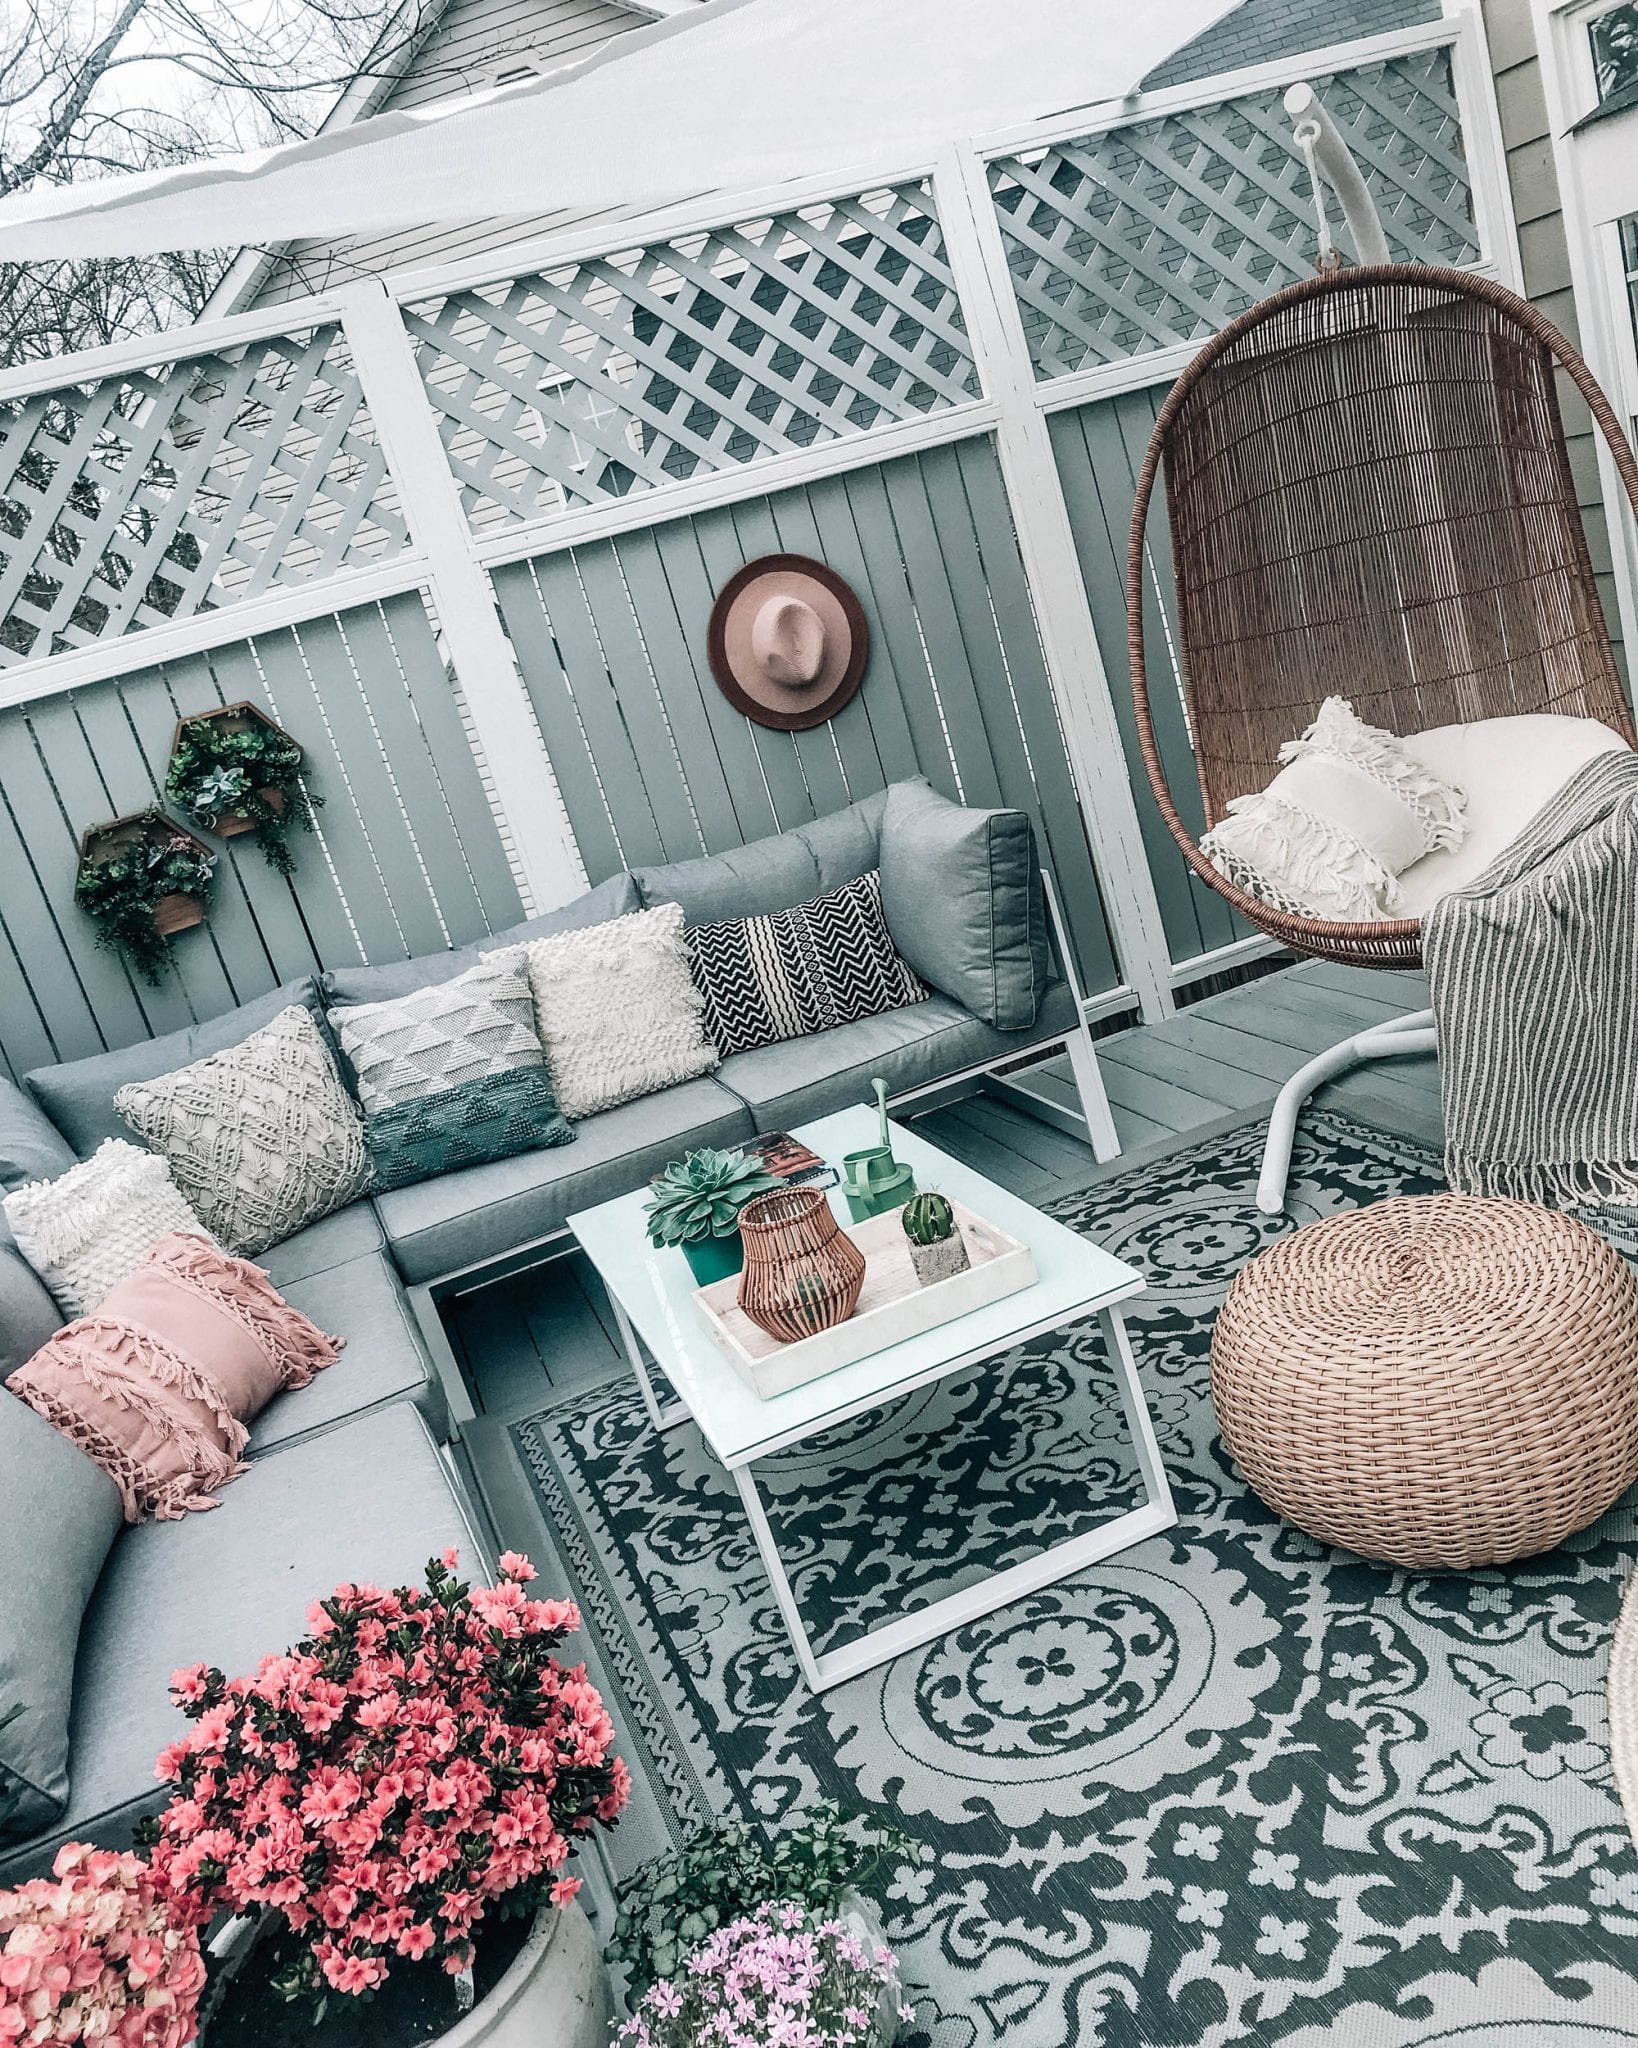
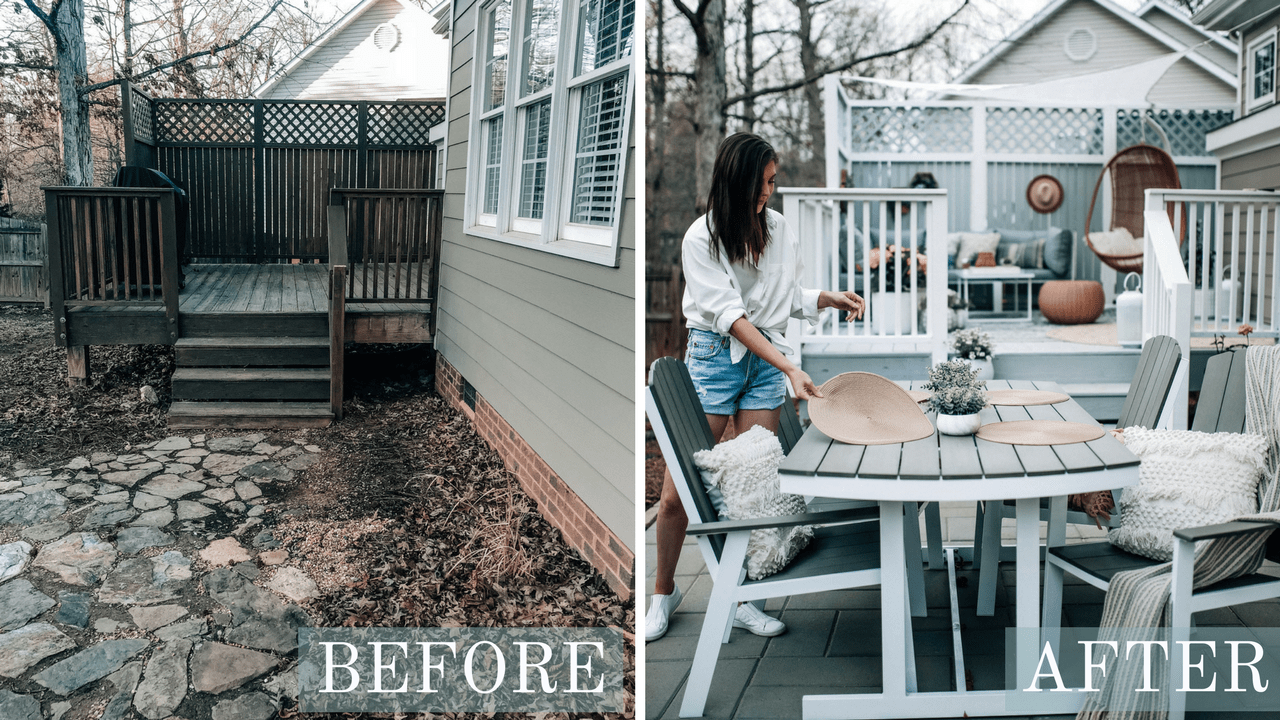
Let’s start with the deck because the deck was definitely less involved in comparison to the patio. Less involved but definitely not less time consuming. When we first moved into our house about 4 months ago, our deck was dark brown, dirty, and definitely needed a makeover. There is nothing wrong with brown decks (that’s what most decks are) but ours was covered in dirt, stained really uneven, and I wanted it to feel more inviting, almost like what you’d see at a little chic bohemian hotel. Since this is our first house with actual space outside, I knew I wanted to take advantage of our backyard area!
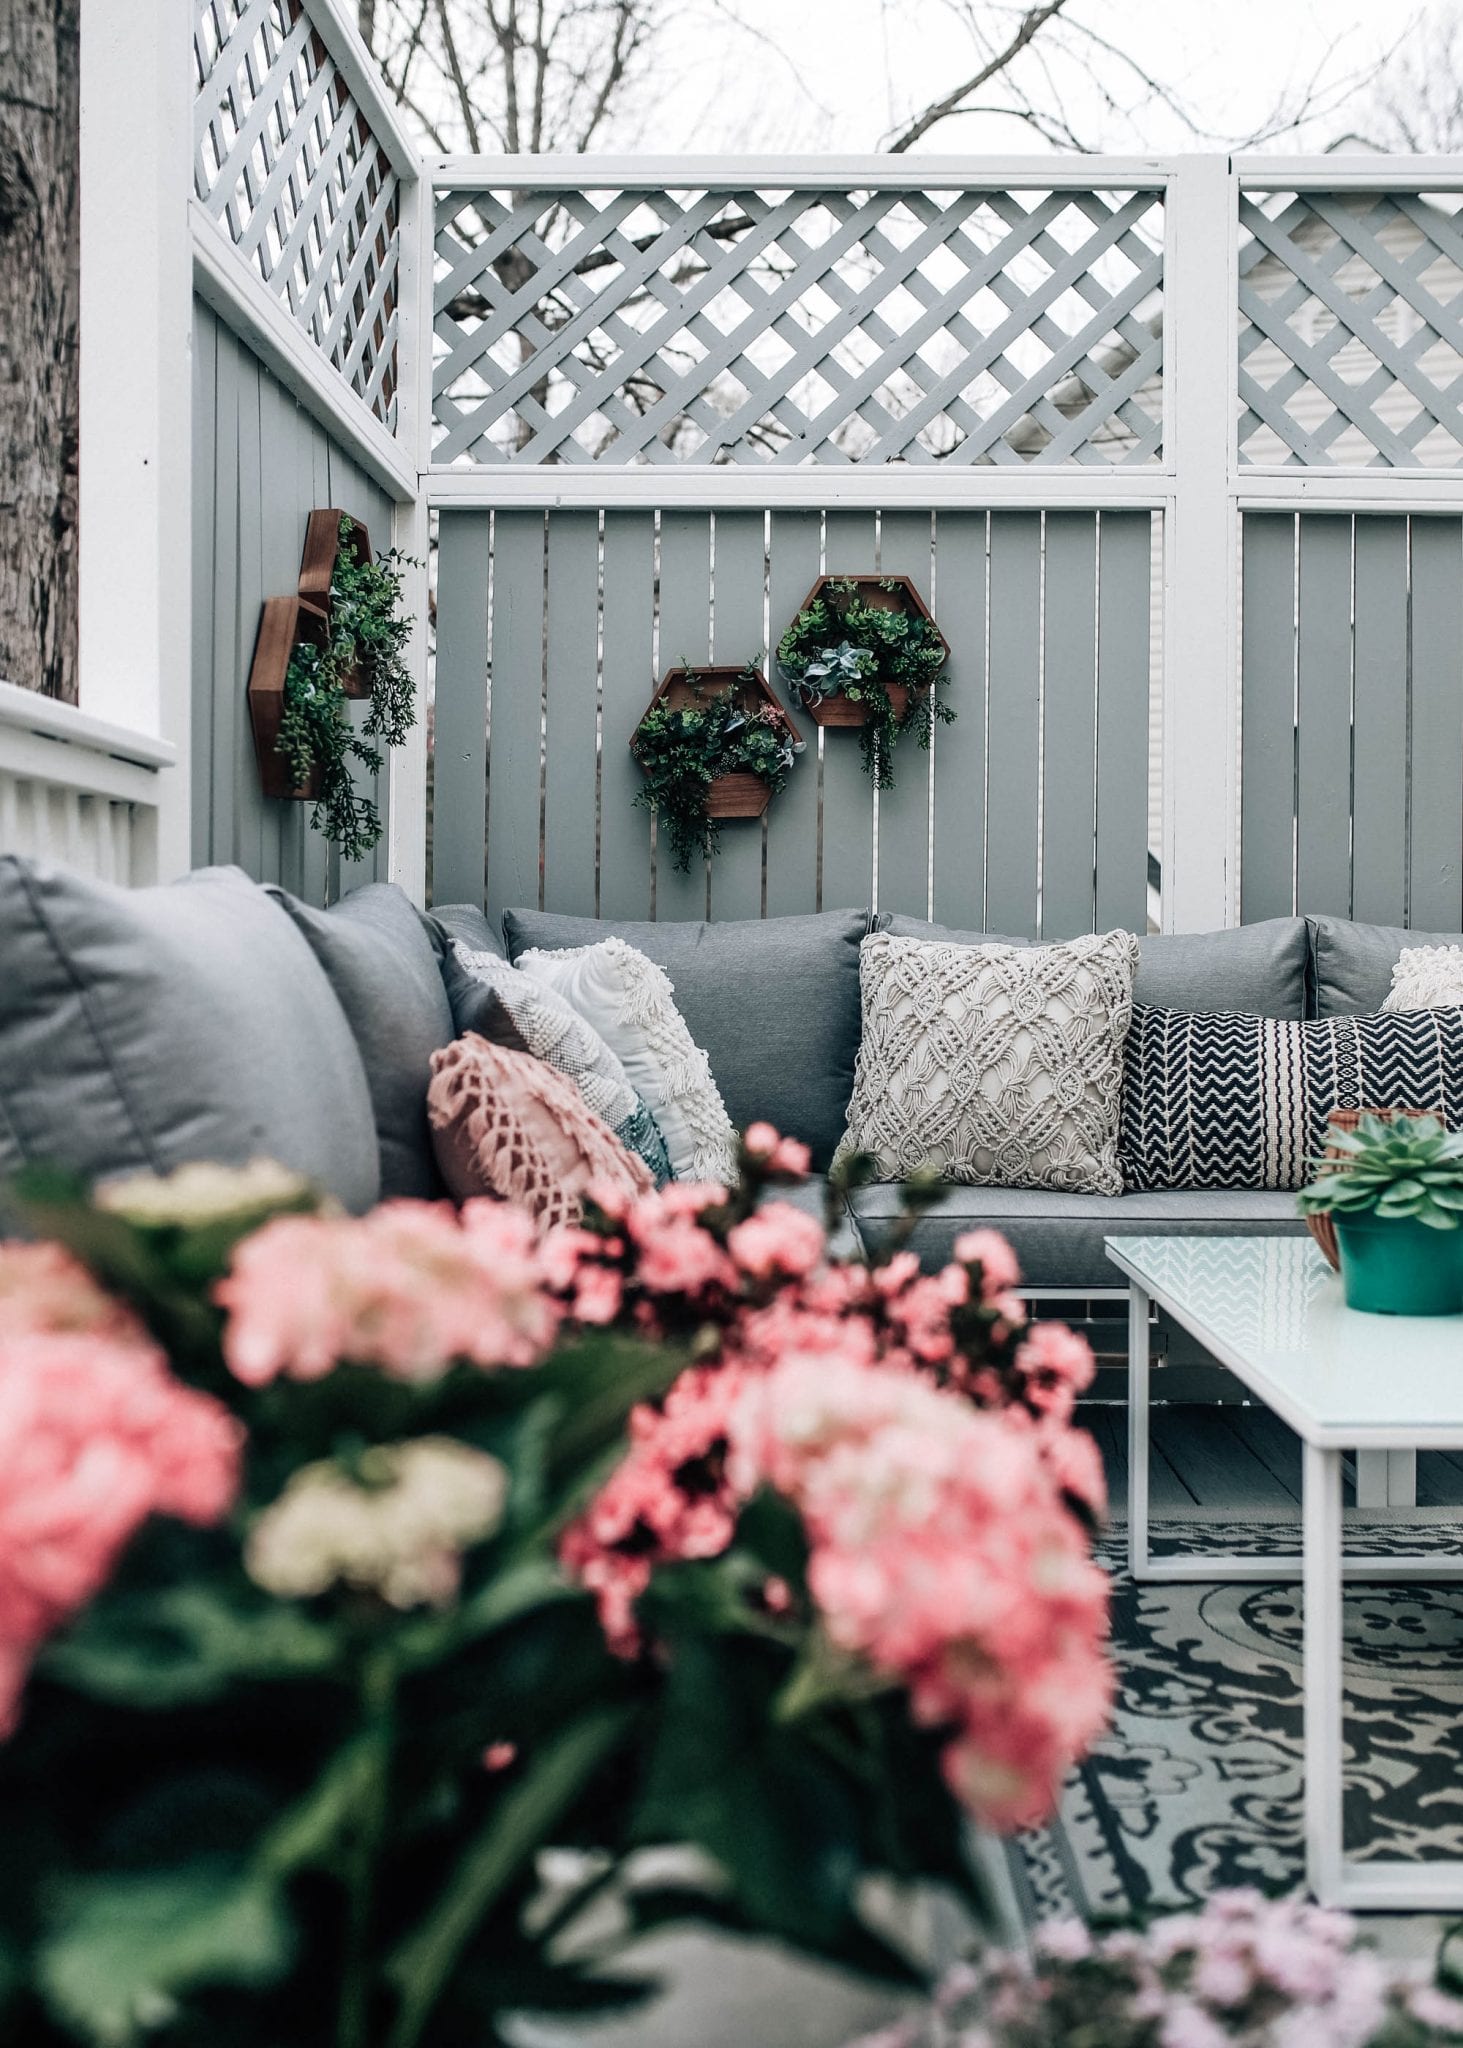
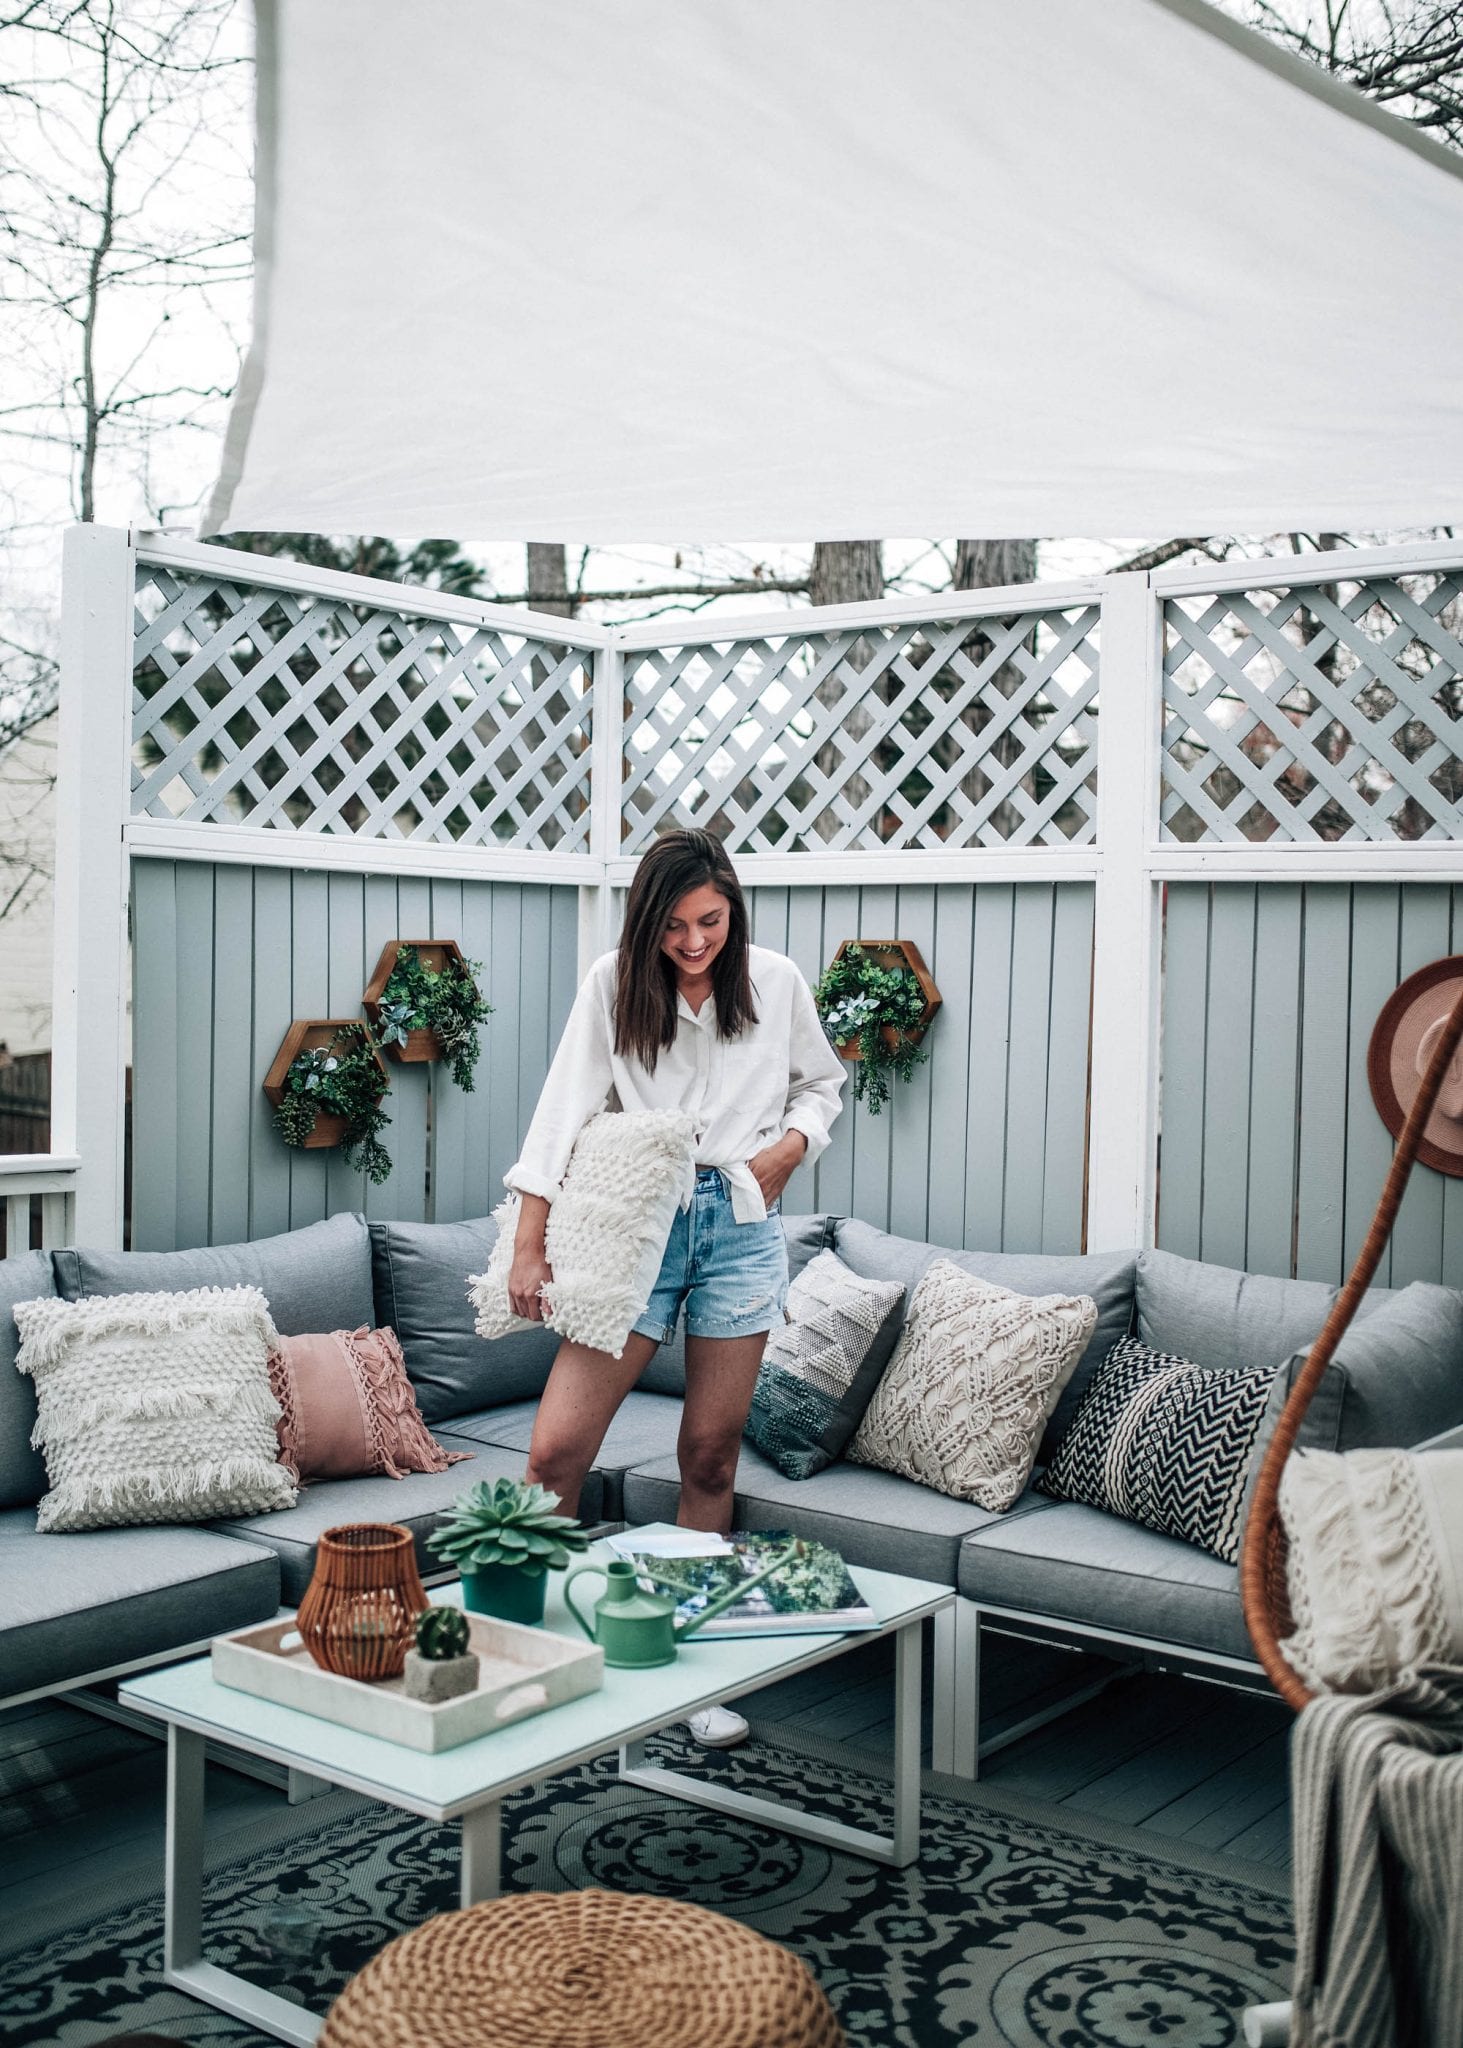
The easiest way to start that transformation was to stain the deck! If you go to your local Home Depot or Lowe’s, you can ask for solid color wood stain in pretty much any shade you want. Pick up the brochure available where the stain is and you can browse all of the colors available. I wanted our privacy wall to really pop so I decided to paint the trim/border ‘pure white’ and the rest of it (along with the floor), ‘light lead’, a light-medium gray color. The railings were stained white as well and the overall painting process took much longer than I originally planned. We went through a period of rain every other day so it was challenging to try and plan time to be out there working on it. The entire painting process took about two weeks. For the lattice and in between the wall boards, I’d recommend using a small sponge brush to get into the smaller crevices. For everything else, we just used a variety of larger brushes.
TJ was the mind behind the patio while I focused on the deck.
Step-by-Step Patio Tutorial
When we first bought our house, there was a small patio area that was right off of the deck. It was made up of, what looked like, quarry stone. They were all shapes, sizes, and heights causing rain to pool. We knew we wanted to revamp the outdoor space with a new patio, so we started a DIY project to make it our own.
Step 1
The first step was to dig up all of the current stones. We were able to repurpose them into a retaining wall near a natural area a corner of the yard. We got pretty lucky because, even though the stones were different sizes, they were all set at around the same depth. Once all of the stones were up, we started the leveling process. I used a garden rake to grade the surface and dug out areas where there was excess dirt. There were areas that had to be shaped to make the perimeter even. Once the area was flat, we began laying the base.
Step 2
Once we had the ground level we began laying paver base. You also have an option to lay a weed barrier, but we decided to skip this step. We felt the paver base, level sand, and pavers would keep those weeds away. We used about 45 bags of paver base to cover an area of 14’x9’ and a depth of 3 inches. Once the base was put down and spread, we used a tamp to set the base so it would not shift.
Step 3
Once the paver base was set, the next step was to lay leveling sand so we had a flat surface for the actual pavers. To ensure that the sand was level, even with a few dips and mounds that may occur with the paver base, we used 3 one inch thick pieces of PVC pipe. The pipes were laid parallel and we used a small section of 2×4 to spread the sand. This ensured that the sand was always as high as the PVC pipes.
Step 4
With leveling sand down, it was time to lay the pavers. There were a lot of different patterns that we explored, but ended up going with a classic 2×2 style. We chose gray 16”x8” pavers and mix and matched the them horizontally and vertically. There were a few areas where you may need to add sand to keep the pavers level. Try to lay the pavers all at once to keep any weather issues to a minimum.
Step 5
The last step for the patio was to add polymer sand to keep the pavers in place and deter weed growth. Follow the instructions by spreading evenly with broom into the cracks between the pavers. Once spread, ensure all excess if swept off of the pavers to avoid staining. After all excess is removed, spray with water to set the sand. Stay off the pavers for at least 24 hours.
-TJ
I’ve spent more time out on our deck in the past couple of weeks than we have ever and we’ve already hosted a dinner for our family. While this house definitely won’t be our forever home, we have enjoyed making it our own and learning a lot along the way! If you have any more questions about the patio, feel free to email me or leave a comment below.
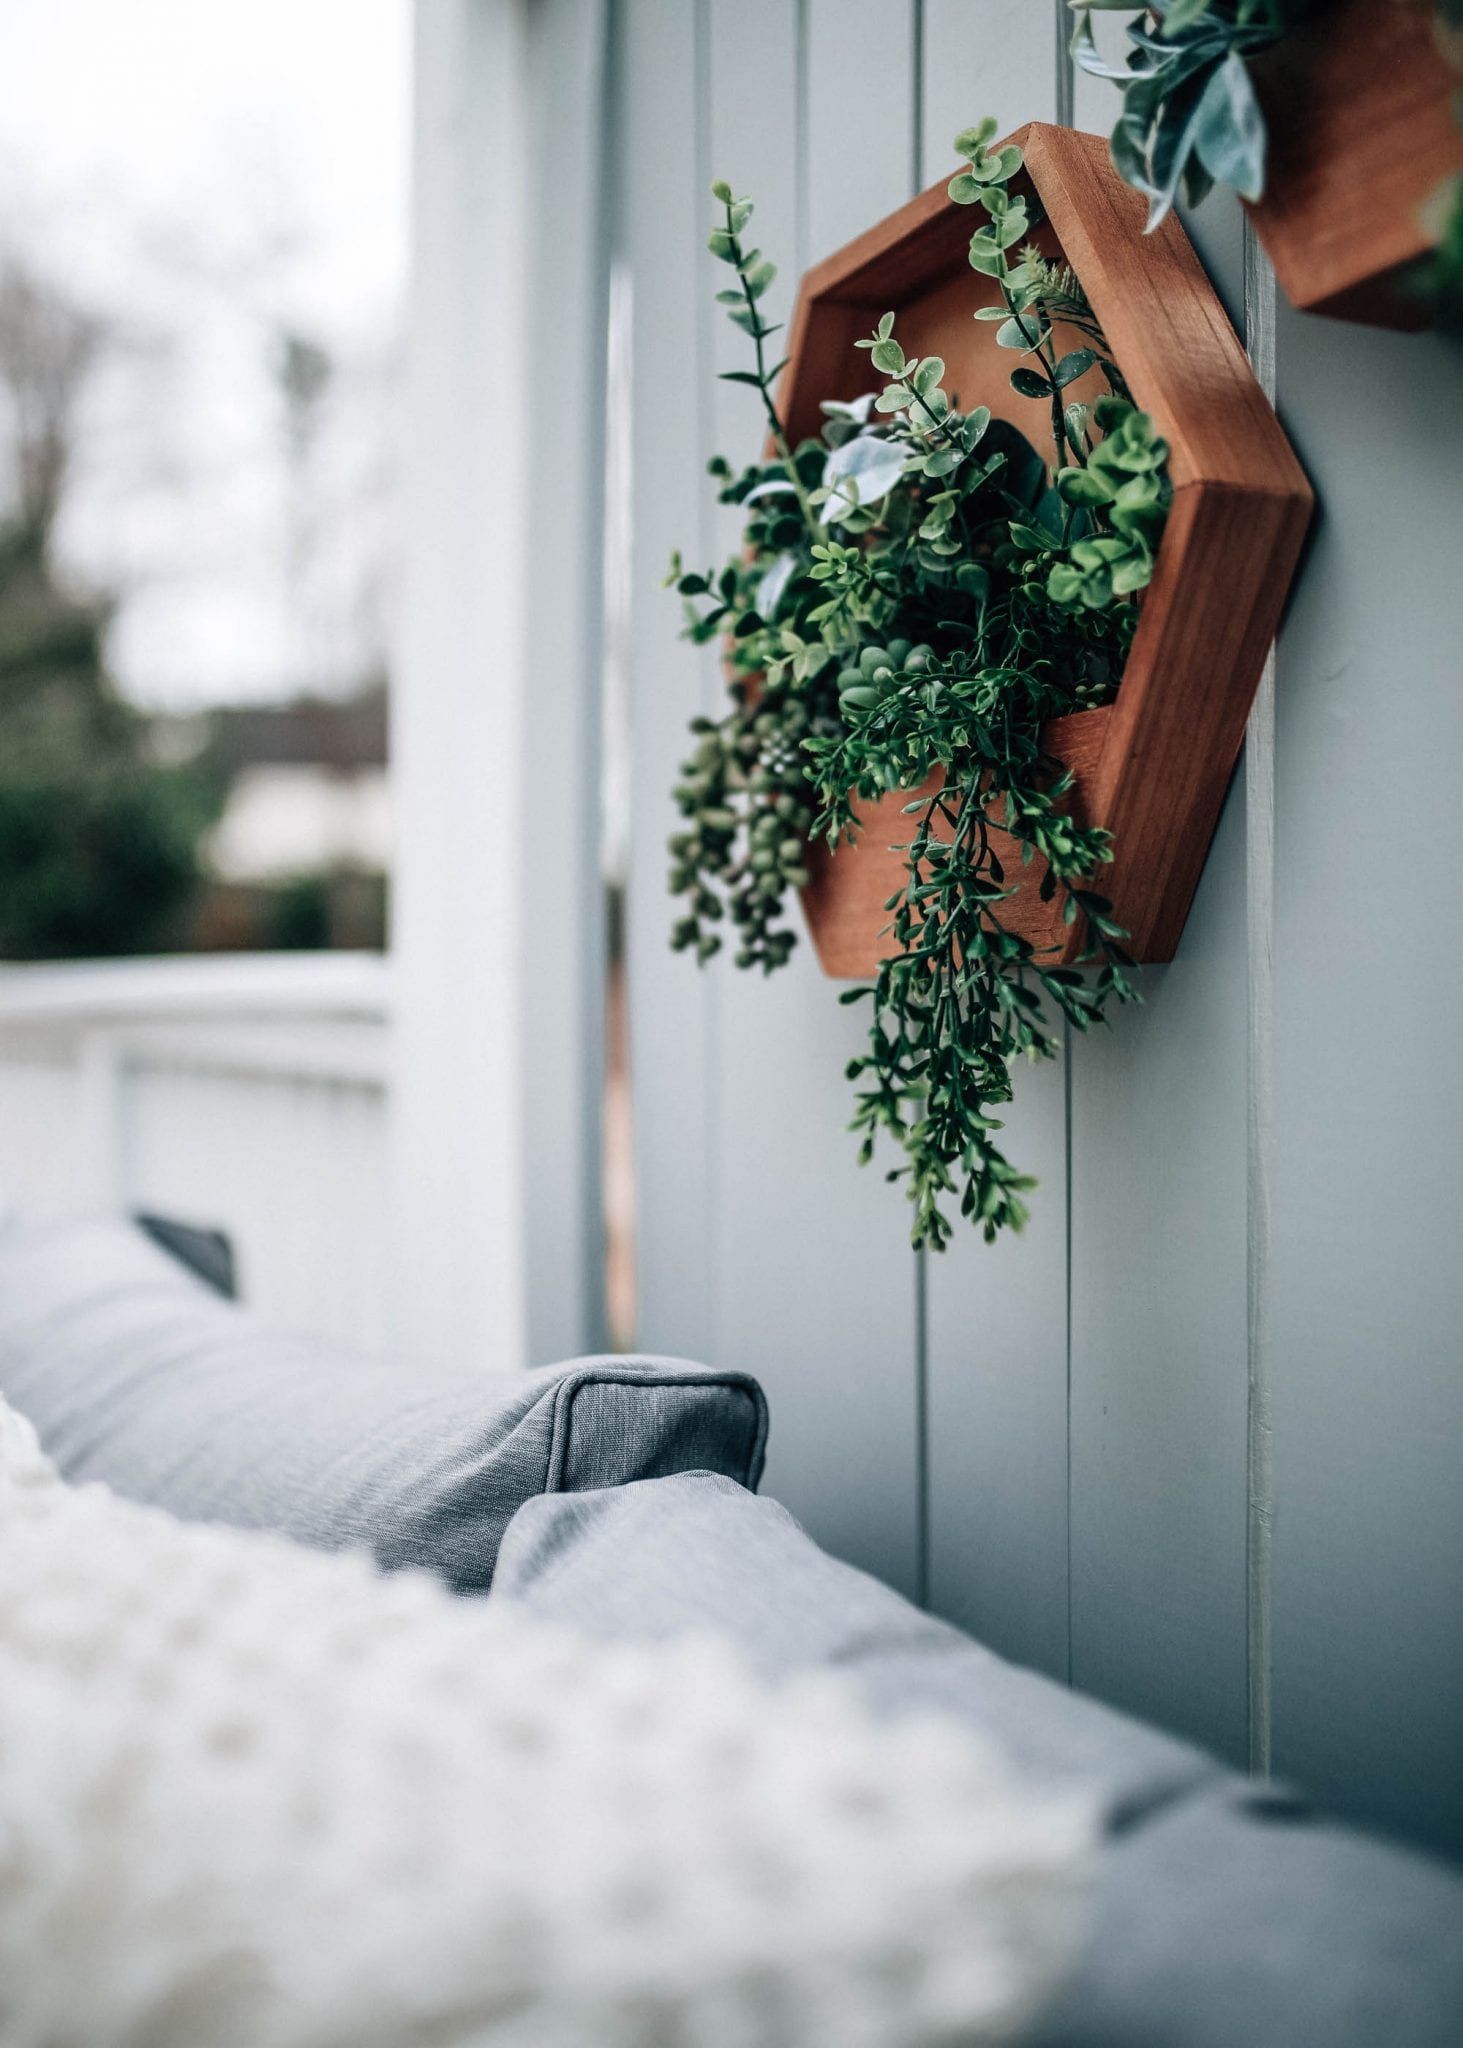
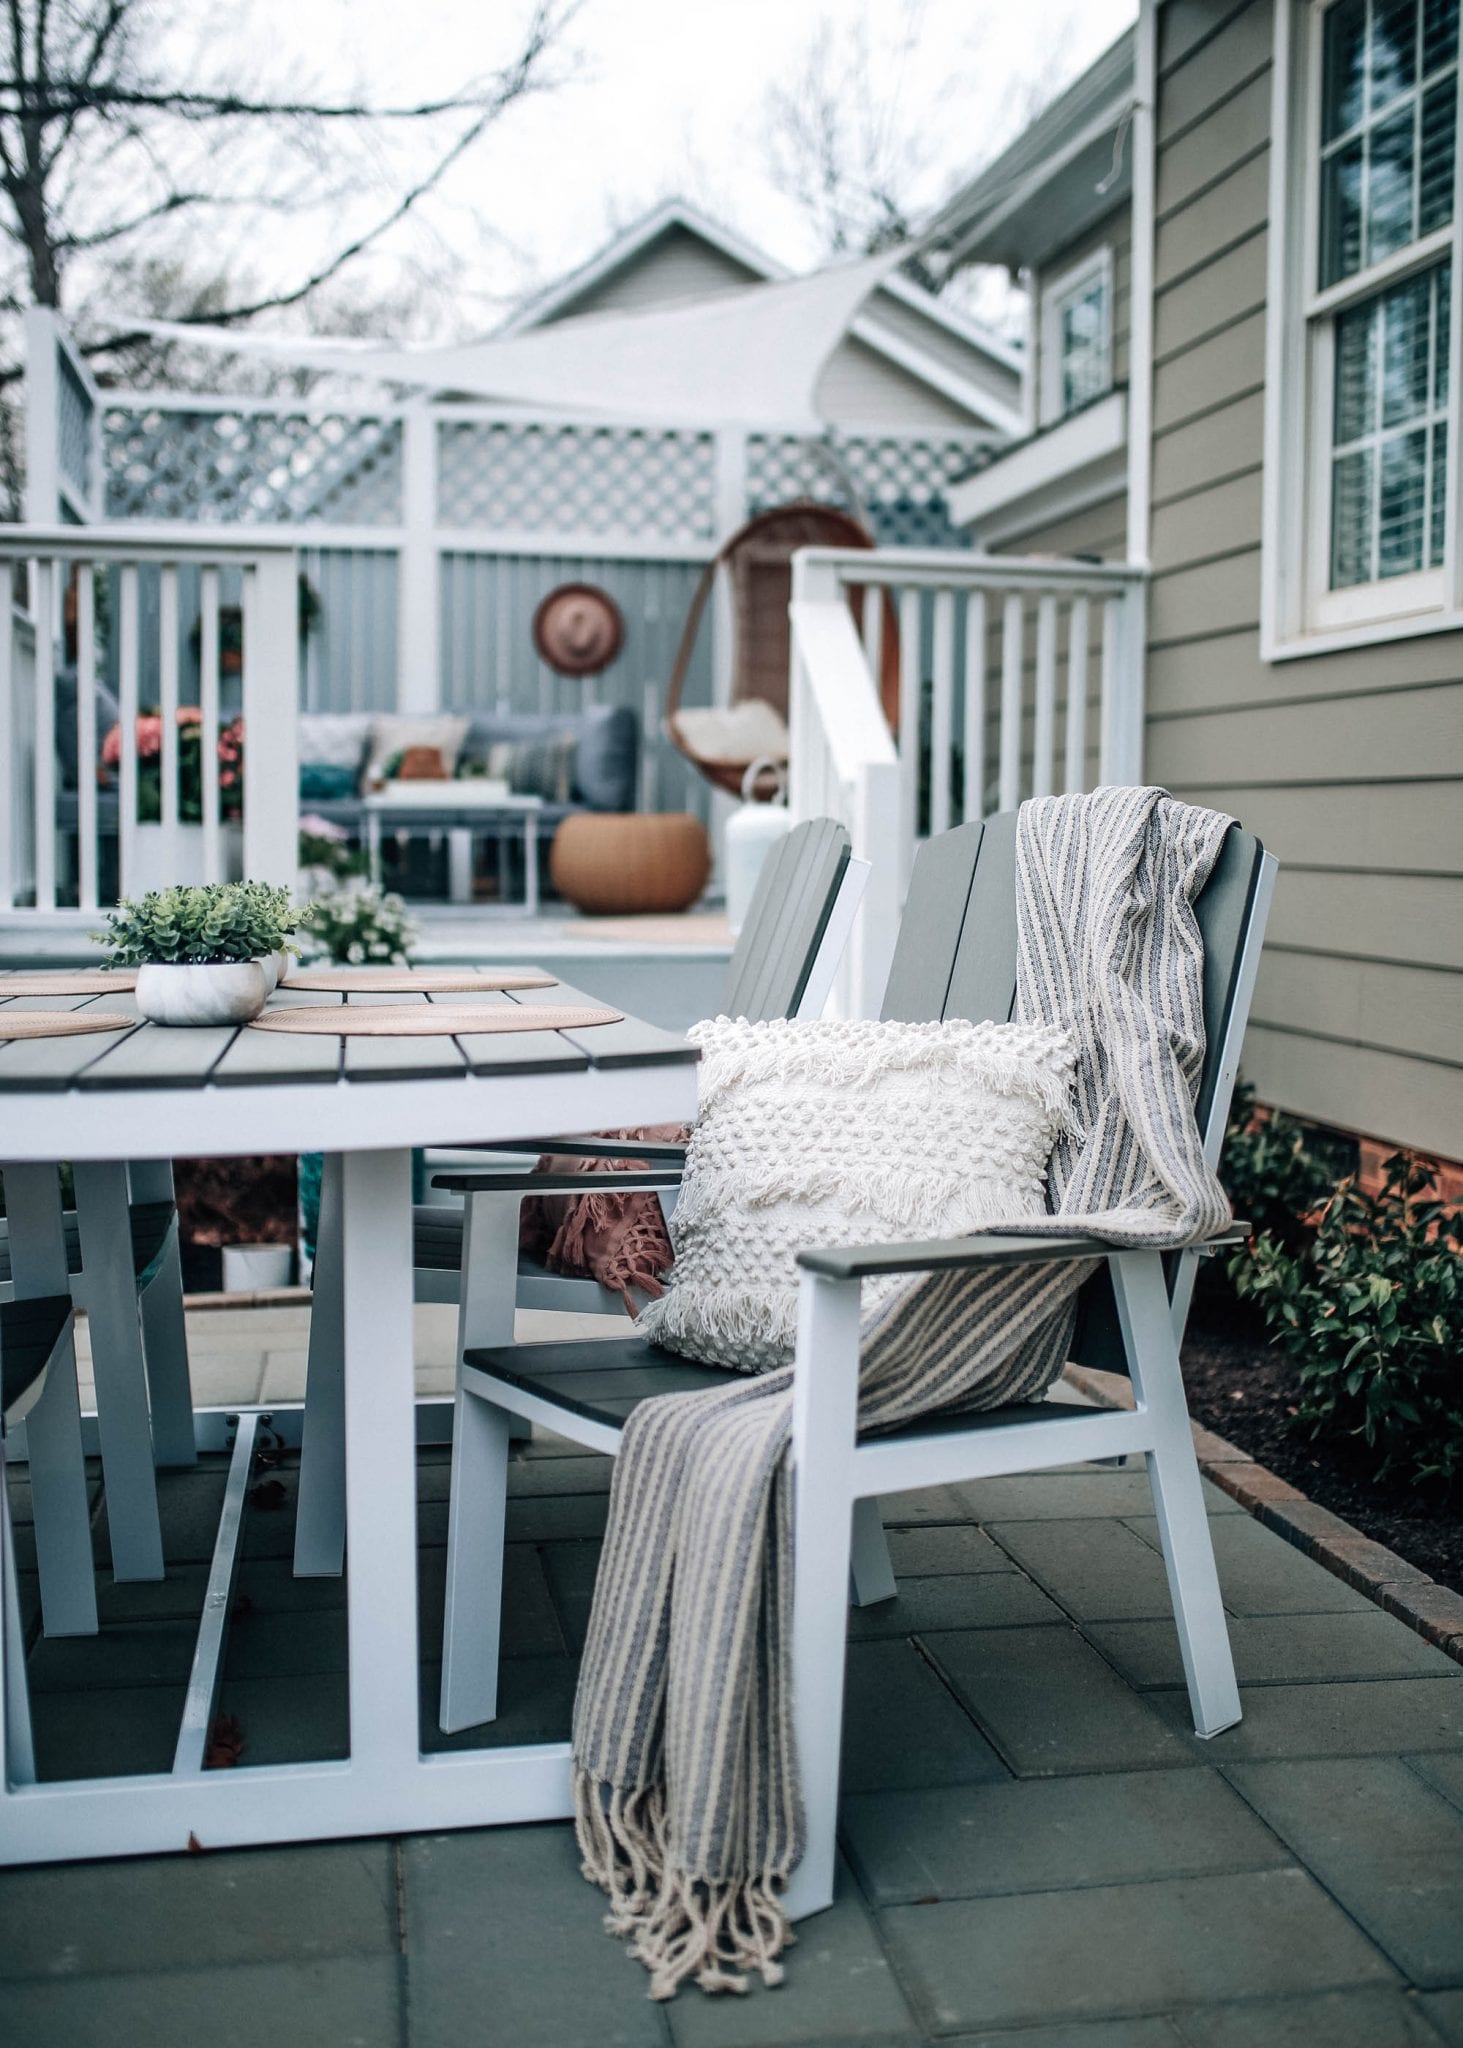
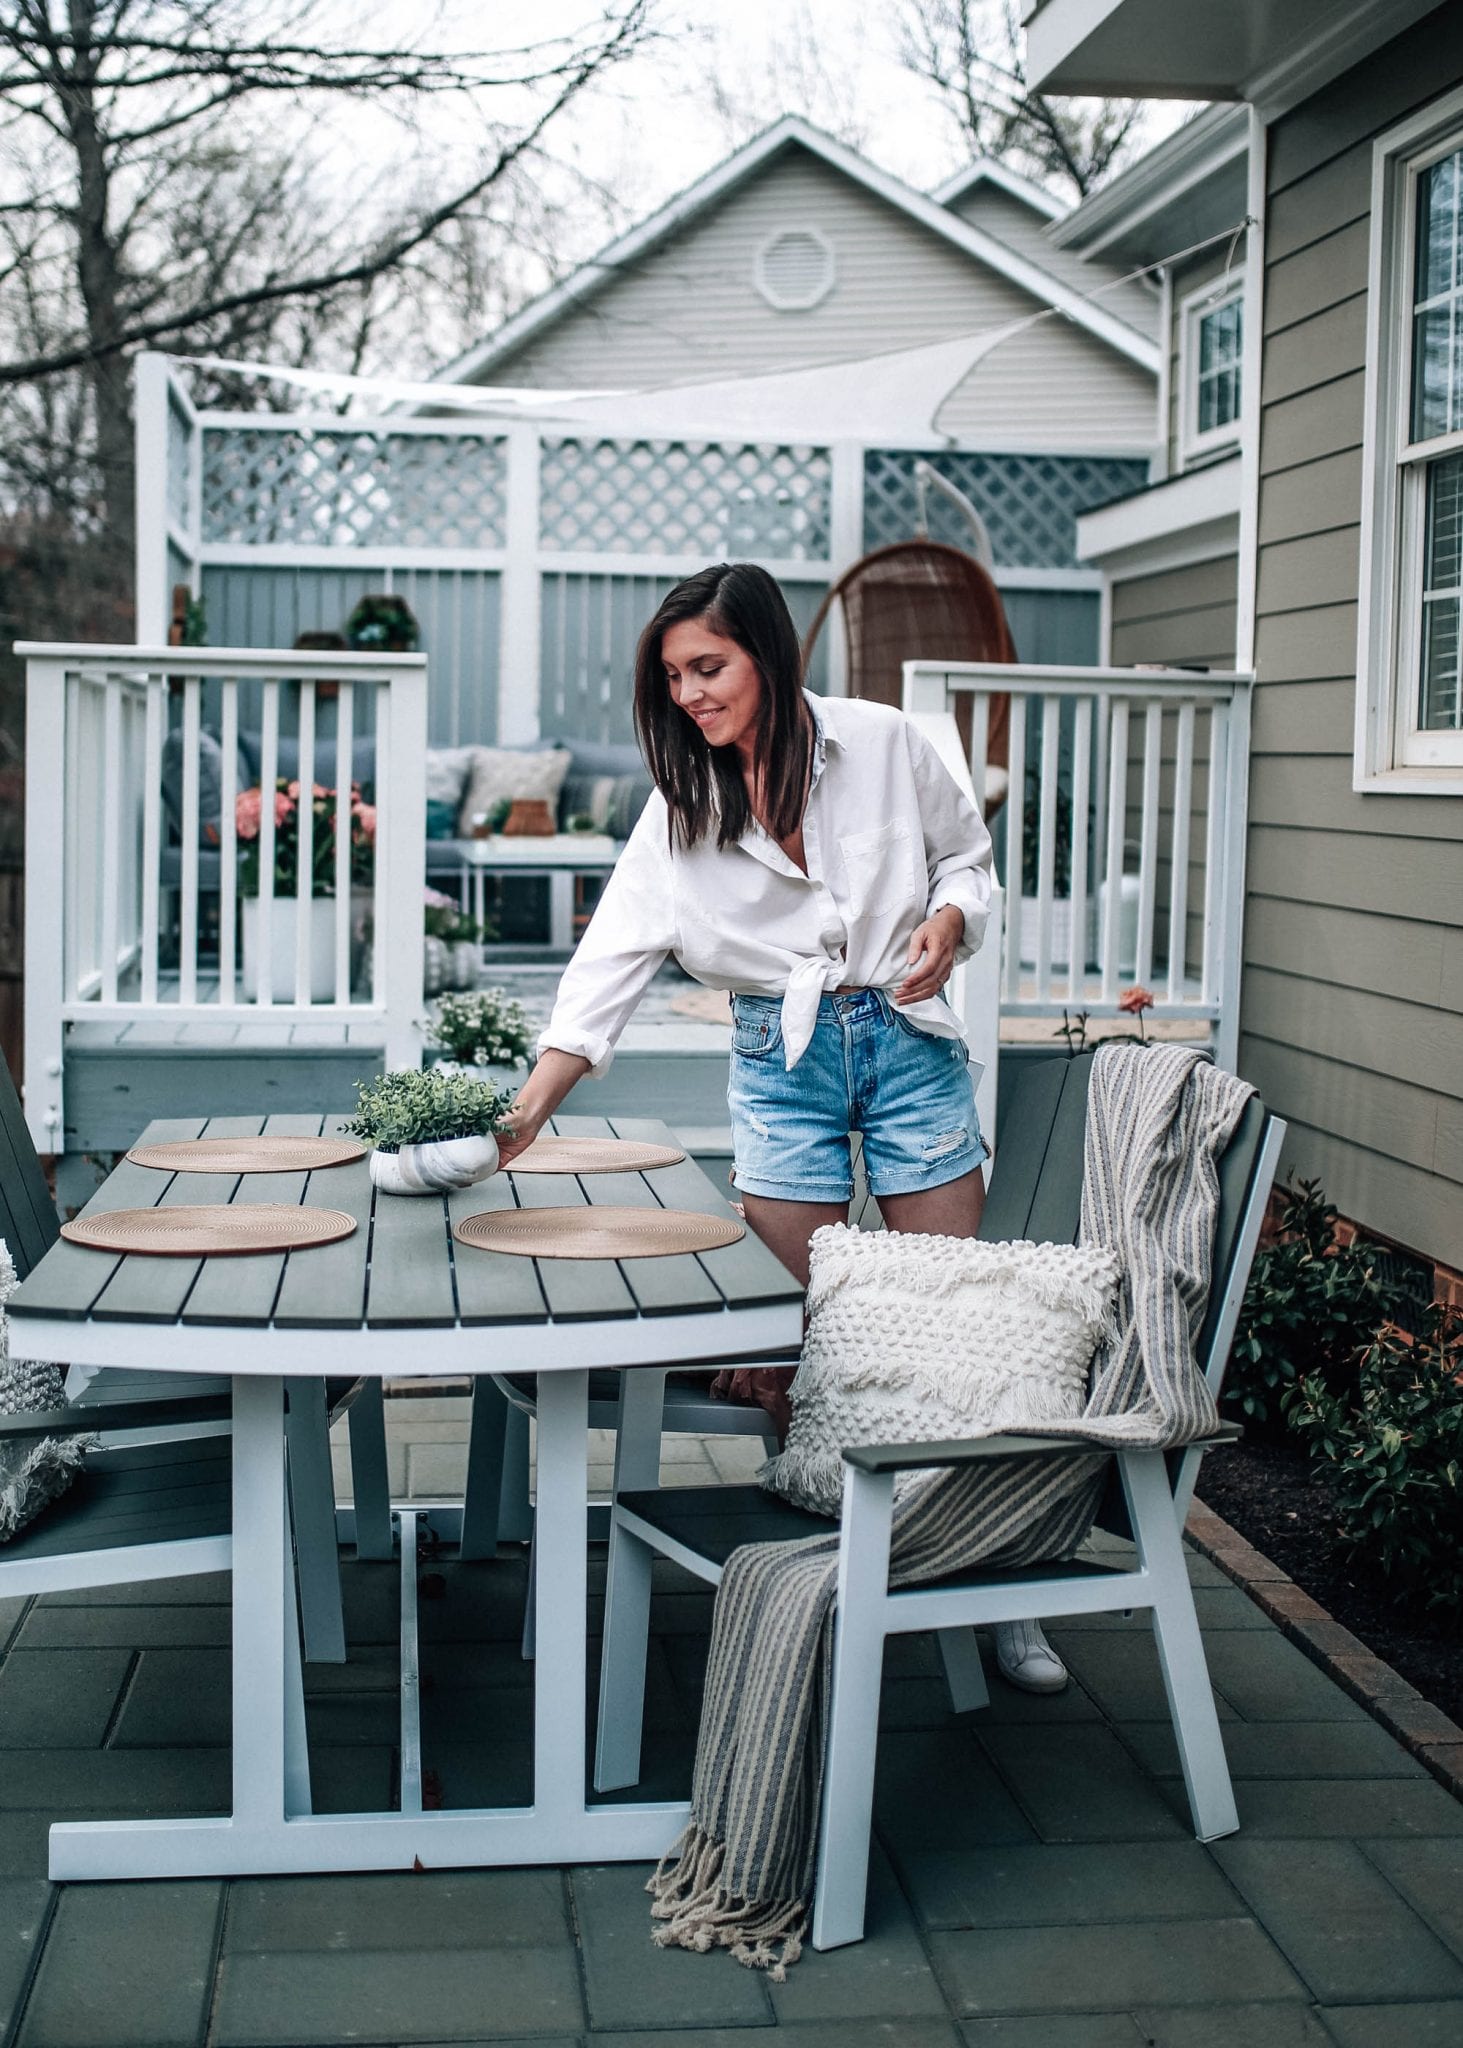
As for our decor, you can shop most of that on my outdoor page or you can scroll through the lookbook below.

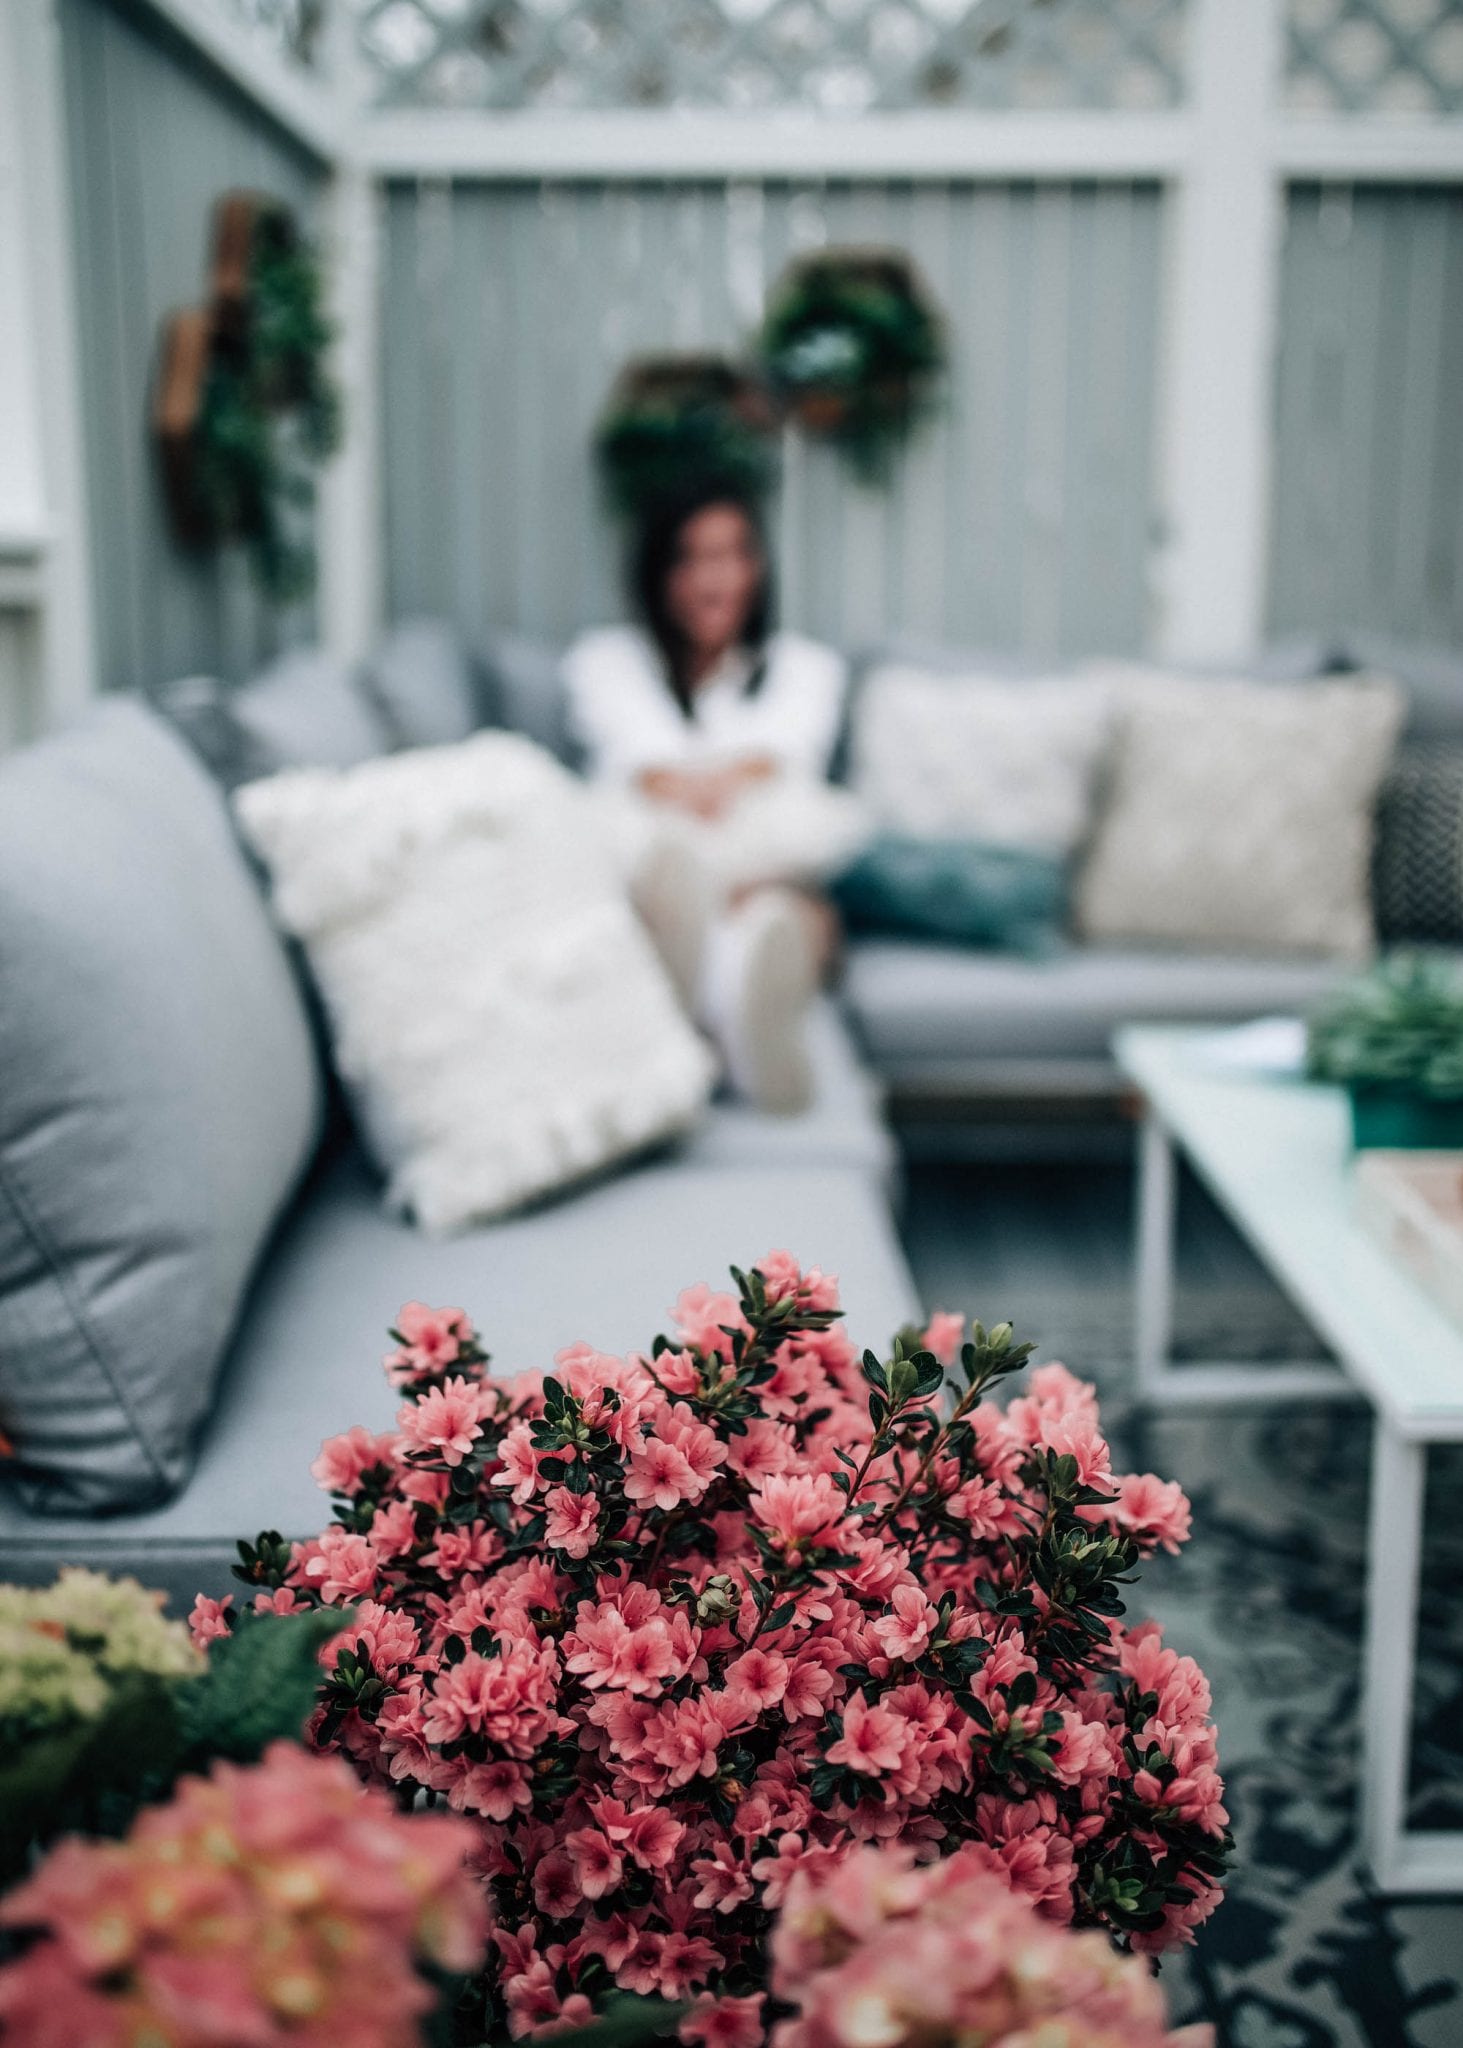
I hope you all have a great Thursday! The weather is absolutely beautiful so we’re going to end our day with a long walk to the park followed by some wine on the patio! Thank you so much for taking the time to read my blog. It means the world. My hope is that I can be a resource when it comes to style, whether it’s putting together an outfit or fixing up a space in your home. I’ve loved sharing our home experiences with you to show you that you don’t have to hire a ton of contractors to do work on your house to make a big difference in your space. It just takes some inspiration, research, and about 20 trips to the store. We’re trying to decide if we should tackle the kitchen or office next?!
xo, Shelby

So obsessed with all of the calming gray hues in your space!! I’d want to live back there! 🙂
x Sarah
http://www.seasonsbysarah.com
Thanks Sarah! I’m loving it more and more each day! Definitely lived out there this weekend.
xo
Hey! I’m loving your patio and want to do something similar in my backyard. Did you put the border pavers down before or after the polymer sand?
Thank you! We put the border pavers down AFTER the polymer sand! However, it definitely isn’t perfect and we’re still just learning all of this! Some of the pavers have slightly slid out of place.