This post is was made in collaboration with Chase Freedom Unlimited. All opinions are my own.
I can’t believe we’re already so far into fall! It feels like just yesterday I was picking up flowers to plant for the spring and now I’m in that transitional mode, learning everything I can about creating a fall landscape and winter gardening. This time last year, I had zero experience with gardening and landscaping, and I feel like I’ve truly learned so much this year after reading books, taking classes, finding inspiration through travels, and just experimenting in our yard. I even hosted a pansy party last week with an incredible flower company, where we were able to learn so much from experts! Through reaching this goal of mine, I’ve learned that I’m even more interested in investing time into learning more about specific topics like growing vegetables, organic gardening, and more. I’ve googled 8,000 questions about the best things to grow in fall/winter and decided our latest yard project would be a raised bed for a vegetable garden.
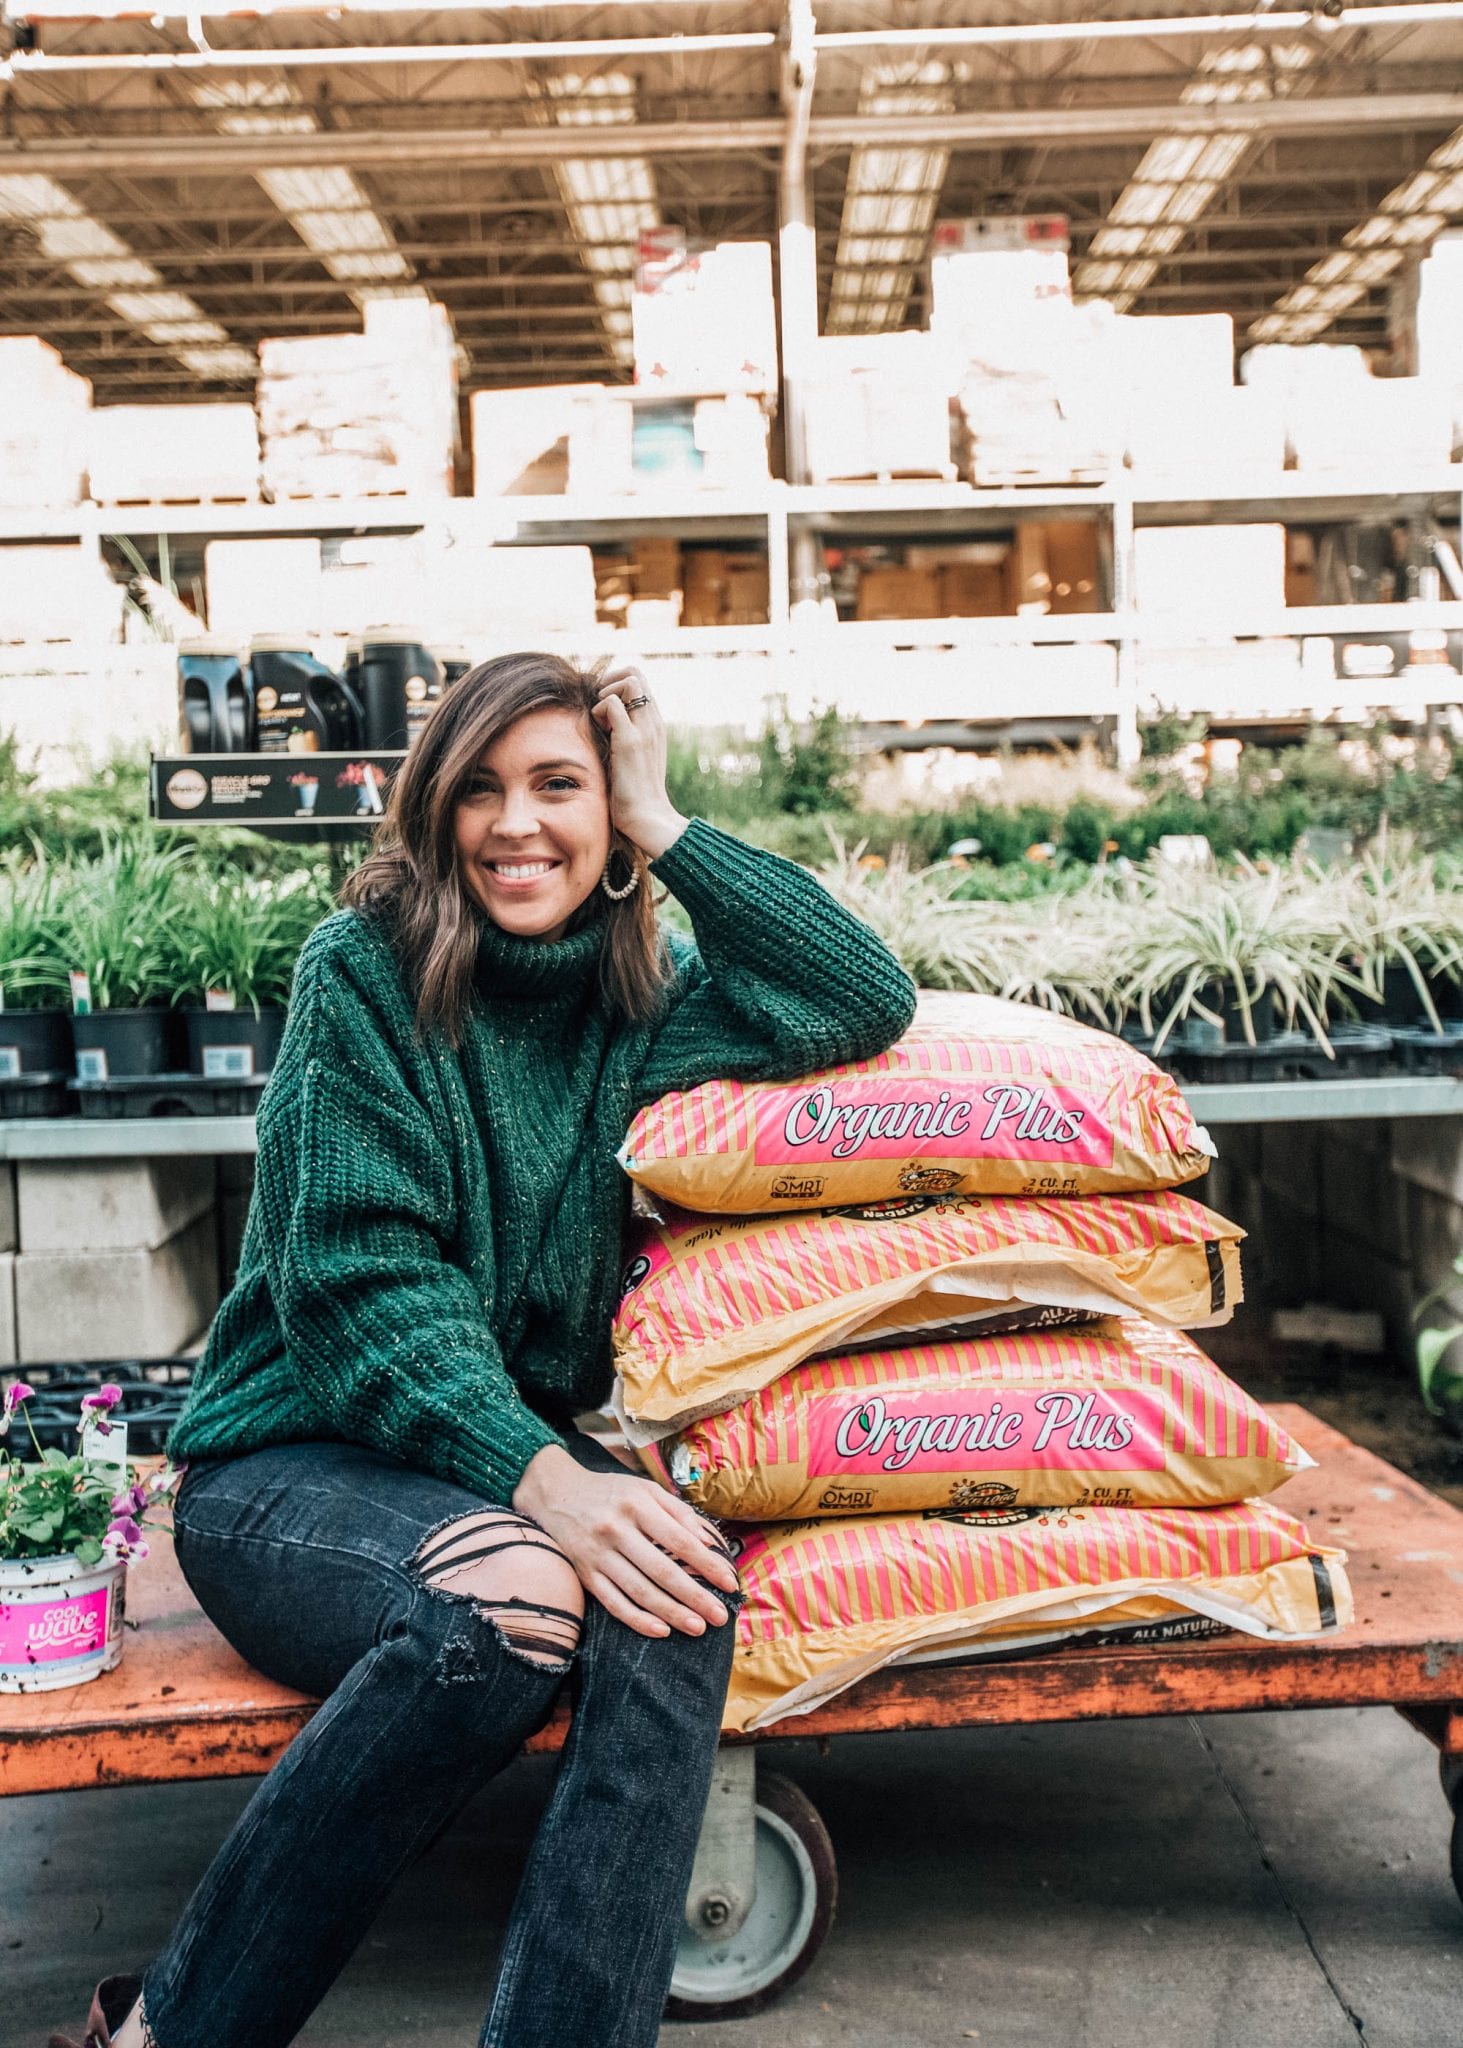
I’ve really enjoyed teaming up with Chase Freedom Unlimited to share this personal goal of learning more about landscaping and gardening over the past several months and I can proudly say that I’ve reached huge milestones with reaching that goal. One of my favorite things to do is learn new things, and I feel like there are always new topics you can be diving into. If you’re unfamiliar with Chase Freedom Unlimited, it’s a cash back credit card that allows you to earn unlimited 1.5% cash back on all purchases so you’re always earning, no matter what. Through recent purchases, I’ve earned cash back that I can use towards furthering my gardening knowledge with smaller projects and classes here and there, such as our arbor with climbing roses. My new favorite time of the day is going outside to check on the roses and see how far they’ve climbed! Chase is now offering new Chase Freedom Unlimited cardmembers a special bonus available through Chase.com, and in Chase branches! You’ll get a $200 bonus after spending $500 in the first three months. If you have any personal goals you want to reach that require you to make any type of purchase, I’d highly recommend the Chase Freedom Unlimited card, so that you’re earning cash back and making the most out of your purchases. I’m always thinking about ways I can do this, and Chase has really helped me think more strategically about my goals.
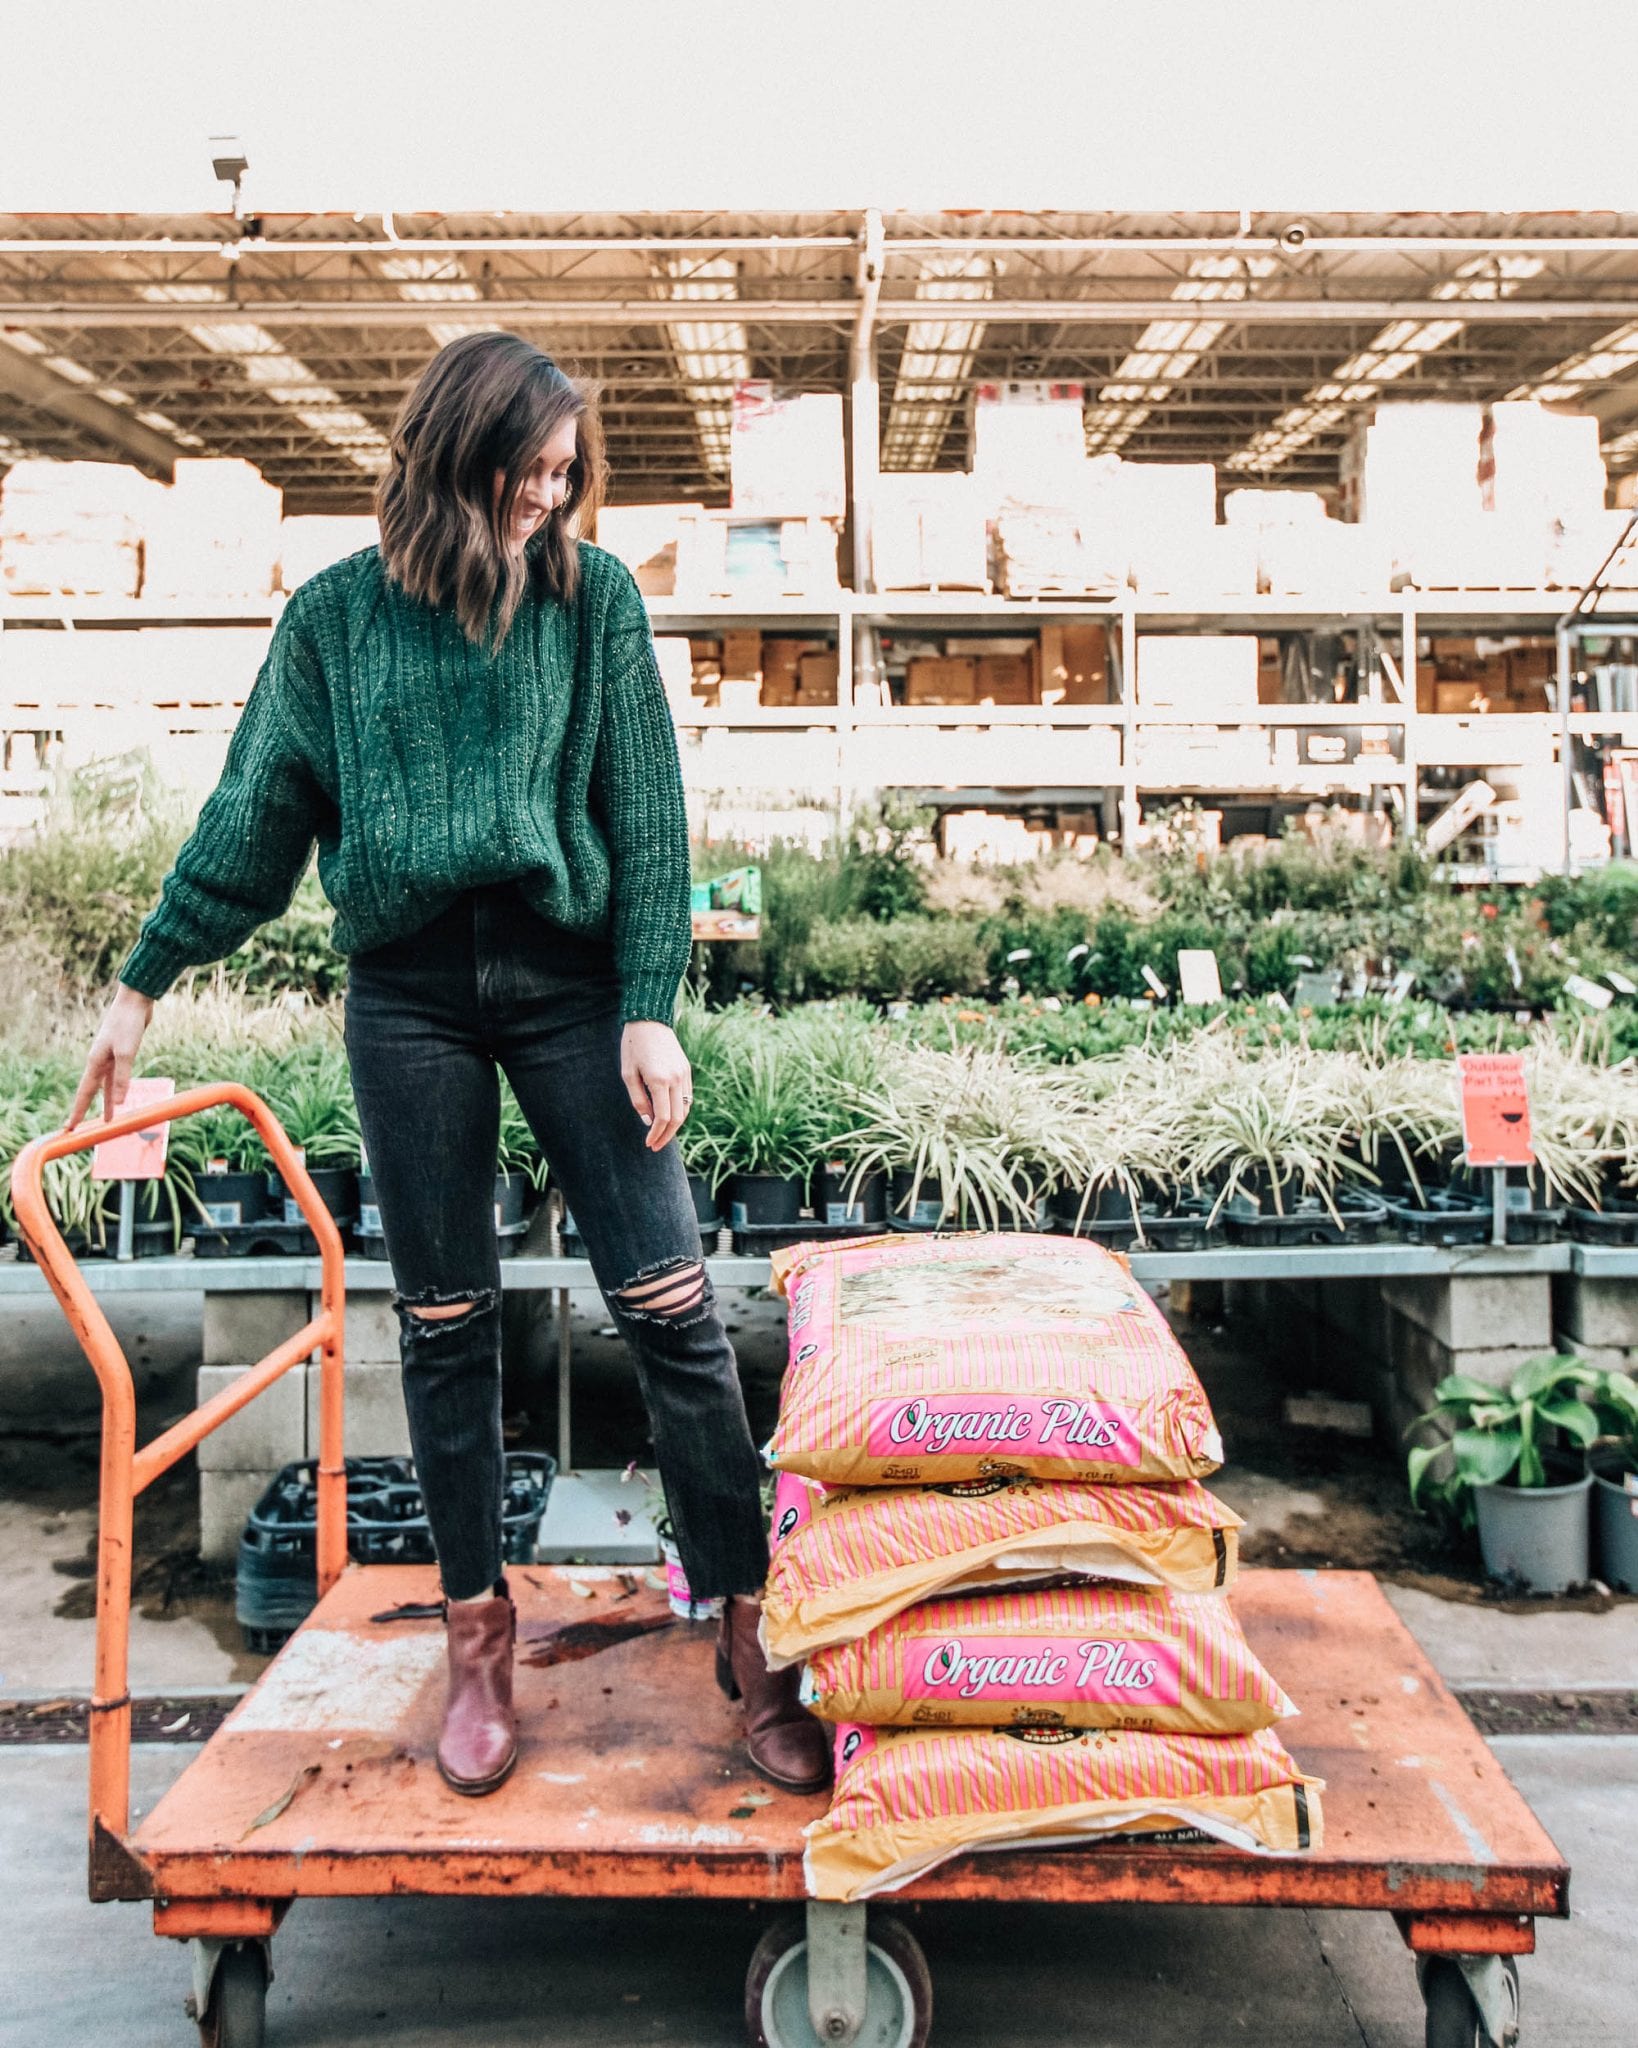
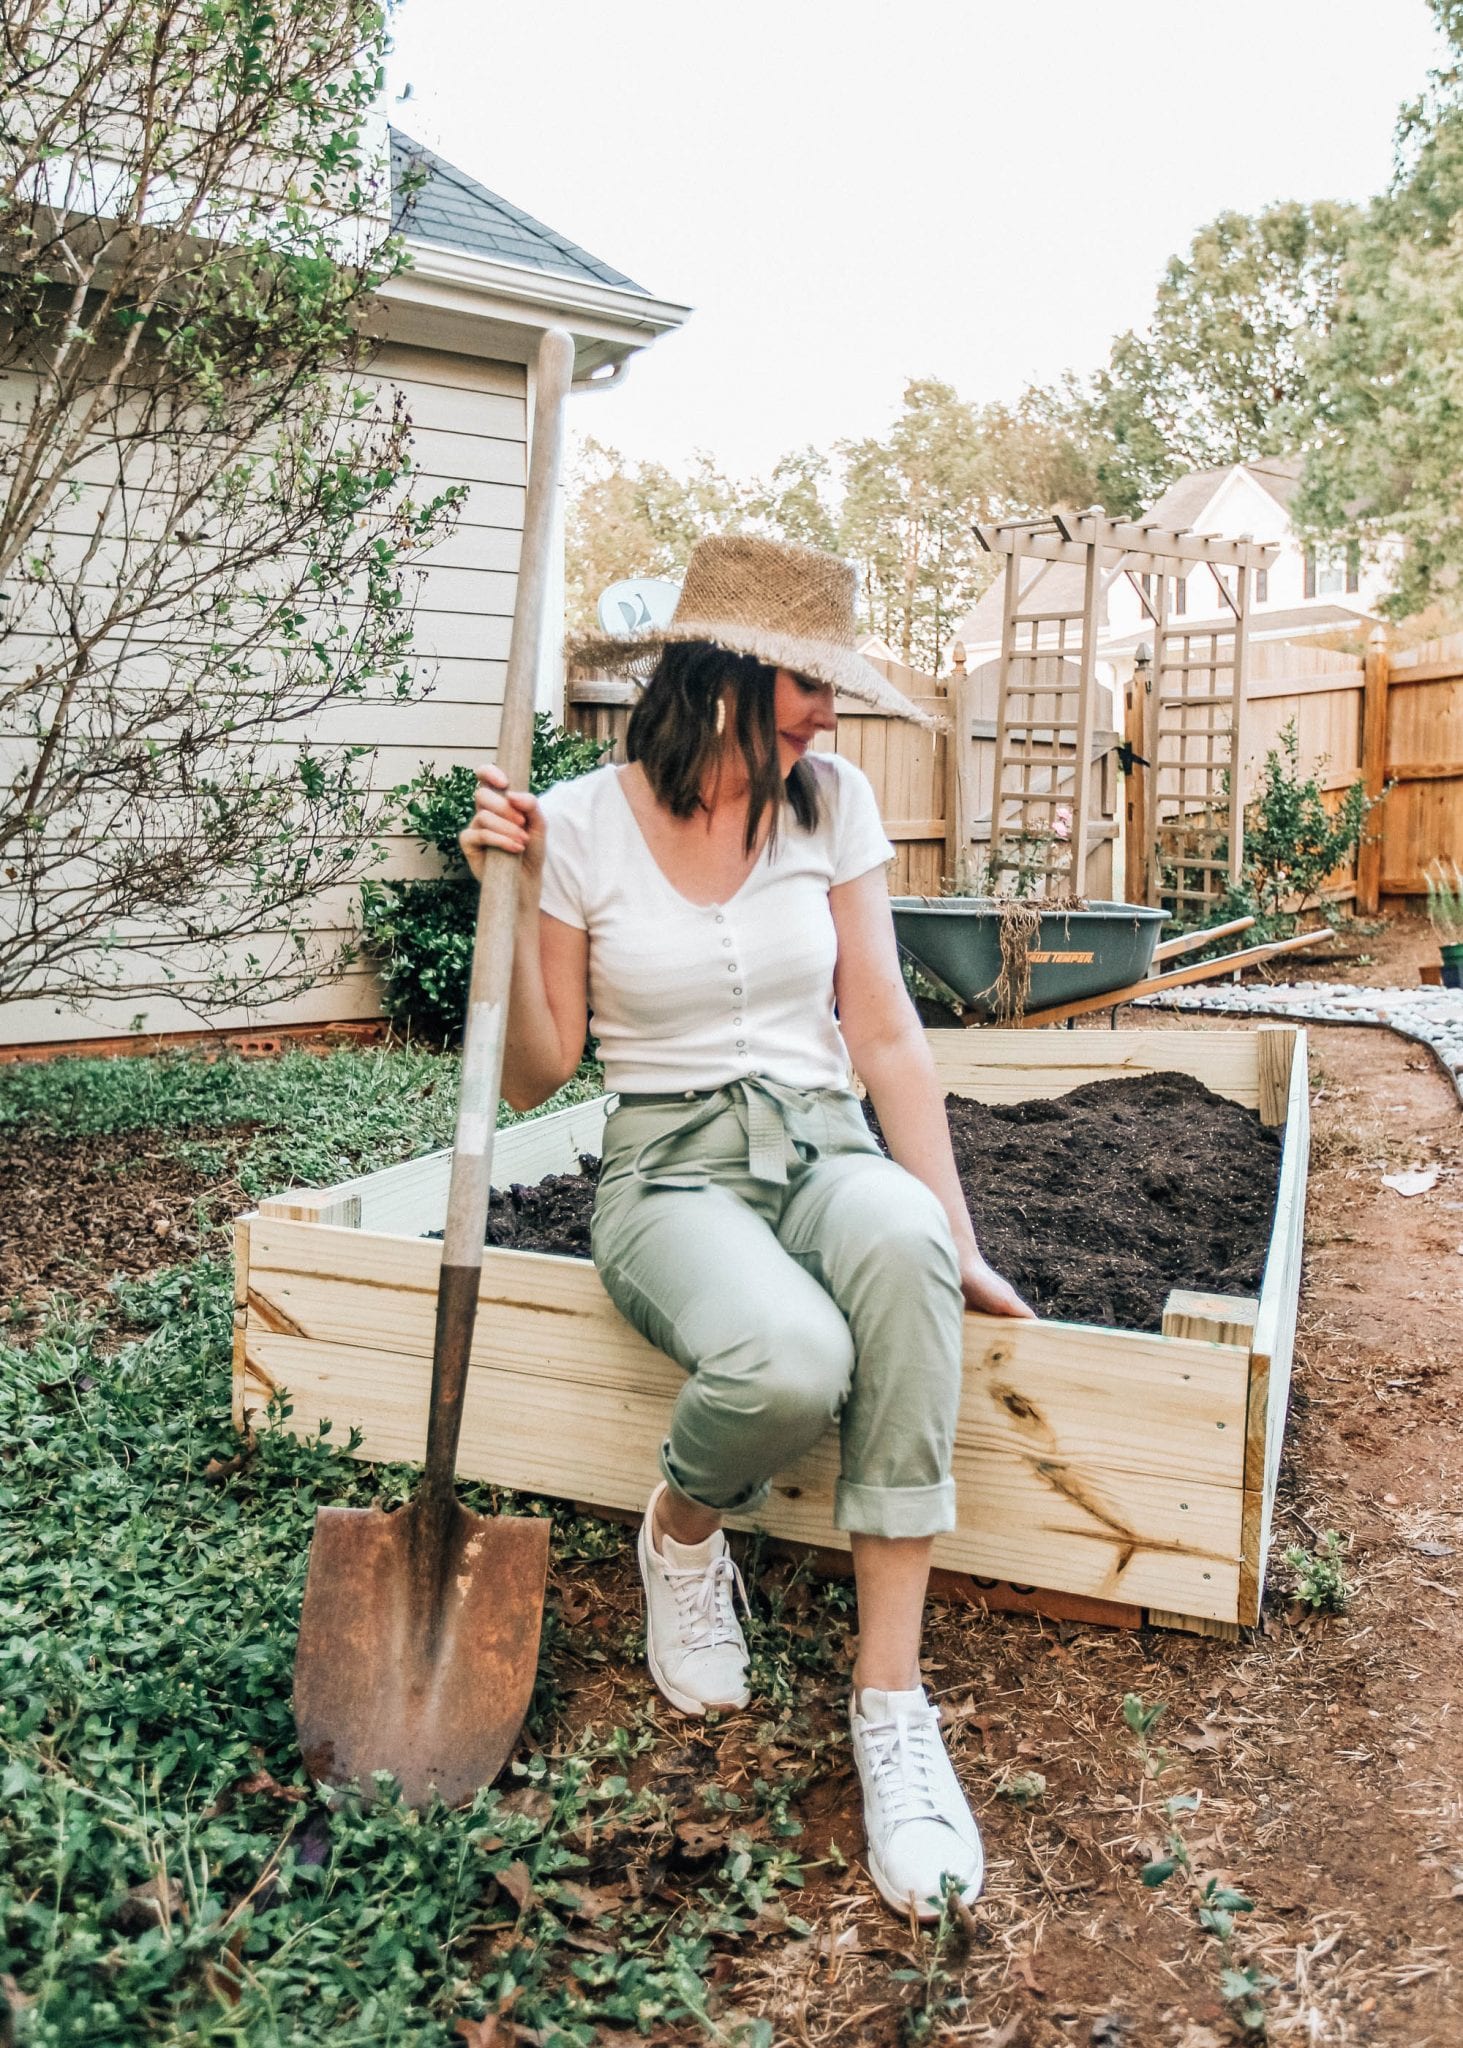
After deciding we wanted our next project to be a raised vegetable garden (which only took about 30 minutes to make), we set off to the store to get some wood and soil! This entire project cost less than $100 and we were able to redeem the cash back we’ve earned along the way to use towards the project.
Supplies for raised bed:
(6) 1 x 6 pressure treated boards, 8 feet in length
(1) 4 x 4 pressure treated column, 8 feet in length
1 pack of (50) 1.5-inch wood screws
Mitre saw
Power drill
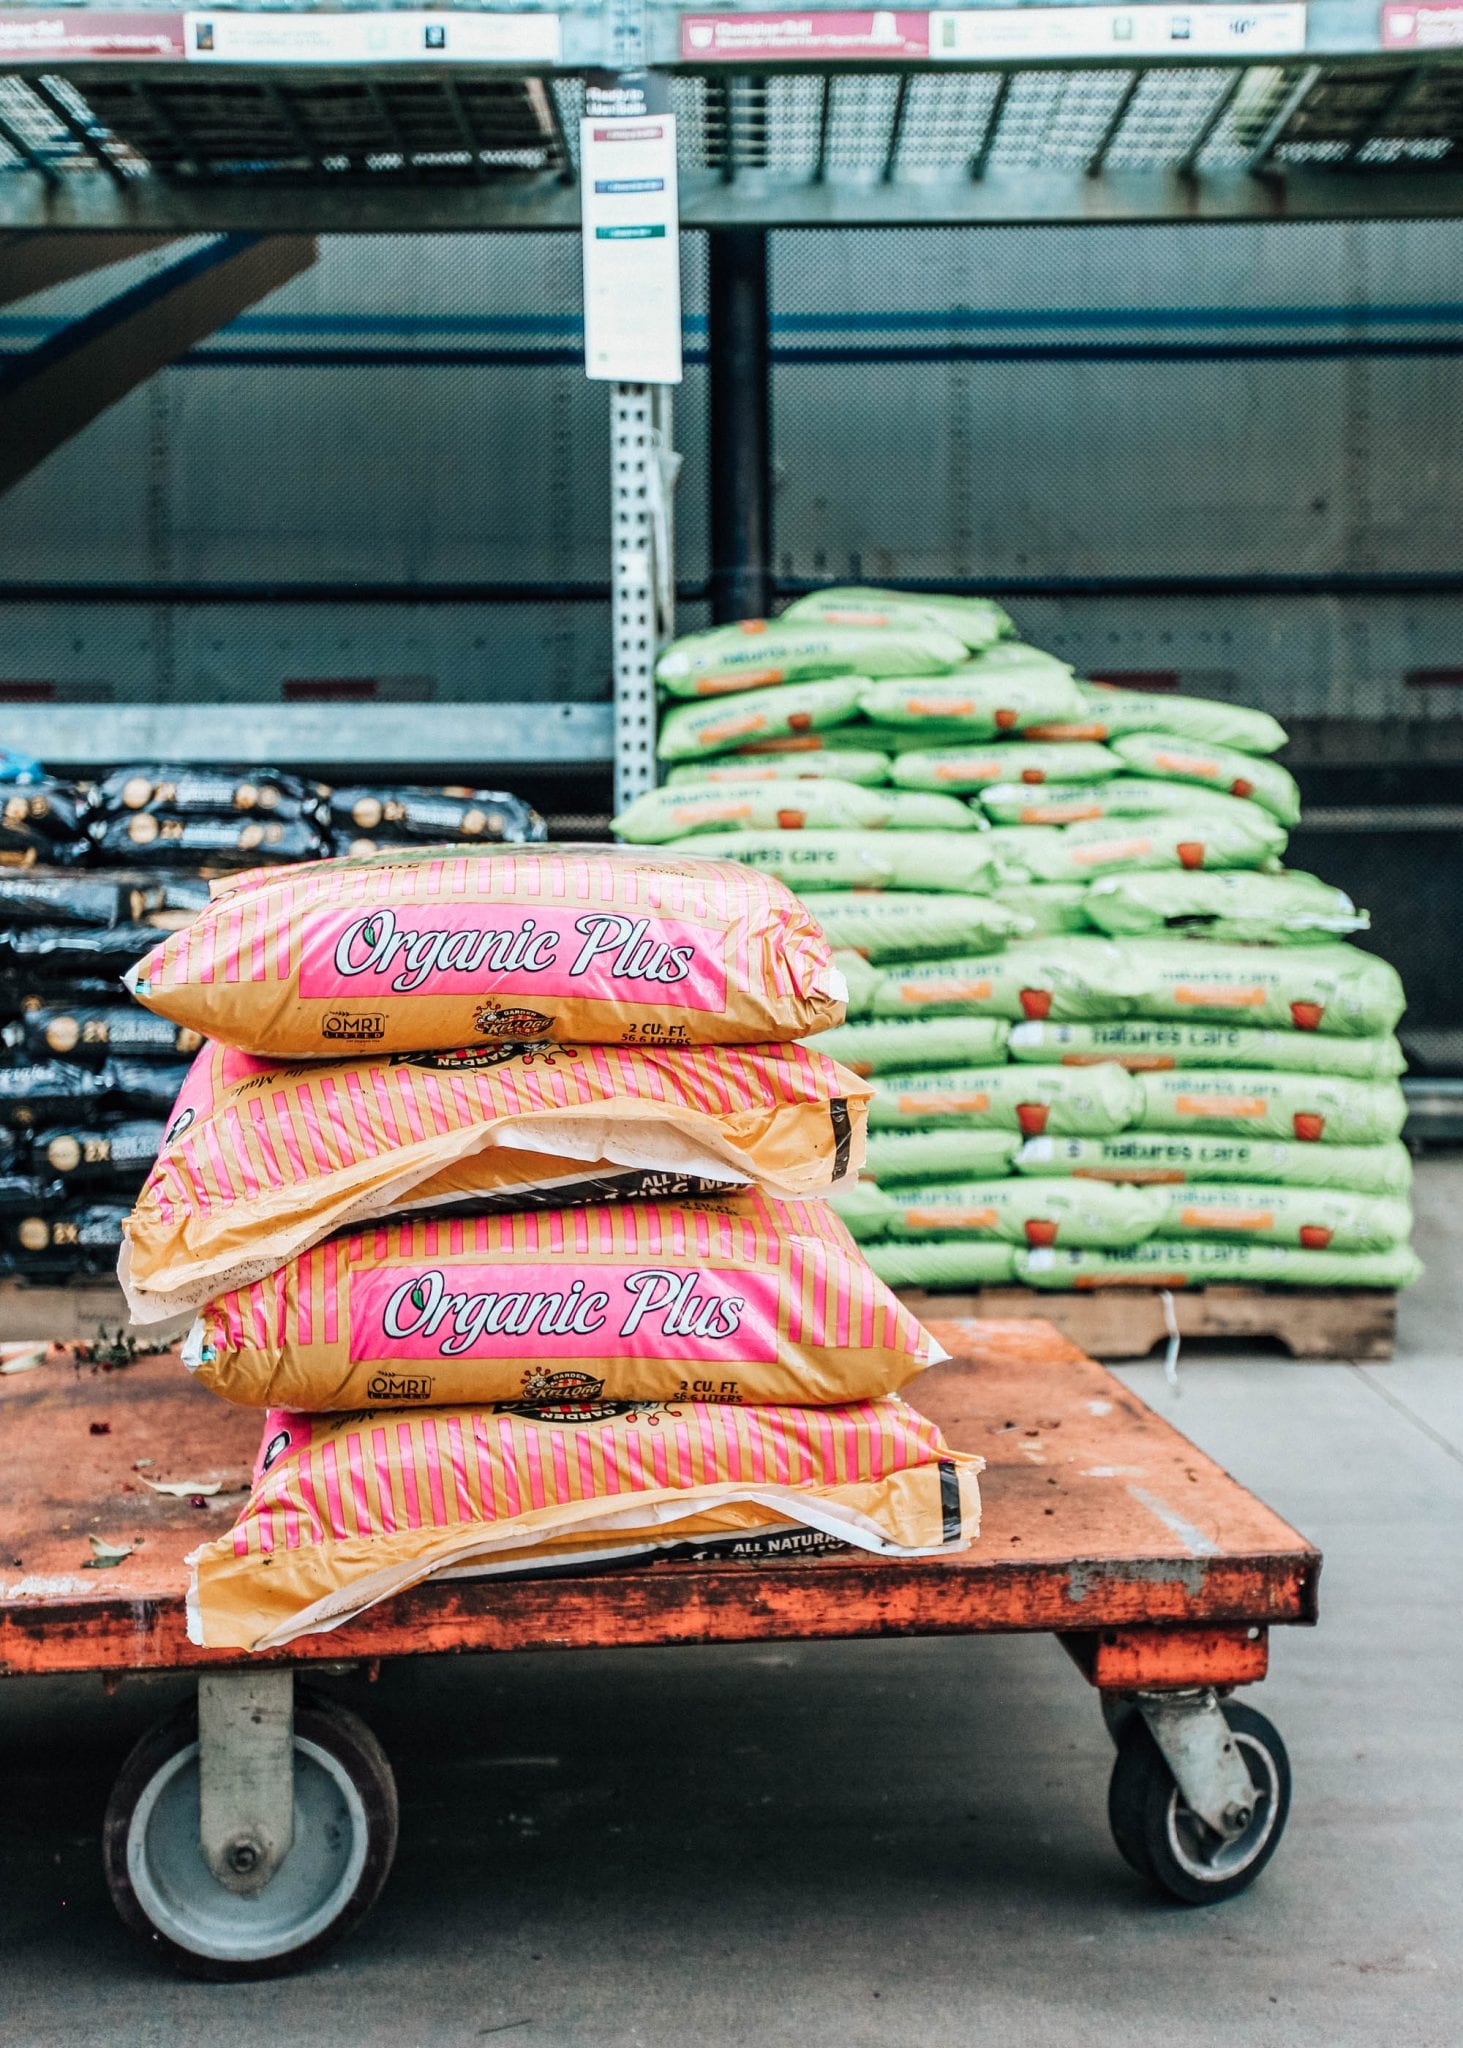
(12) 2 cubic foot bags raised bed soil
Cardboard
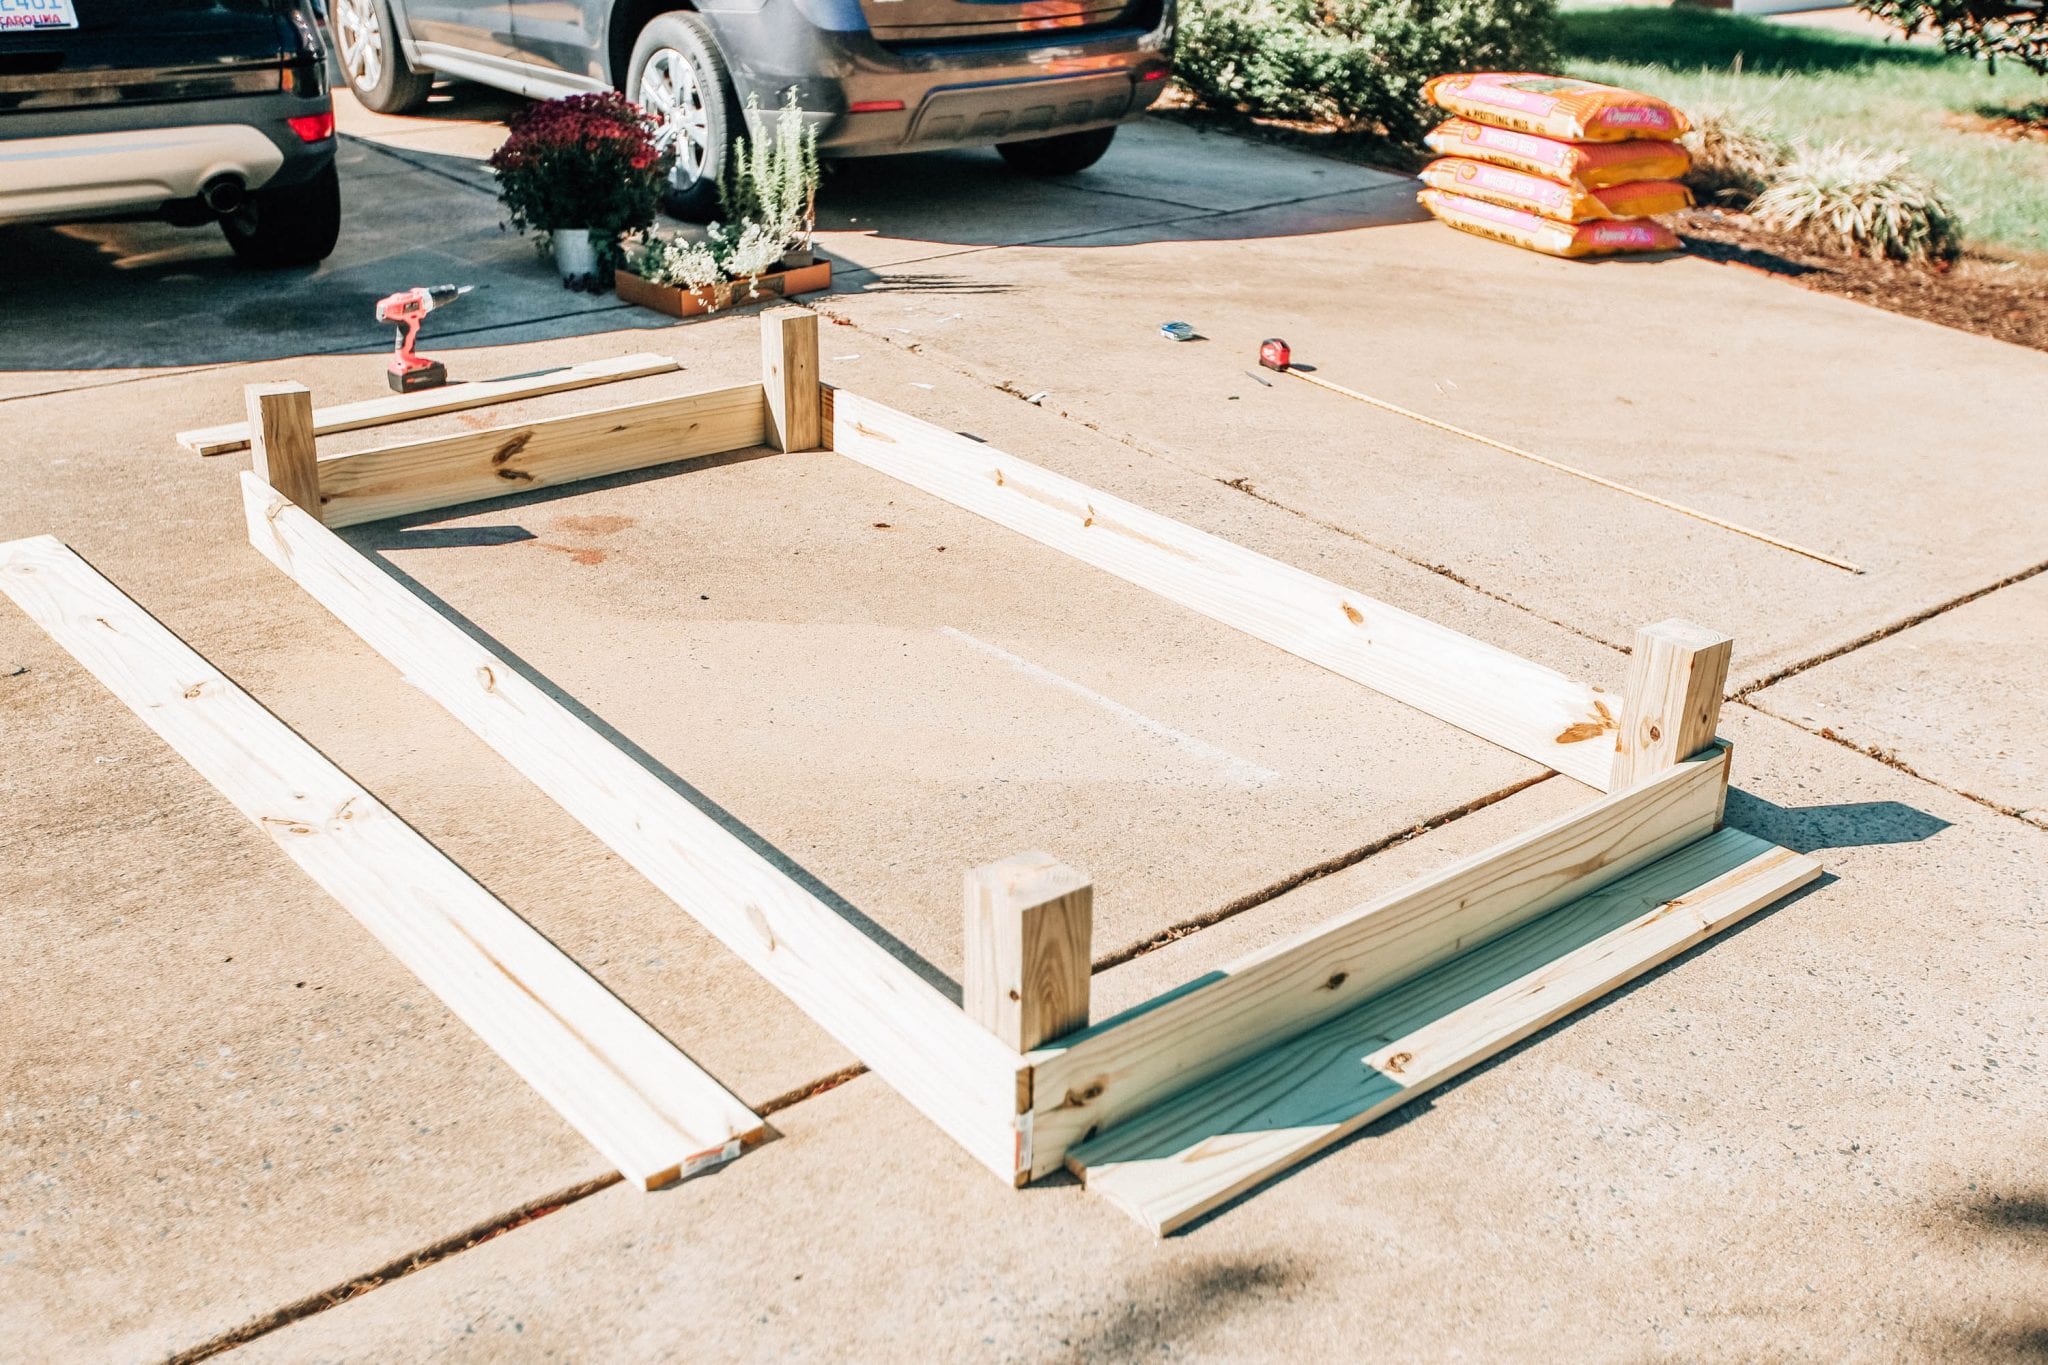
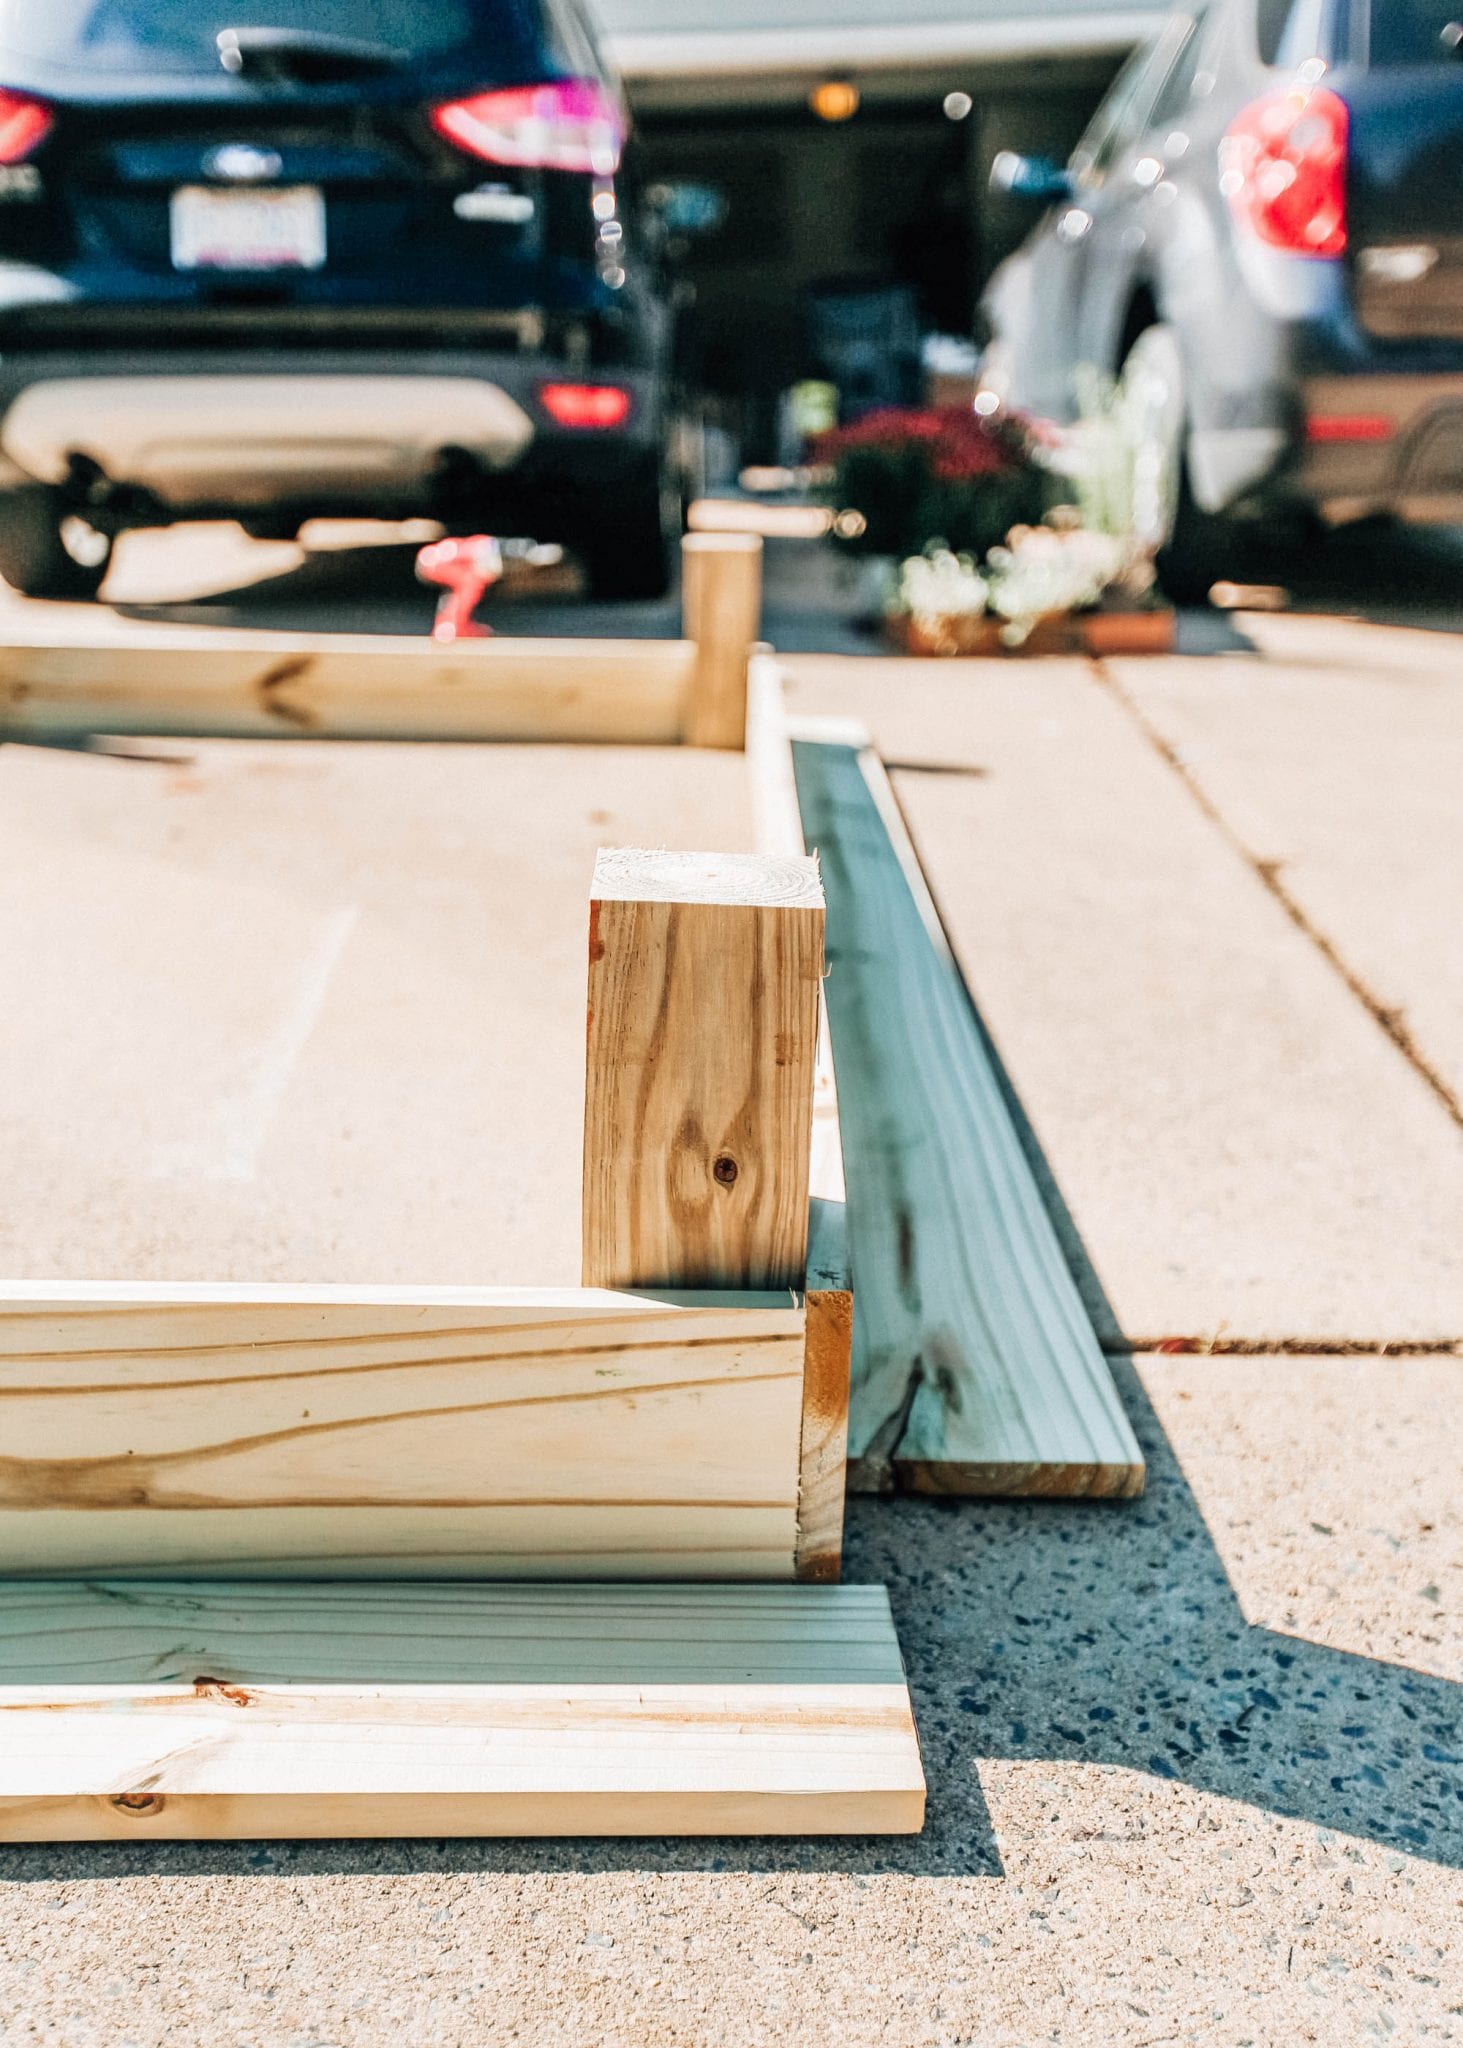
To make the raised beds, cut the 4 x 4 columns into 1 feet increments, for a total of 4 segments. This will anchor the sides together and provide stability when you add the soil and it stretches the wood.
Cut 2 of the 1 x 6 boards in half to get a total of (4) 4-foot boards.
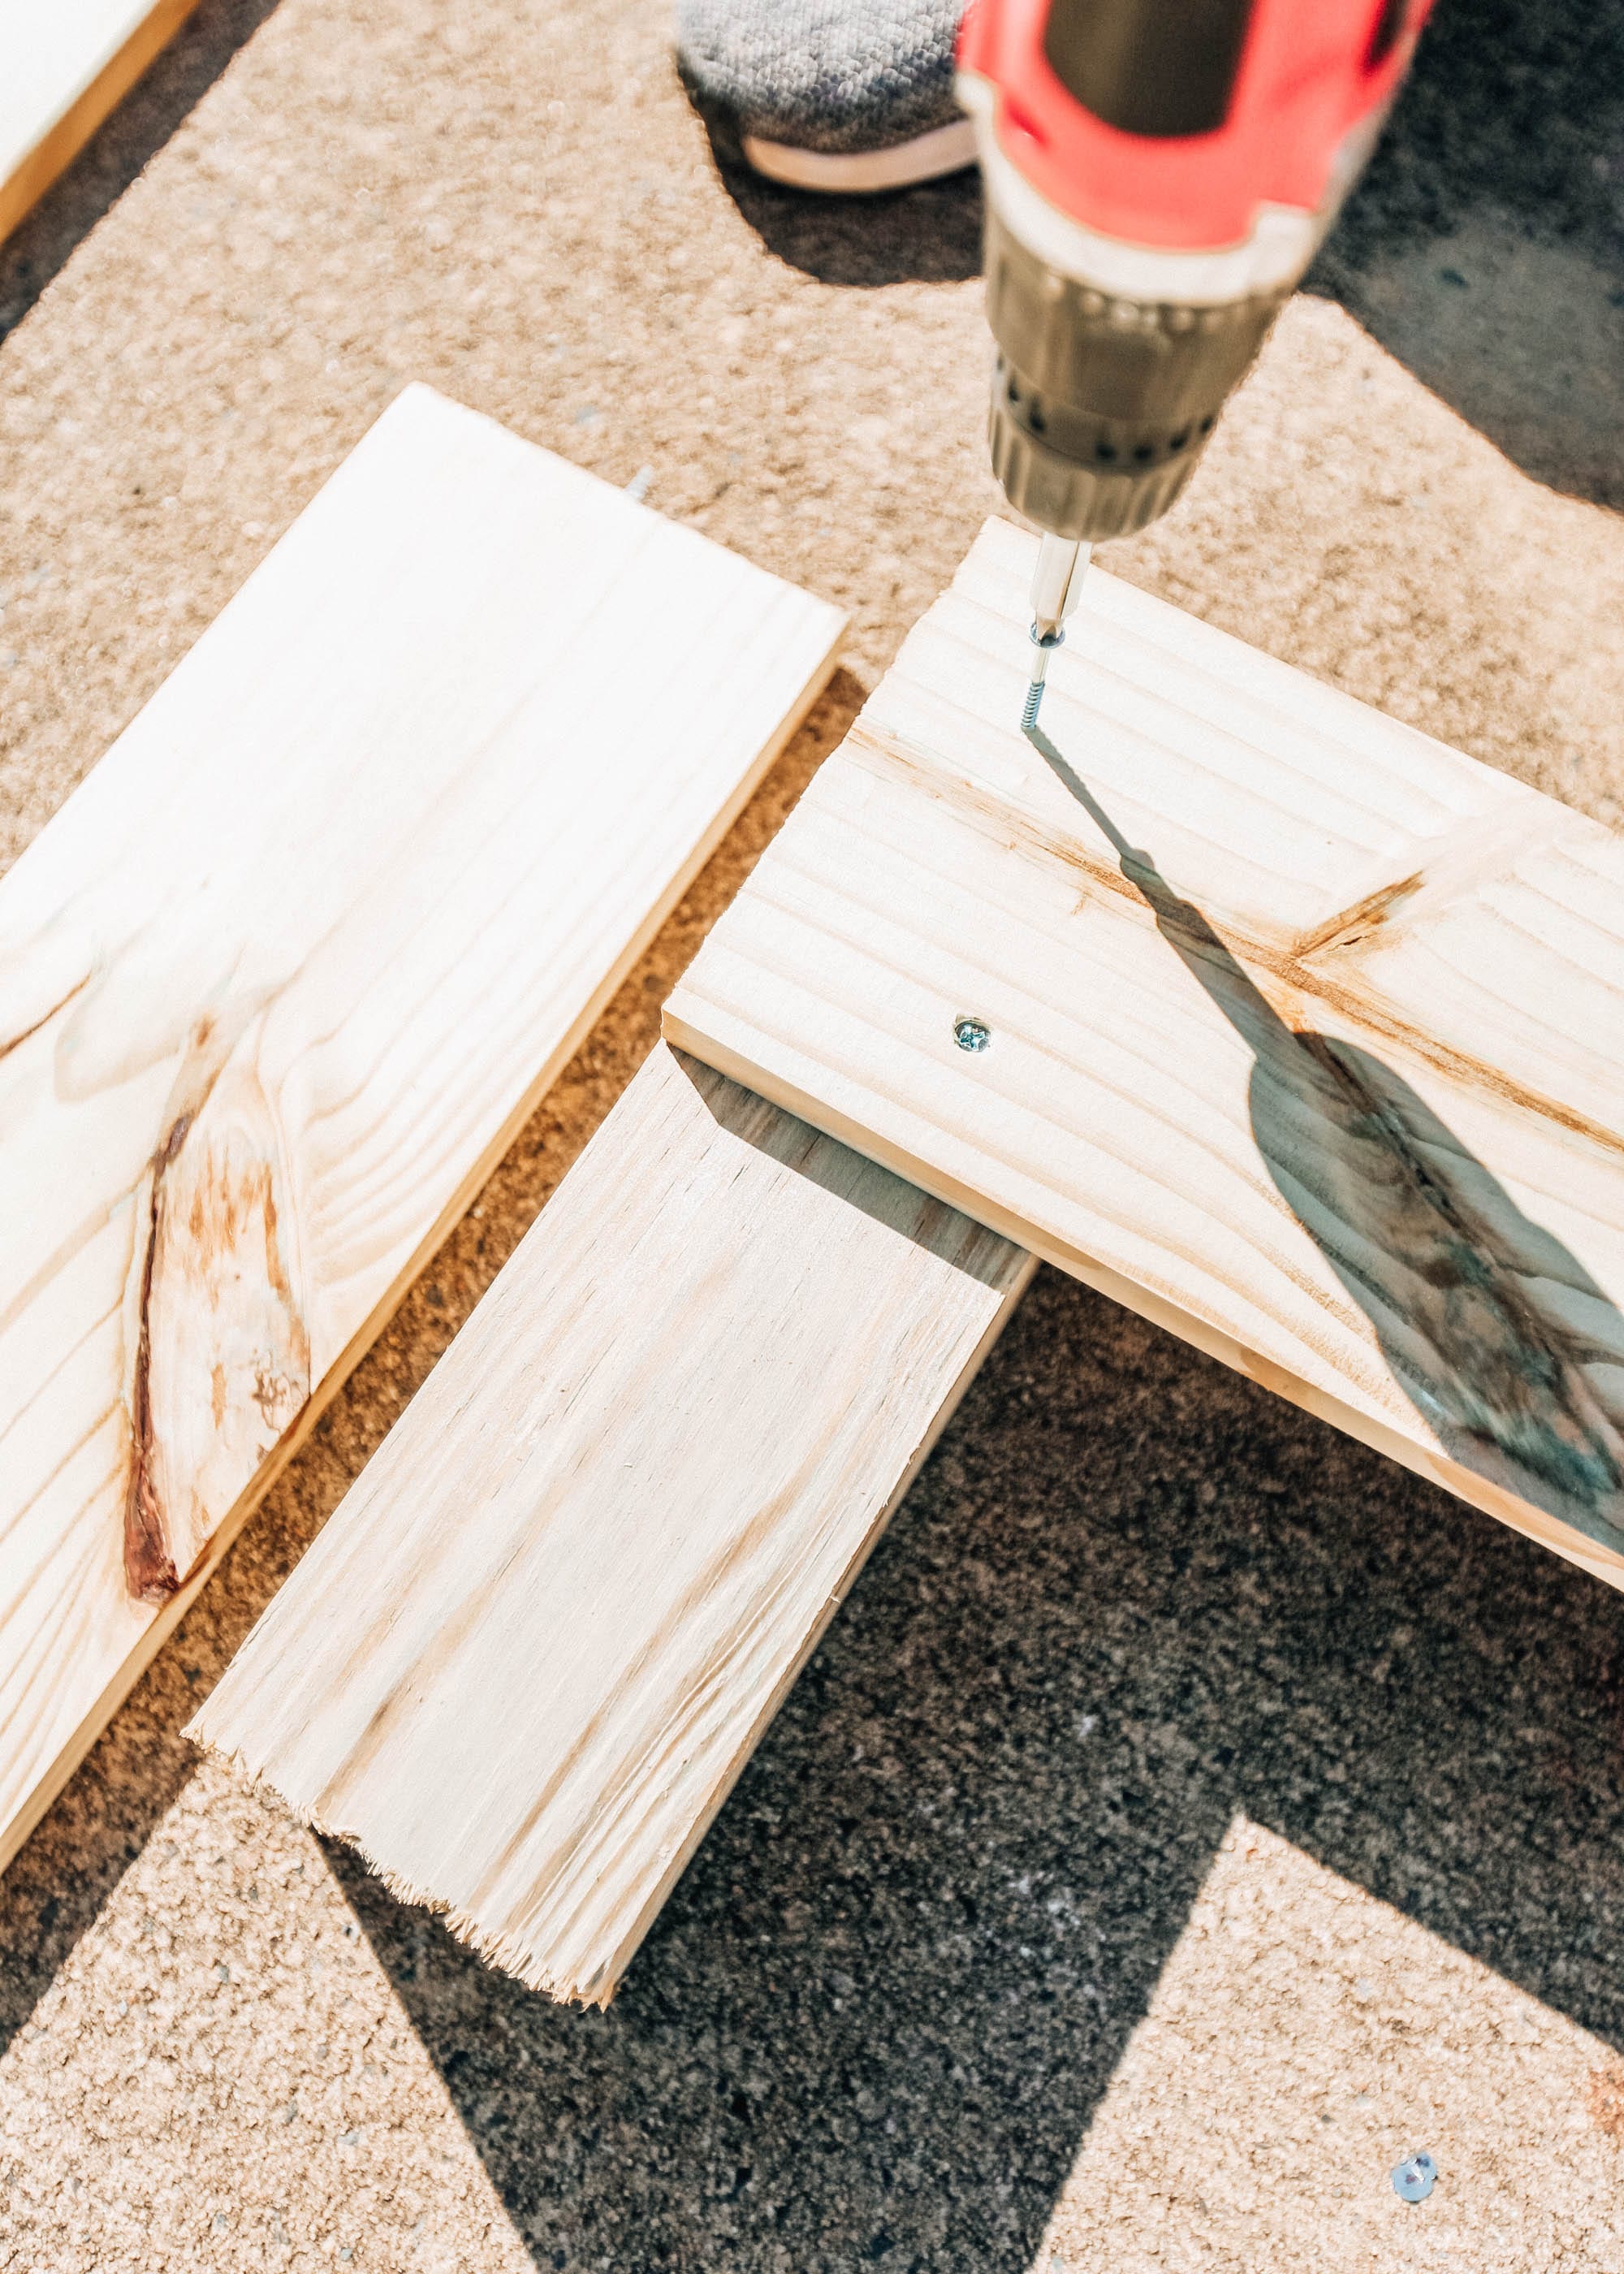
Attach (1) of the 4-foot boards to one of the 4 x 4 column segments with wood screws. Attach the other side of the 1 x 6 board to column segment number 2. Repeat steps for second 4-foot 1 x 6 board, right above the first board.
Repeat all steps for other set of 4-foot 1 x 6 boards and remaining 4 x 4 columns.
Connect each short side of the bed utilizing one of 8-foot 1 x 6 remaining. Ensure this is done on a level surface and is straight to keep integrity. Attach second long 1 x 6 board above first board using wood screws.
Repeat steps for second long side of raised bed.
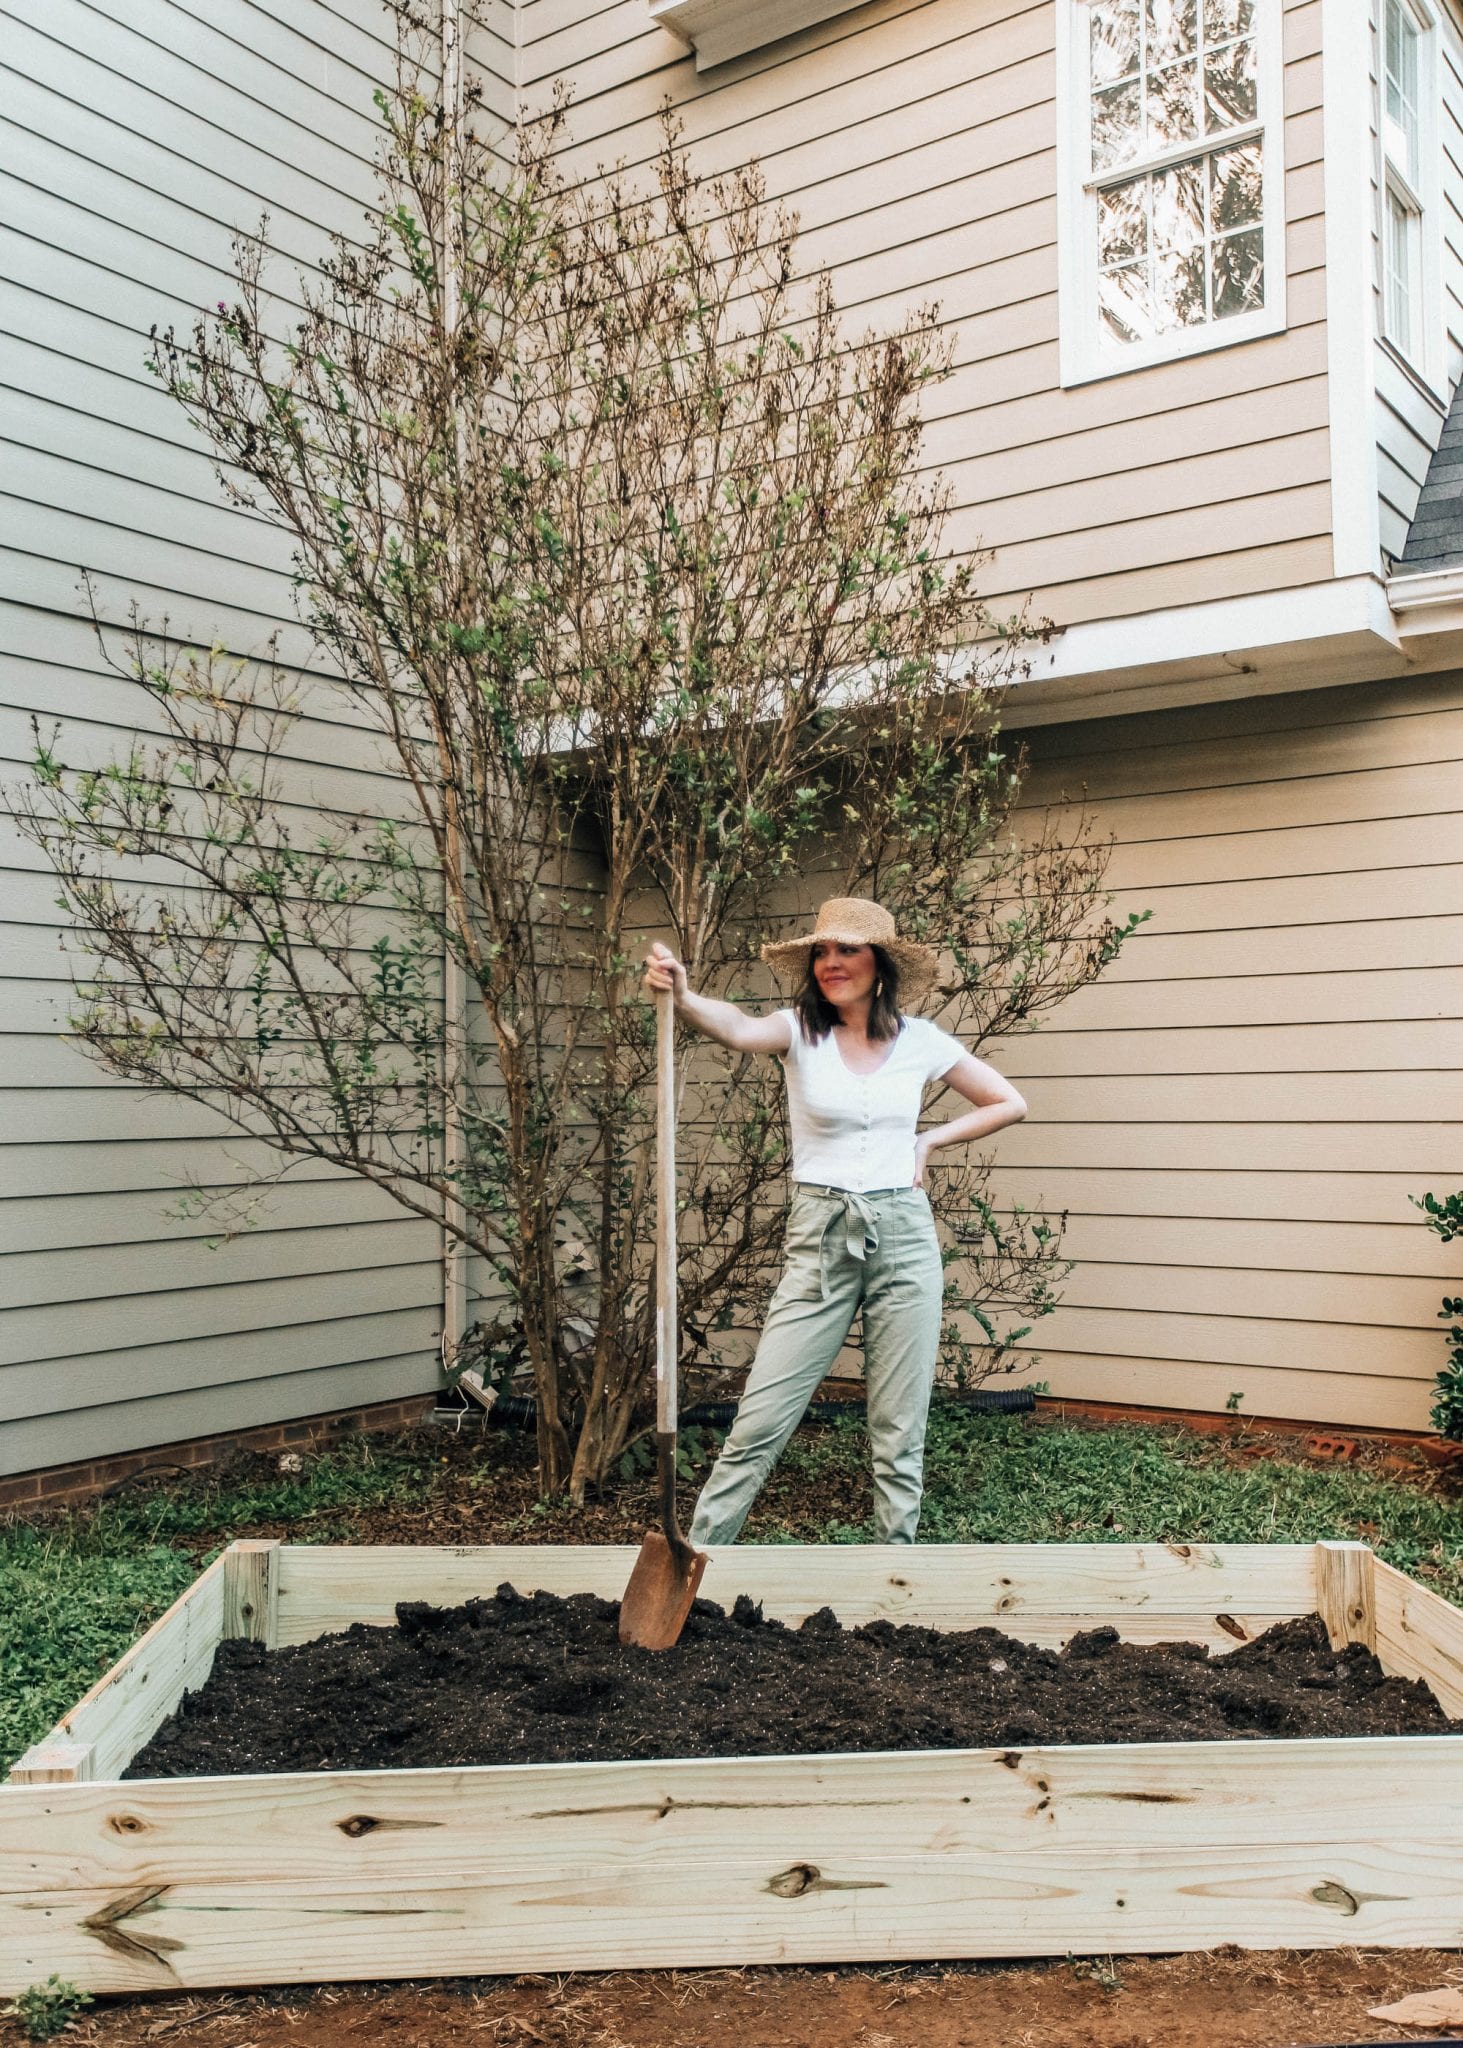
Once the bed is complete, place in designated area of yard. To create an inexpensive weed barrier, lay cardboard on bottom of the bed. In other cases, you can purchase a plastic sheet to act as a weed barrier. Make sure you use polypropylene and not polyvinyl, as polyvinyl can leach chemicals into the soil.
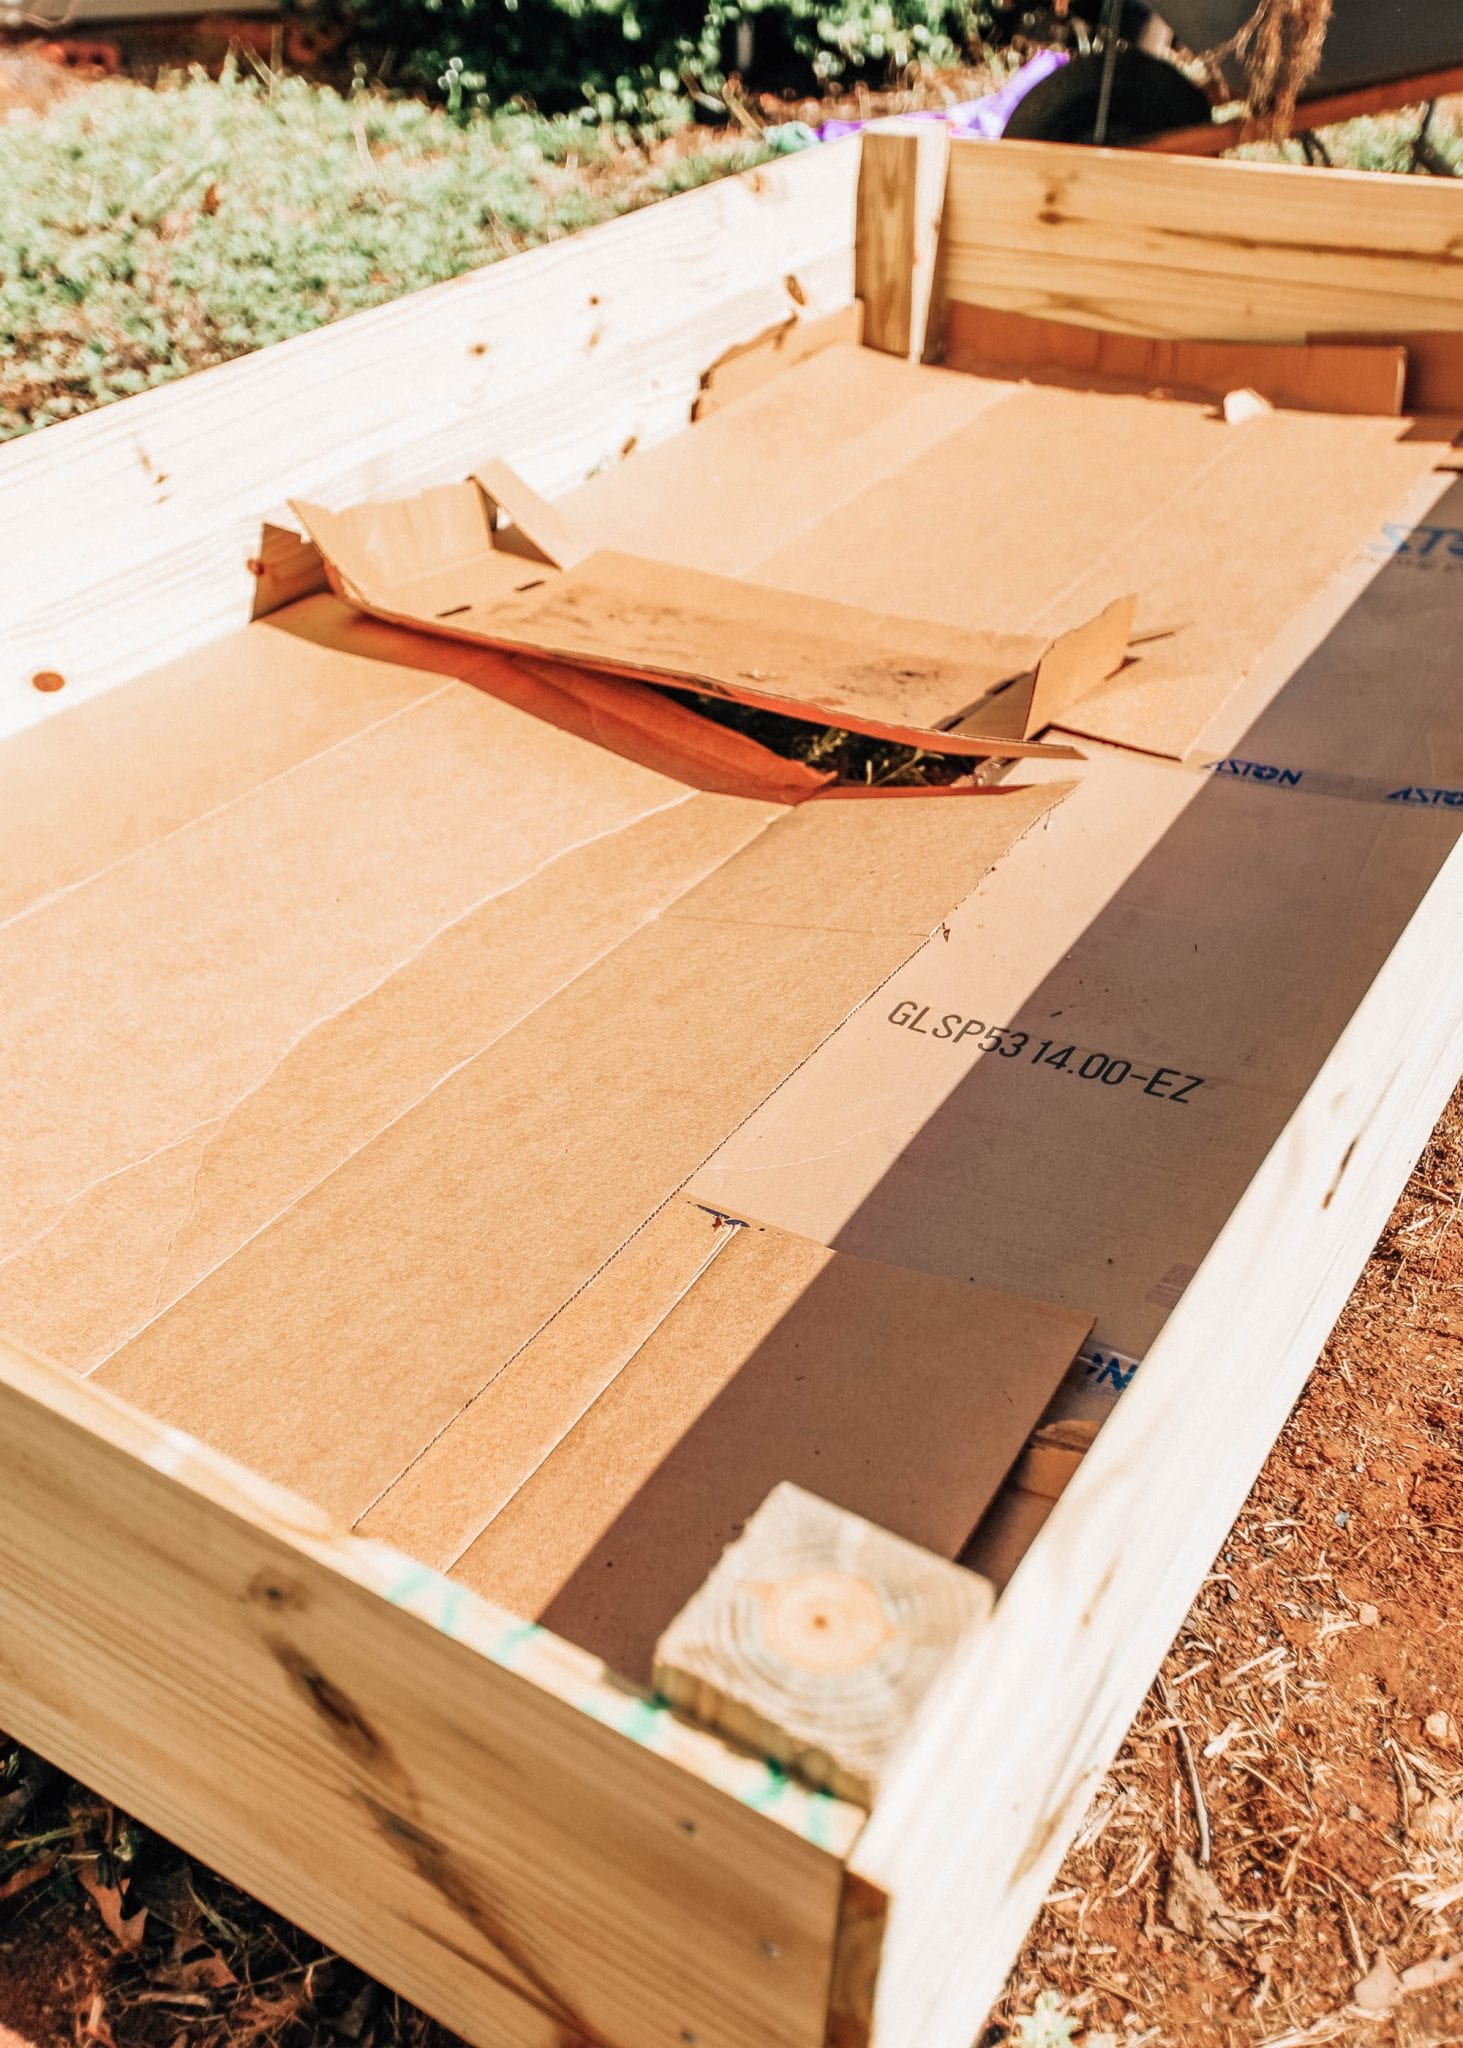
Add soil to the prepared bed, creating a minimum depth of at least 6 inches. If all the steps are followed, your bed will be 1 foot in depth. It may take between 12-16 bags totaling 2 cubic feet each to fill the entire bed.
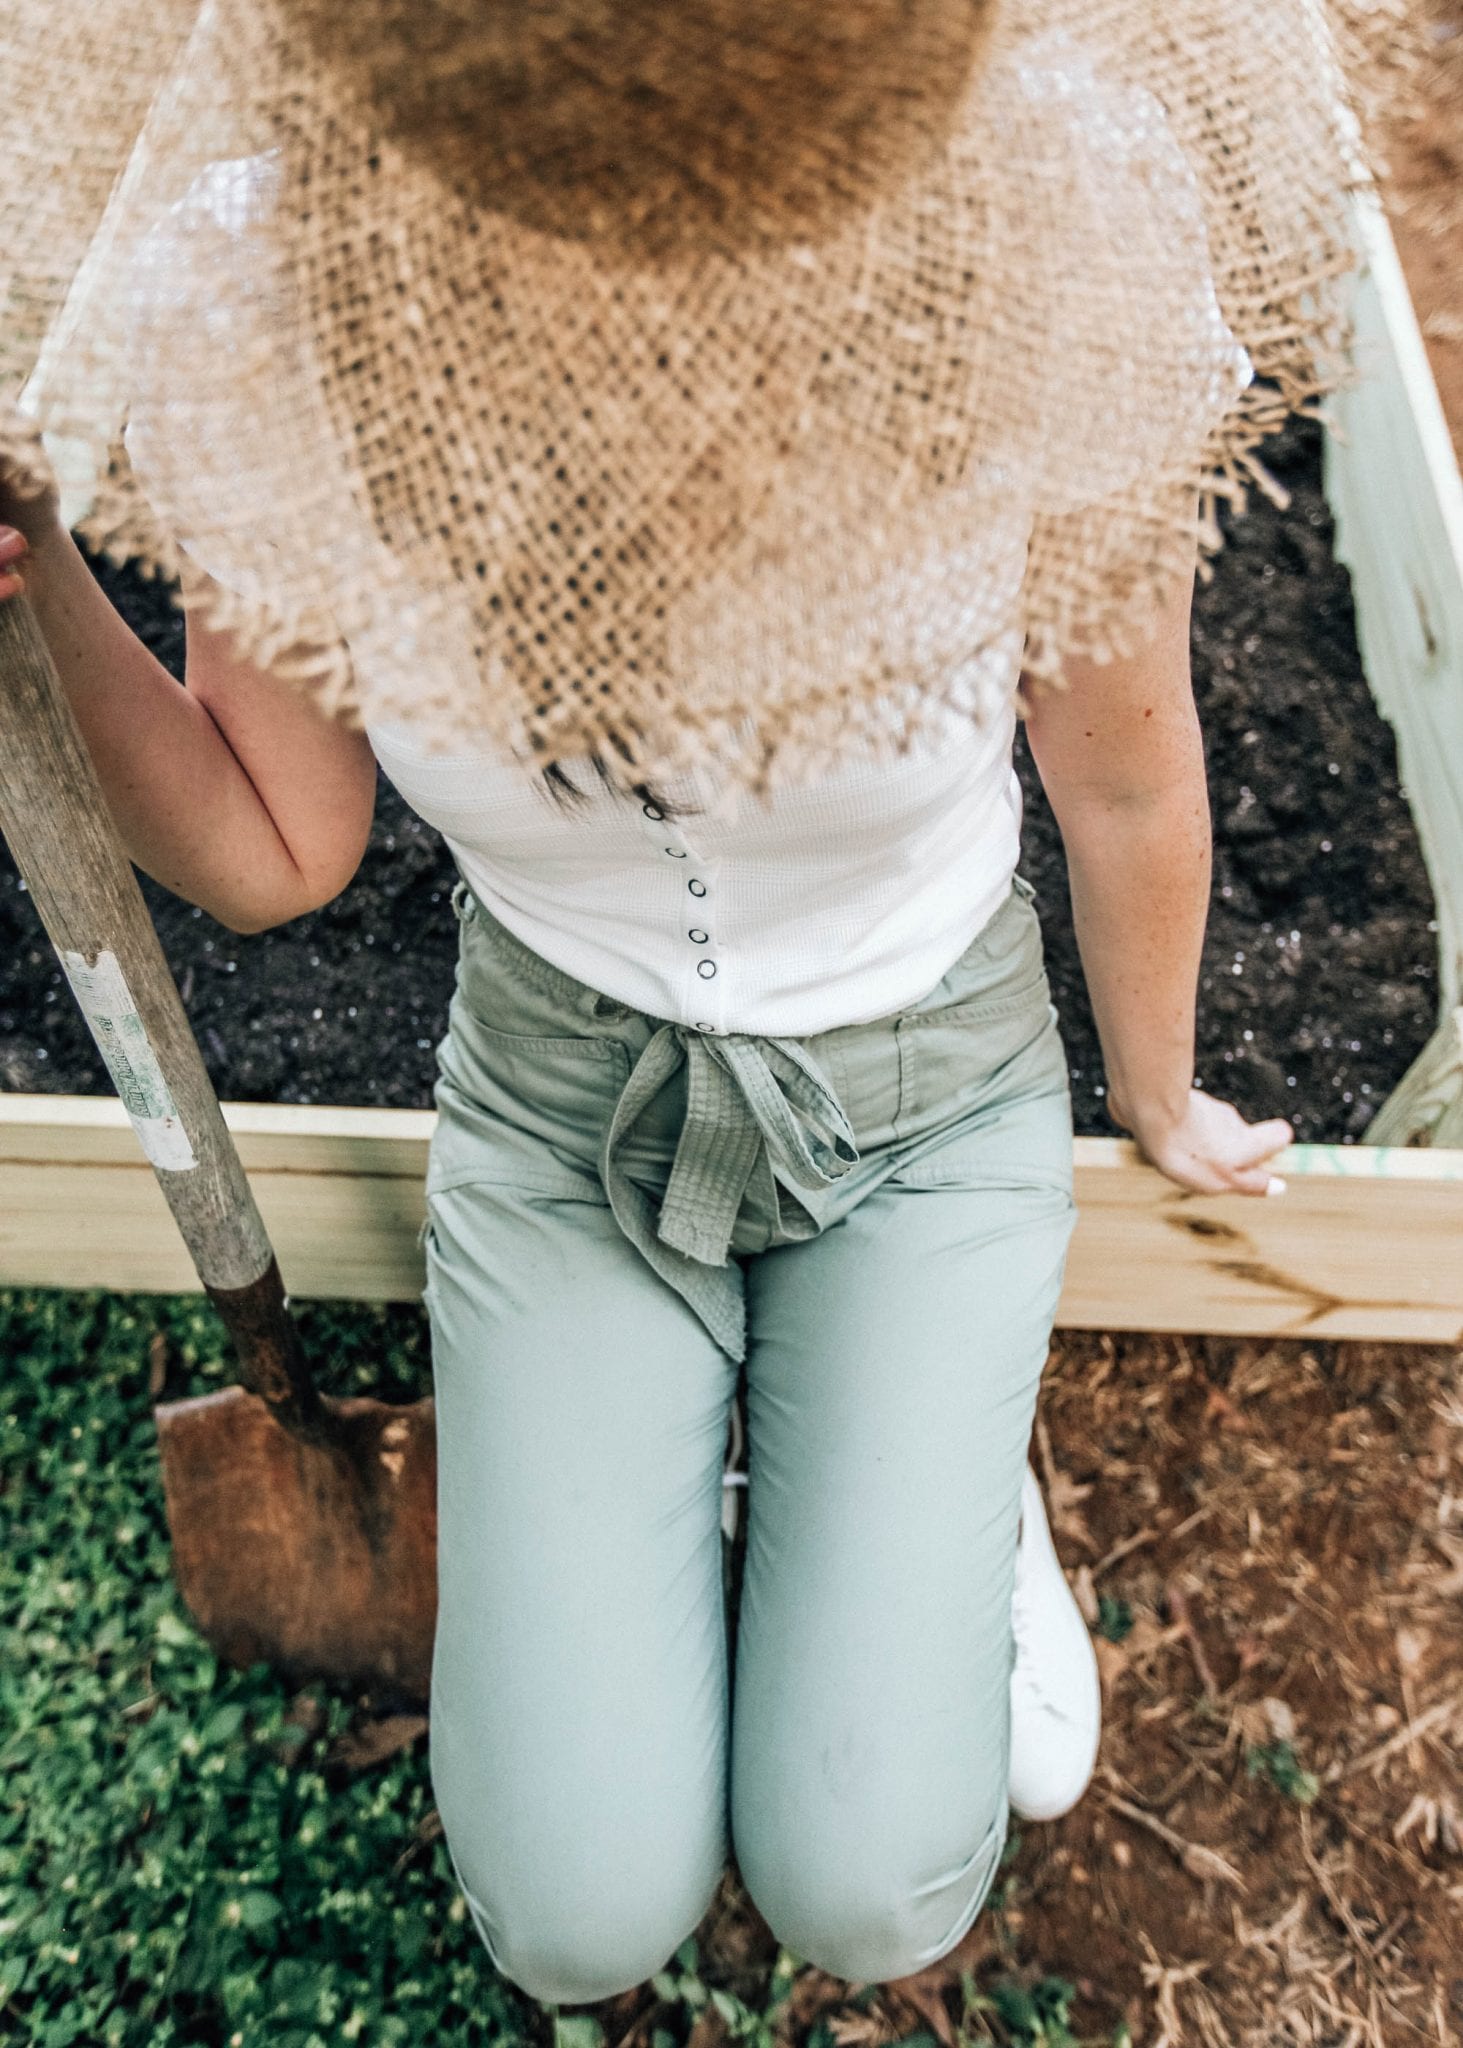
Now that the bed is made, we’re ready for the fun part; although, we’re a little late this season for any vegetables to grow this year. Once the new year rolls around, I’m going to make sure to order seeds for a variety of vegetables we love! Some I’m most excited for are: broccoli, lettuce, spinach, peppers, cucumbers, and an assortment of herbs! Vegetable gardening is a whole other topic to dive into so it’s a good thing I have some time before we plant seeds!

You made this look so easy! I have always been intimidated to build a raised bed, but I am going to try now! Thanks!