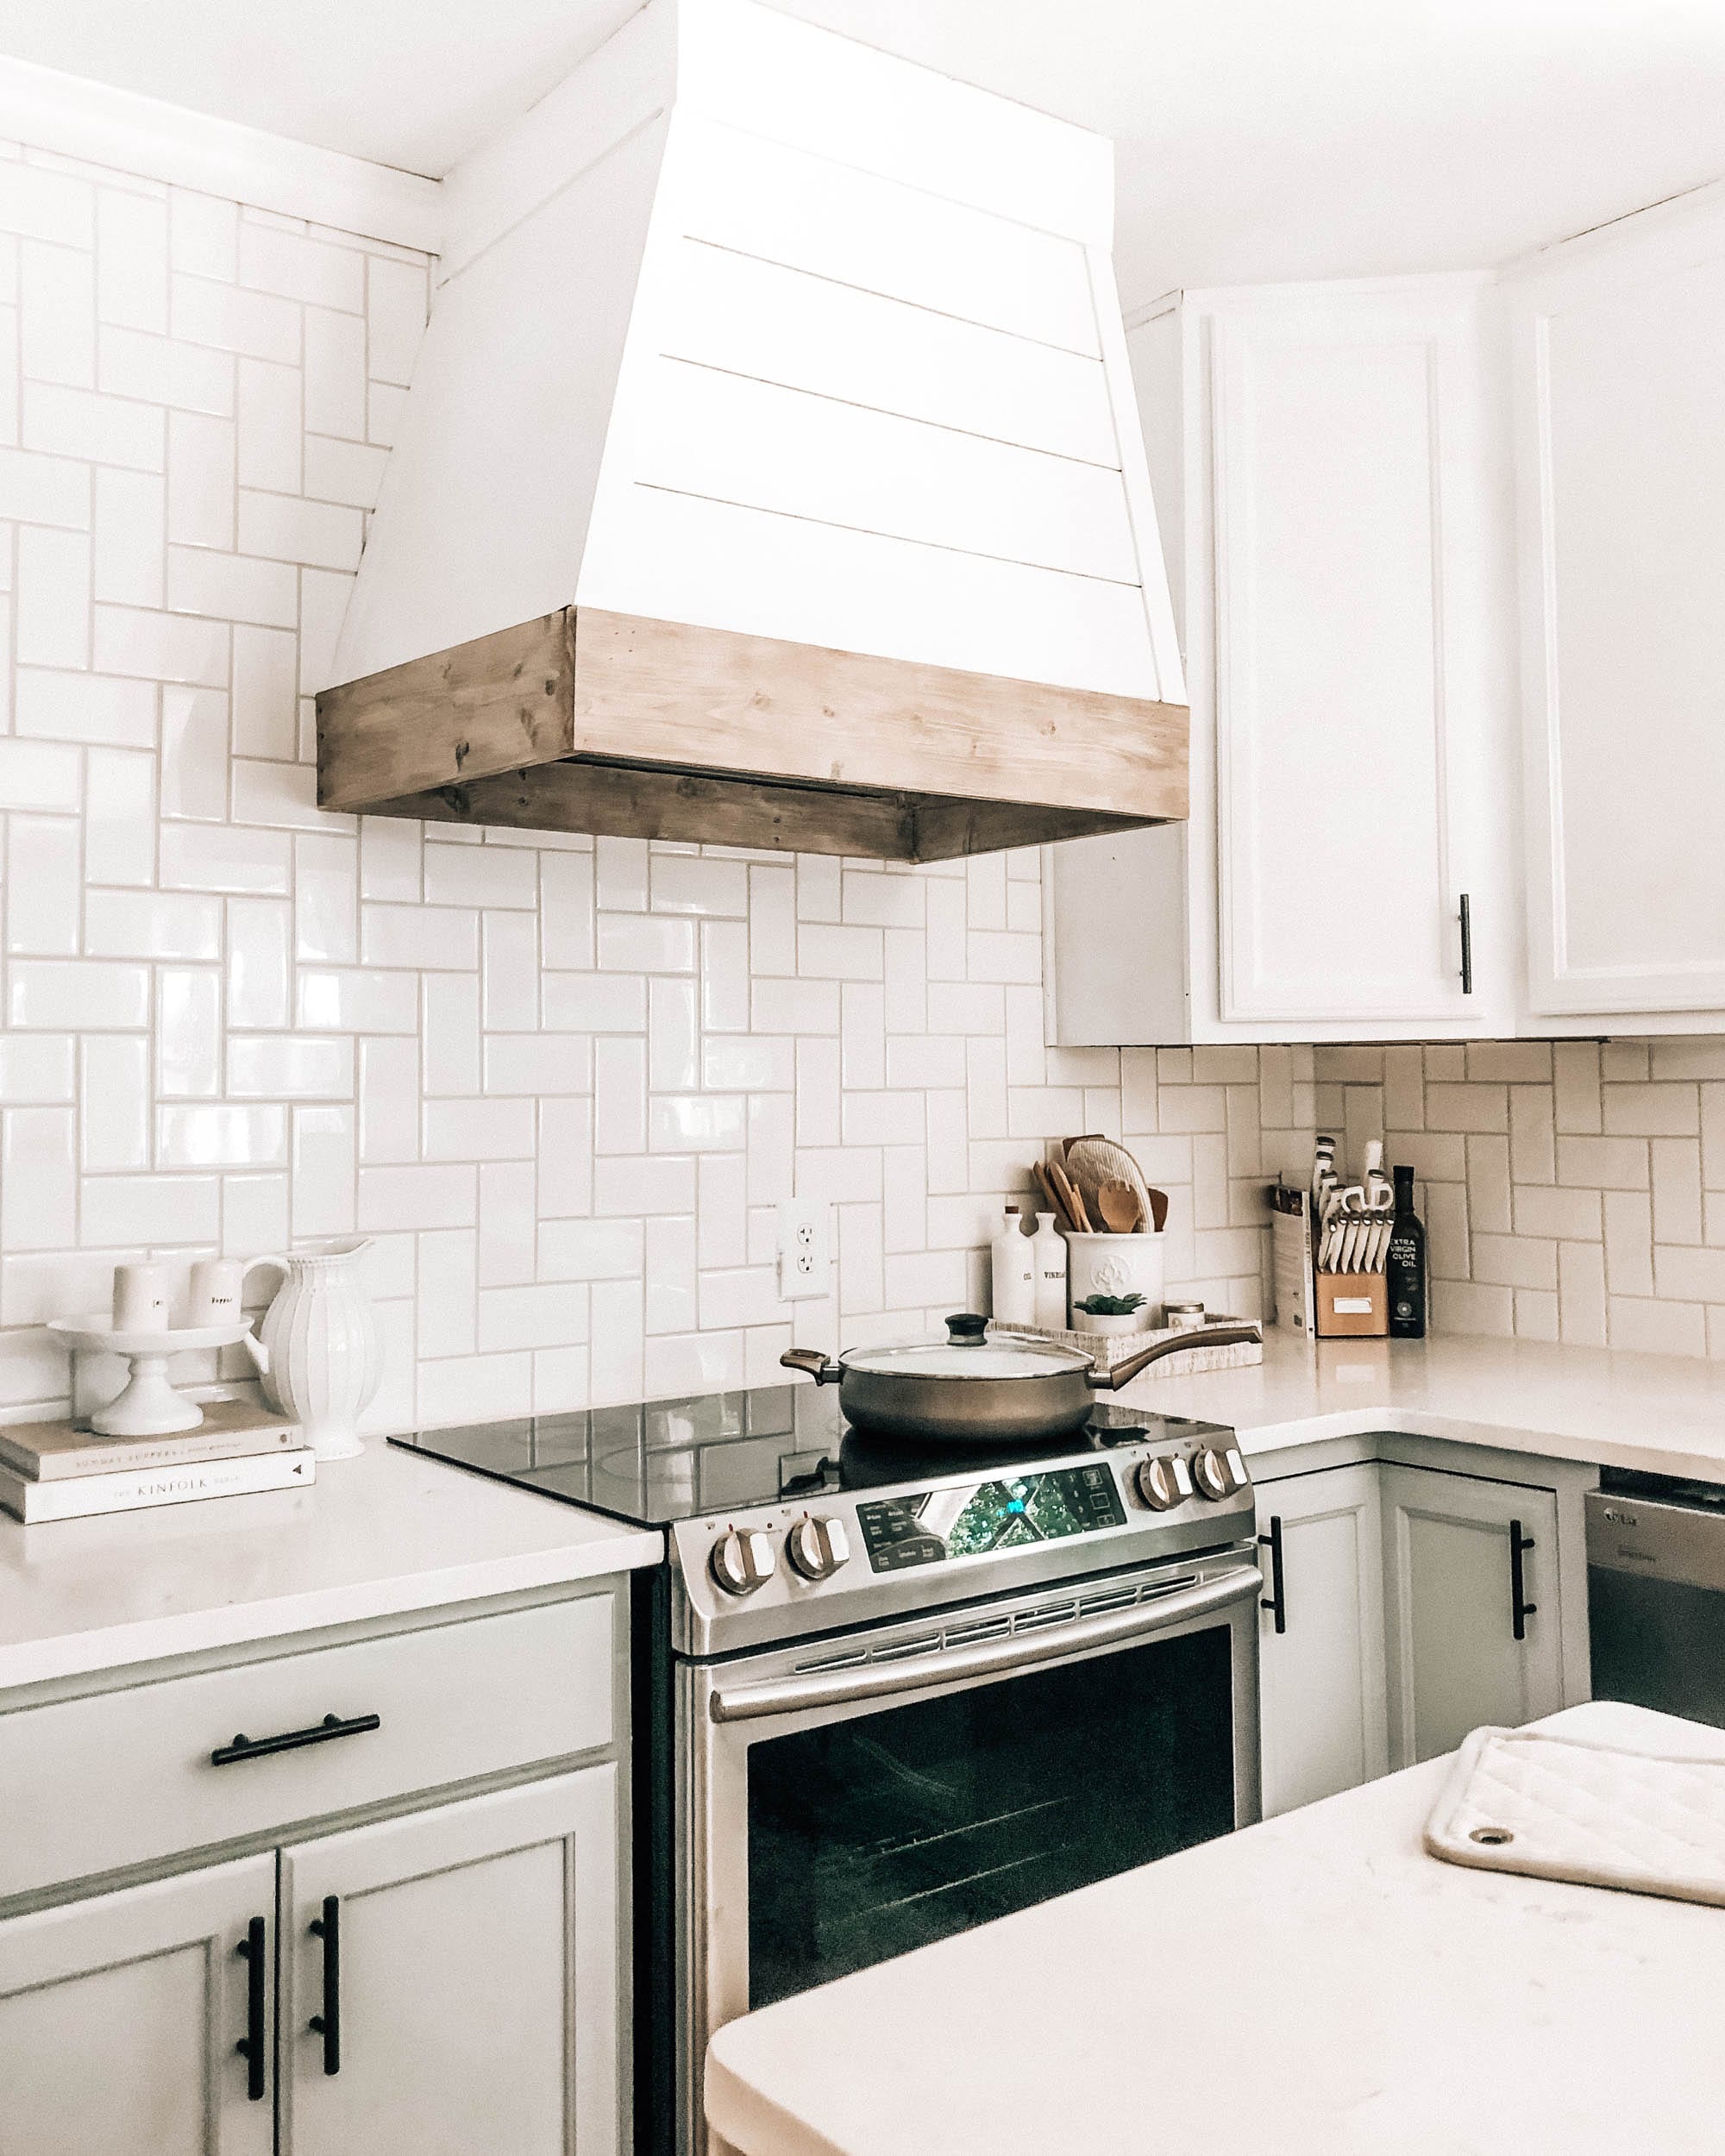

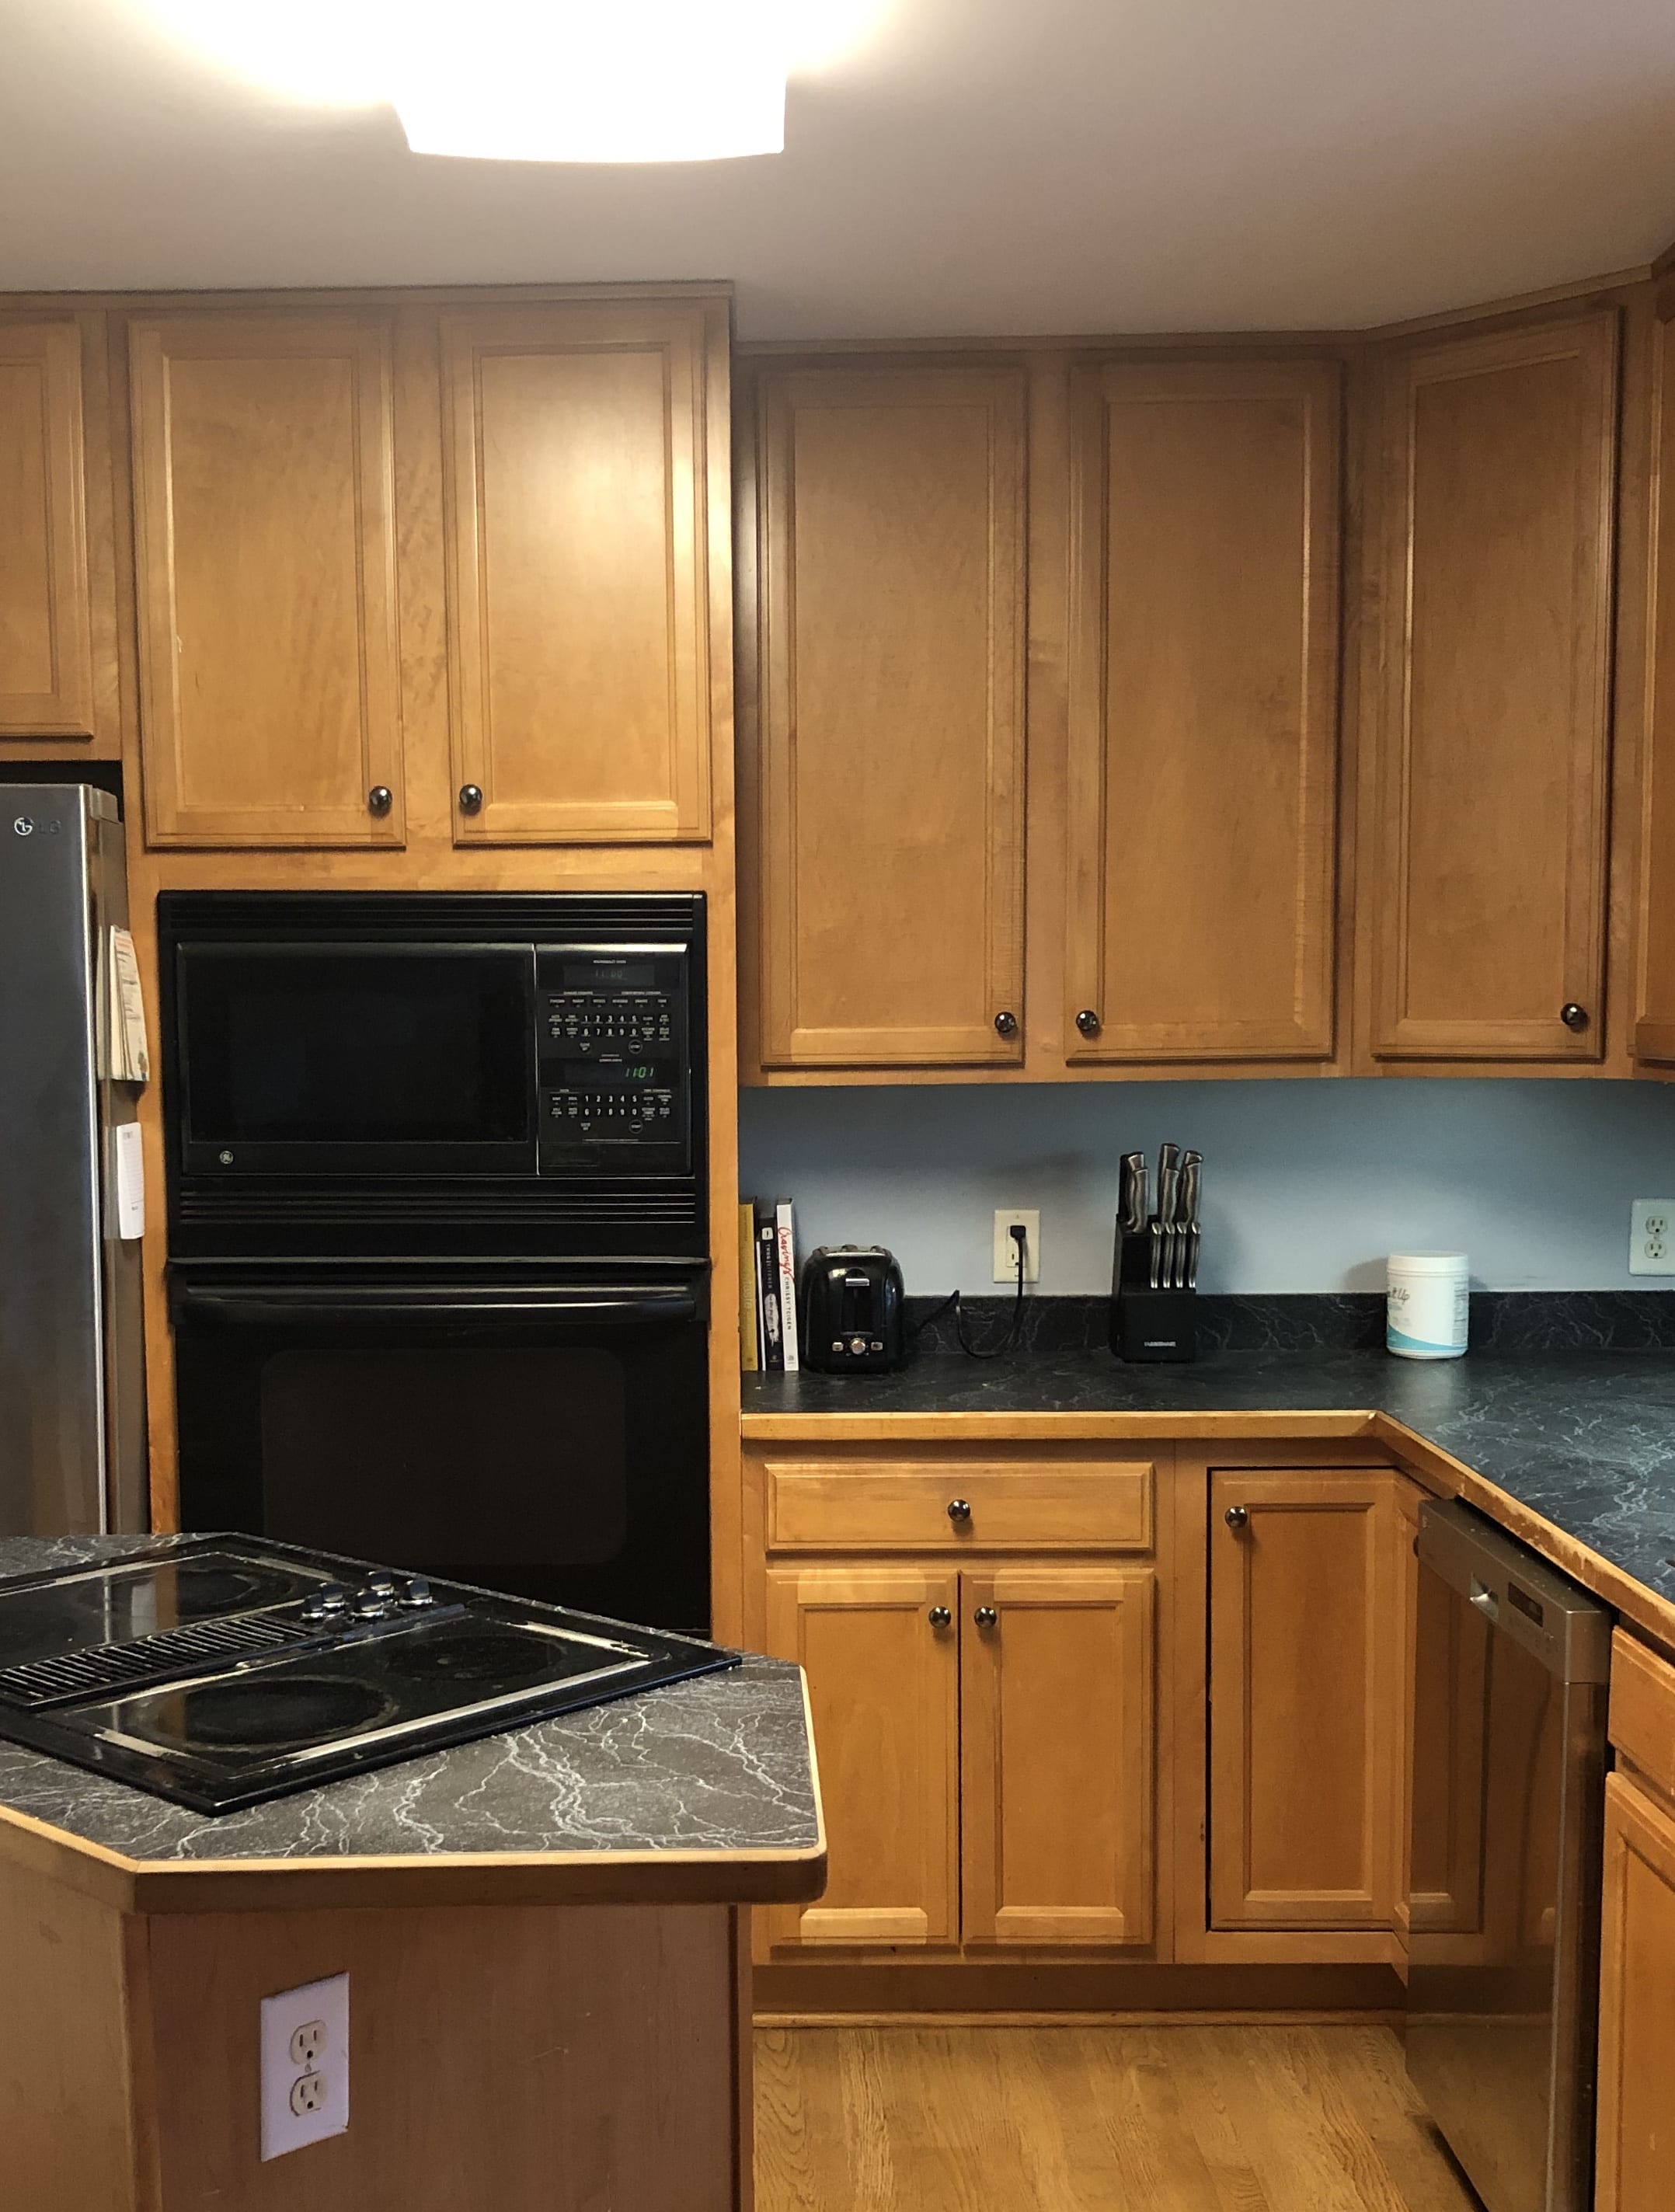
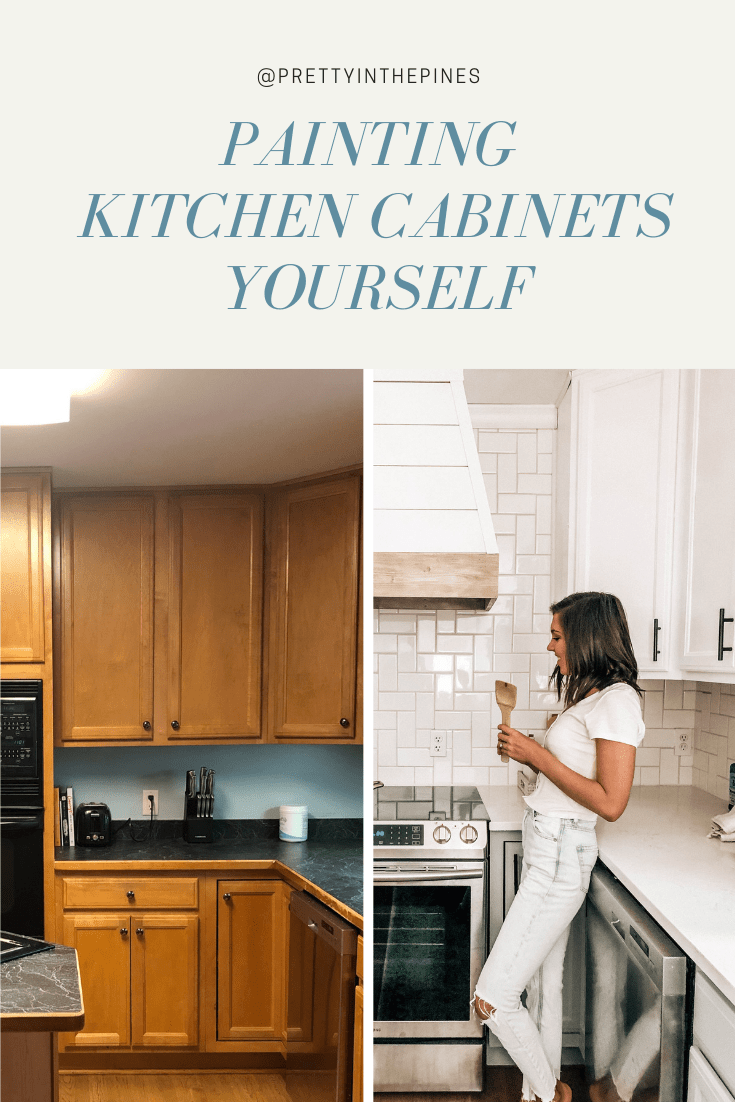
This is way overdue but I’ve been meaning to write about how we painted our kitchen cabinets since… January. As part of our kitchen renovation we knew we wanted to give our cabinets a major refresh. We weren’t that big of fans of the original color and knew they would match better with the rest of our kitchen if we painted them a solid color. Painting cabinets yourself can seem very daunting, especially when you look at all the steps involved, but it can save a lot of money! Typically companies charge per “door” that is painted and it can be upward of $2,000-$3,000 for hiring a painter. This was the route I thought we were going to take until one day we were just like “let’s try it ourselves”. We knew we could save some money to use elsewhere and set aside about 3 days to get them completed. And I’m so glad we did!
The first step for us was to decide what color we wanted to paint the cabinets. Ultimately, we wanted a 2 tone look, with the top cabinets one color and the bottom a different. We ended up choosing “Pure White” for the remaining top cabinets and Rhino by Behr for the lower cabinets. We picked up the highest quality Behr paint, Marquee, because the kitchen cabinets are one of the highest traffic areas in the house. Think about how many times those doors are opened and closed and the sauces and oils that splatter all over them over the years. A full list of supplies we made sure we had before starting is below:
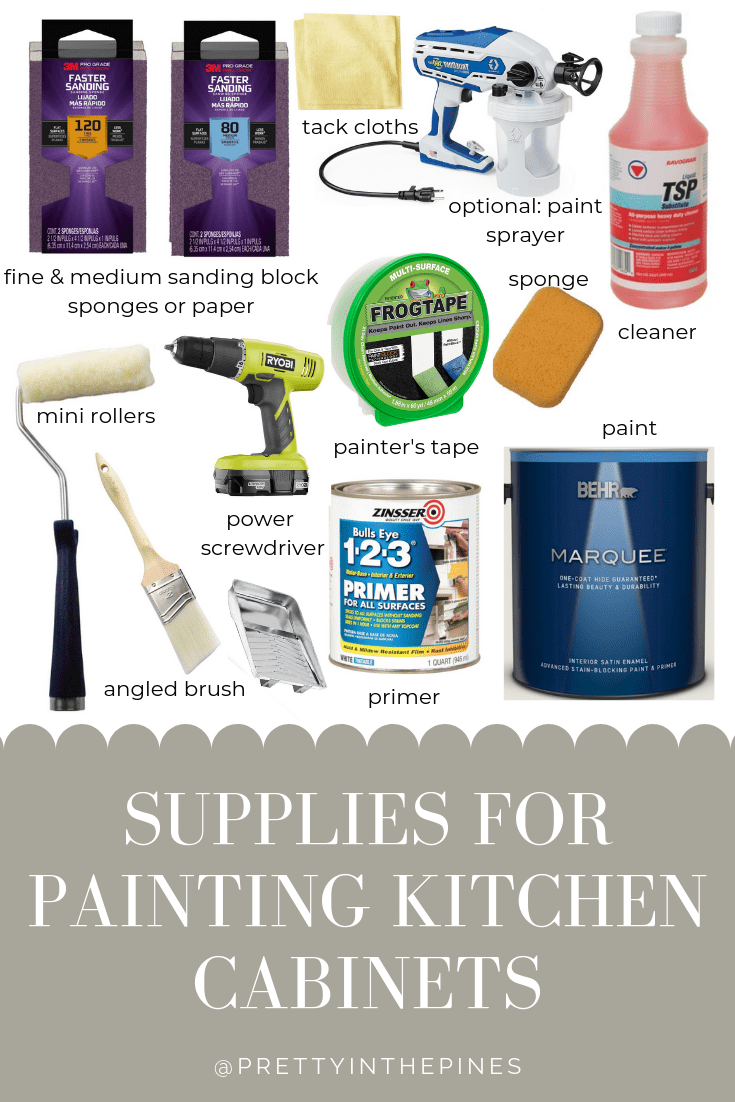
Paint (get the highest quality possible in satin or semigloss finish)
Primer (we used this water-based one)
Medium grit sandpaper
Fine grit sandpaper
Vinegar and water mixture (to clean cabinets before anything)
Sponge (also for cleaning)
Painter’s Tape
Tack cloth (for wiping after sanding and getting all wood dust off)
Paint Sprayer (optional but makes things easier – NOT necessary though – we did not use this)
Sponge brush
Paint rollers (make sure to get the half size)
Angled brush
Power screwdriver (to remove doors)
1. Prep your cabinets by cleaning them thoroughly.
The first step is to make sure the cabinets are thoroughly cleaned. The kitchen area has a tremendous build-up of oil and grease, substances that will not be conducive to having your new paint stick to the wood. There are a couple options for cleaning the doors to remove the grease. You can opt for a cleaner like Spray Nine, or you can just use a 50/50 mixture of vinegar and water. To get tough on grease, use a kitchen sponge to scrub the doors and cabinet structure. Wipe them dry afterwards.
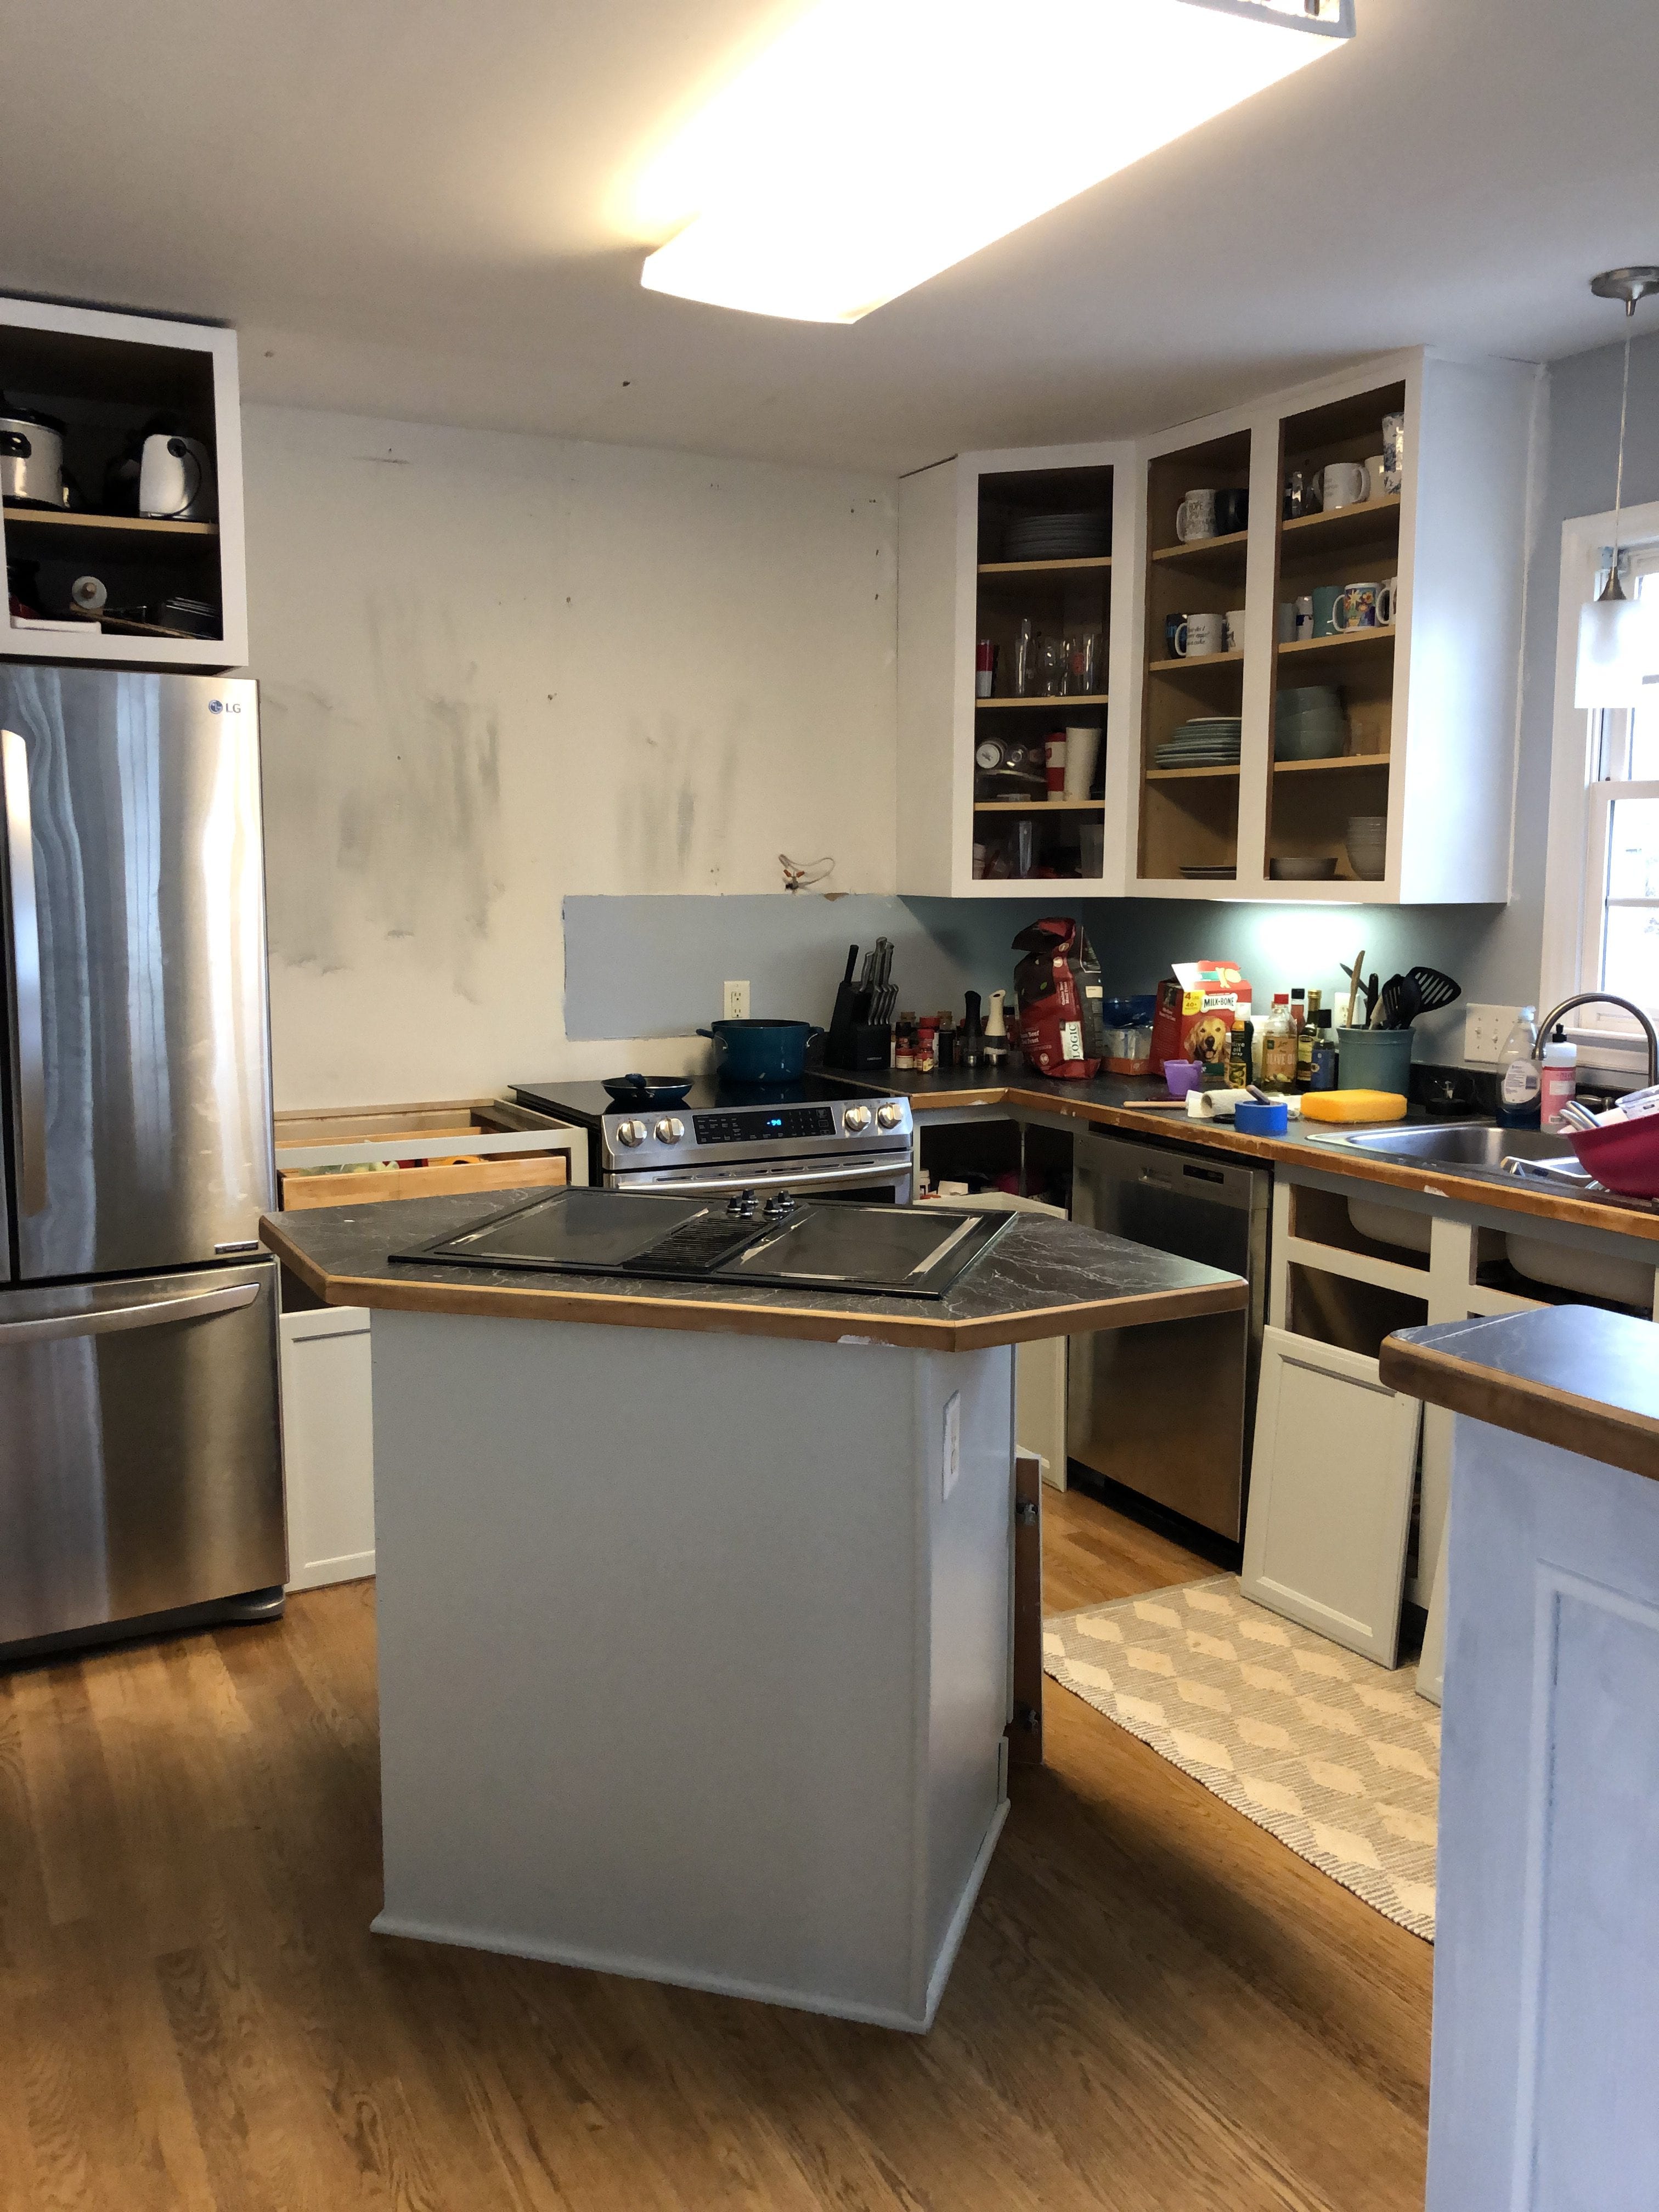
2. Remove cabinet doors.
Once the doors and cabinet structure was clean and dried, we removed our doors. The easiest way to do this is with a power screwdriver. We had 17 doors that needed to be removed, some anchored with 3 separate screws. It would have been very time consuming and difficult if we were using a hand screwdriver to remove the screws. One thing to be sure to do is make sure you know which doors go where to help with putting the doors back. We labeled the back of the doors with sharpie. For example, starting from the left side of the kitchen, we numbered the top in order (T1, T2, etc.). We did the same with the bottom doors (B1, B2, etc.).
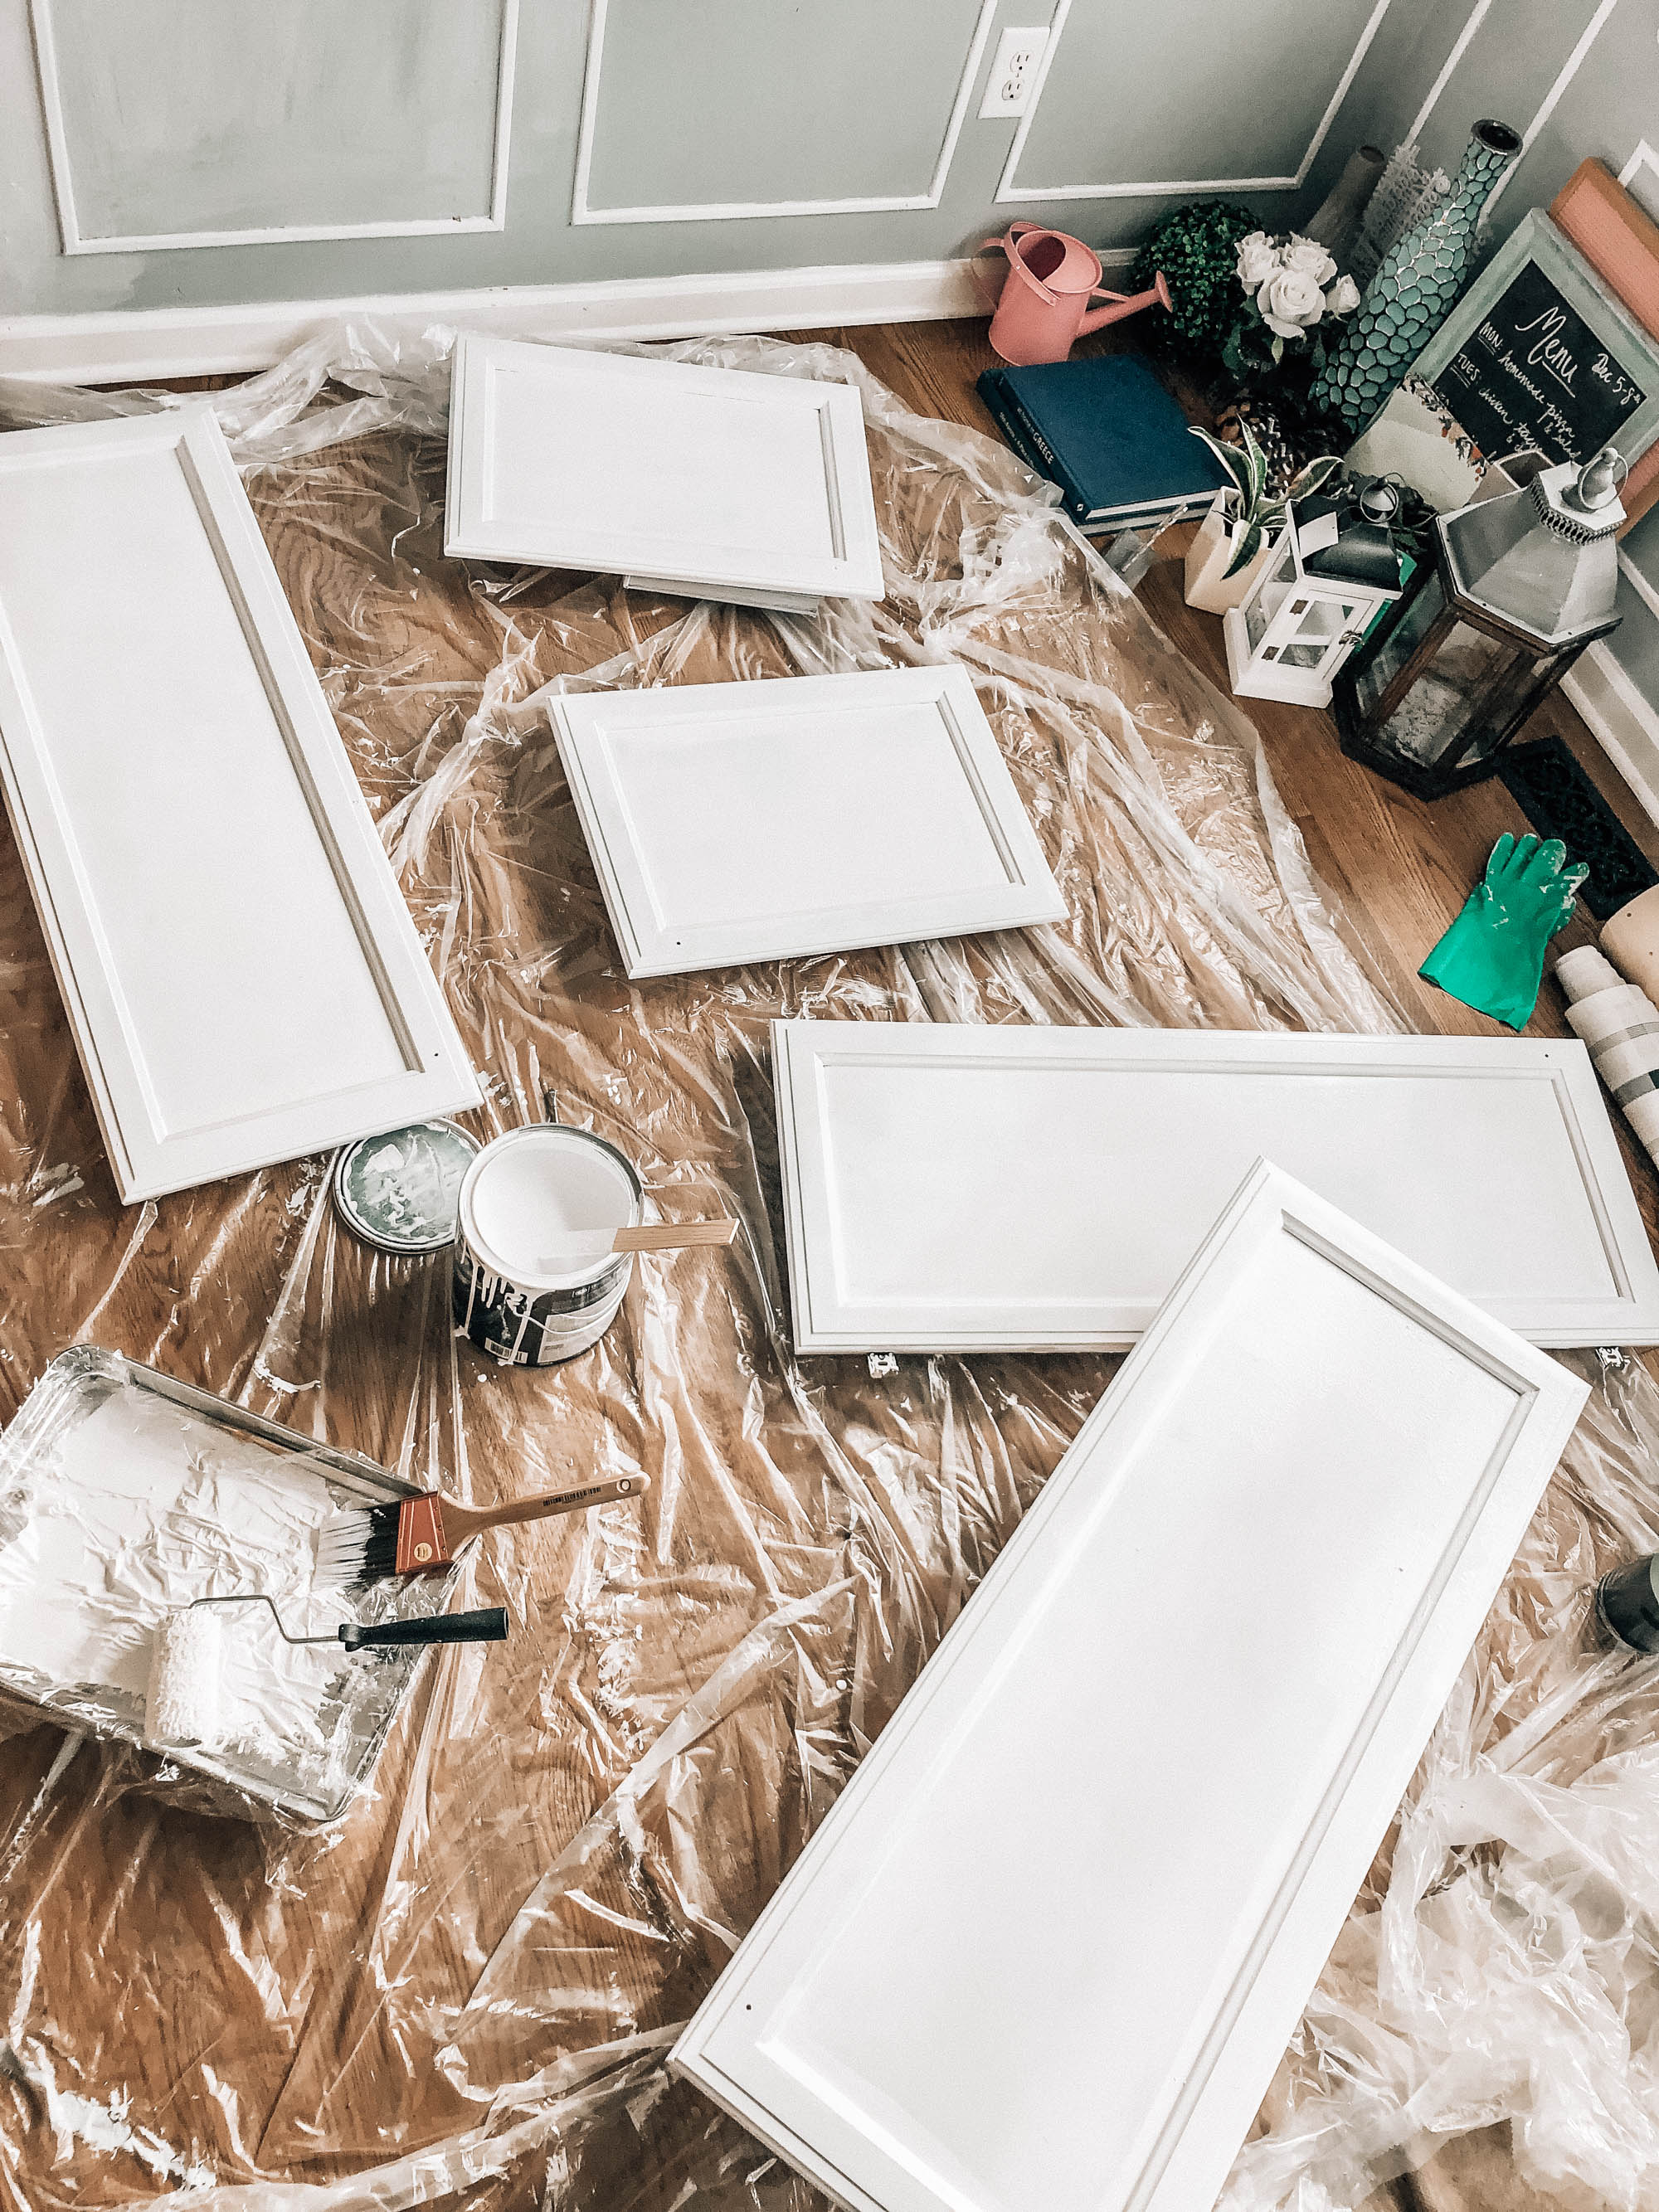
3. Set up sand, paint, and drying station.
With 17 doors that needed to be painted, we had to have an area where all the doors could be sanded, painted, and where they could sit for a while and dry. We ended up using our fire pit stones in the backyard along with the railing to our deck. This enabled us to have a flat surface with which to work and we didn’t have to worry about paint getting places it shouldn’t. We saw other setups where people used 2×4’s hung between ladder rungs. It doesn’t really matter what you use, just something where the cabinet doors can sit so that you can paint all edges of it. I even used some stacks of books when I ran out of space outside.
4. Sand cabinet doors.
Our cabinets were manufactured with natural wood stain. We knew that they would have to be sanded well to make sure the paint was going to stick to the wood. We sanded by hand to get into the crevices as much as possible, but if you have flatter cabinet faces you may be able to use an electric sander. For this first pass of sanding we used a medium grit paper. Use a tack cloth to rub down the cabinets and cabinet structure to get rid of any excess wood dust that may have accumulated. Don’t sand too much that it makes the surfaces uneven, just enough so that the wood will accept the new paint. This was our least favorite and most tedious part, but one that is most important.
5. Prime cabinet doors.
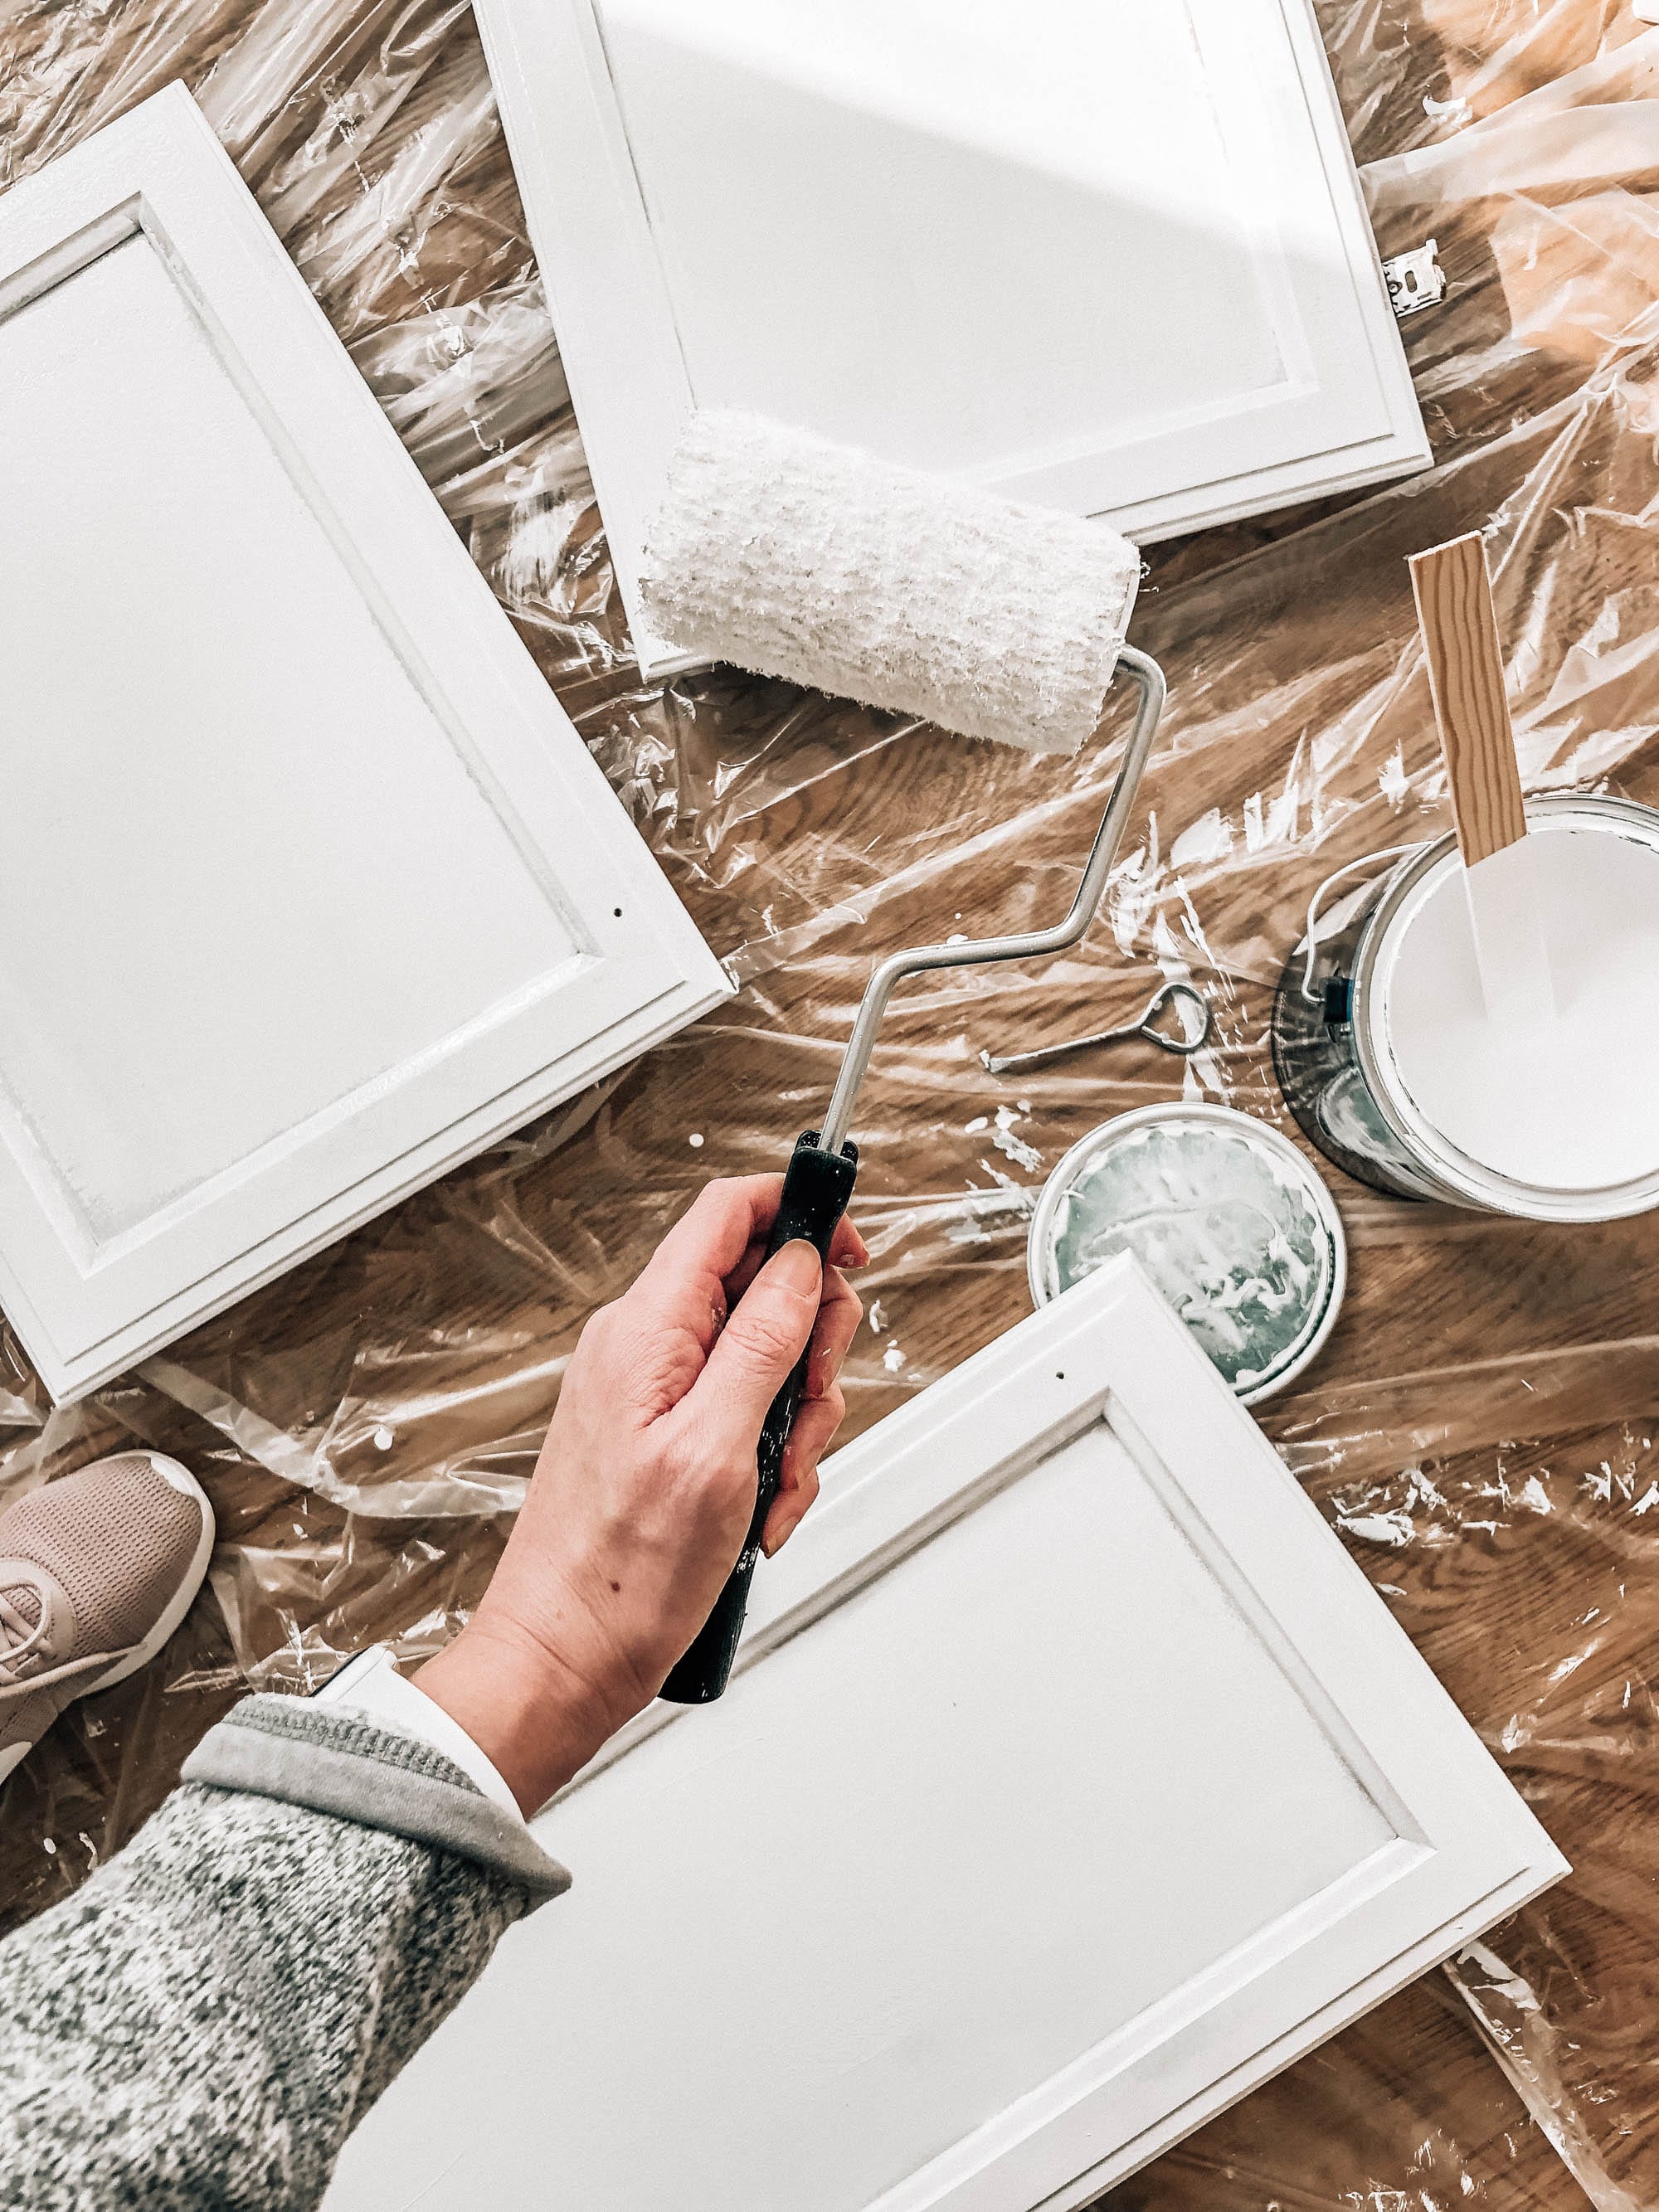
To make sure the paint stuck and covered the wood grain on the cabinets and cabinet structure, we started out with white primer. There are a couple of ways to paint the cabinets. The most efficient way is to use a paint sprayer. We do not own a sprayer, and it was not in the budget to buy one for the project (they can be anywhere from $150-$350). Instead we used a mixture of sponge brushes, angled brushes, and mini rollers (mini rollers are where it’s at). The angled brushes were effective in getting the edges and corners of the doors, the sponge brush worked well to get smaller grooves in the doors, and the mini roller helped with the flat door surface and the cabinet structure.
6. Sand cabinet doors again.
Once the doors have dried from the primer, it is time for another thorough sanding. Yep, again, but lightly! Go for the fine grit sandpaper on this step. The goal is not to remove the primer, but to create as smooth a surface as possible for the next coat of paint. Work lighter and then apply more pressure as needed. Use a tack cloth to remove excess wood dust (make sure to buy several of these).
7. Paint cabinets with first coat of color of choice.
Finally! Time for some color. Using the same techniques that worked for the primer (roller, brushes, sponges), apply the first coat of paint to the doors and cabinet structure. We made sure to apply the paint generously to keep any of the wood grain from showing up after the drying process.
8. Sand cabinet doors once more, paint second coat.
Repeat steps 6 and 7 for the doors and cabinet structure.
9. Screw doors back into original places.
Once everything dries, you can add the doors back to the cabinets utilizing the labels that were made when taking off the doors. As we were adding the doors back, there seemed to be a couple gaps between the doors that we had to fix. This was relatively easy by ensuring the doors were straight and level when reinstalling.
Woohoooo! It’s really not THAT bad. The worst part is just how long each step takes but the steps themselves aren’t bad, just tedious, especially if you have a lot of doors and drawers.
Let me know if I missed anything or if you have any other questions!

Hello,
Absolutely love your kitchen! I’ve been searching for a few days now on the color and style for our kitchen. The cabinets that we have now are very outdated. Our kitchen is a 1950’s French Provincial maple style cabinets. I want something light, clean and fun. What color did you use for the bottom cabinets? Is that a soft gray color?
The color we used was actually a green-gray! It was called Rhino by Behr! I would only recommend it if you’re looking for more color because it ended up being more blue/green than I thought it would be!
I know you did this project forever ago and have had many fun city adventures since this, but how did you cover up the middle hole from the drawers so that you could have the long pulls that require two holes? Probably the only question I have because this tutorial is AMAZING and your whole house was a complete dream. Your apartment is looking just as fantastic too!!
Thank you! Just use wood filler to fill that and then paint over it! Here is what I always used: https://www.acehardware.com/departments/paint-and-supplies/patch-and-repair/wood-filler/1203694?x429=true&gclid=Cj0KCQjwhtT1BRCiARIsAGlY51KT1SoYQEqYkrss0HHO4RrBzwrM6RxznaQSC7E8MVHrRnTuG5TzNnEaAo6HEALw_wcB&gclsrc=aw.ds
Thank you! I really like your kitchen paint! Actually I was searching for the last month and now I got color and style for my cabinets. I want my outdated kitchen cabinets back to life. You can visit ‘Trendy Looks Cabinets & Interiors’. They are are experts in transforming kitchen cabinets and ensuring high-quality, durable results